Swing-out tire carrier buildup!!

Willman

Active member
More buildup!!!!!!!

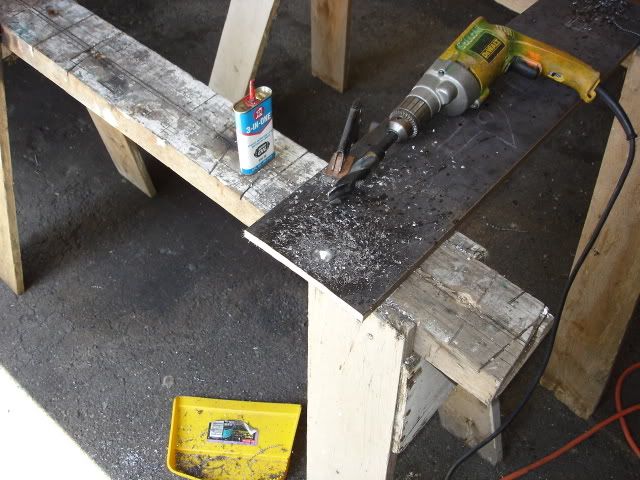
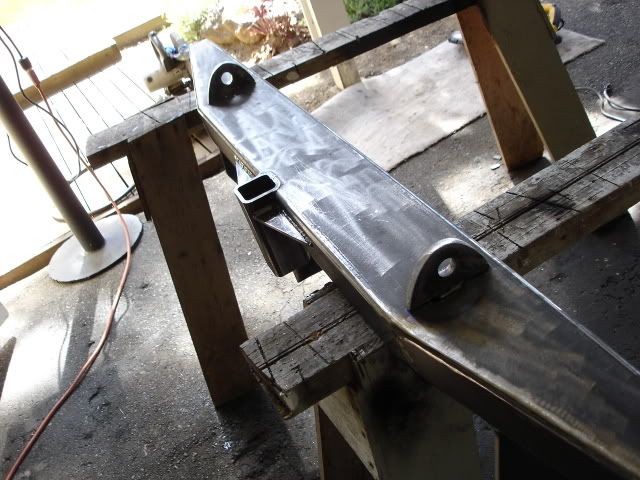
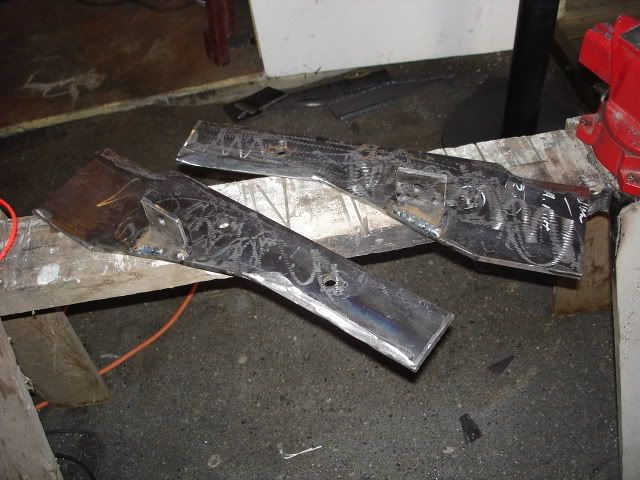
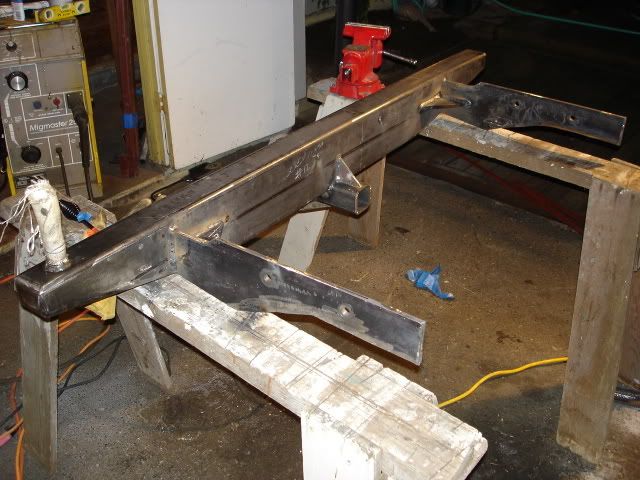
I used 3/8 plate steel for the mounts and drilled a 9/16 hole for the 1/2 bolts. I had my vise sitting around my shop and no where to put it...So i placed it on a sawhorse which worked out very well for misc. cutting and grinding.

DSC01246.jpg


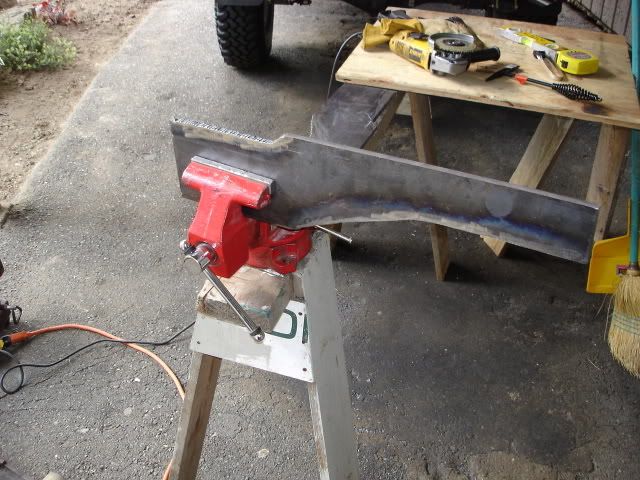
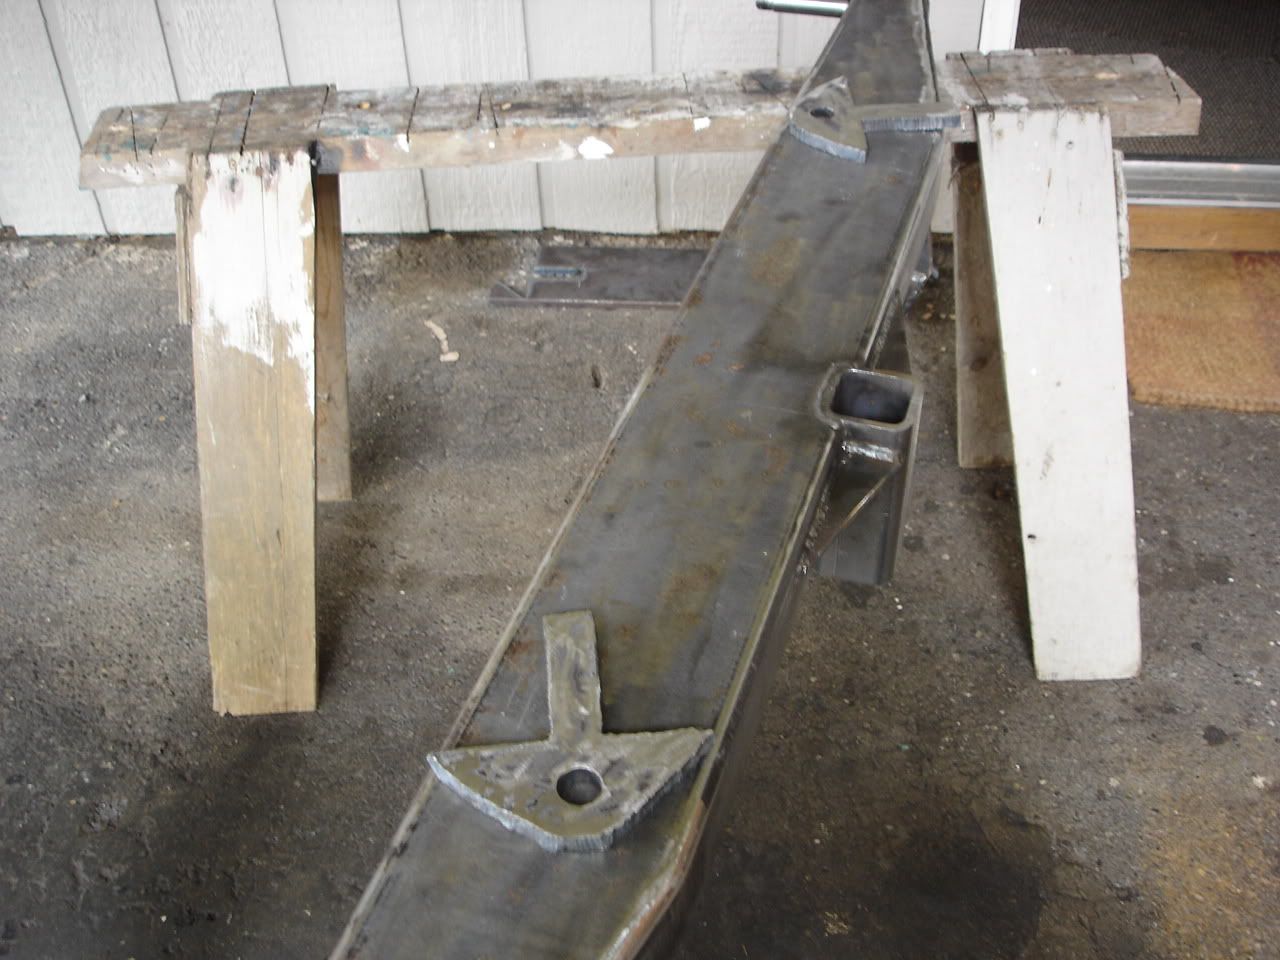
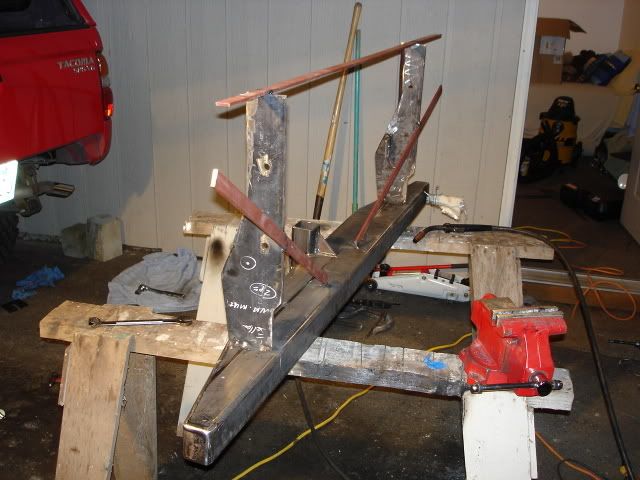
Welding on the piece of L metal to the mount to add more beef to the pile!!

DSC01253.jpg

DSC01255.jpg


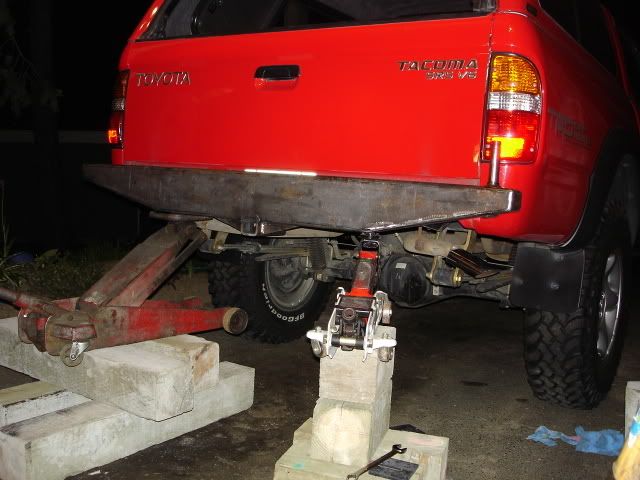
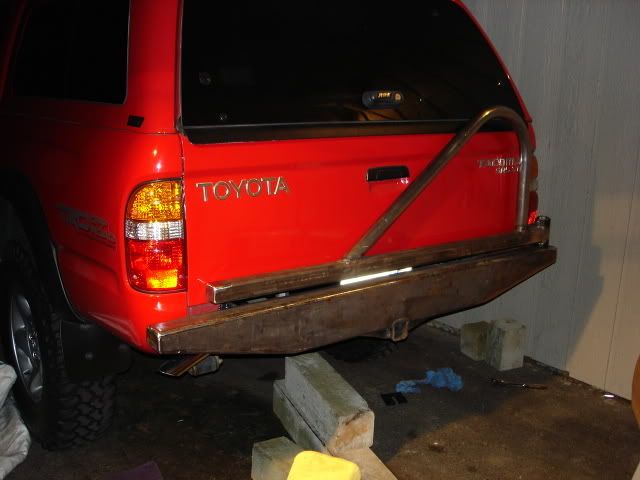
Now it was time to place the mounts on and tac on the bumper in place

DSC01256.jpg


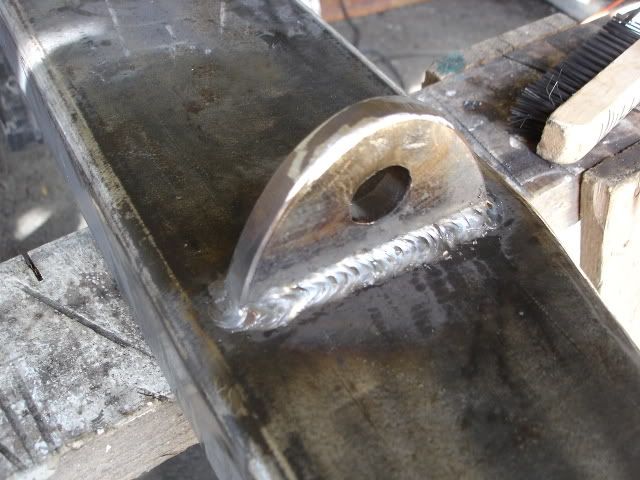
After that...pulled it off and welded it all up

DSC01257.jpg


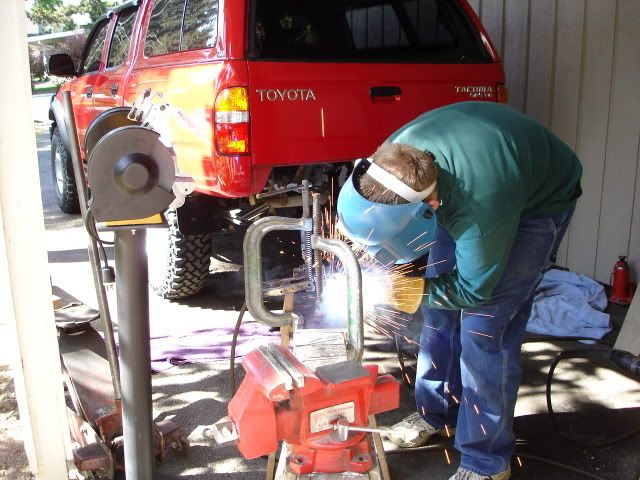
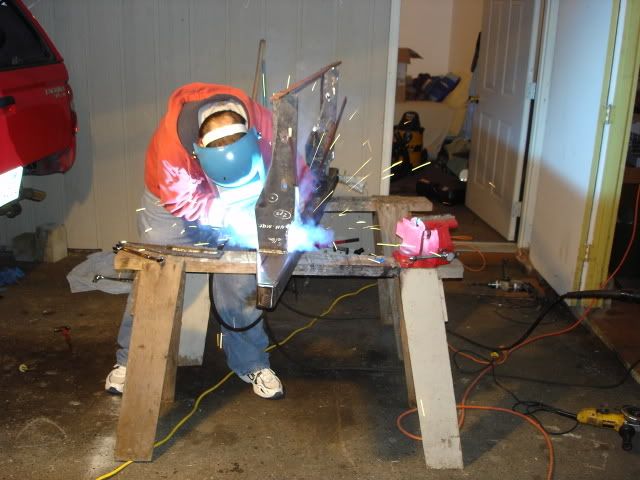
My good friend came to dust-off has great welding skills and helped out in the mounting process....This was a two person job getting it all plum!!!!!

DSC01258.jpg


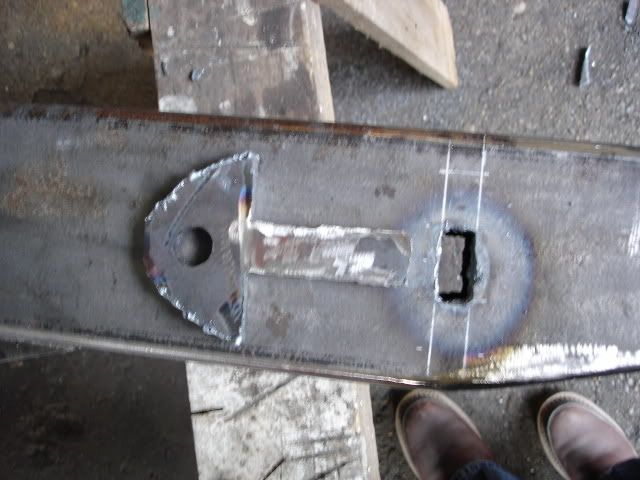
Added 3/8 gisits to both inside mounts...

DSC01259.jpg


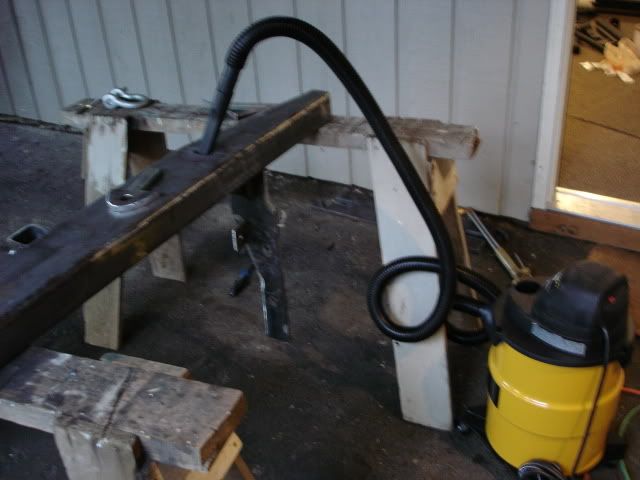
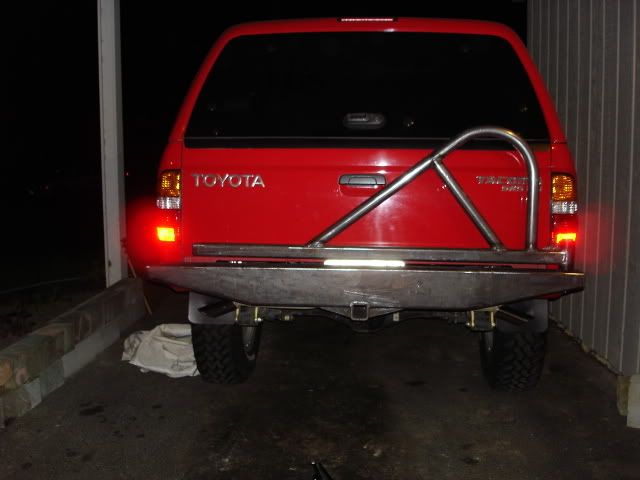
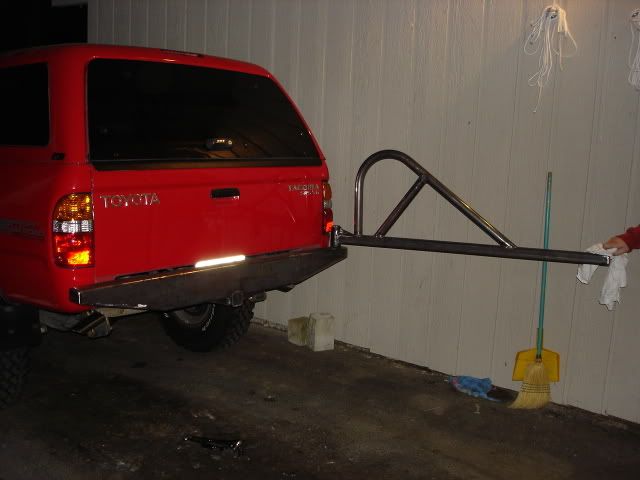
Then we put it back on the truck to work on the tire carrier.....The bumper fitted like a glove!!!!! Using my cardboard cut-out...I layed-out where my 1 3/4" tube should go to support the tire.....

DSC01260.jpg


I am very proud of this fish mouth!!!!! Not to bad with a drill motor w/ a hole saw!!!!!

DSC01262.jpg
 

Willman

Active member
More.......

It was getting late..(2 am)...so we called it a night! Here is what we got done!!!

DSC01264.jpg


The hinge works VERY well!!!! So far i am very pleased with it....

DSC01267.jpg


A lot to do.....
-make mount for tire
-add D ring tabs that weld on both sides of bumper..
-toggle clamp
-swing-out stop plates on both ends......and the list keeps going!!!
 

flyingwil

Supporting Sponsor - Sierra Expeditions
OldSven said:
A few more hours and it will be done. We'll go see how it holds up on the trail next weekend.

Wow your pretty optimistic on this build up! At this rate it'll be on there in about 7 more weeks! lol:shakin:
 

Willman

Active member
Both you guys are always welcome to come help out!!!! (Flyingwil,Oldsven)....................lol...............
:ar15: --------------------------- :shakin:

This will be me at Lake Powell in week and a half!!!!.....How do you like em apples?????
:suning:
 
Last edited:

OldSven

Explorer
Well that adds up to 8 1/2 weeks to go:sport_box If you want me to come over Friday night and help you finish it, let me know. That will free you up to go to Rieter Saturday morning.
 
Last edited:

Willman

Active member
OldSven said:
Well that adds up to 8 1/2 weeks to go:sport_box If you want me to come over Friday night and help you finish it, let me know. That will free you up to go to Rieter Saturday morning.

Thats going to be one long night!!!!! :smileeek:

(Oldsven-Laptop works great, anywhere in the house!!!!!!)
 

OldSven

Explorer
Let's get the bottom part done first. Get the d-ring mounts welded, get the toggle switch on, and paint it. The tire part can be done separte. we will just get the main part taken care of Friday. Just get all the part's ready to go and get as far as you can this week. I'm going to see who all I can round up for Saturday. I would like to head up Issabell and hopefully the Index wall. It will be a good day to put the sliders to use.:D
 

Willman

Active member
Hey Flyingwill........Oldsven is coming......Are going to make the trip up from AZ to help out and do a little wheeling after??????...................lol
:D
 
S

Scenic WonderRunner

Guest
Check out this kewl bumper I found over at Yotatech this morning.

I like the recessed lighting and receiver......and the tow points.

I think you still have time to do some lighting there Willman! .....:ylsmoke:


dsc00129.jpg
 

Willman

Active member
Nice find ScenicWonderRunner!!!! Still thinking about the lighting thing...The air tank idea has made things a little harder......but will pay off with the saved space under the bed.....After i get my D-rings in......recessed lighting isn't a bad idea!!!!...Down the road i need to add rock lights.....and the list goes on........
 

OverlandZJ

Expedition Leader
I'v been meaning to post my compliments Willman, solid work! :victory:

Too bad your located on the wrong coast...i'd have you build me a new swingaway configuration. ;)
 

Willman

Active member
John B said:
I'v been meaning to post my compliments Willman, solid work! :victory:

Too bad your located on the wrong coast...i'd have you build me a new swingaway configuration. ;)

Thanks man!!! Maybe someday you might move over here were the grass is greener!!!!...Thats if you don't mind the rain!!! :D ......lol
 

Willman

Active member
D-rings.....

I got a piece of 1/2" plate steel......Drilled a 7/8" hole for my 3/4 shackles..Boy did these babies turn out great!!! Heres some pic.....

DSC01272.jpg


Got the torch out and went to town.....Preheated the steel ........she cutted like butter!!! For max. strenght...Due to the tube...I wanted to pull on both sides of the tube walls instead of just welding on a tab....Thats why they look like a key....

DSC01275.jpg


layed out the spot for the D-rings and torched out on both sides.......Then i took a die grinder to reach inside to hole to clean it up a touch.....

DSC01277.jpg


Before i welded them in.....Took my shopvac and got all the welding/cutting slag out from inside the bumper. I taped a piece of 1/2"x3' tube to the hose to reach all the way to the bottom....Getting ready for the Air tank!!!!!

DSC01278.jpg


Cleaned up all the edges........ready to weld them in....

DSC01279.jpg


heres the final product!!!!! Not to bad!!!!......having a bench grinder really helps.....If you don't have one already....put it on your tool list!!!!! It's great to have around!!!

DSC01281.jpg
 
Last edited:

Forum statistics

Threads
188,454
Messages
2,905,167
Members
230,428
Latest member
jacob_lashell
Top