Ramdough
Adventurer
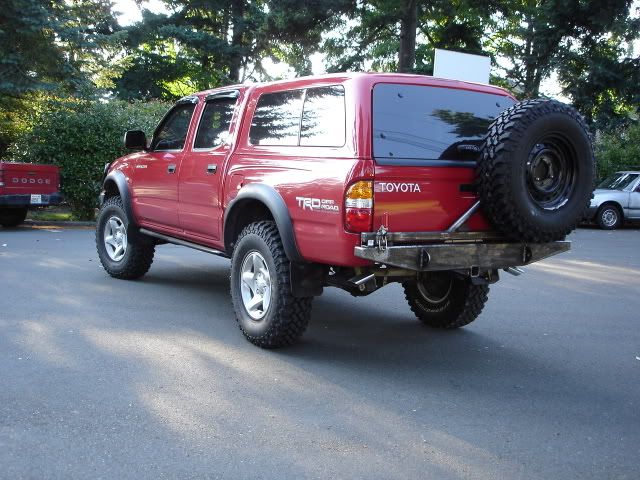
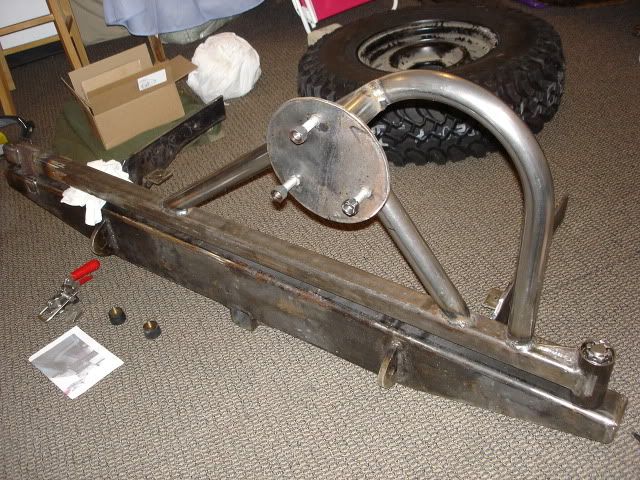
NICE Bumper!!!:clapsmile :clapsmile :clapsmile
I hope I did not miss this, but are you planning on putting rear sliders on that bumper?
I highly recomend them if your friend has time to bend you some more tubes.
Check out Scott's, Baja's, Mine, DO's bumpers for ideas if you are going to do this. Mine have saved my butt a few times.
I hope I did not miss this, but are you planning on putting rear sliders on that bumper?
I highly recomend them if your friend has time to bend you some more tubes.
Check out Scott's, Baja's, Mine, DO's bumpers for ideas if you are going to do this. Mine have saved my butt a few times.

")