Progress continues...
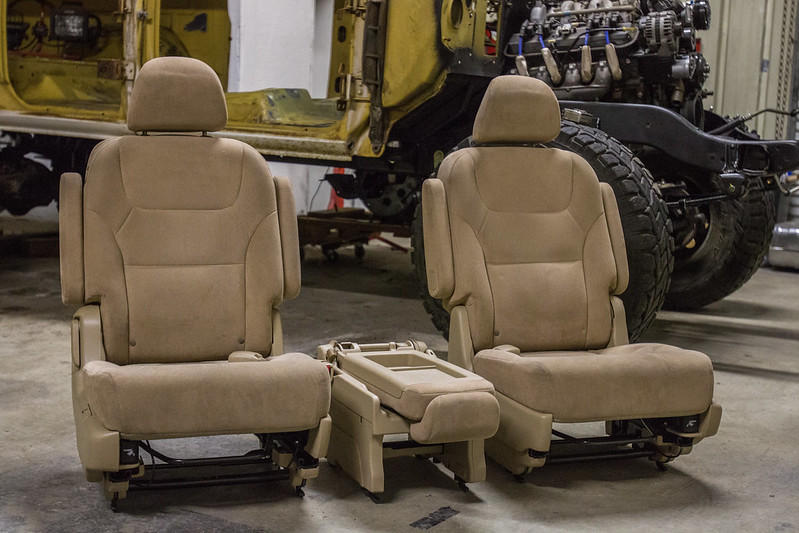
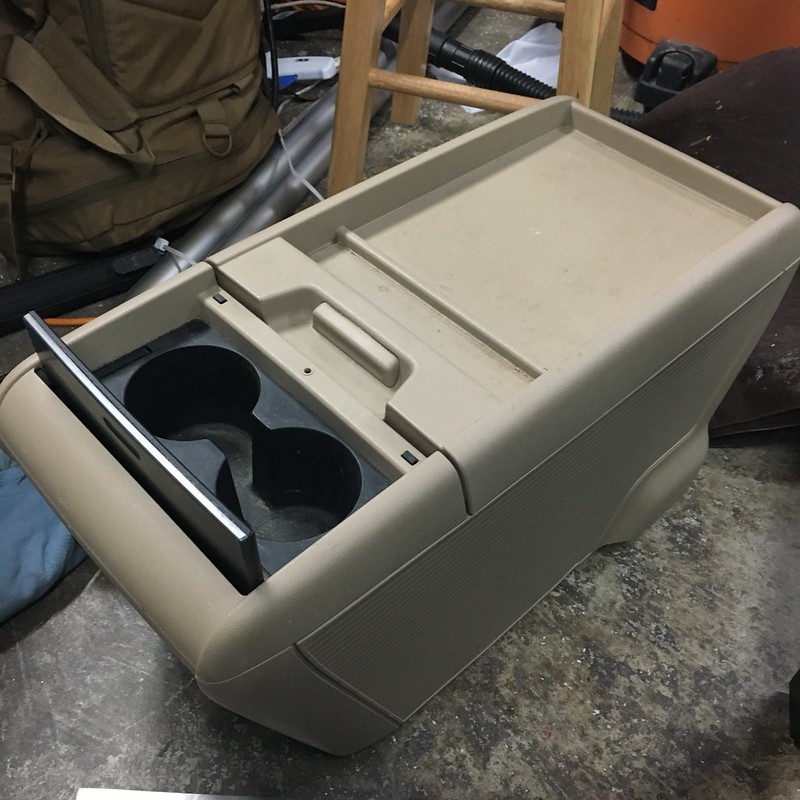
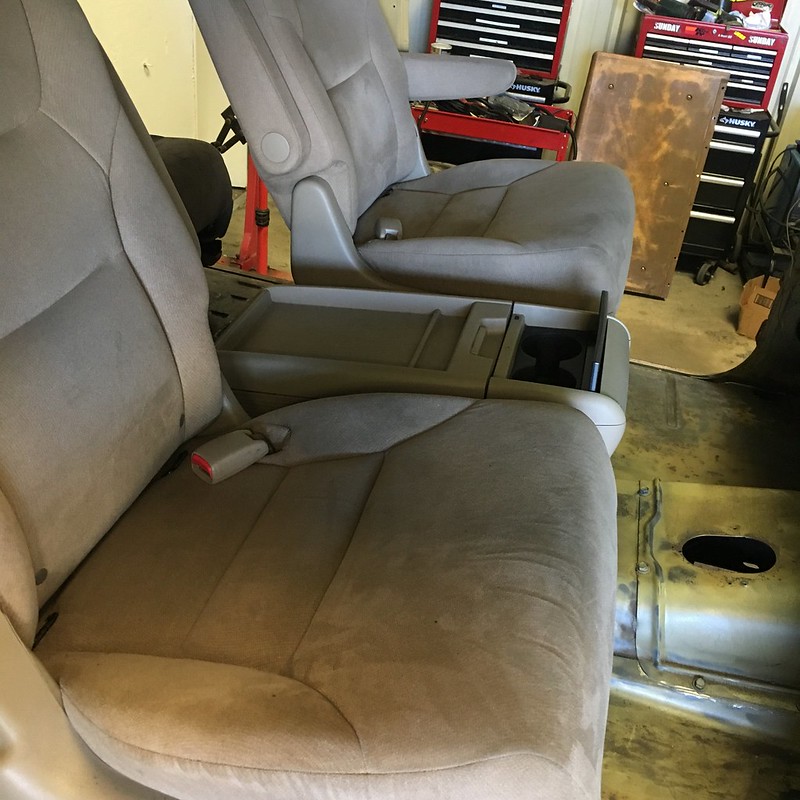
First a few quick updates. More parts are rolling in. I picked up a center console as an option for the front seat. $40 on Craigslist seemed like money well spent for cupholders. Plus the Mrs. likes to put her books and junk in the cubby.
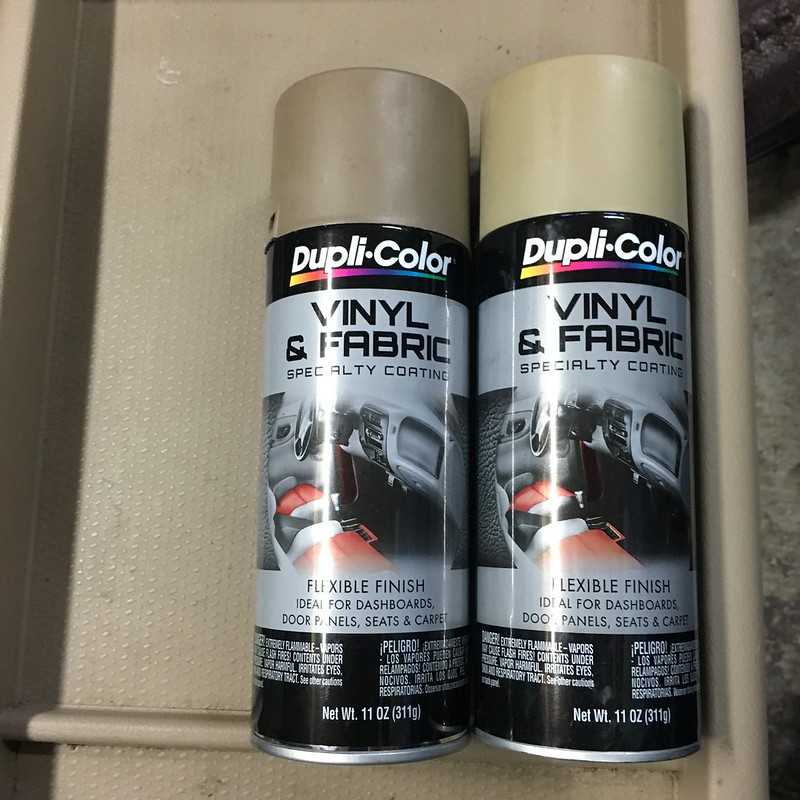
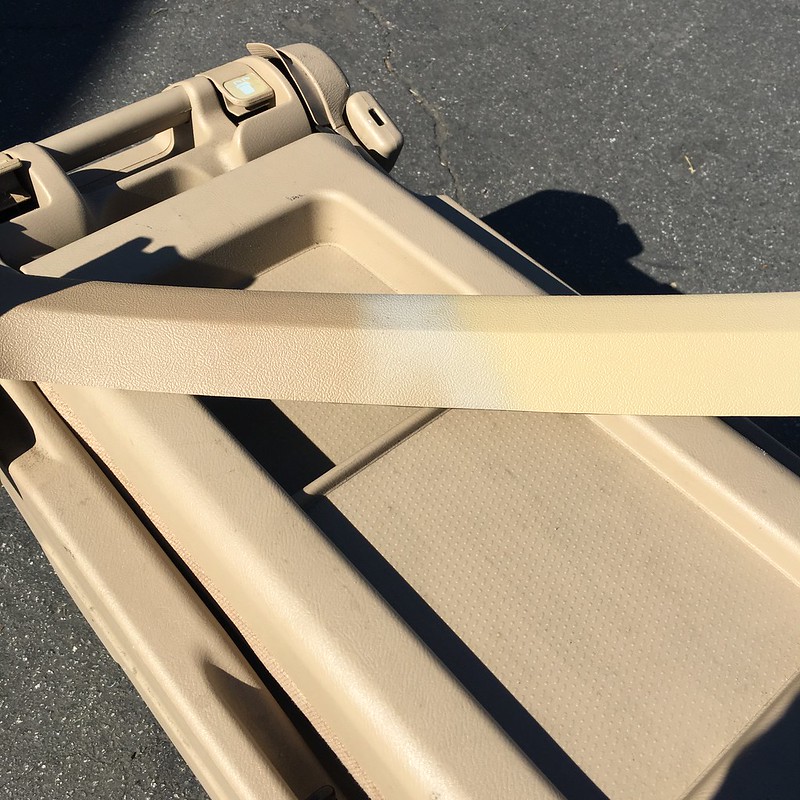
Also picked up some Duplicolor Vinyl & Clothe paint to try and match the Chevy trim with the Honda seat plastic. More on that later.
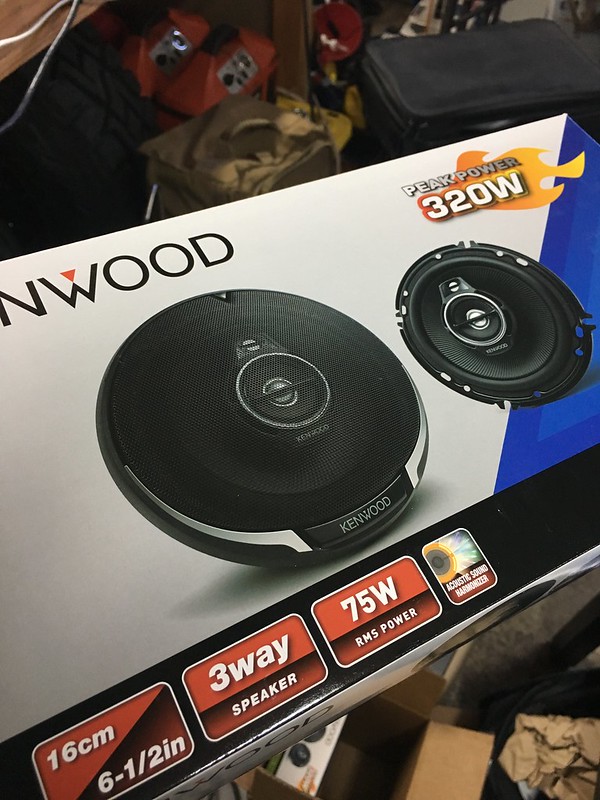
Also picked up some 3-way 6.5" speakers that'll be mounted in the doors. I've thought about the various ways of doing component speakers and blah blah blah. This is easy and effective. I'm not looking for competition level sound, just want my tunes. I'll likely be putting some 8" shallow-mount subs built into the storage tray I'll be making for the cargo area, just in front of the rear wheel wells and behind the back seats. Between these and those I'm sure I'll be more than happy with the sound.
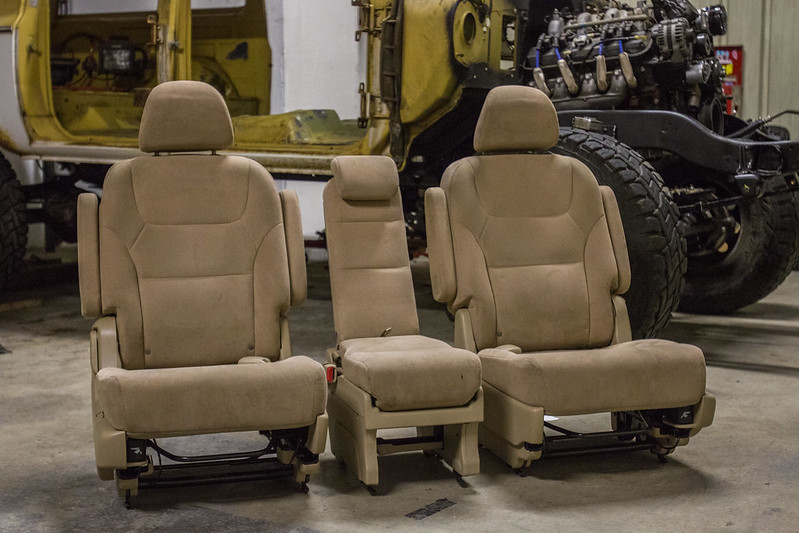
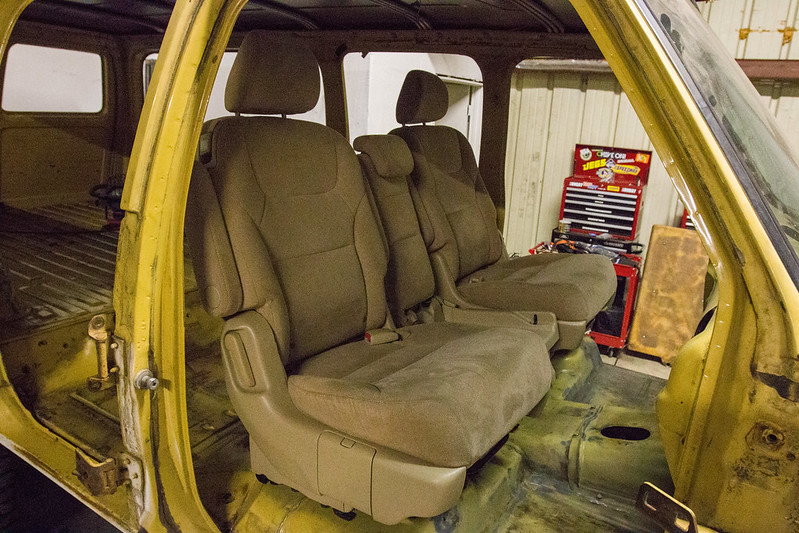
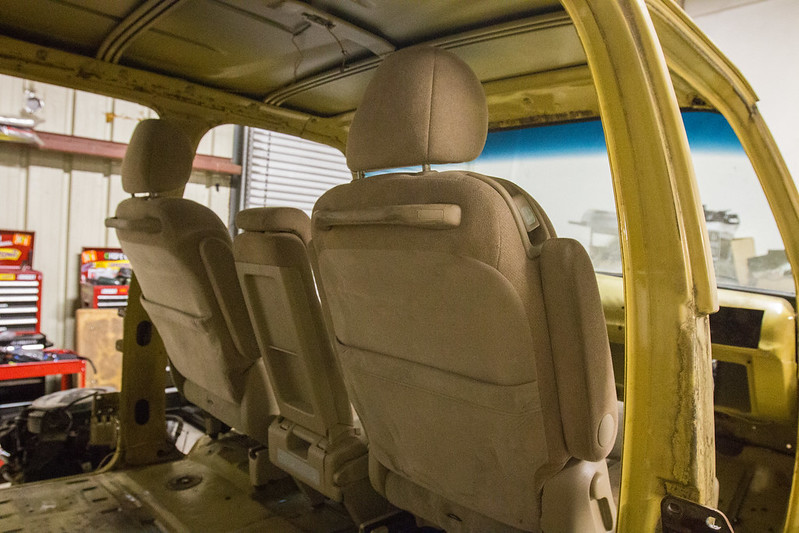
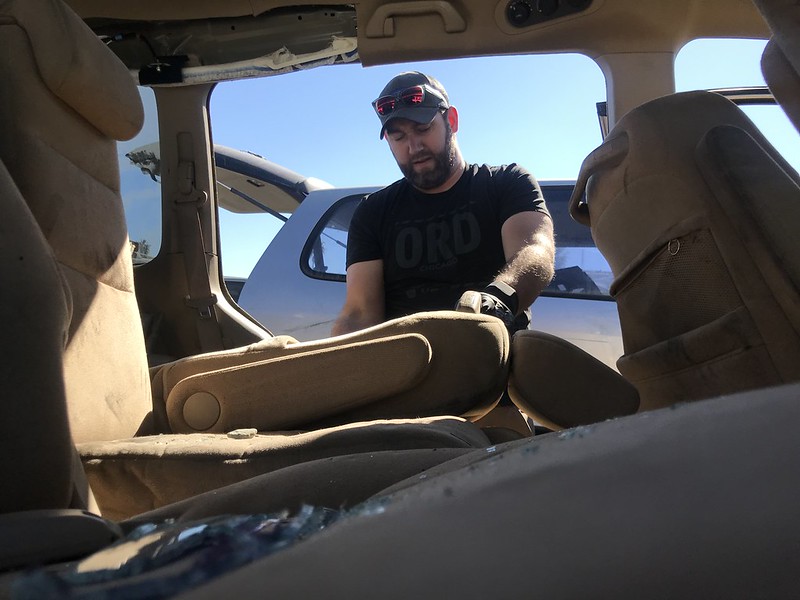
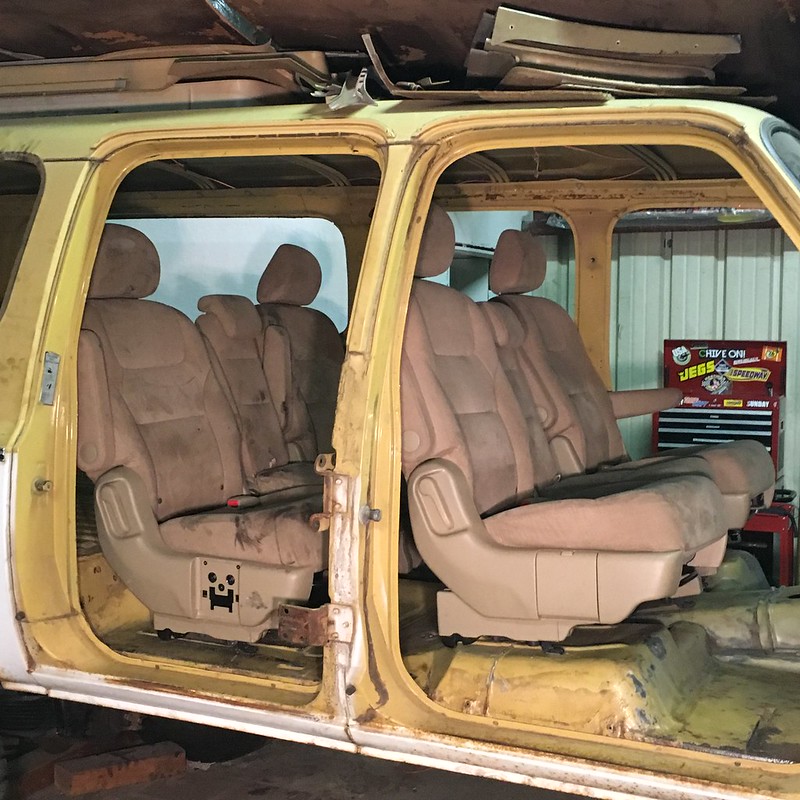
Now, on to the weekend. Saturday was spent driving about 5hrs for 15min worth of work at the Sacramento Pick-n-Pull. But, that and $50 net me a matching set of Honda Odyssey middle-row seats to be used for the "middle" row of the 'Burb. I put middle in quotes because the truck really will only ever have a front and back row. I don't ever plan on using the 3rd row seats again.
These seats had a bunch of random parts tossed on them, so they're oily and dirty but overall in pretty good shape. They'll definitely take some cleaning but there's nothing on them that shouldn't come off with enough soap and effort. They are, unfortunately, missing the fold-out cup holders that sit on the side. I'm not terribly worried about them, so in the mean time I'm just going to keep my eyes out for another Odyssey in the junk yards (thanks Row52 search notices!). If I really get antsy they seem to be available online for $50 (though I'd feel like an idiot paying as much as I did for the whole set of seats).
Next up for seating is gonna be removing the quick-release clamps and fab'ing a couple of mounting brackets. I read the front bench seat bracket and be tweaked to make the front ones work. The rears should be a pretty easy endeavor as well.
Sunday was a terrifically productive day. Started out by seeing how the center console would work. I think its going to be great.
Next I wanted to see which of the Duplicolor paints would best match the plastic on the seats and center console. I took one of the extra trim pieces from the trucks and sprayed a color on each end. I have to say that this stuff is pretty awesome. It was dry within a few minutes and the coverage is terrific. Seems very durable as well. I gave it a few good scratches and it took it well. While neither of their tans - Medium Beige (left) and Sand (right) perfectly match the Odyssey seats’ plastic, the Medium Beige is closer though darker, and less yellow. I believe I’ll be painting the trim with that. May go all out and do the seat plastic to match... maybe.
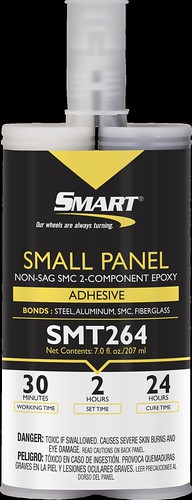
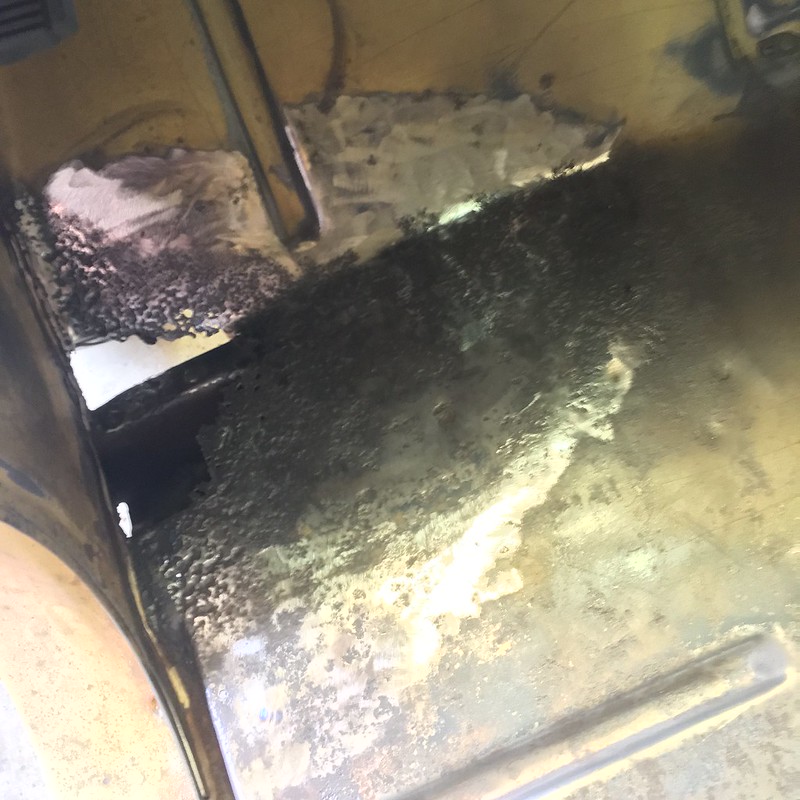
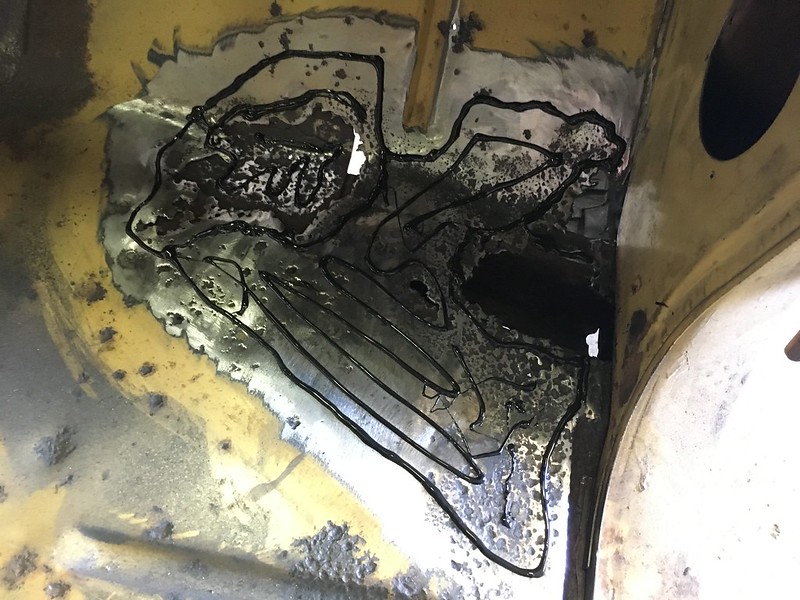
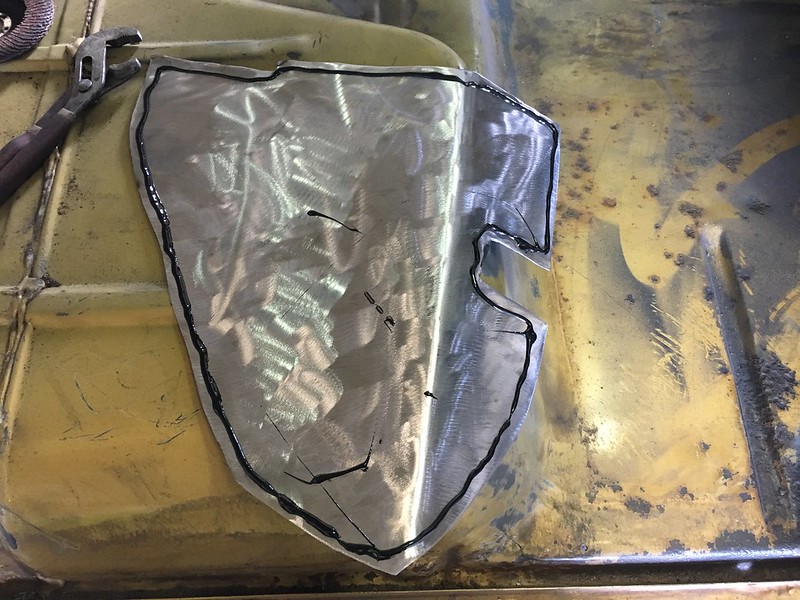
Next up I got after the floor holes. Last week I picked up some Smart Small Panel Adhesive from Finishmaster. The guy in the shop next to me suggested I give this stuff a go instead of cutting and welding. I looked into it a bit and it seems to be pretty solid stuff. Since the underlying metal seems to be solid I expect this will work just fine.
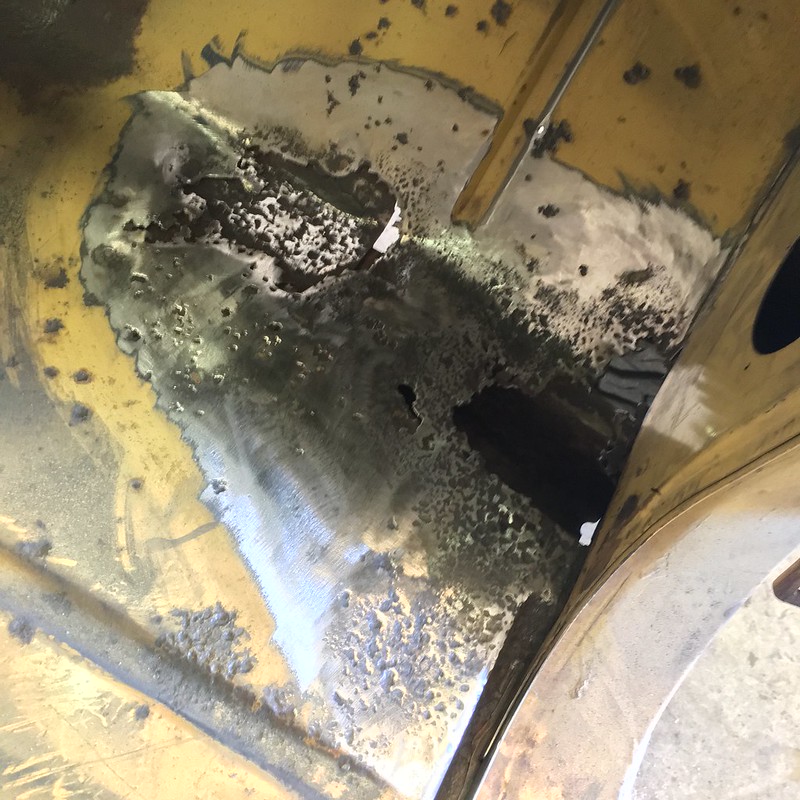
First up I ground down around the area I was going to patch 'til I got to bare metal. I tried to get as much of the rust off as possible. I feel like I got a pretty good amount of it off. I didn't want to get to the point was I was making the hole significantly larger, so I left it at that.
Next I applied the adhesive liberally to the floor, making sure to get full rings around the holes. My one concern is that the bare metal will start to rust again, so when I put the patch sheet down I made sure to shimmy it around a bit to spread the adhesive and cover as much as possible. I also intend to put some sealant on the outside for the holes that went through. It isn't going to be pretty but I expect it'll hold up for quite a few years. At least until I can get the floor done up professionally.
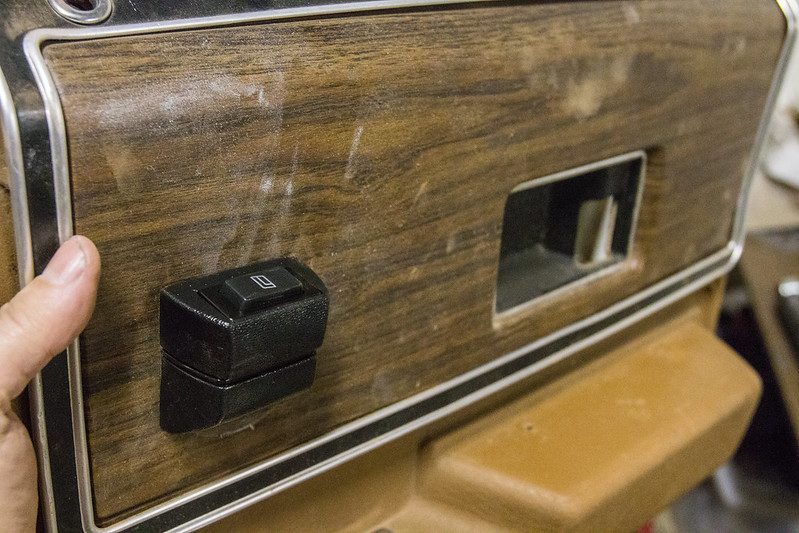
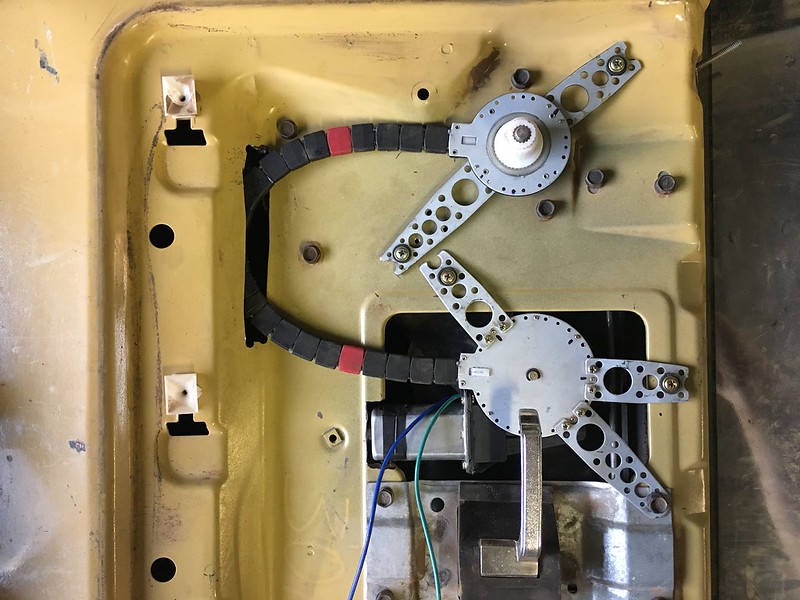
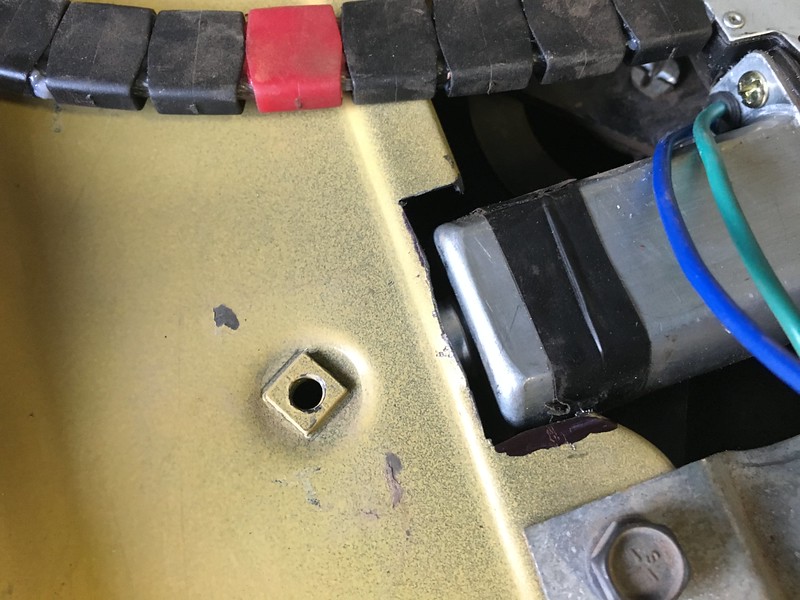
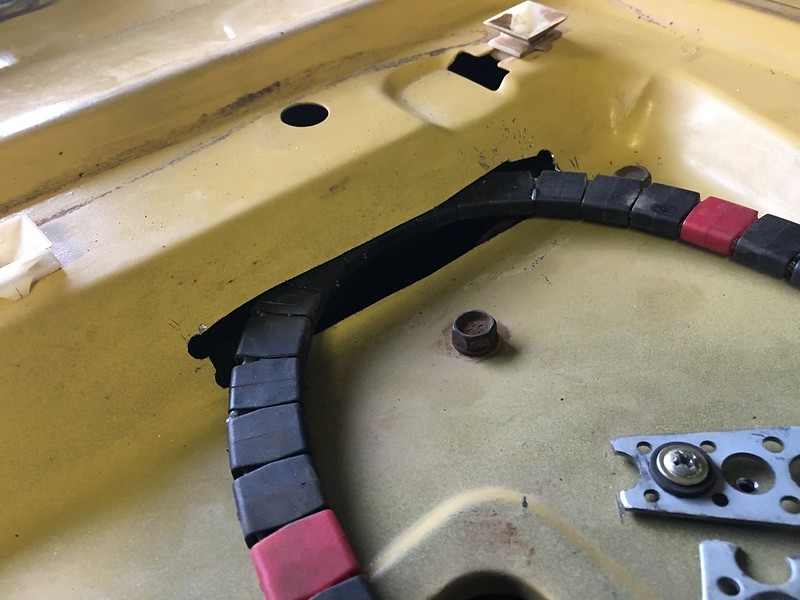
Then, once both sides were weighted down and curing I got to figuring out how to mount the power window conversion kit. It took a little fiddling and a bit of cutting, but I finally sorted out a placement that wouldn't interfere with the door locks, the handle, the trim panel or the window mechanism. For such a large door it was surprisingly hard to find anywhere to mount this thing. As it is I had to trim out the door handle pocket on the plastic trim bit. Fortunately the wood grain trim bit covers that. Now, just 3 more doors to do in the same way...

