The Canuck Truck buildup!

p1michaud

Expedition Leader
Good suggestion.

lowenbrau said:

Ah, I had those in my hand as well but decided against it because they protrude too much from the surface. I'm going to try and make the surface as smooth as possible so that I can easily slide items on and off should I need to when the RTT is not attached.

Thanks for the tip though. I don't mind speding a bit more time and predrilling.
Cheers,
P
 

flyingwil

Supporting Sponsor - Sierra Expeditions
You should be able to go to the Auto Paint store and buy similar screws to the ones lowenbrau posted, but with a flat head... they come in a green box with white lettering... not too sure of the brand name off the top of my head.

I'll look at my box when I get home and let you know who makes them, they are metal on metal self tapping screws, with the tip of the screw base the same (like the 10mm and 12mm on the taco's)... no pre-drilling required.
 

p1michaud

Expedition Leader
Screws.

flyingwil said:
You should be able to go to the Auto Paint store and buy similar screws to the ones lowenbrau posted, but with a flat head... they come in a green box with white lettering... not too sure of the brand name off the top of my head.

I'll look at my box when I get home and let you know who makes them, they are metal on metal self tapping screws, with the tip of the screw base the same (like the 10mm and 12mm on the taco's)... no pre-drilling required.

Excellent, post up a picture of the box or the brand if you can. :sombrero:
 

Willman

Active member
looking great P!!!

I too am getting ready to mount my RTT on my trailer.....Just got done moving into a much larger basecamp!

Can't wait to see the final setup on the RTT you got!

;)
 

argonzero

New member
Can't wait to see how your platform turns out. Have you figured out how you are going to get to items in your truck bed under the tent?
 

p1michaud

Expedition Leader
Platform ideas.

argonzero said:
Can't wait to see how your platform turns out. Have you figured out how you are going to get to items in your truck bed under the tent?

I'm still deciding what to do with the platform (i.e. hinged vs. solid). I don't have my tool box yet so I'm in a holding pattern untill then.

Cheers,
P
 

p1michaud

Expedition Leader
G.E.A.R. seat cover

A little while back I picked up some cool GEAR seat covers but never got arround to taking pictures.

IMG_0404.jpg


IMG_0403.jpg


They fit relatively well, not perfect but they work. Many storage configurations/options. I like them.

Cheers,
P
 

p1michaud

Expedition Leader
Yaesu FT-7800R radio installation.

Communications Upgrade!

After carful consideriation and reading here on ExPo the following components were selected:

Yaesu FT-7800R & separation kit (YSK-7800)
Larsen NMO 2/70B

Since I got a clean bill of health for the frame for Toyota I decided to install my 2m radio. No sense in doing all the work if the truck was heading to the junk pile!

The previous owner had mounted a CB to the centre console and the screw holes had always annoyed me. So, I took care of that problem:

IMG_0401.jpg


After doing some testing for a mounting location and realizing that I don't need the ash tray since I don't smoke the solution was quite evident!

Remove the ash tray and then the ash tray holder held in place by two screws.
IMG_0379.jpg


IMG_0380.jpg


Be careful when you remove the ash tray because there is a small light bulb attached. Mine never worked anyhow, but it just pull straight out.
IMG_0381.jpg


Some of the parts and pieces.
IMG_0383.jpg


To be continued...
 

p1michaud

Expedition Leader
Yaesu FT-7800R radio installation continued

I used some cardboard and made up a template for the bracket. Then I used some of the diamond plate (1/8") that was in the garage. After 10 minutes worth of cutting, drilling, deburring, bending and painting I had a cool little bracket. I also painted it, did not want to blind myself with all the shiny stuff!

IMG_0384.jpg


Next I mounted the separation kit to the bracket using the supplied hardware.
IMG_0388.jpg


Then I attached the bracked to the existing holes.
IMG_0390.jpg


IMG_0393.jpg


After a bit of time routing the wires under the centre console for a clean look this is what it looks like.
IMG_0395.jpg


To be continued...
 

p1michaud

Expedition Leader
Yaesu FT-7800R radio installation continued

One thing that I did not like was how the mic wire was sticking out towards the passenger side right in the path where a knee could bump and break it so after a bit of electrical tape and plastic cable holder thing (not sure what you call them) I was able to use a mounting screw and hold the wire away. Here is a fuzzy picture showing what I did:

IMG_0396.jpg


Next, I chose a temporary mounting location for the antenna while all the pieces for the tent mounting platform show up. I did take the time to clean and paint the shiny aluminium bed rail protectors with some DIY spray on bedliner for a clean black look as well.

IMG_0377.jpg


IMG_0378.jpg


One final shot from the driver's seat. I did angle the bracket towards the driver and up slightly for a better view of the radio. Turned out great.

IMG_0394.jpg


IMG_0400.jpg


When all this was finished, I took some time to program some local repeaters in as well as a few simplex frequencies that our club has selected for our trips. While I was playing with it, I called a friend who was on his way back from work (using the cell phone) and we chatted untill he was all the way home. Worked like a charm. We can now communicate!
Cheers :beer:,
P
 

p1michaud

Expedition Leader
Seat Covers

crolison said:
are those seat gear holders, the smittybuilt ones for wranglers?

taco looks good

Thanks! Yes they are the GEAR Seat Covers. They were made for a Jeep (not sure what model) but will fit on the Tacoma seats. Not perfect, but they work fine. Contact the good folks over at Sierra Expeditions, they can help you out.

Cheers,
P
 

argonzero

New member
p1michaud said:
A little while back I picked up some cool GEAR seat covers but never got arround to taking pictures.

IMG_0404.jpg


IMG_0403.jpg


They fit relatively well, not perfect but they work. Many storage configurations/options. I like them.

Cheers,
P

Holly Molle! ...Does anyone get that joke? LOL. I love molle gear.
 

argonzero

New member
Its funny that you mounted your ft-7800 on the ash tray, I did the exact same thing on Sunday with my 7800. I'll post up mine later.
 

p1michaud

Expedition Leader
Tent Mounting platform progress!

Finally some progress!

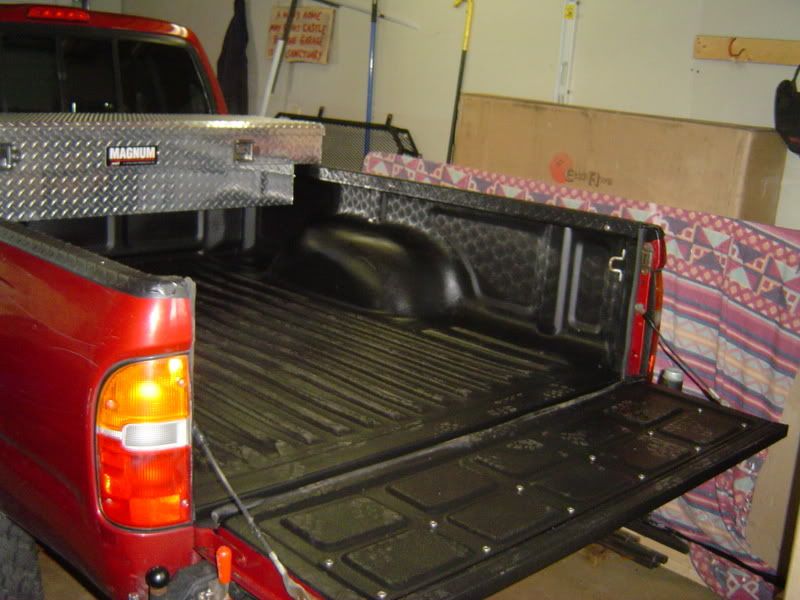
As usual, finding quality products to support our beloved hobby in Eastern Canada prooved to be a challenge. For the last month I had been in a holding patter, waiting for the tool box to come in so I took the time to clean up a few things. I had an older molded plastic type bedliner that I had never been too fond about but it came with the rig when I purchased it so I endured. The tailgate piece really bothered me because it kept warping over time and causing a "catch spot" when trying to slide things out of the bed of the truck. I had enough and took it out. I purchased some DIY spray in/roll on type Bedliner to cover the tent platform once it was built. The product I picked up was made by Duplicolor and found it at my local Canadian Tire store. After seeing the result of the aluminium bed side rails, my wife suggested that I do the box with the stuff. So I though to myself what the heck I've got way more than I need...

They key to a durable finish with these products is all in the preparation. I did the following to get ready for the bedliner:

  • wiping excessive grease/Rust Check with rags
  • used pressure washer to remove the majority of grime and dirt
  • use spray nine to wipe up and remove most of the grease
  • let it dry overnight
  • cleaned it again using the degreaser provided with the DIY kit
  • scuffed up the paint using 3M pads and sand paper.
  • wiped everything down again using Acetone

Once the surface was properly prepped, I taped and tarped everthying then went to town on application. I'm very happy with the results. A pile of work and I can now appreciate the cost of Line-X. Pictures to follow.

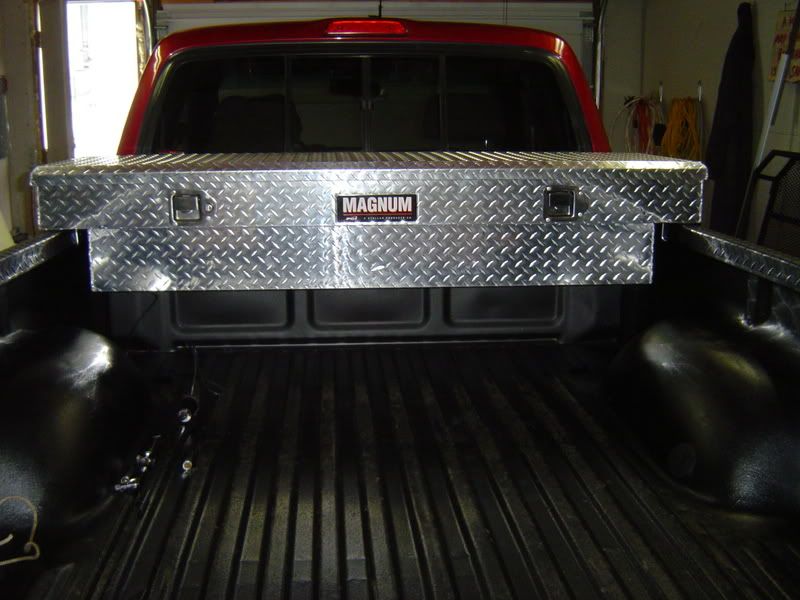
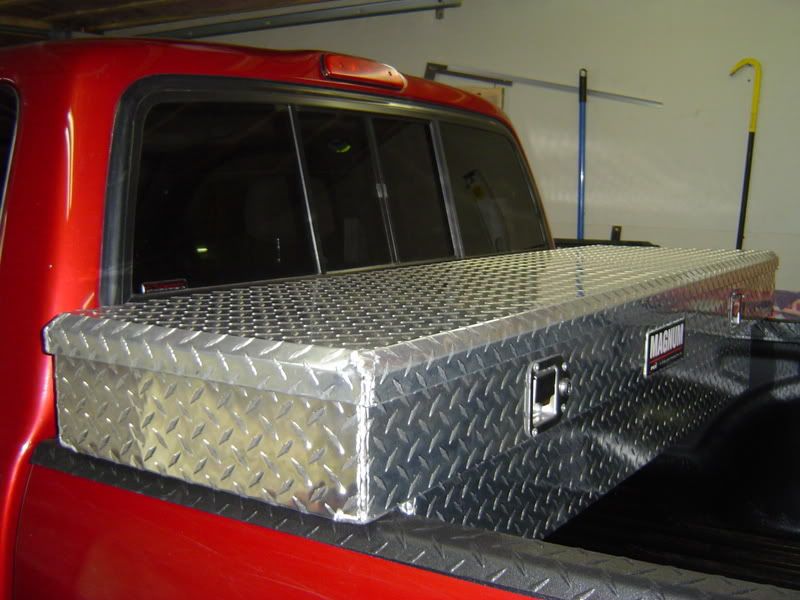
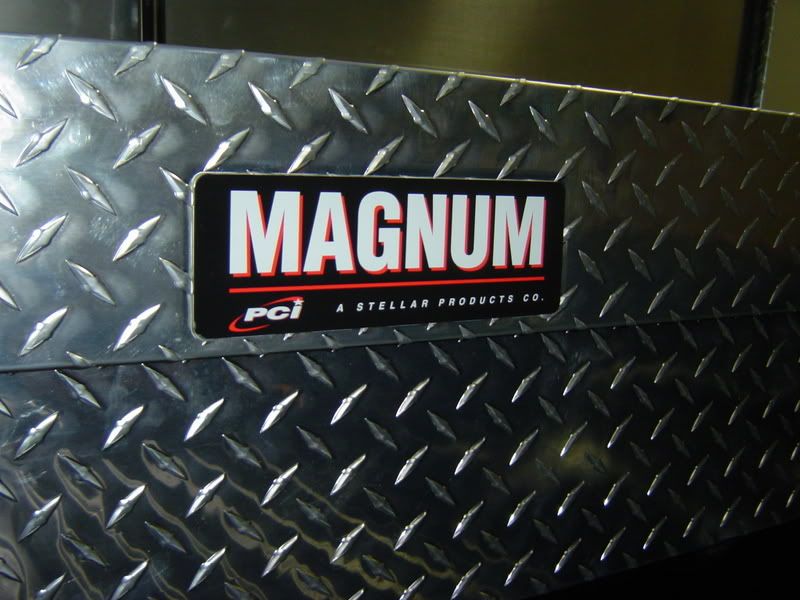
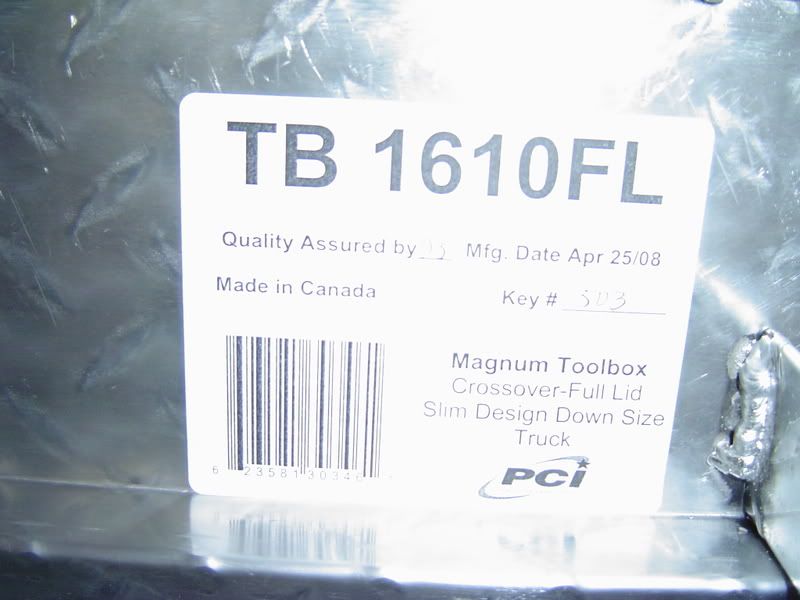
The missing piece of the puzzle was the tool box. Now after exactly one month, the aftermaket dealer still did not have the nice black box available. Every week I spoke to the owner with no luck. So like everything else with our vehicles we came to a compromize and settled for a regular aluminium box not the nice black one as originally planned. In three days, I had a quality PCI Stellar box. Fear not my chromophobic friends, it will get a treatment of DIY bedliner as well! :sombrero:

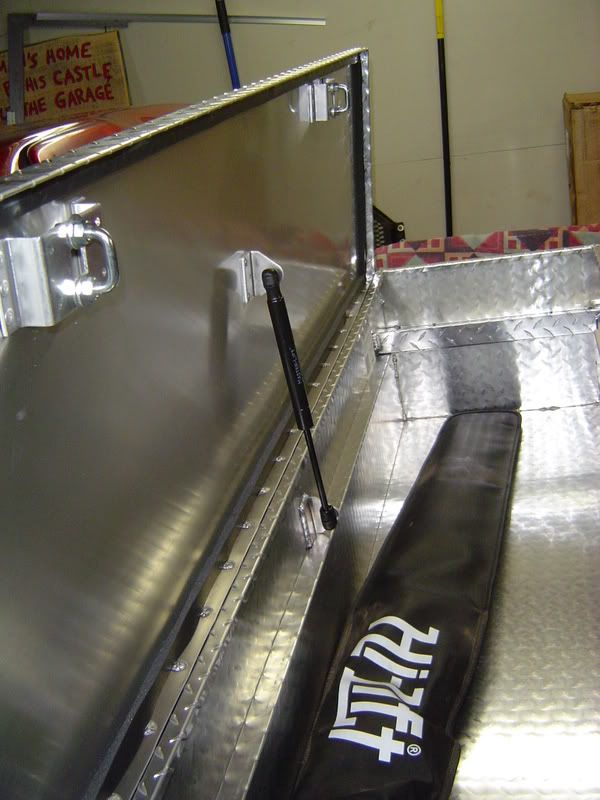
The box has arrived!
DSC04816.jpg


DSC04817.jpg


DSC04818.jpg


DSC04821.jpg


DSC04823.jpg


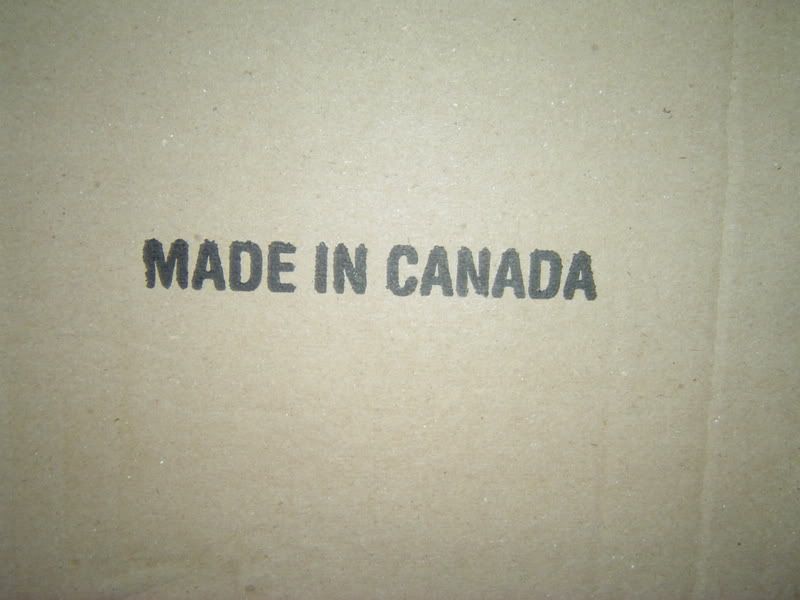
Where possible I try and avoid made in China so this made my day.
DSC04822.jpg


The High-Lift fits nicely inside. Temporary solution as this time.
DSC04820.jpg


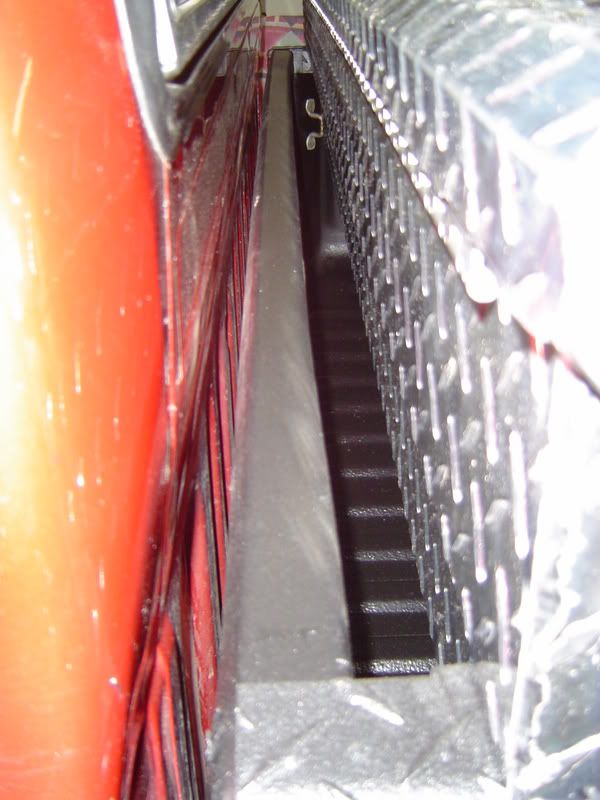
A small gap that will be closed/sealed up using some of diamond plate aluminium sheet left over pieces.

DSC04819.jpg


Now, when I get some time off from work I can prgress with building the platform a la Expeditions West! :sombrero:

Cheers,
P
 

Forum statistics

Threads
188,026
Messages
2,901,335
Members
229,411
Latest member
IvaBru
Top