The cosmetic cleanup of OverlandXJ

RgrBox

Adventurer
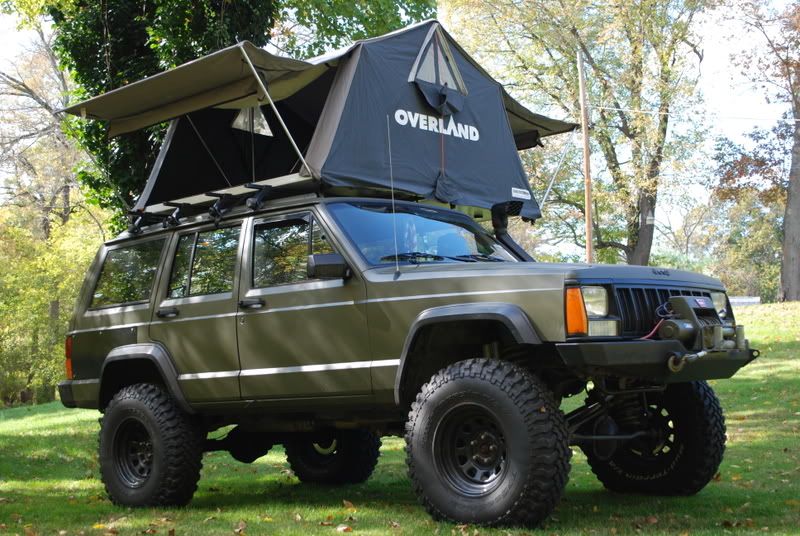
Man that's a great job you did there.. That color is a dream color.. I love all things Military in color.. and OD is one of the best.. the job you did on the interior is perfect.. I have a friend who works at a bank " I know ".. who has re done all of his chairs in DPM Camo for his office.. looks too kool.

Anyway, hope your dad is doing better, and keep up the great work.

RB
 

Ol Yeller

New member
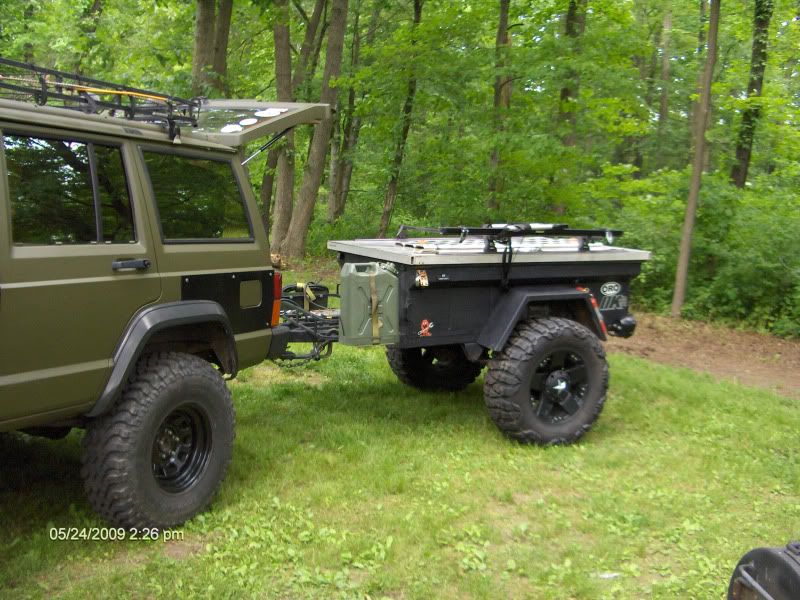
I have NAXJA's NAC-Fest event in 2 weeks so a bud loaned me his M416 since my project is so far behind. I'll mount the RTT on it this weekend and see how i like the RTT/Trailer combo. I have a feeling i'll be itching to get my project rolling as i dont like dealing with the RTT on a taller rig.

Erik4162.jpg
Just curious, but why do you not like the RTT/trailer setup? I plan to do that with my M416. I know a few people have ran that setup, but I've never talked to them to see the pro's and con's. To me it makes perfect sense to mount the RTT on the trailer vs. the vehicle. That way you're not having to run around with the added weight on you Jeep. Particularly if you're wheeling.
 

StumpXJ

SE Expedition Society
Re-read it, he is saying he does NOT like it on his vehicle. Thats why he borrowed the 416, so he can mount his RTT to it, and see if he likes it better than on the top of the XJ.

I totally agree with both of you, I cant wait to get my RTT on a trailer, it will make life much easier.

John, did you figure out the window prop problem? Are you in SC now or? when are you heading back?


~James
 

OverlandZJ

Expedition Leader
The RTT on top of my rig would be fine if i was able to just sit in camp for the duration, but i find i dont sit still very often lately. It's a bit of a pain to remove and reinstall the cover standing on my bumper and tire.... getting back down with a bad back and knee has it's issues as well.

Not to mention the event i speak of is wheeling in an offroad park, i'd hate to hit a limb or damage the RTT in another way.

James, i fly back down on the 16th just after NAC-Fest. Bringing my parents and their Camper up to Pa for a few months. Then i'll take them back.

Off to pick up my RTT... :smiley_drive:
 

FourByLand

Expedition Leader
John,

Sorry to read about your father, how is he recovering? This thing has come together quite nicely.

Looking forward to seeing your trailer set-up!

DSC_1503.jpg
 

OverlandZJ

Expedition Leader
John,

Sorry to read about your father, how is he recovering? This thing has come together quite nicely.

Looking forward to seeing your trailer set-up!


He's coming around, albeit slowly. Still a lengthy road ahead, thanks for asking Louis.

I thought seriously of painting the Jeep a close copy of your color, but in the end i didnt want to worry about the care of it. Toss a hose and soap at mine and it's done.

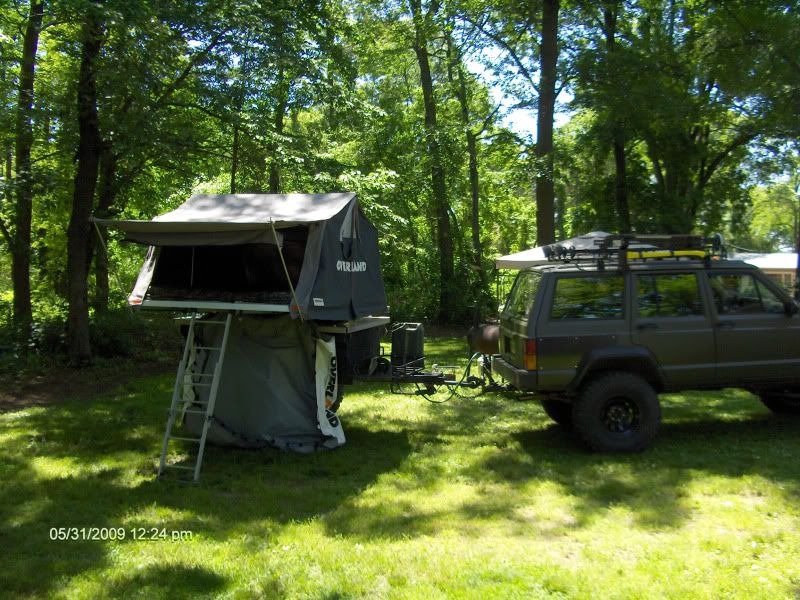
RTT is on, and what an improvement in ease of setup. Something to be said for being able to reach everything at chest height. Raised the pintle mount up and leveled it off a bit more, towed like a dream as well.


RTTw416.jpg
 

FourByLand

Expedition Leader
Glad to hear it.

I think you made a great decision on color choice, looks like a Jeep should IMO!

Thanks for the pic!
 

Capt.Crunch

New member
I've seen your threads on other forums and actually followed it to this forum, which in case I'd like to say thank you. haha Anyway, this is one of the greatest jeeps I've ever seen. It gives me as a 17 year old alot of inspiration! Great work.
 

OverlandZJ

Expedition Leader
Thank you for the compliment, and welcome to Expo.

I'm running a HP D30 front axle, and an XJ D44 rear. Both with 4:56 gearing and disc brakes. Lockrite in the rear, and removed the Lockrite up front and sold it.
 

AlabamaDan

New member
...
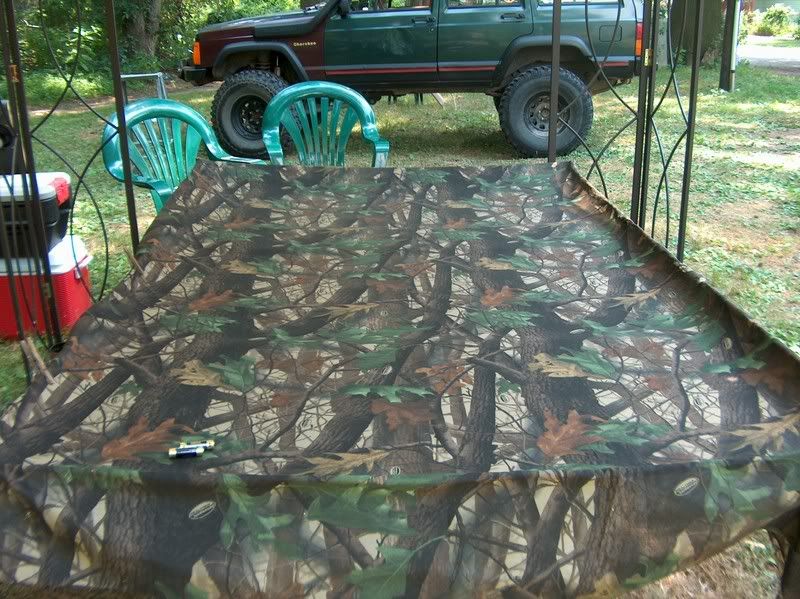
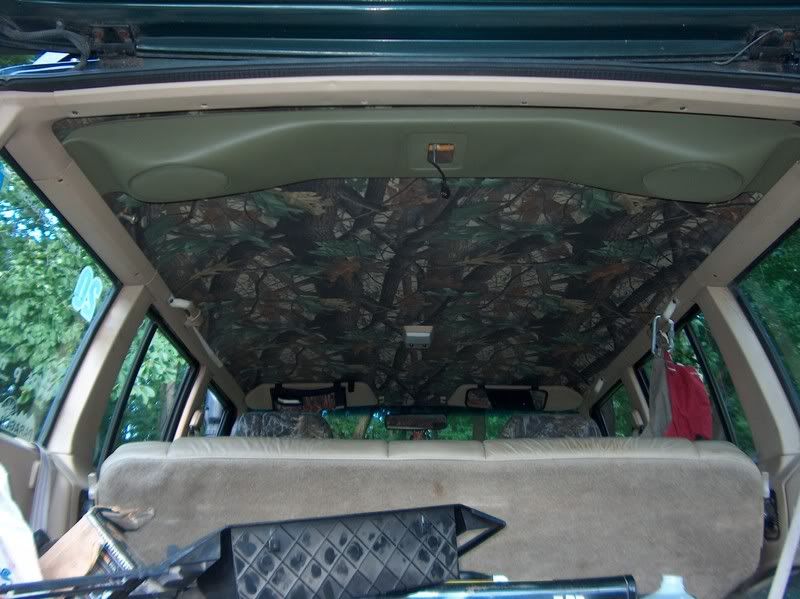
Now i had a base to match the camo interior on. I then ordered some material off
ebay that closely matched the seats and redid my headliner.

camoheadliner001.jpg


updatedZJ004.jpg


I wasnt happy with the soundbar being painted OD, so today i also covered that
in the same camo material, the sunvisors are next. Pics of these when installed.

I've commented before how cool your XJ is and it still is. I'd like to hear more about your headliner, sunvisor and soundbar install. I need to do all the same things. Maybe you could spin off a different thread on it. Either here or NAXJA.
 

RgrBox

Adventurer
Wow!

I love that...

I need some seat covers.. I got a English Setter puppy, and he likes to get dirty..
 

OverlandZJ

Expedition Leader
I've commented before how cool your XJ is and it still is. I'd like to hear more about your headliner, sunvisor and soundbar install. I need to do all the same things. Maybe you could spin off a different thread on it. Either here or NAXJA.


Heres my NAXJA thread..

http://www.naxja.org/forum/showthread.php?t=942417


What do you need, a detailed how to? I still need to finish one sunvisor, could take pics of that... if i can remember to.

EDIT: Dan, heres a little something i typed up for someone doing their headliner awhile back. Hope this helps. The soundbar is basically the same.. just make sure any cut/folded over material overlaps towards the rear of the vehicle so it's less likely to be seen. This may not be an issue with padded material however.


OK, once the headliner is out of the vehicle pull the old material off it. A set of sawhorses and a sheet of plywood make a good work table. A hand holding the headliner is highly recommended as well.

Then you need something to remove all the old foam, i have used a hand brush and vacuum brush attachments with good results. You want to get all that stuff off so you have a clean solid surface to glue the new material down.

Once it's nice and clean lay the new material over the headliner. Position it so you keep your maximum leftover material. You want the material to just overlap on all edges, the rest will be trimmed. Apply something to clamp one end of the material down with... clothes pins worked well for me.

A second hand from here really helps.

Fold back the new material exposing half the headliner... this is where you spray the glue. Practice laying the material back down a few times working from the center out.. trick is to position it the first time so you wont have to try and lift it once it's embedded in glue. Once you feel confident your ready.

Before ya start spraying adhesive a few points..

The adhesive comes out almost like a silly string when nozzle is correctly adjusted, i like the med setting. Watch your overspray as you wont get it off any material you accidentally hit. I like to do this outside as i dont have to worry about floors etc. The temps your working in will affect the setup time of the adhesive. You want it nice and tacky when you lay the material, not WET... you'll see what i'm talking about.


Once you feel ready again fold back the material half way back and make a nice crease. Spray the adhesive on the headliner and material, wait a few minutes letting it tack up, then hit it again, then do it a third time. You want to be liberal with adhesive, not drench it each coat. Then with your assistant slowly lay the material to the headliner working from the center out and to the outside edges. Go slow here and you'll avoid most wrinkles. If your laying it down and feel wet glue coming through stop and let it tack a bit more.

Once you get this far you have the skills. Just repeat for other side. Let it dry nice for a few hours or overnight. Then trim your excess around the edges. Flip it over and take a razor knife to the holes for sunvisors, overhead lights etc.

Remember, take pics along each step.. maybe a third person can snap these. This way you can do a nice writeup for others wanting to do this as well.

Good luck, it's easier than it sounds bud. Take your time and you'll be happy with the results.
 
Last edited:

OverlandZJ

Expedition Leader
Wow!

I love that...

I need some seat covers.. I got a English Setter puppy, and he likes to get dirty..

www.seatcovers.net

These are wearing like iron.


My apologies for lack of updates, being unemployed the funds divert to the mortgage and childrens needs first. I have aquired a few items which i will update later when i get the associated parts for installation.

I'd like to publically thank StumpXJ for his generosity in providing me with a power inverter i was in need of. I owe you bud.
 
Last edited:

Forum statistics

Threads
187,898
Messages
2,899,718
Members
229,072
Latest member
fireofficer001
Top