Blackdawg
Dr. Frankenstein
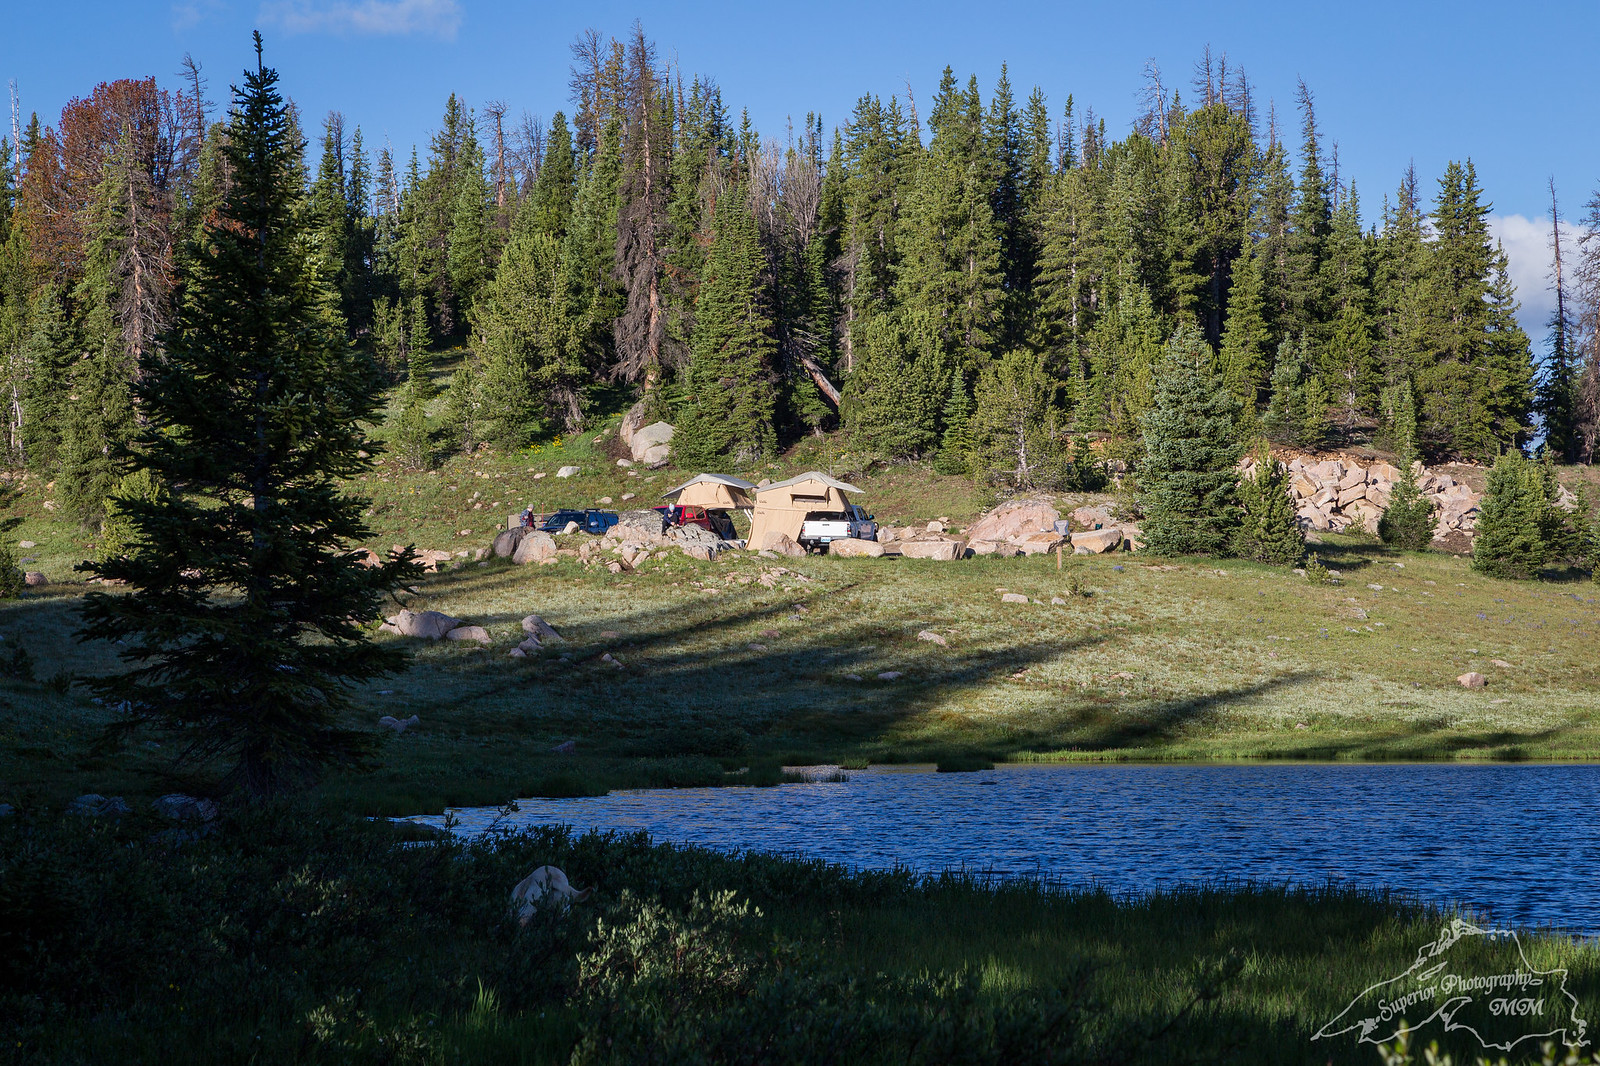
We got a bit of rain that night but only lasted about 30 mins and a few big lighting strikes. After steak and potatoes for dinner we went to bed.
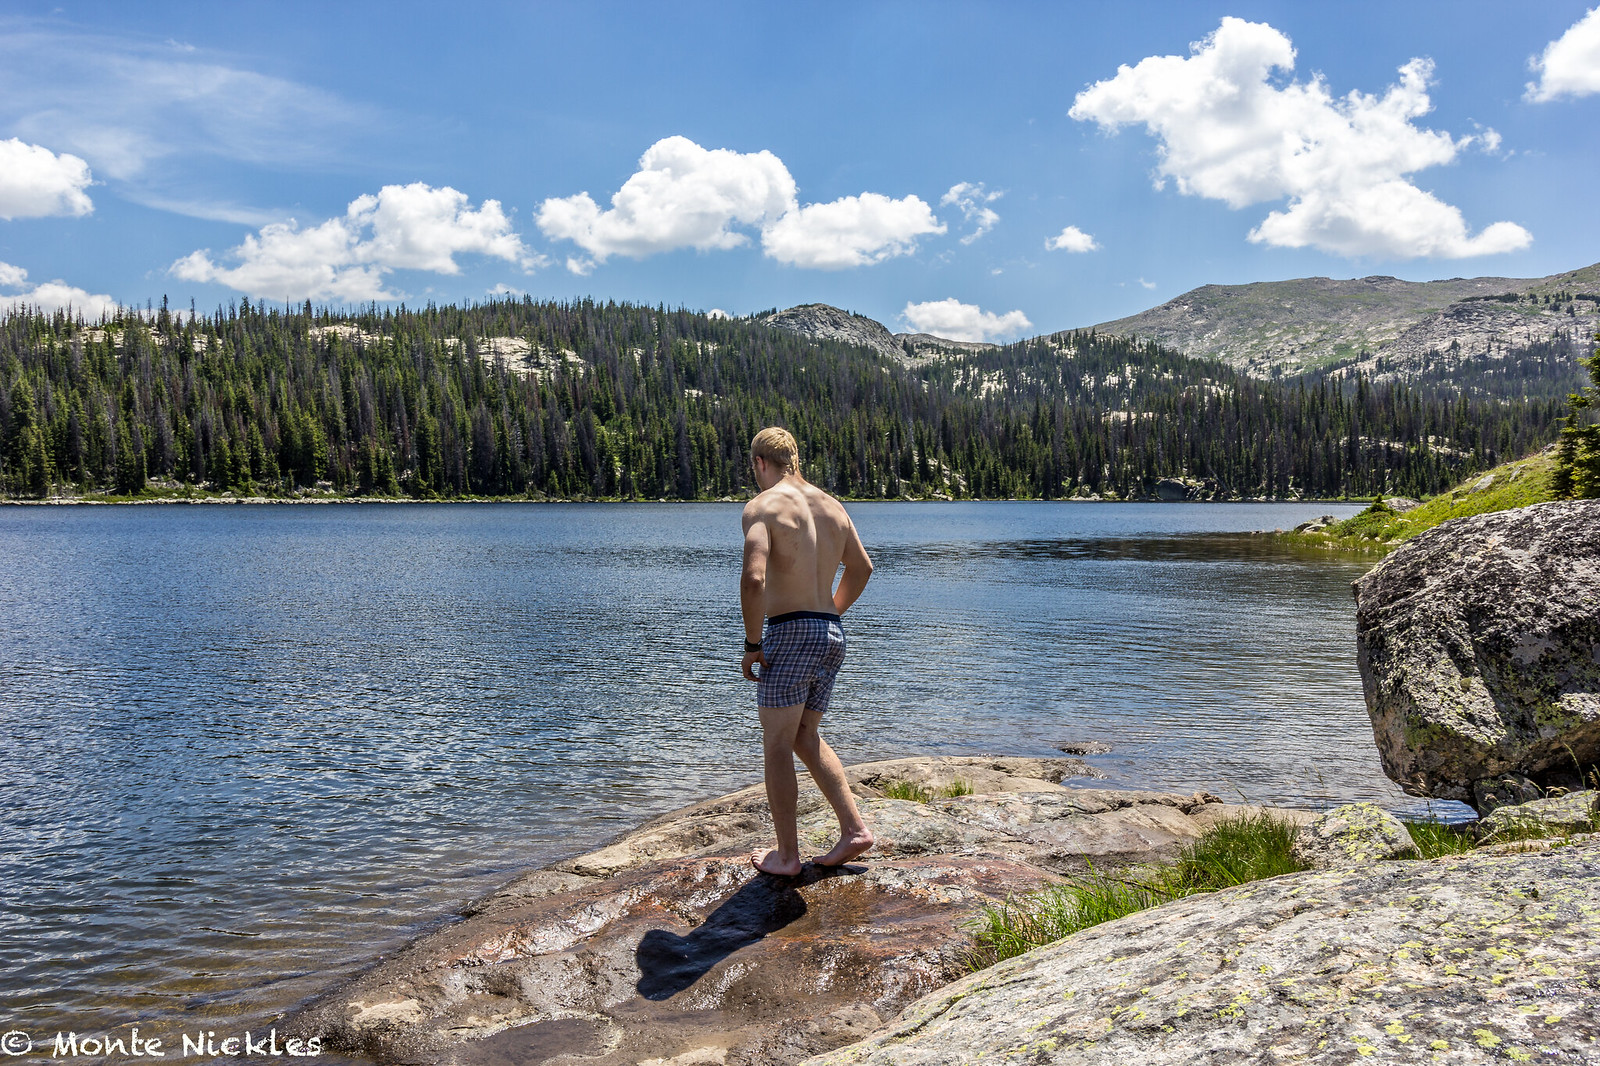
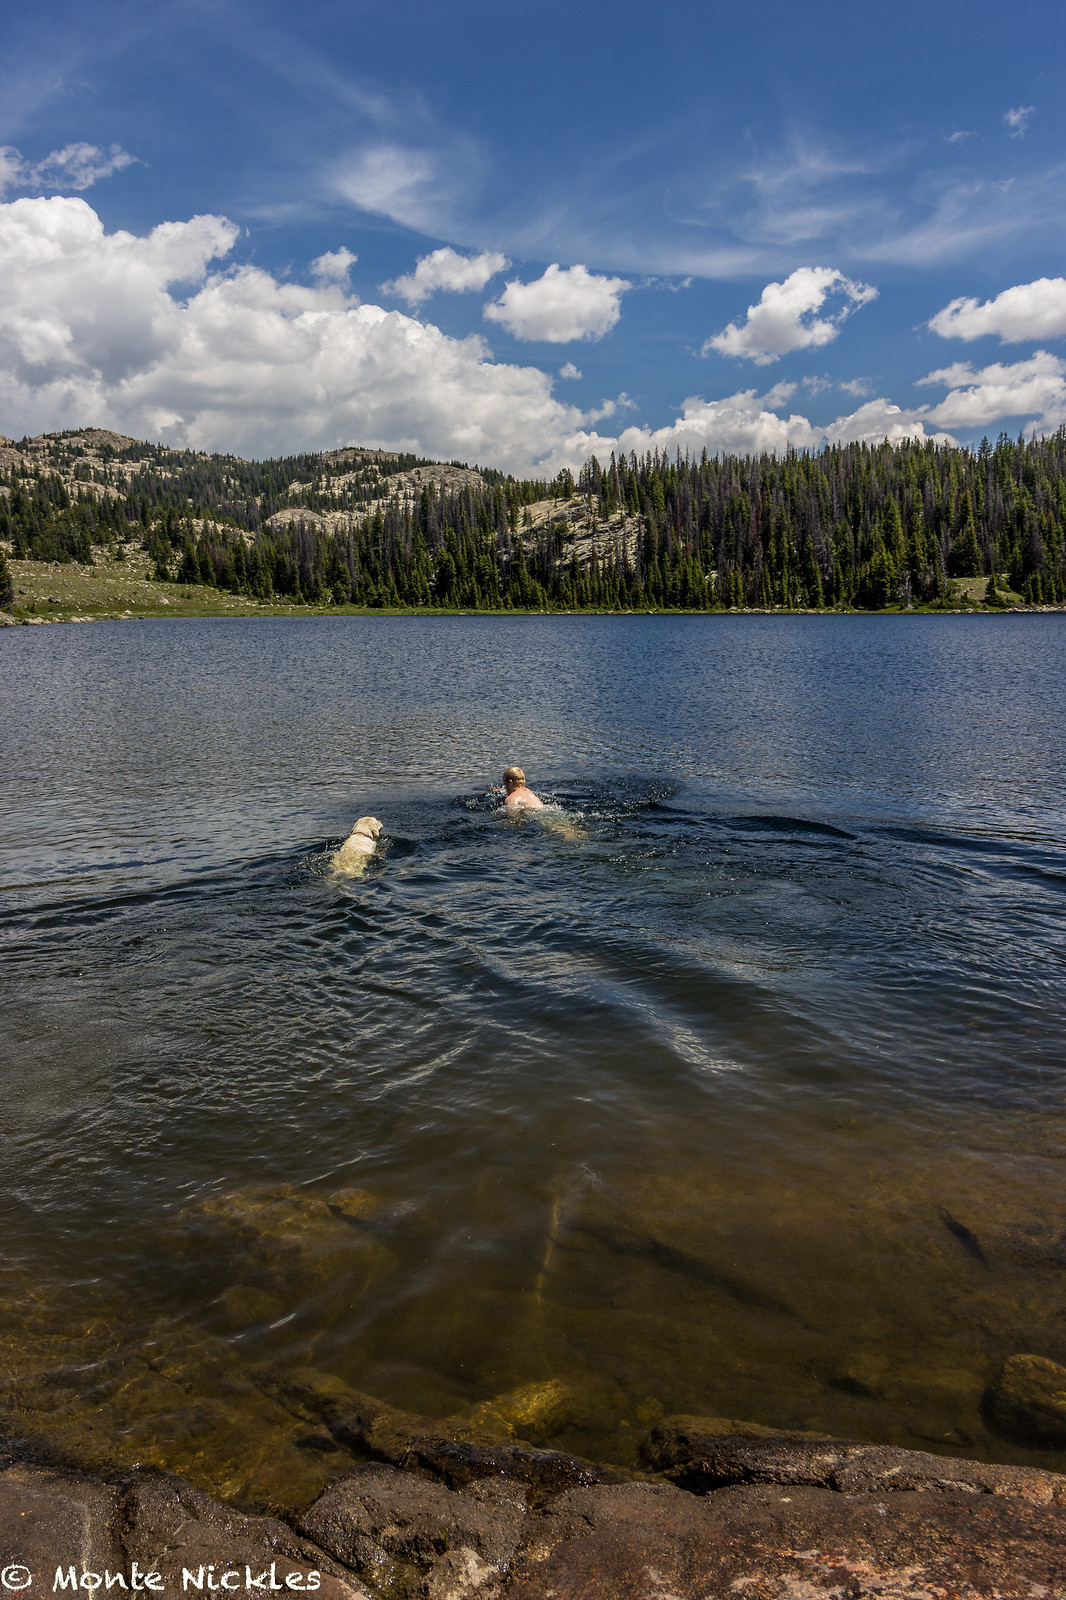
The next morning i got up and my dad was out trying to fish the stream and my brother decided to go for a swim.
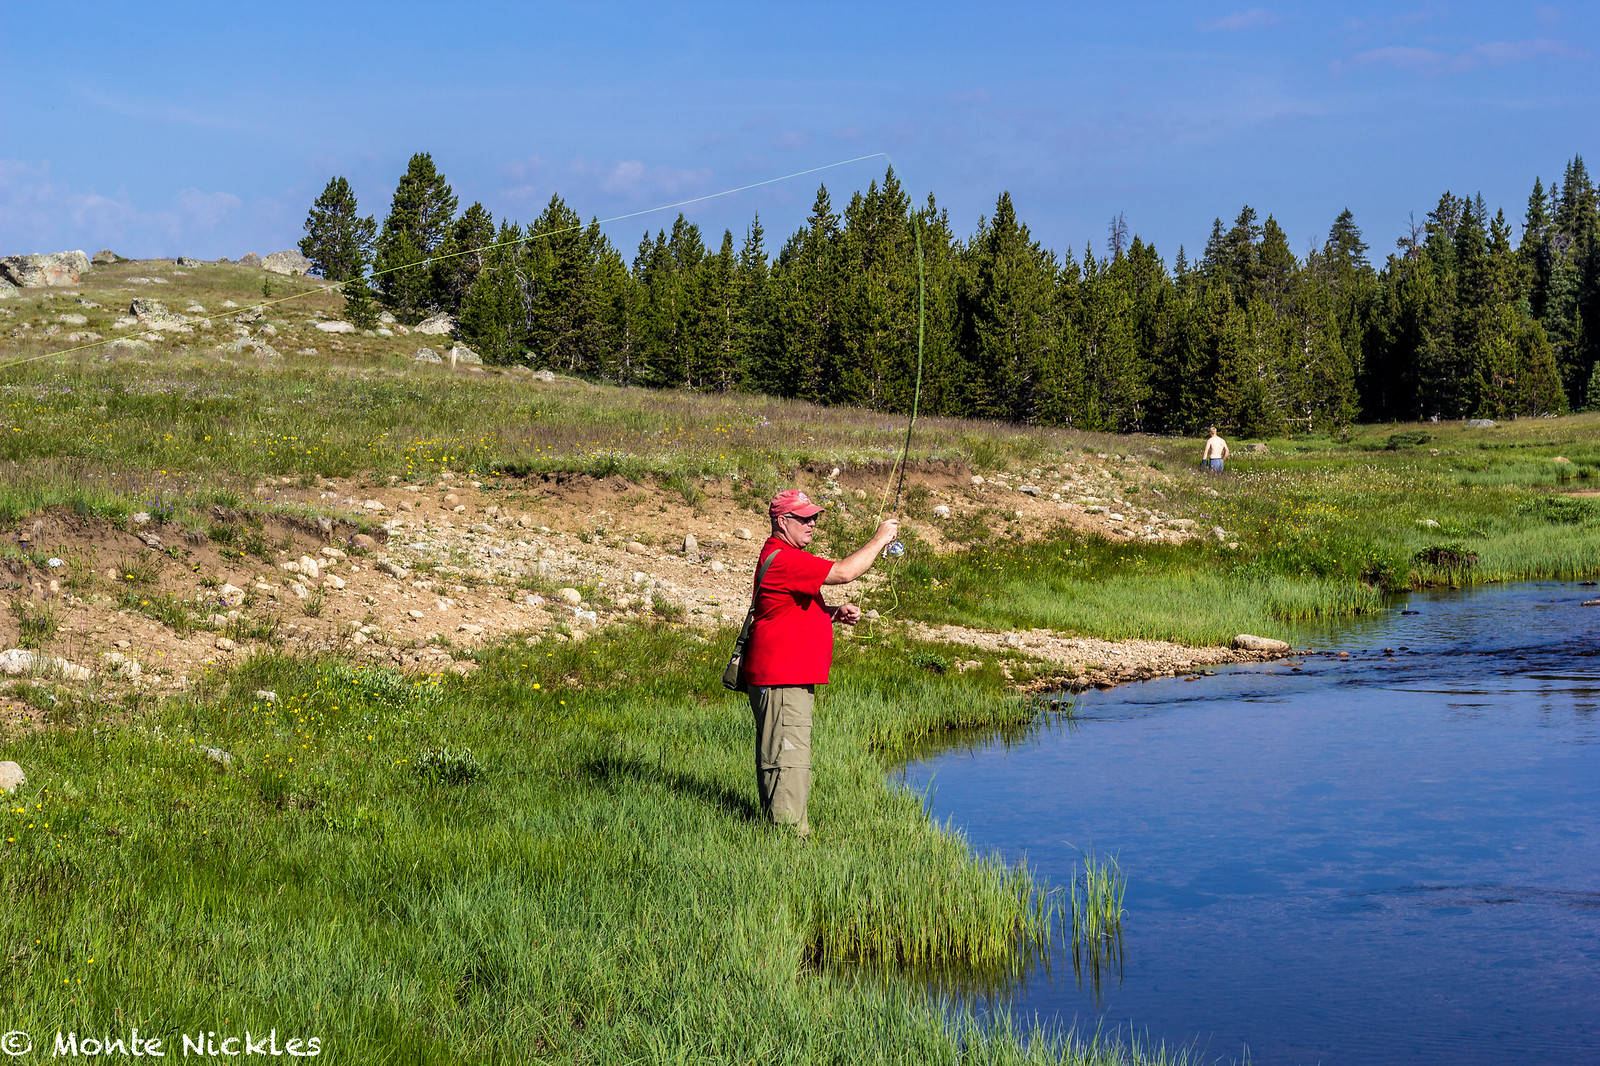 Family 4th Camping-45.jpg by Monte Nickles Photos, on Flickr
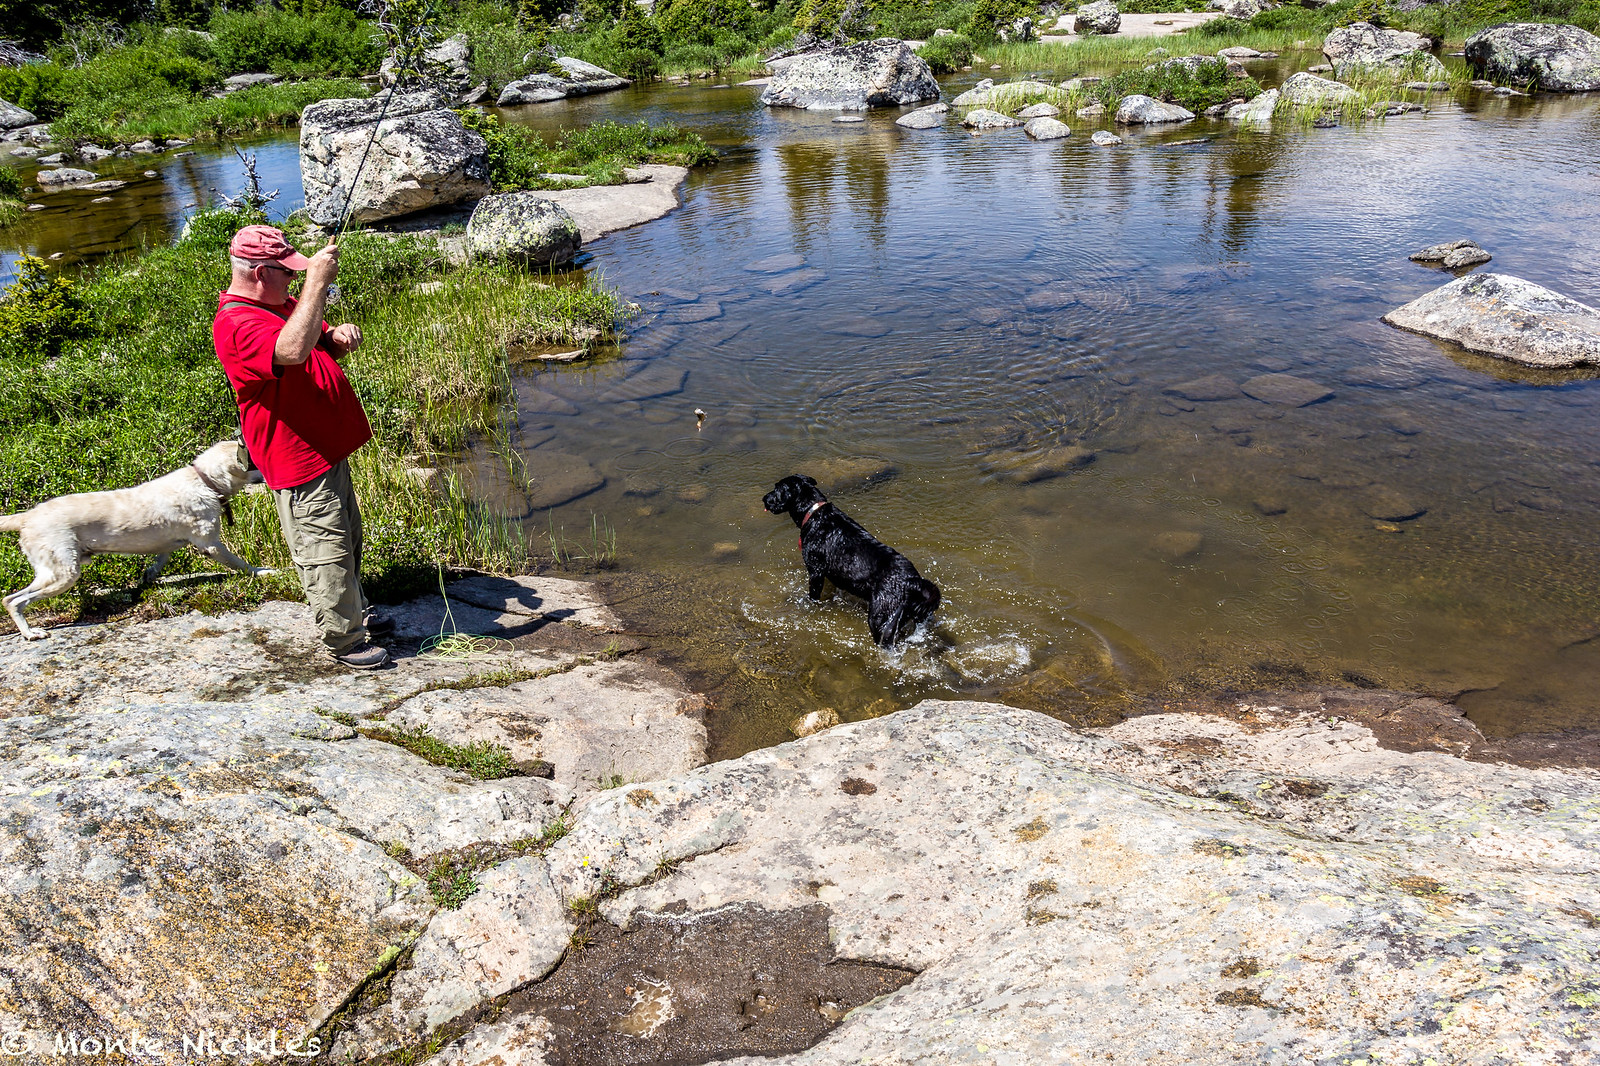
and i mean trying to fish because these two yahoos weren't helping..haha
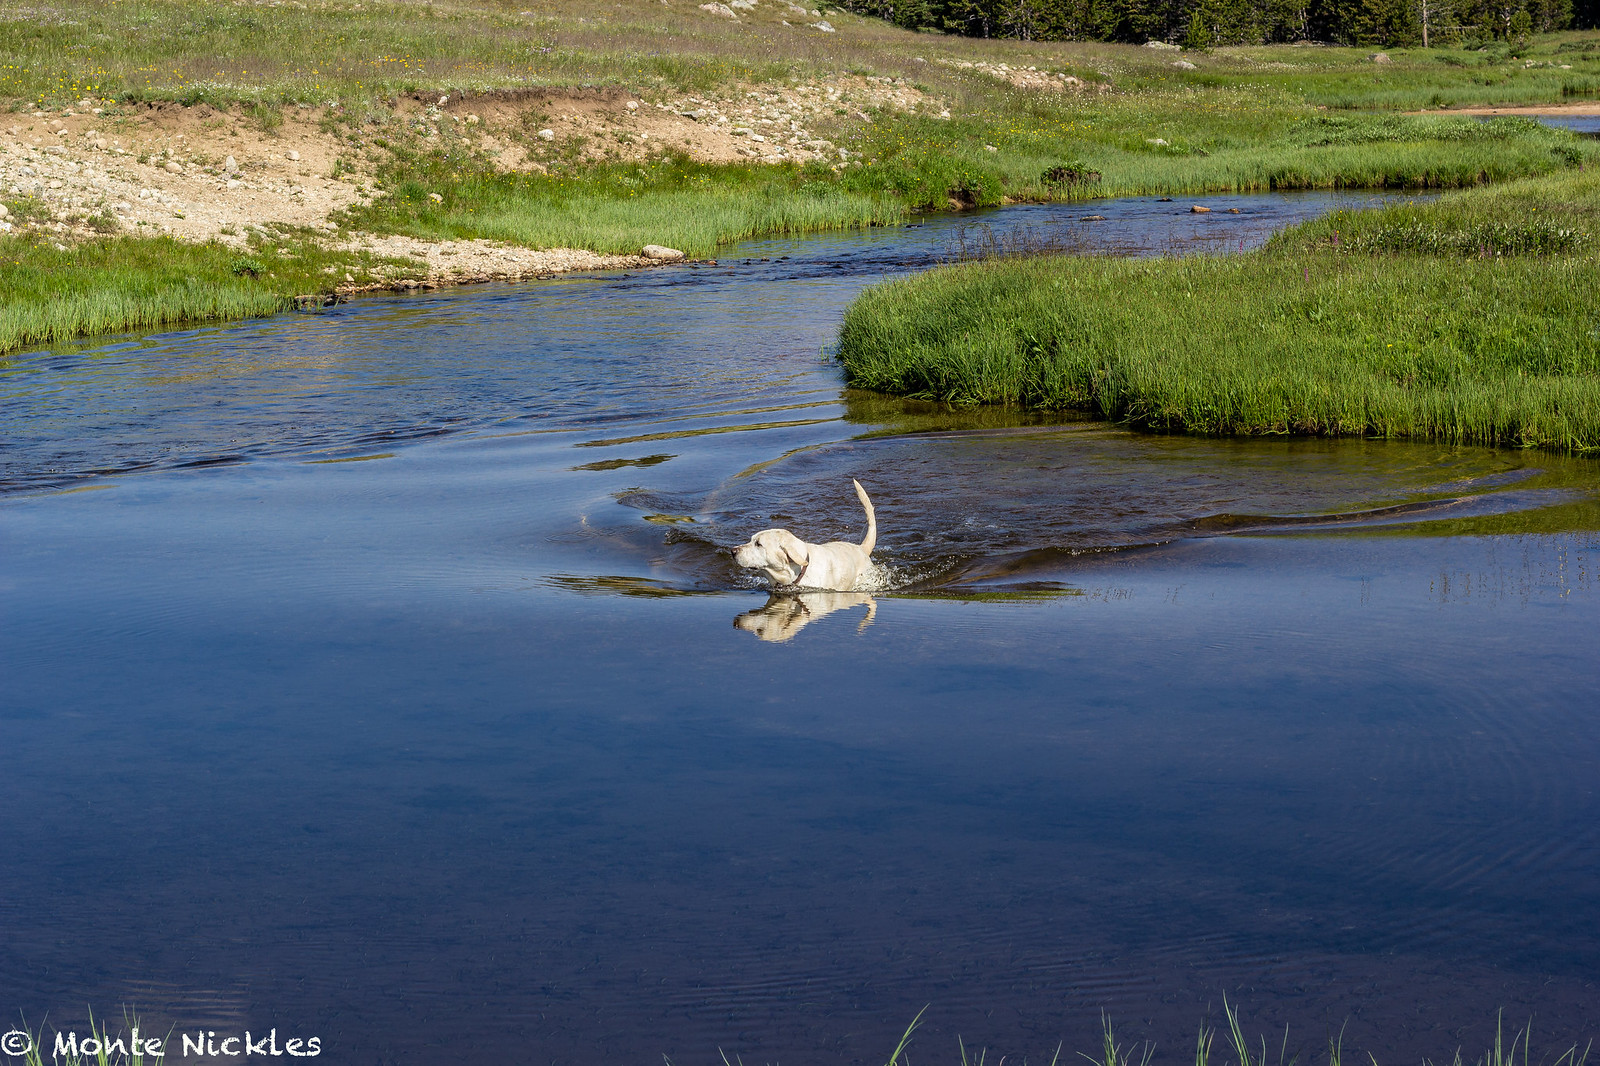 Family 4th Camping-46.jpg by Monte Nickles Photos, on Flickr
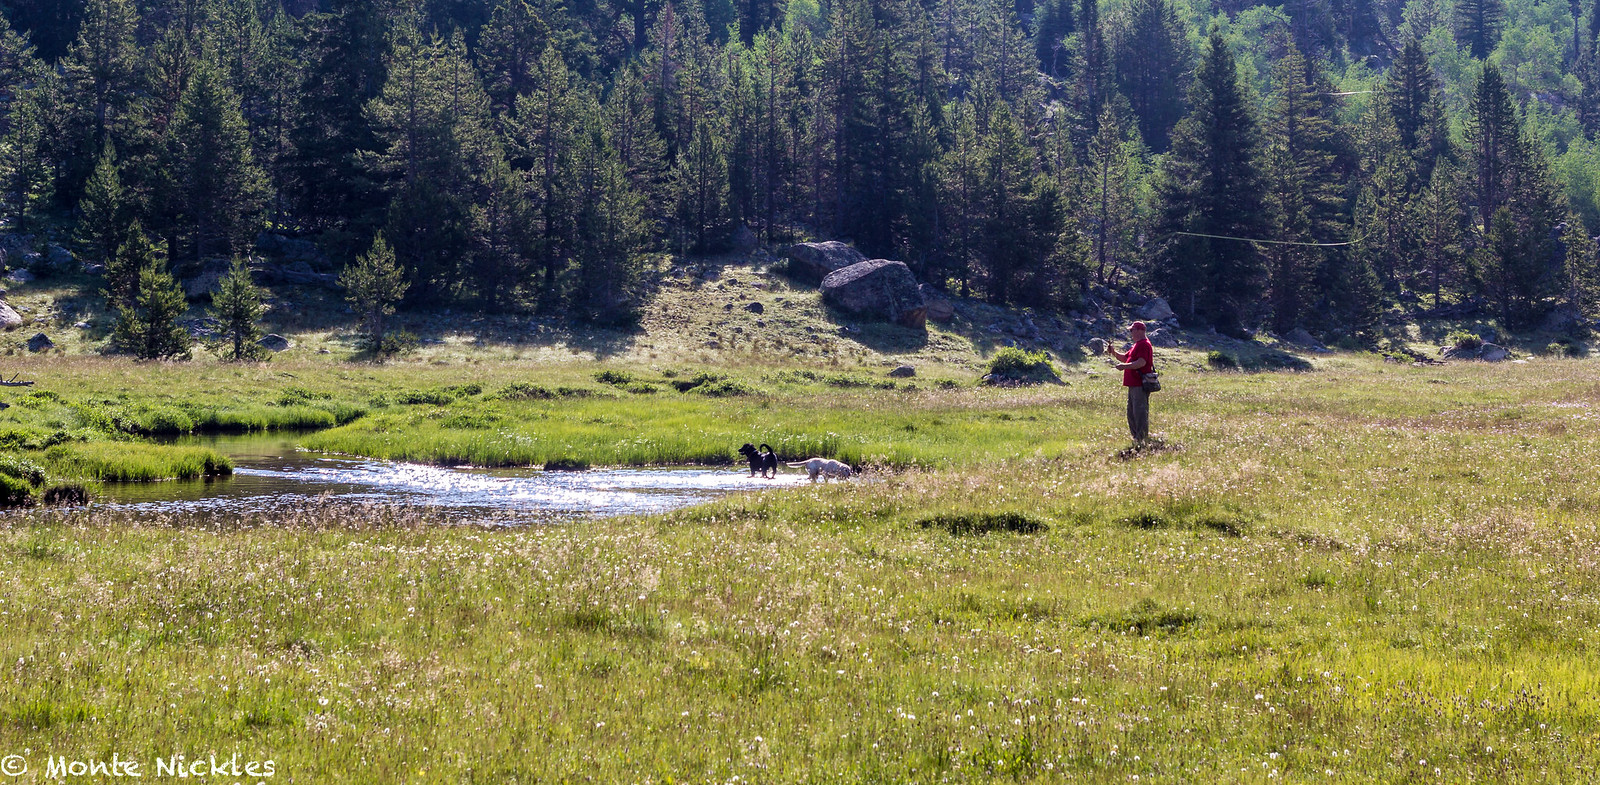 Family 4th Camping-48.jpg by Monte Nickles Photos, on Flickr
Was a nice morning though. Save for the extremely thick bugs.
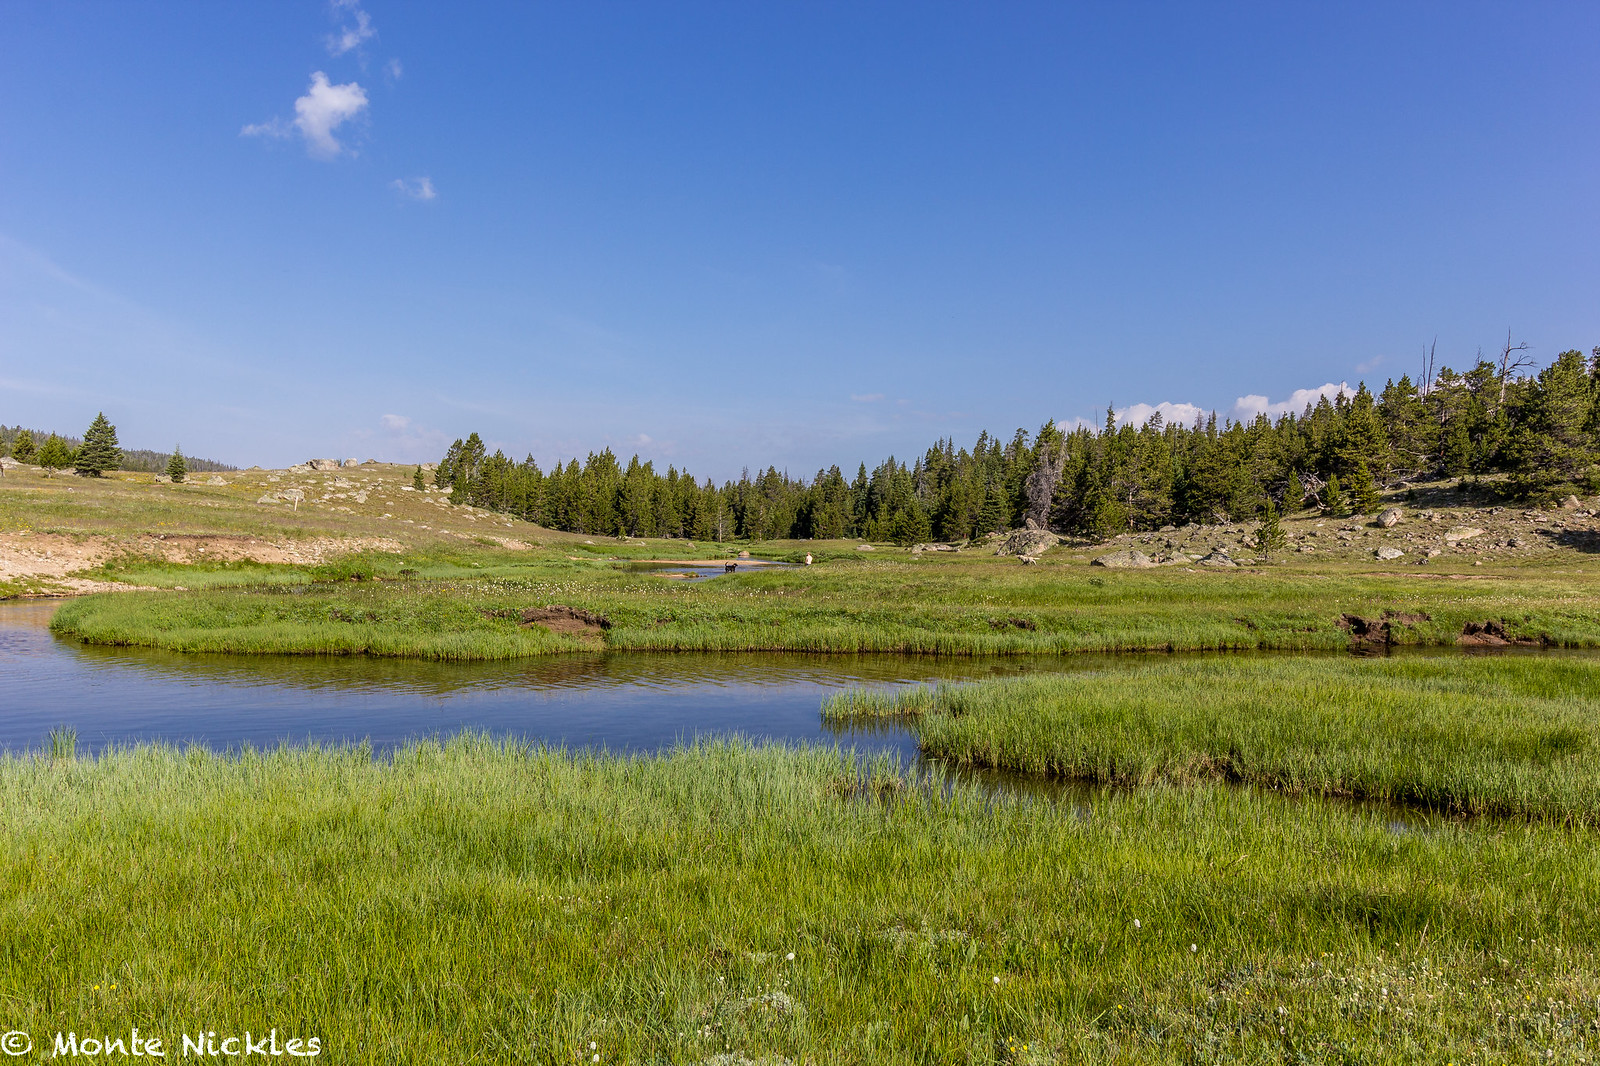 Family 4th Camping-47.jpg by Monte Nickles Photos, on Flickr
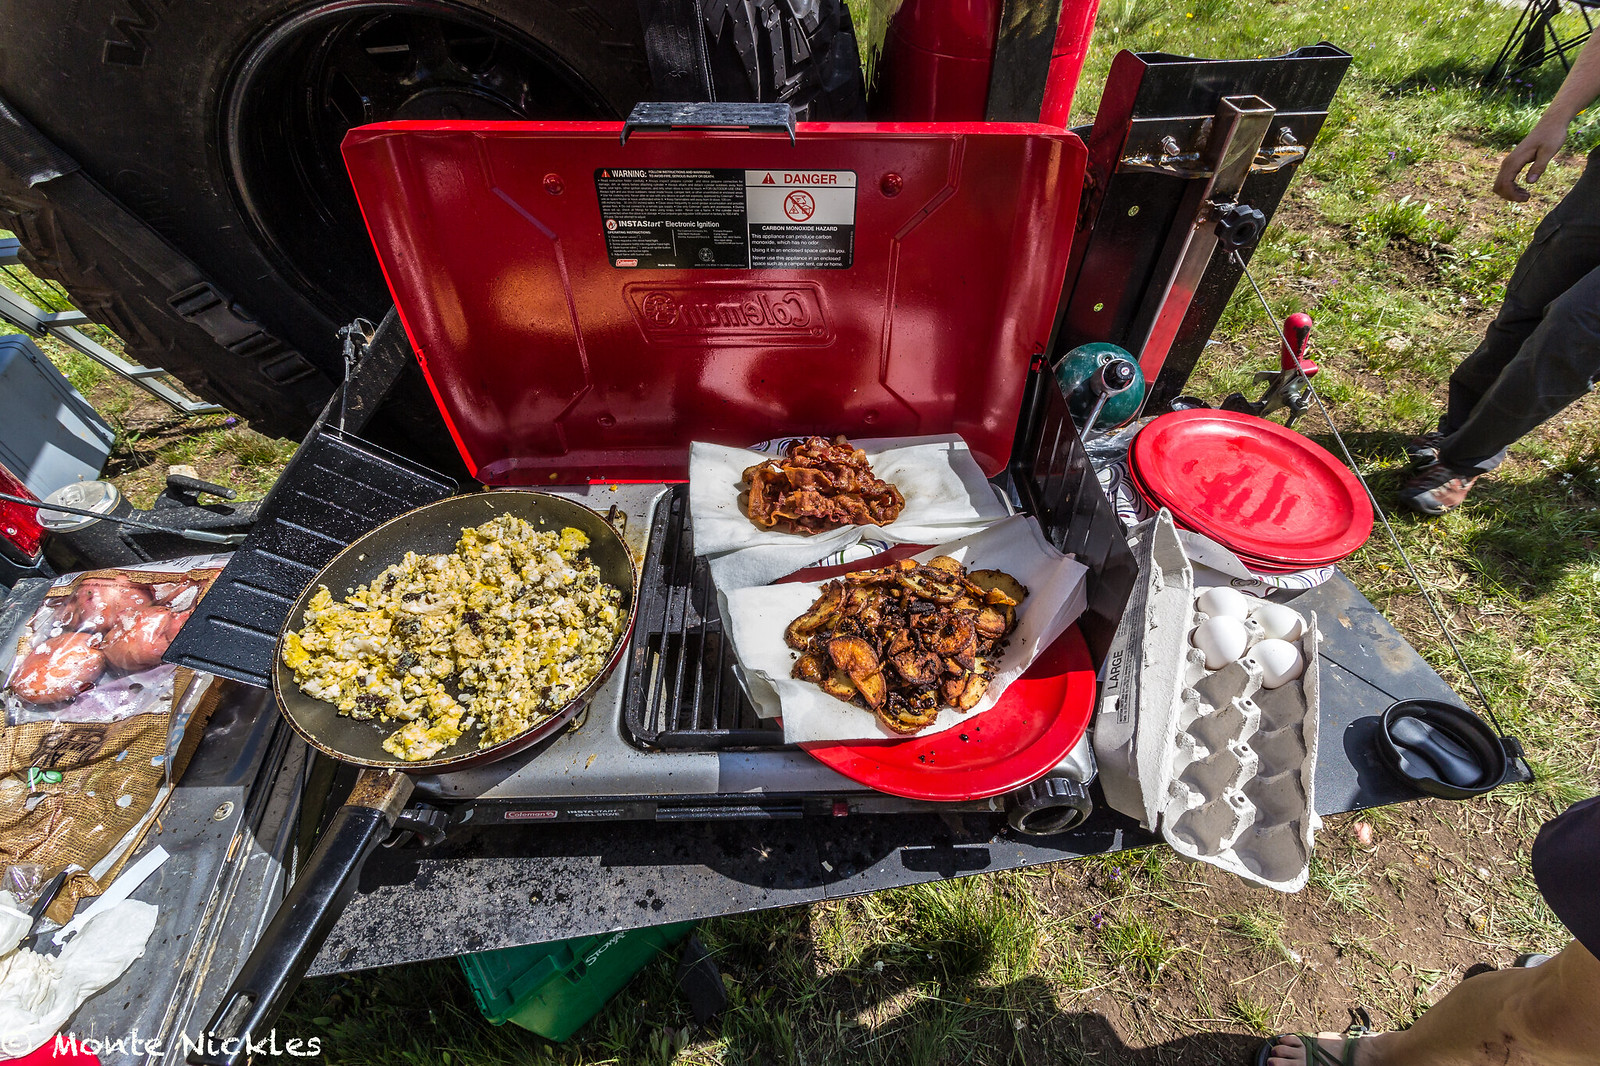
We retreated to camp for bug dope and started breakfast. I ended up cooking most of it. But damn it was good. Bacon and left over potatoes and steak with eggs all cooked in the bacon grease. Yum.
 Family 4th Camping-49.jpg by Monte Nickles Photos, on Flickr
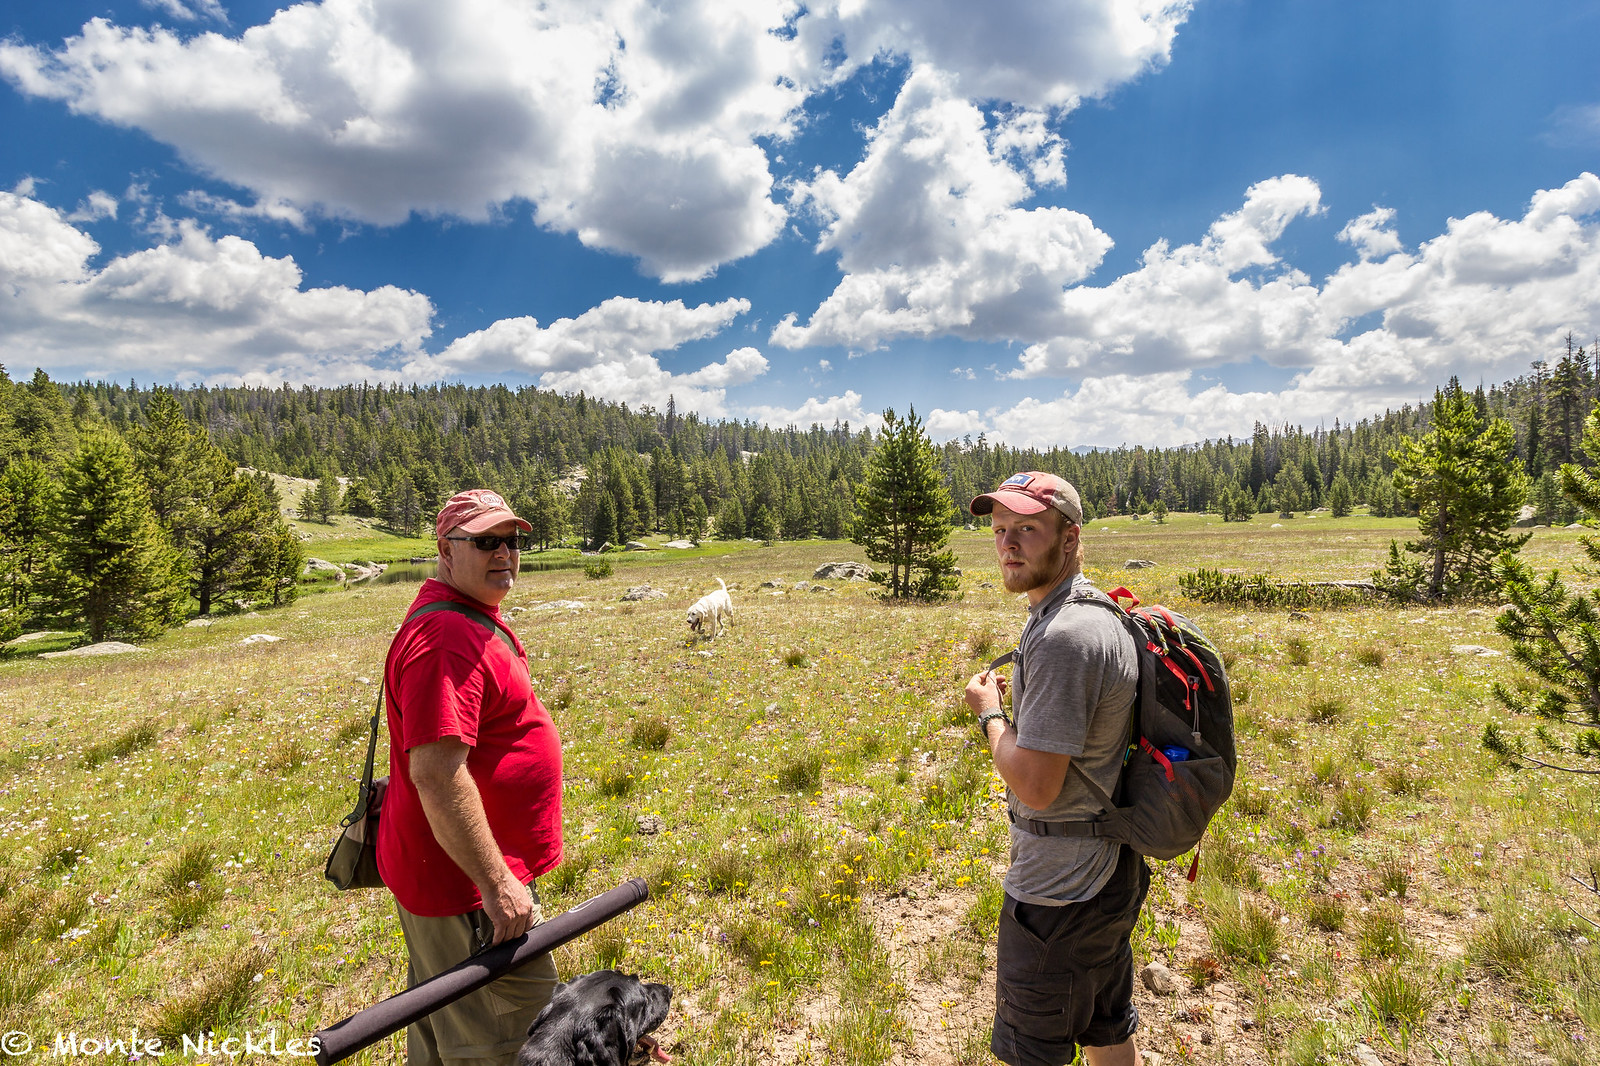
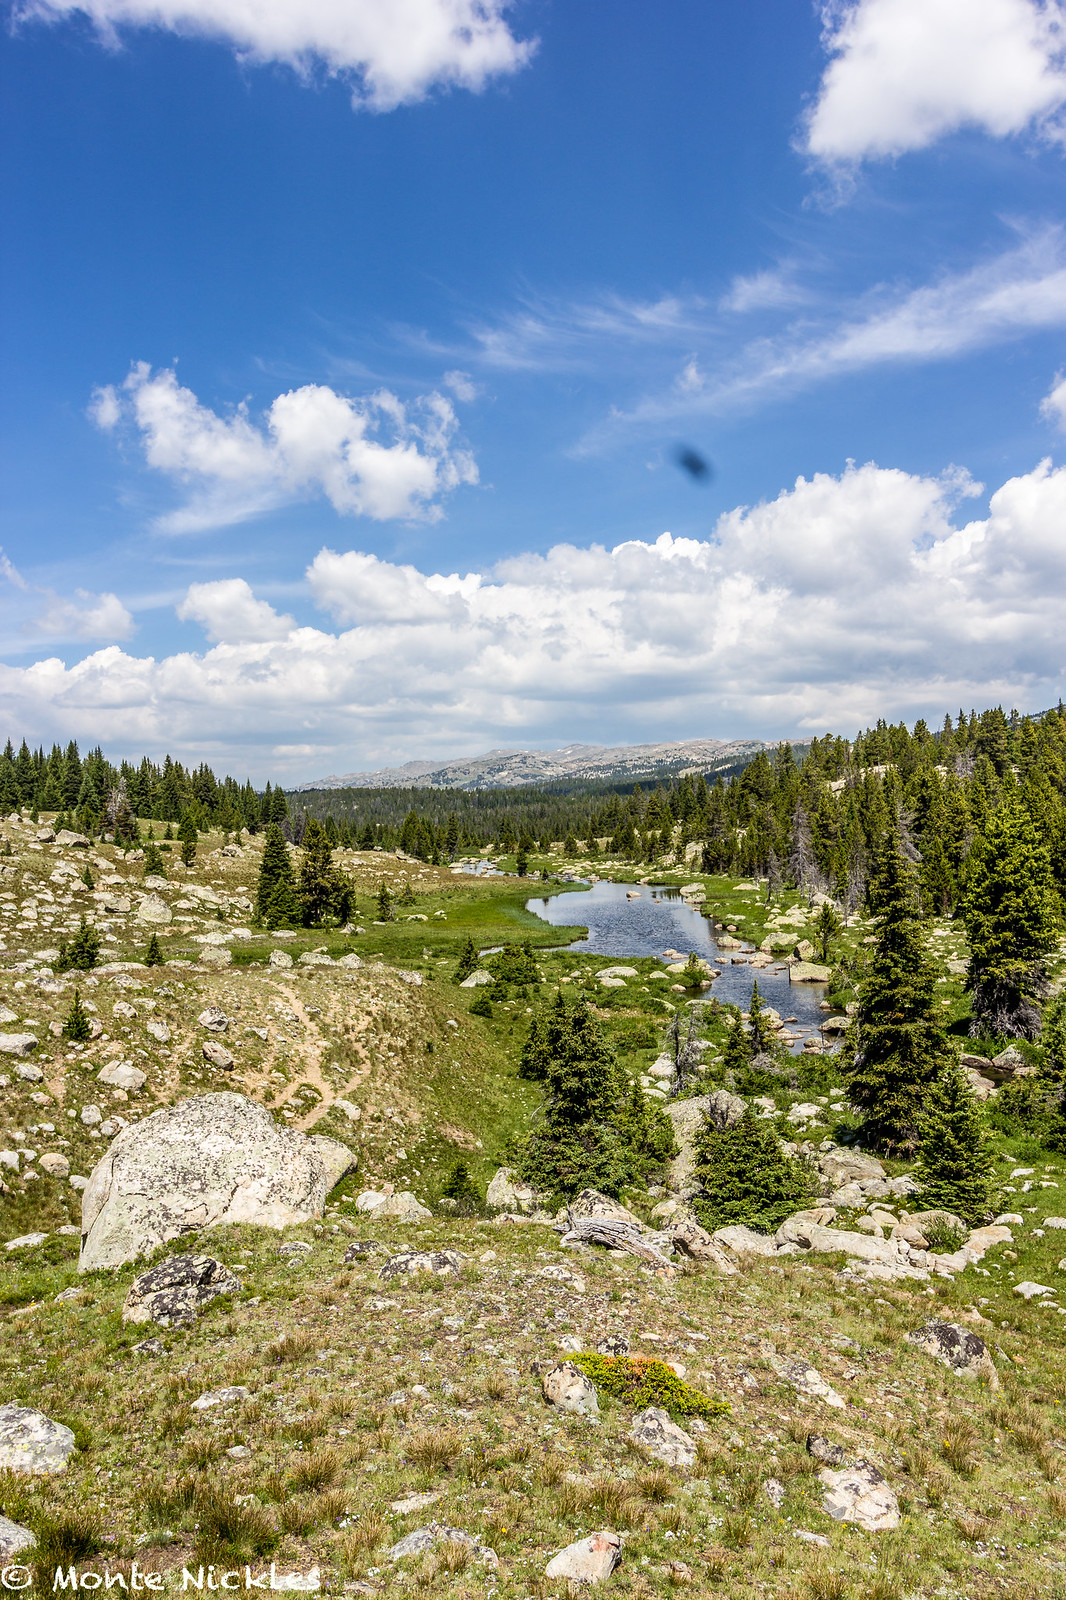
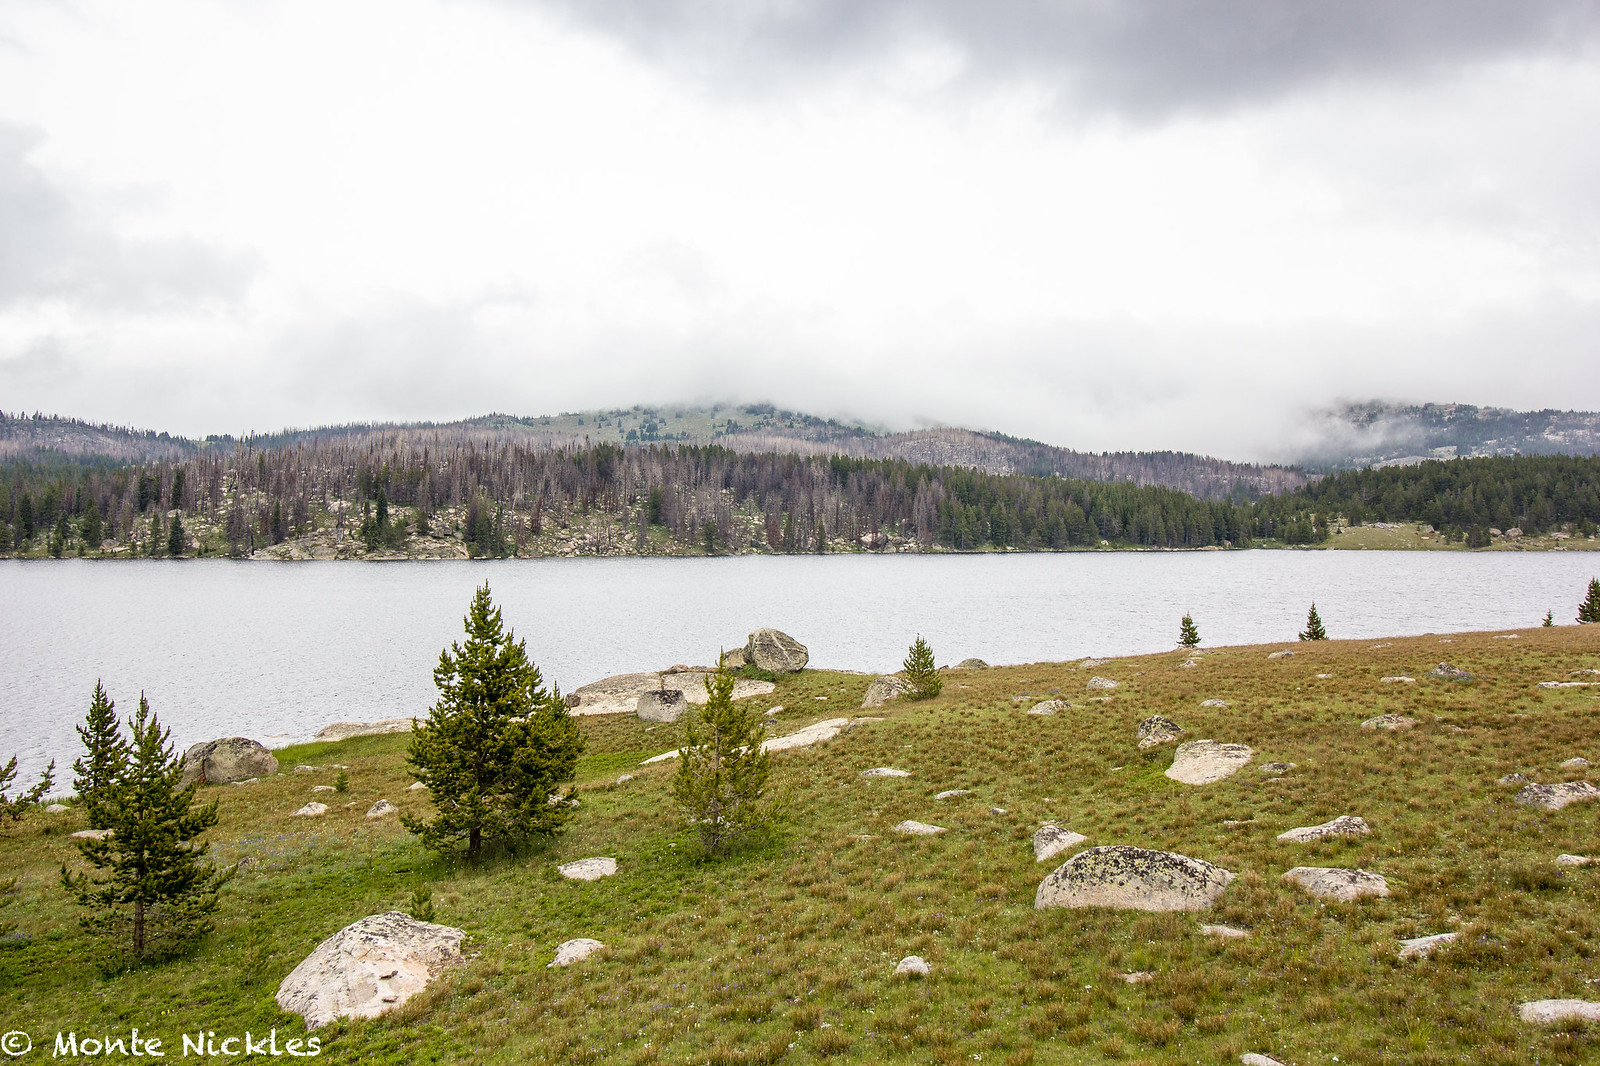
After eating we went for a hike. Was probably about 5-6 miles of walking round trip. The destination was Shell Lake that feed the large creek we were camping at that fed the reservoir.
 Family 4th Camping-50.jpg by Monte Nickles Photos, on Flickr
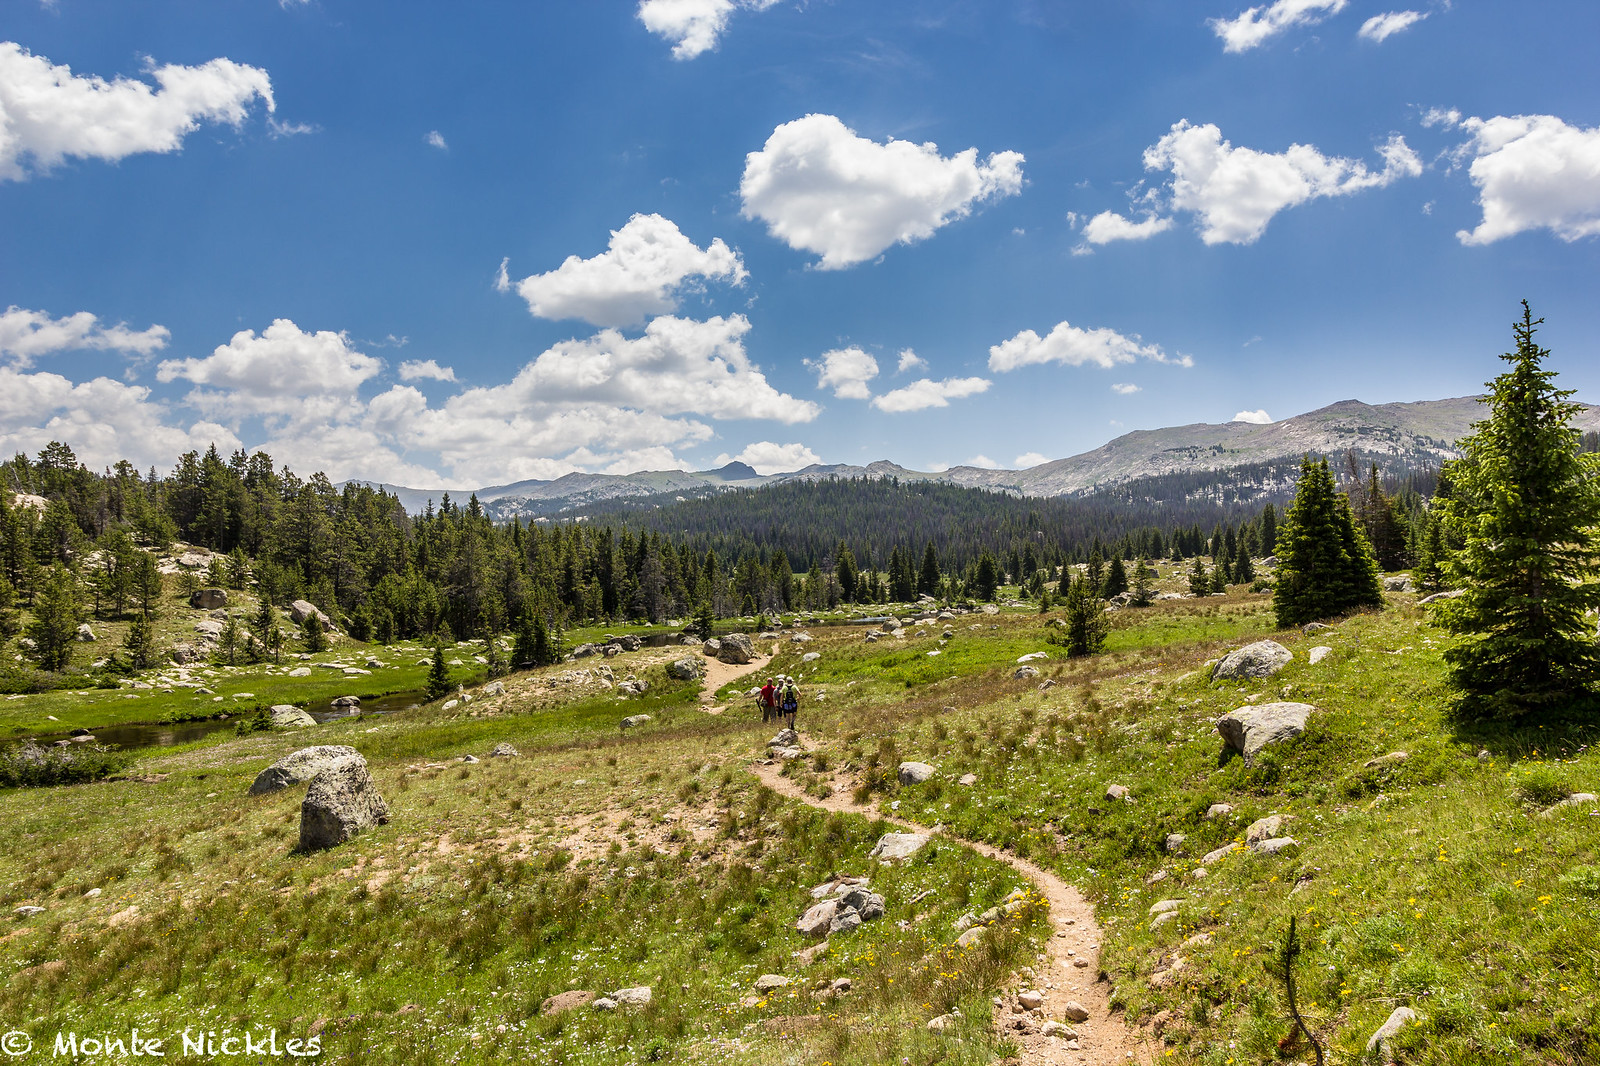
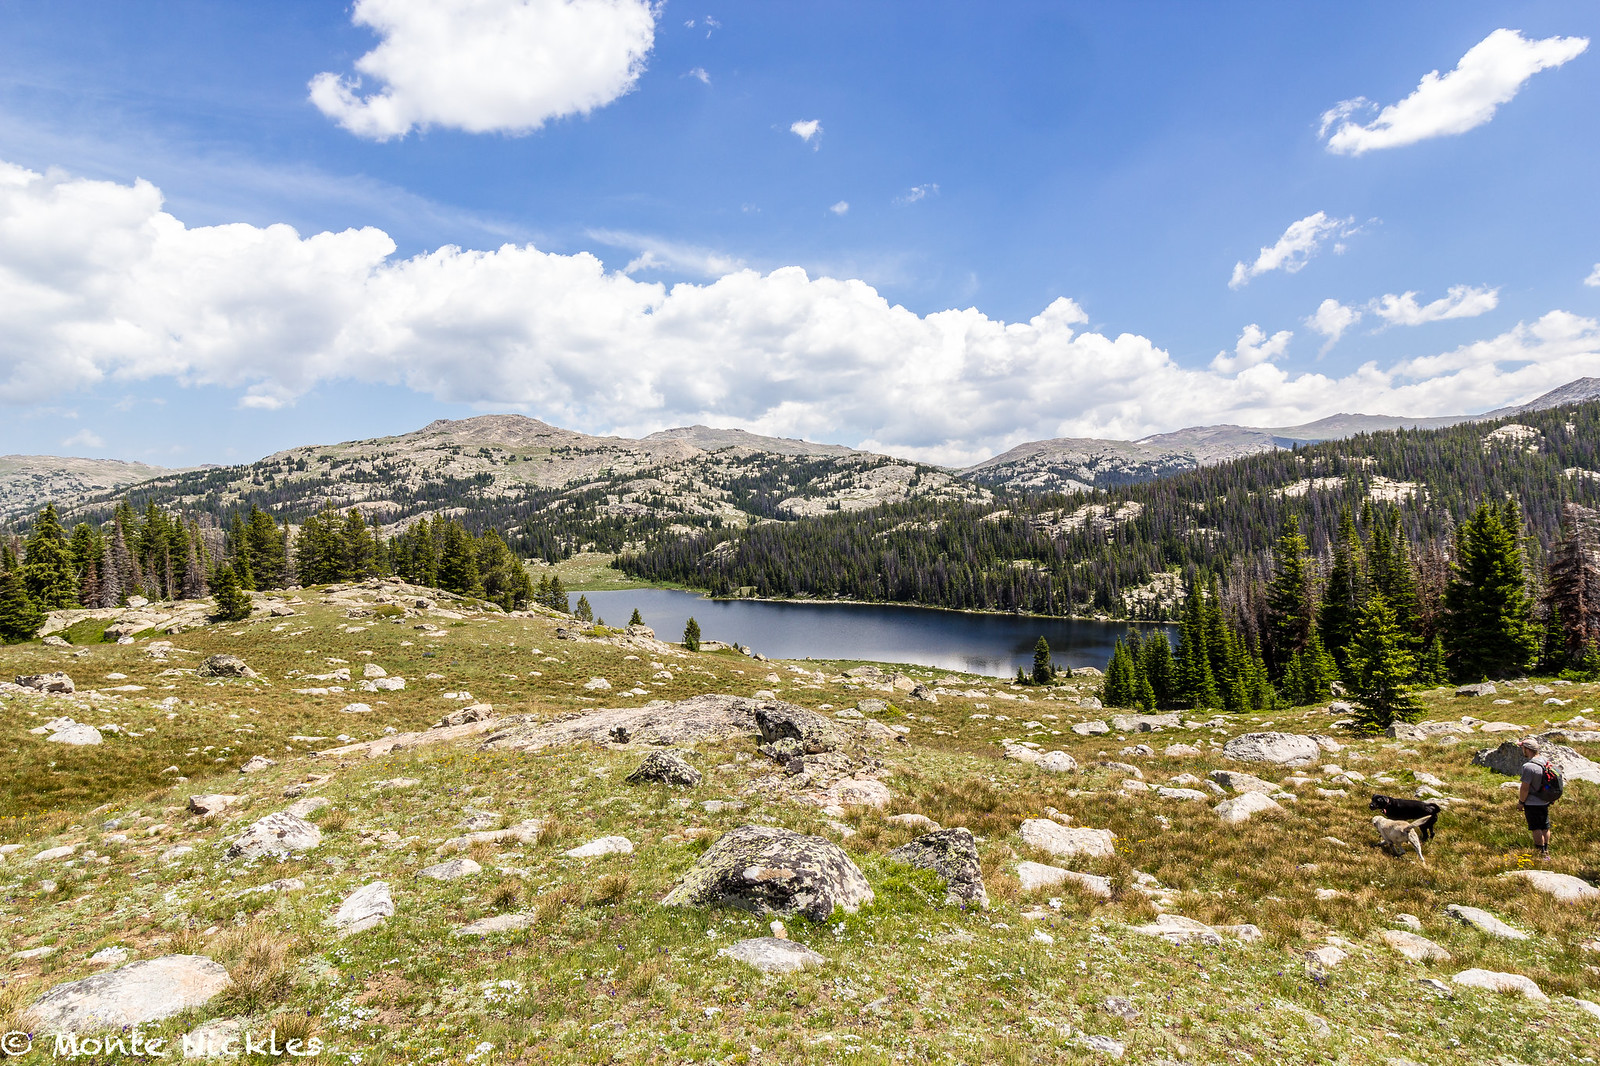
It was a beautiful day. A bit hot for the mountains though.
 Family 4th Camping-51.jpg by Monte Nickles Photos, on Flickr
 Family 4th Camping-52.jpg by Monte Nickles Photos, on Flickr
 Family 4th Camping-53.jpg by Monte Nickles Photos, on Flickr
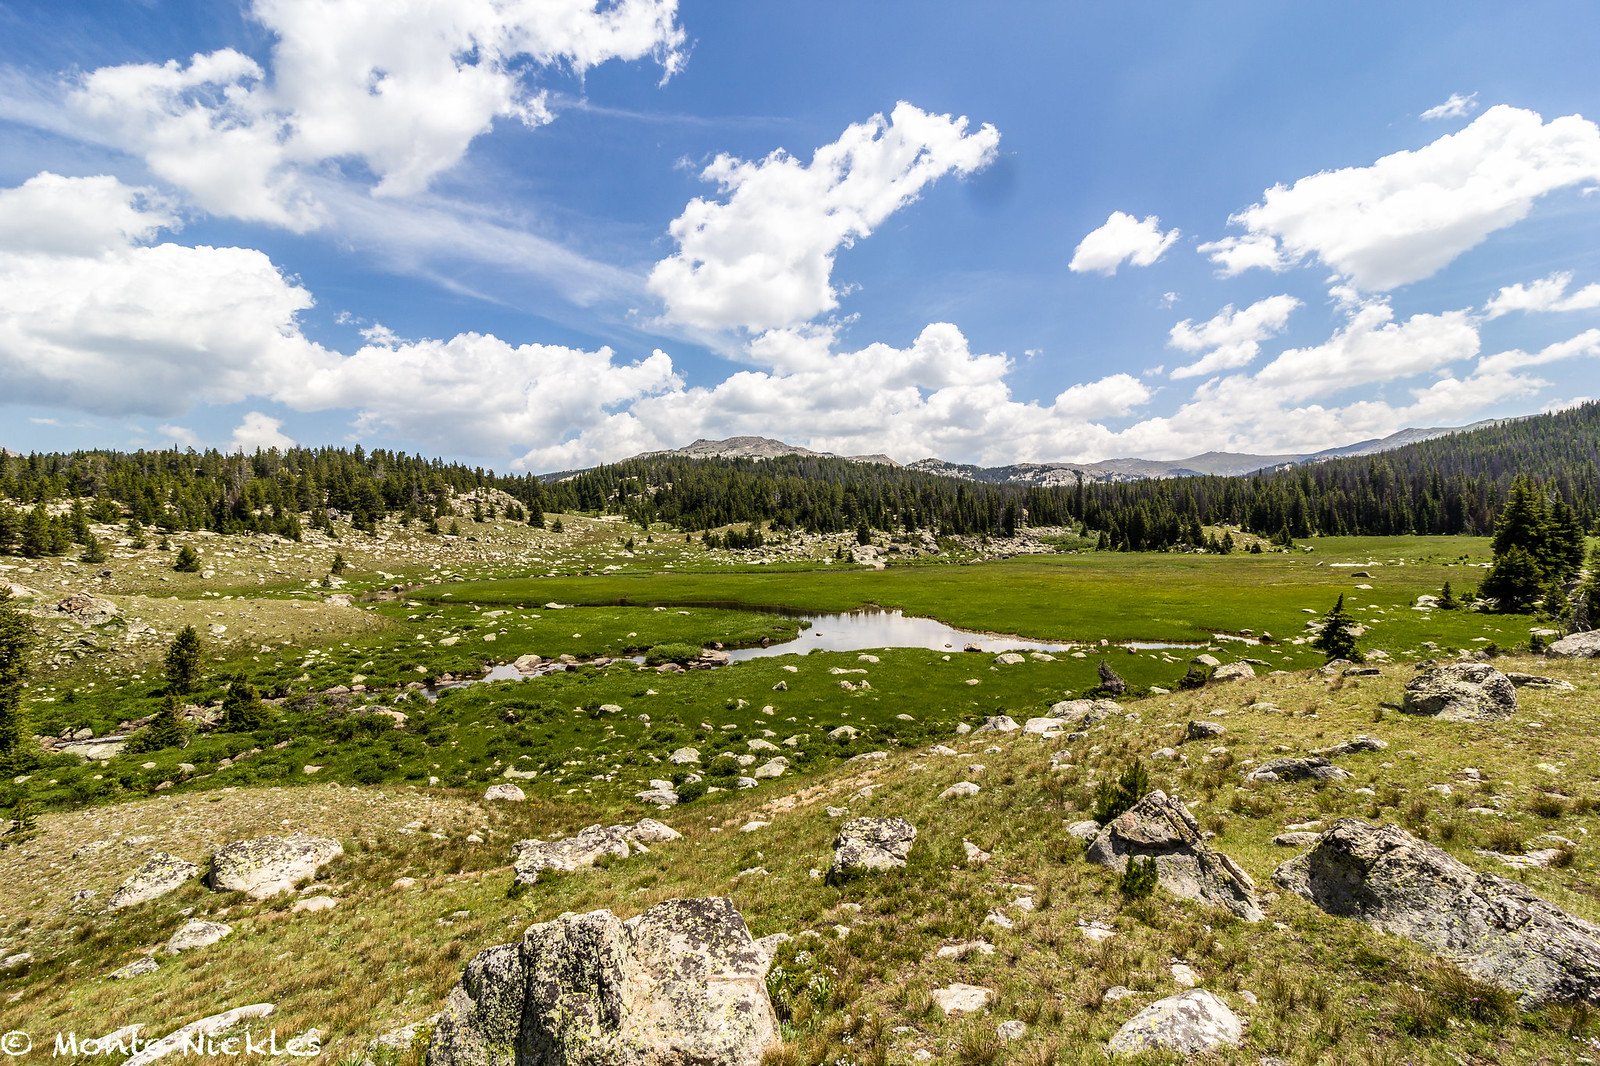
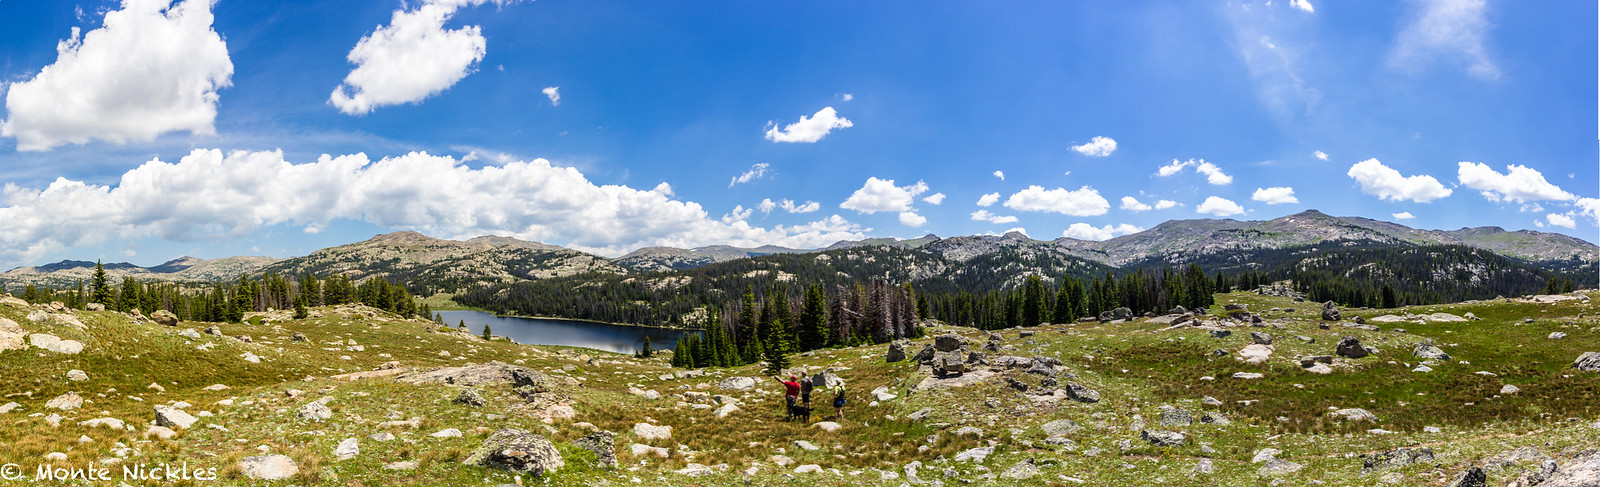
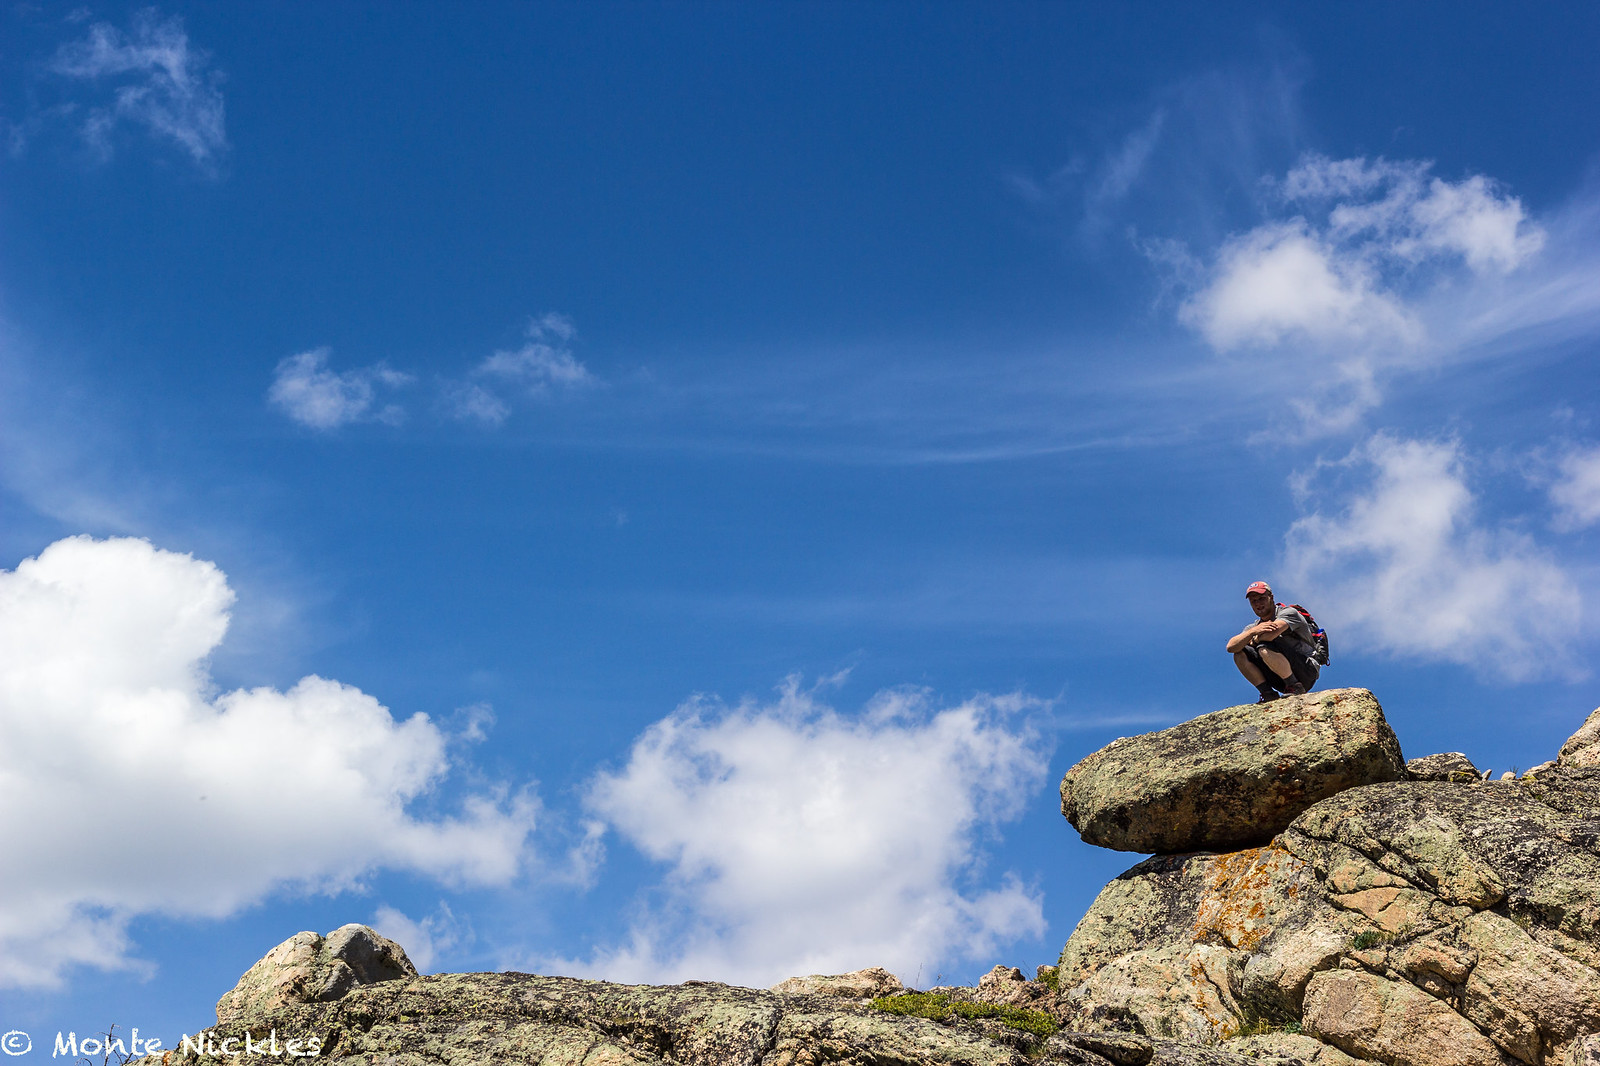
We reached our destination after about an hour and a half of walking.
 Family 4th Camping-54.jpg by Monte Nickles Photos, on Flickr
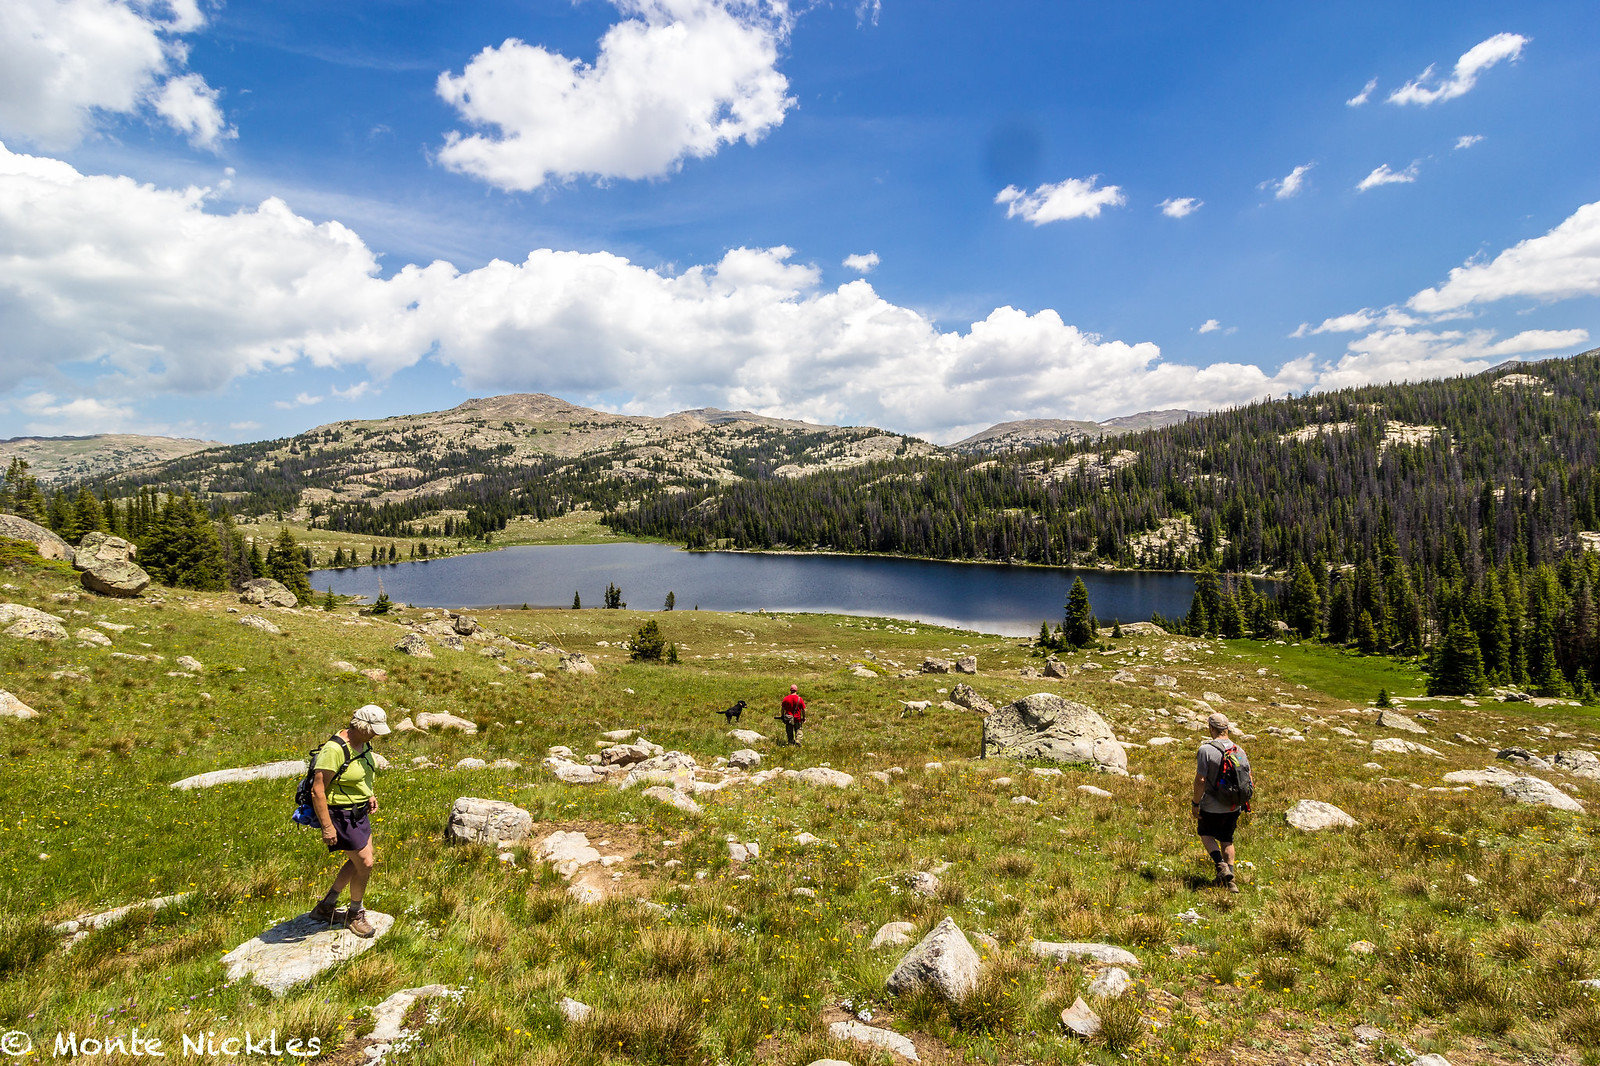
Was beautiful
 Family 4th Camping.jpg by Monte Nickles Photos, on Flickr
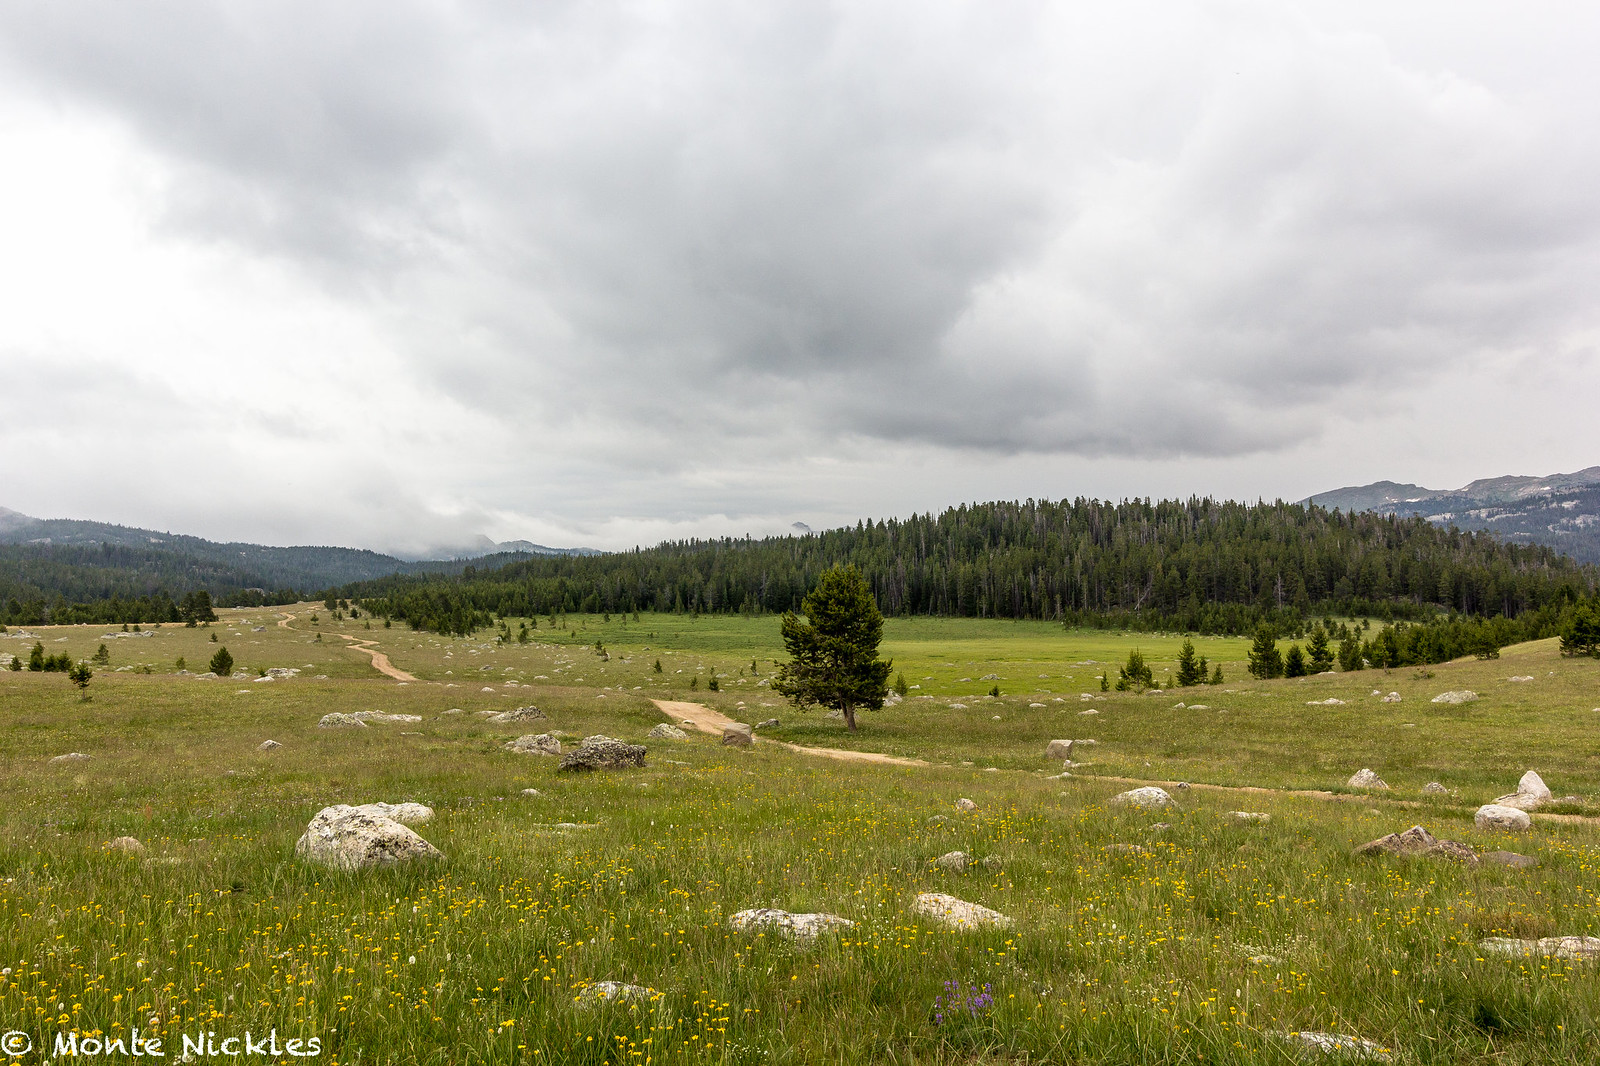
And we started our decent.
 Family 4th Camping-55.jpg by Monte Nickles Photos, on Flickr
Grant once again jumped right in the water.
 Family 4th Camping-56.jpg by Monte Nickles Photos, on Flickr
 Family 4th Camping-57.jpg by Monte Nickles Photos, on Flickr
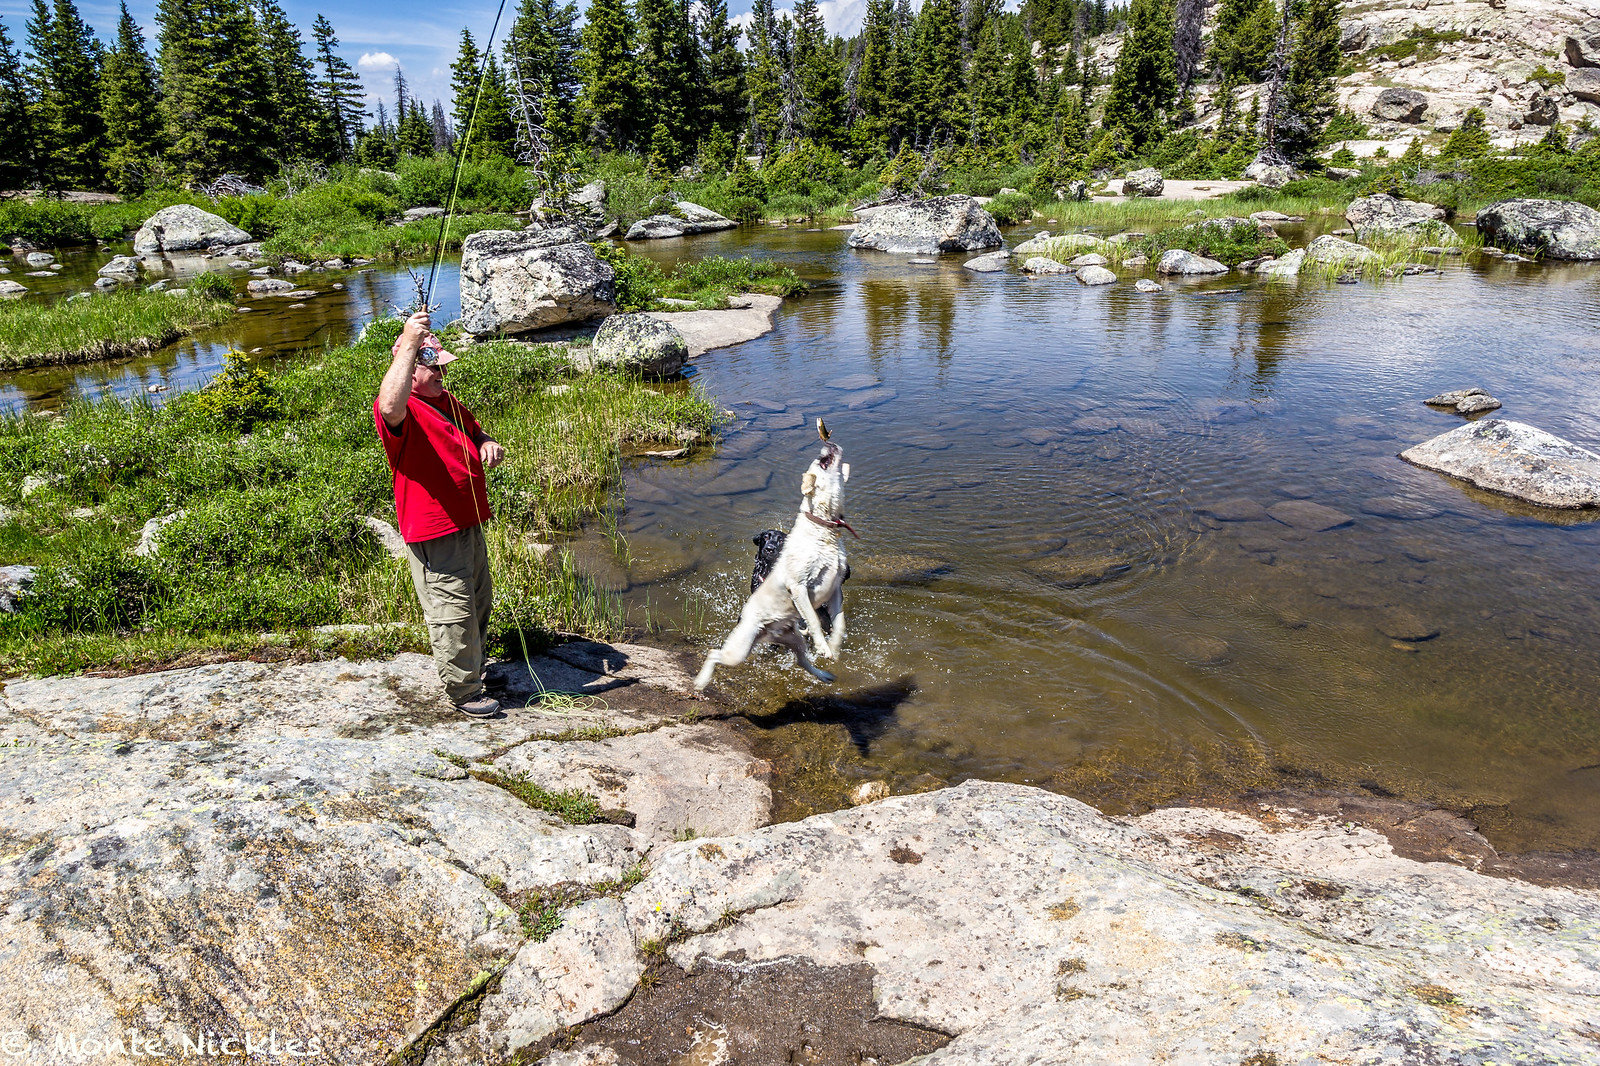
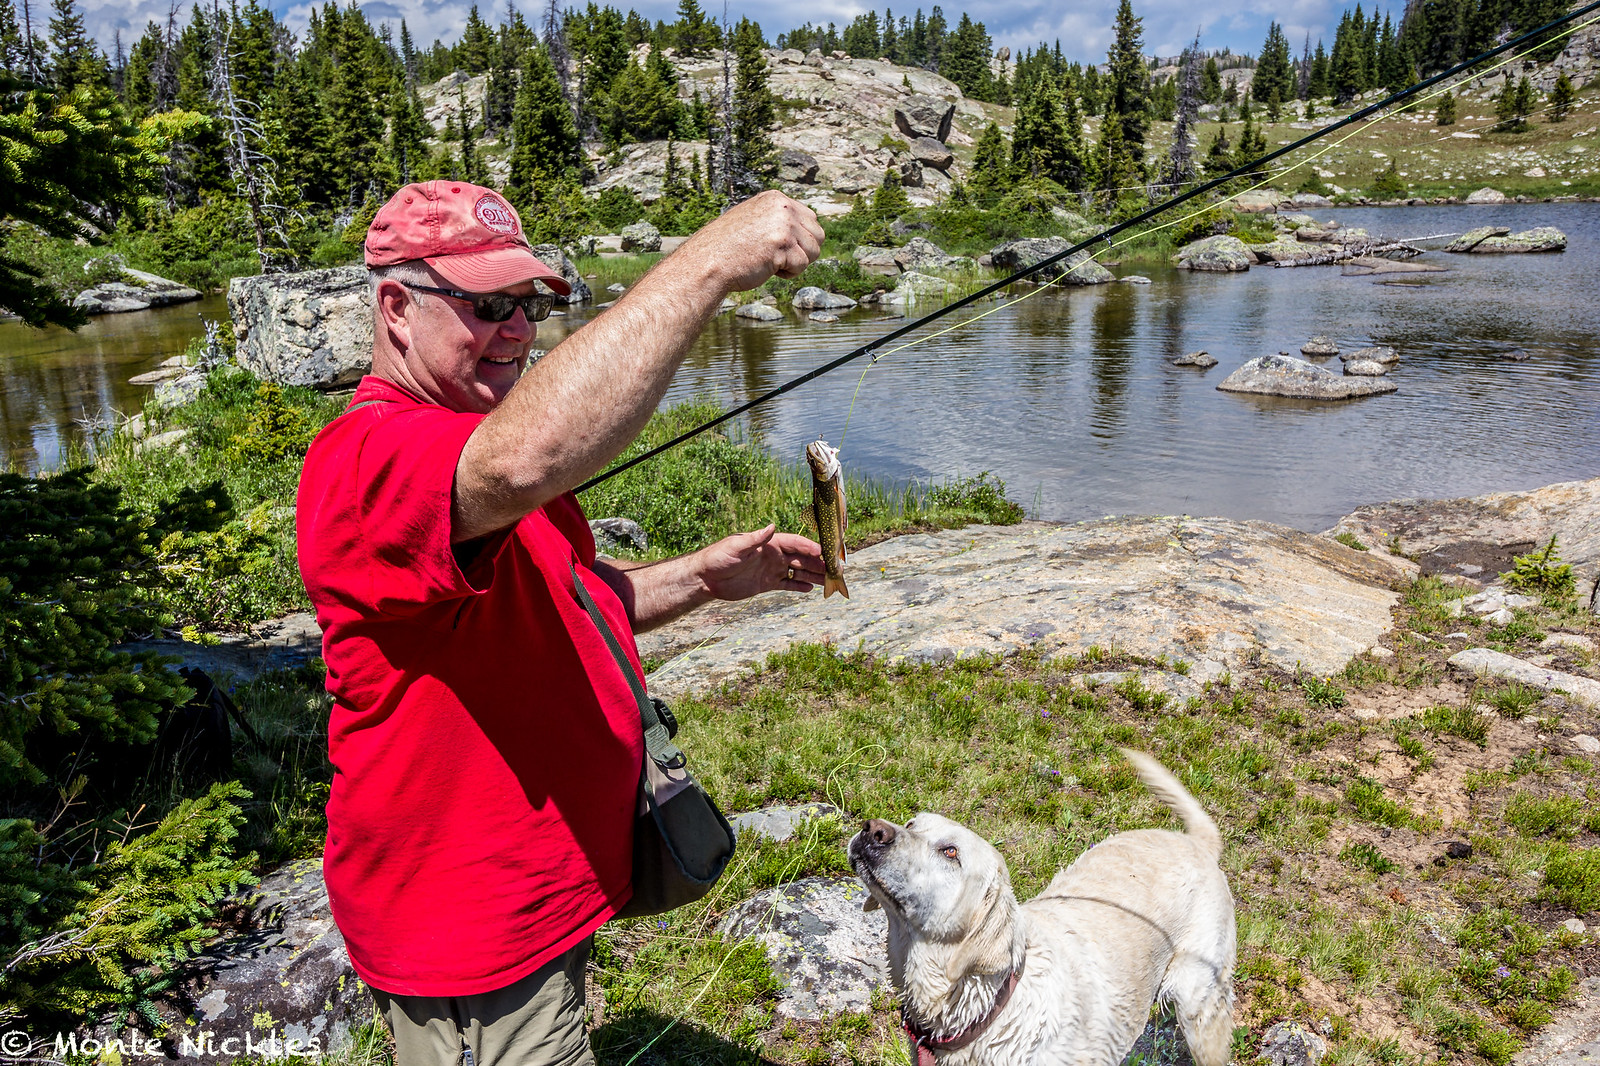
Dad whipped out the fly rod again and caught a fish very quickly. The dogs took notice to this and really really wanted the fish..haha
 Family 4th Camping-58.jpg by Monte Nickles Photos, on Flickr
 Family 4th Camping-59.jpg by Monte Nickles Photos, on Flickr
Satchamo actually ended up getting a hold of it. Twice. While still on the hook. Luckily he didn't swallow it whole and we got the fish and more importantly the fly out of his mouth.
 Family 4th Camping-60.jpg by Monte Nickles Photos, on Flickr
We hung around the lake for about an hour or more and then ate a small lunch and headed back to camp.
 Family 4th Camping-61.jpg by Monte Nickles Photos, on Flickr
We then just sat around and enjoyed the evening and each others company. Ate some chilly dogs and went to bed early as we were all tired from the hike. Especially the dogs.
The next morning we had pancakes and bacon before hitting the road home.
 Family 4th Camping-62.jpg by Monte Nickles Photos, on Flickr
 Family 4th Camping-63.jpg by Monte Nickles Photos, on Flickr
 Family 4th Camping-64.jpg by Monte Nickles Photos, on Flickr
 Family 4th Camping-65.jpg by Monte Nickles Photos, on Flickr
 Family 4th Camping-66.jpg by Monte Nickles Photos, on Flickr
 Family 4th Camping-67.jpg by Monte Nickles Photos, on Flickr
The next morning i got up and my dad was out trying to fish the stream and my brother decided to go for a swim.
Family 4th Camping-45.jpg by Monte Nickles Photos, on Flickrand i mean trying to fish because these two yahoos weren't helping..haha
Family 4th Camping-46.jpg by Monte Nickles Photos, on Flickr
Family 4th Camping-48.jpg by Monte Nickles Photos, on FlickrWas a nice morning though. Save for the extremely thick bugs.
Family 4th Camping-47.jpg by Monte Nickles Photos, on FlickrWe retreated to camp for bug dope and started breakfast. I ended up cooking most of it. But damn it was good. Bacon and left over potatoes and steak with eggs all cooked in the bacon grease. Yum.
Family 4th Camping-49.jpg by Monte Nickles Photos, on FlickrAfter eating we went for a hike. Was probably about 5-6 miles of walking round trip. The destination was Shell Lake that feed the large creek we were camping at that fed the reservoir.
Family 4th Camping-50.jpg by Monte Nickles Photos, on FlickrIt was a beautiful day. A bit hot for the mountains though.
Family 4th Camping-51.jpg by Monte Nickles Photos, on Flickr
Family 4th Camping-52.jpg by Monte Nickles Photos, on Flickr
Family 4th Camping-53.jpg by Monte Nickles Photos, on FlickrWe reached our destination after about an hour and a half of walking.
Family 4th Camping-54.jpg by Monte Nickles Photos, on FlickrWas beautiful
Family 4th Camping.jpg by Monte Nickles Photos, on FlickrAnd we started our decent.
Family 4th Camping-55.jpg by Monte Nickles Photos, on FlickrGrant once again jumped right in the water.
Family 4th Camping-56.jpg by Monte Nickles Photos, on Flickr
Family 4th Camping-57.jpg by Monte Nickles Photos, on FlickrDad whipped out the fly rod again and caught a fish very quickly. The dogs took notice to this and really really wanted the fish..haha
Family 4th Camping-58.jpg by Monte Nickles Photos, on Flickr
Family 4th Camping-59.jpg by Monte Nickles Photos, on FlickrSatchamo actually ended up getting a hold of it. Twice. While still on the hook. Luckily he didn't swallow it whole and we got the fish and more importantly the fly out of his mouth.
Family 4th Camping-60.jpg by Monte Nickles Photos, on FlickrWe hung around the lake for about an hour or more and then ate a small lunch and headed back to camp.
Family 4th Camping-61.jpg by Monte Nickles Photos, on FlickrWe then just sat around and enjoyed the evening and each others company. Ate some chilly dogs and went to bed early as we were all tired from the hike. Especially the dogs.
The next morning we had pancakes and bacon before hitting the road home.
Family 4th Camping-62.jpg by Monte Nickles Photos, on Flickr
Family 4th Camping-63.jpg by Monte Nickles Photos, on Flickr
Family 4th Camping-64.jpg by Monte Nickles Photos, on Flickr
Family 4th Camping-65.jpg by Monte Nickles Photos, on Flickr
Family 4th Camping-66.jpg by Monte Nickles Photos, on Flickr
Family 4th Camping-67.jpg by Monte Nickles Photos, on Flickr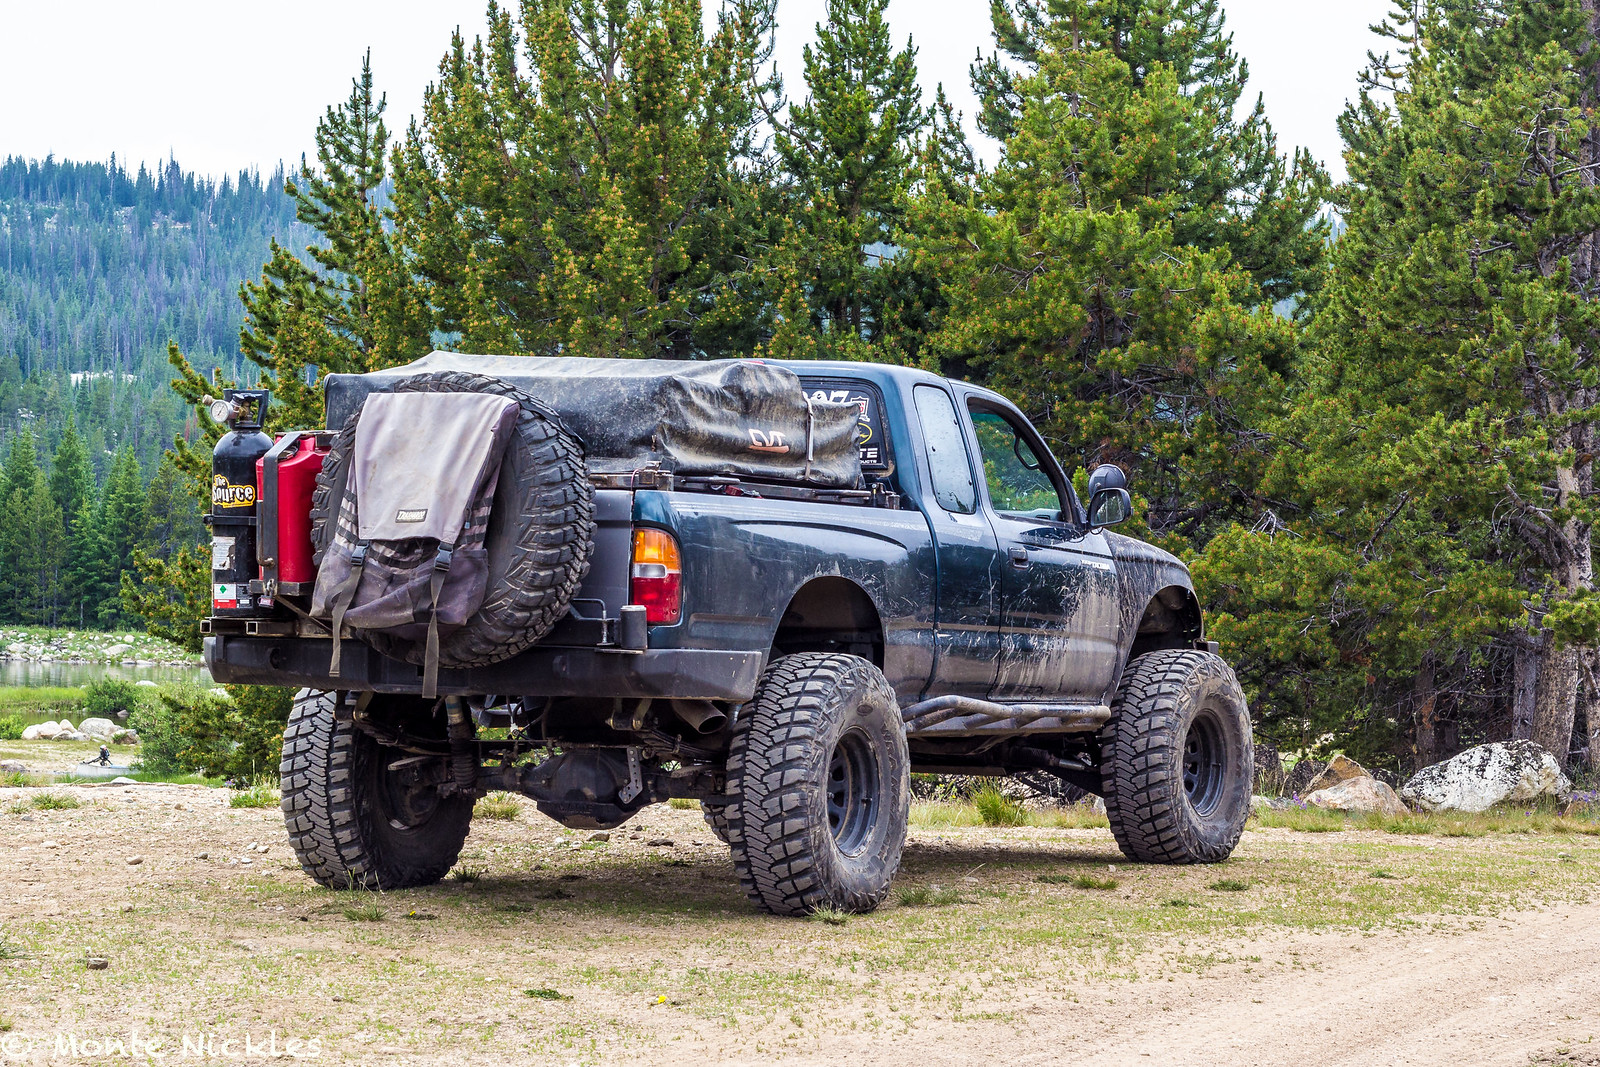 Family 4th Camping-68.jpg
 Family 4th Camping-69.jpg
 Family 4th Camping-70.jpg
 Family 4th Camping-71.jpg
 Family 4th Camping-72.jpg
 Family 4th Camping-73.jpg
 Family 4th Camping-74.jpg
 Family 4th Camping-75.jpg
 Family 4th Camping-76.jpg
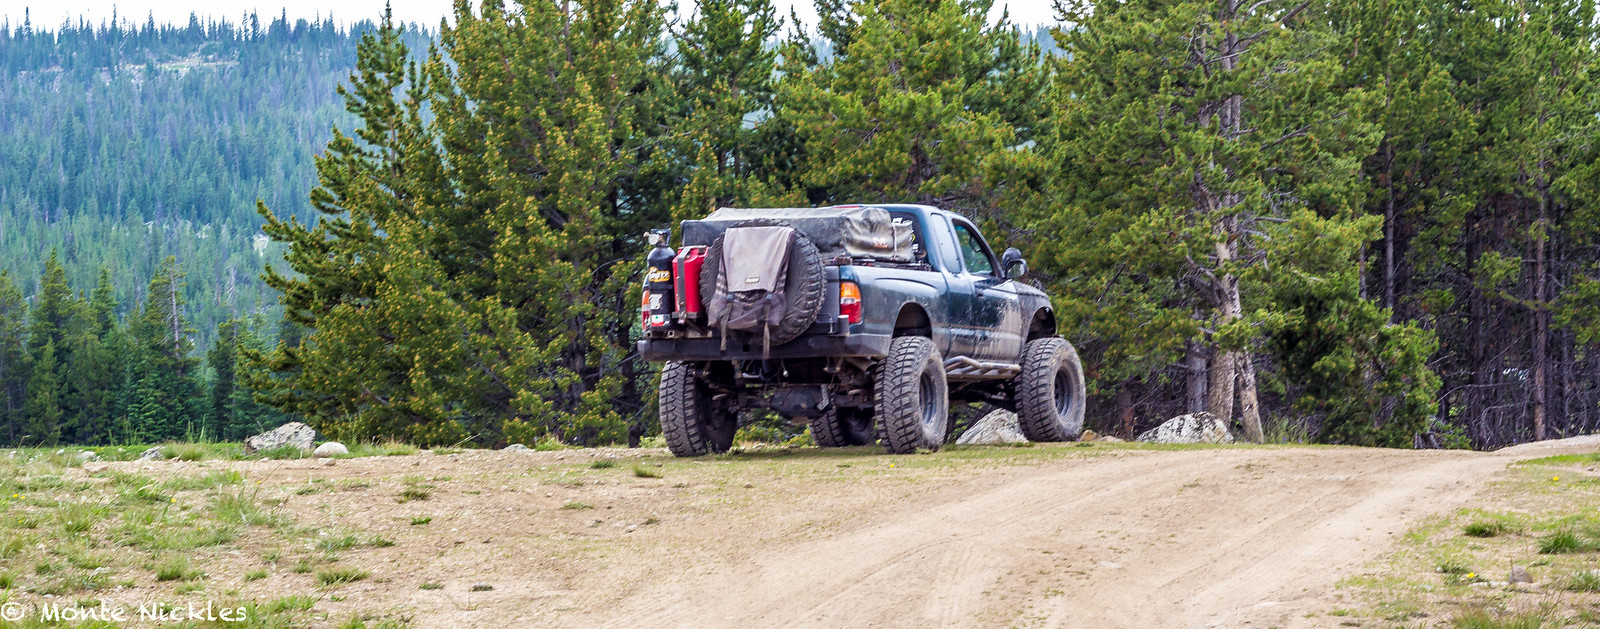 Family 4th Camping-77.jpg
 Family 4th Camping-78.jpg
 Family 4th Camping-79.jpg
 Family 4th Camping-80.jpg
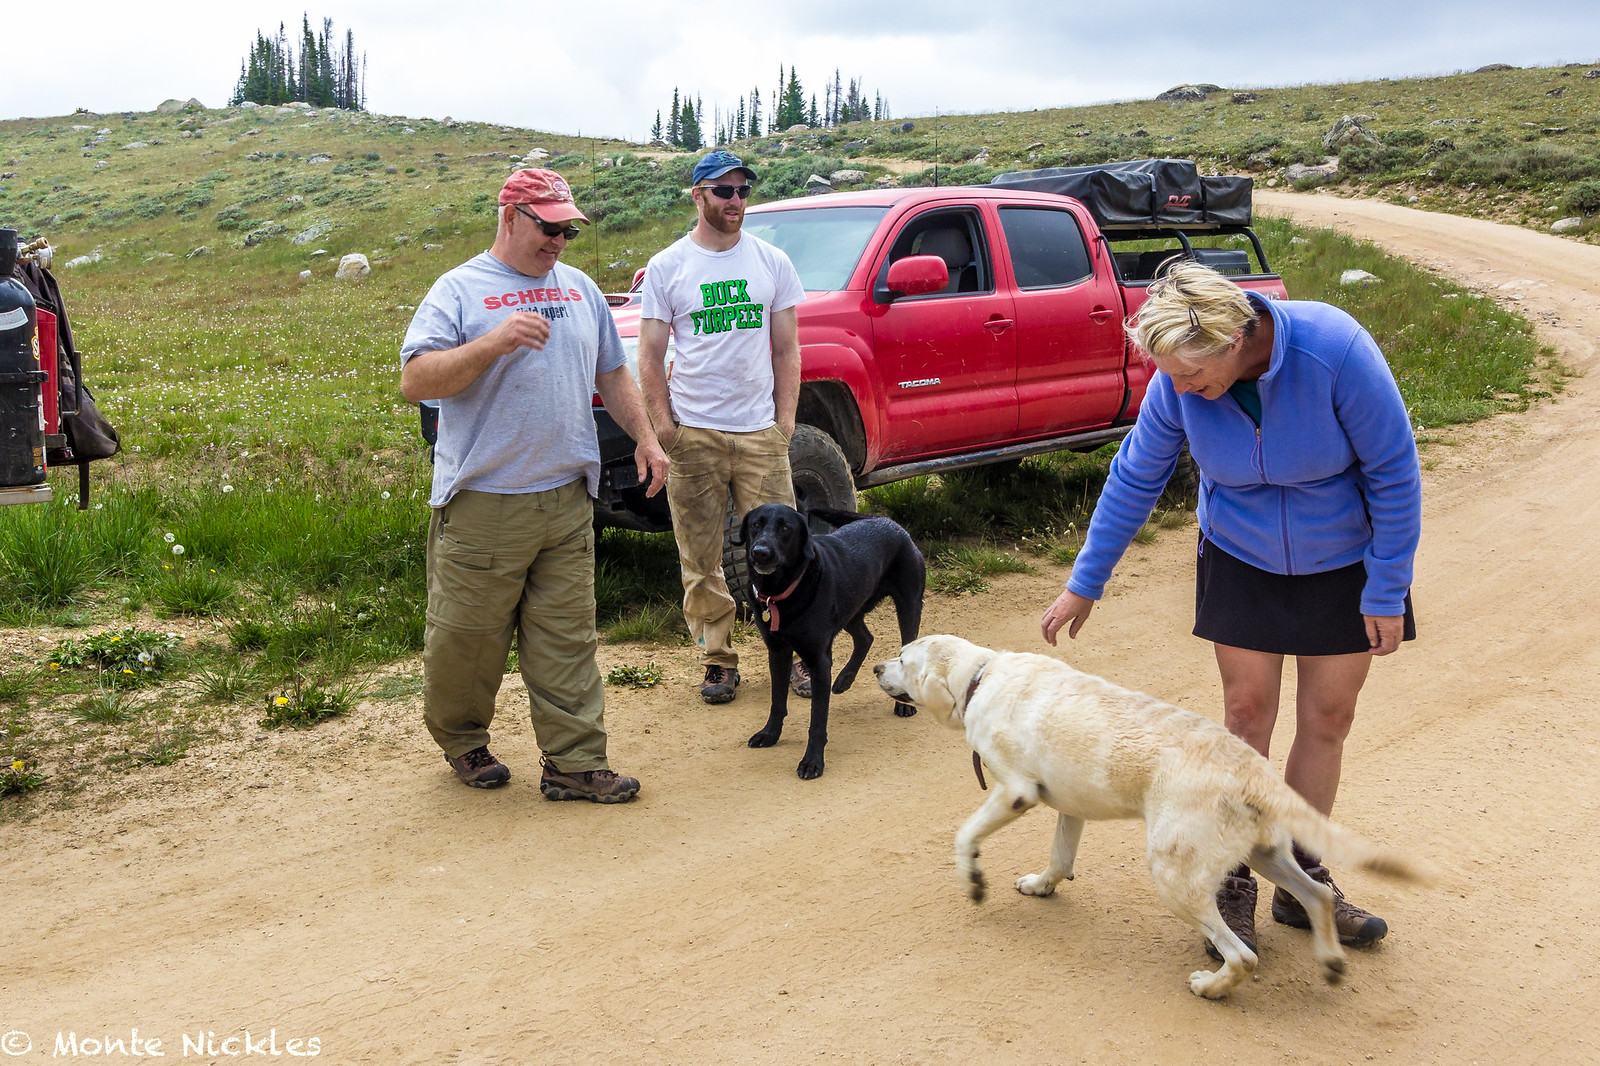 Family 4th Camping-81.jpg
 Family 4th Camping-82.jpg
 Family 4th Camping-83.jpg
 Family 4th Camping-84.jpg
 Family 4th Camping-85.jpg
 Family 4th Camping-86.jpg
 Family 4th Camping-87.jpg
 Family 4th Camping-88.jpg
 Family 4th Camping-89.jpg
 Family 4th Camping-90.jpg
 Family 4th Camping-91.jpg
 Family 4th Camping-92.jpg
 Family 4th Camping-93.jpg
 Family 4th Camping-94.jpg
 Family 4th Camping-95.jpg
 Family 4th Camping-96.jpg
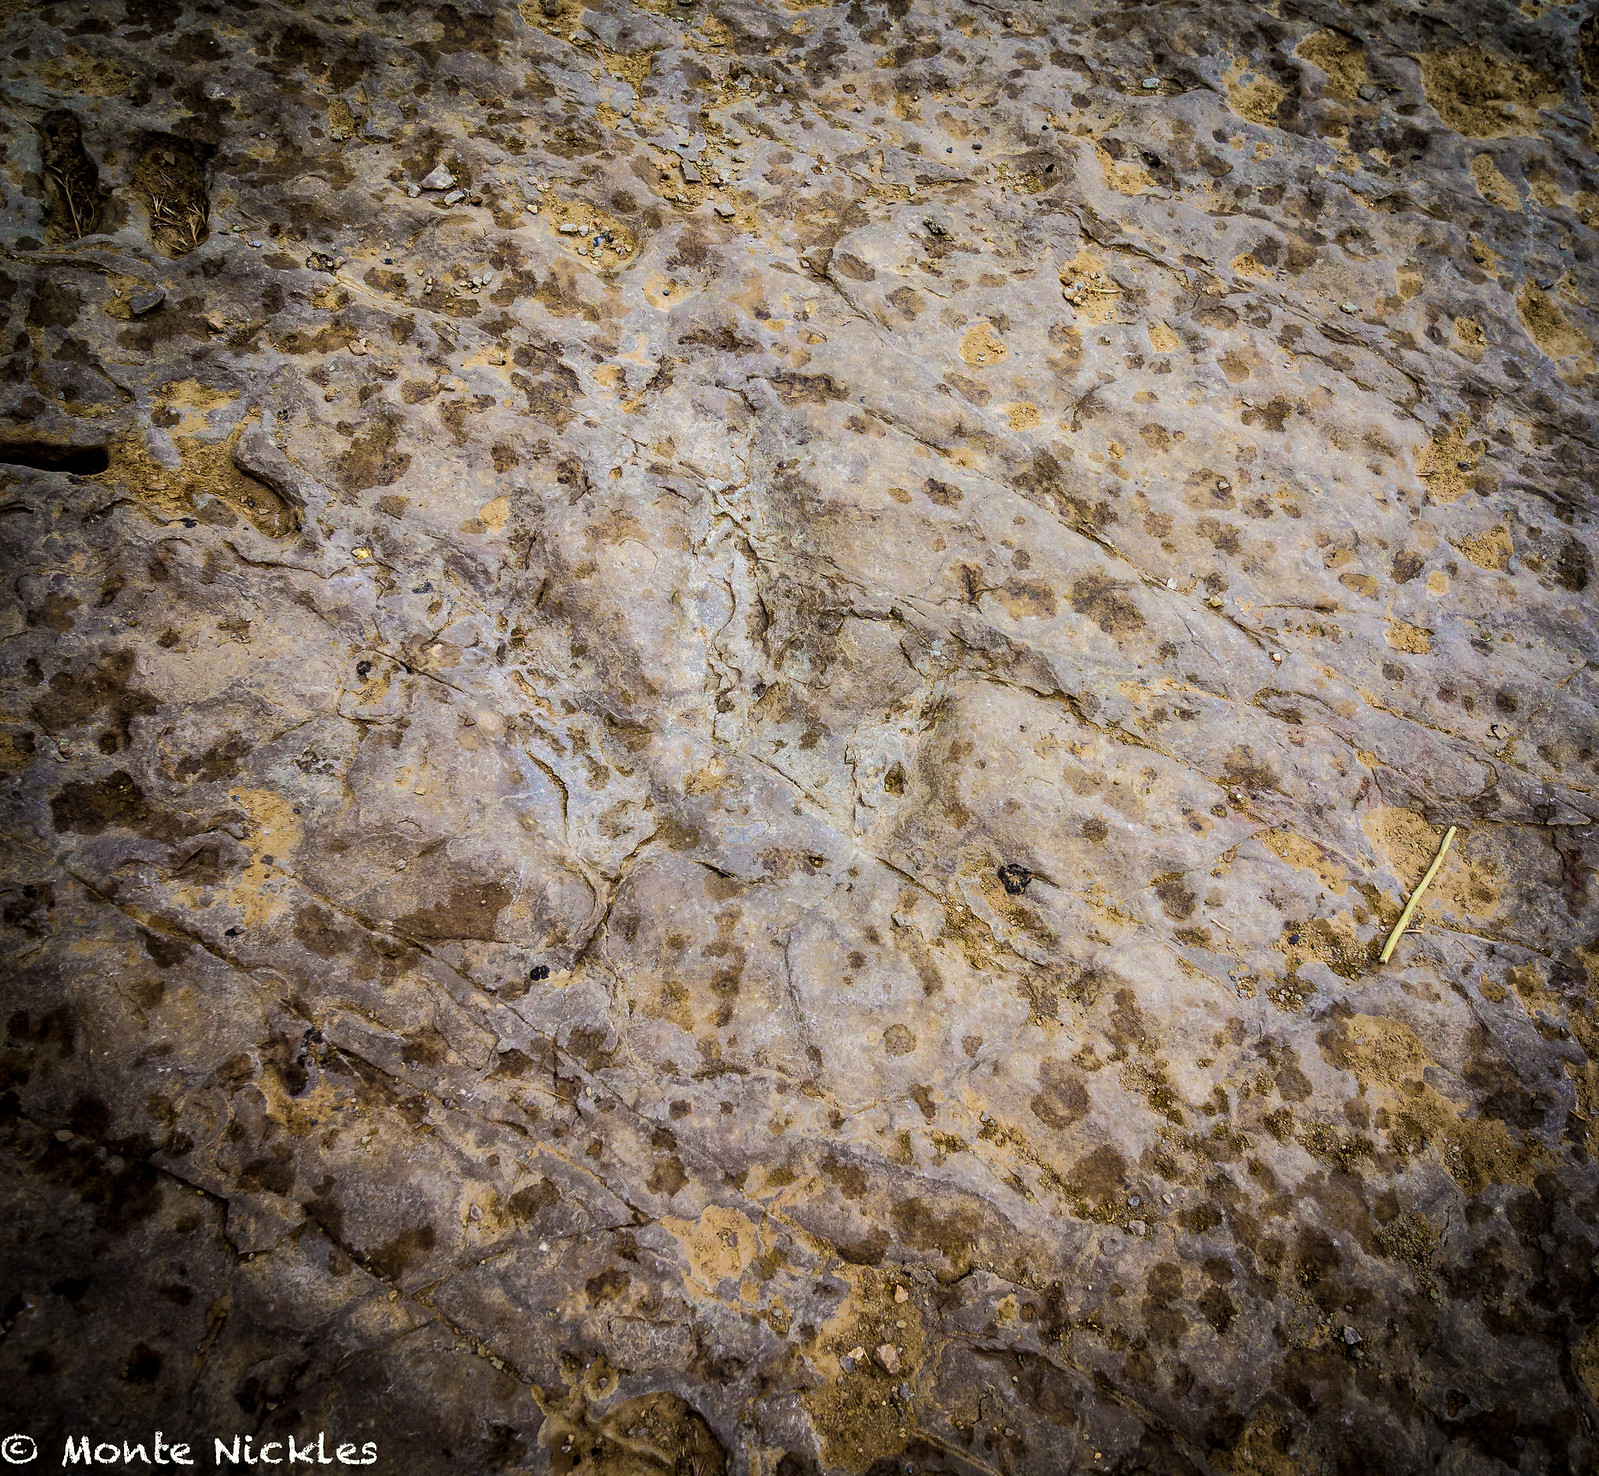 Family 4th Camping-98.jpg
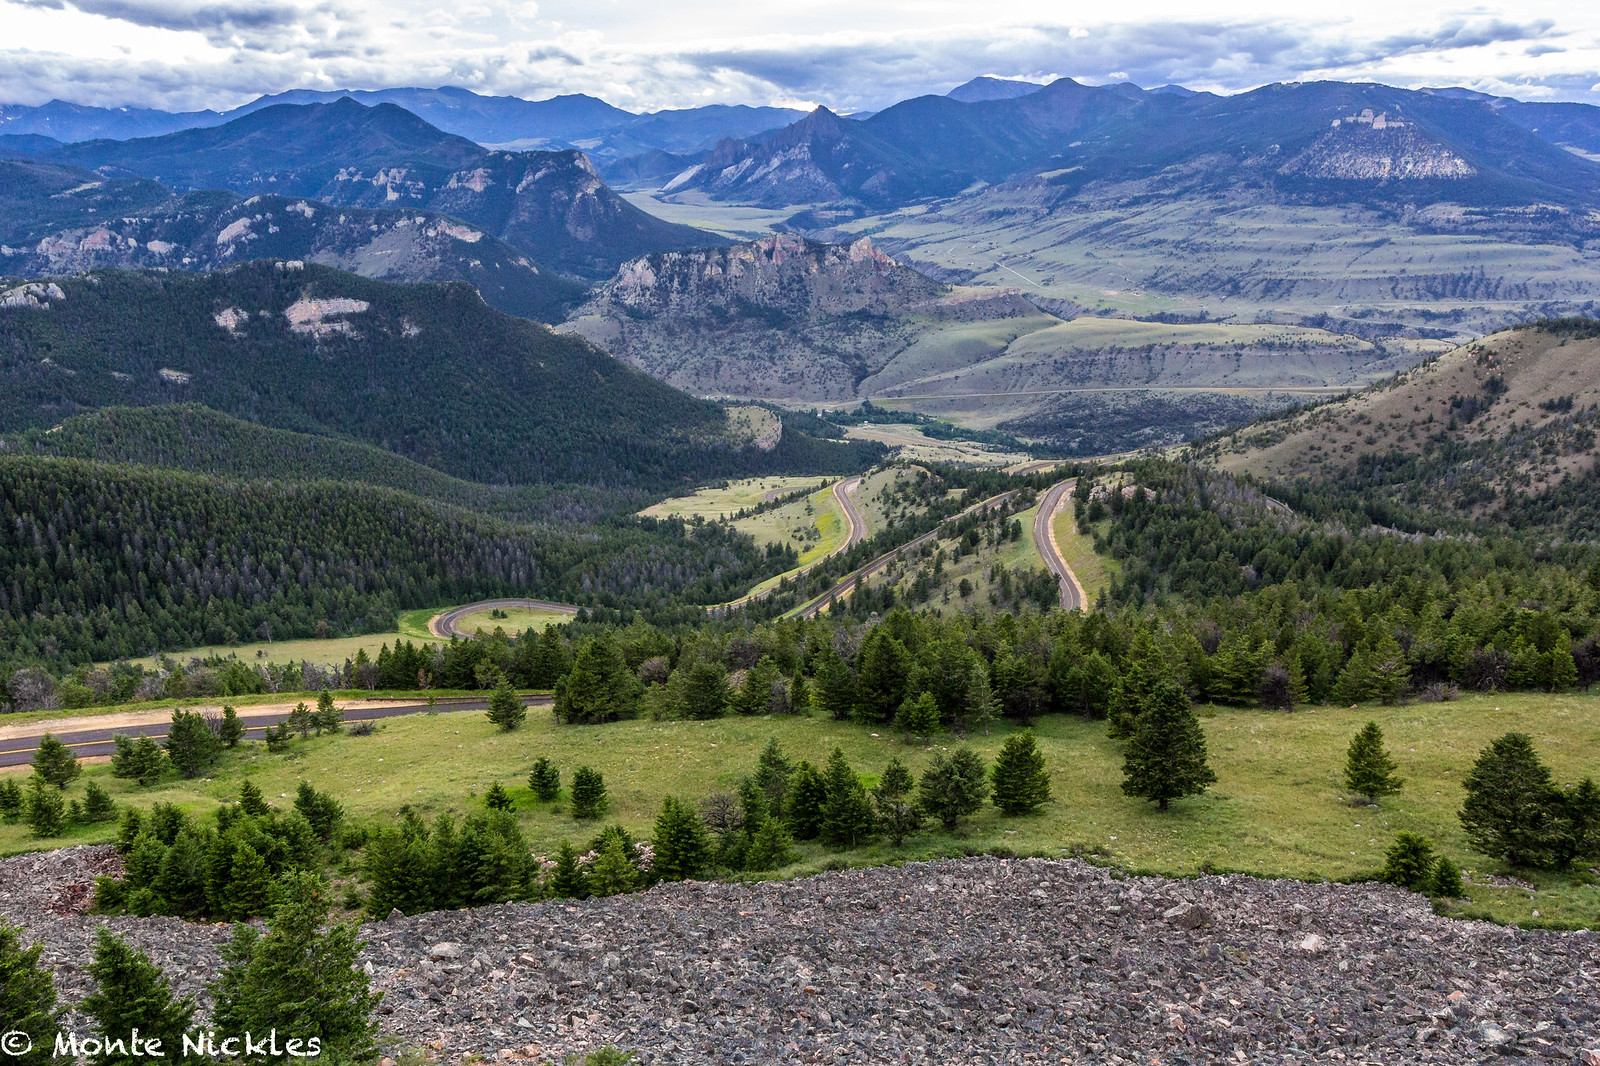 Goose Lake 2015.jpg
 Goose Lake 2015-2.jpg
 1 (3)
1 (3)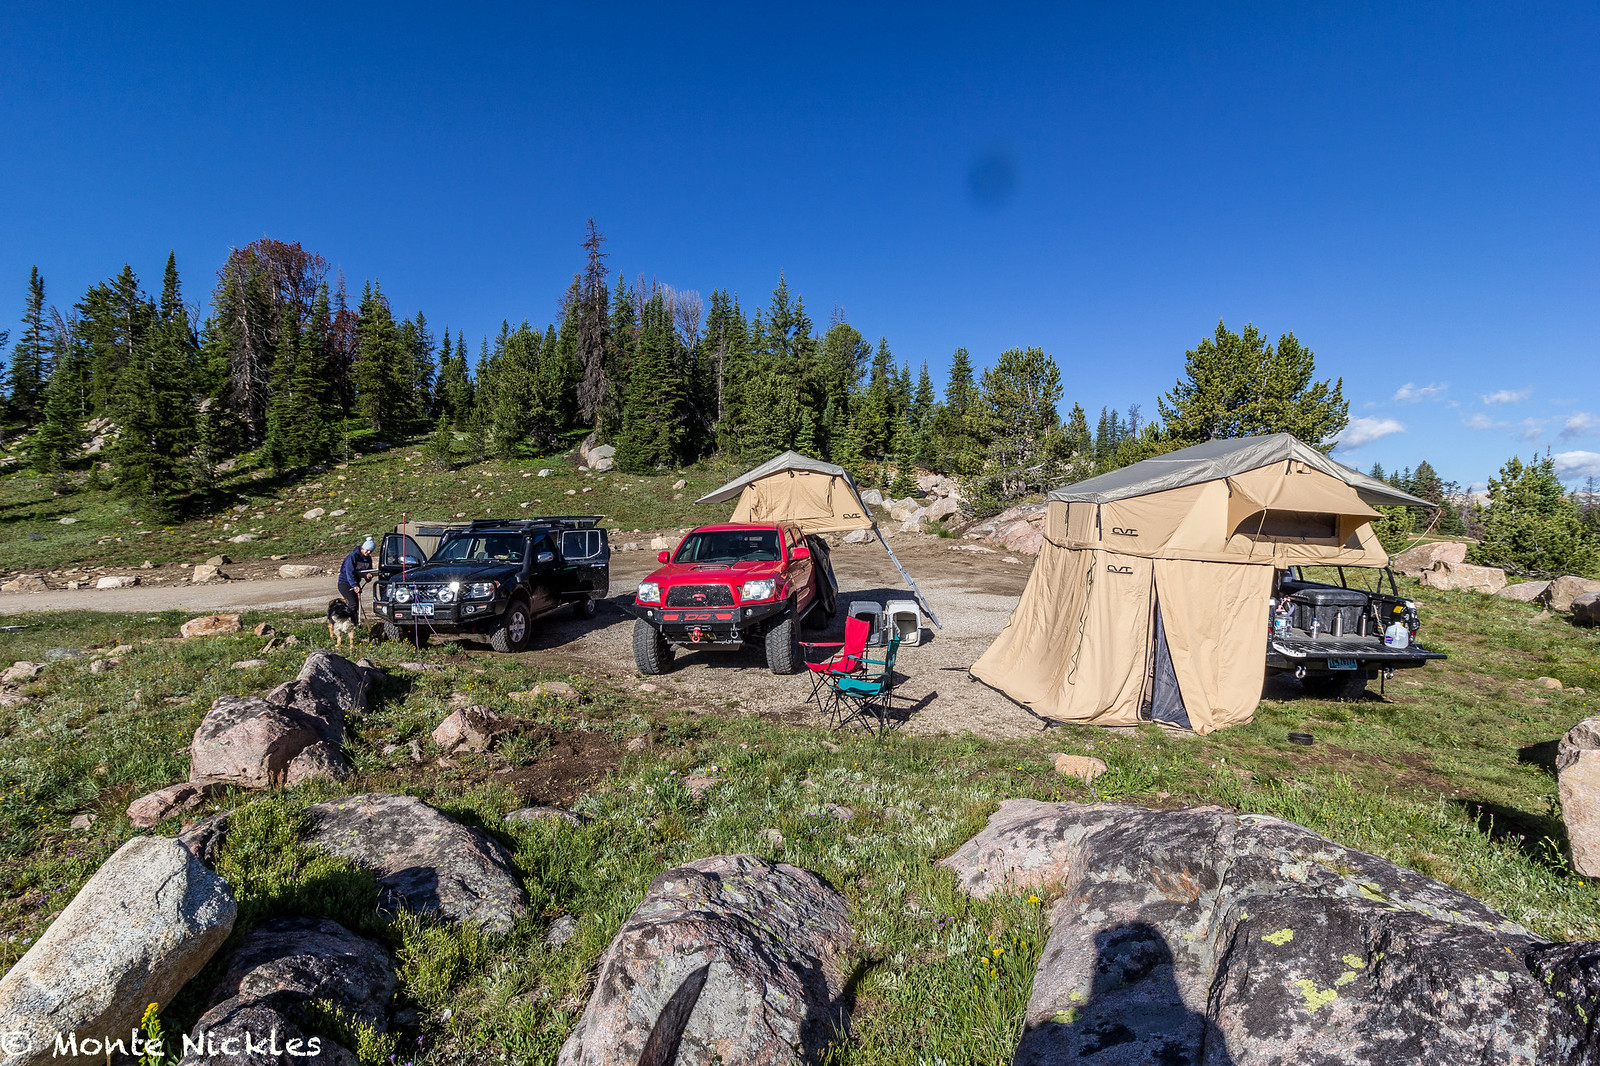 Goose Lake 2015-3.jpg
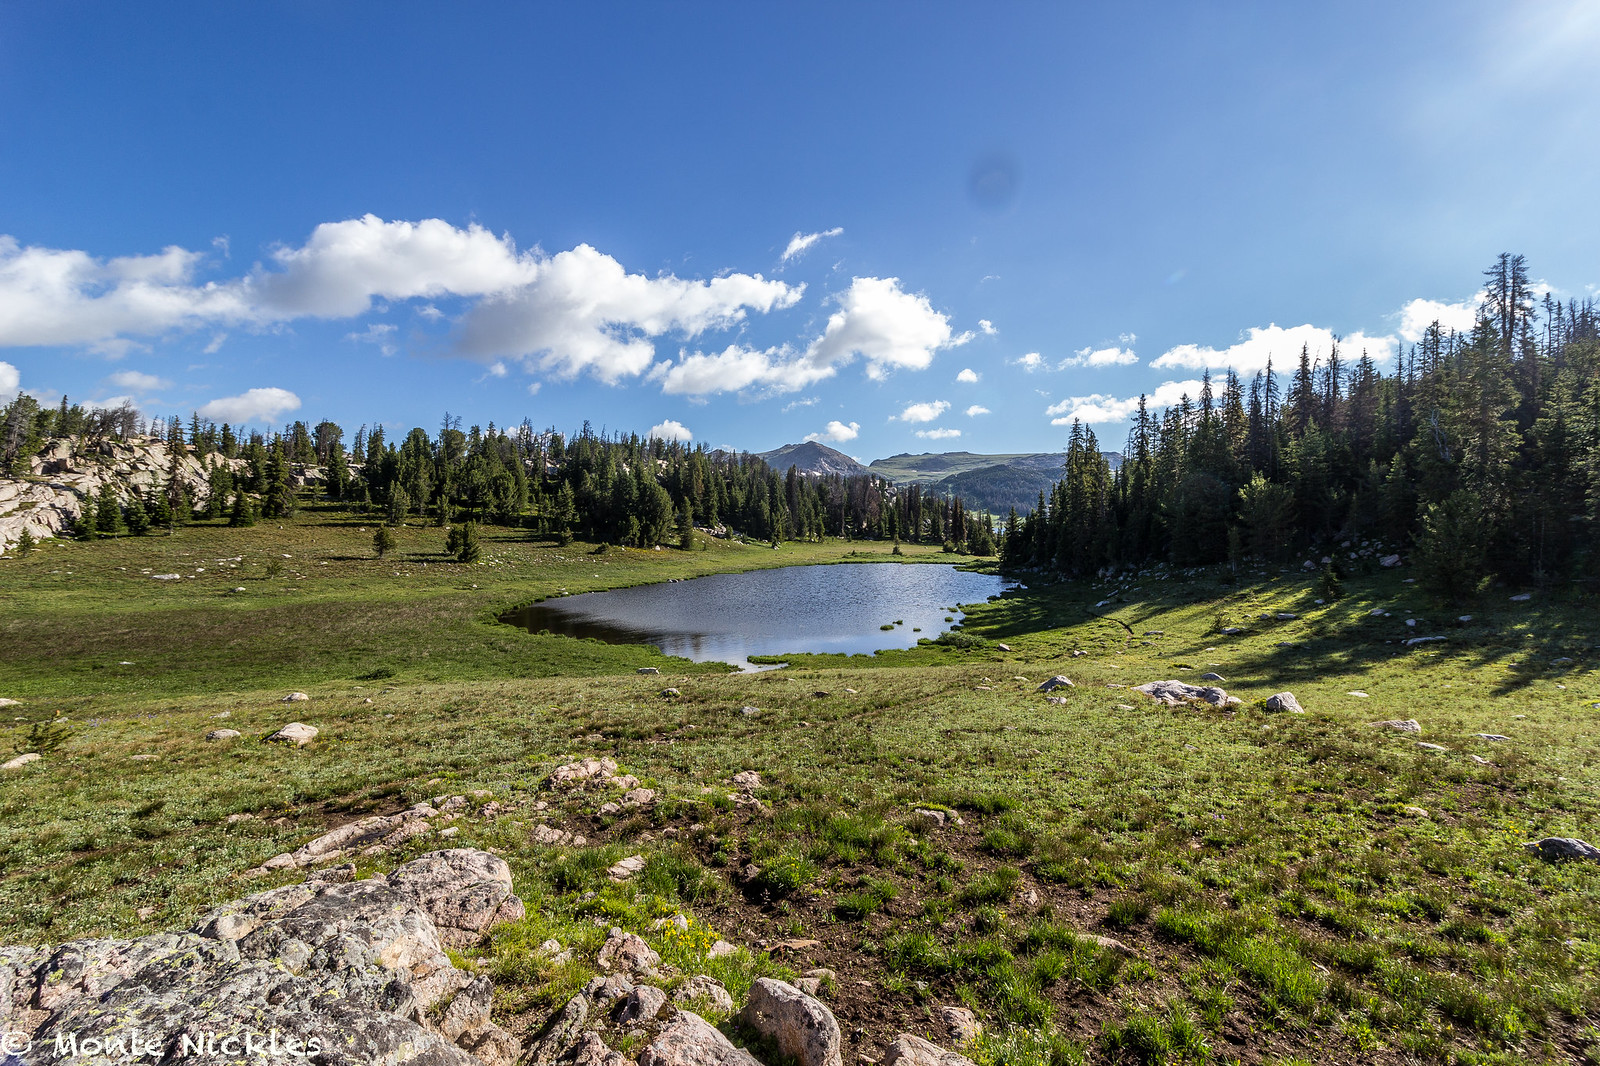 Goose Lake 2015-4.jpg
 Goose Lake 2015-5.jpg
 1 (54)
 Goose Lake 2015-6.jpg
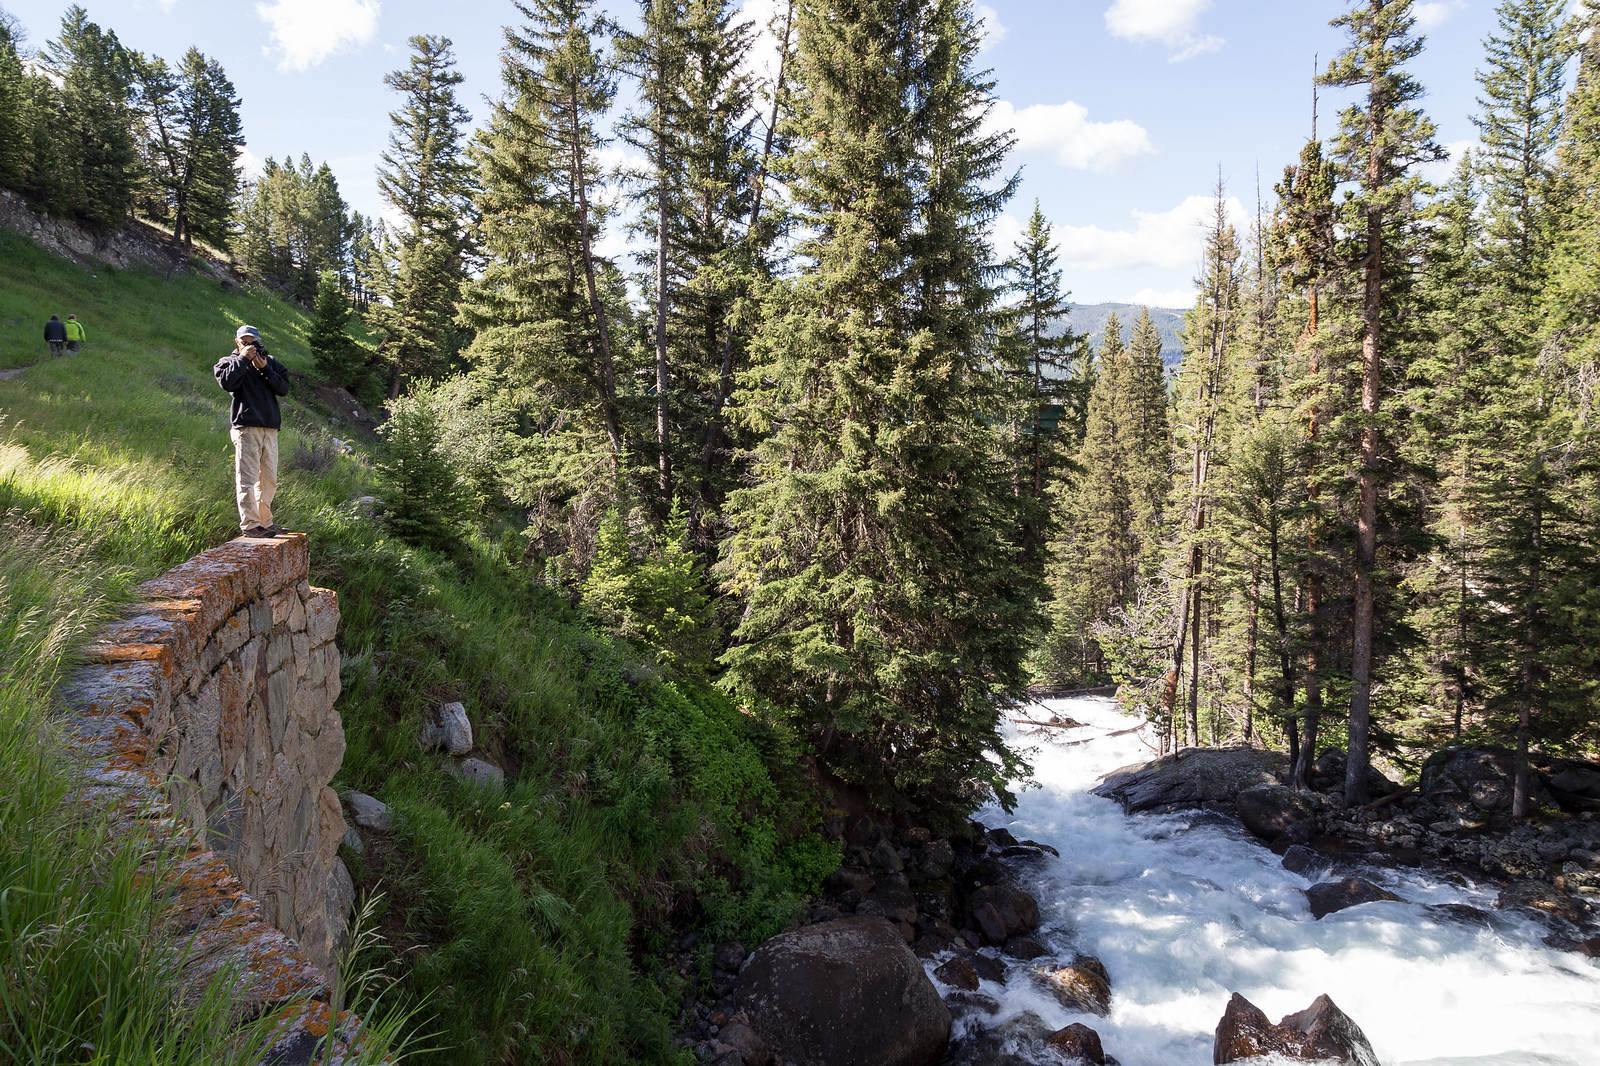 1 (6)
1 (6)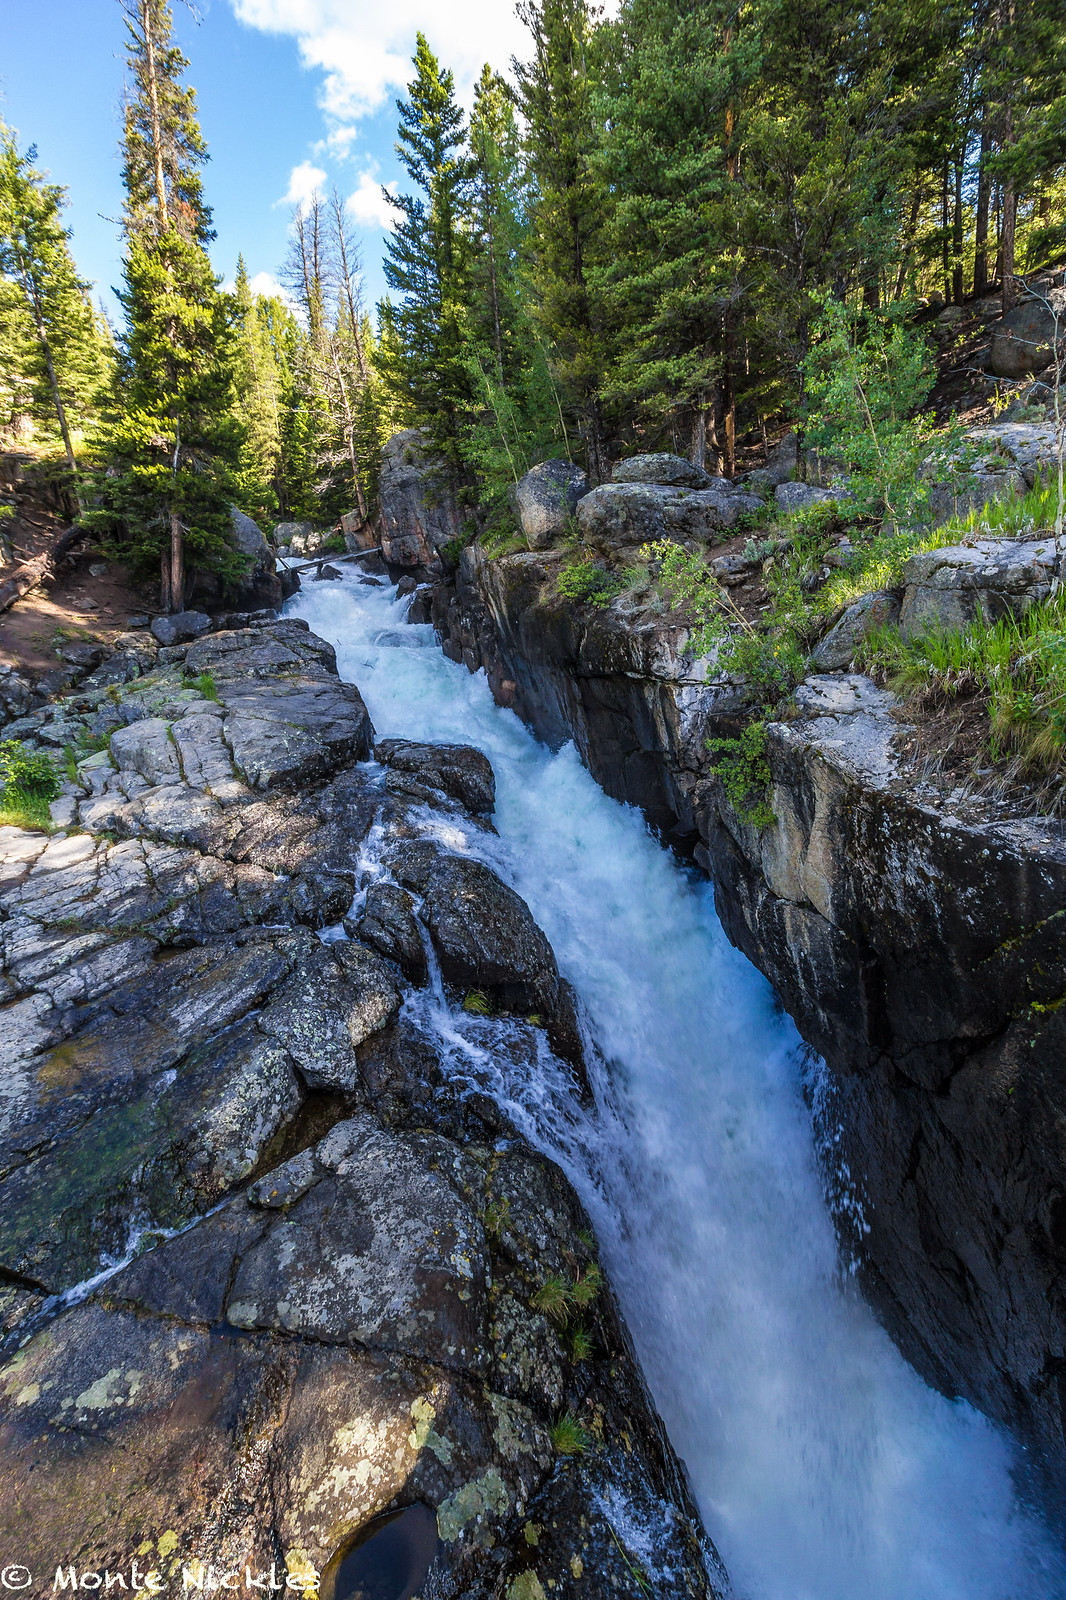 Goose Lake 2015-7.jpg
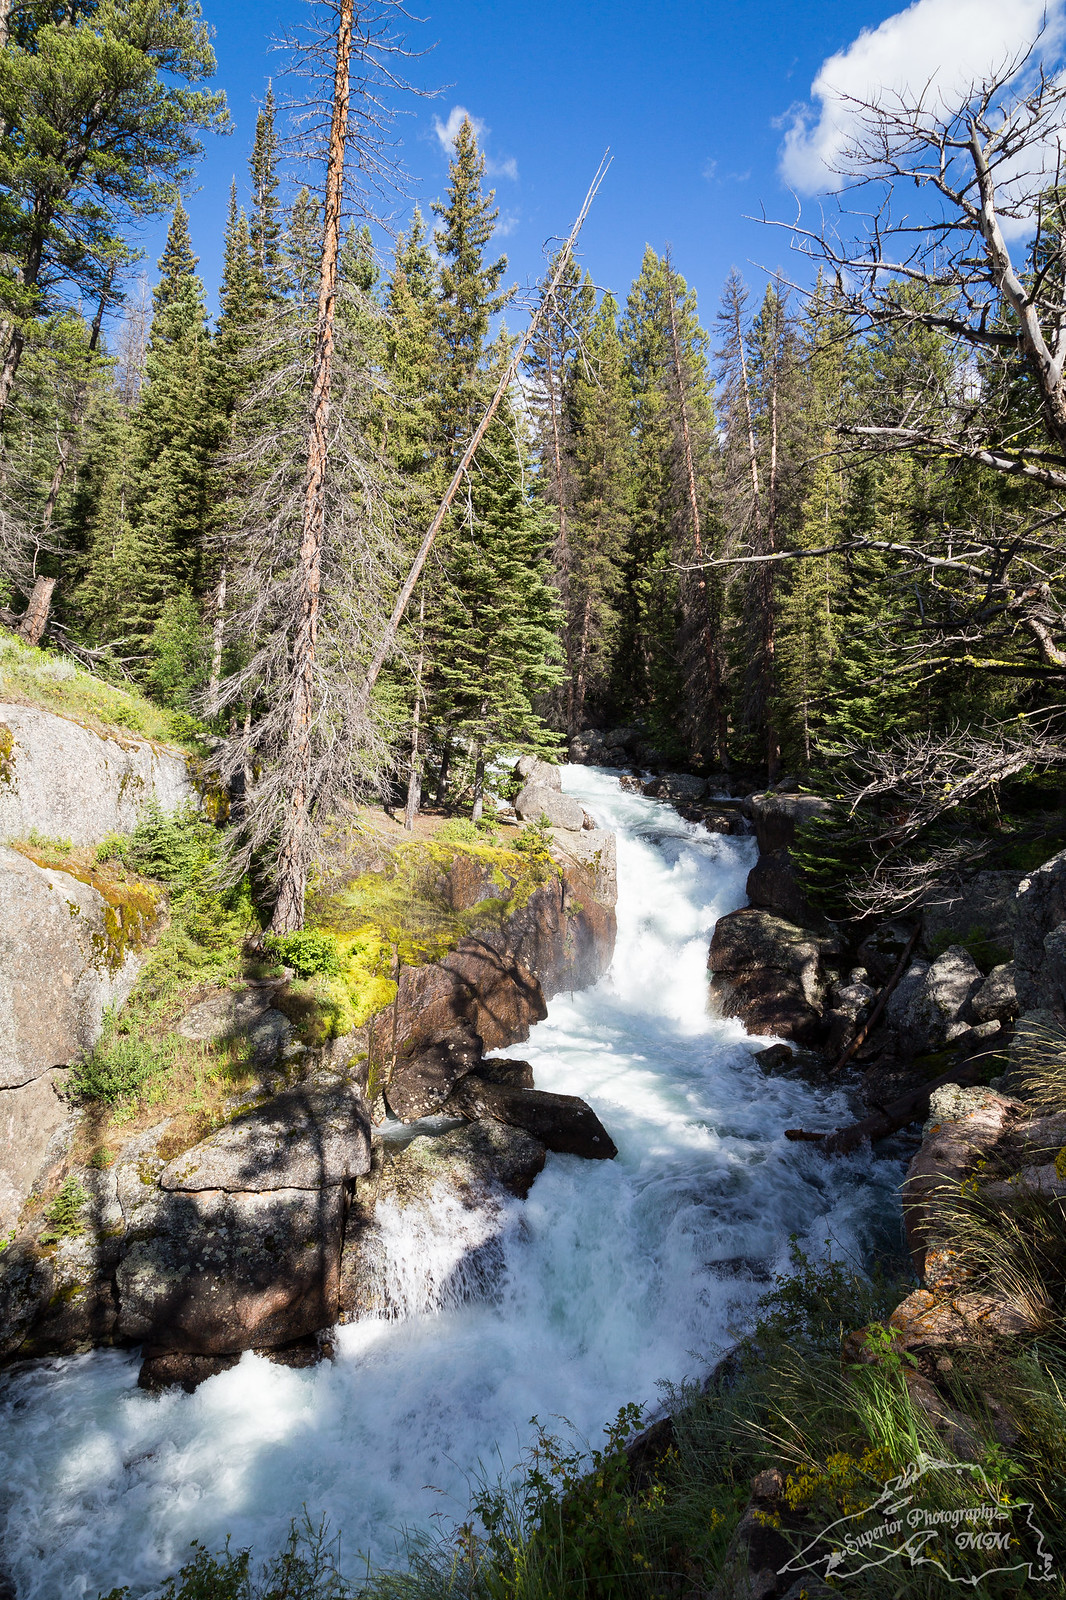 1 (51)
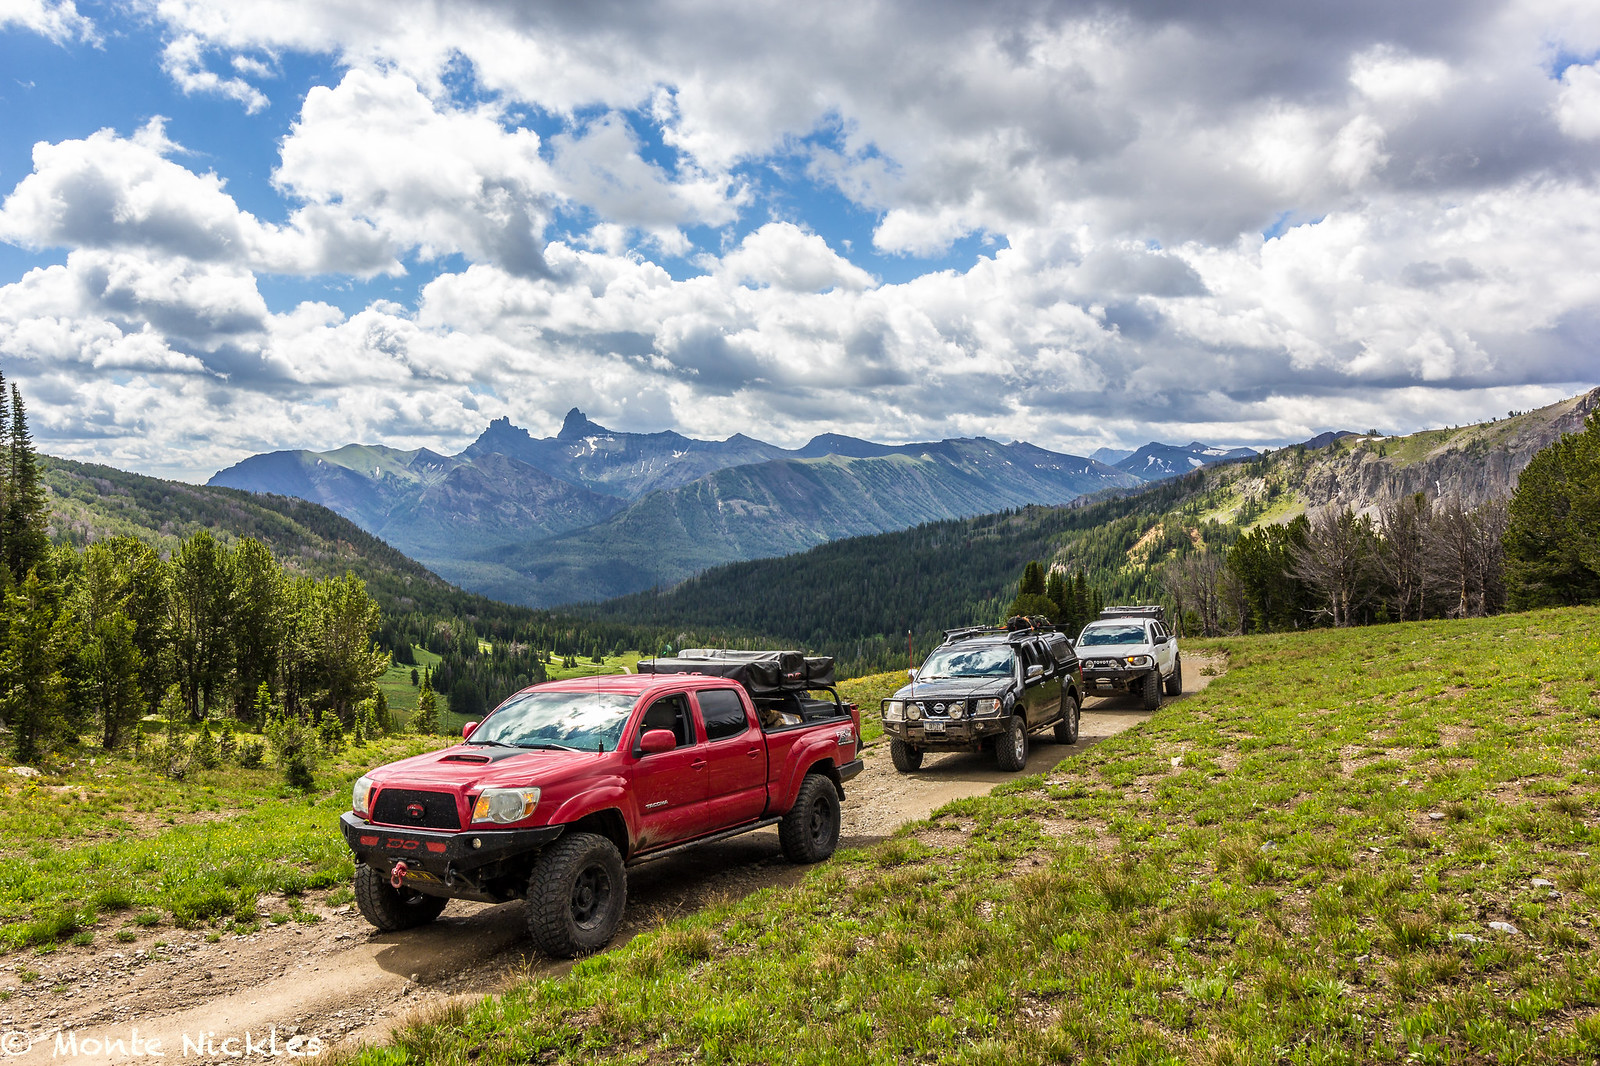 Goose Lake 2015-8.jpg
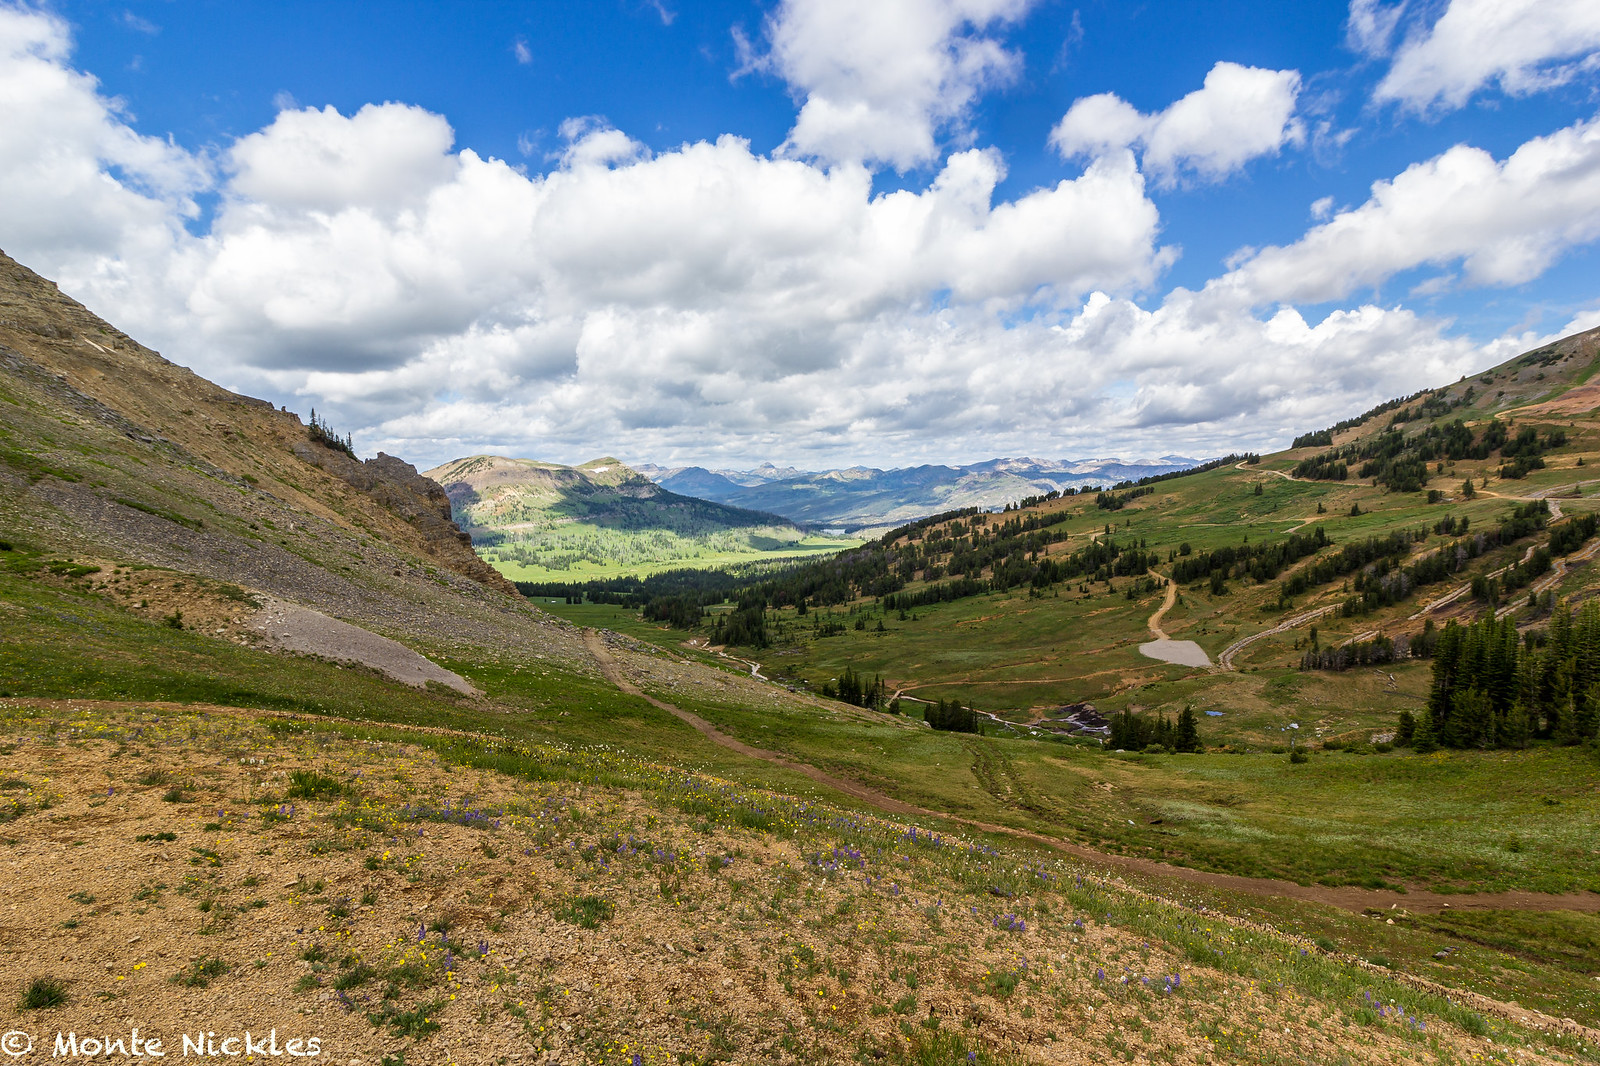 Goose Lake 2015-9.jpg
 Goose Lake 2015-10.jpg
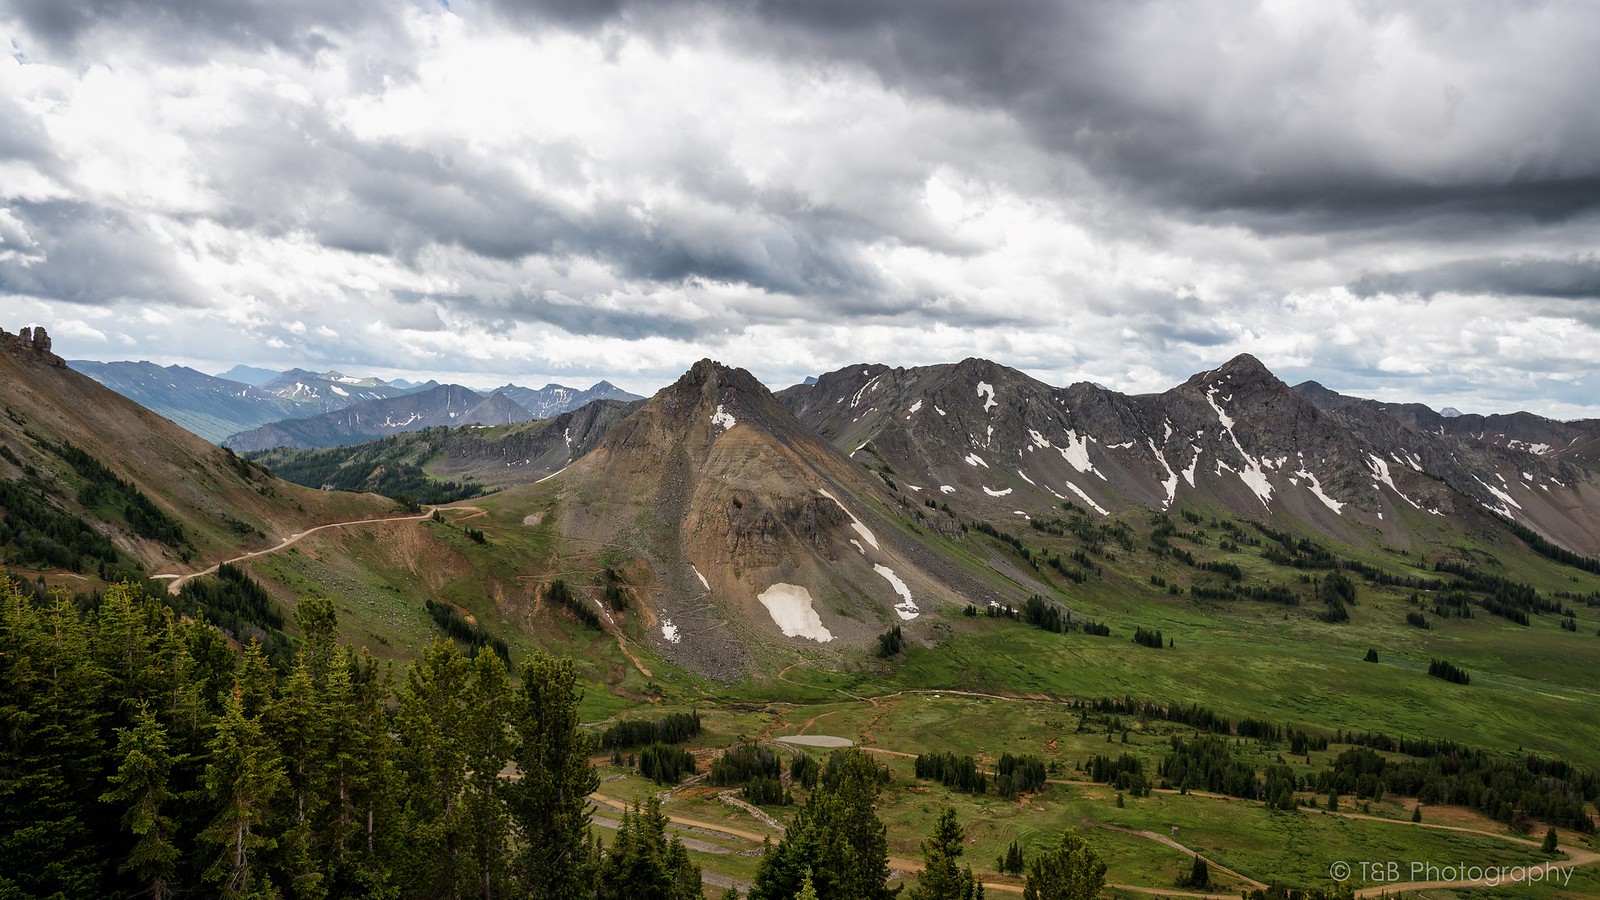 DSC_3339-Edit-Edit (Custom)
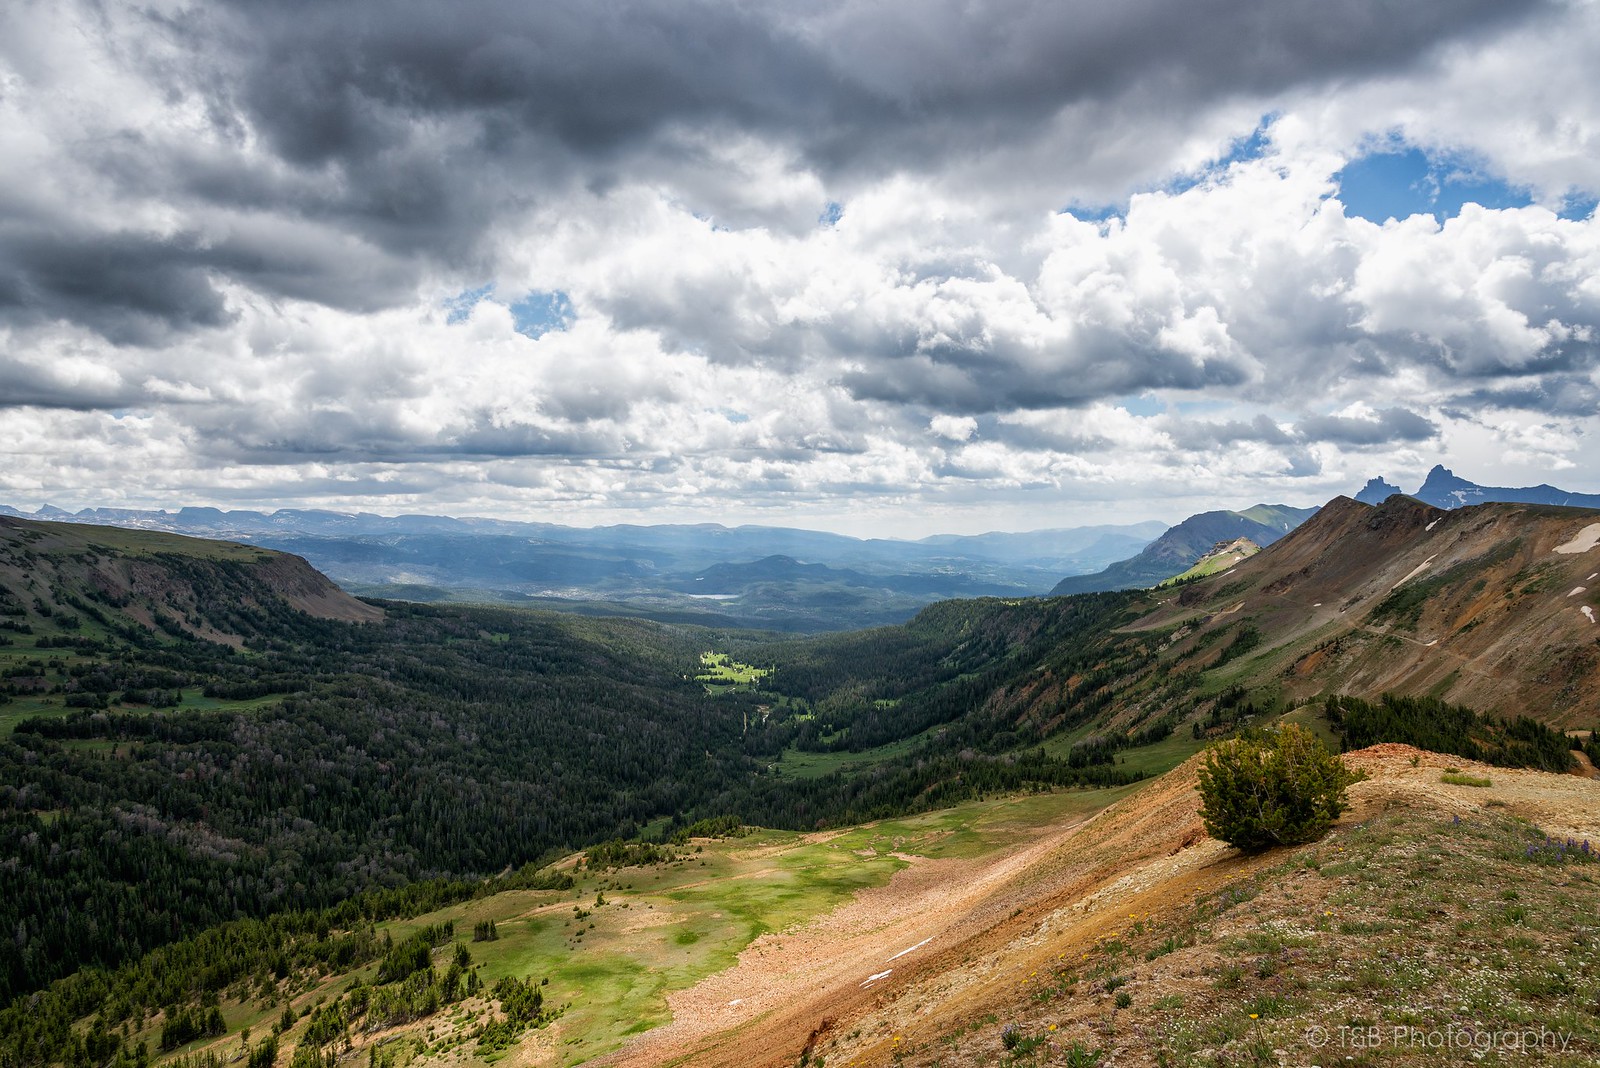 DSC_3343-Edit-Edit (Custom)
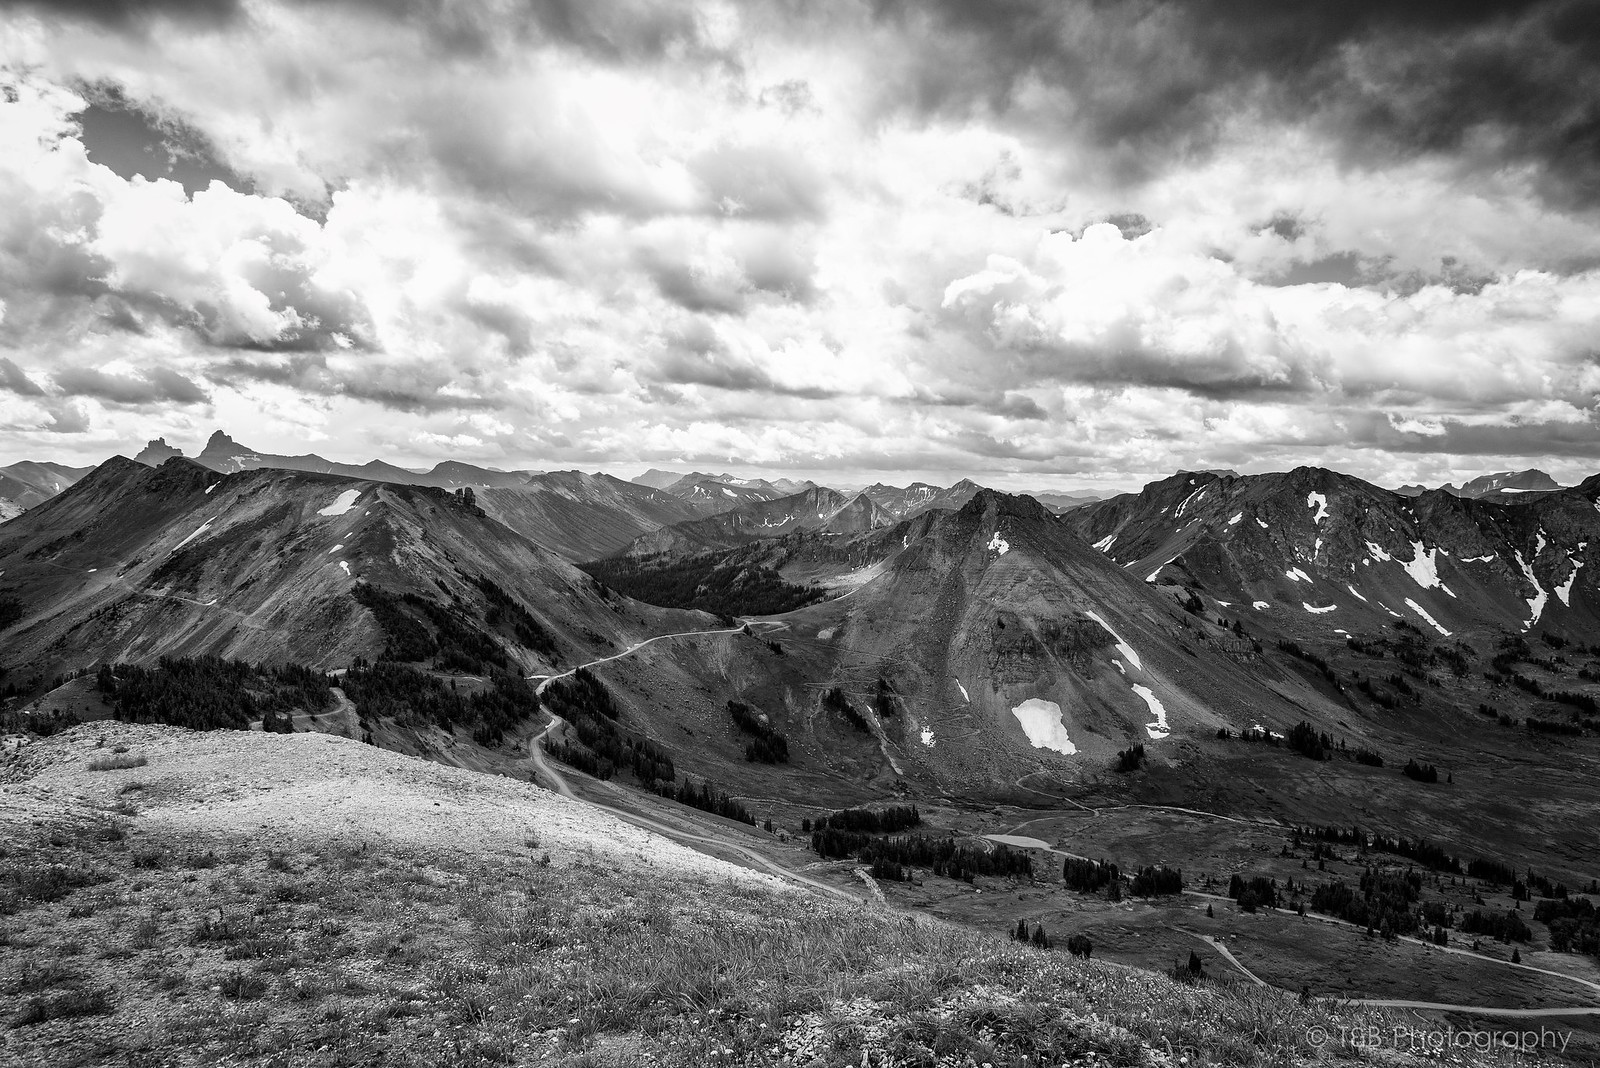 DSC_3344-Edit-Edit-Edit (Custom)
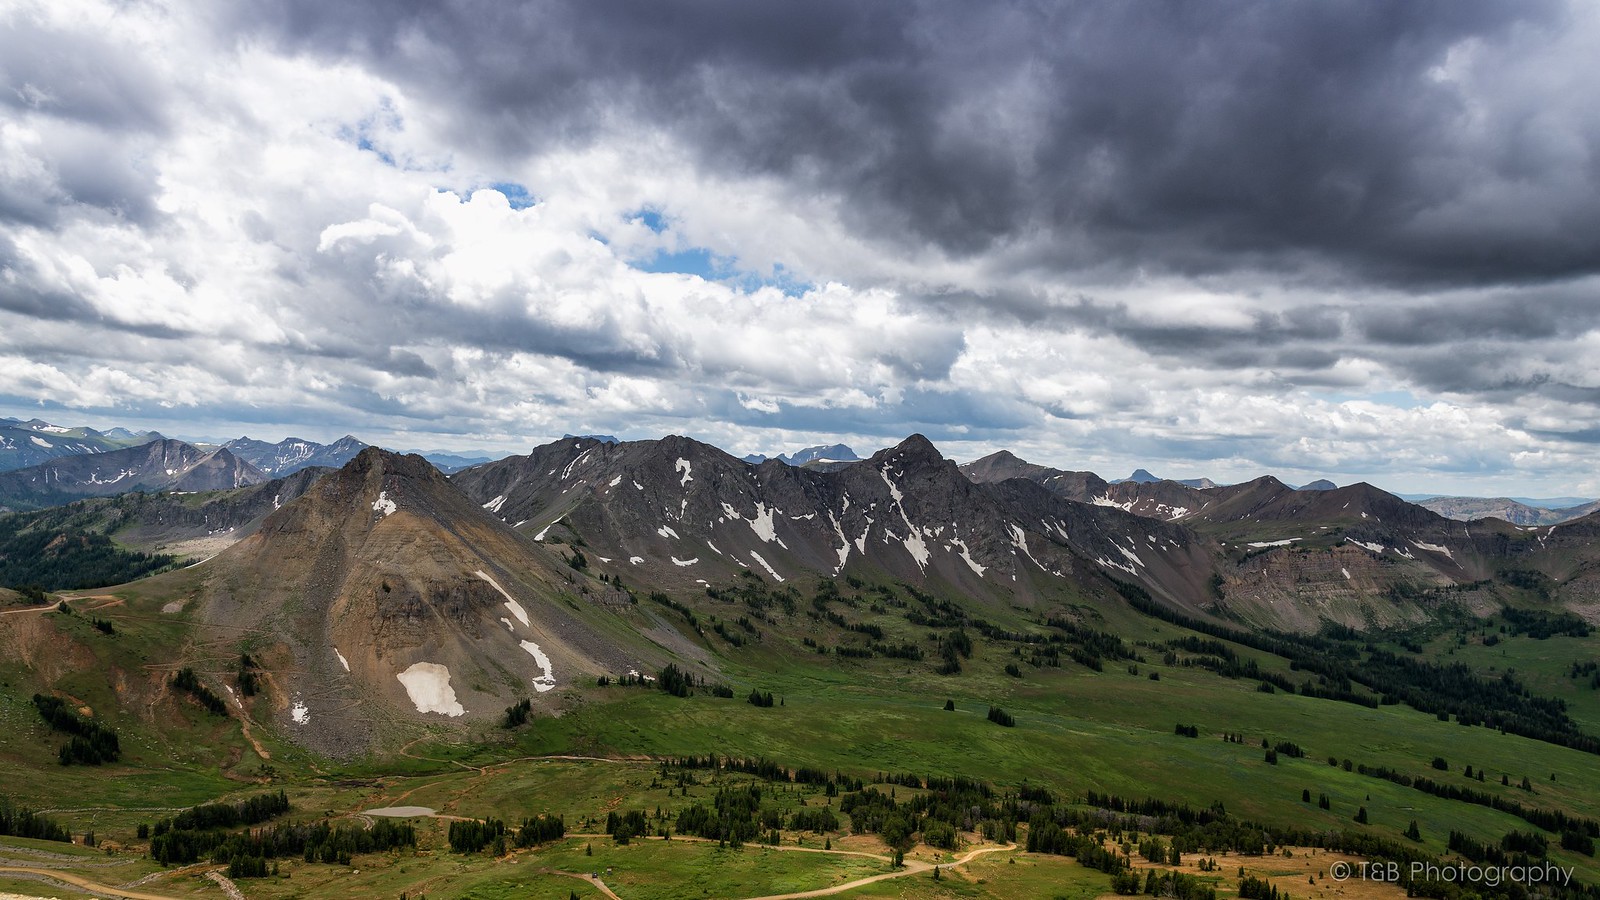 DSC_3345-Edit-Edit (Custom)
 Goose Lake 2015-11.jpg
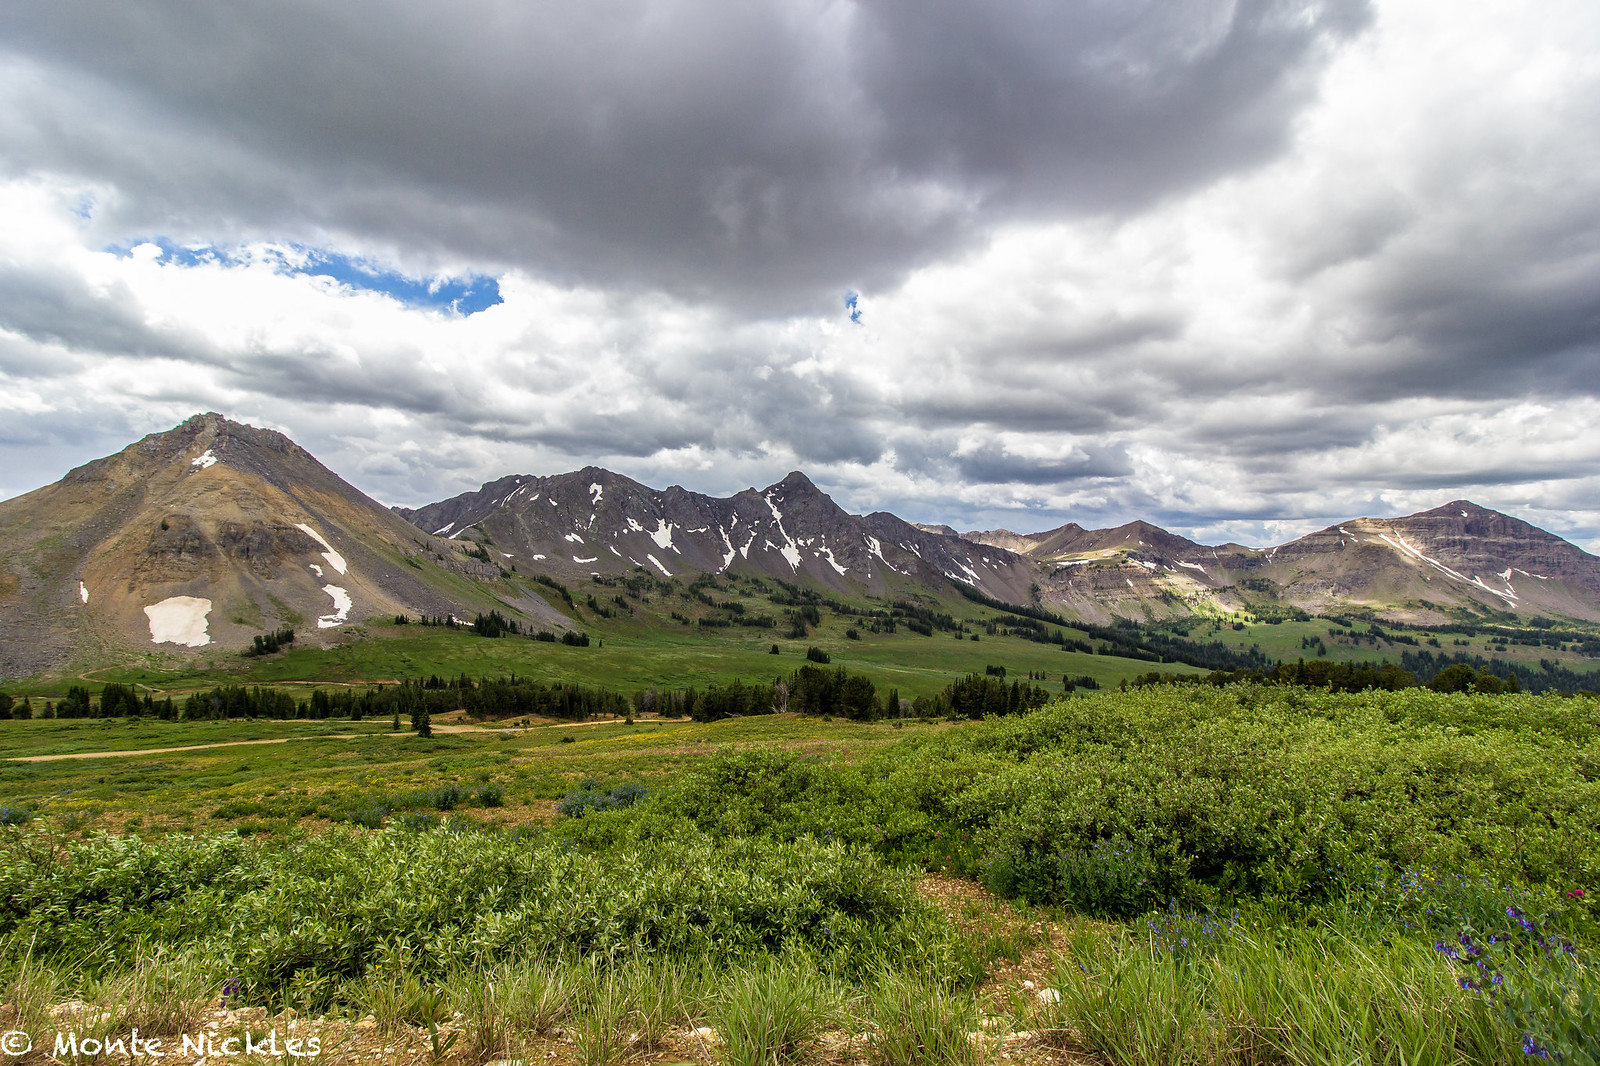 Goose Lake 2015-14.jpg
 Goose Lake 2015-15.jpg
 1 (1)
1 (1) Goose Lake 2015-16.jpg
 Goose Lake 2015-17.jpg
 Goose Lake 2015-18.jpg
 Goose Lake 2015-19.jpg
 Goose Lake 2015-20.jpg
 DSC_3363-Edit-Edit (Custom)
 Goose Lake 2015-21.jpg
 1 (52)
 DSC_3369-Edit-Edit (Custom)
 1 (49)
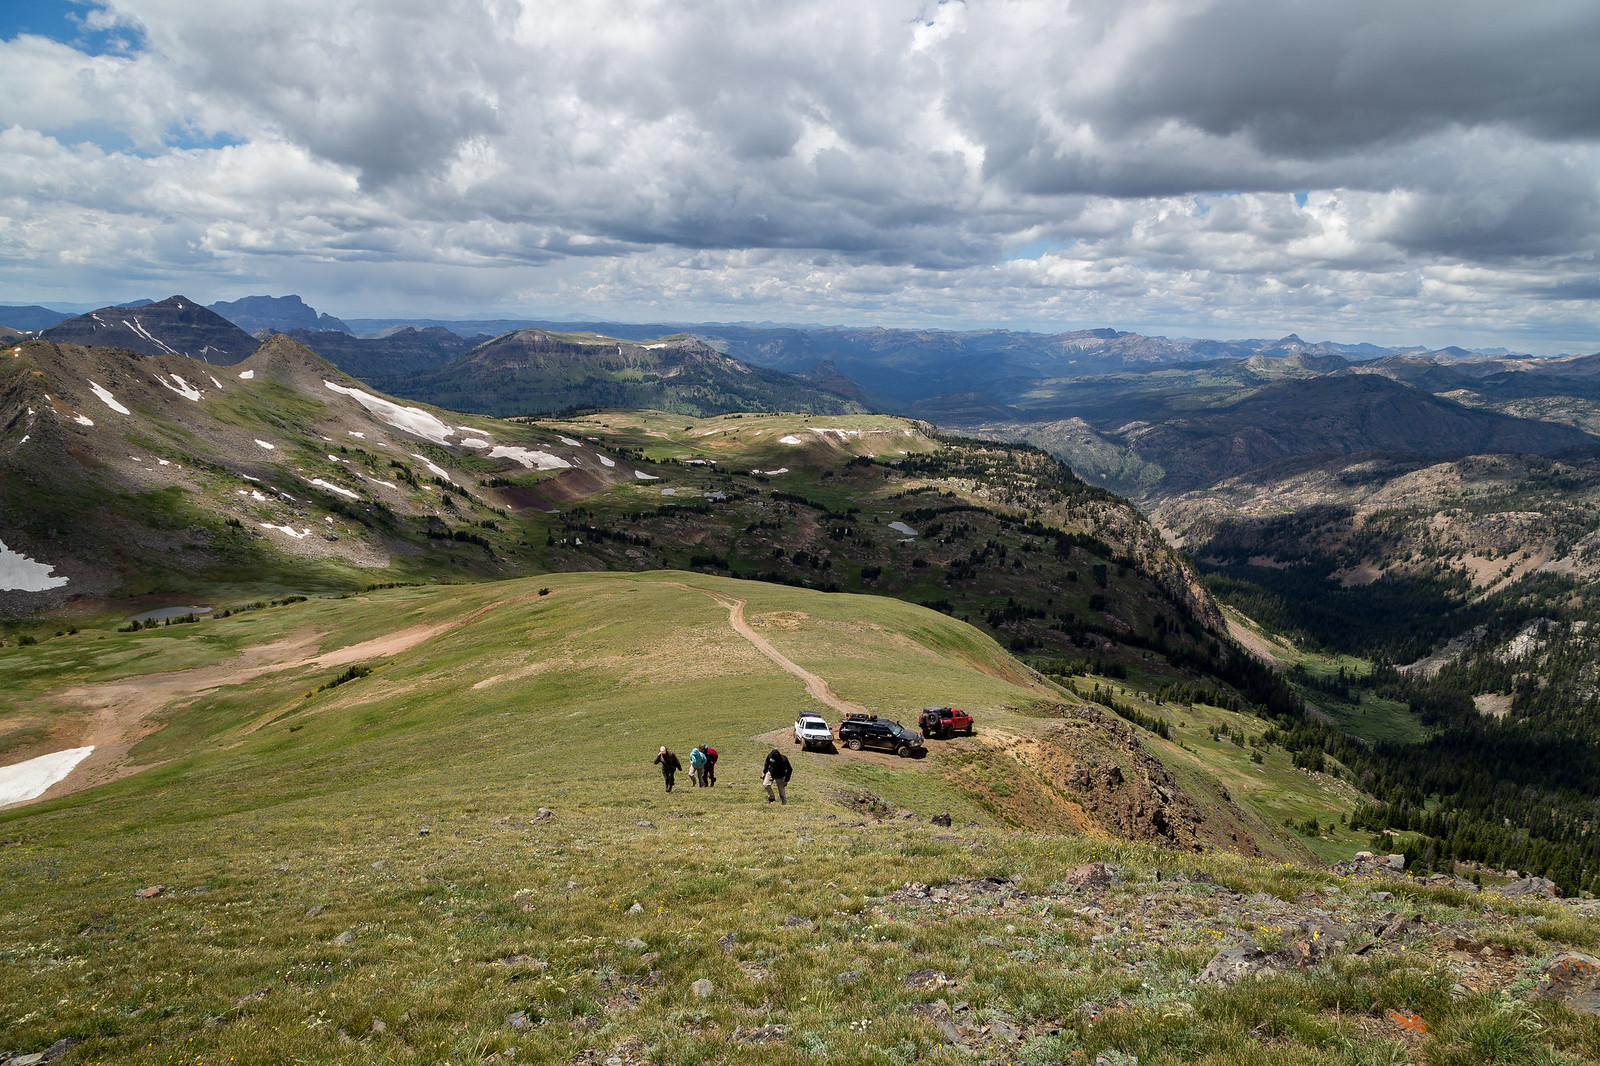 1 (48)
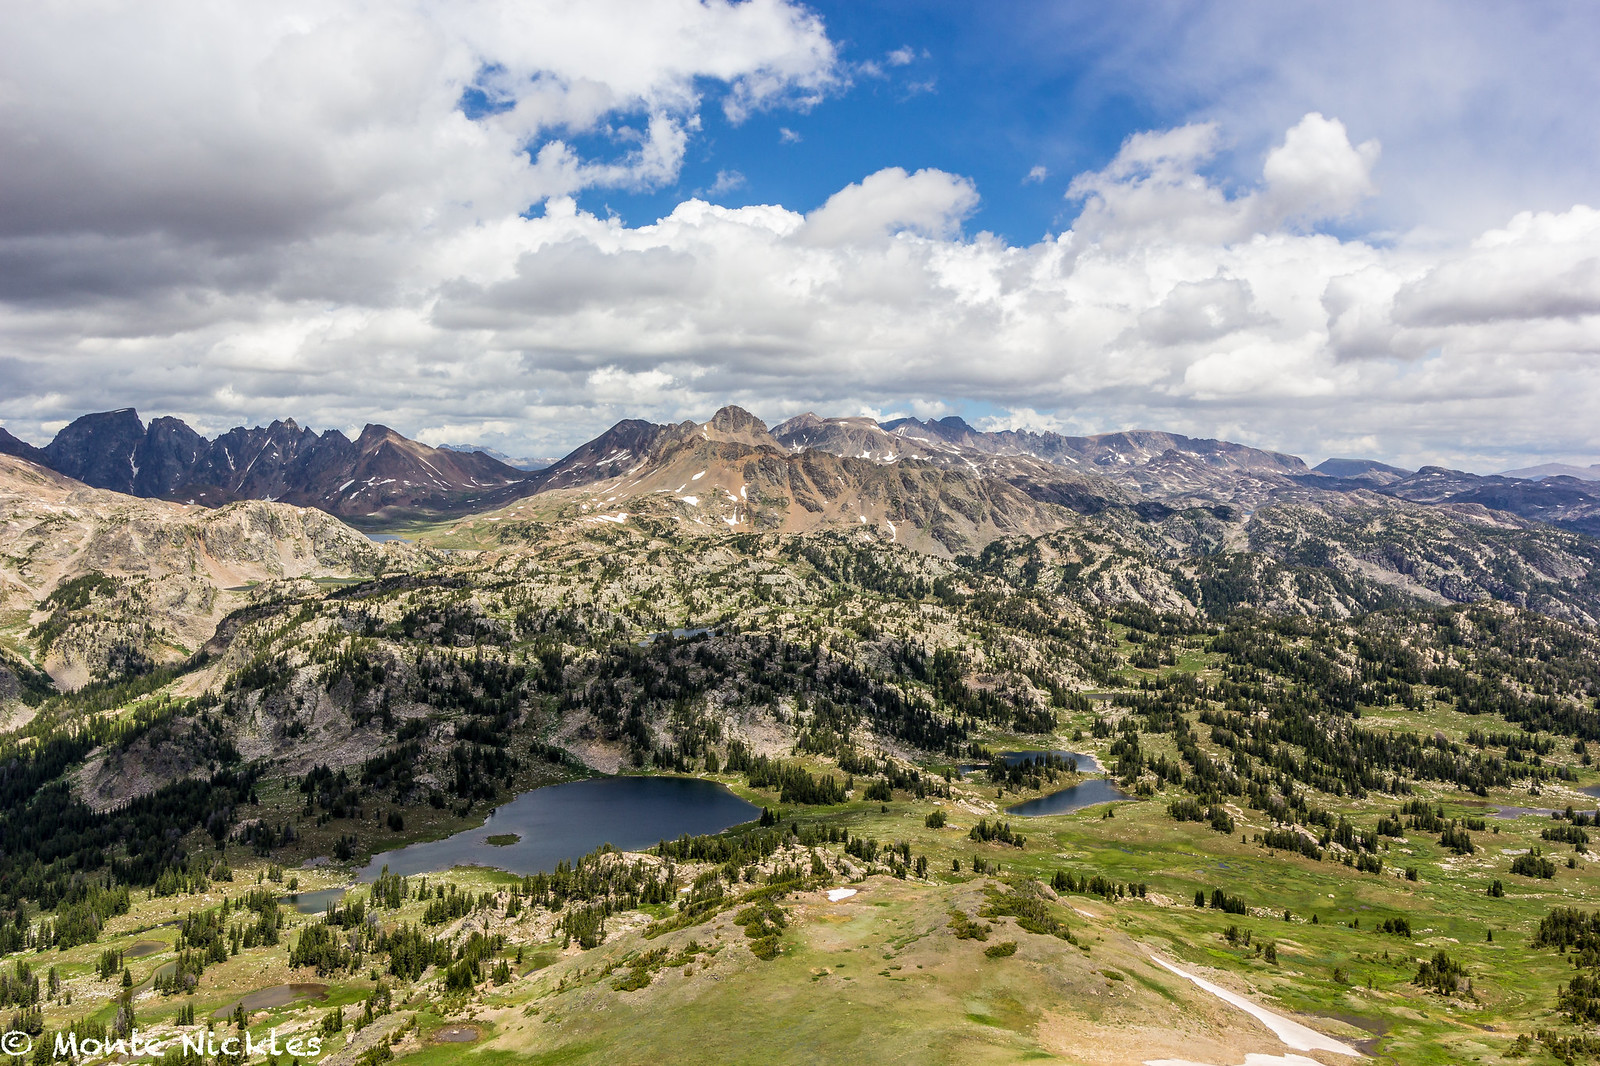 Goose Lake 2015-23.jpg
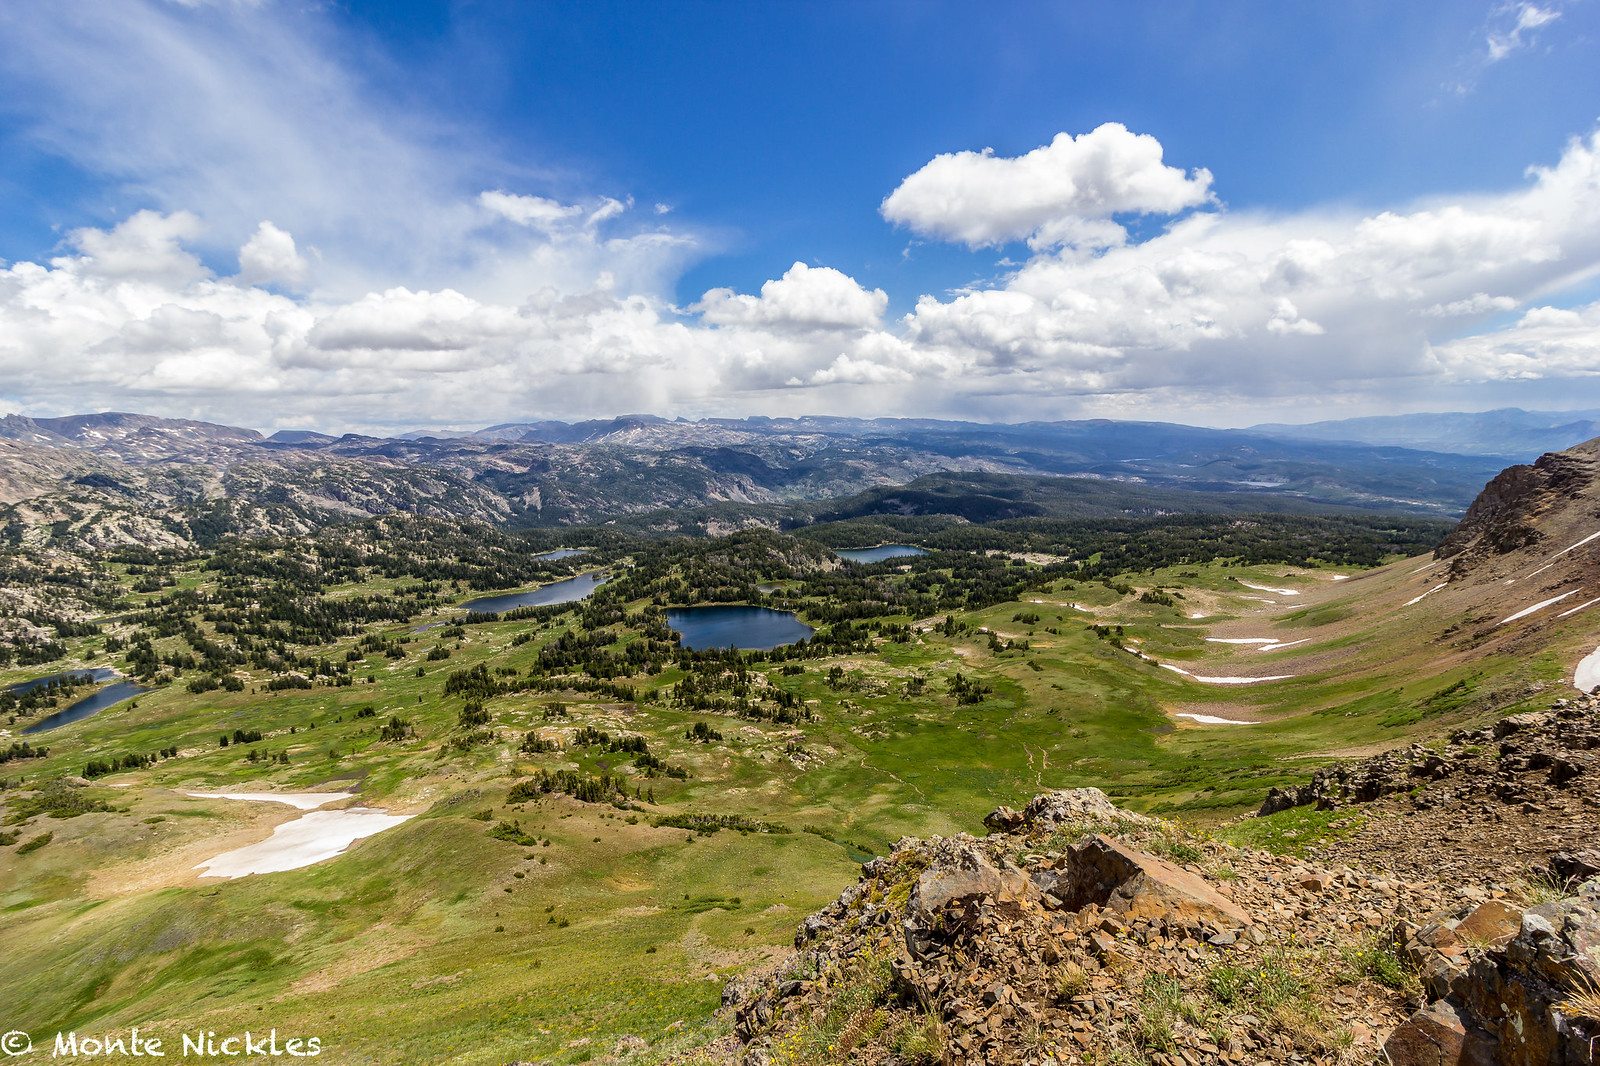 Goose Lake 2015-24.jpg
 Goose Lake 2015-25.jpg
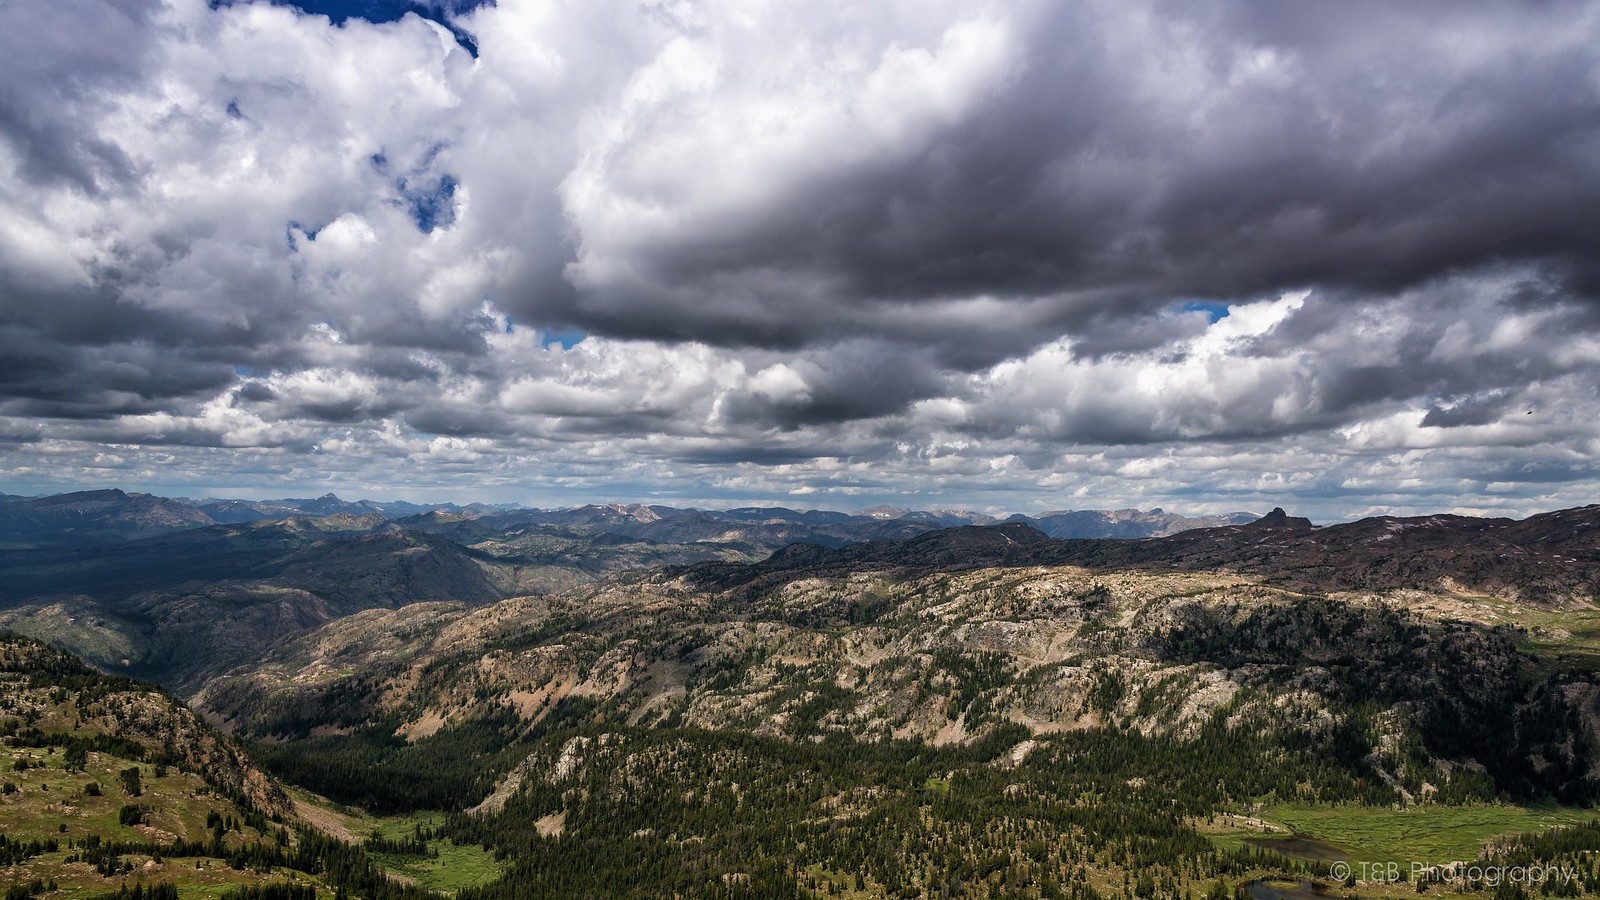 DSC_3372-Edit-Edit (Custom)
 Goose Lake 2015-26.jpg
 Goose Lake 2015-27.jpg
 Goose Lake 2015-29.jpg
 Goose Lake 2015-30.jpg
 1 (43)
 Goose Lake 2015-33.jpg
 DSC_3395-Edit-Edit (Custom)
 Goose Lake 2015-34.jpg
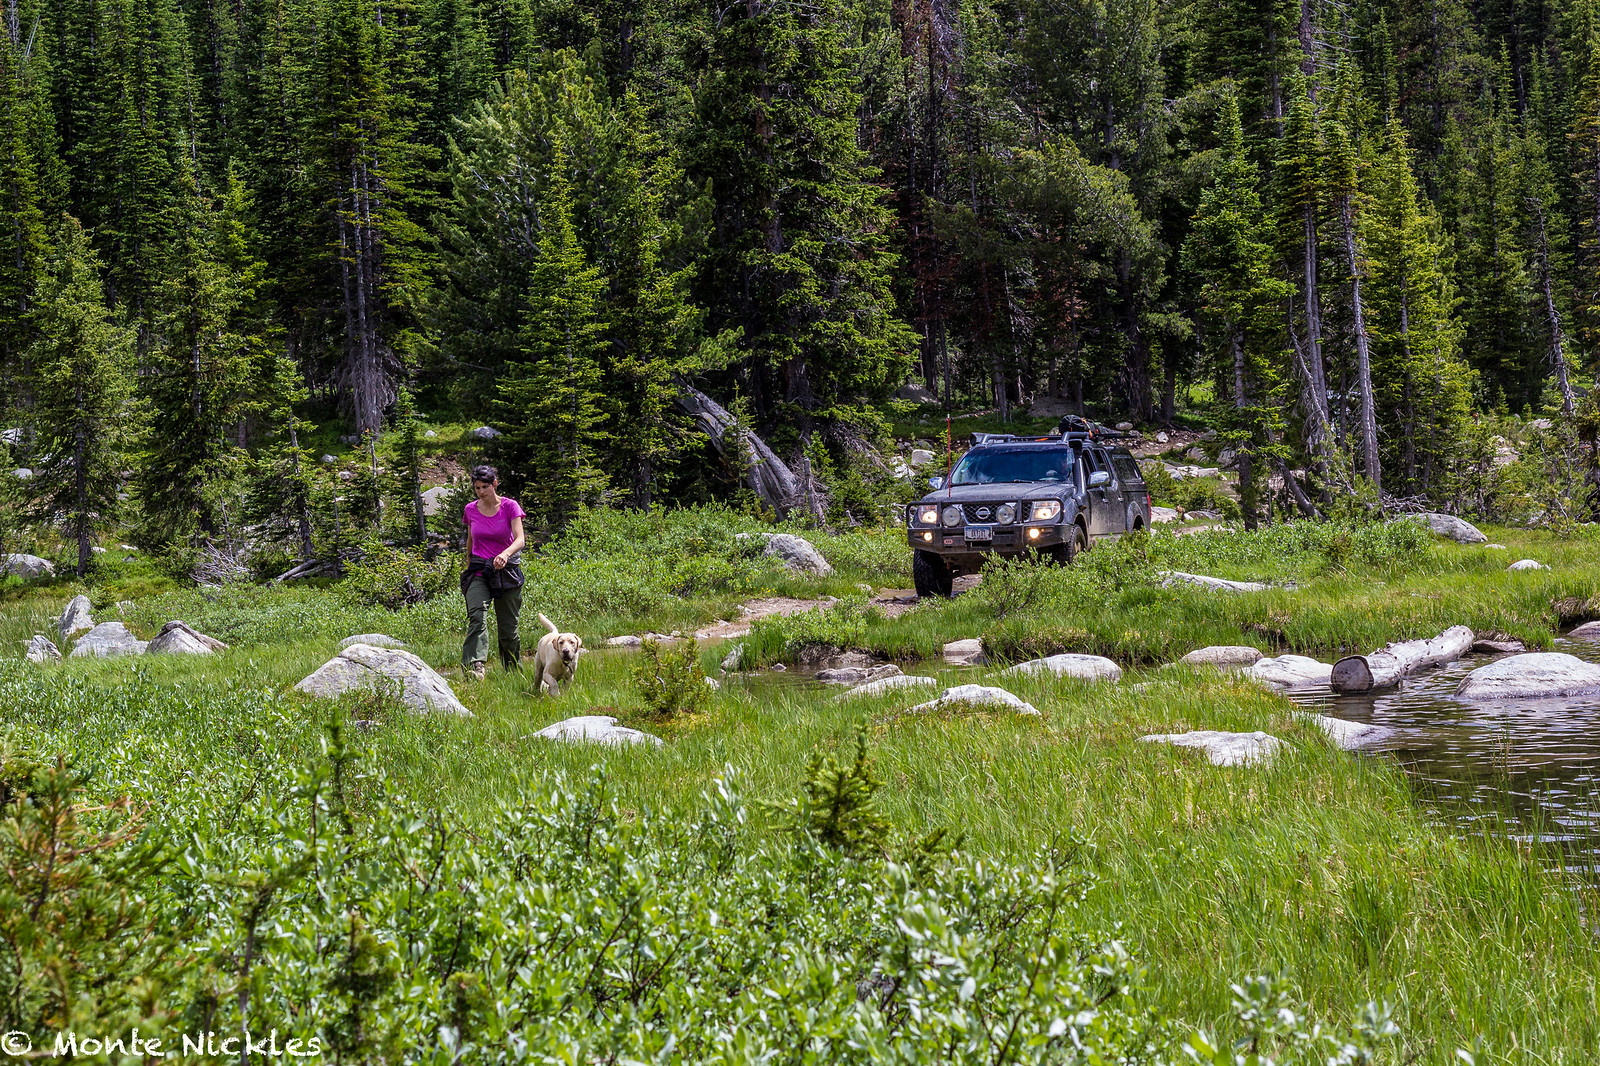 Goose Lake 2015-35.jpg
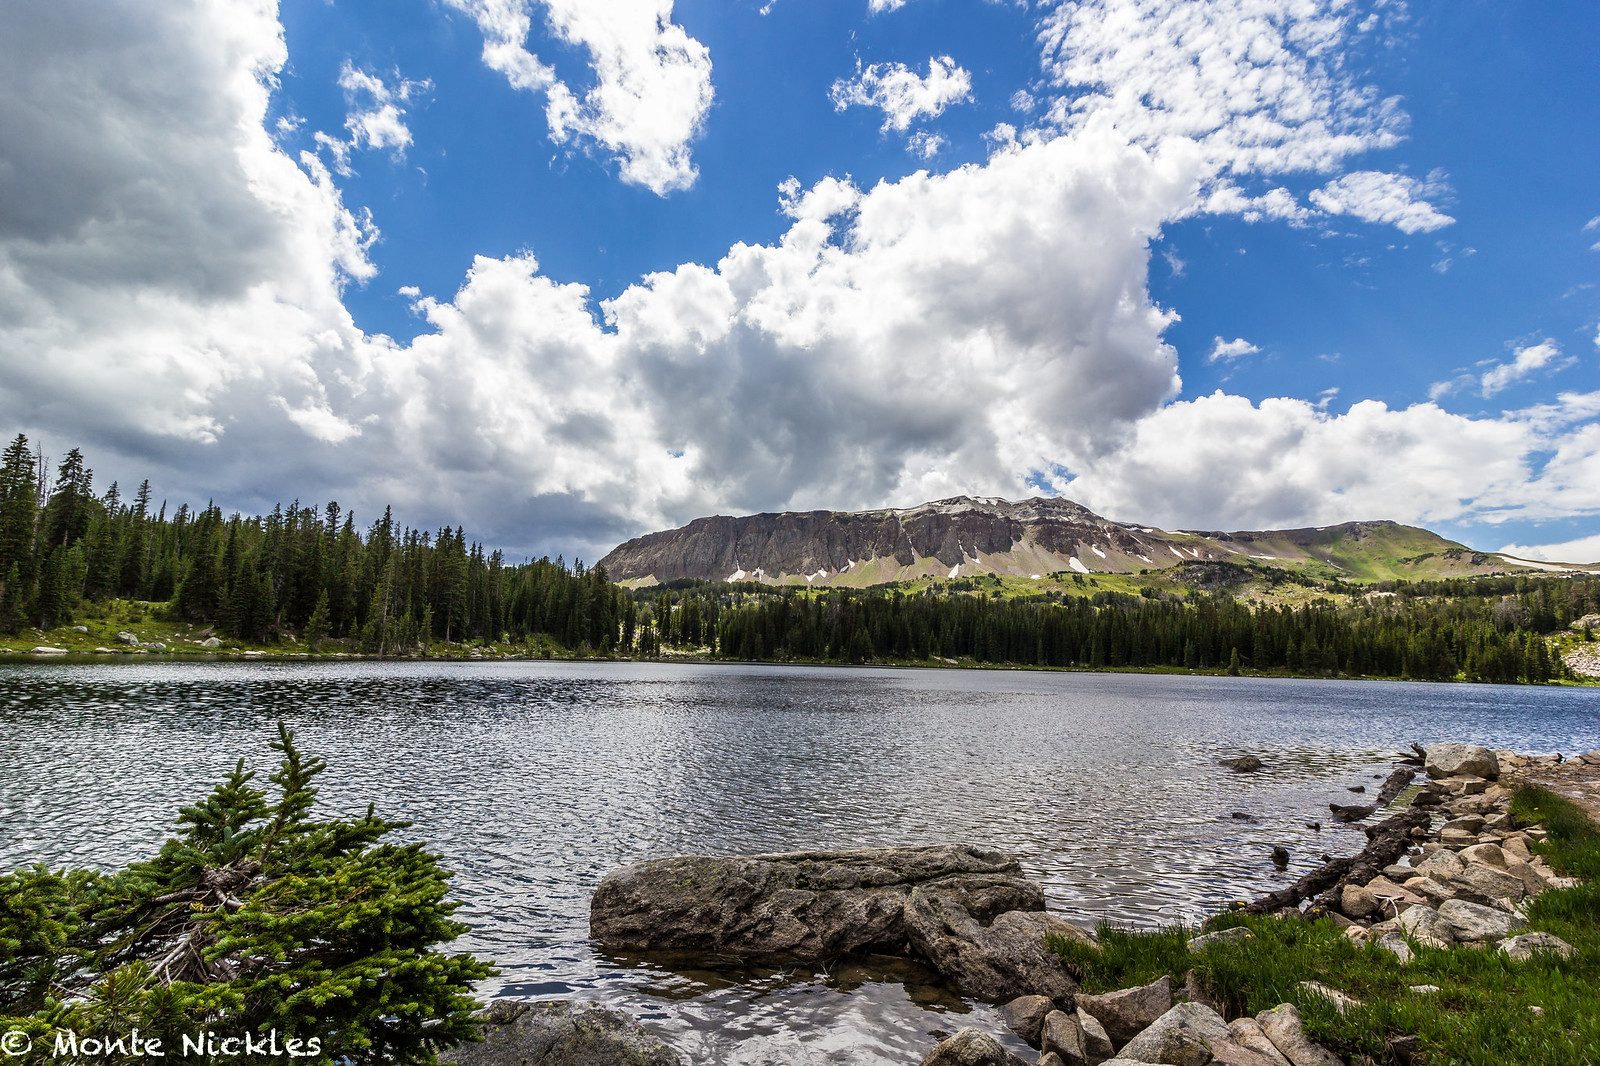 Goose Lake 2015-36.jpg
 Goose Lake 2015-37.jpg
 1 (28)
 Goose Lake 2015-38.jpg
 Goose Lake 2015-39.jpg
 DSC_3406-Edit-Edit (Custom)
 DSC_3409-Edit-Edit (Custom)
 DSC_3414-Edit-Edit (Custom)
 1 (24)
 1 (38)
 1 (22)
 1 (18)
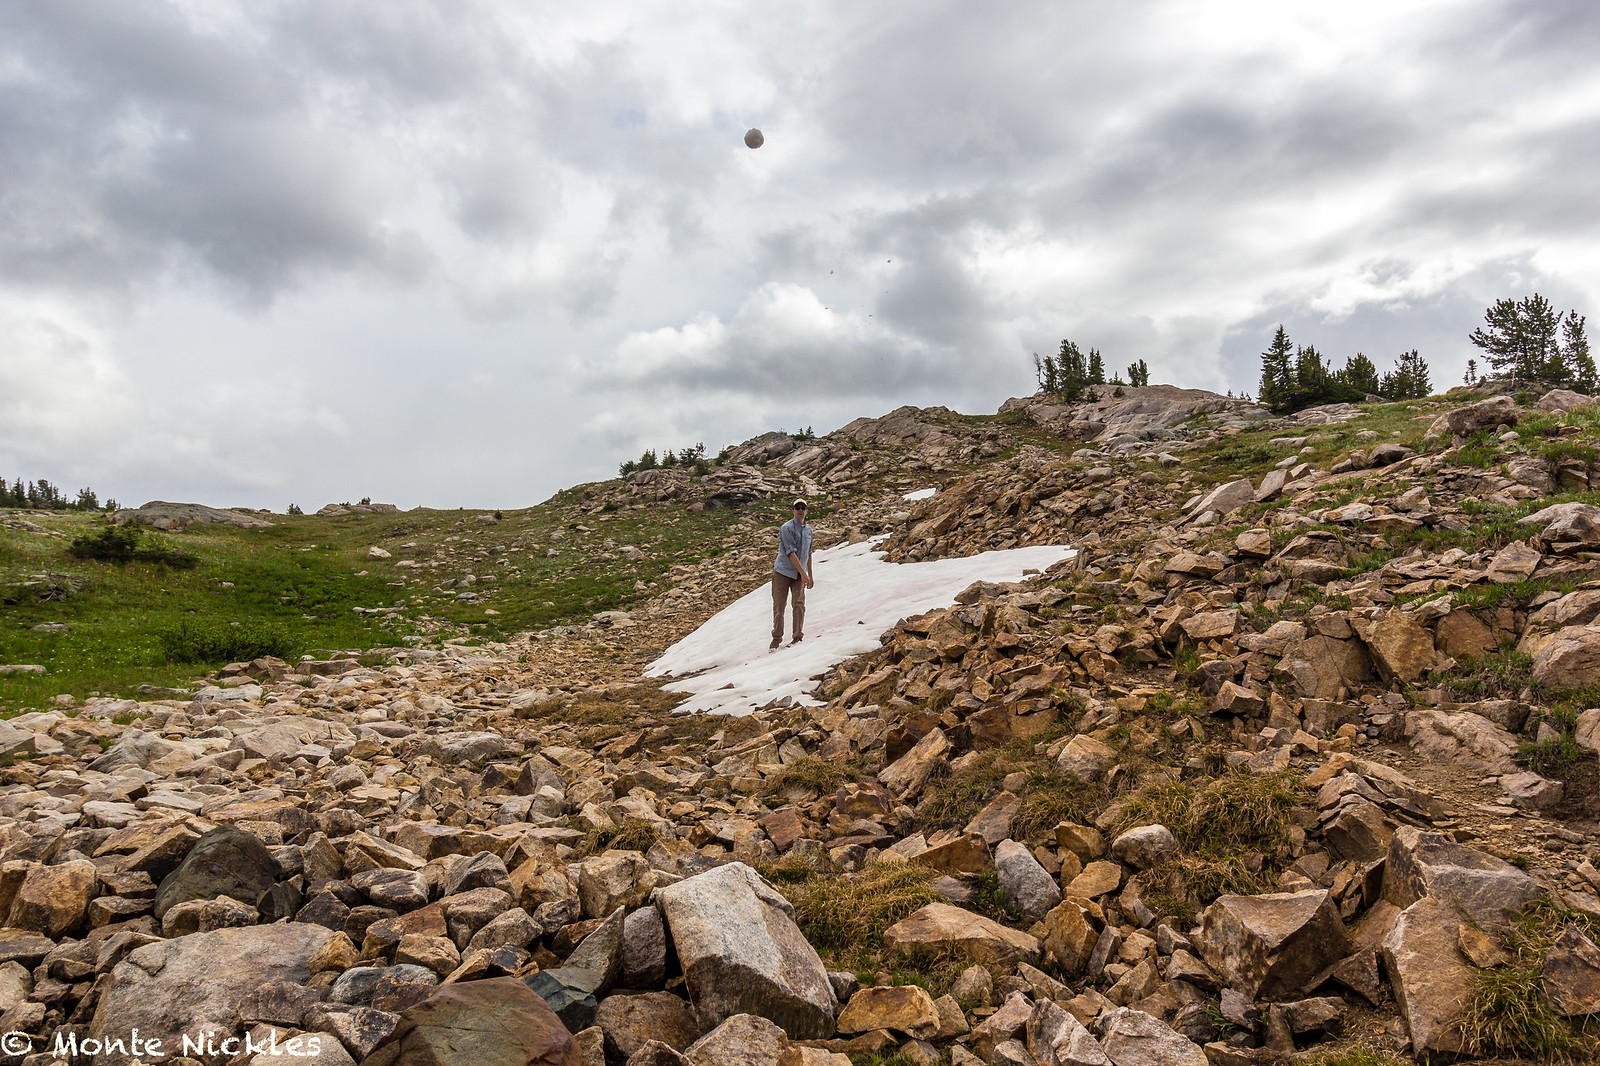 Goose Lake 2015-40.jpg
 Goose Lake 2015-41.jpg
 Goose Lake 2015-42.jpg
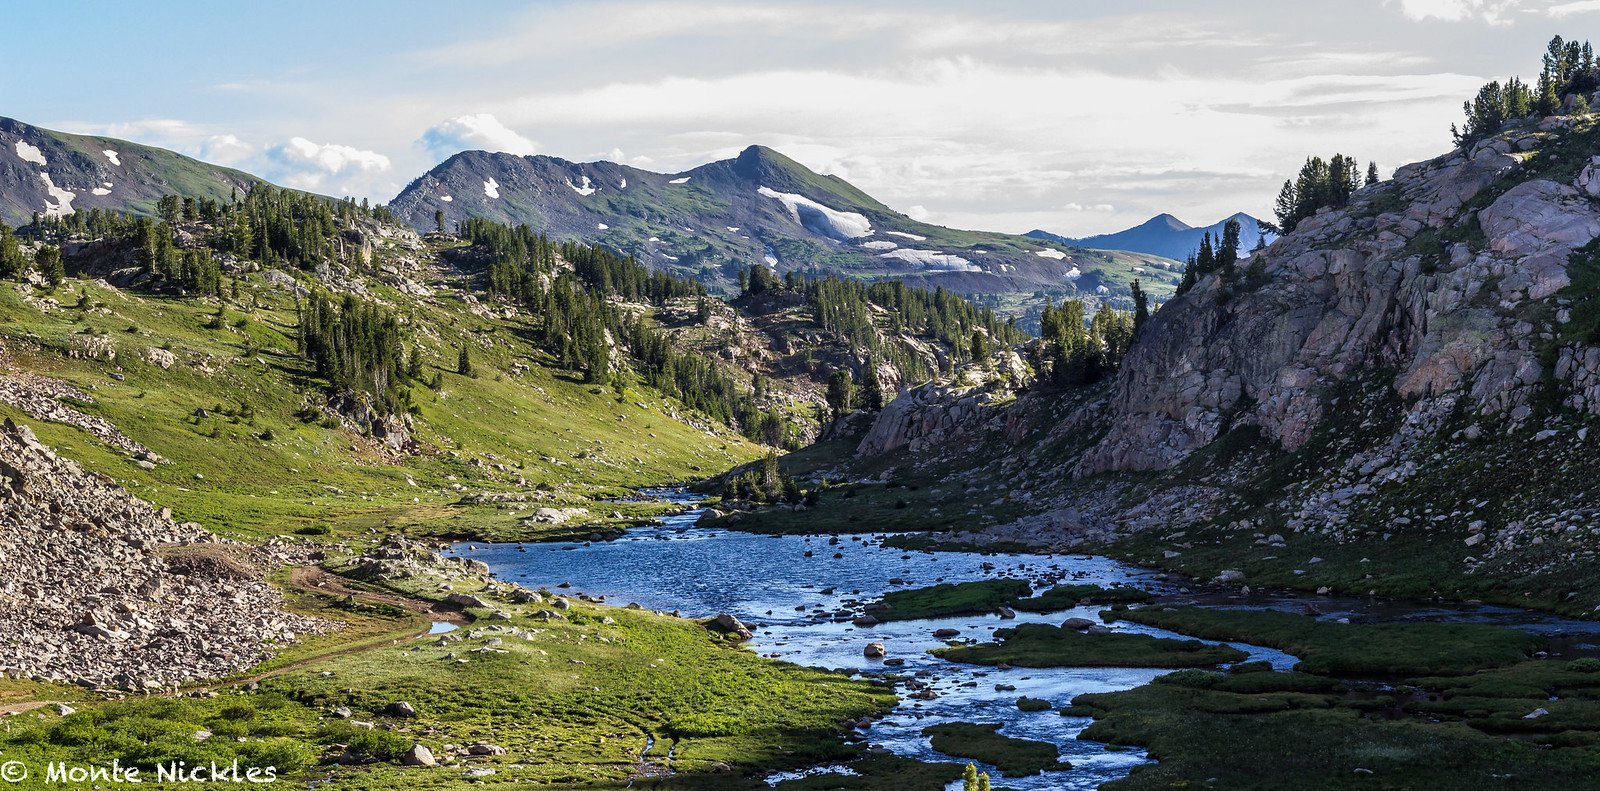 Goose Lake 2015-43.jpg
 Goose Lake 2015-44.jpg
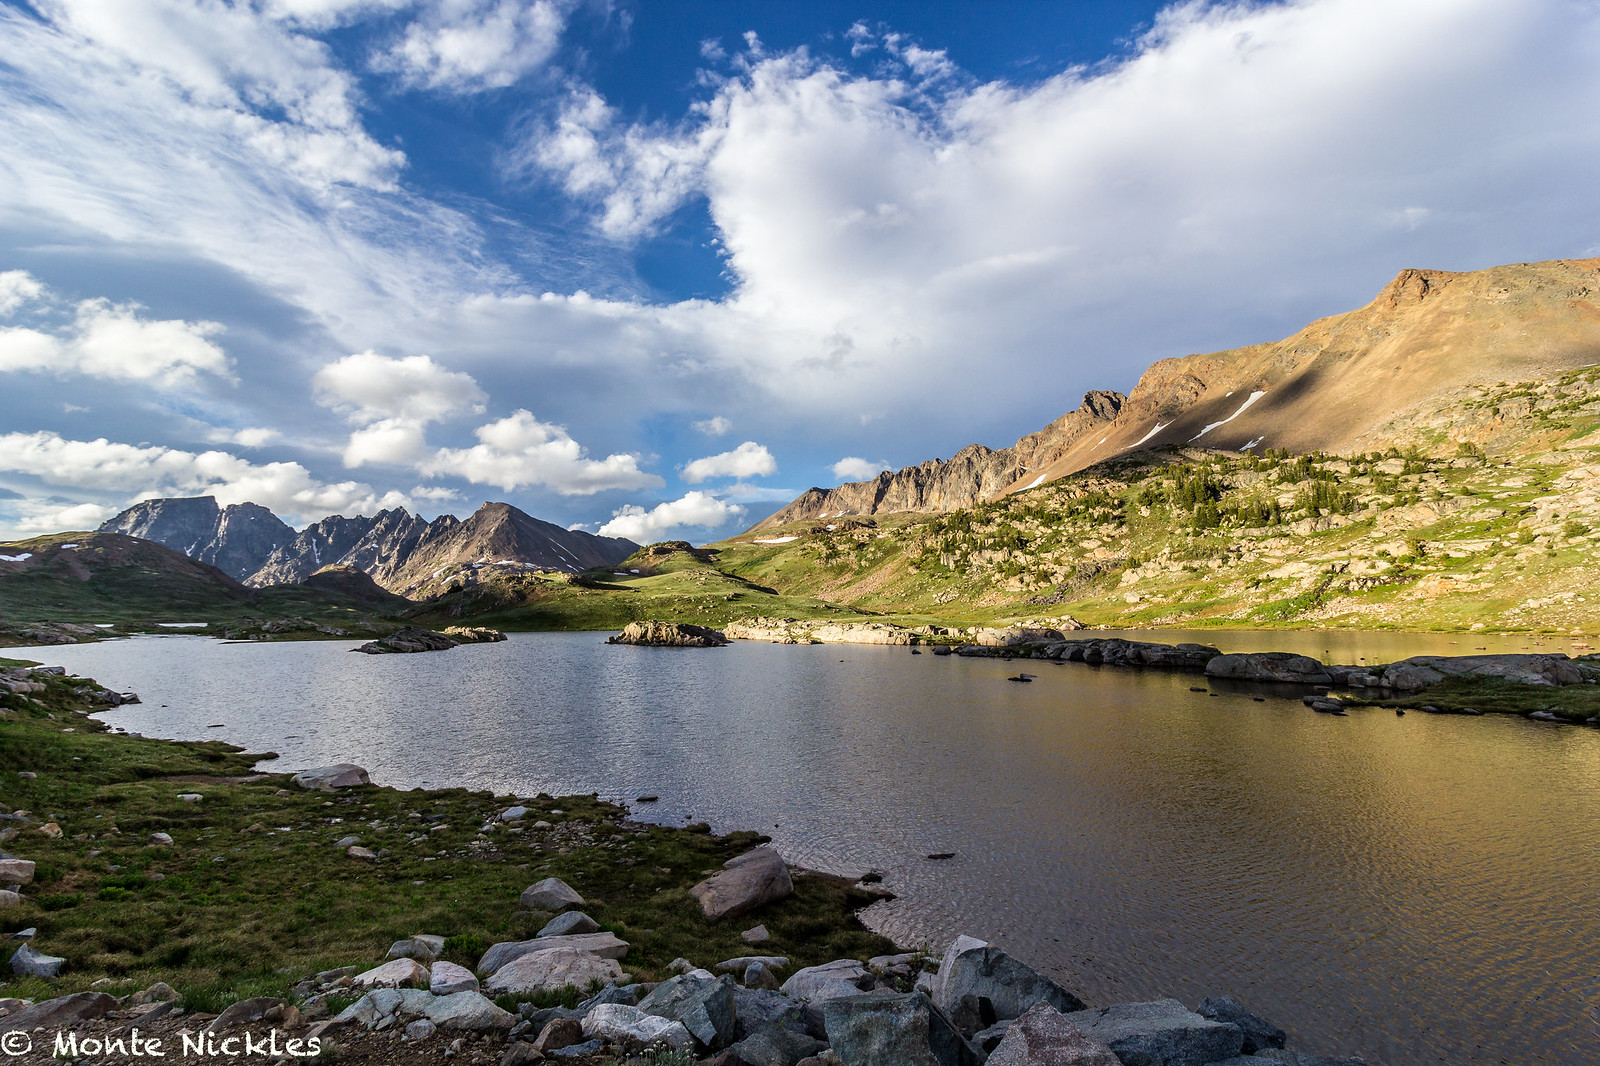 Goose Lake 2015-46.jpg
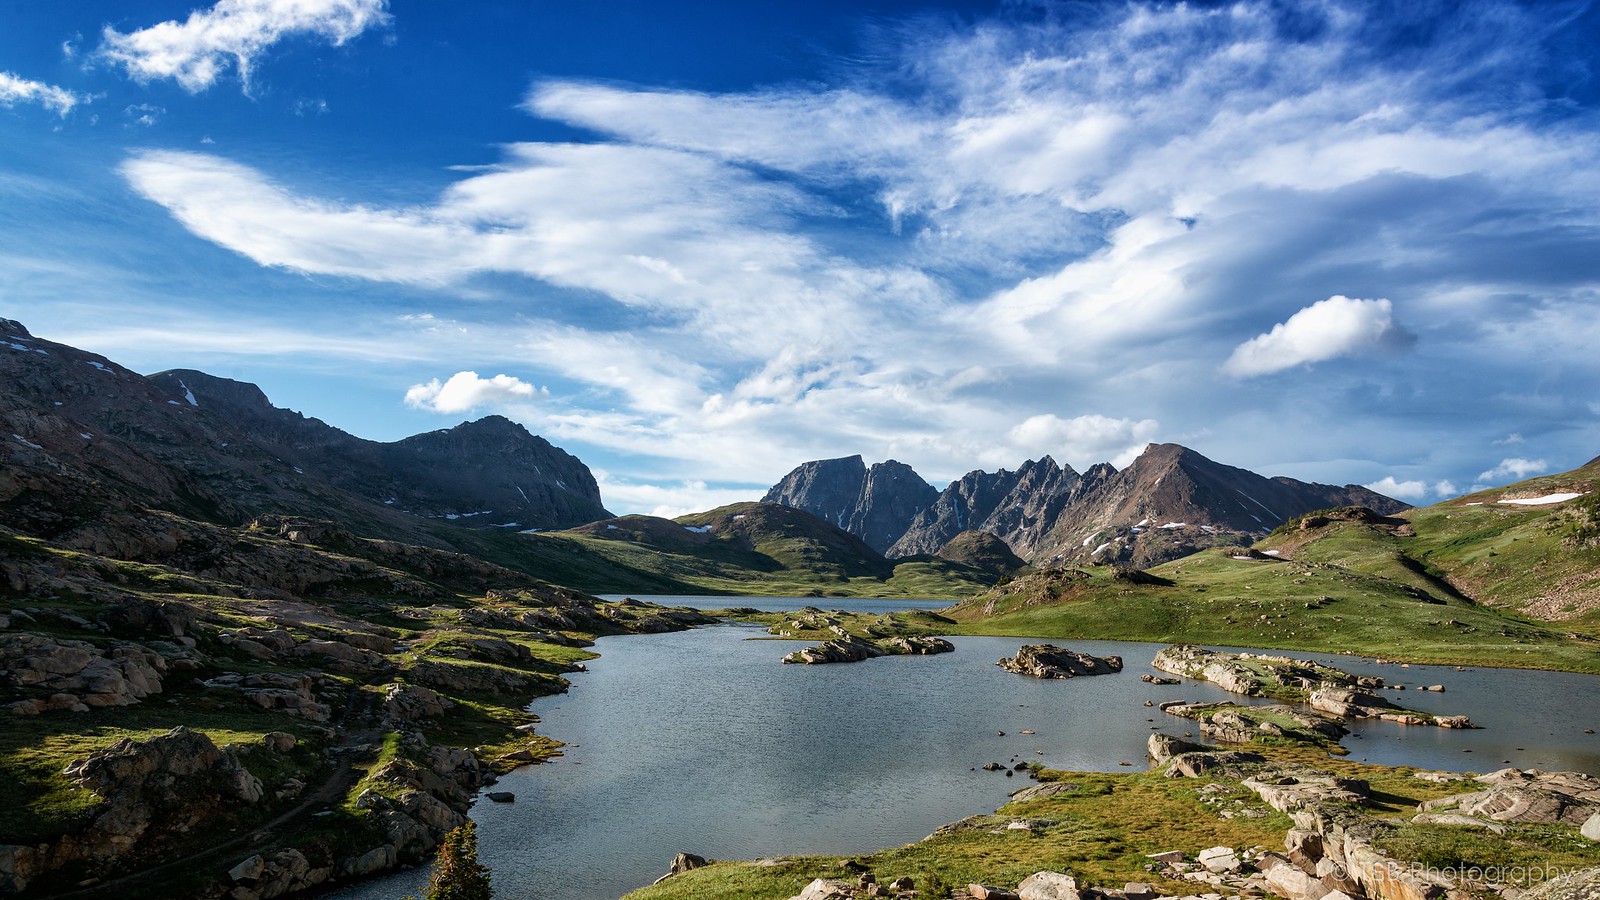 DSC_3434-Edit-Edit (Custom)
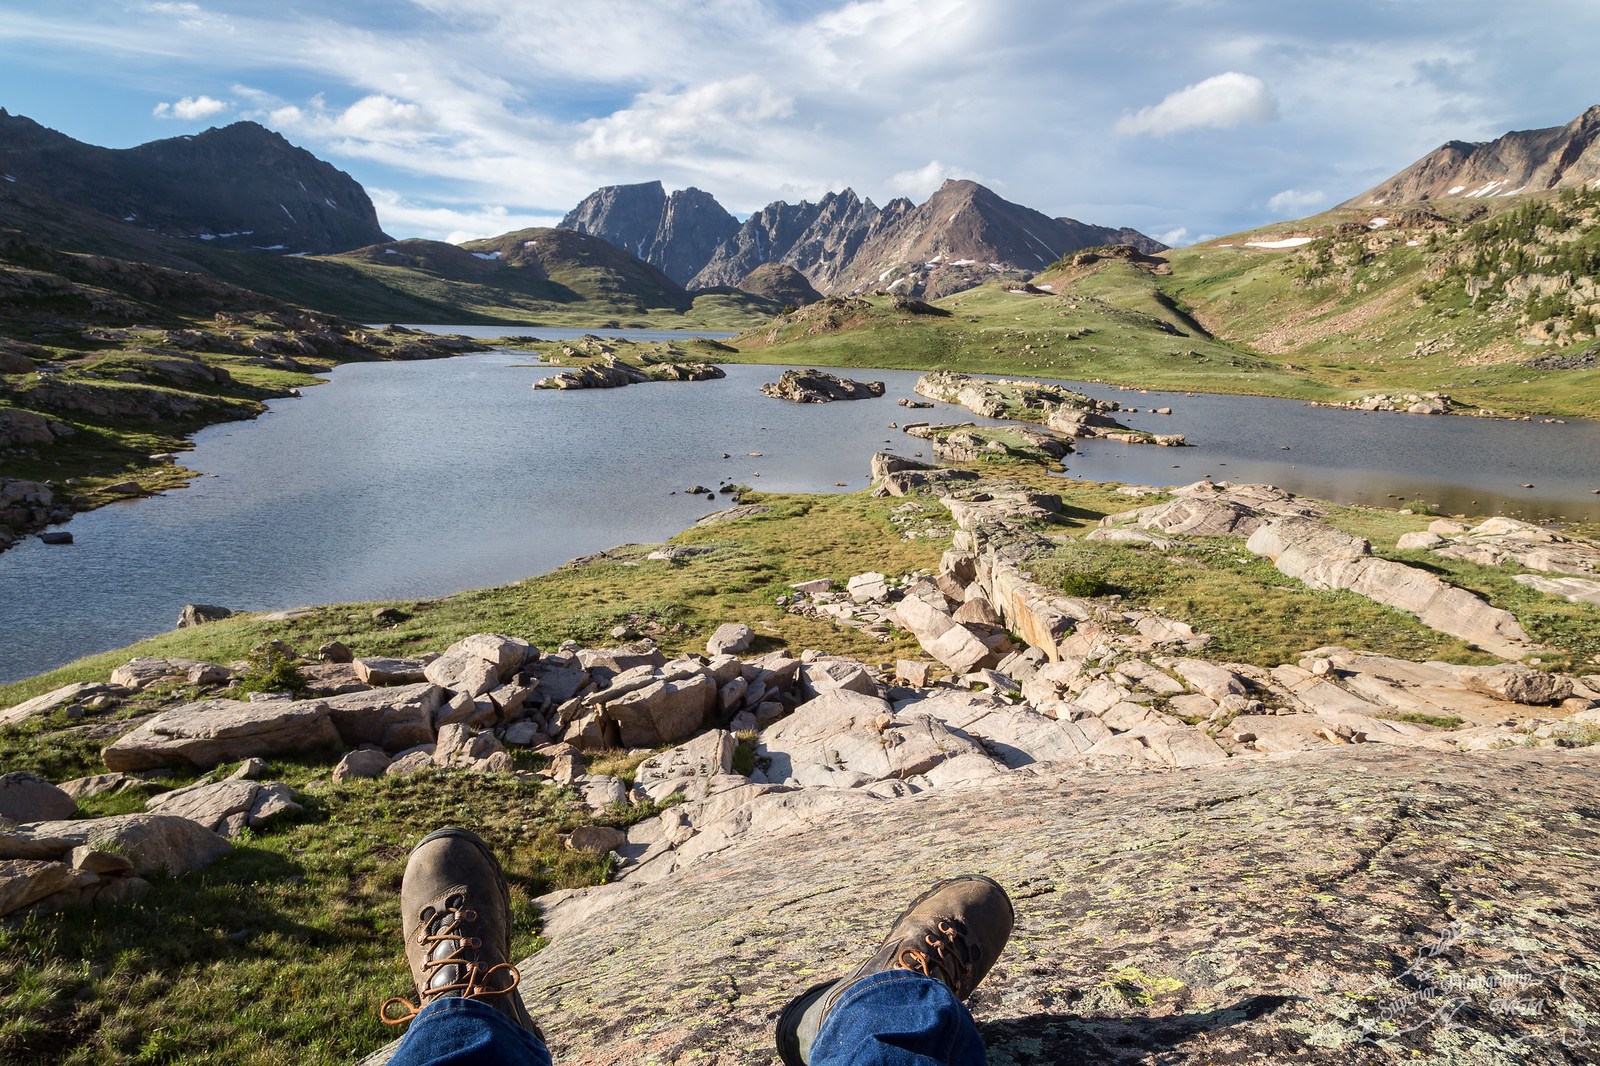 1 (36)
 Goose Lake 2015-47.jpg
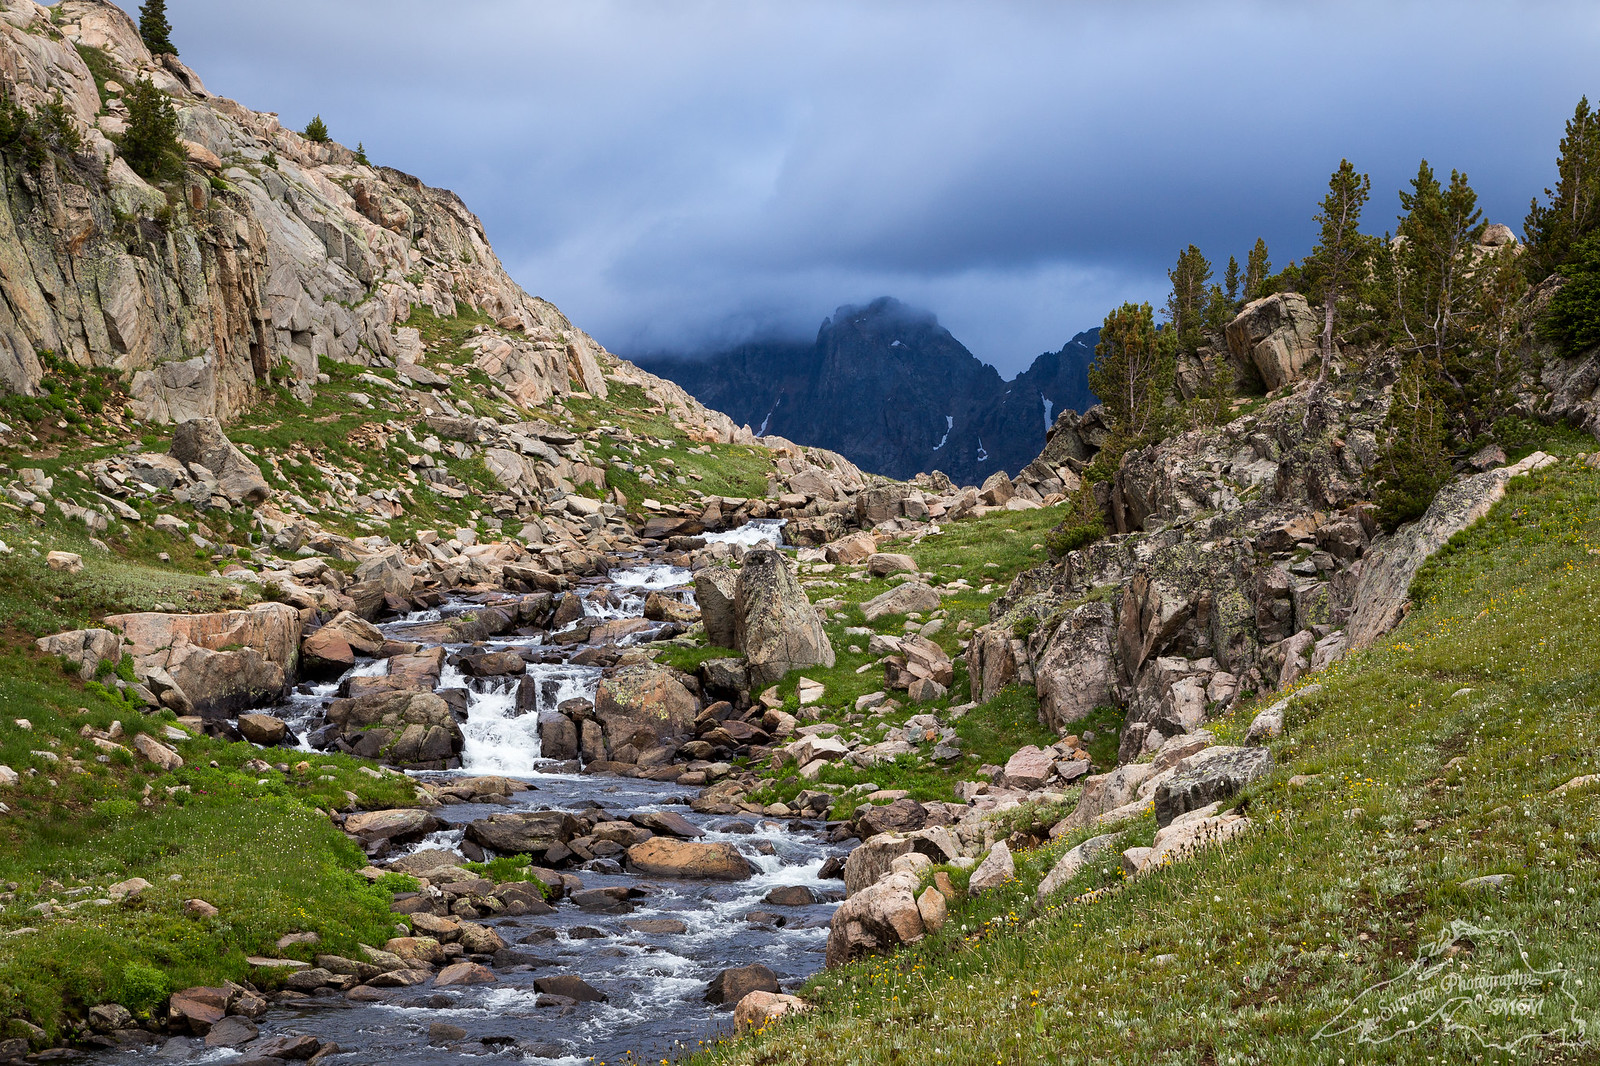 1 (13)
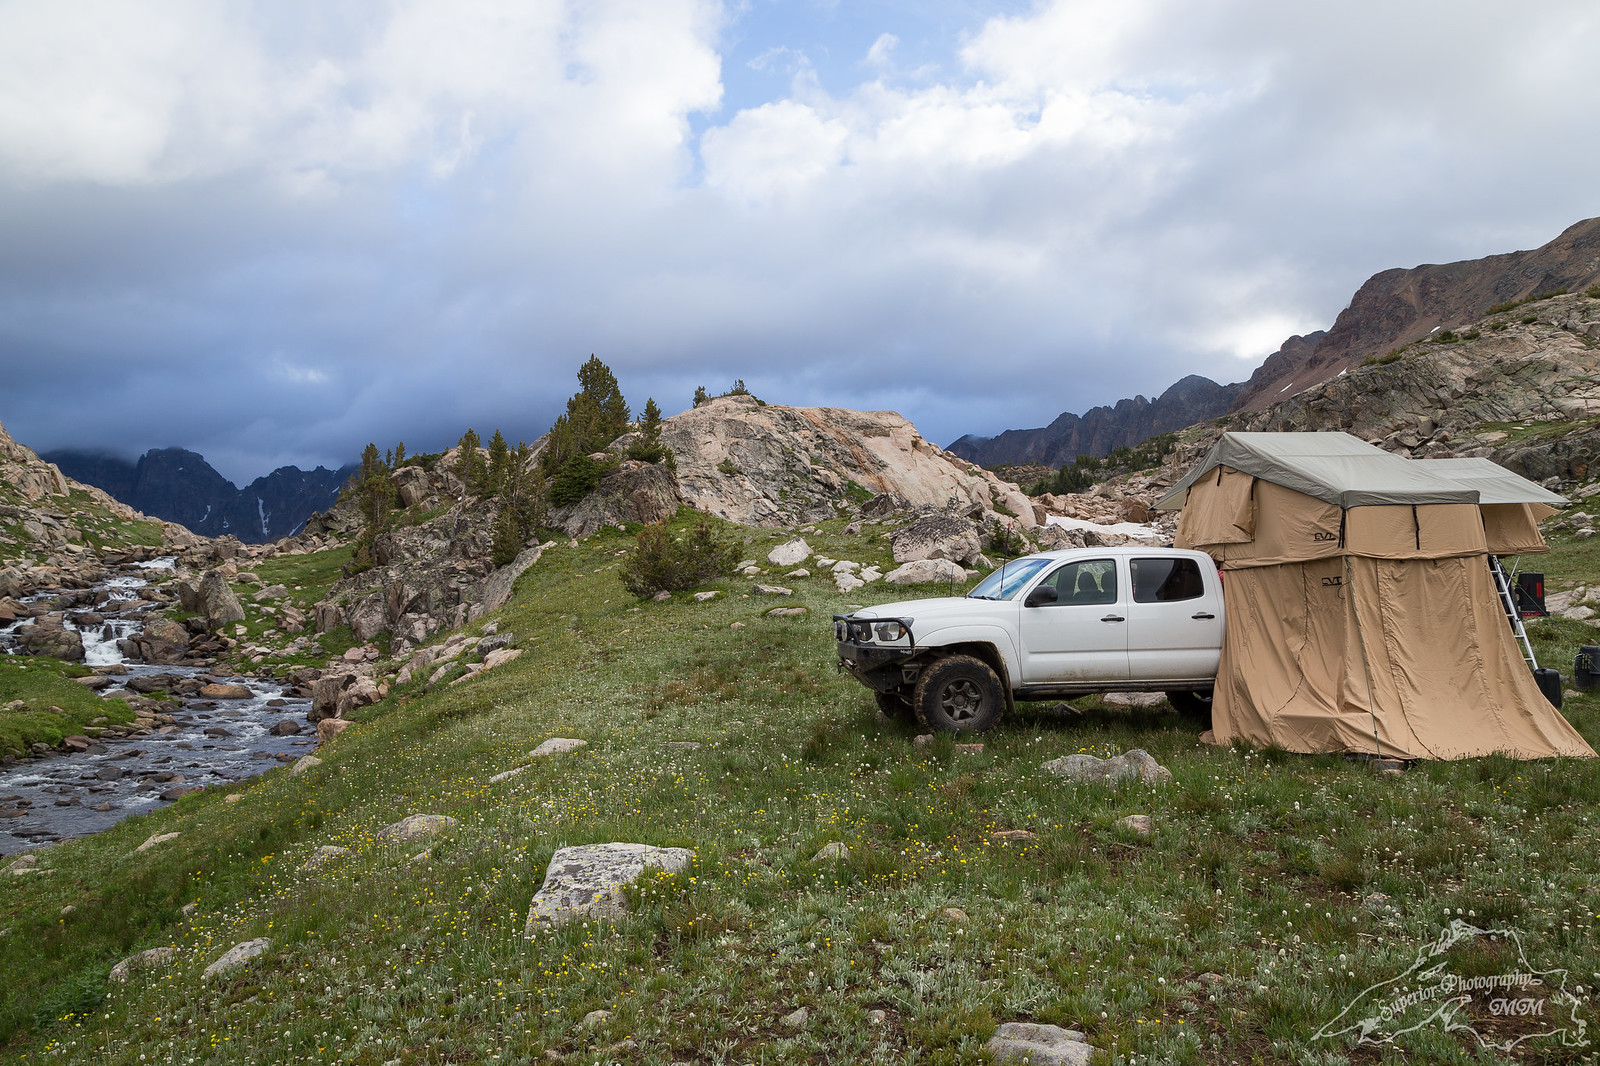 1 (12)
 Goose Lake 2015-48.jpg
 Goose Lake 2015-49.jpg
 1 (34)
 1 (33)
 1 (31)
 1 (9)
1 (9) DSC_3472-Edit-Edit (Custom)
 Goose Lake 2015-50.jpg
 1 (30)
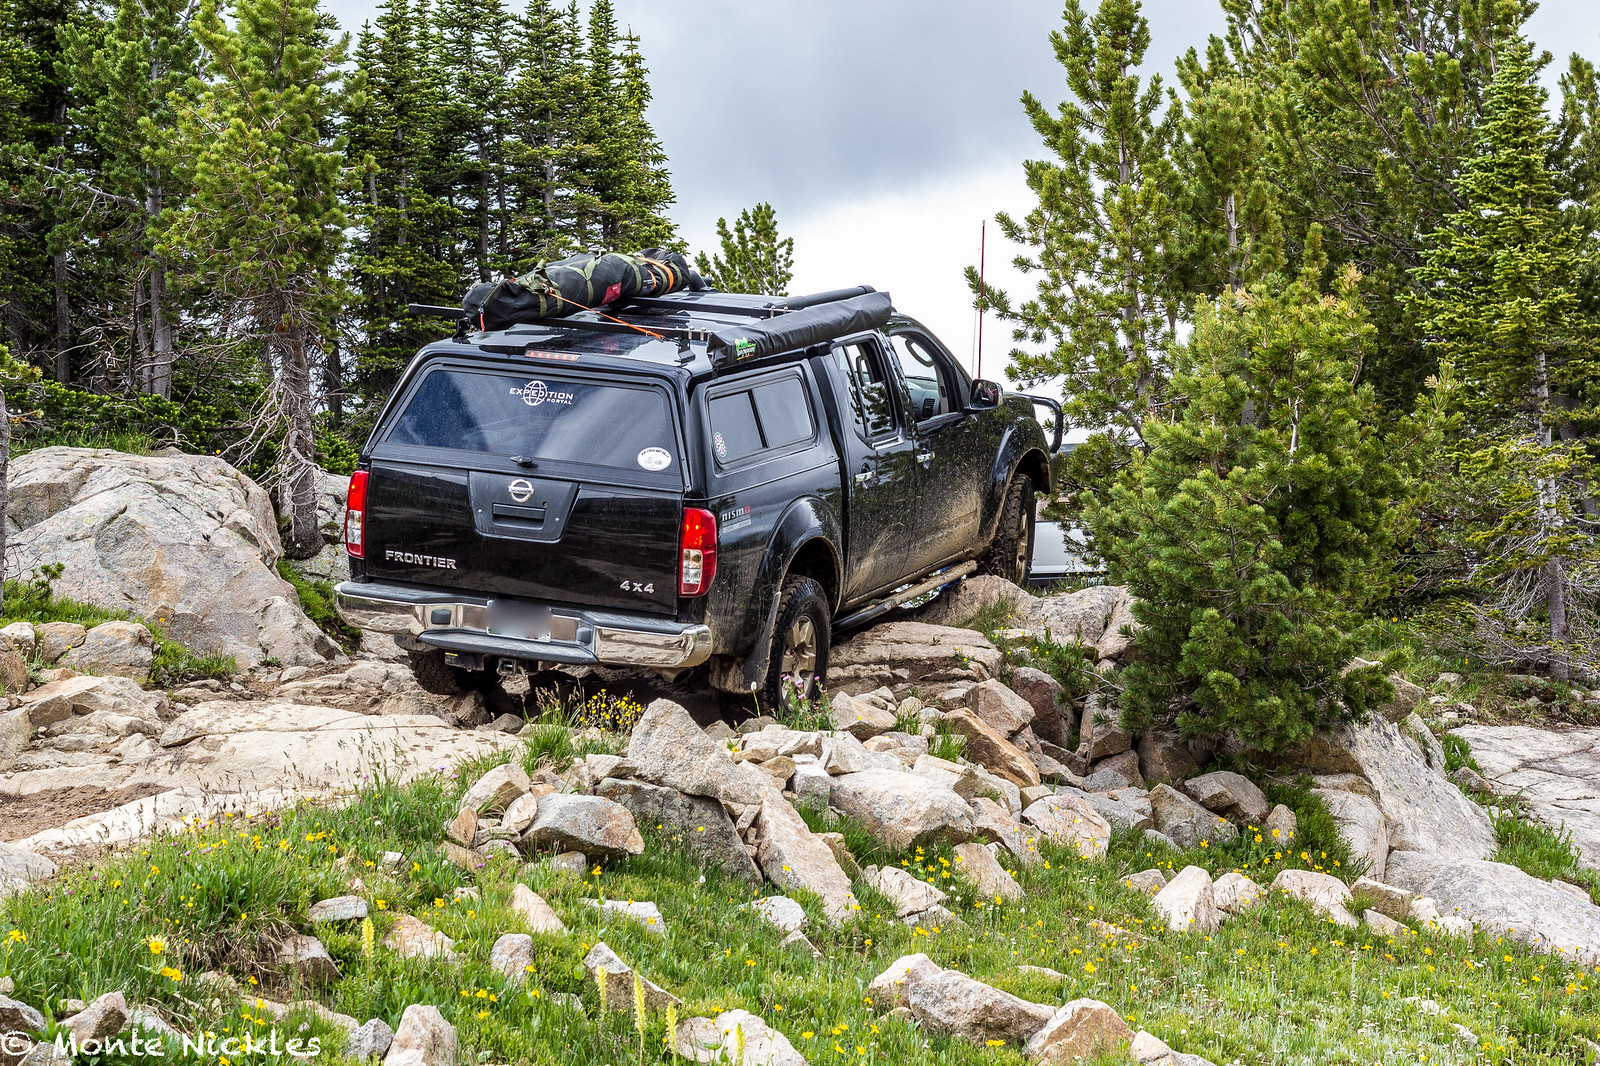 Goose Lake 2015-51.jpg
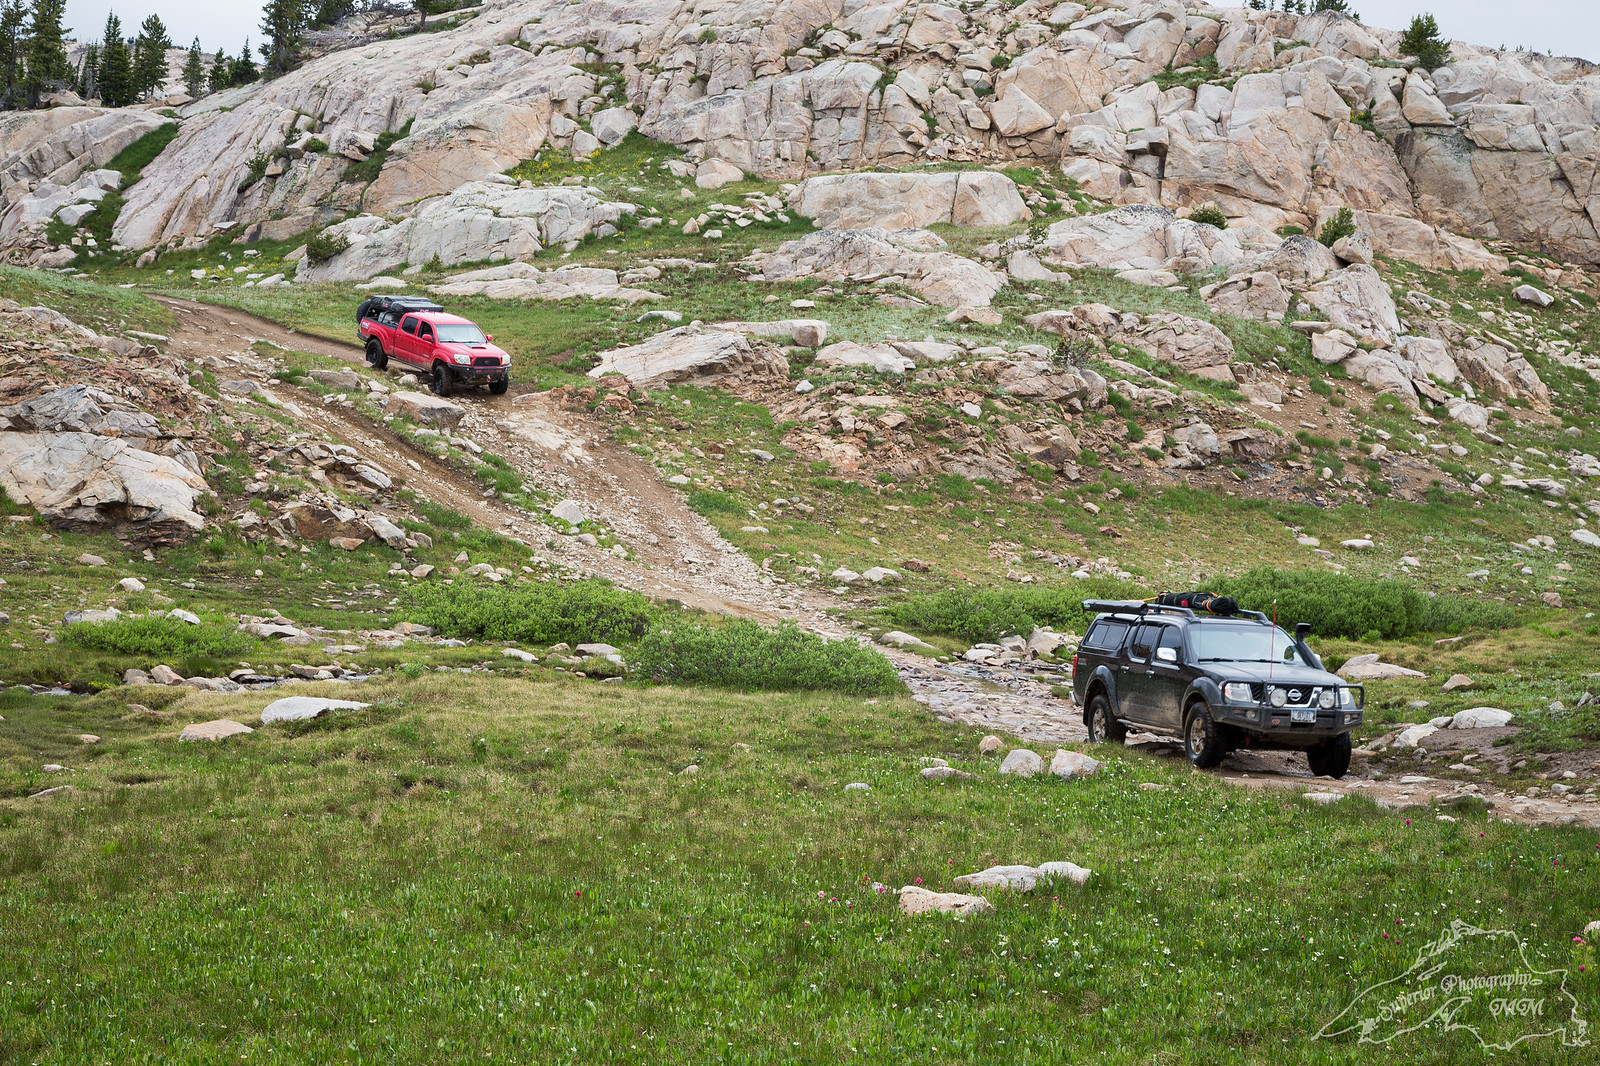 1 (29)
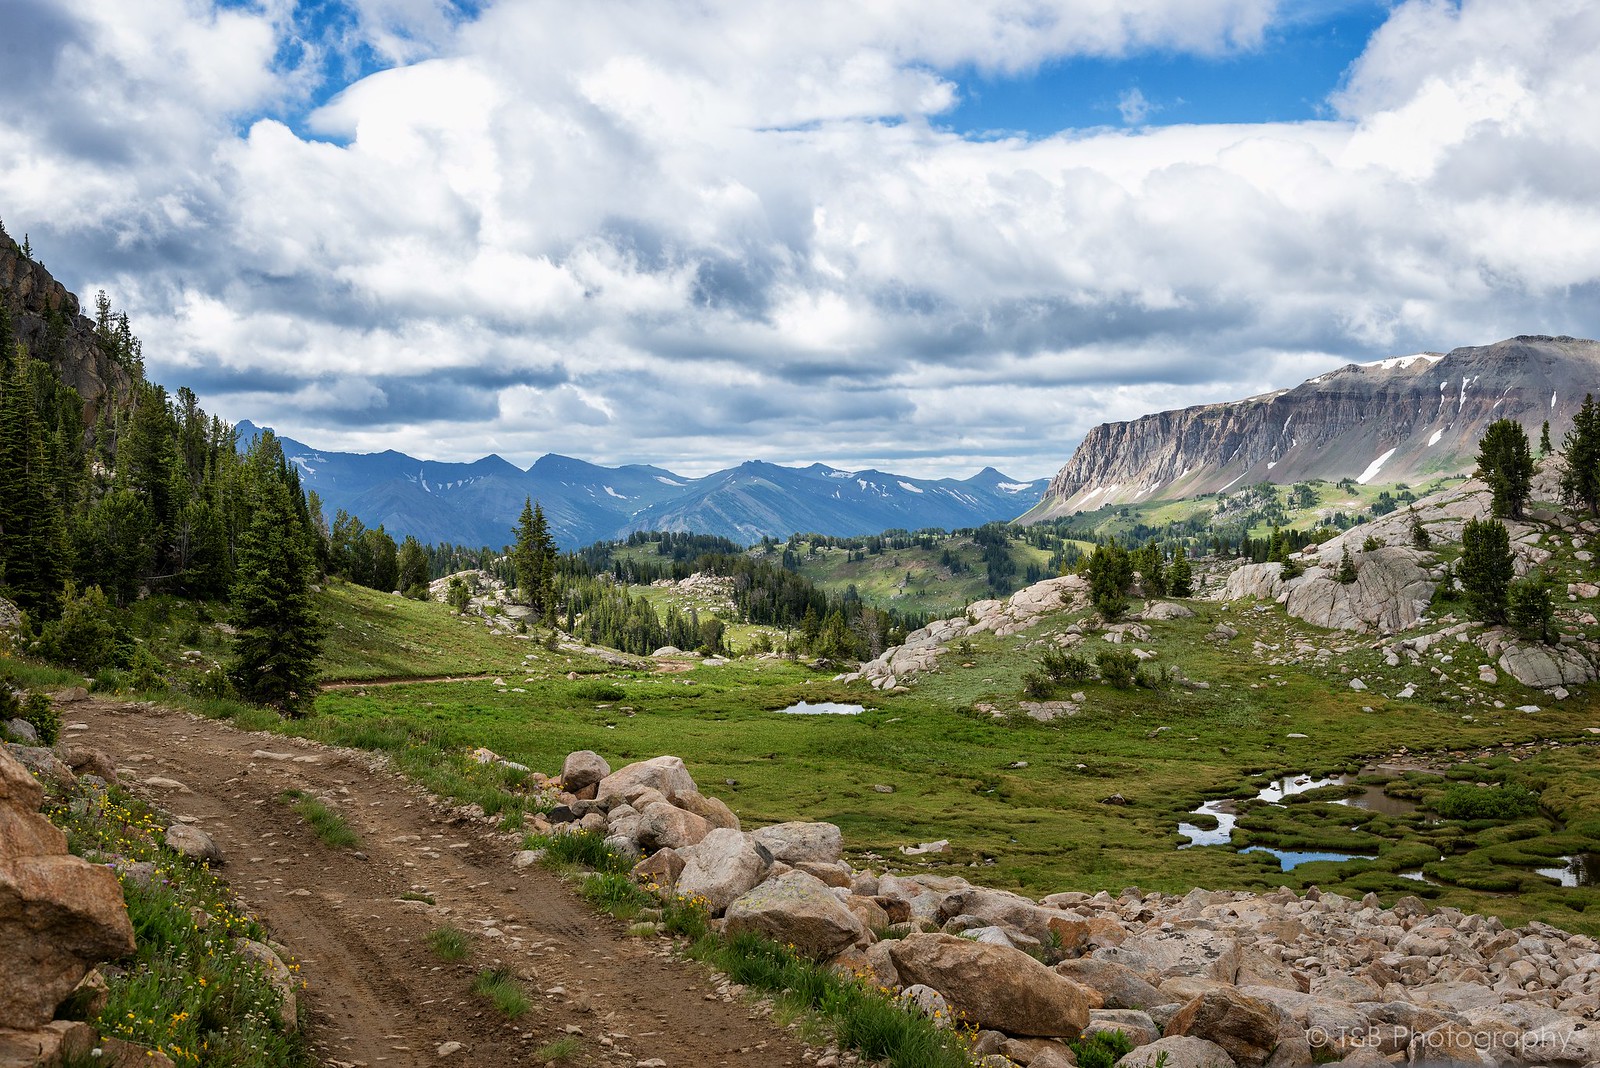 DSC_3479-Edit-Edit (Custom)
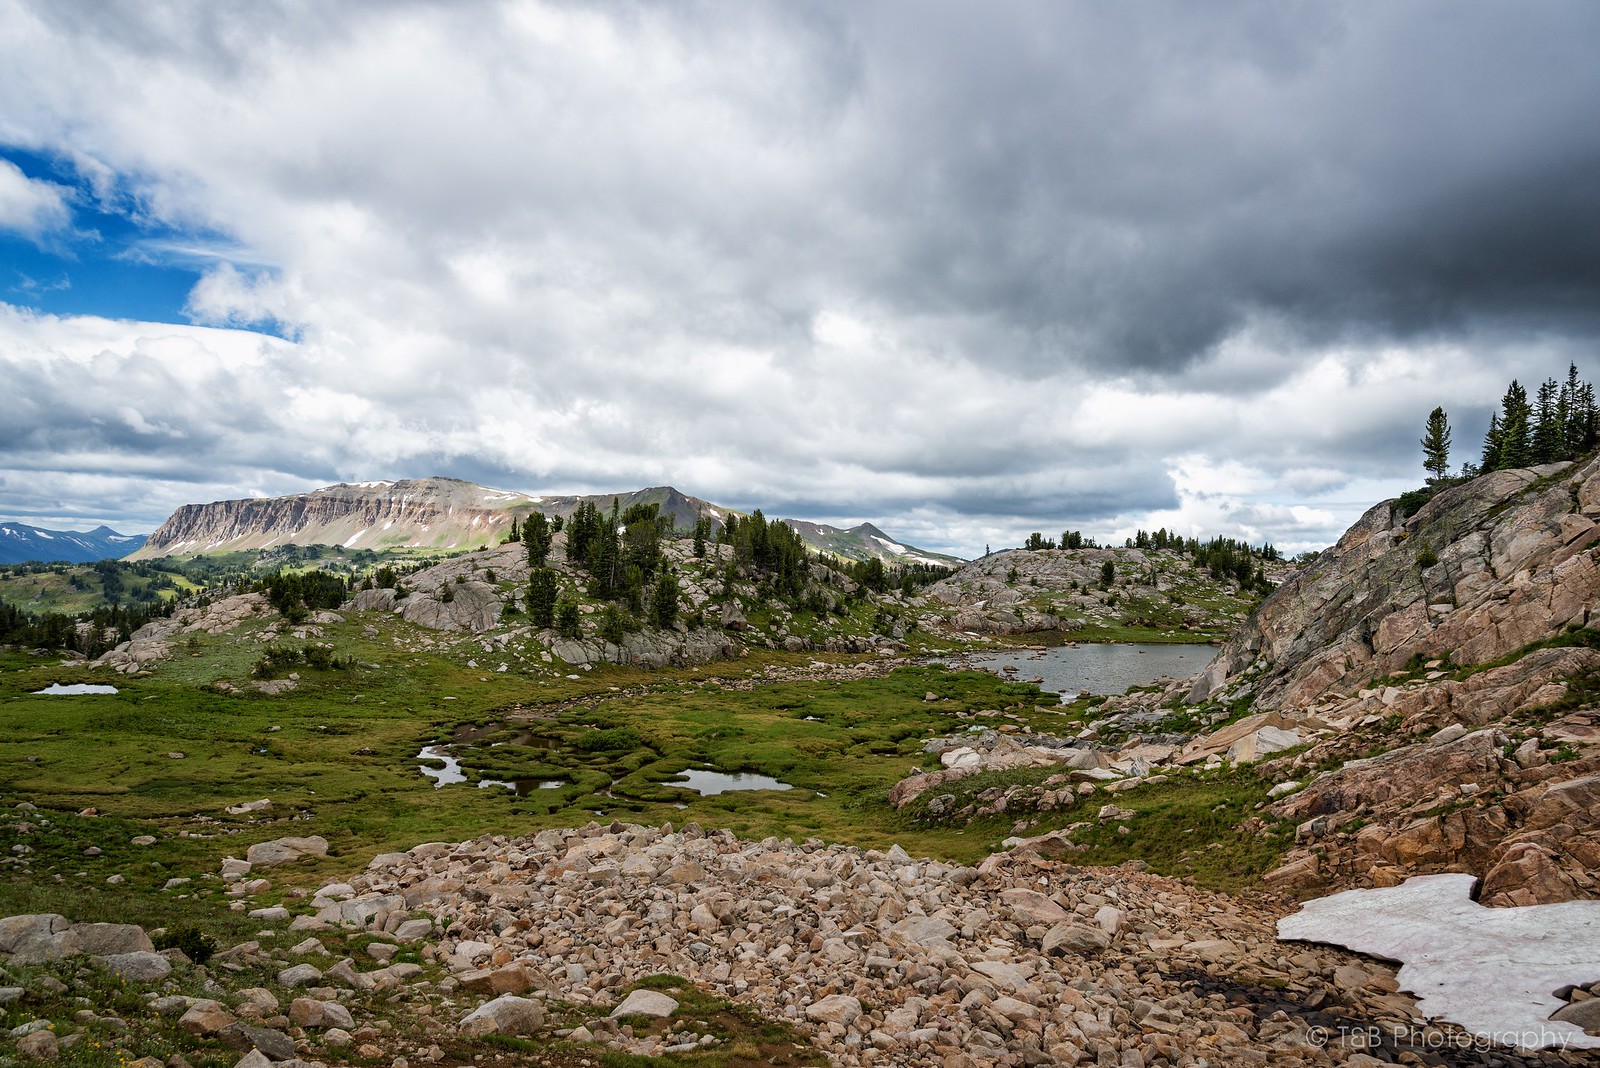 DSC_3480-Edit-Edit (Custom)
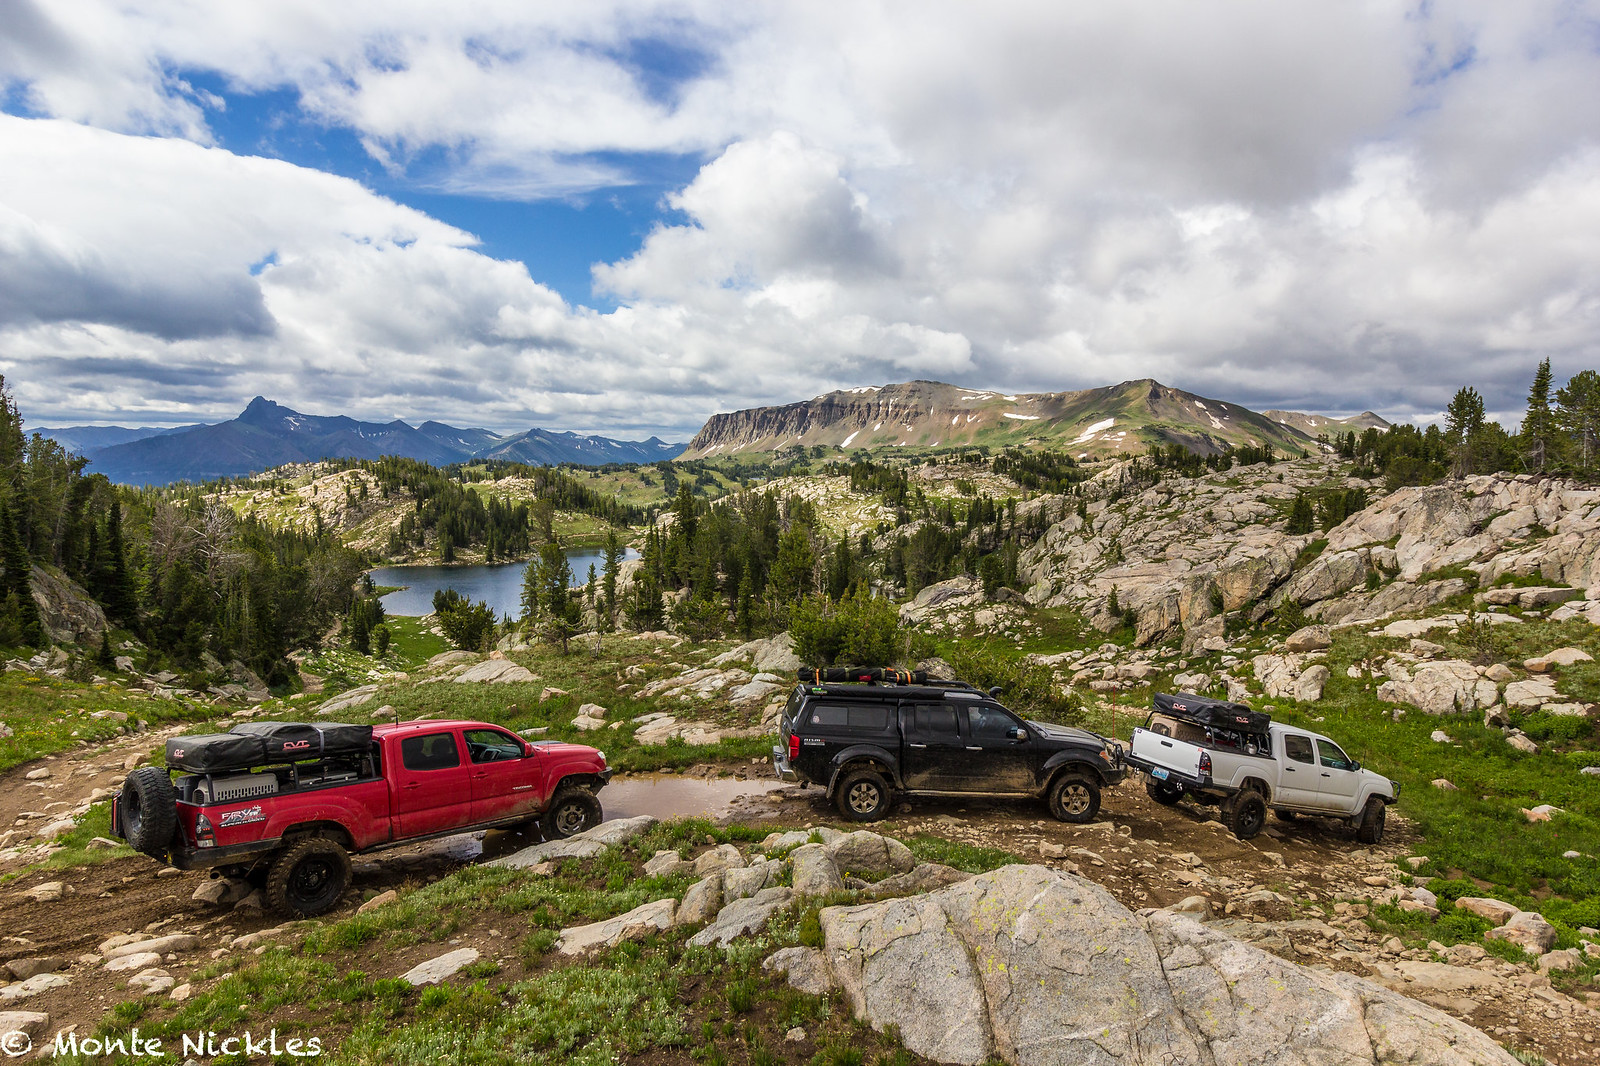 Goose Lake 2015-53.jpg
 1 (27)
 DSC_3488-Edit-Edit (Custom)
 DSC_3492-Edit-Edit (Custom)
 DSC_3501-Edit-Edit (Custom)
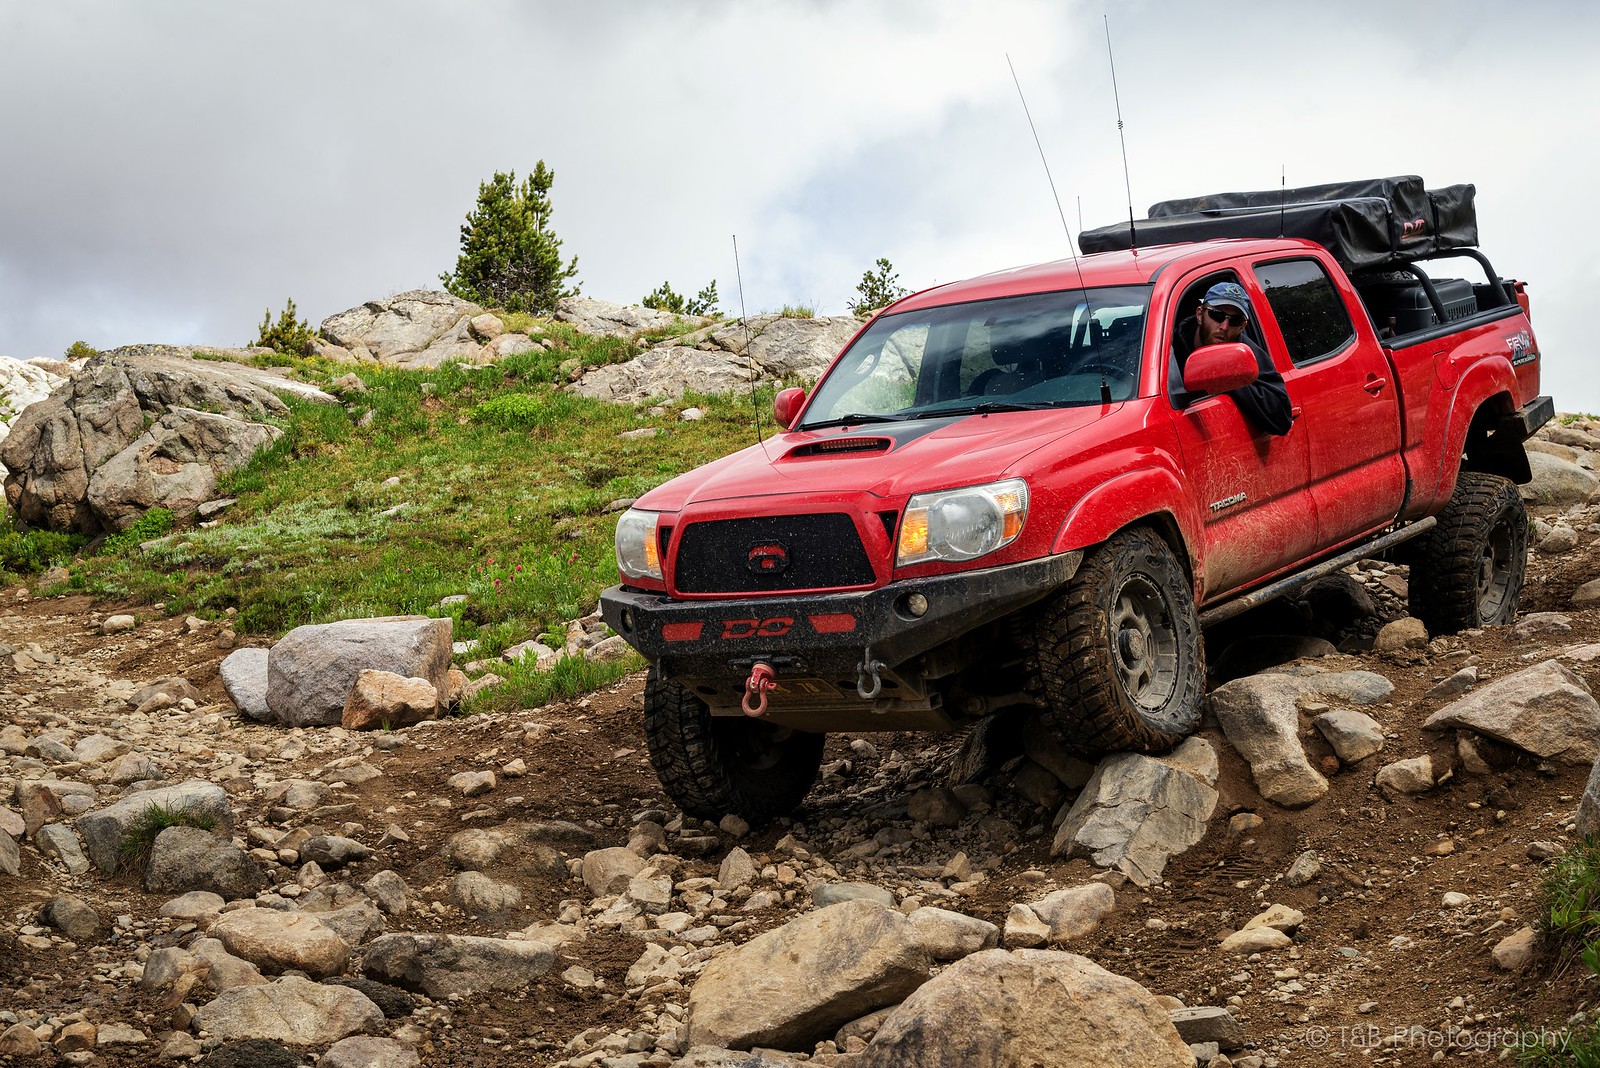 DSC_3508-Edit-Edit (Custom)
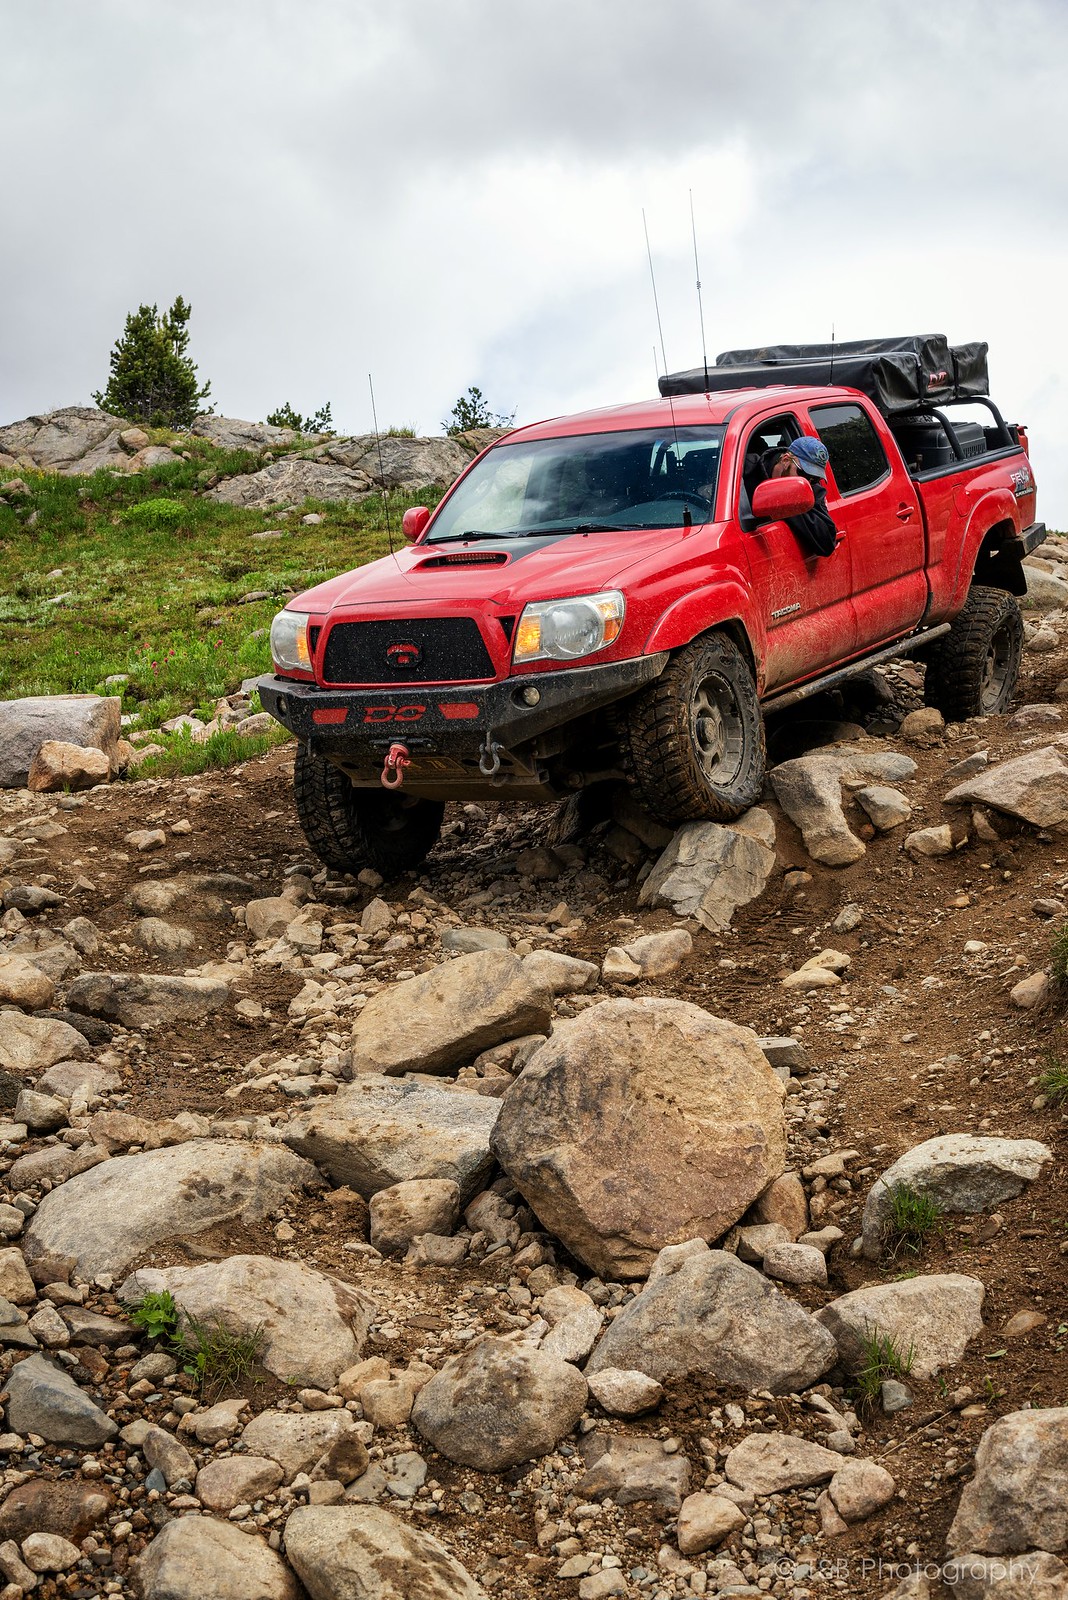 DSC_3512-Edit-Edit (Custom)
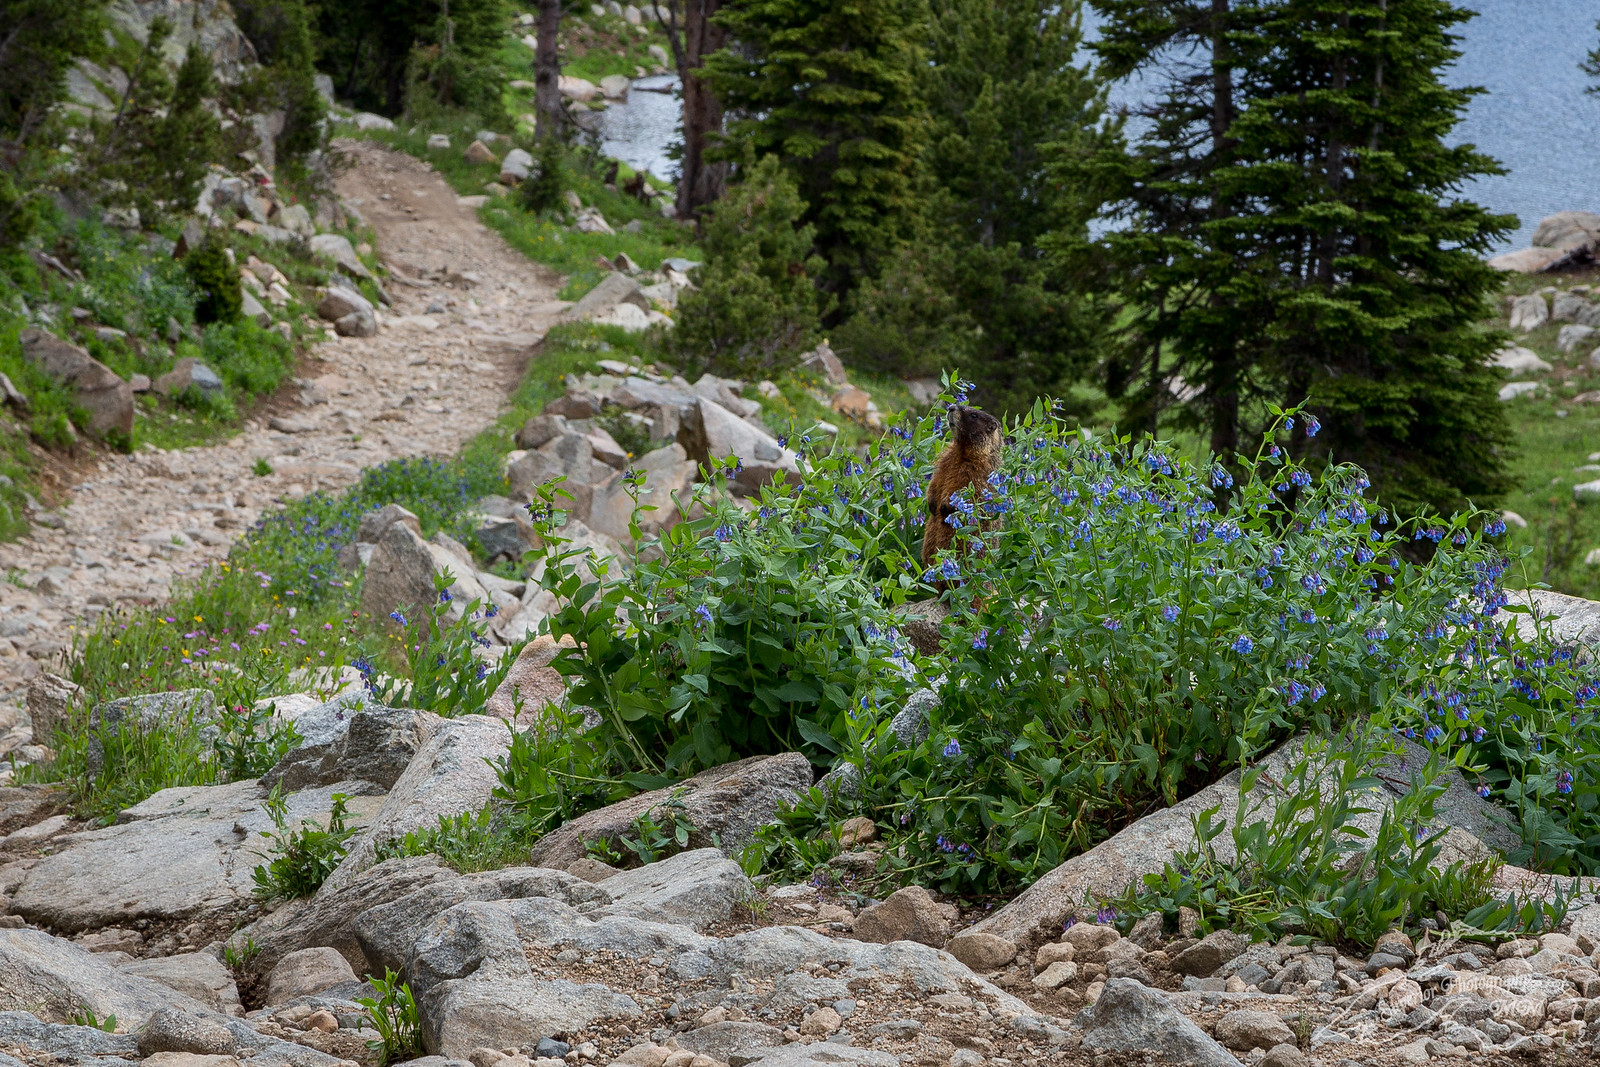 1 (25)
 1 (21)
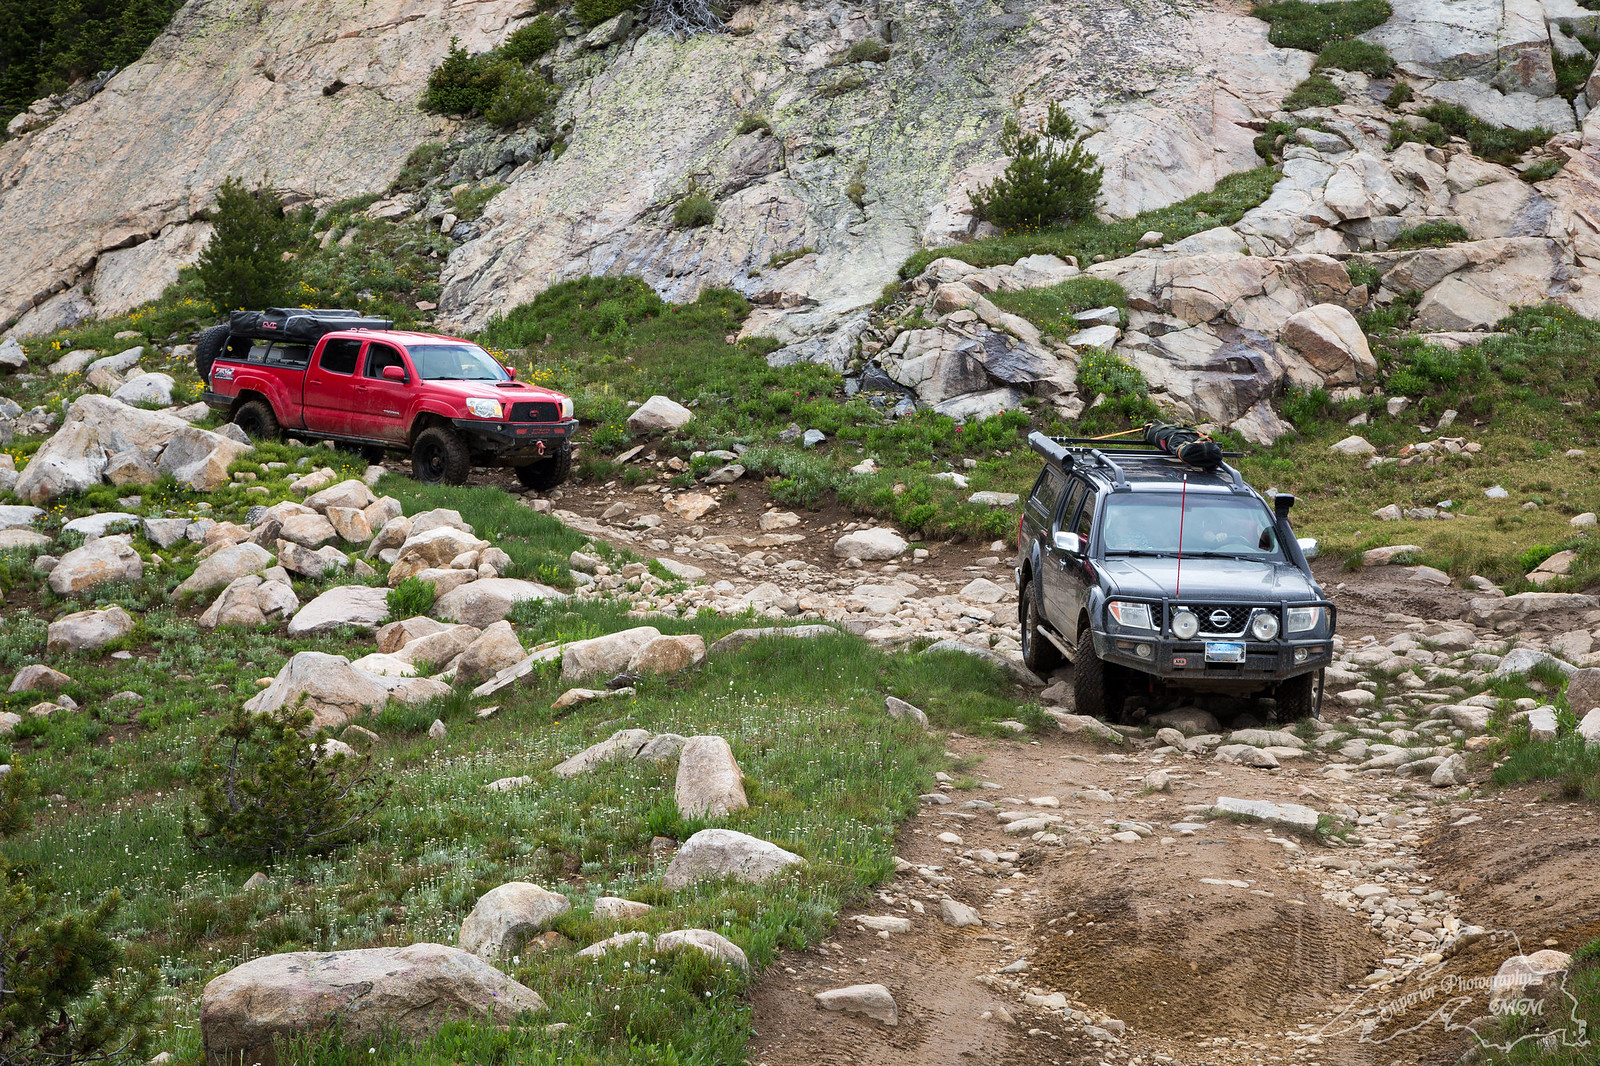 1 (53)
 Goose Lake 2015-54.jpg
 Goose Lake 2015-55.jpg
 Goose Lake 2015-56.jpg
 ARBinstall.jpg
 ARBinstall-2.jpg
 ARBinstall-3.jpg
 ARBinstall-4.jpg
 ARBinstall-5.jpg
 ARBinstall-11.jpg
 ARBinstall-12.jpg
 ARBinstall-6.jpg
 ARBinstall-7.jpg
 ARBinstall-8.jpg
 ARBinstall-9.jpg
 ARBinstall-10.jpg
 ARBinstall-13.jpg
 ARBinstall-14.jpg
 ARBinstall-15.jpg
 ARBinstall-16.jpg
 ARBinstall-17.jpg
 ARBinstall-18.jpg
 ARBinstall-19.jpg
 ARBinstall-20.jpg
 ARBinstall-22.jpg
 ARBinstall-21.jpg
 ARBinstall-23.jpg
 ARBinstall-24.jpg
 ARBinstall-25.jpg
 ARBinstall-26.jpg
 ARBinstall-27.jpg
 ARBinstall-28.jpg
 ARBinstall-34.jpg
 ARBinstall-35.jpg
 ARBinstall-36.jpg
 ARBinstall-37.jpg
 ARBinstall-38.jpg
 ARBinstall-39.jpg
 ARBinstall-44.jpg
 ARBinstall-45.jpg
 ARBinstall-43.jpg
 ARBinstall-46.jpg
 ARBinstall-40.jpg
 ARBinstall-29.jpg
 ARBinstall-30.jpg
 ARBinstall-31.jpg
 ARBinstall-32.jpg
 ARBinstall-33.jpg
 ARBinstall-41.jpg
 ARBinstall-42.jpg
 ARBinstall-47.jpg
 ARBinstall-48.jpg
 ARBinstall-49.jpg
 ARBinstall-50.jpg
 ARBinstall-51.jpg
 ARBinstall-52.jpg
 WheelersSuperbumps.jpg
 WheelersSuperbumps-2.jpg
 WheelersSuperbumps-3.jpg
 WheelersSuperbumps-4.jpg
 WheelersSuperbumps-11.jpg
 WheelersSuperbumps-12.jpg
 WheelersSuperbumps-5.jpg
 WheelersSuperbumps-6.jpg
 WheelersSuperbumps-7.jpg
 WheelersSuperbumps-8.jpg
 WheelersSuperbumps-9.jpg
 WheelersSuperbumps-10.jpg
 WheelersSuperbumps-13.jpg
 WheelersSuperbumps-14.jpg
 HamStuff-3.jpg
 HamStuff-2.jpg
 HamStuff-4.jpg
 HamStuff.jpg
 HamStuff-5.jpg
 HamStuff-6.jpg
 HamStuff-7.jpg
 HamStuff-8.jpg
 HamStuff-9.jpg
 Frankenstein Build-9.jpg
 Frankenstein Build-8.jpg
 Frankenstein Build.jpg
 Frankenstein Build-2.jpg
 Frankenstein Build-3.jpg
 Frankenstein Build-4.jpg
 Frankenstein Build-5.jpg
 Frankenstein Build-6.jpg
 Frankenstein Build-7.jpg
 Frankenstein Build-10.jpg
 Frankenstein Build-11.jpg
 Frankenstein Build-12.jpg
 Frankenstein Build-13.jpg
 Frankenstein Build-14.jpg
 Frankenstein Build-15.jpg
 Frankenstein Build-16.jpg
 Frankenstein Build-17.jpg
 Frankenstein Build-18.jpg
 Frankenstein Build-19.jpg
 Frankenstein Build-20.jpg
 Frankenstein Build-21.jpg
 Frankenstein Build-22.jpg