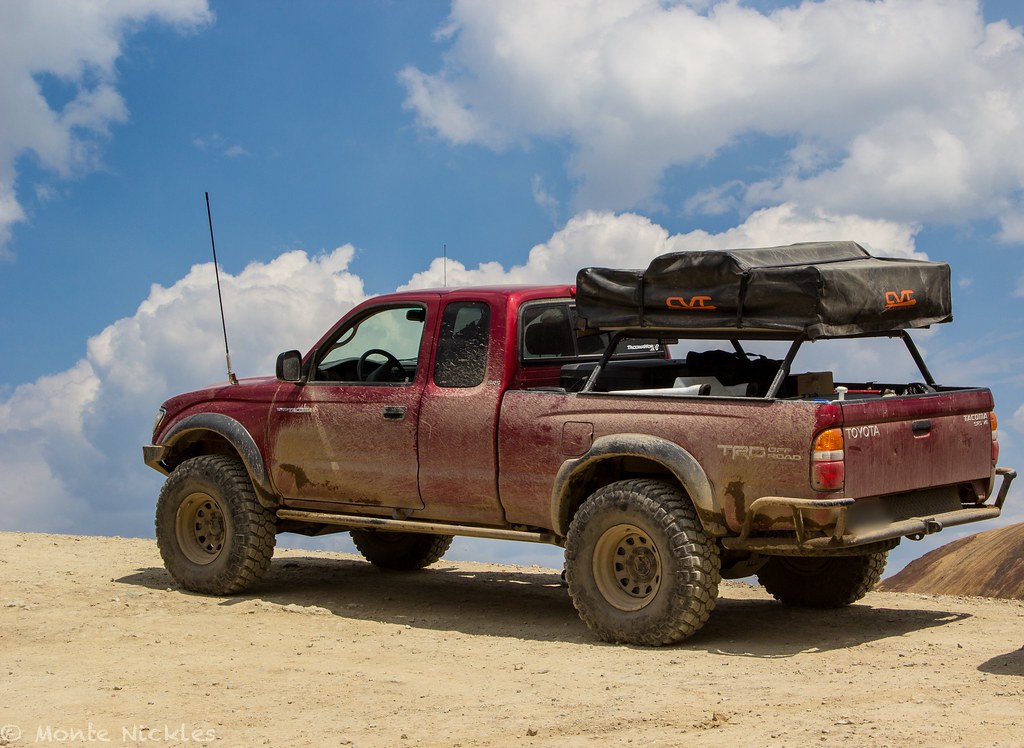
So this isn't much of a "write up" like i normally do. Mostly because..well..i hadn't planned on it at all ha. But since Mike took enough photos figured id mention it and show it off

cause...damn..it turned out awesome! I do have to apologize though. I do NOT have near as many photos as my usual write ups do for the detail. But you'll all live.
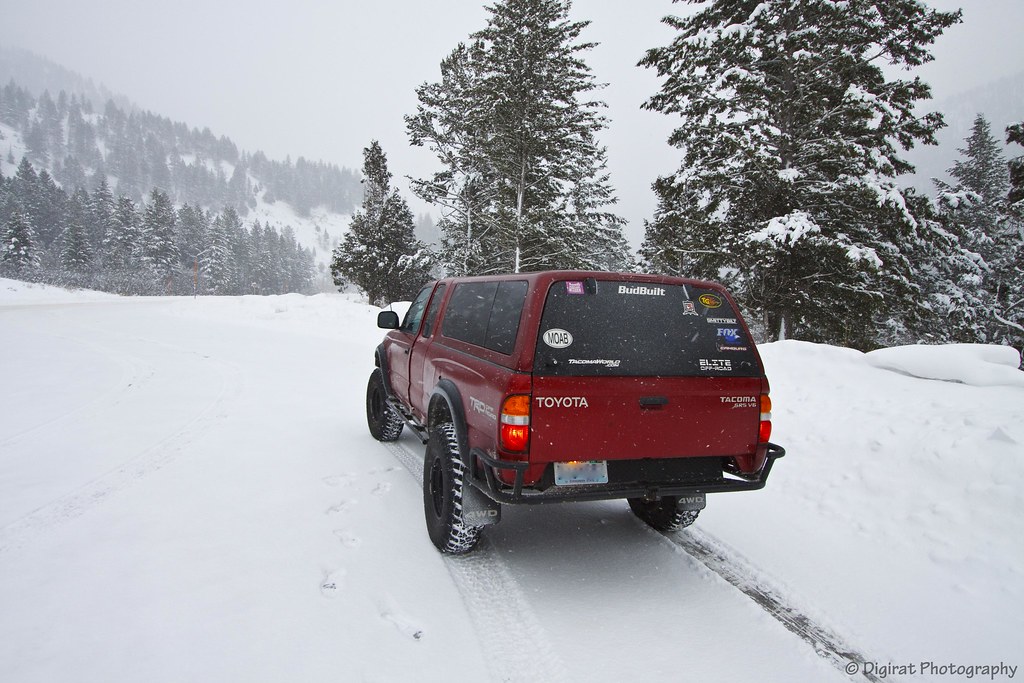
Basically, this is the rear bumper that I made. I can't take 100% credit as my very good friend Jon came and helped a lot. While it is almost all my design, he did a lot of the welding, and I did the details and cleaning haha Either way, this HurrDurr and FrankenFab collaboration turned out ************* bitchen
Like i didn't want to give it away cool. But i did.
Too start, Mike had expressed how he wanted a new rear bumper. Mostly after staring at Frankenstein's *** so much he wanted the swingout and “kitchen” setup. I agreed to give it ago and we hammered out some details.
- Mike wanted a swing out with a tire mount and two jerry cans as well as the folding table and possibly the HiLift jack on it too.
- Mike wanted it slimmer then the Badlands bumper he had on it.
- Plate design of some sort, but a hybrid would be fine
- wrap around protection
- reverse lights
- built in 2'' receiver
- Tire couldn't be very high
- License plate mount
Then there where my requirements
- Be strong. Very strong
- Look damn good while being strong
- Beef as ****
- Be very slim and tight to the body
- 3/16'' plate and ¼'' plate all around
- Beef as ****
- Be stronger then my Elite bumper and better designed
- Have a camp light
- Beef...as..****
So. Pretty standard to do list for a bumper build. So I got busy with coming up with how to make it all happen with the tools and time I had. Of course my time line ended up being VERY far off, but whatever.
I'd be lying if I said I didn't base a lot of my design off of my own Elite rear bumper. Because, come on. It is like one of the best looking a functional bumpers ever made IMO. And seeing as to how Tim is MIA and no longer making them. They are even cooler. But there were many weakness's in mine that I wanted to address, mostly with the swingout and spindle setup.
Here is the original bumper that Mike had. Badlands built! Really its a strong bumper and has served him very well. Ben now has it on his rig. But after looking at it more..it hangs very low. The 2'' lower pipe is completely under the truck a good .5''. So 2.5'' below the body. No wonder he drug it over everything..
 SOS extras-9.jpg
 by
Monte Nickles Photos, on Flickr
 IMG_3208.jpg
 by
Monte Nickles Photos, on Flickr
 IMG_8904
 by
digirat99, on Flickr
Plenty of room for improvement.
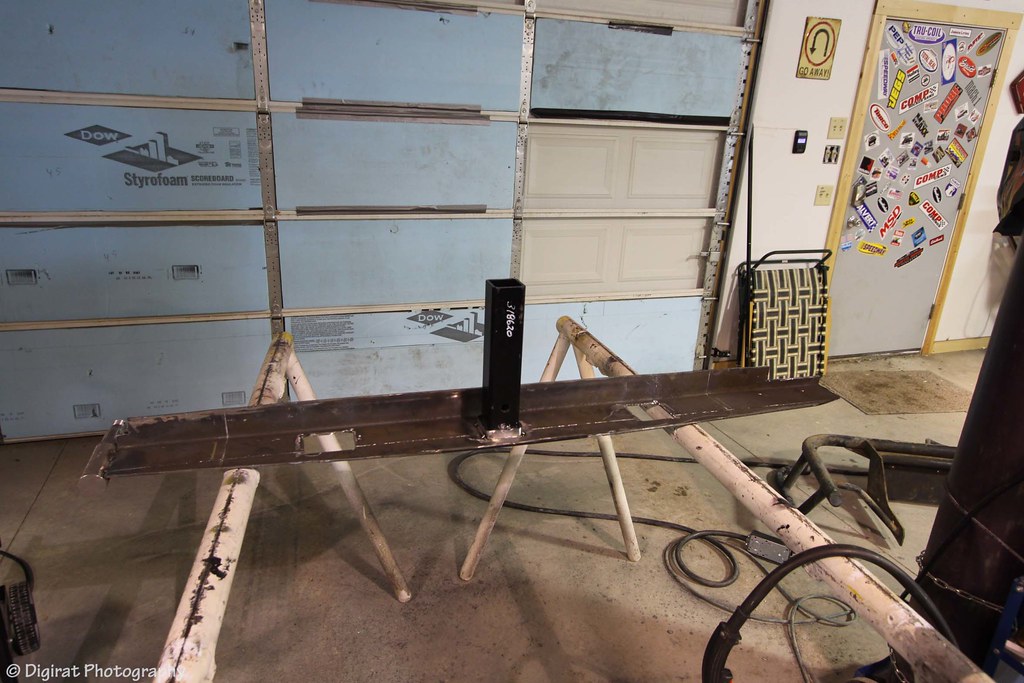
However knowing I didn't have a CAD and laser cutter or anything super fancy to make the super pretty but small beveled edges, I did what most do and bought some tubing. But I bought much bigger then most buy. Most guys that do DIY bumpers go with the classic 5''x3'' square tubing. I went for 6''x3''.
I then cut it half along the edge to make two pieces that where L shaped for the main section. Cut out holes for the reverse lights and the 2'' receiver.
 IMG_8907
 by
digirat99, on Flickr
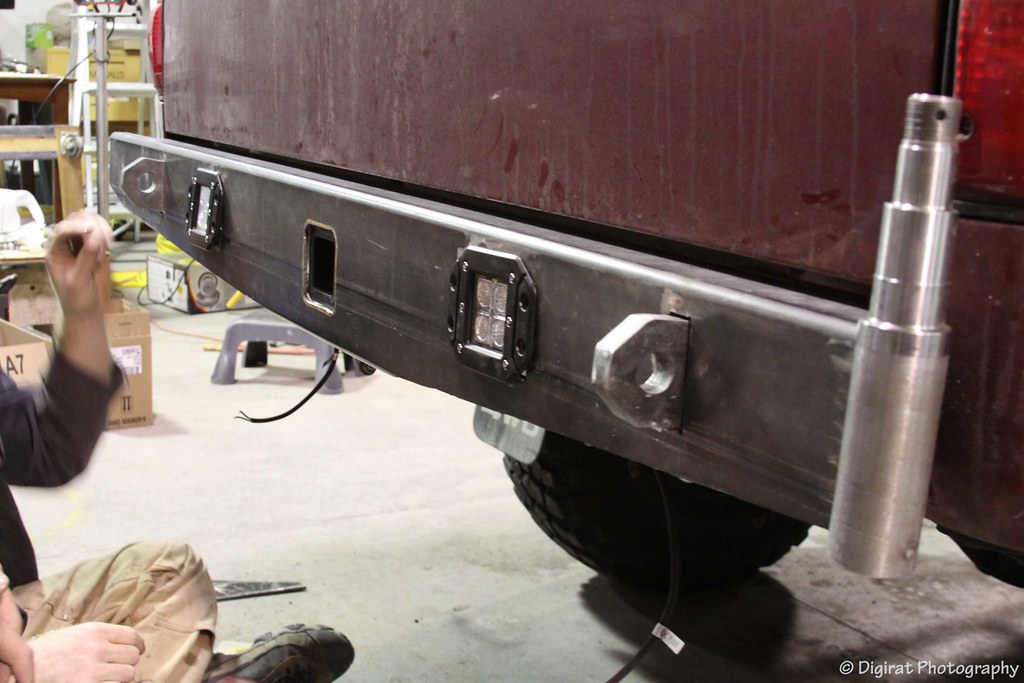
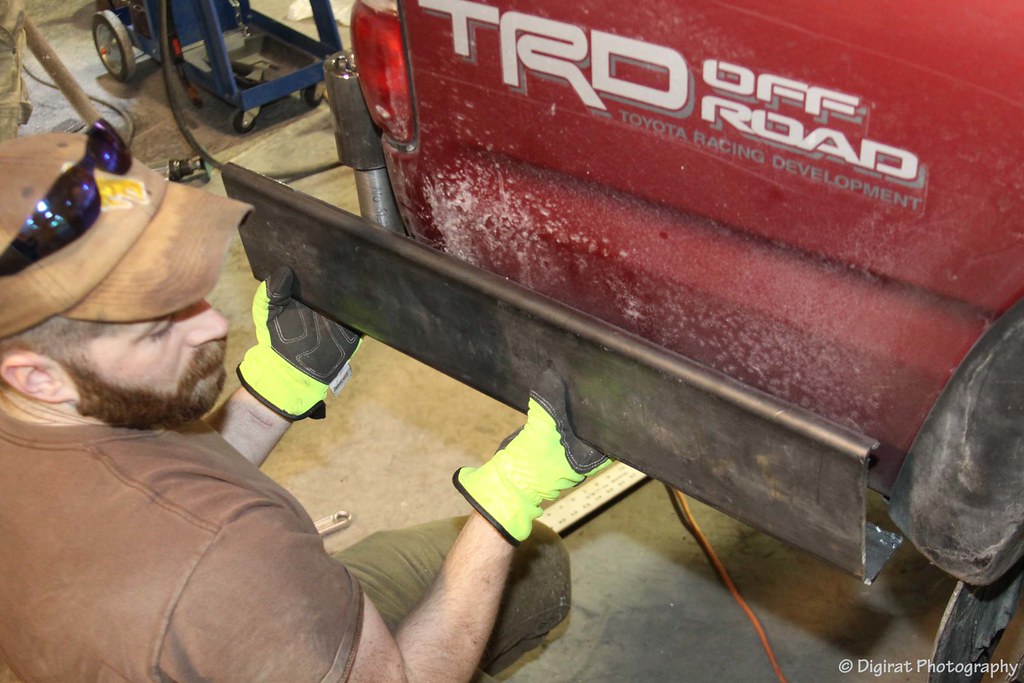
To mount the bumper I bought brackets made by Eric at Relentless Fab in his DIY section. I bought the spindle and tire mount and lights from him too. The brackets where well made. But, I did not like them for my own design. They stuck out too far and too high. So they where modified. I cut a lot off, about 2'' I think to really suck the bumper up to the truck.
 IMG_8915
 by
digirat99, on Flickr
 IMG_8920
 by
digirat99, on Flickr
 IMG_8922
 by
digirat99, on Flickr
Then I cut holes for the lights and the recovery points. The recovery points tie straight into the .25'' frame mount plates. Mounting the spindle was tricky. I used a square and my eye to get it as close as possible. But really you have to wait till putting on the swing bar to really see how it lines up.
Roughed in..
 IMG_8923
 by
digirat99, on Flickr
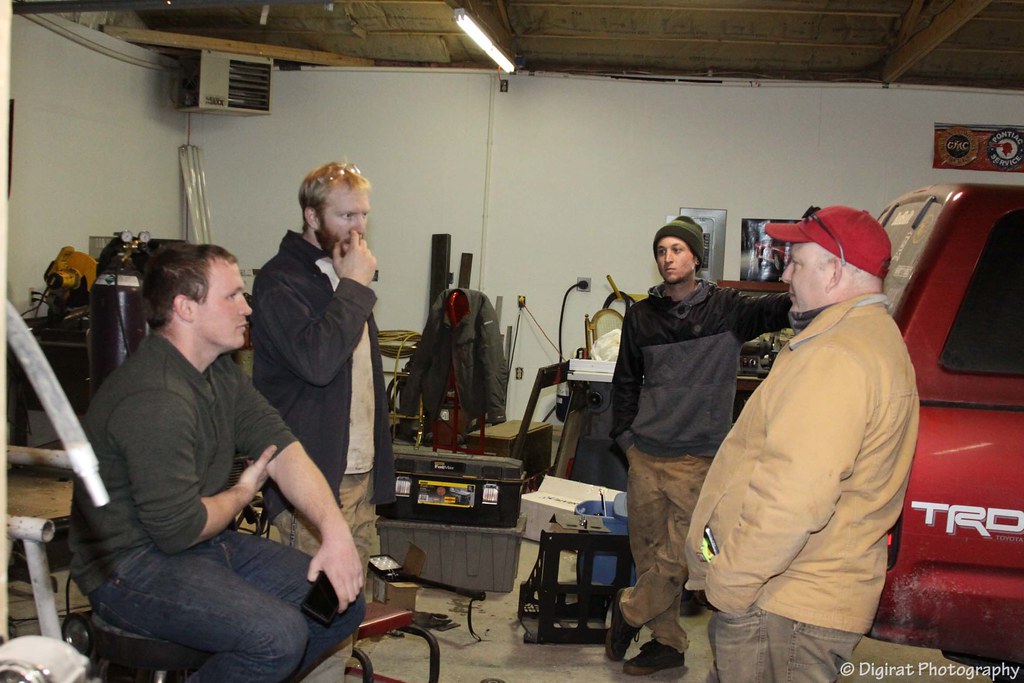
Of course many people stopped by to BS
it was a fun time
 IMG_8925
 by
digirat99, on Flickr
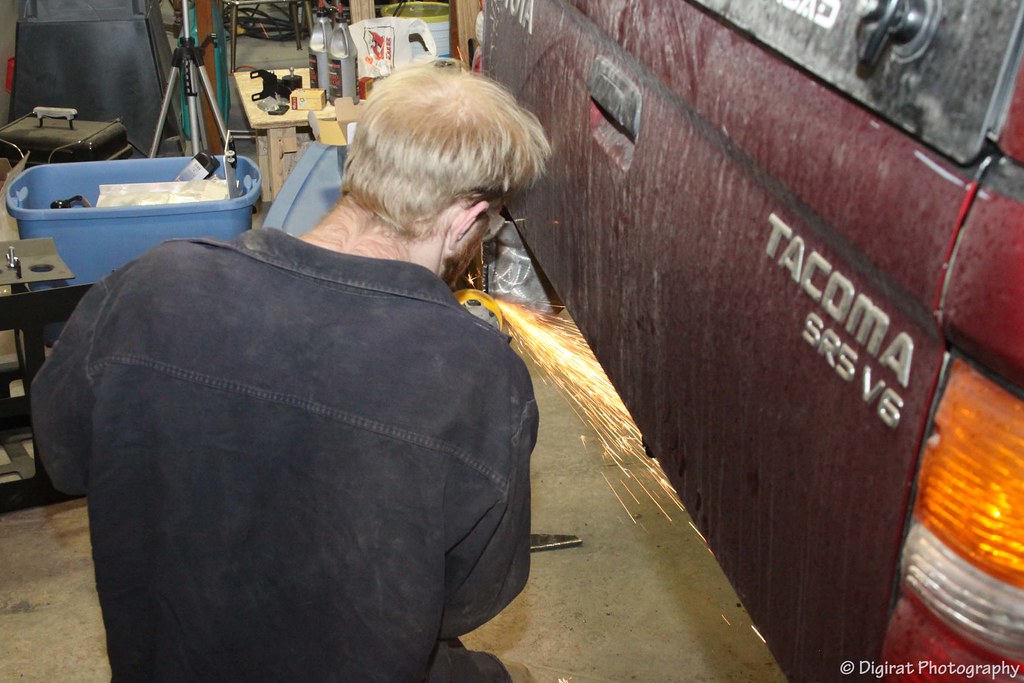
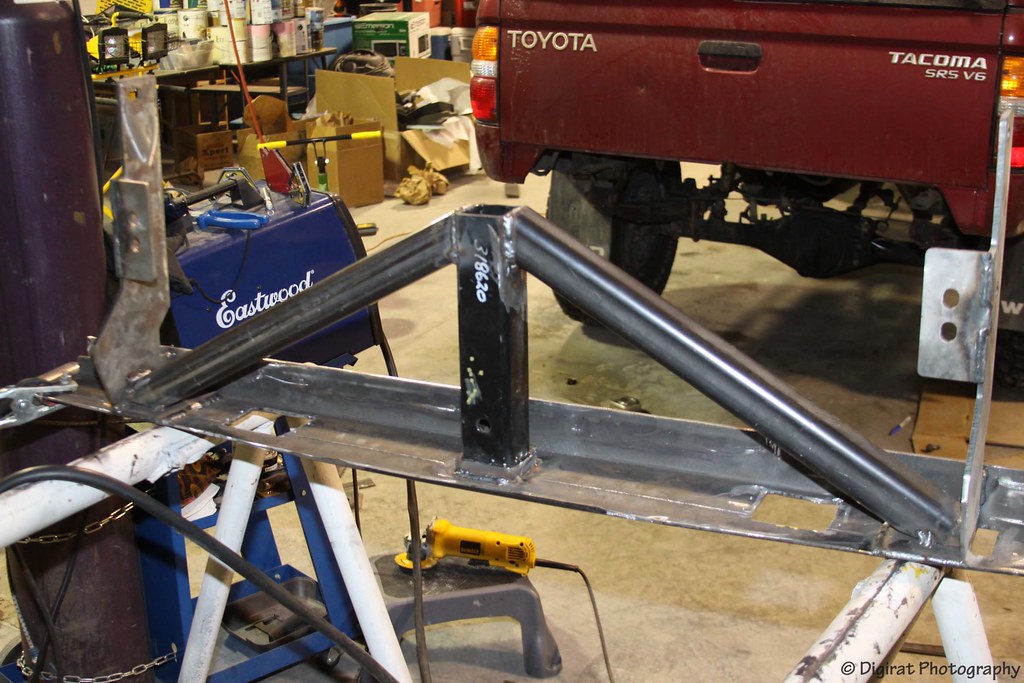
Then got back to work. I used .25'' wall square tubing to match the 2'' receiver and triangulated it back in a way that half of it was on the face of the 3/16'' plate on the bumper and the other was on the .25'' mount brackets. I also added another section of 3/16'' to the bumper side to make sure any pulling done with this thing would hold.
 IMG_8927
 by
digirat99, on Flickr
 IMG_8937
 by
digirat99, on Flickr
Lovely tac welds..
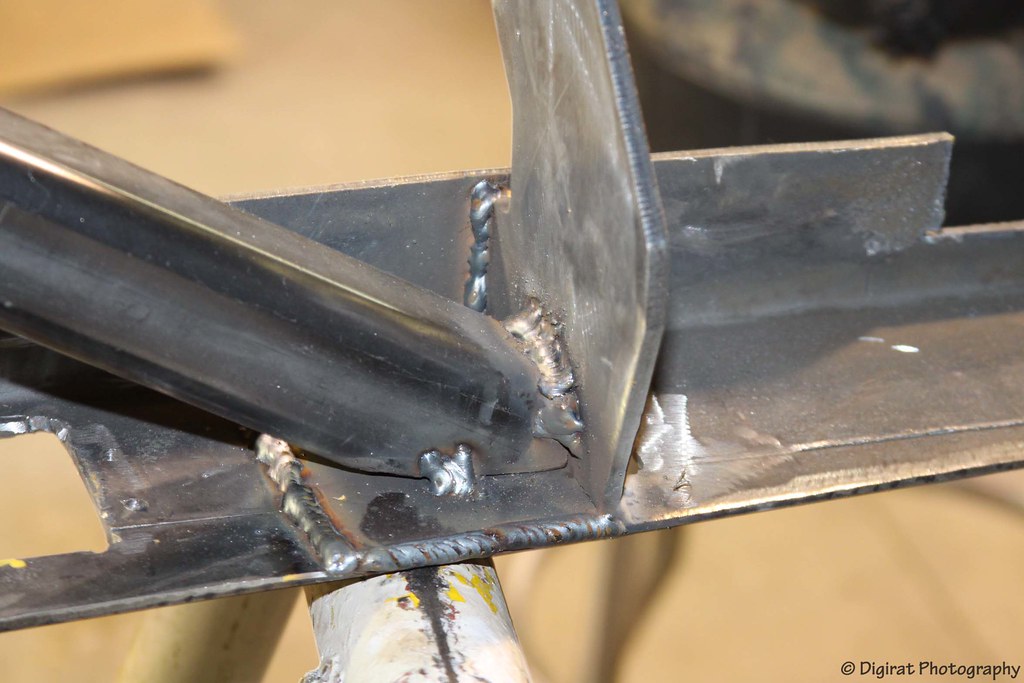 IMG_8938
 by
digirat99, on Flickr
Burned it in
 IMG_8936
 by
digirat99, on Flickr
 IMG_8931
 by
digirat99, on Flickr
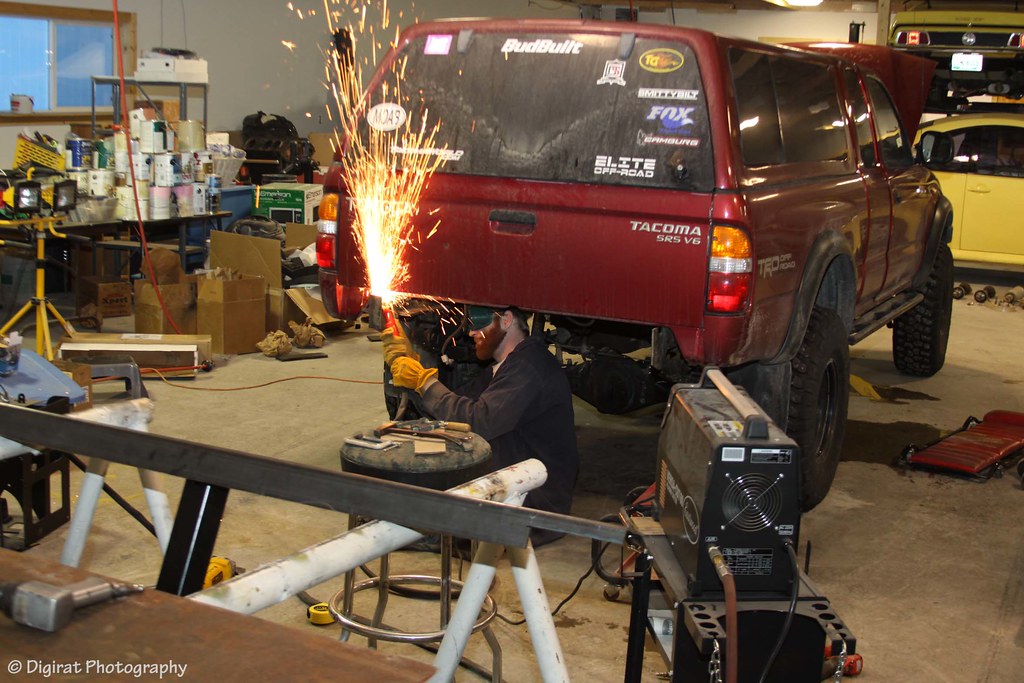
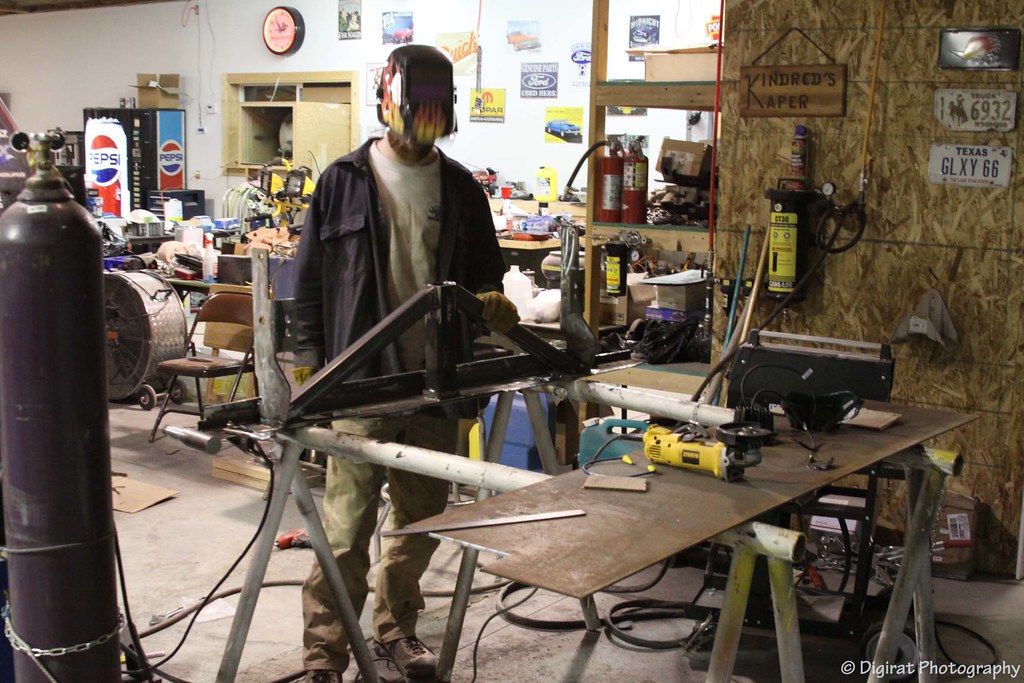
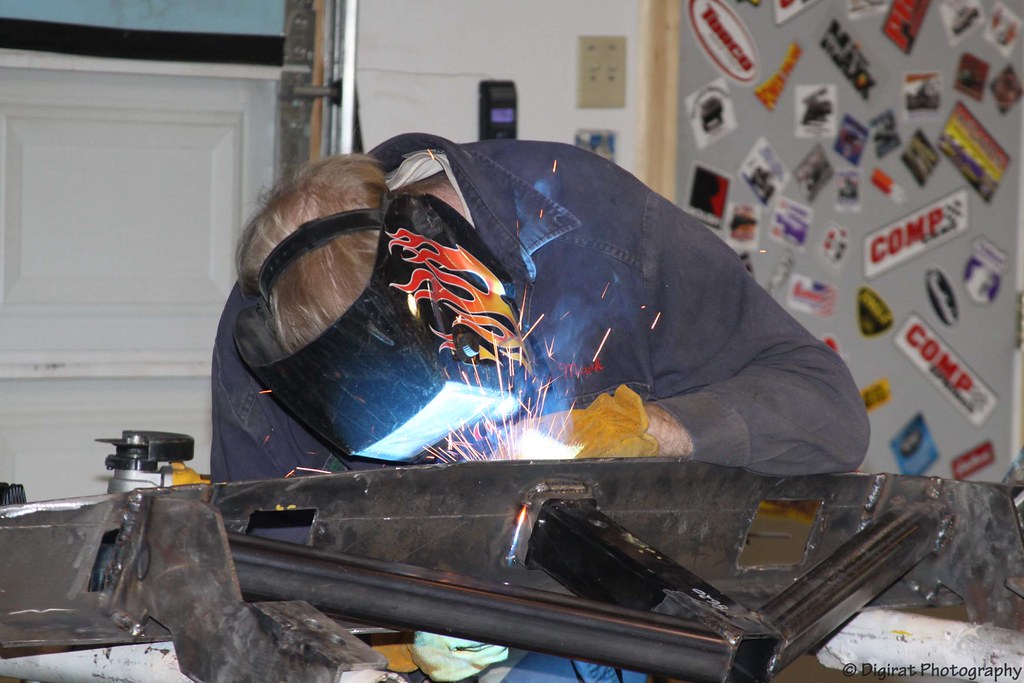
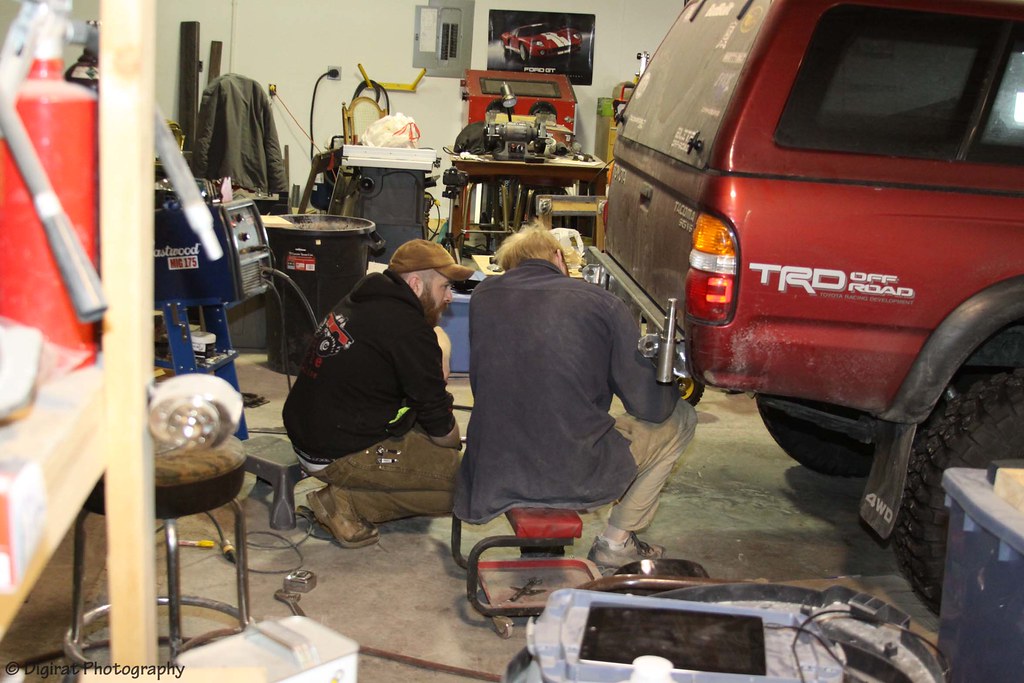
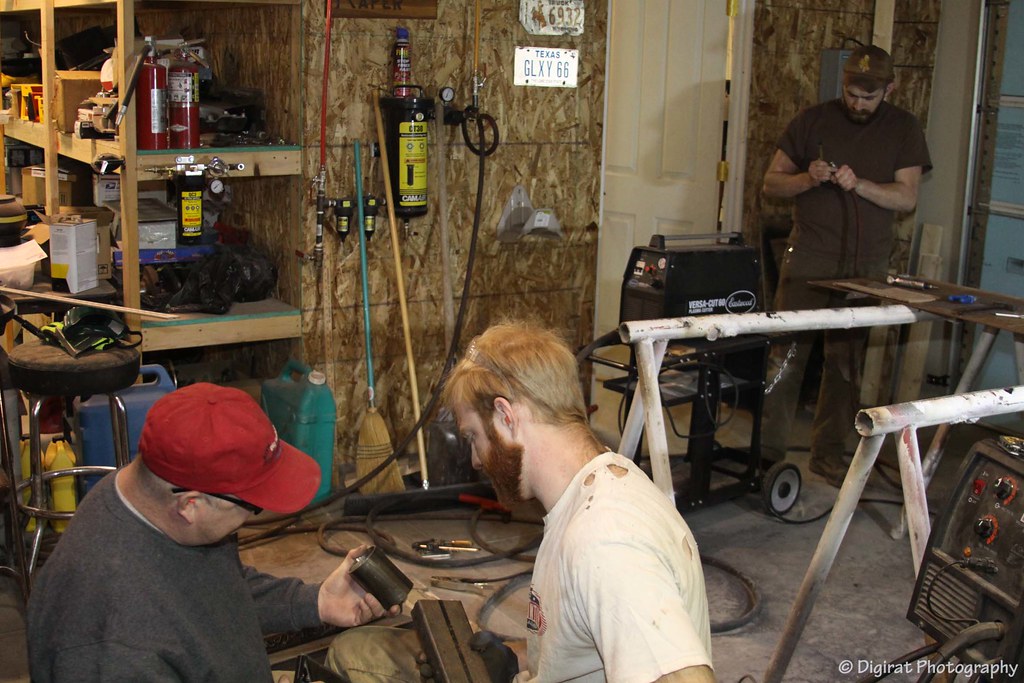
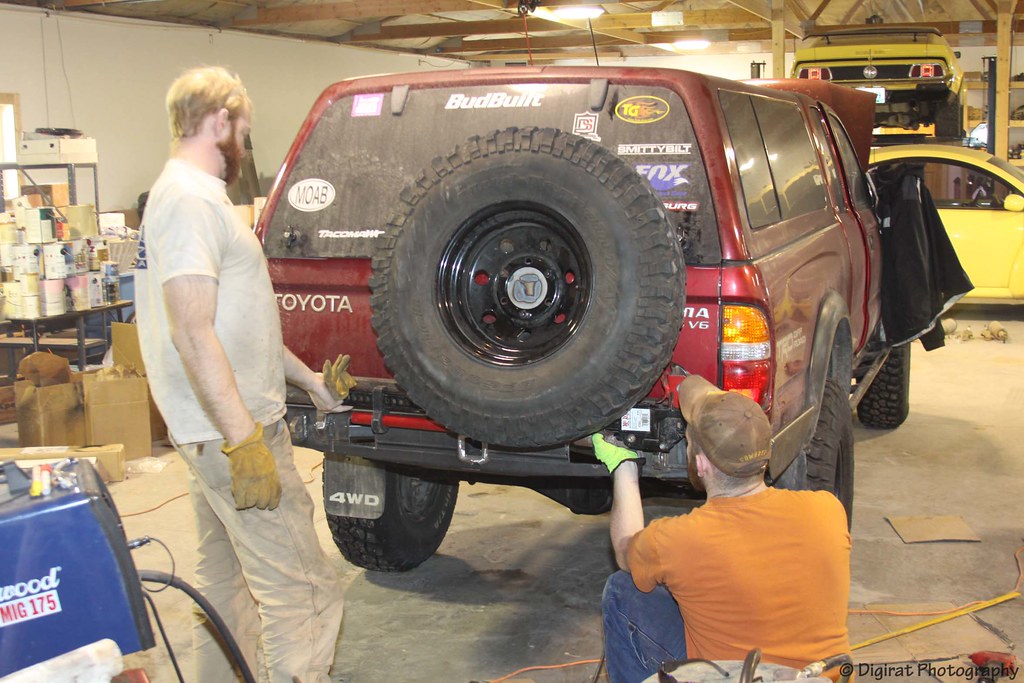
Then Jon got there. Head of HurrDurr Fab. Where I told him of my vison and what I wanted and how I had roughly planned on how to implement it. He wasted no time and jumped in to help
 IMG_8940
 by
digirat99, on Flickr
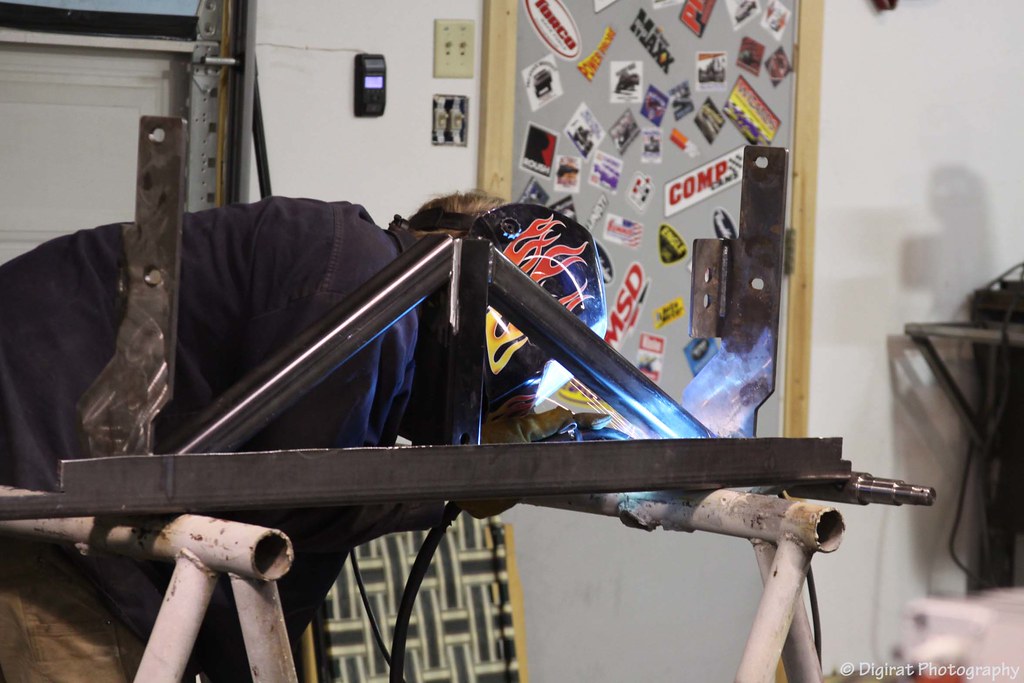
I gave Jon the job of cutting the pieces for the side protection and the corners. My Dad stopped briefly to help with me with the swingout tube
 IMG_8954
 by
digirat99, on Flickr
 IMG_8956
 by
digirat99, on Flickr
I had bought just the right amount of tube and there was a perfect full size section to do what I had wanted to originally for the side protection. I did just like I did with main section and had Jon cut in into two Ls.
 IMG_8957
 by
digirat99, on Flickr
As you can see. It not only allows for plate for the under side protection but has the nice top beveled edge. Which makes it stronger and looks a hell of a lot better then straight plate.
 IMG_8960
 by
digirat99, on Flickr
 IMG_8961
 by
digirat99, on Flickr
 LongTravel Install-145.jpg by Monte Nickles Photos, on Flickr
 LongTravel Install-146.jpg by Monte Nickles Photos, on Flickr
 LongTravel Install-147.jpg by Monte Nickles Photos, on Flickr
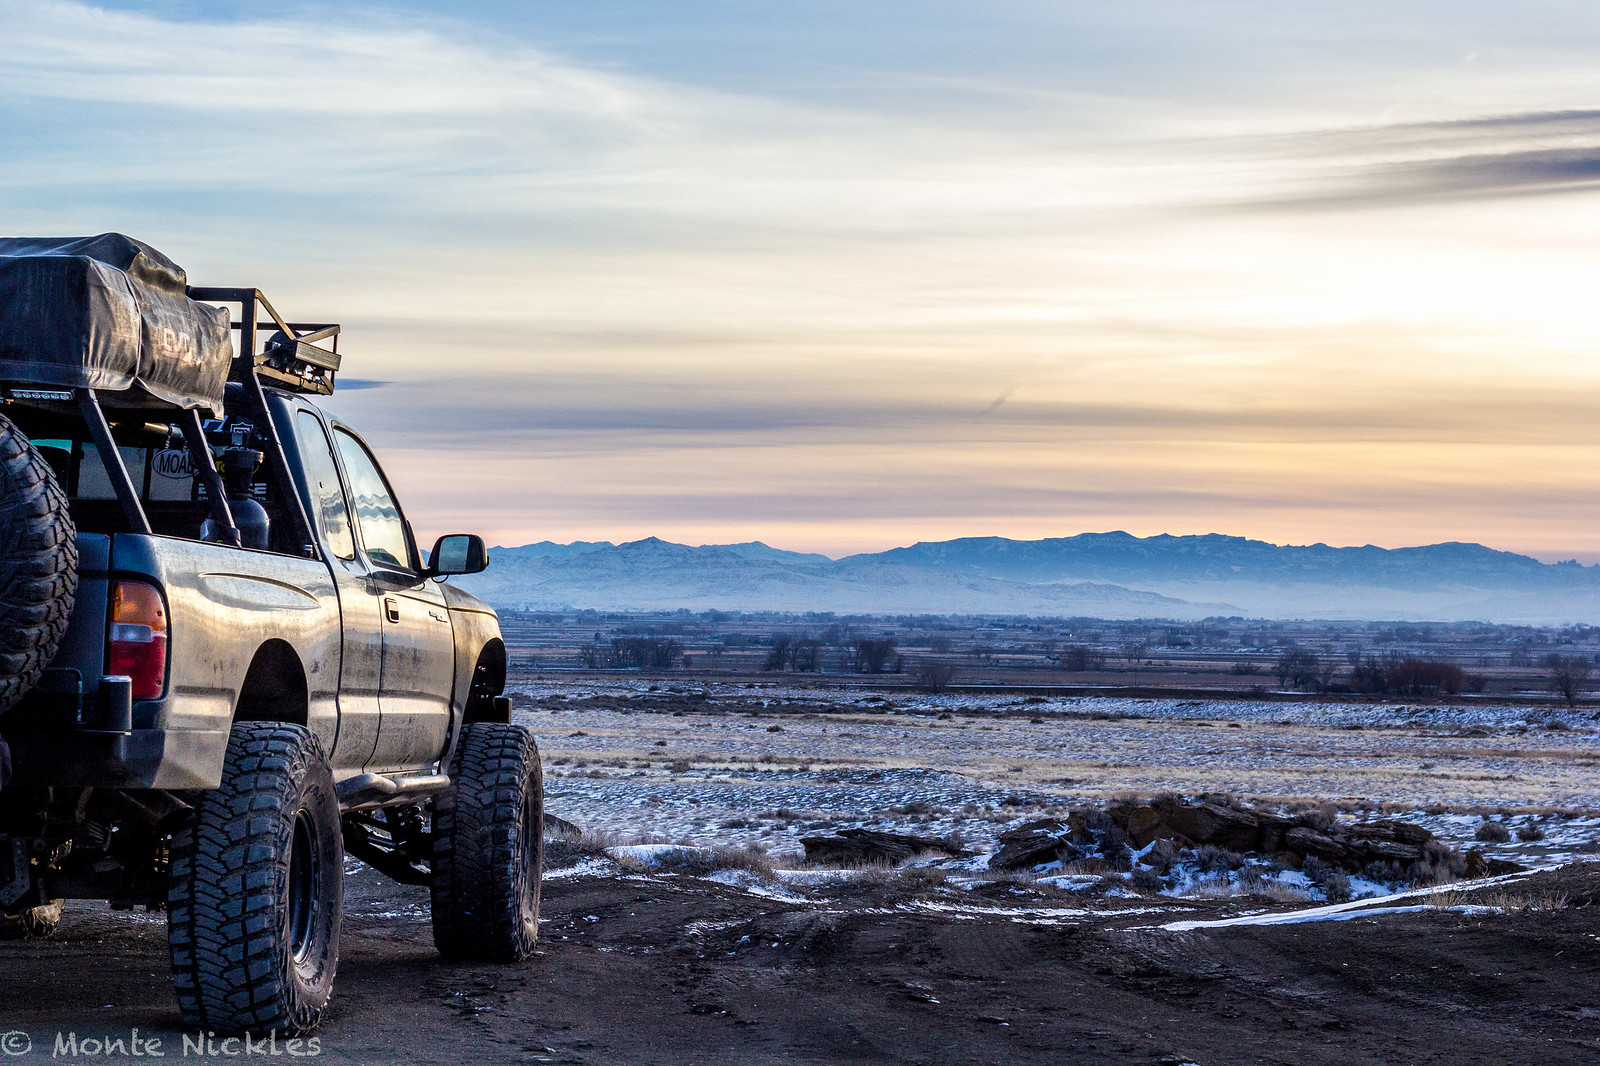 LongTravel Install-148.jpg by Monte Nickles Photos, on Flickr
 LongTravel Install-149.jpg by Monte Nickles Photos, on Flickr
 IMG_8964
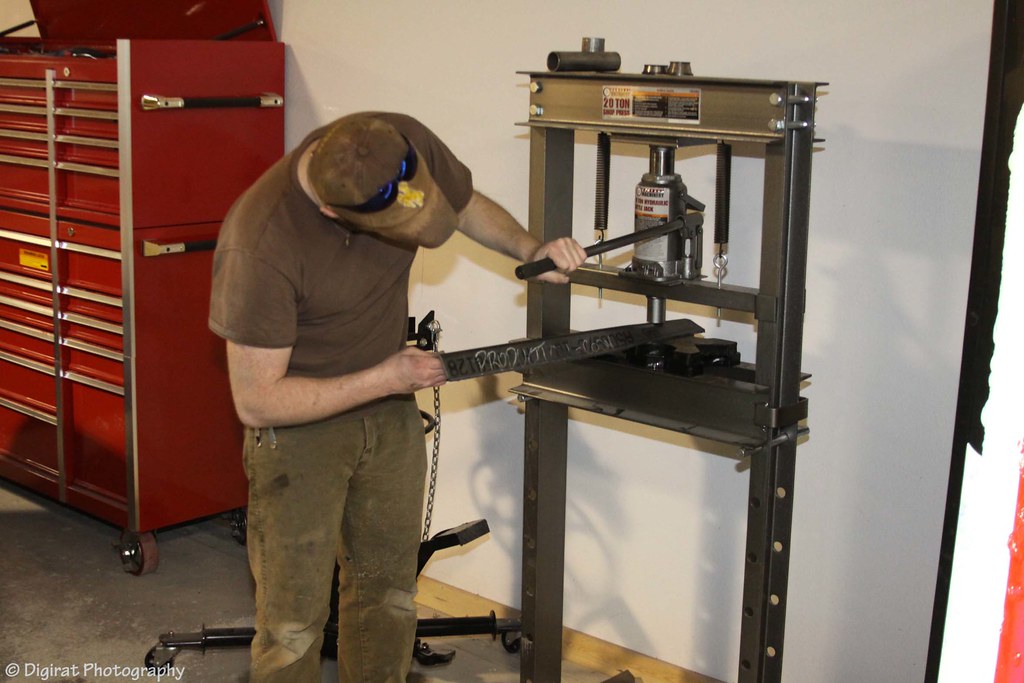 IMG_8966
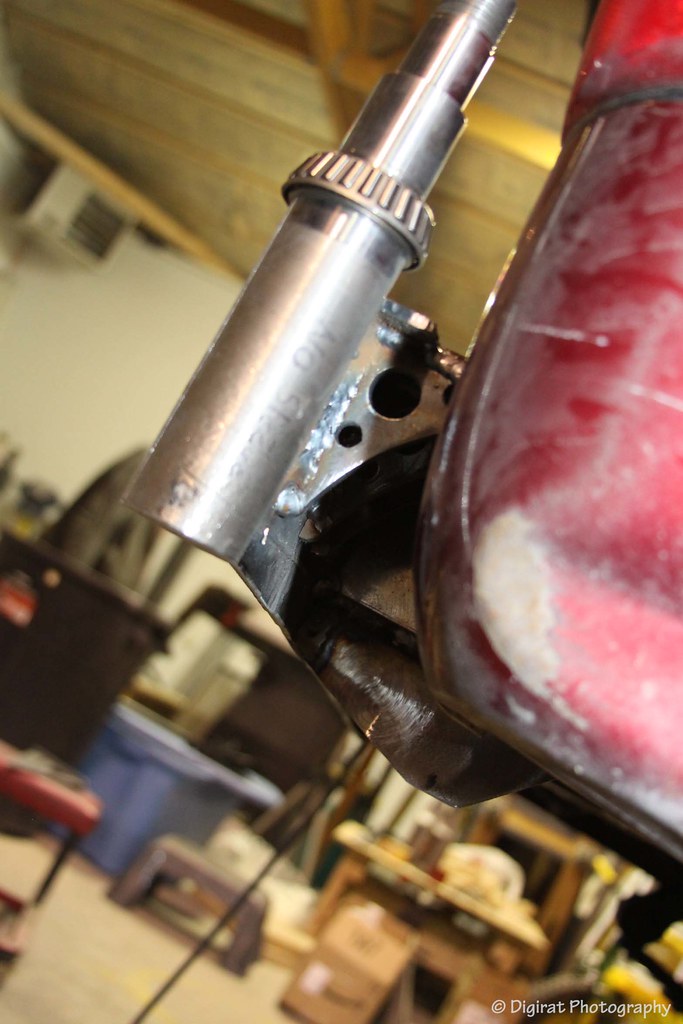 IMG_8968
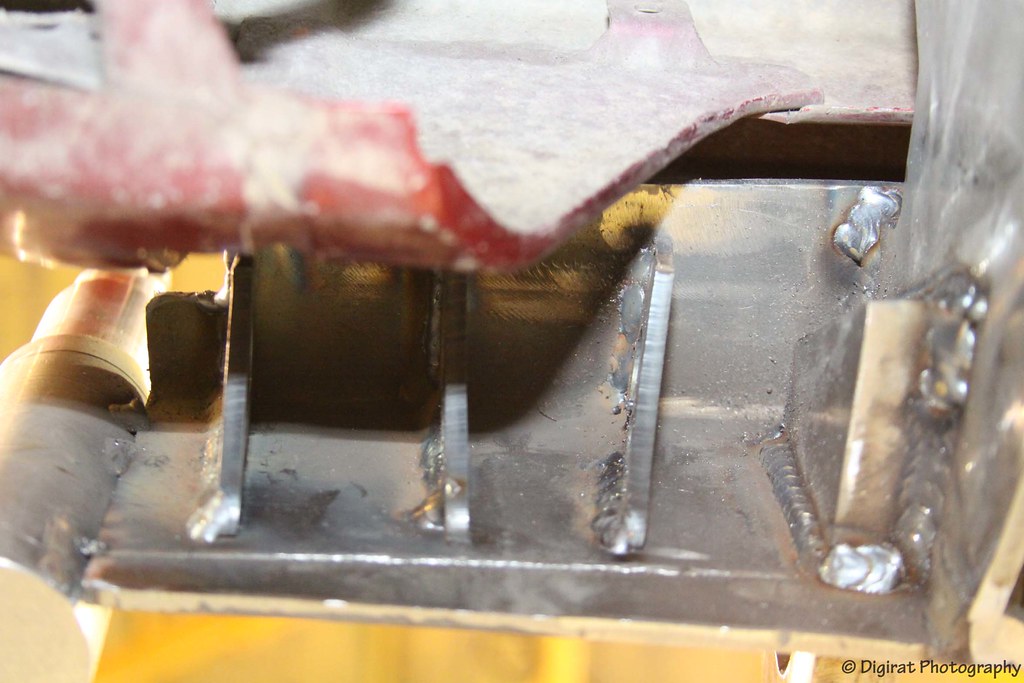 IMG_8972
 IMG_8974
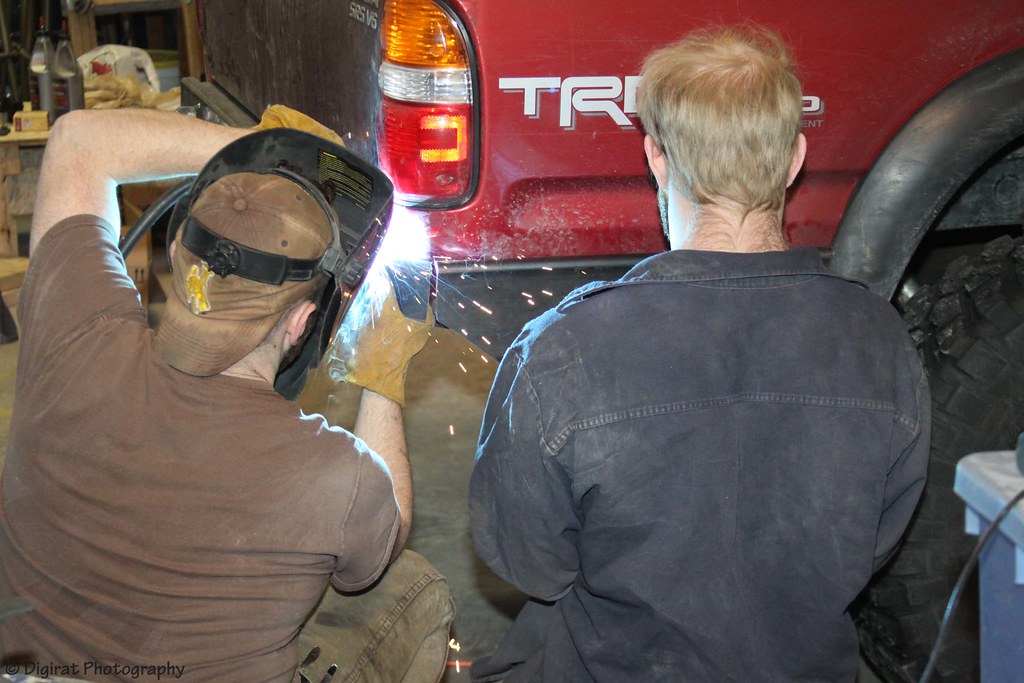 IMG_8976
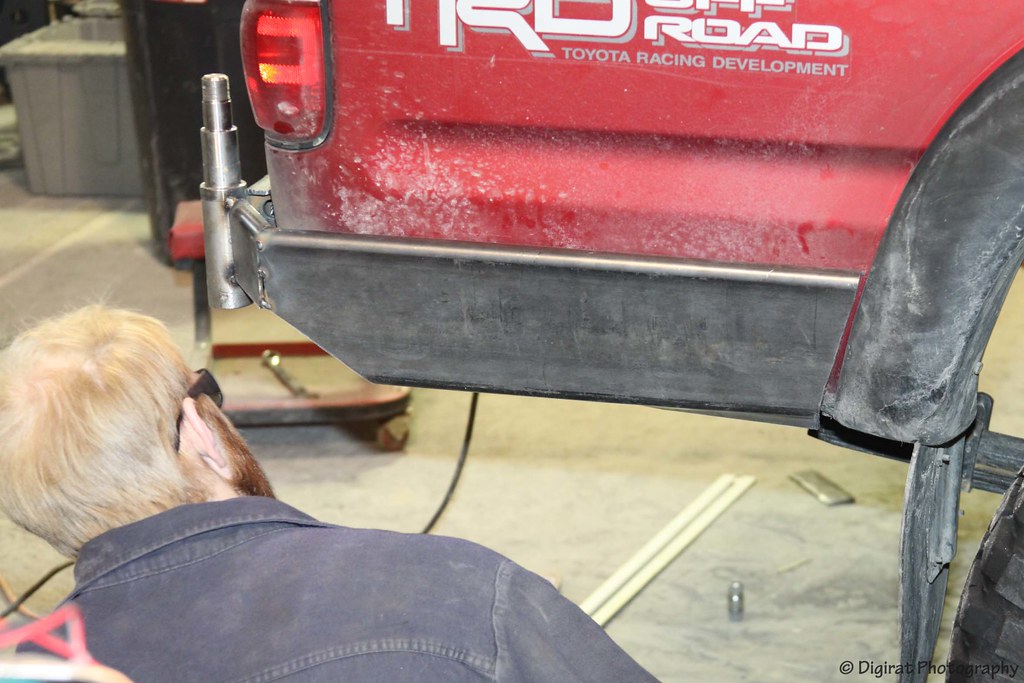 IMG_8979
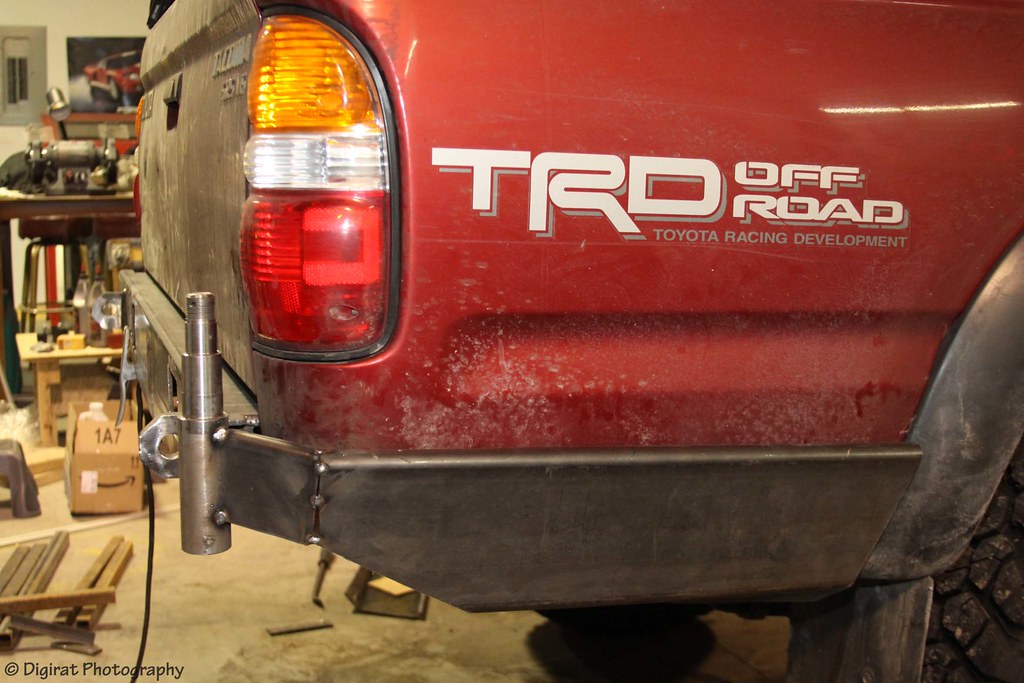 IMG_8980
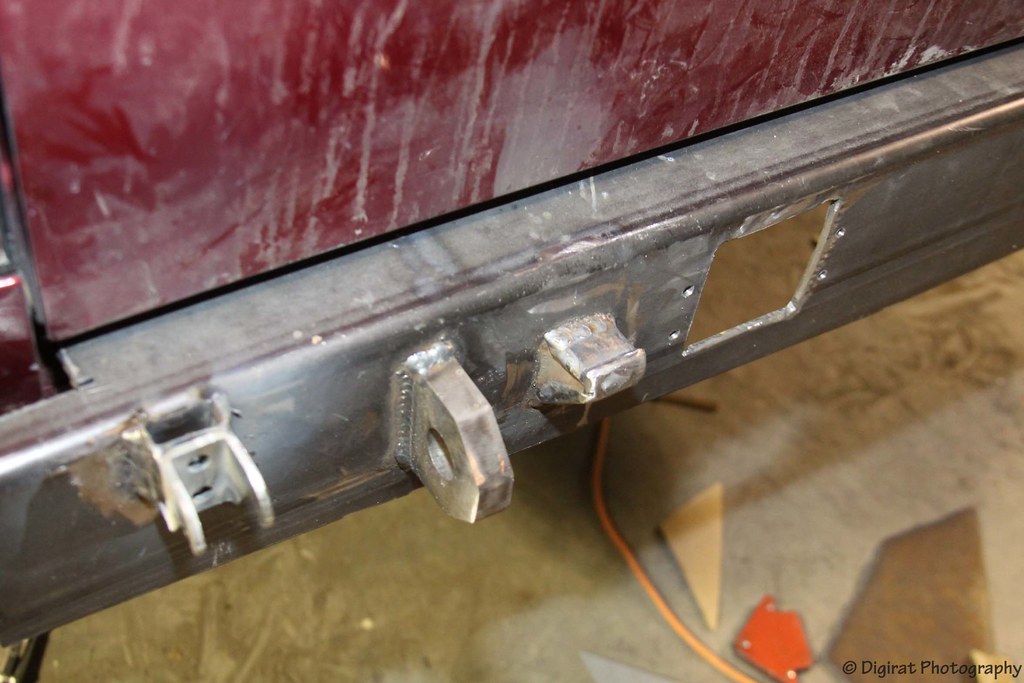 IMG_8982
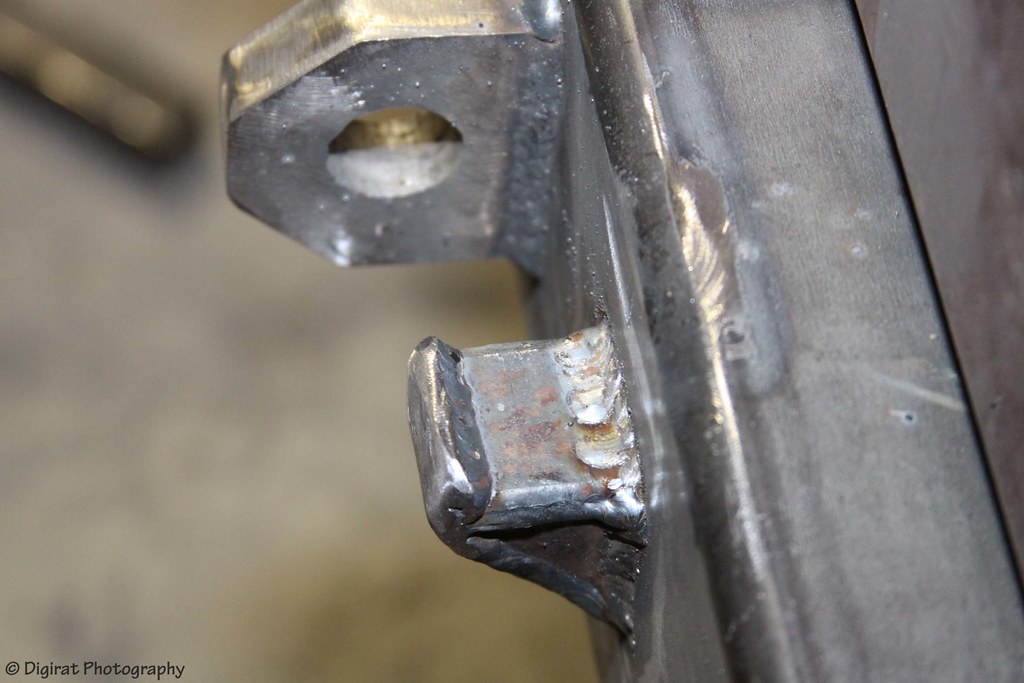 IMG_8984
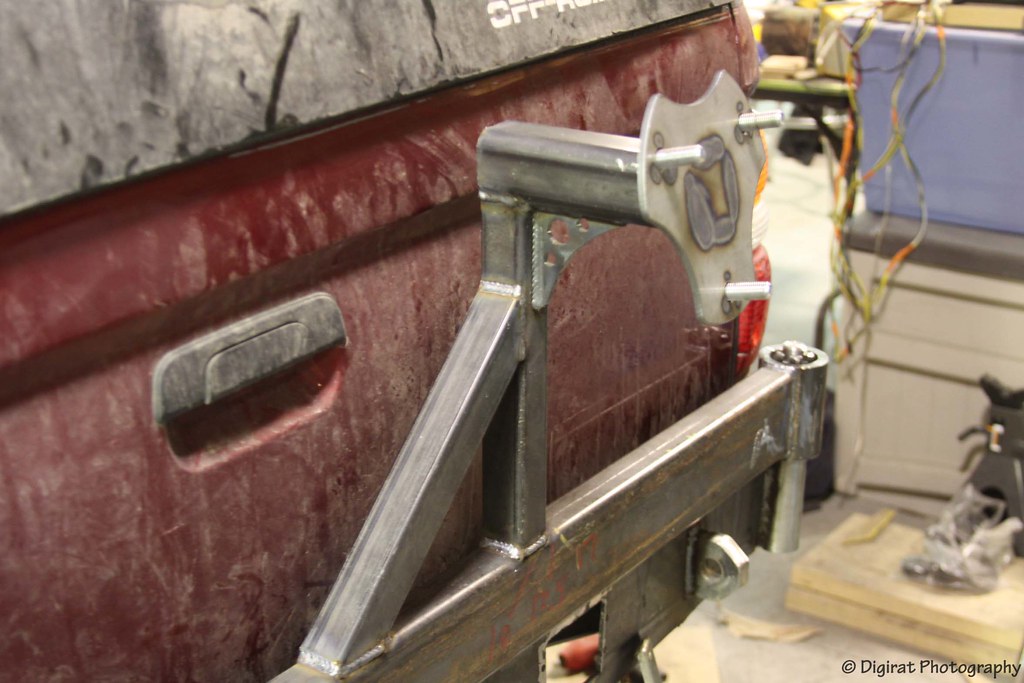 IMG_8996
 IMG_8995
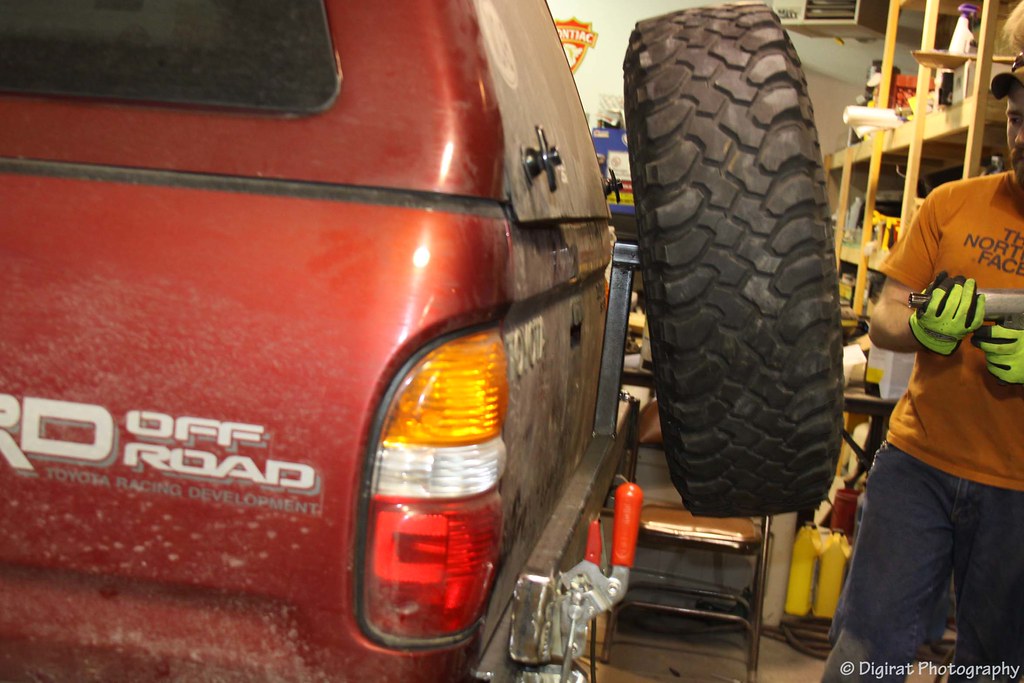
 IMG_8999
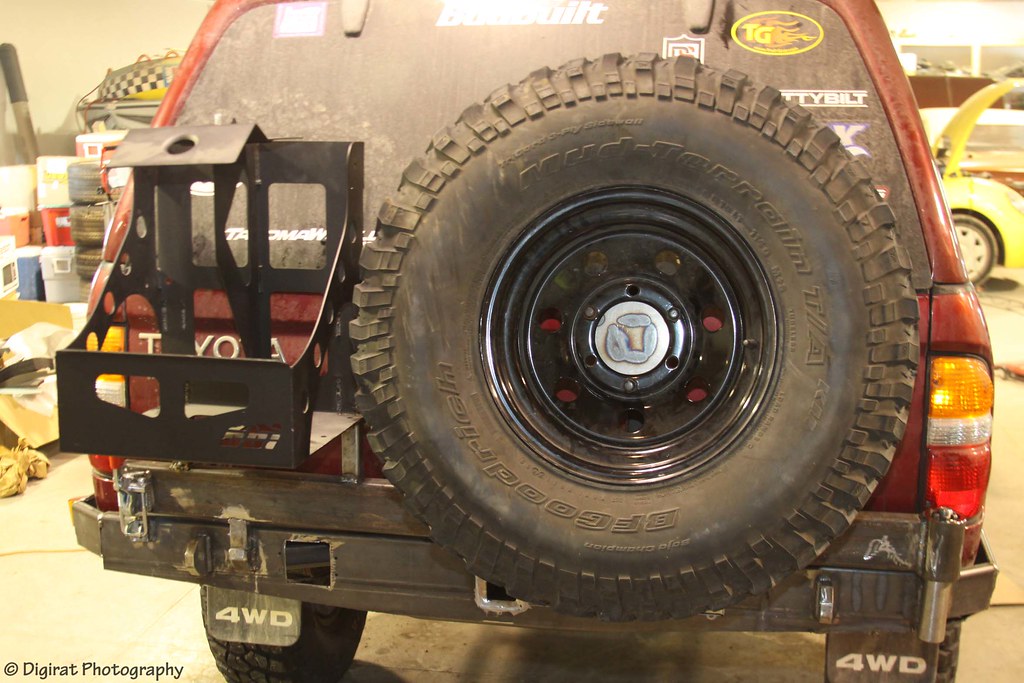 IMG_9004
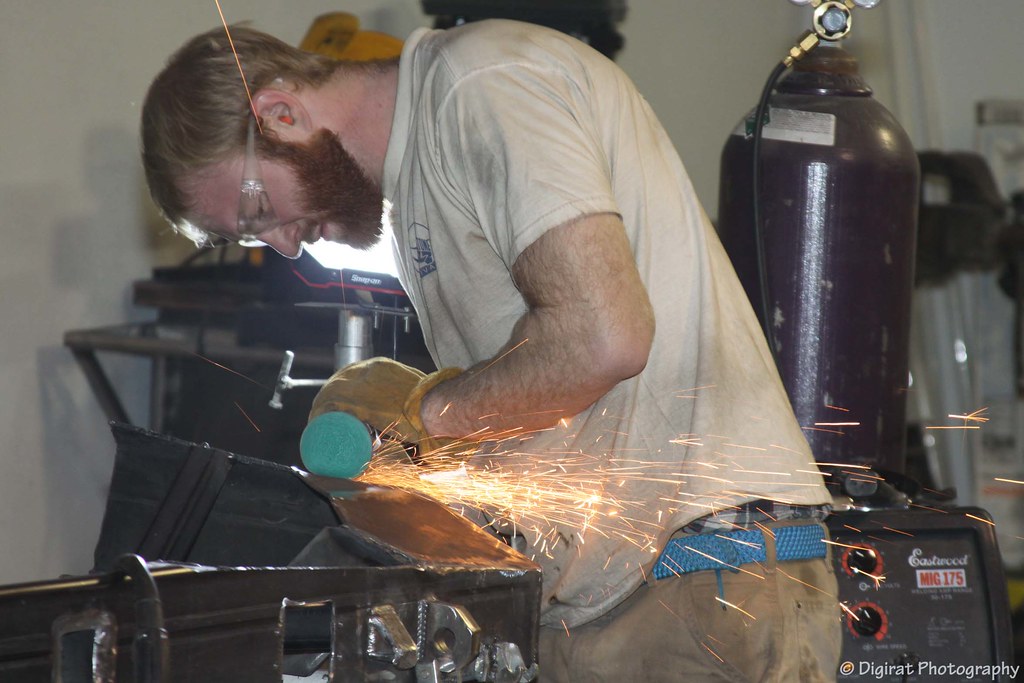 IMG_9005
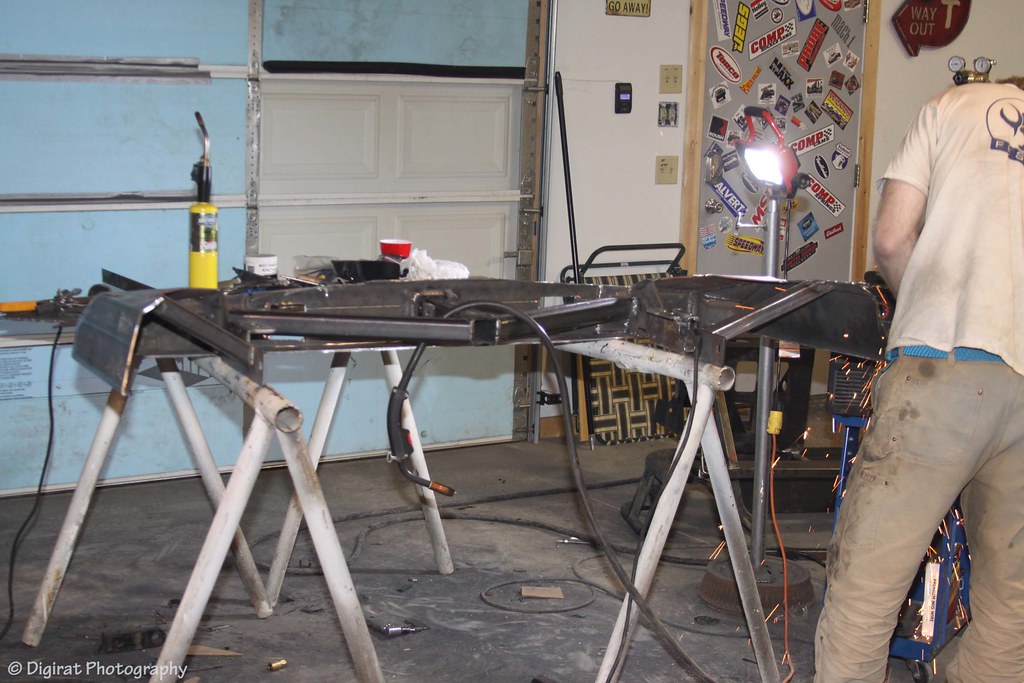 IMG_9011
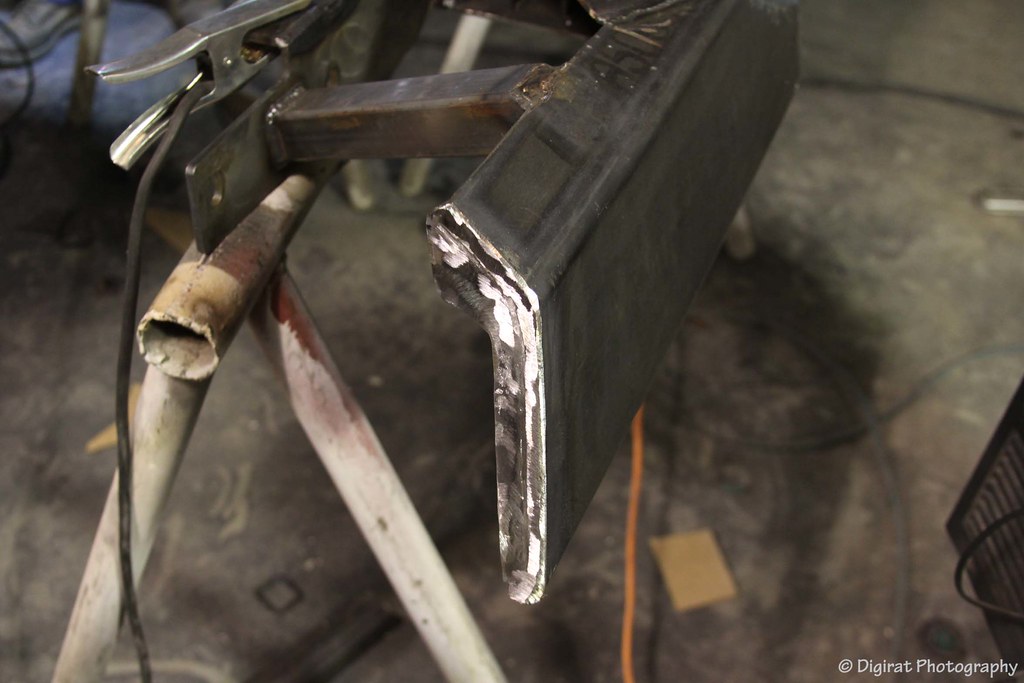 IMG_9012
 IMG_9015
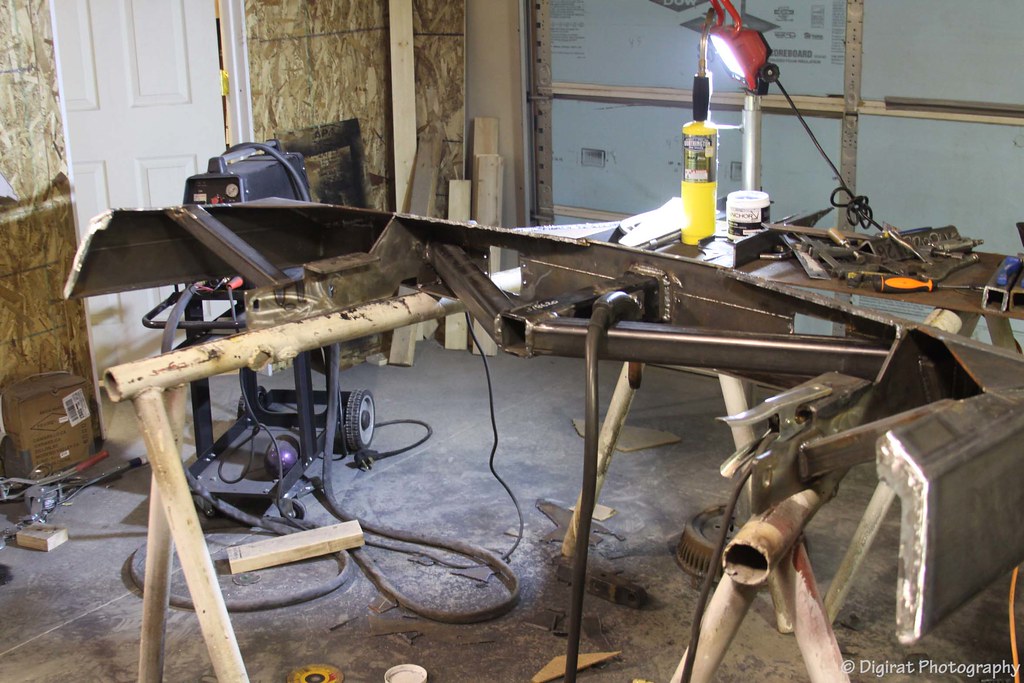 IMG_9016
 IMG_9017
 IMG_9026
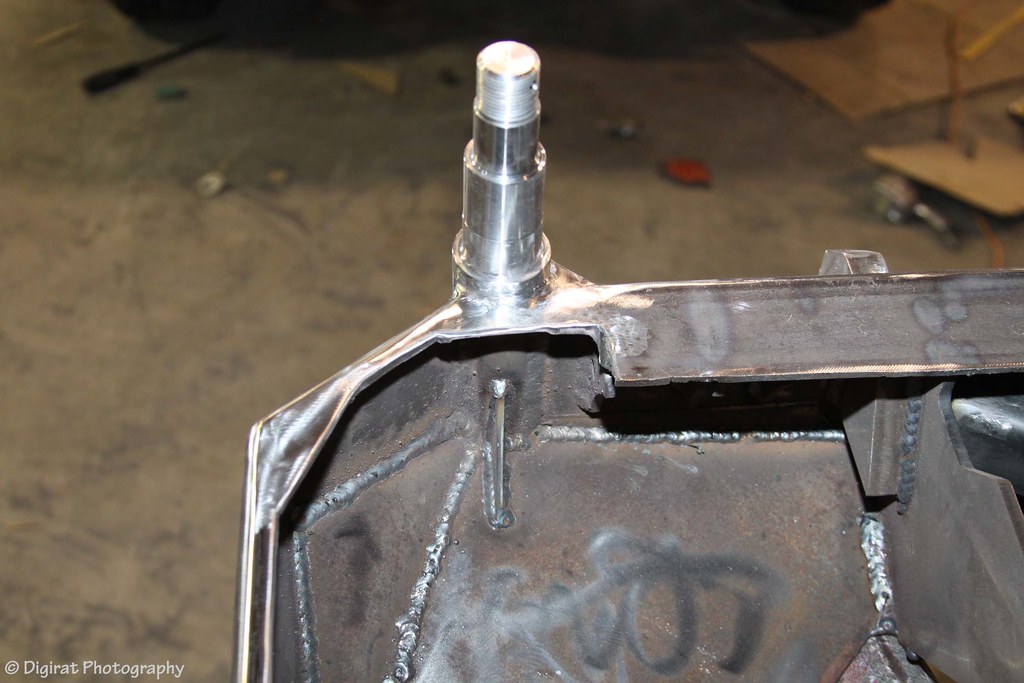 IMG_9024
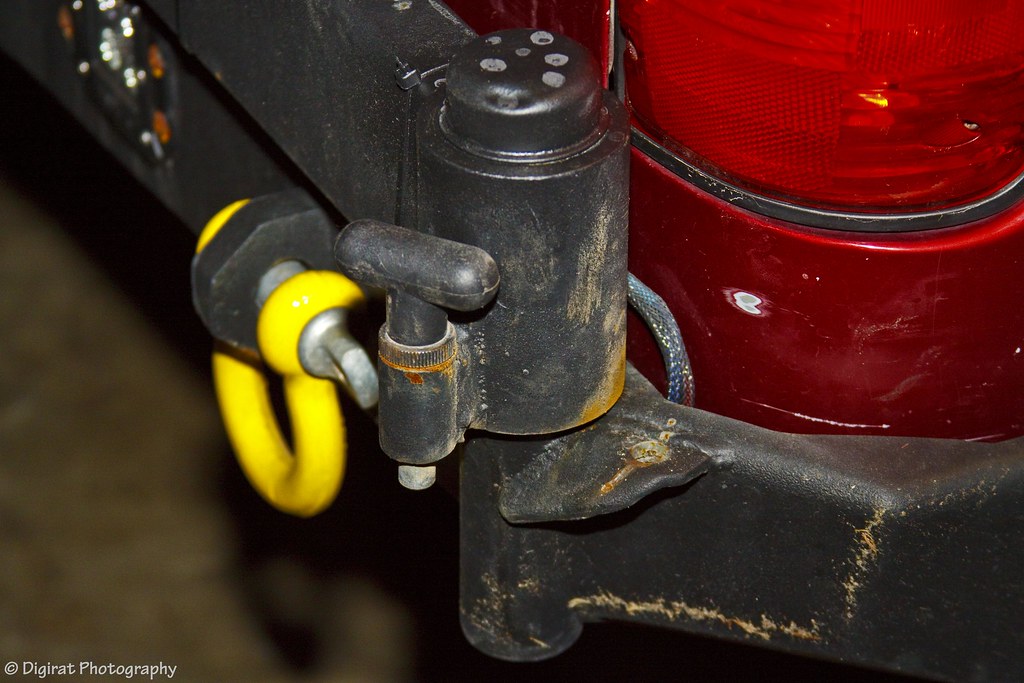 IMG_9215
 IMG_9028
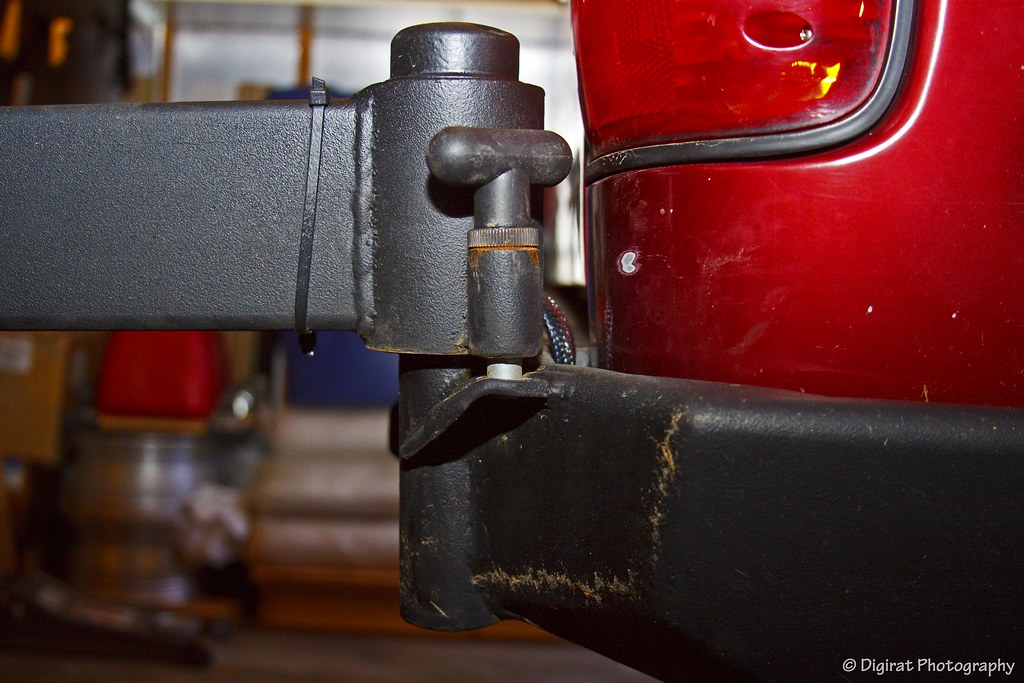 IMG_9223
 IMG_9217
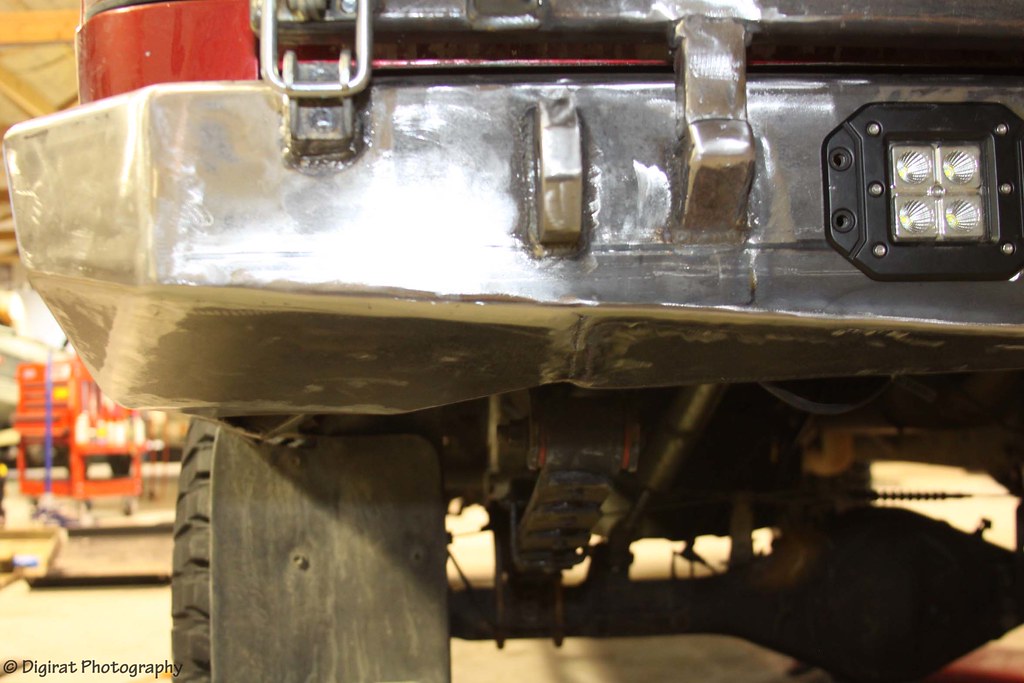 IMG_9040
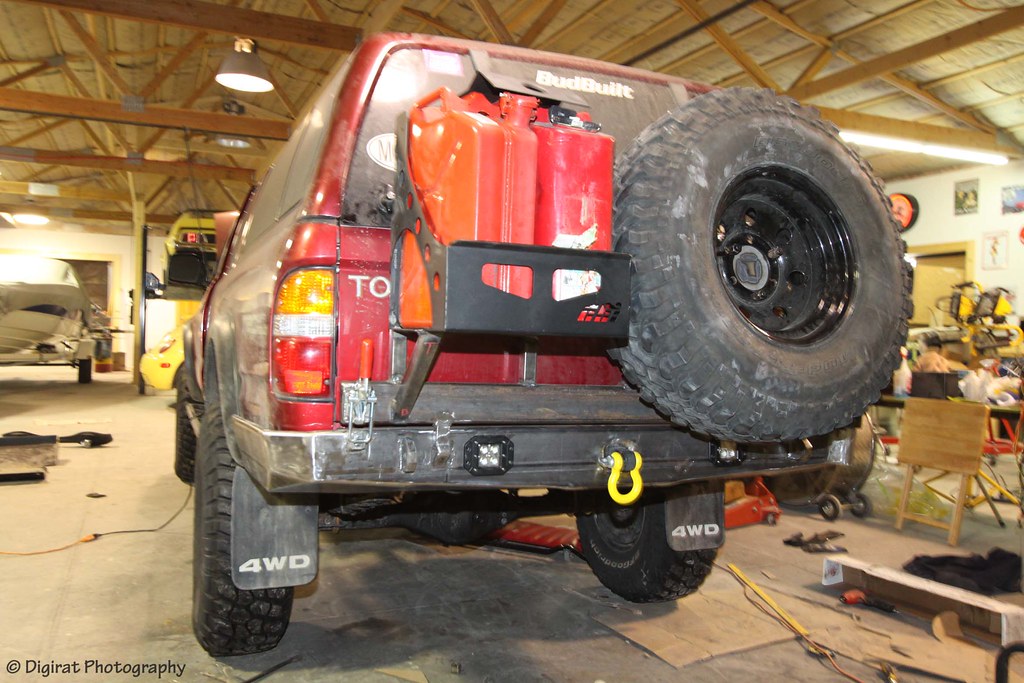 IMG_9041
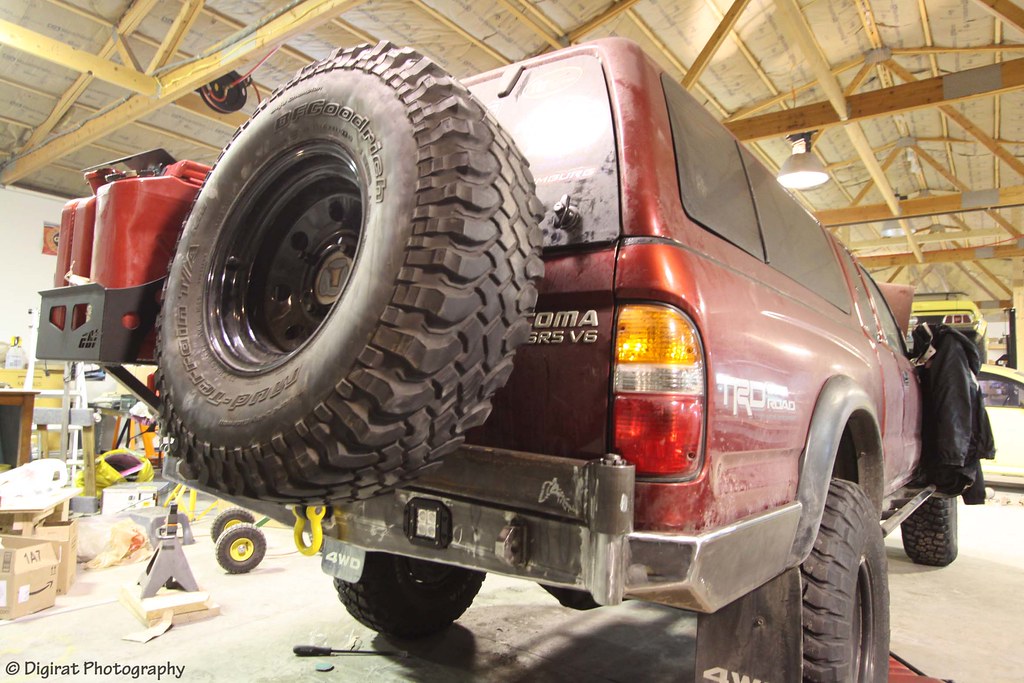 IMG_9043
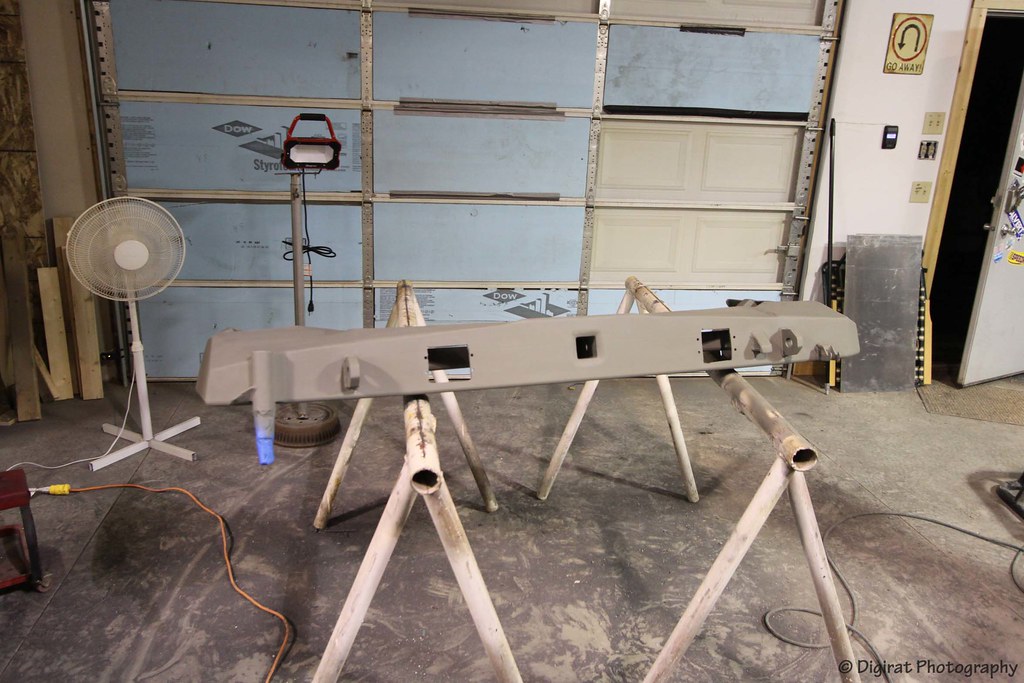 IMG_9049
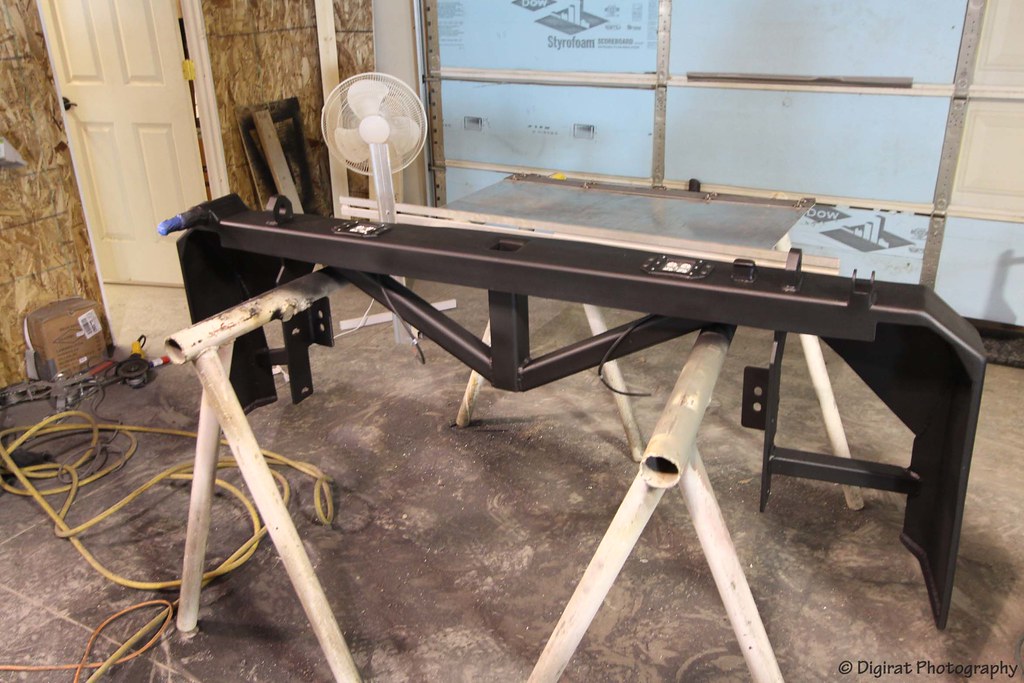 IMG_9054
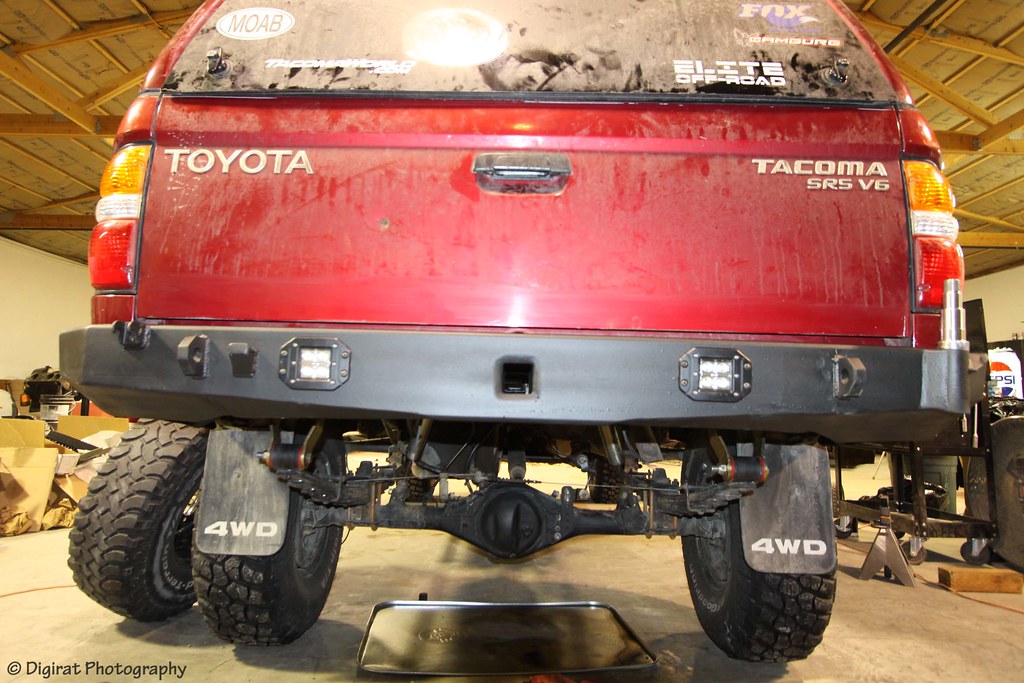 IMG_9059
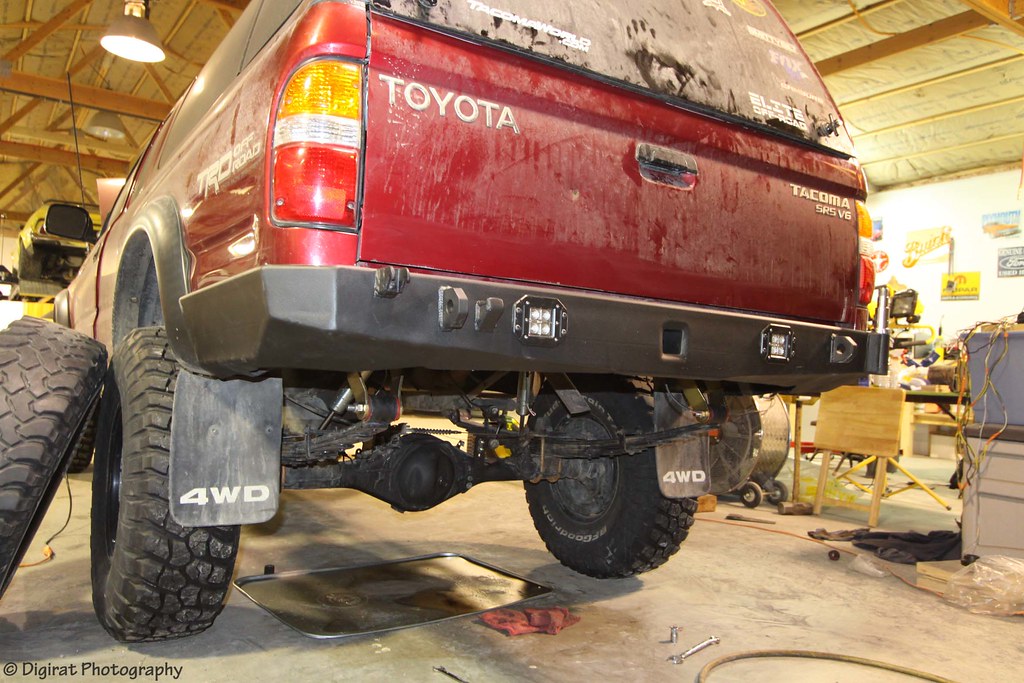 IMG_9060
 IMG_9063
 IMG_9065
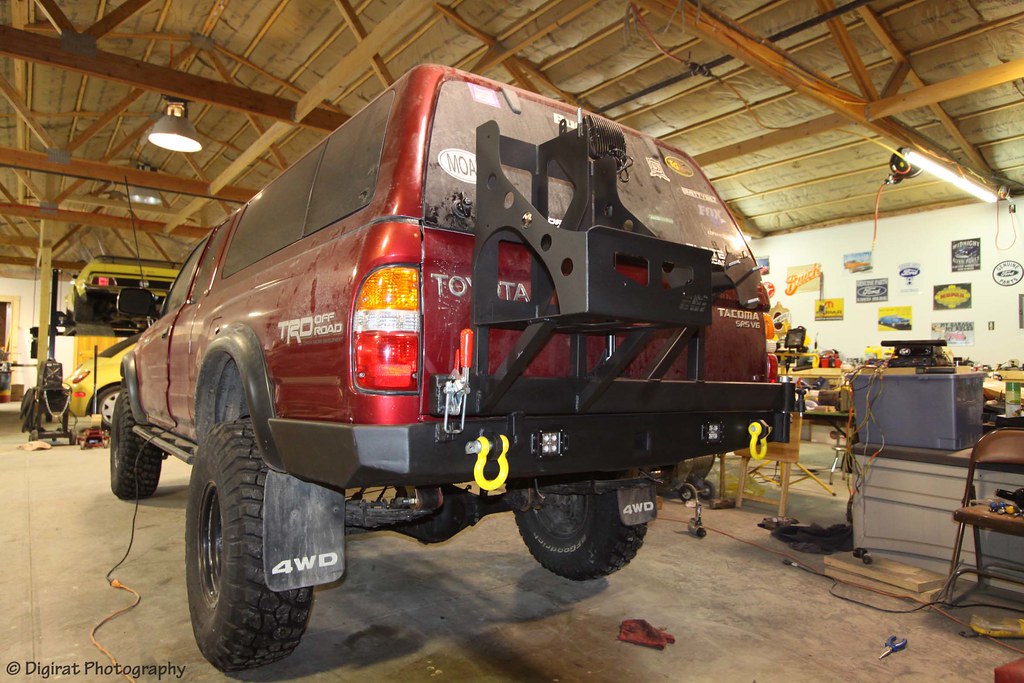 IMG_9067
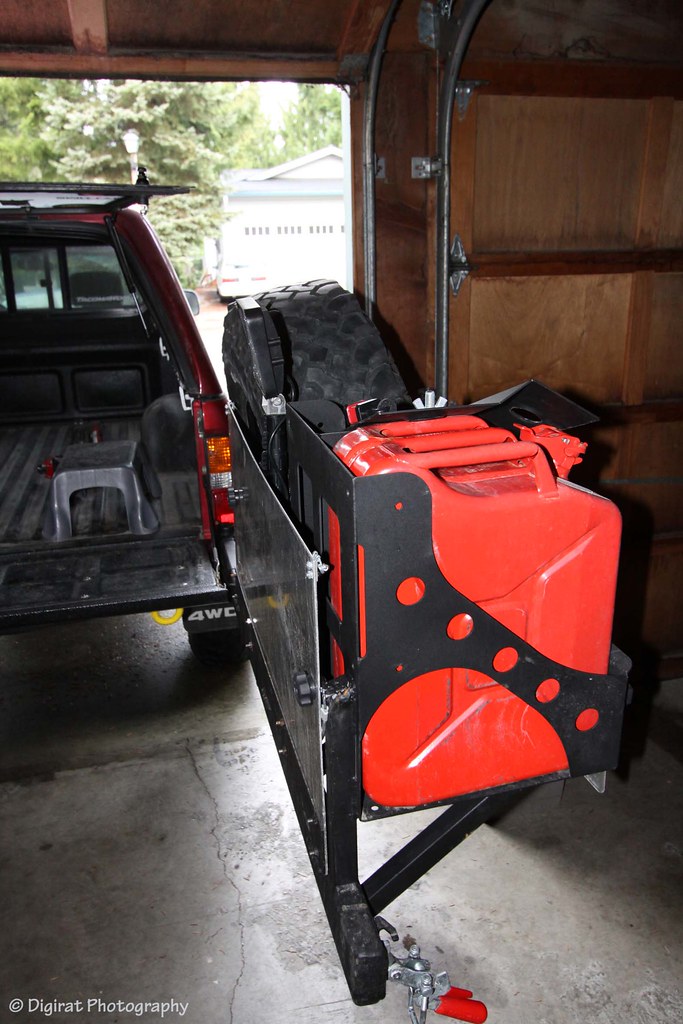 IMG_9150
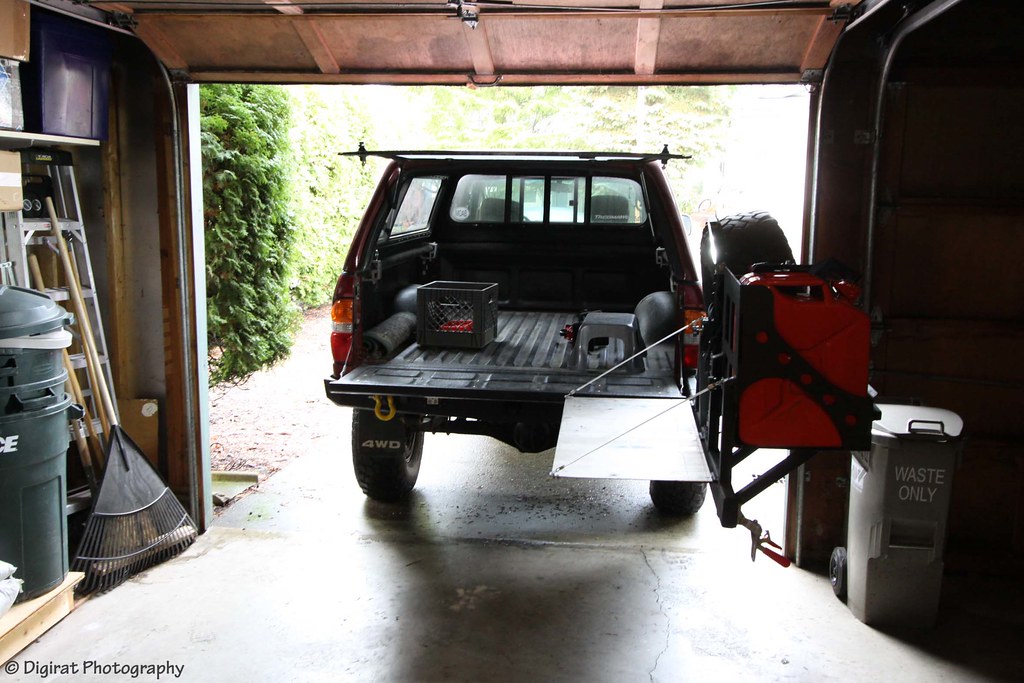 IMG_9136
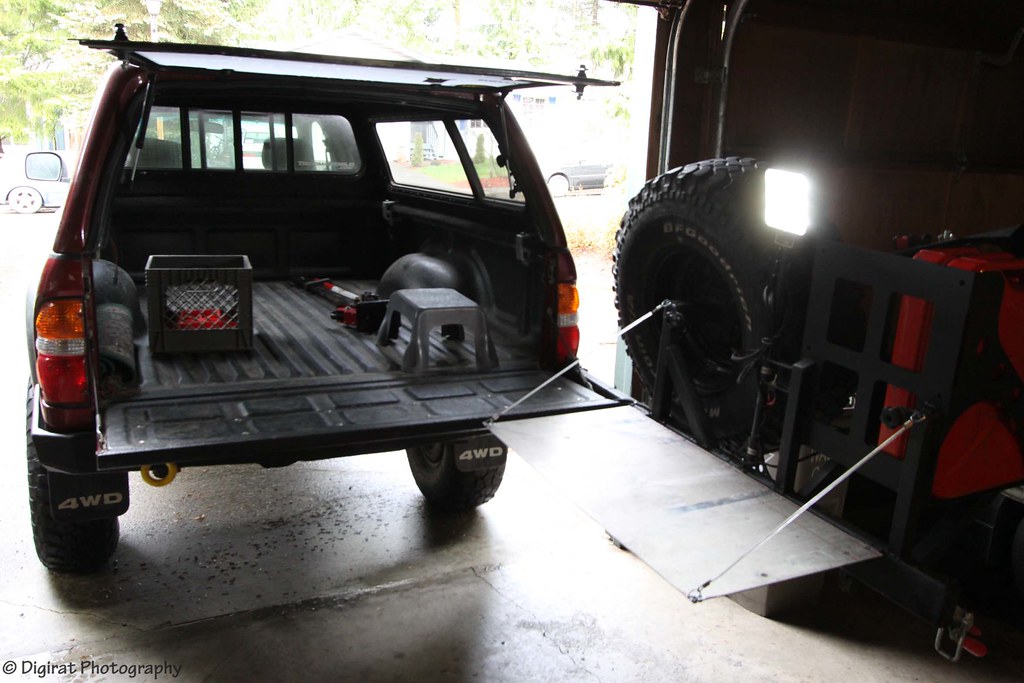 IMG_9137
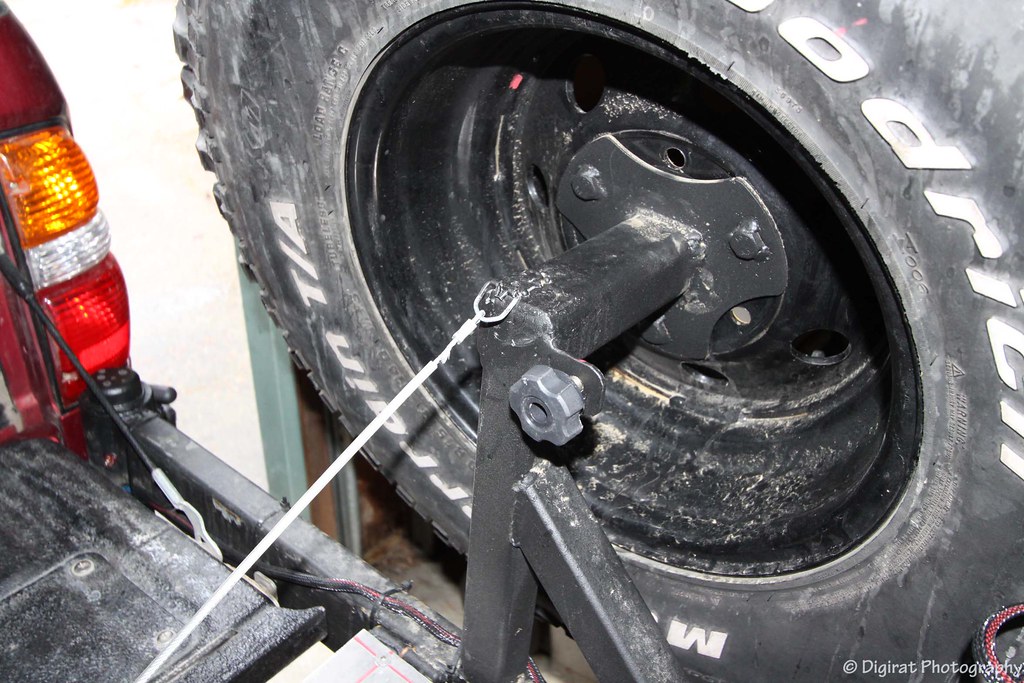 IMG_9140
 IMG_9141
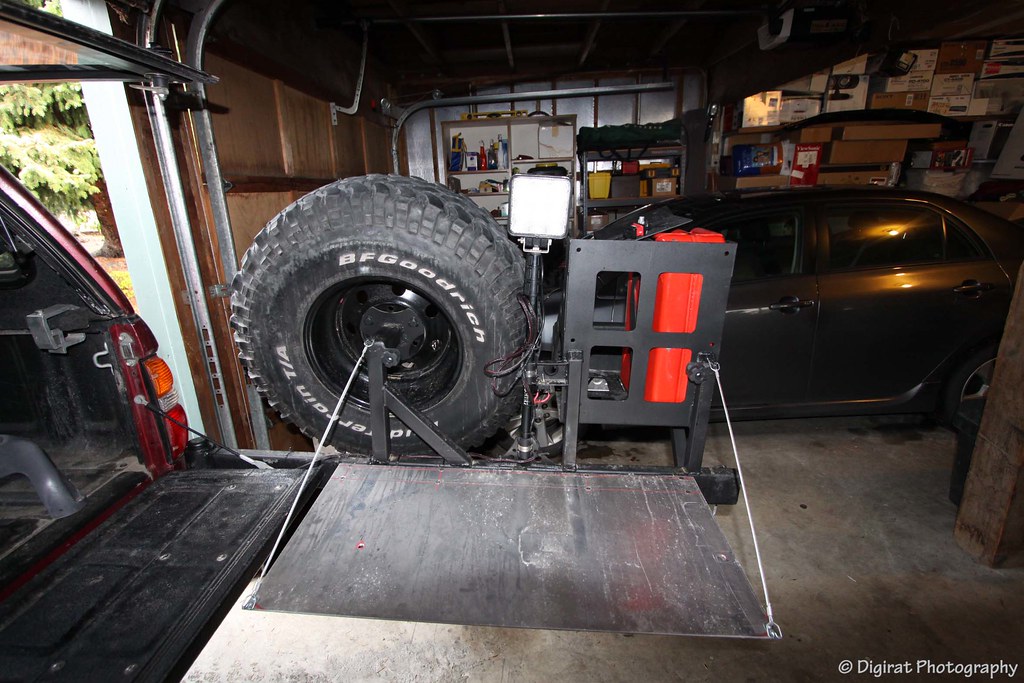 IMG_9142
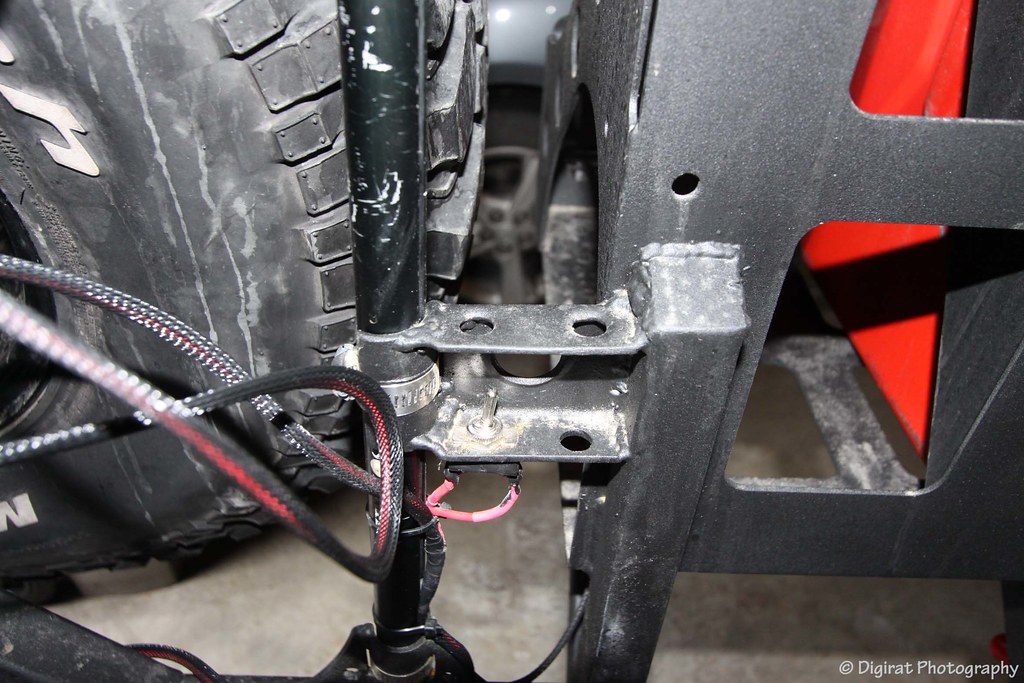 IMG_9145
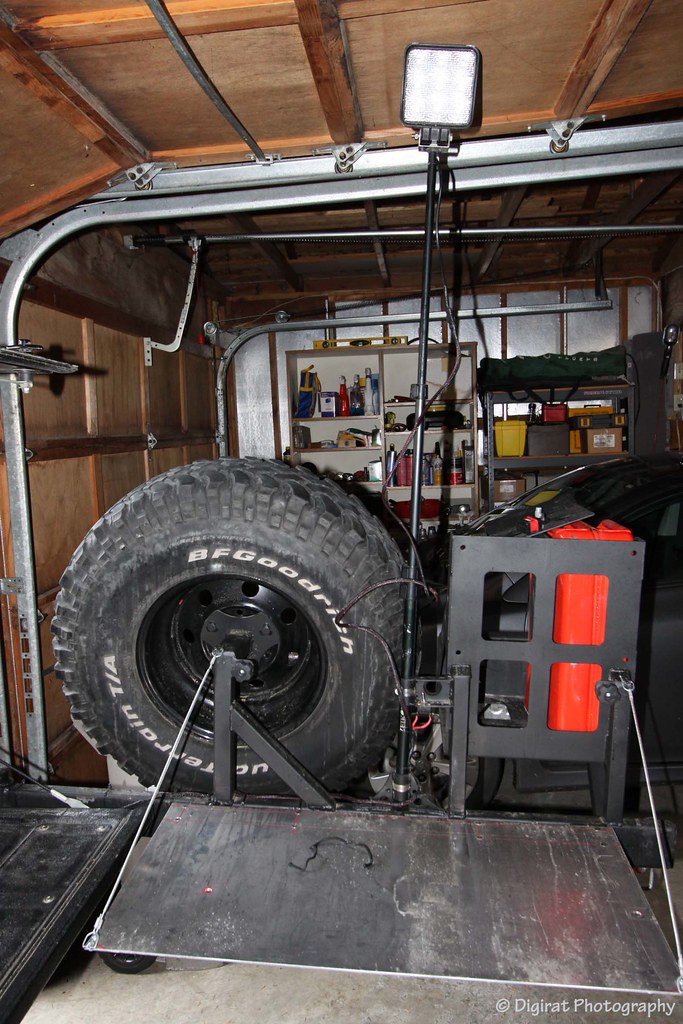 IMG_9146
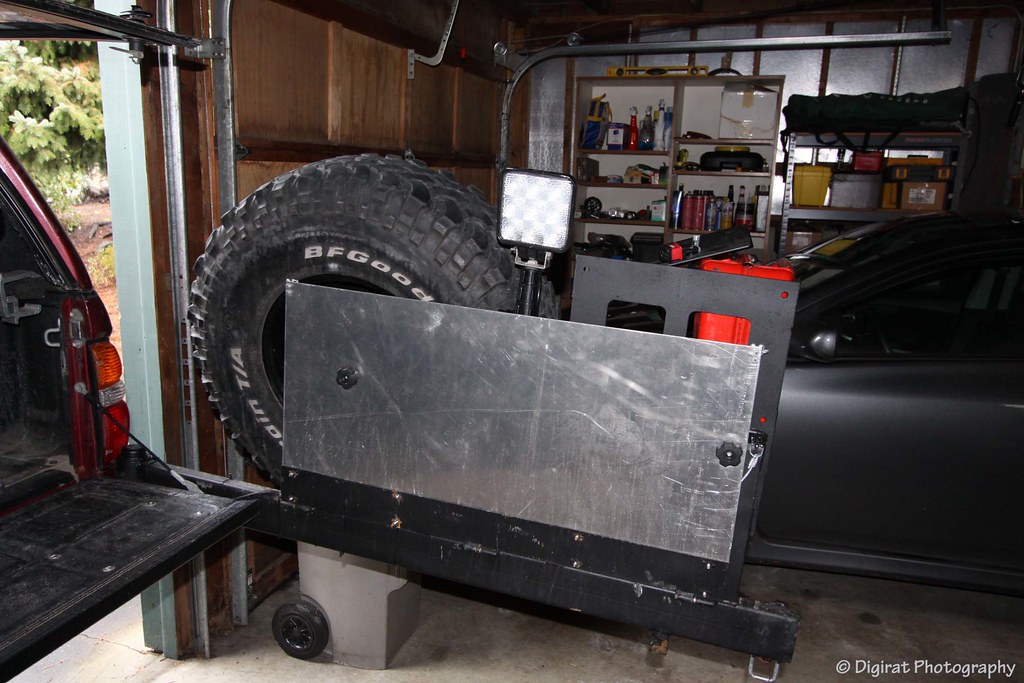 IMG_9148
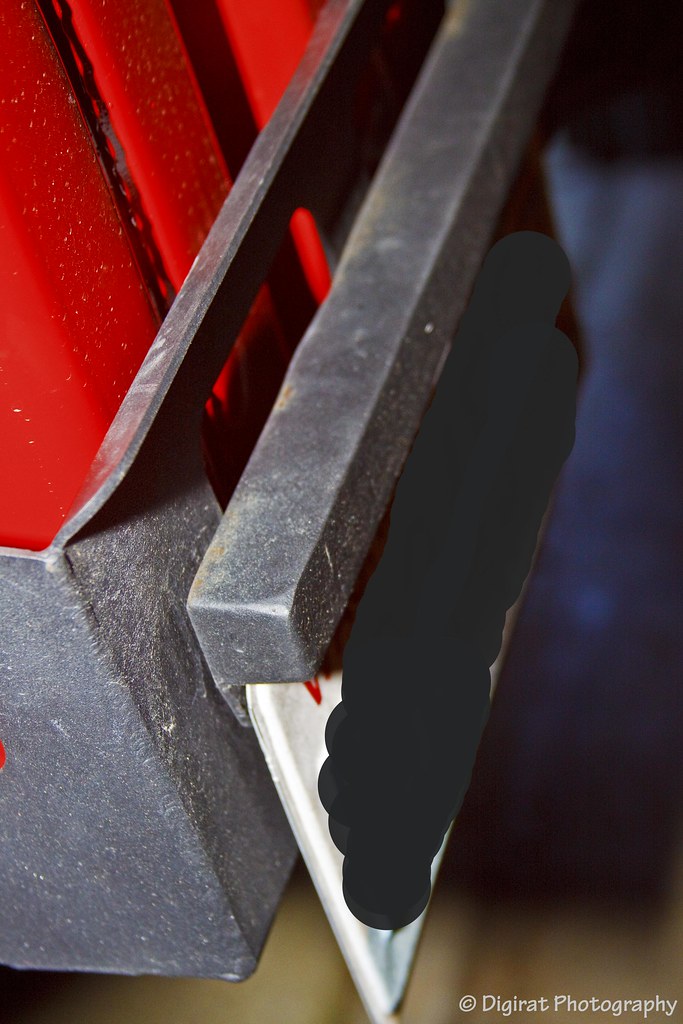 IMG_9209
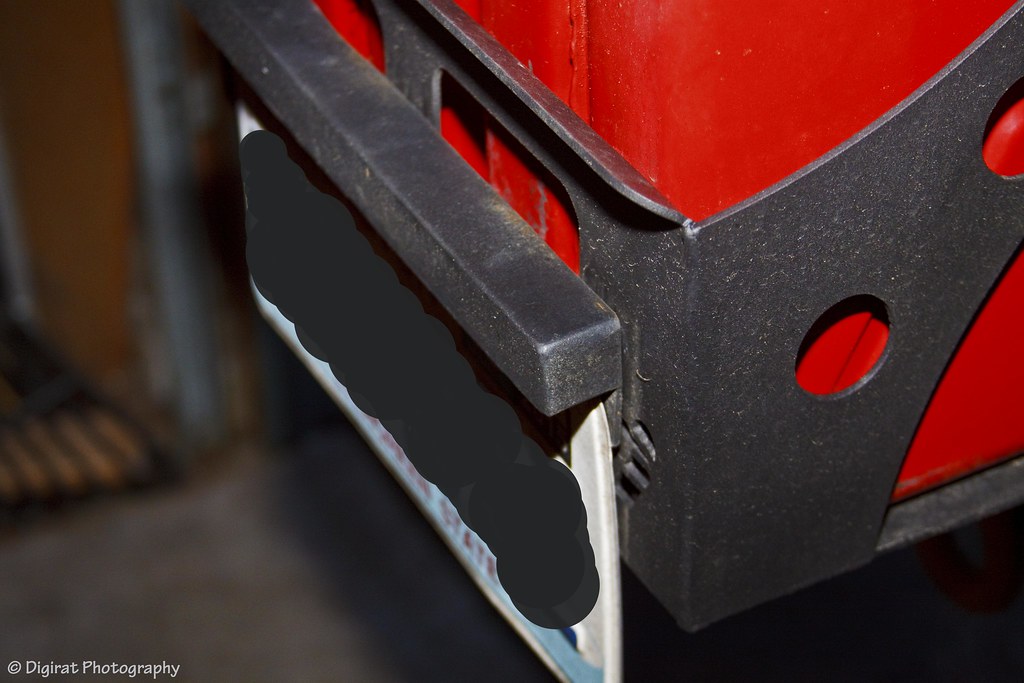 IMG_9210
 IMG_9199
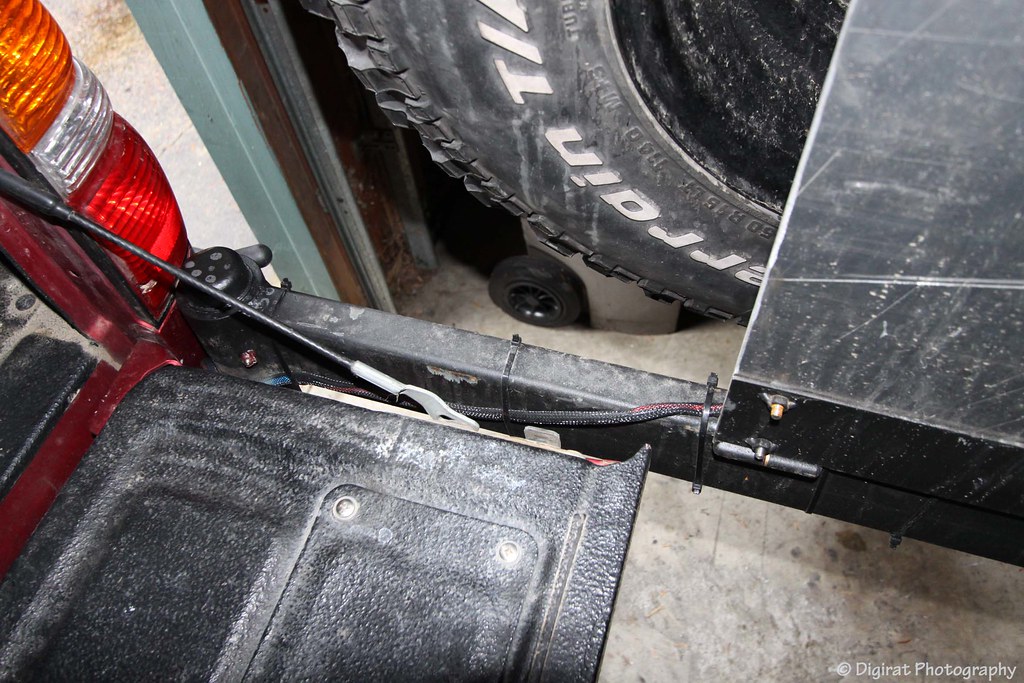 IMG_9151
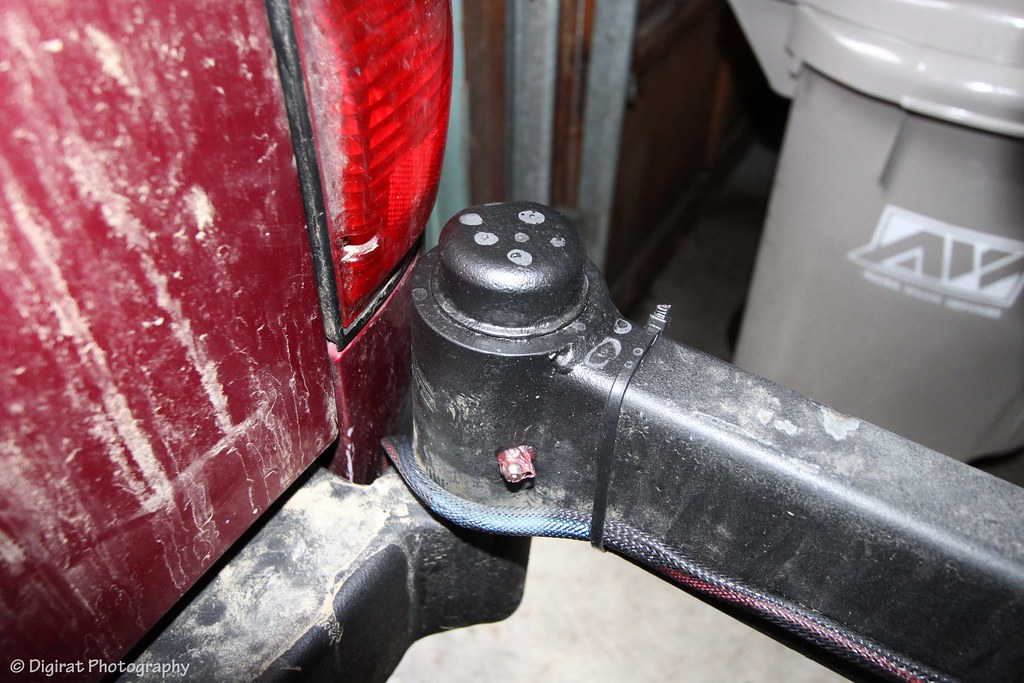 IMG_9152
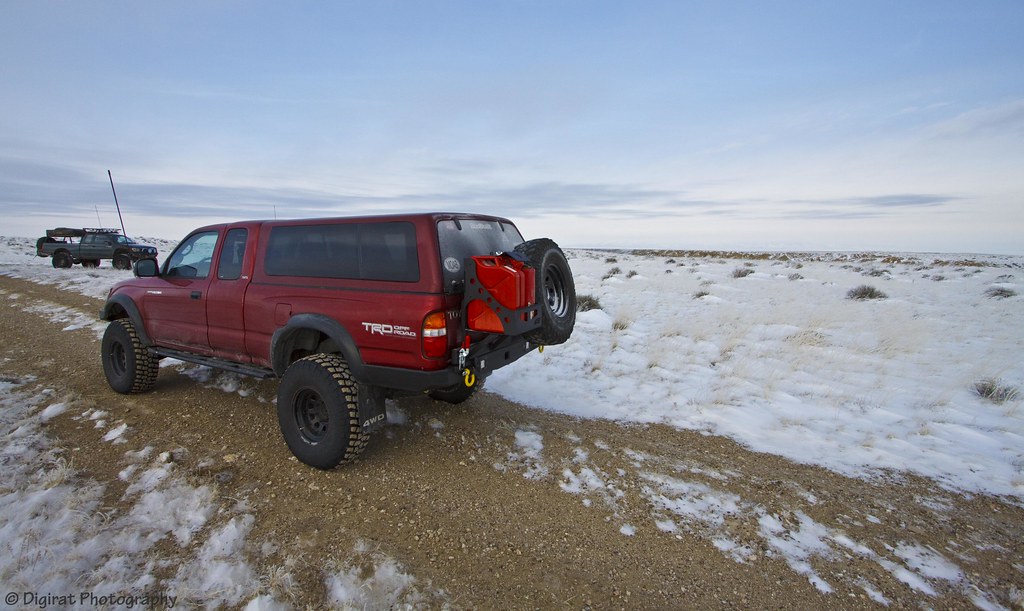 IMG_9106
 IMG_9091
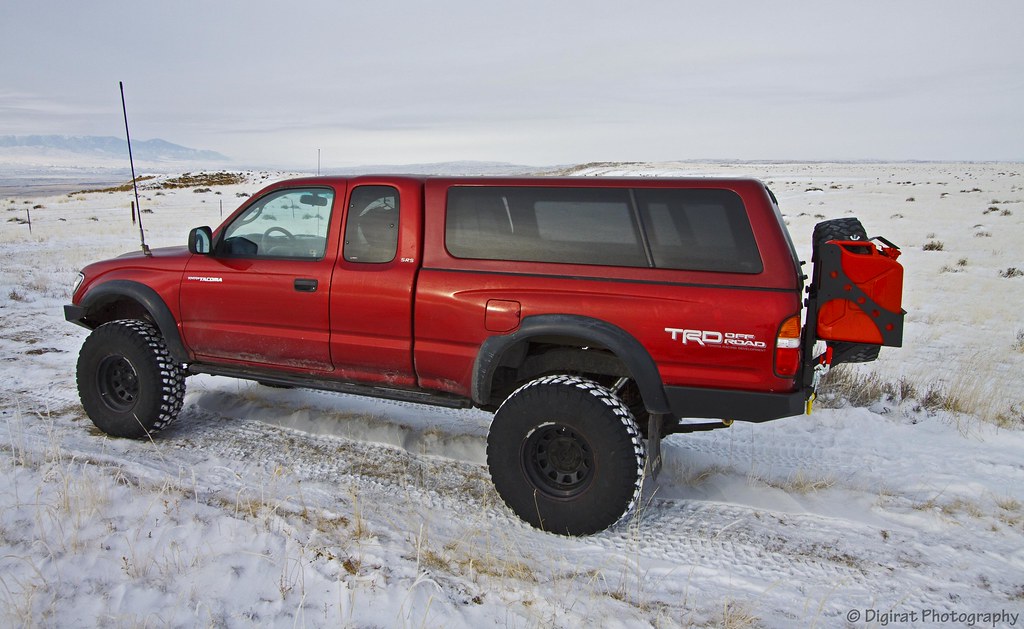 IMG_9095
 IMG_9110
 BedRackRedo.jpg
 BedRackRedo-2.jpg
 BedRackRedo-3.jpg
 BedRackRedo-4.jpg
 BedRackRedo-5.jpg
 BedRackRedo-6.jpg
 BedRackRedo-7.jpg
 BedRackRedo-8.jpg
 BedRackRedo-9.jpg
 BedRackRedo-10.jpg
 BedRackRedo-11.jpg
 BedRackRedo-12.jpg
 BedRackRedo-13.jpg
 BedRackRedo-14.jpg
 BedRackRedo-15.jpg
 BedRackRedo-16.jpg
 BedRackRedo-17.jpg
 BedRackRedo-18.jpg
 BedRackRedo-19.jpg
 BedRackRedo-21.jpg
 BedRackRedo-20.jpg
 BedRackRedo-22.jpg
 BedRackRedo-23.jpg
 BedRackRedo-24.jpg
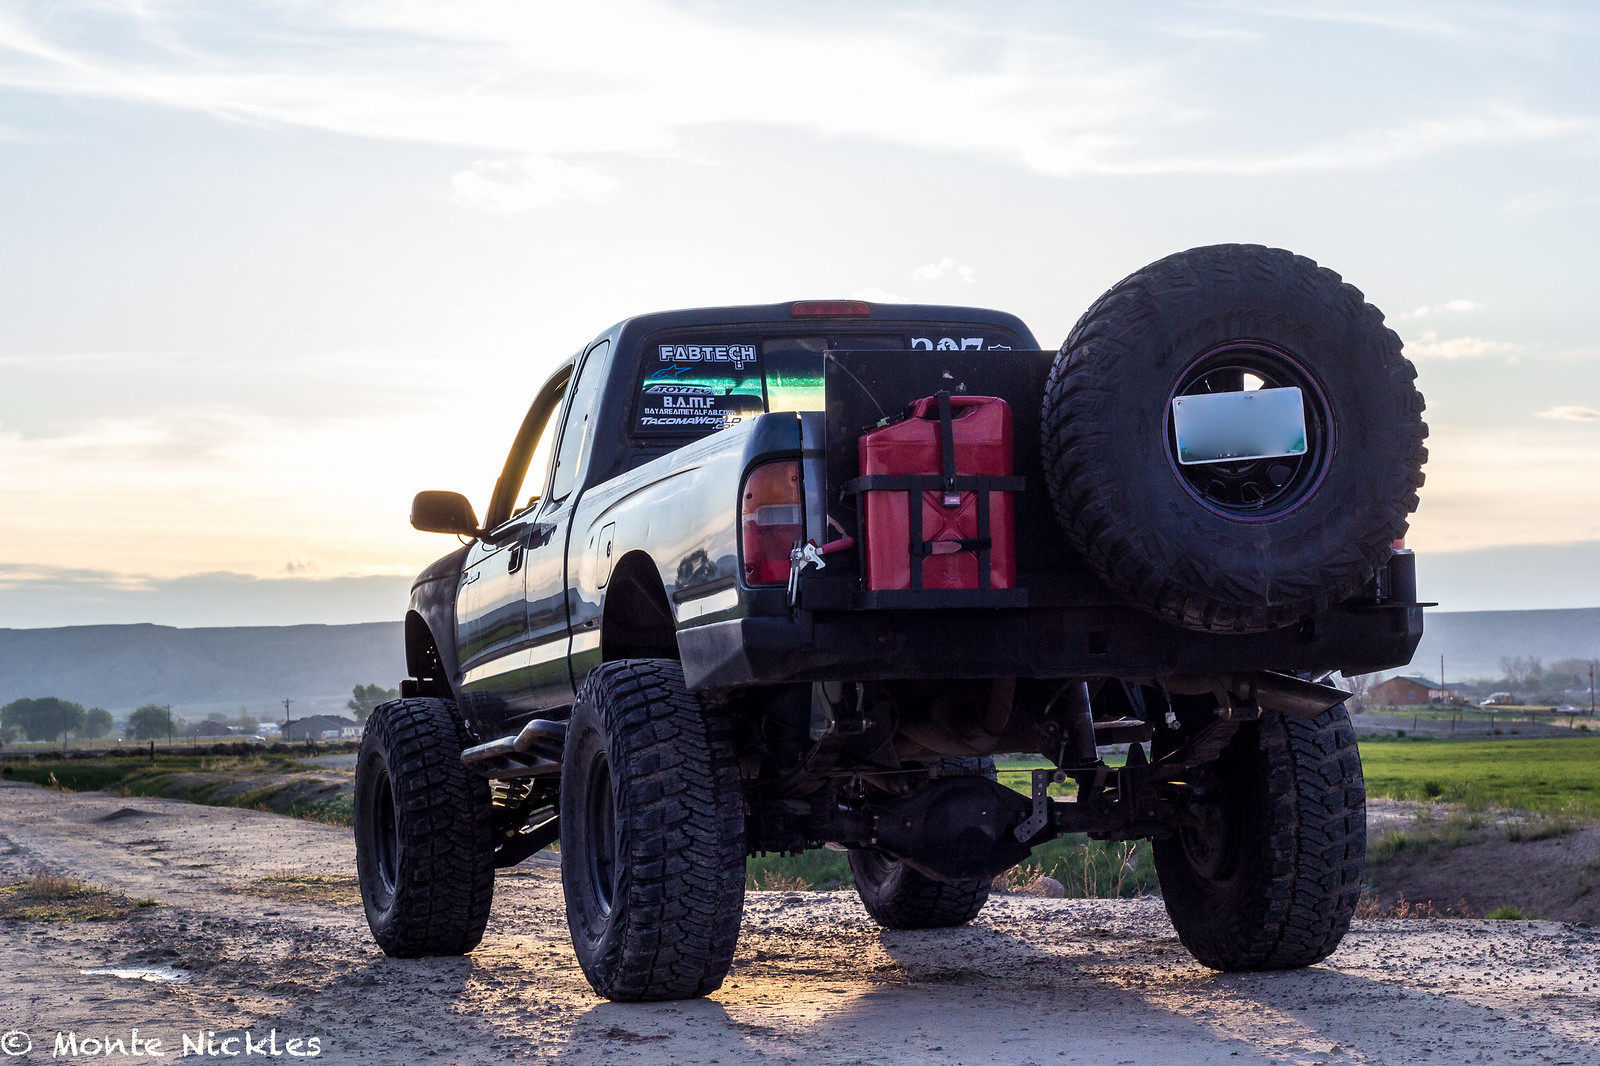 BedRackRedo-25.jpg
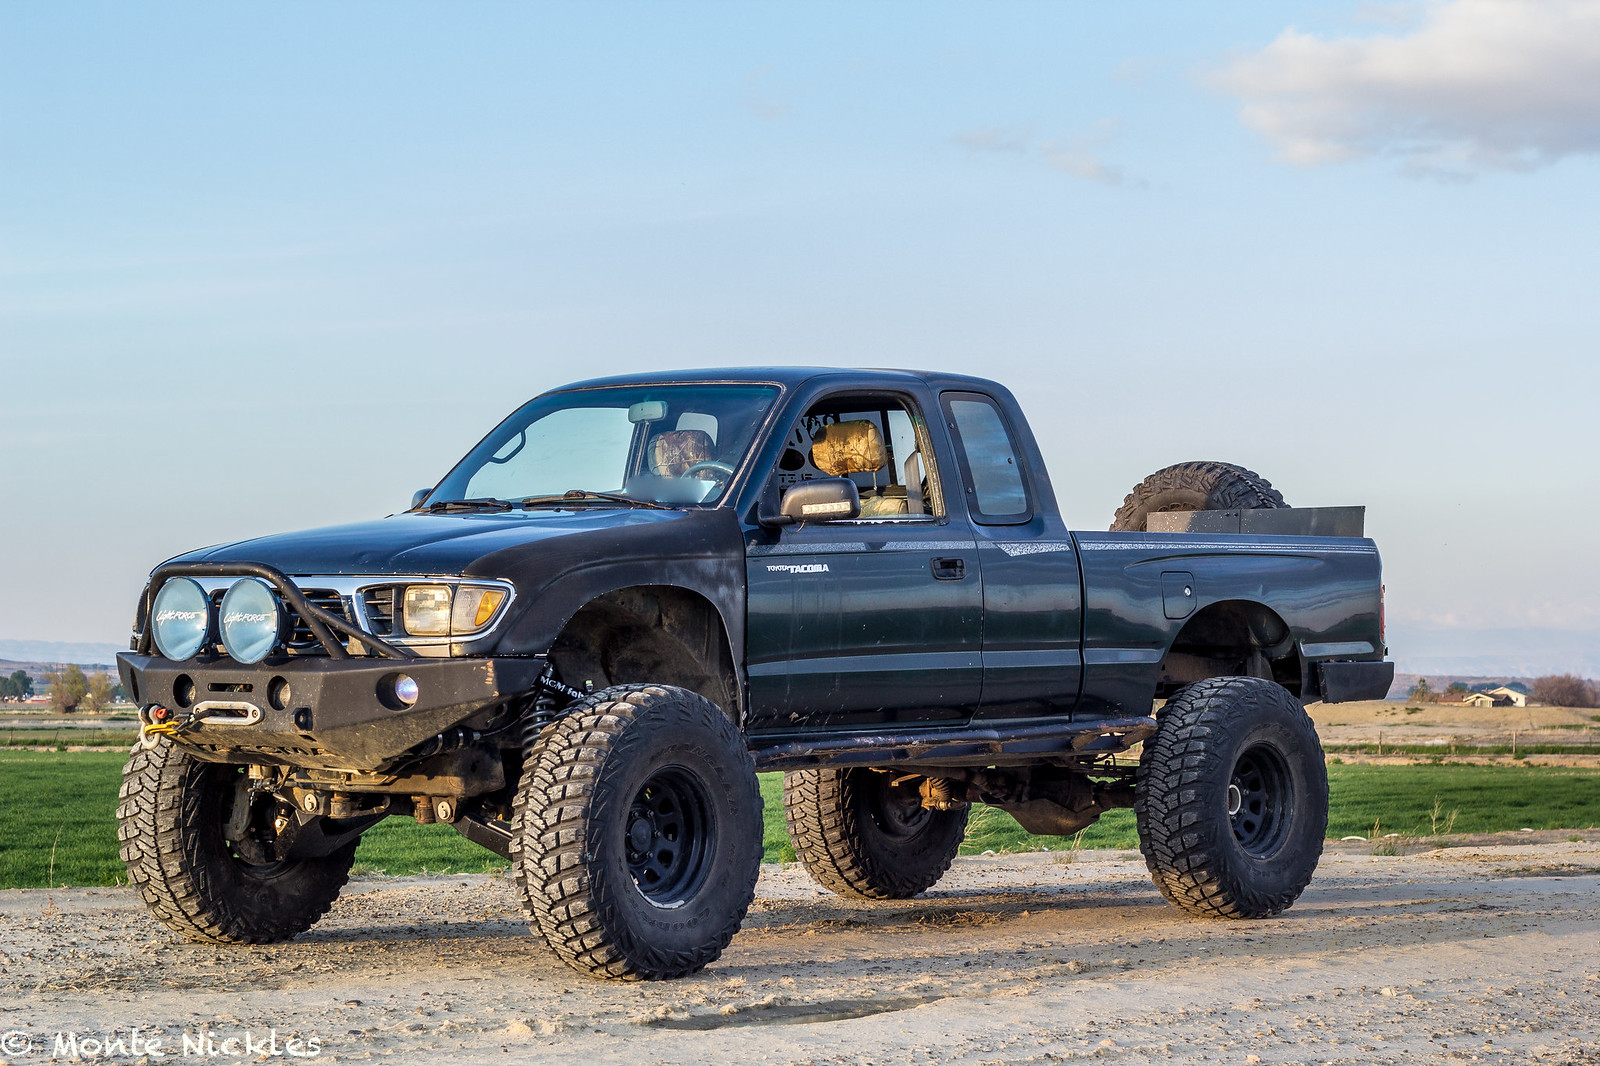 BedRackRedo-26.jpg
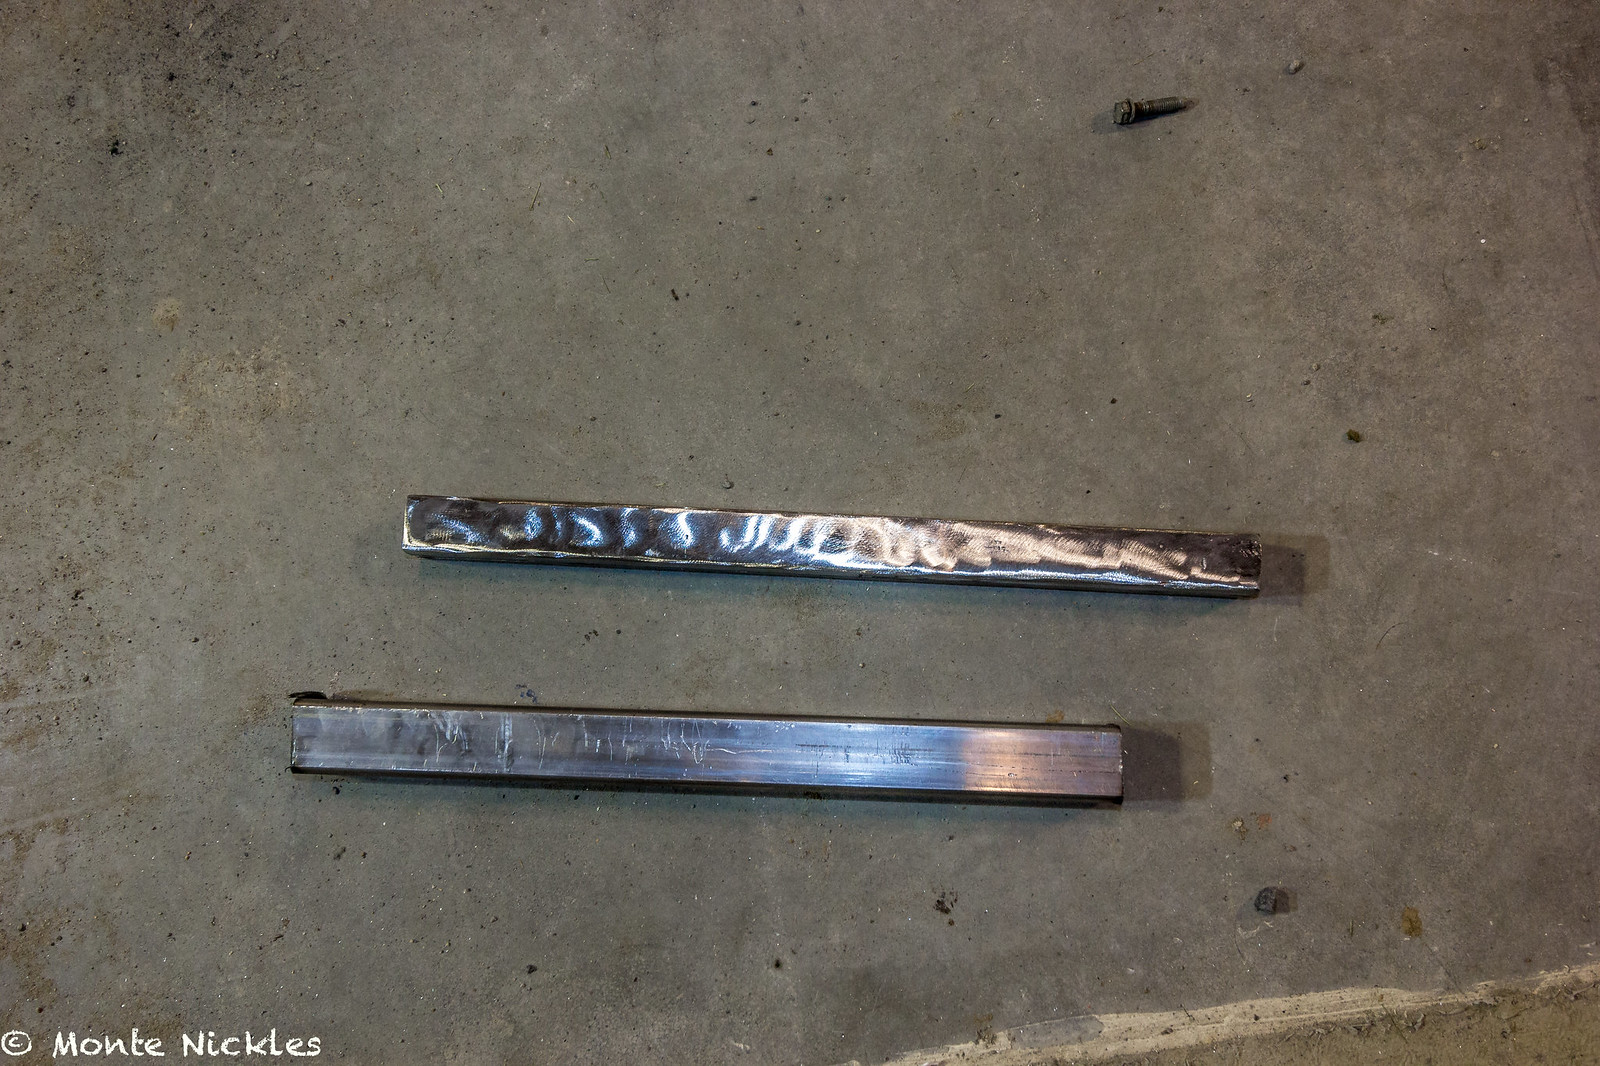 New Bed Rack.jpg
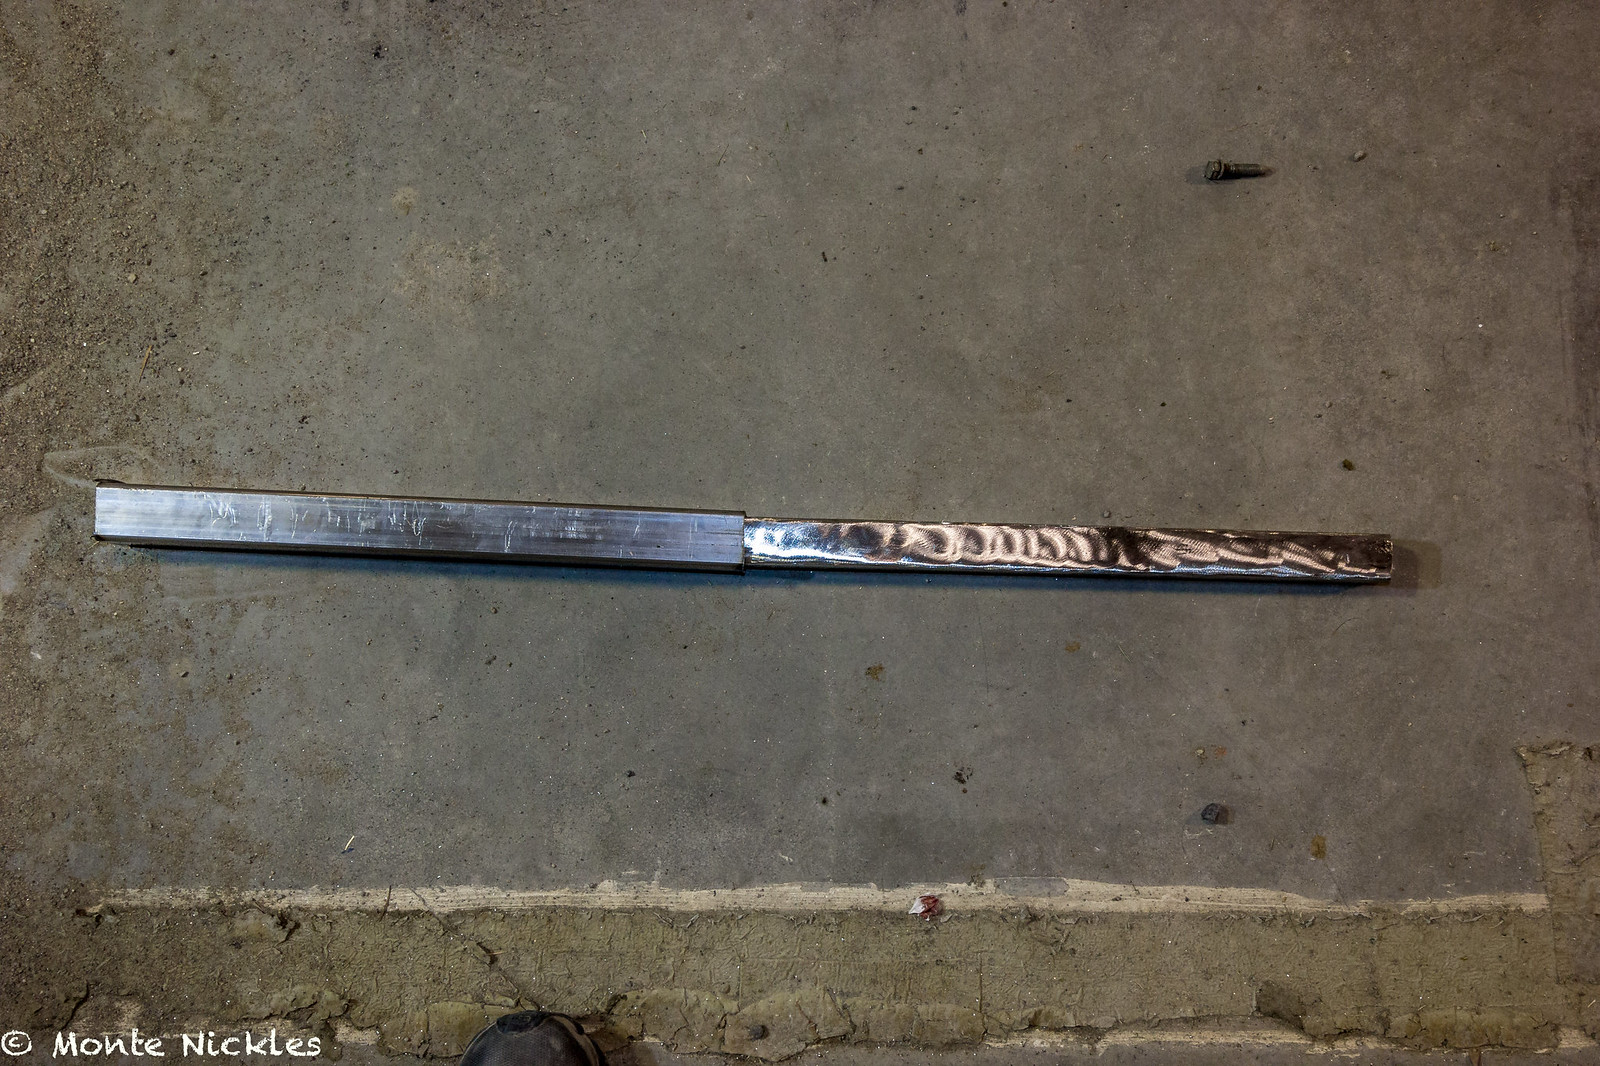 New Bed Rack-2.jpg
 New Bed Rack-3.jpg
 New Bed Rack-6.jpg
 New Bed Rack-7.jpg
 New Bed Rack-9.jpg
 New Bed Rack-10.jpg
 New Bed Rack-11.jpg
 New Bed Rack-12.jpg
 New Bed Rack-13.jpg
 New Bed Rack-16.jpg
 New Bed Rack-17.jpg
 New Bed Rack-14.jpg
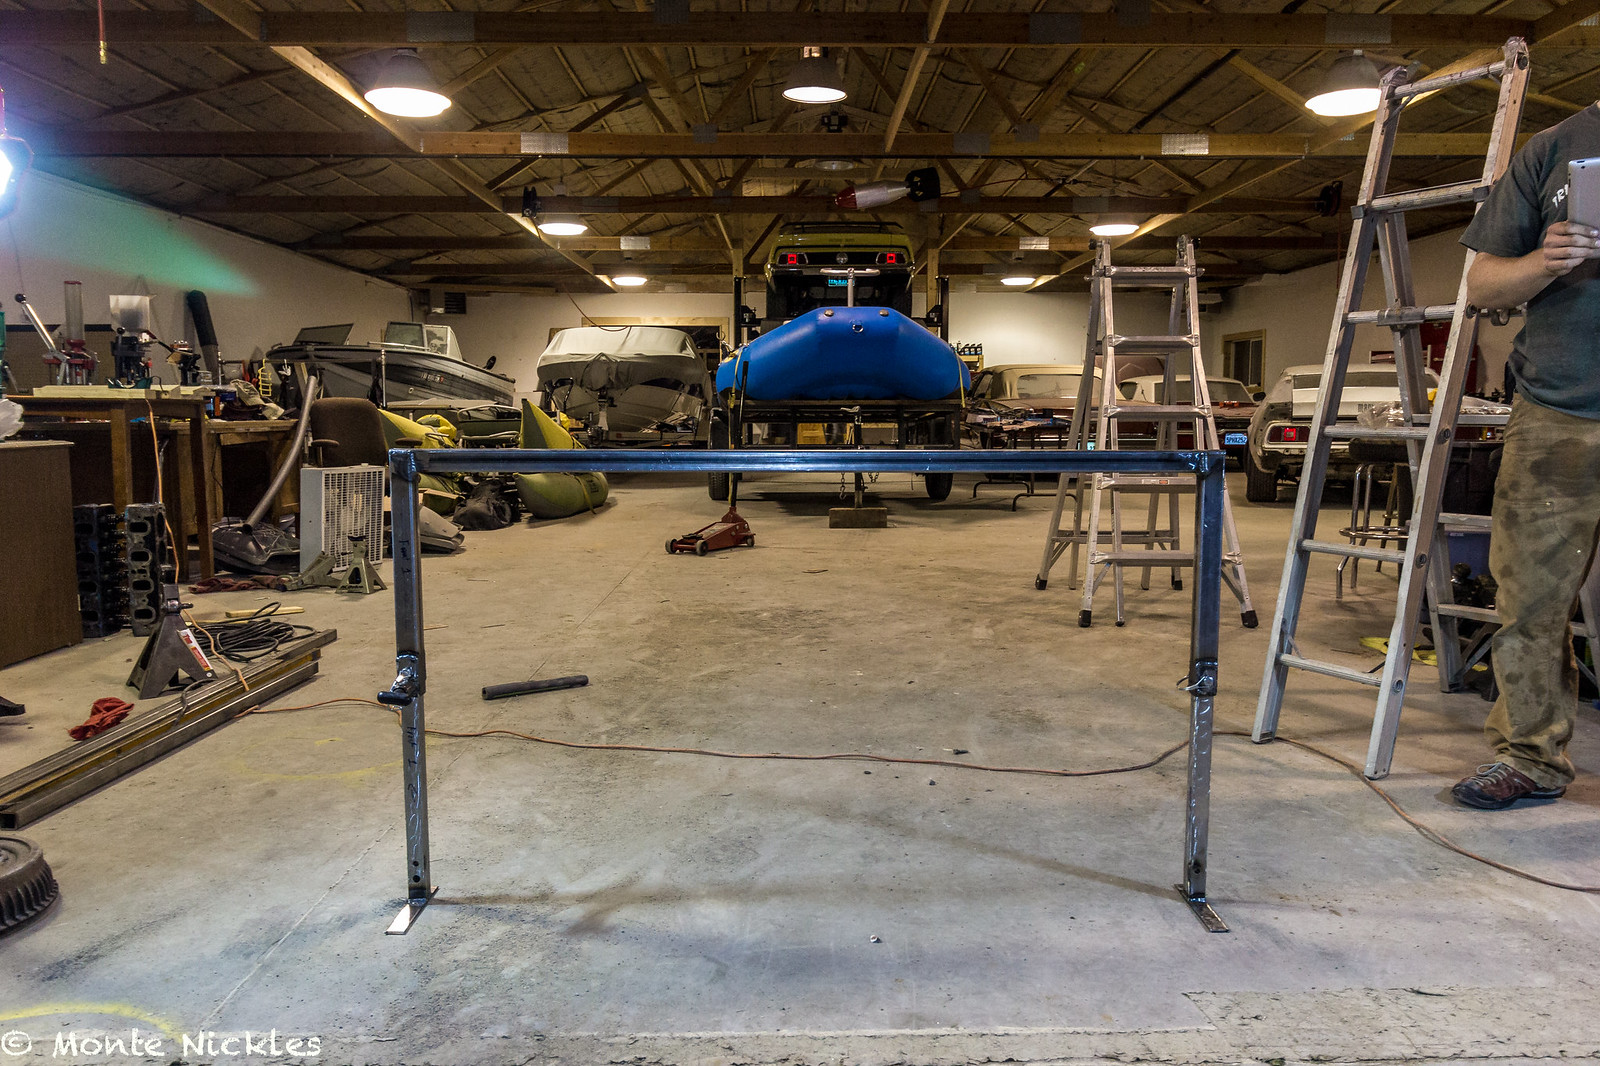 New Bed Rack-18.jpg
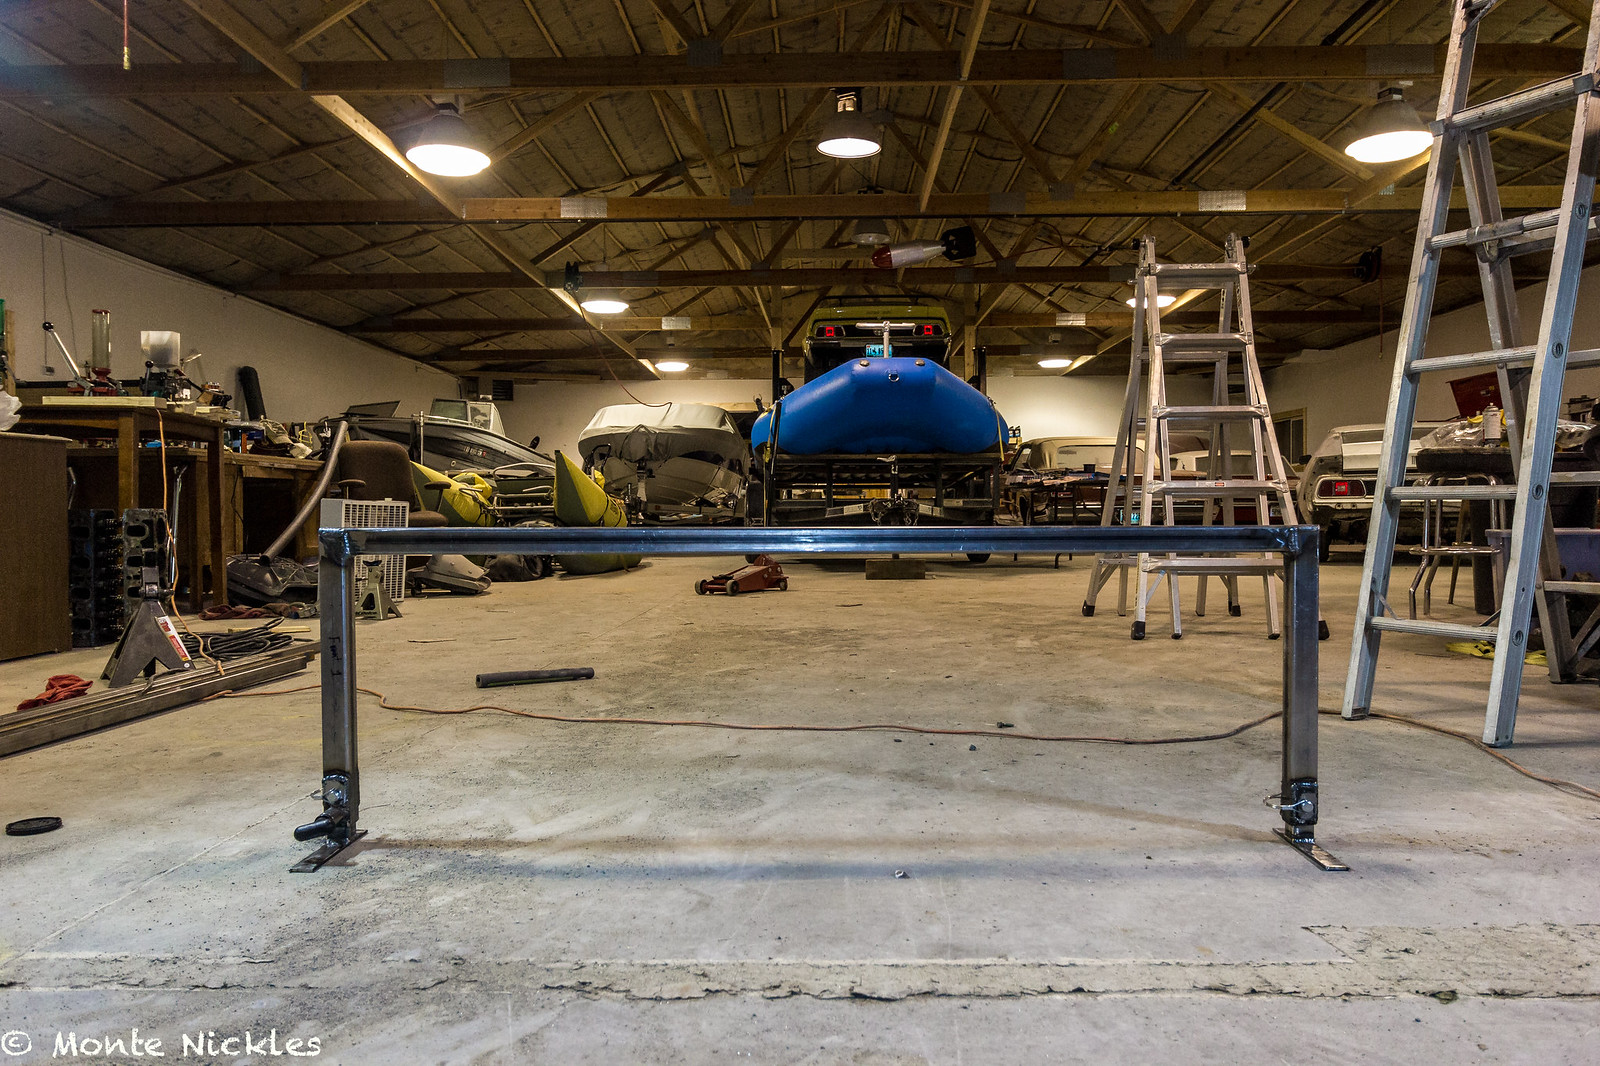 New Bed Rack-19.jpg
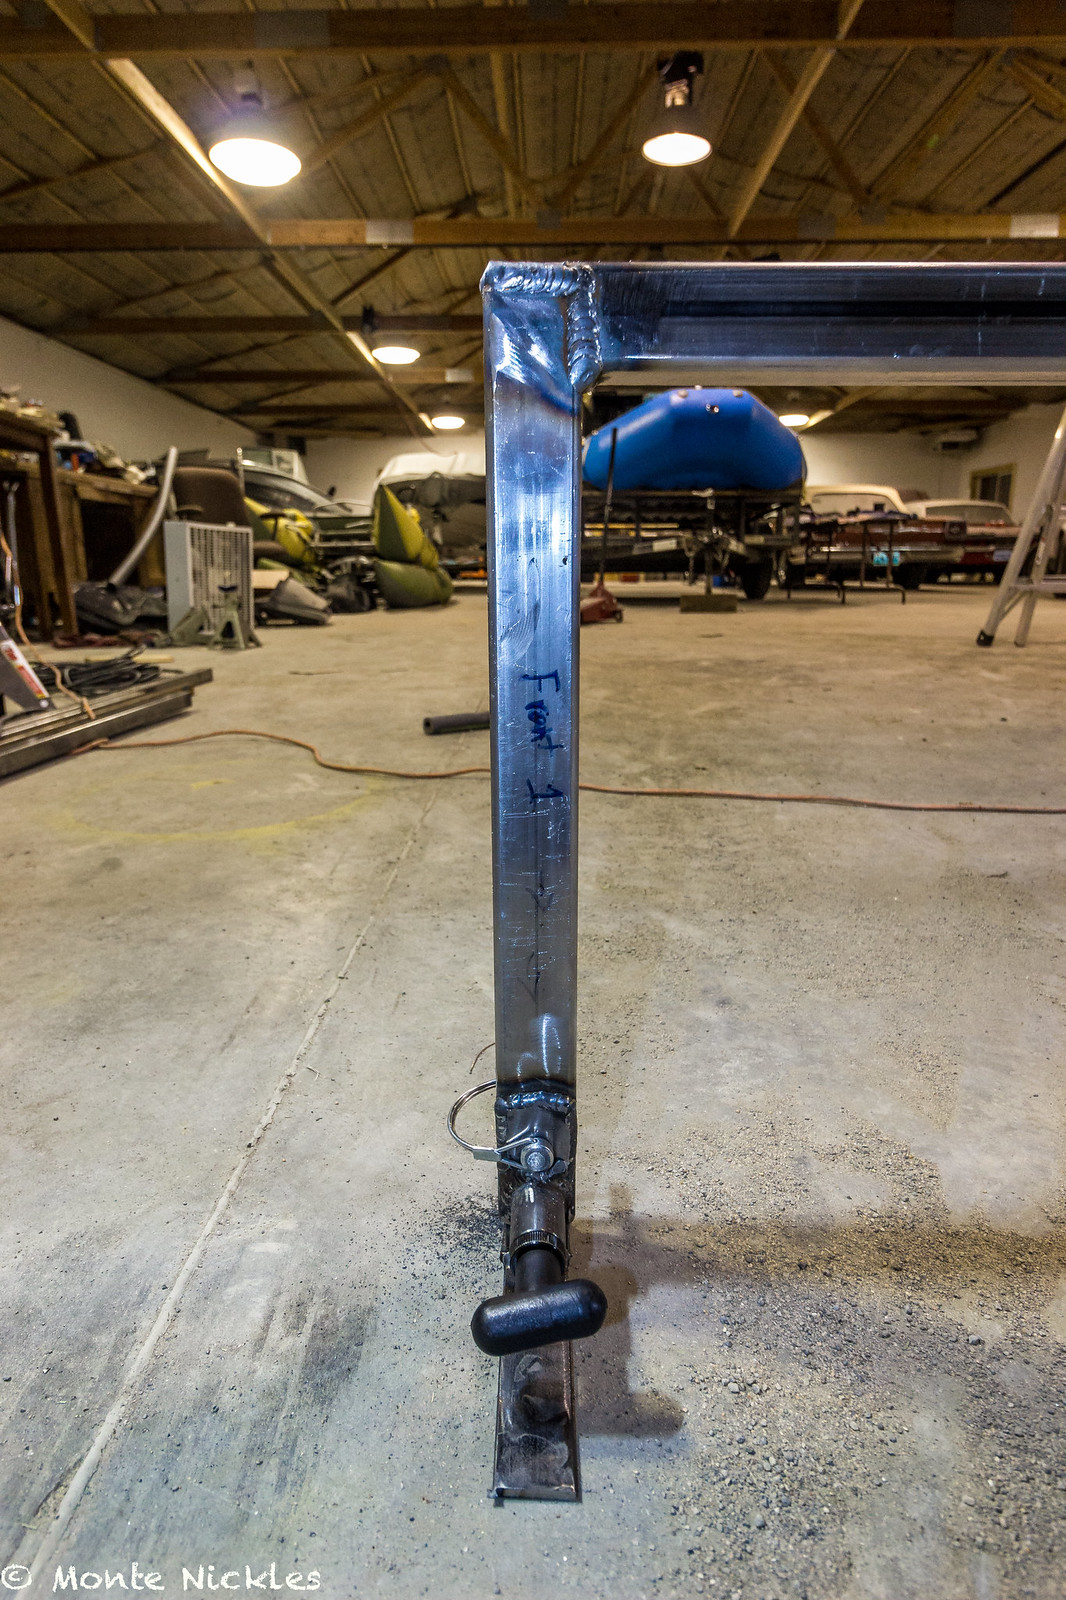 New Bed Rack-20.jpg
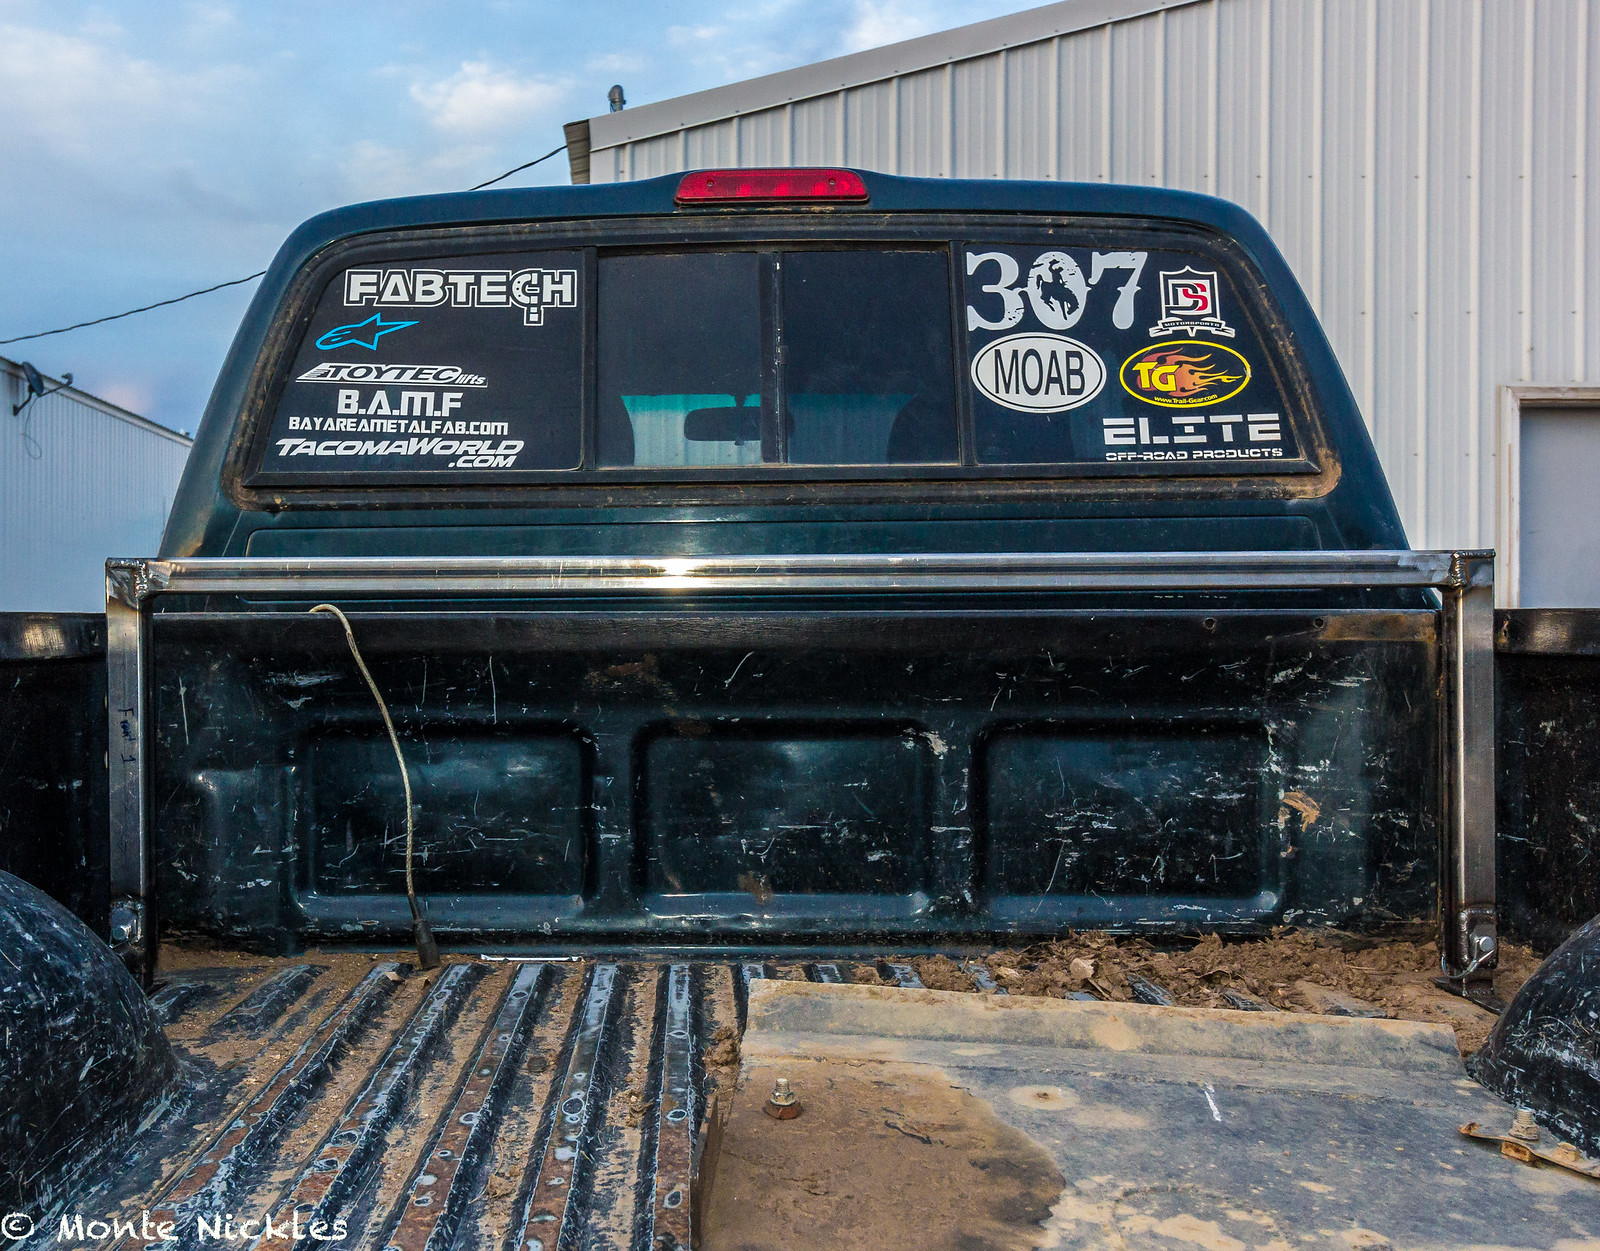 New Bed Rack-21.jpg
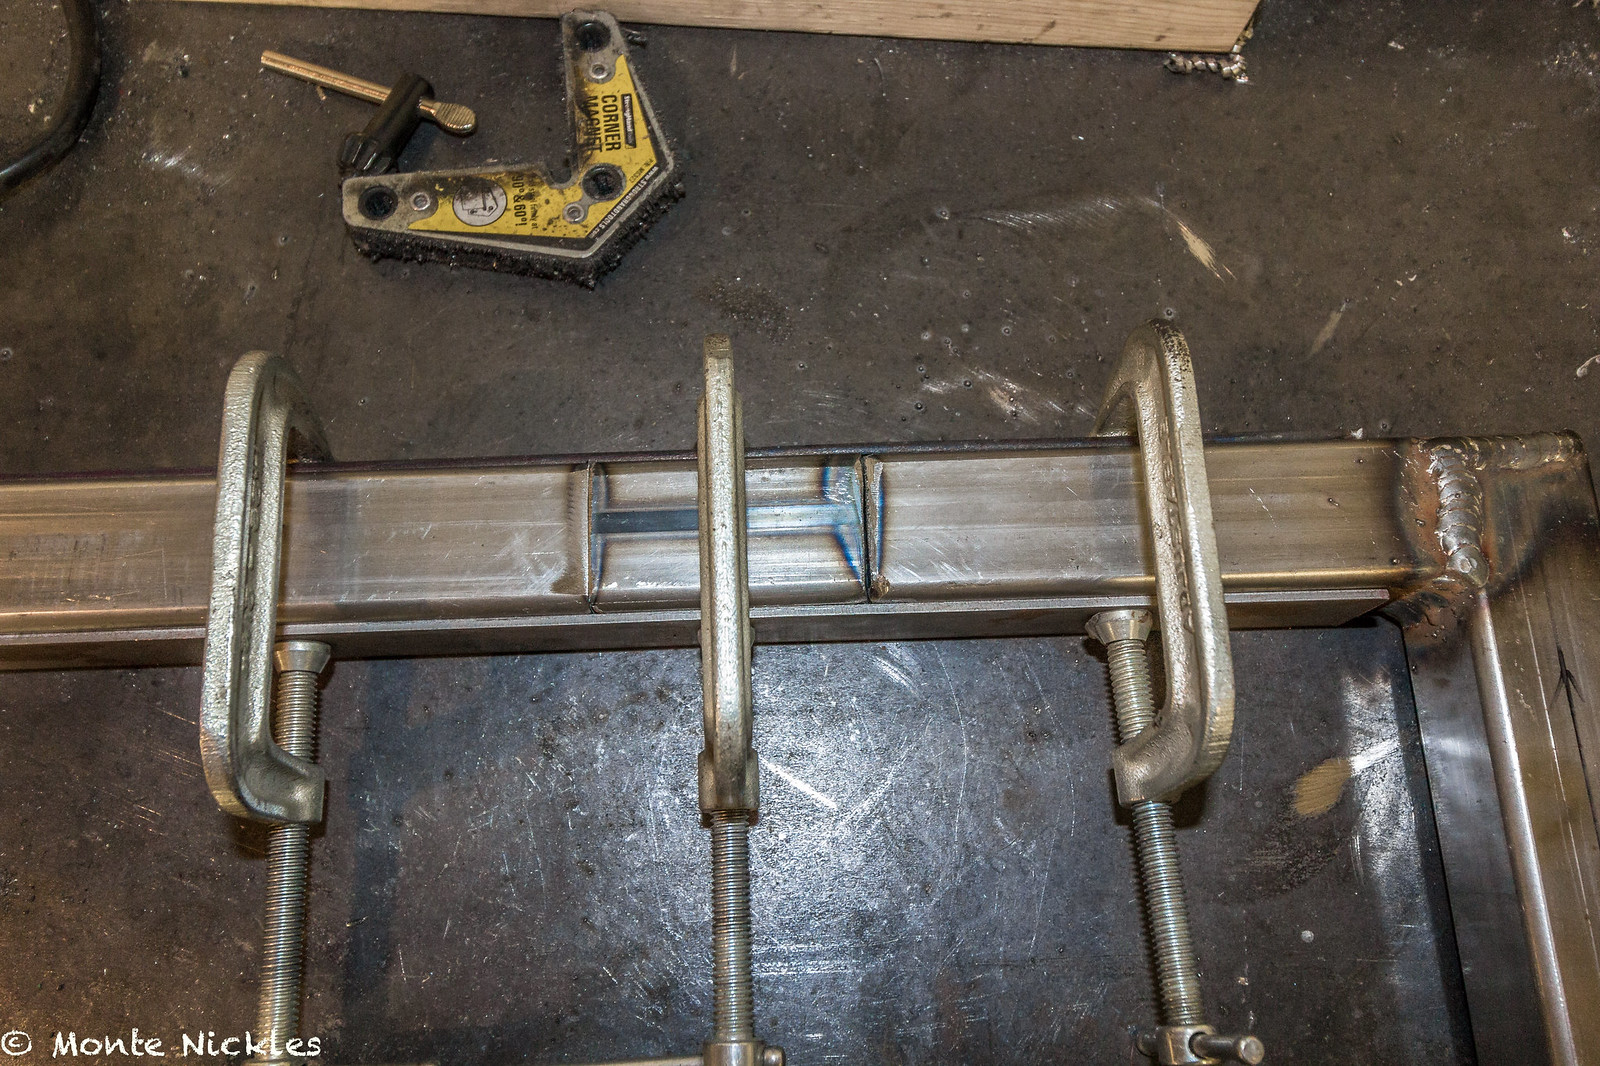 New Bed Rack-22.jpg
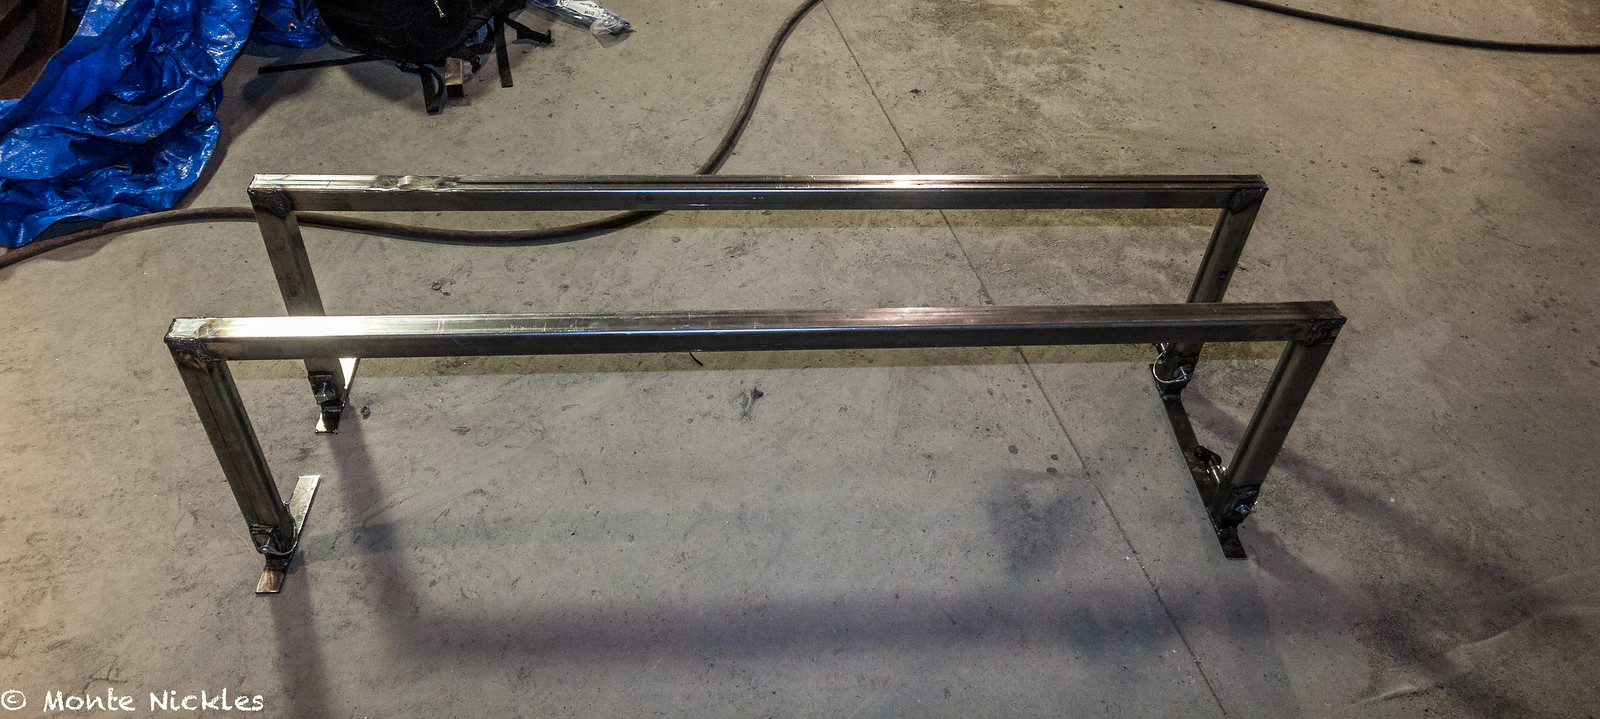 New Bed Rack-23.jpg
 New Bed Rack-25.jpg
 New Bed Rack-27.jpg
 New Bed Rack-24.jpg
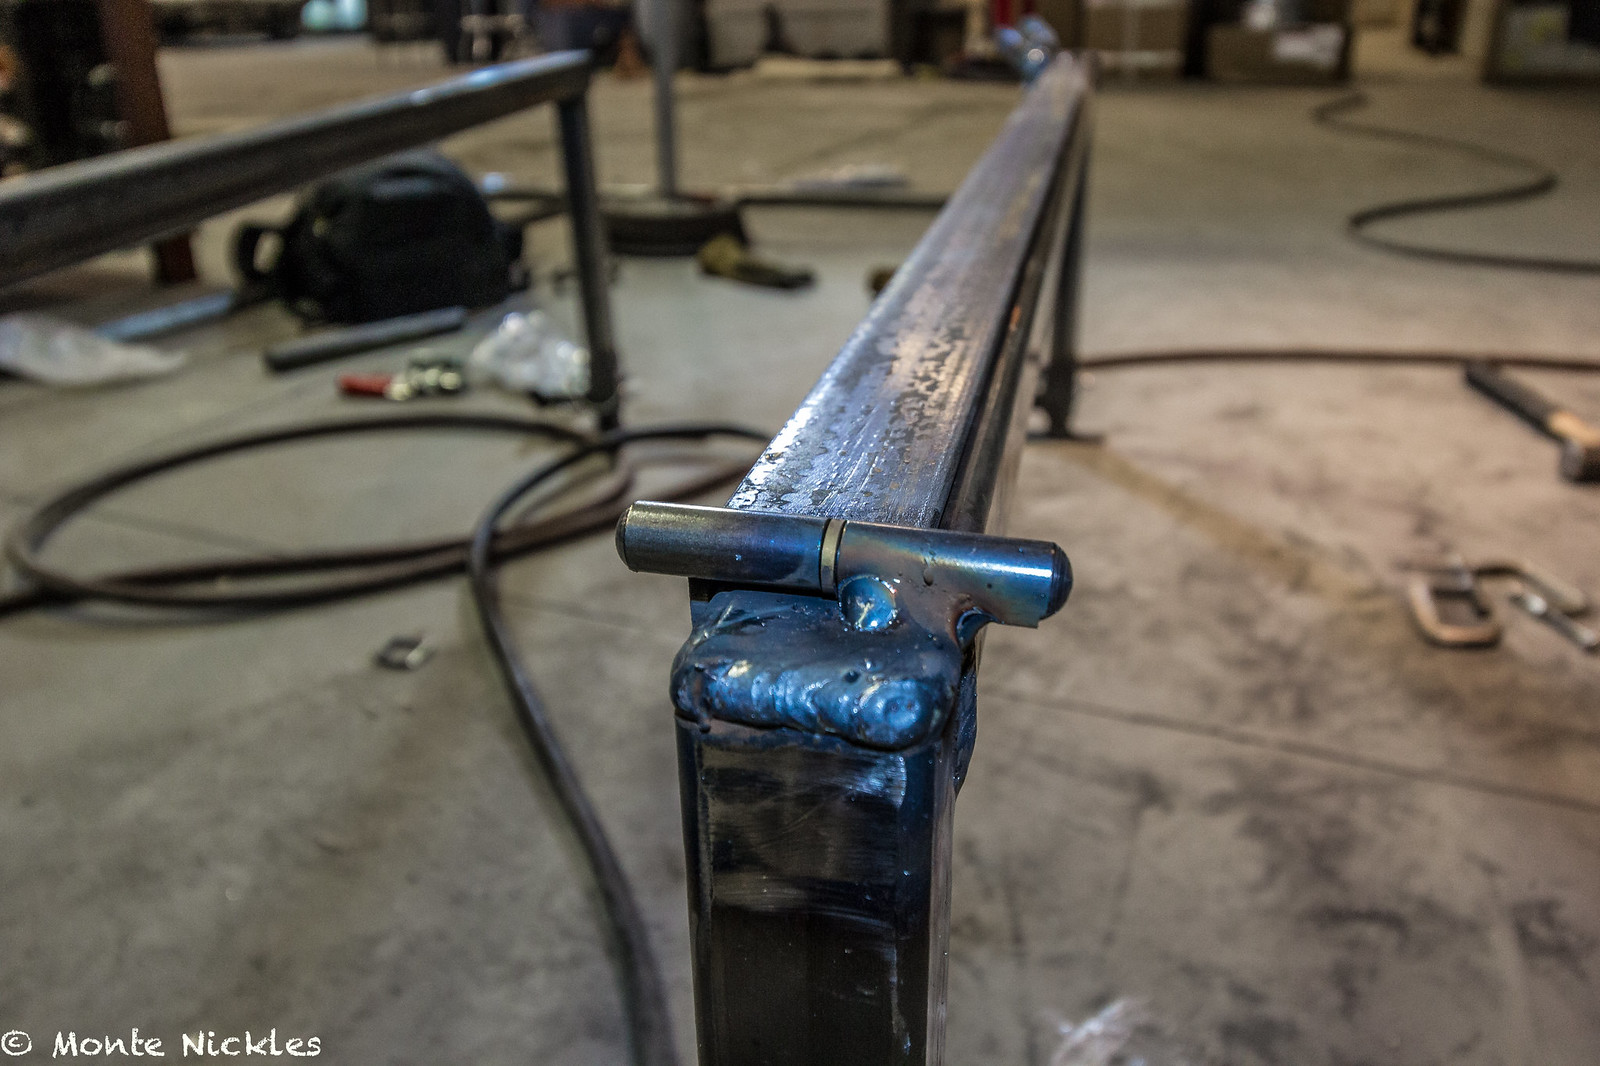 New Bed Rack-26.jpg
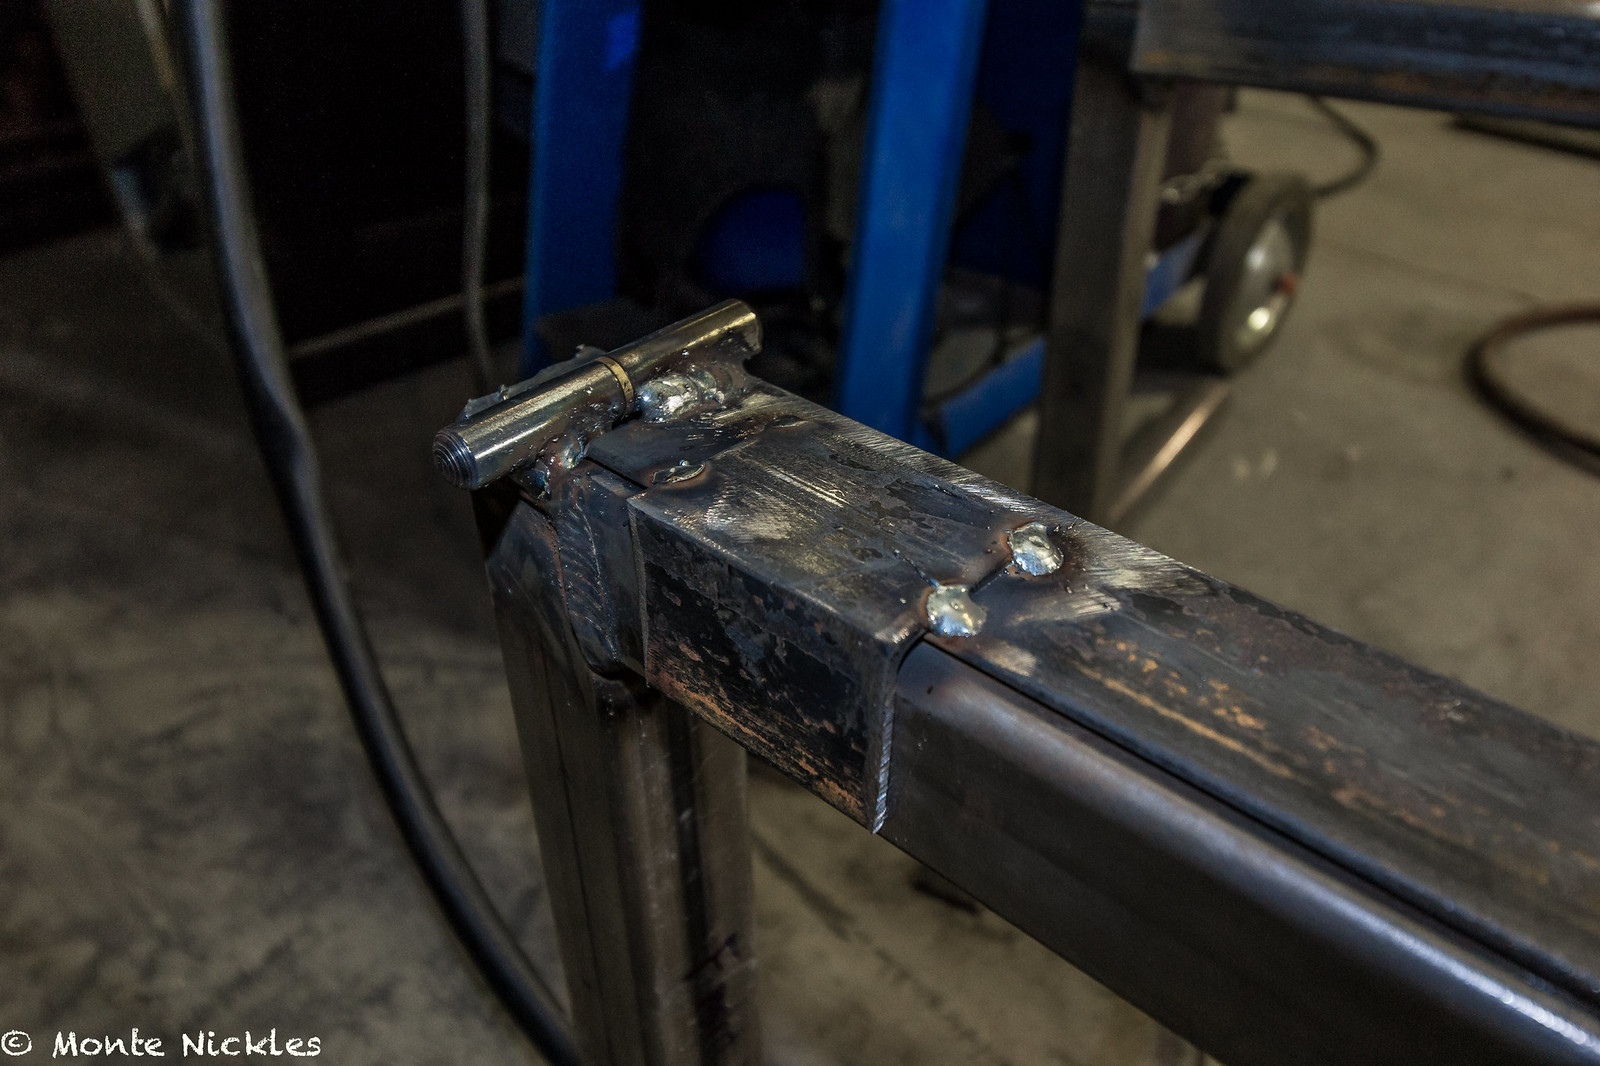 New Bed Rack-28.jpg
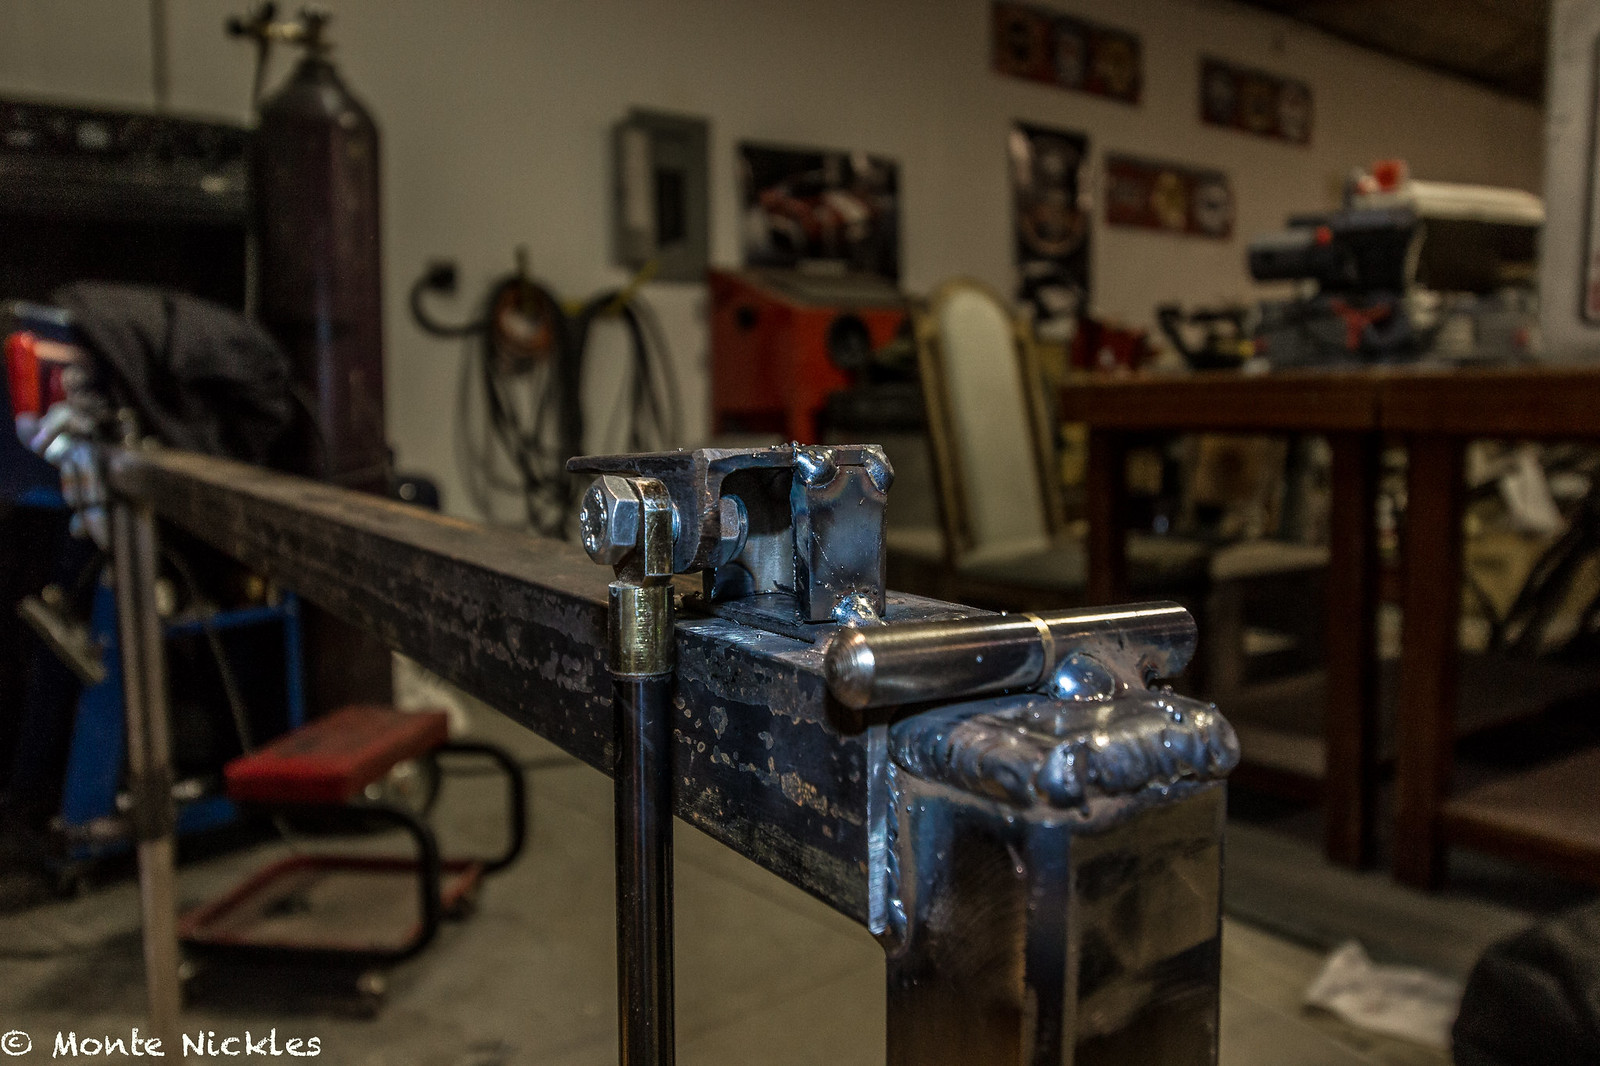 New Bed Rack-29.jpg
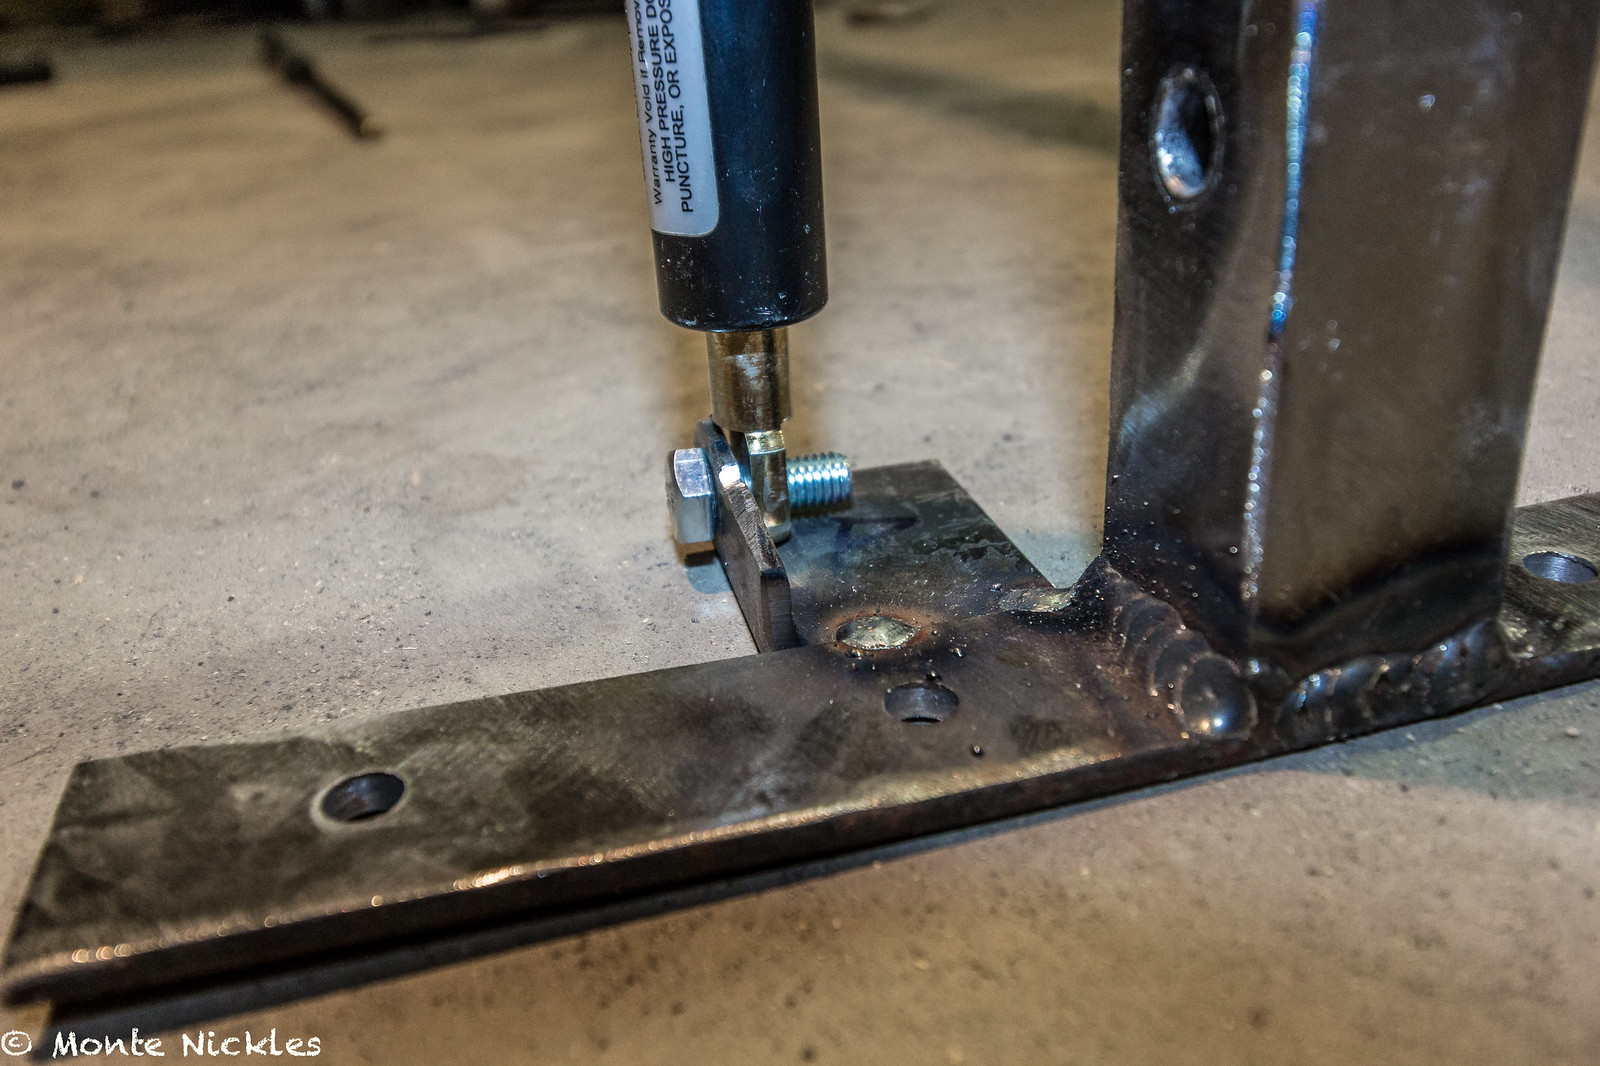 New Bed Rack-30.jpg
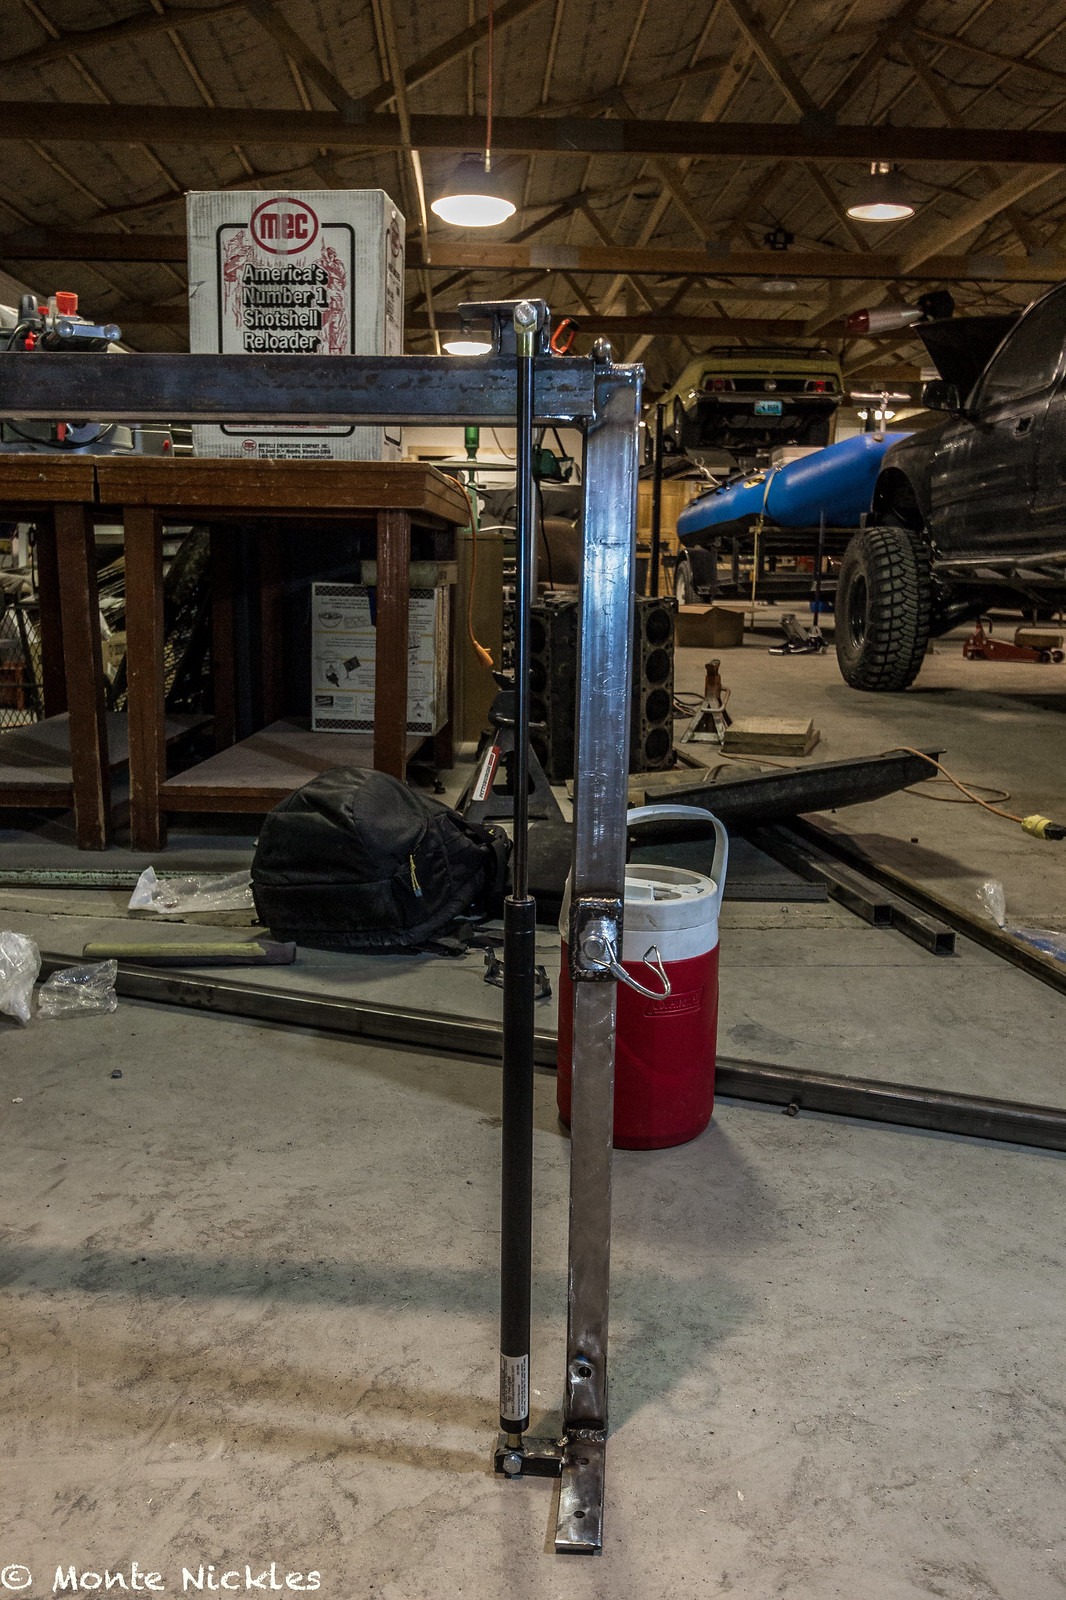 New Bed Rack-31.jpg
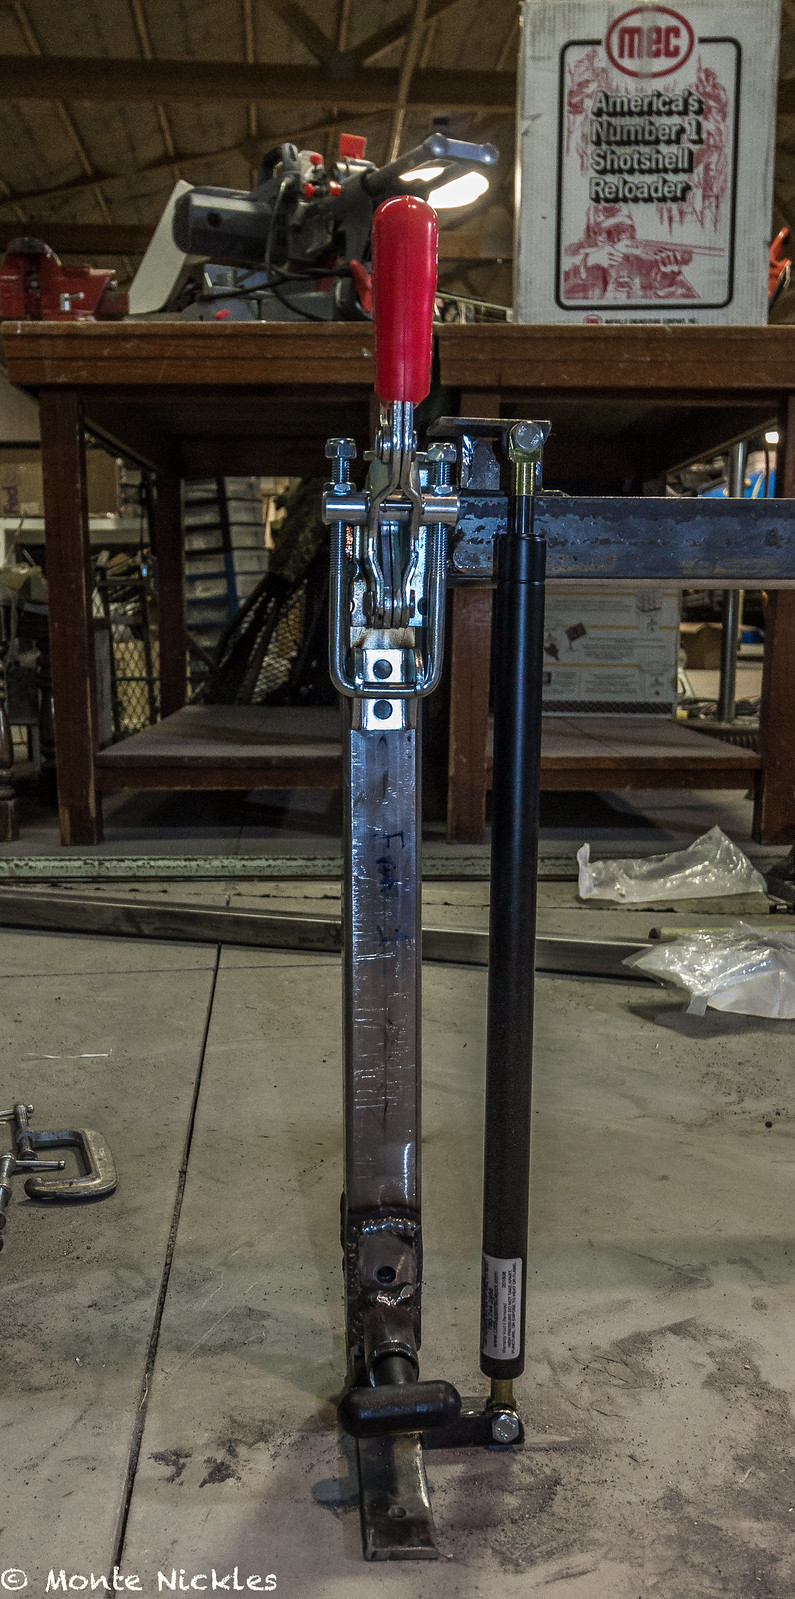 New Bed Rack-32.jpg
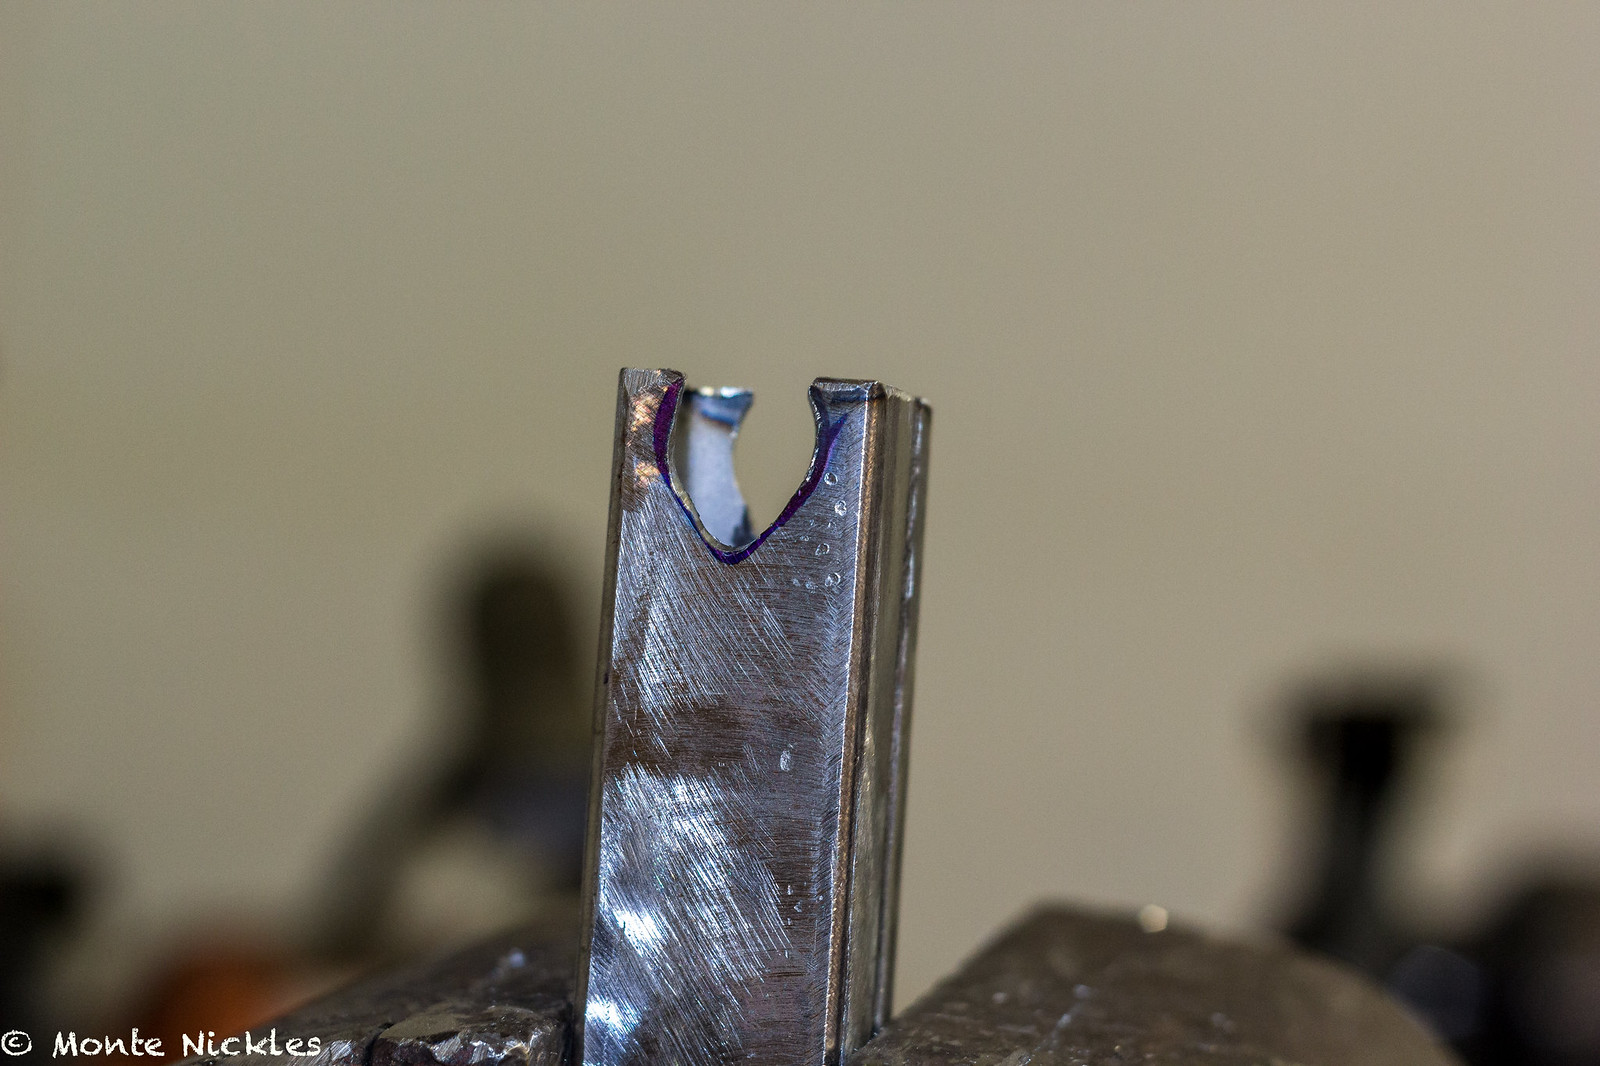 New Bed Rack-42.jpg
 New Bed Rack-41.jpg
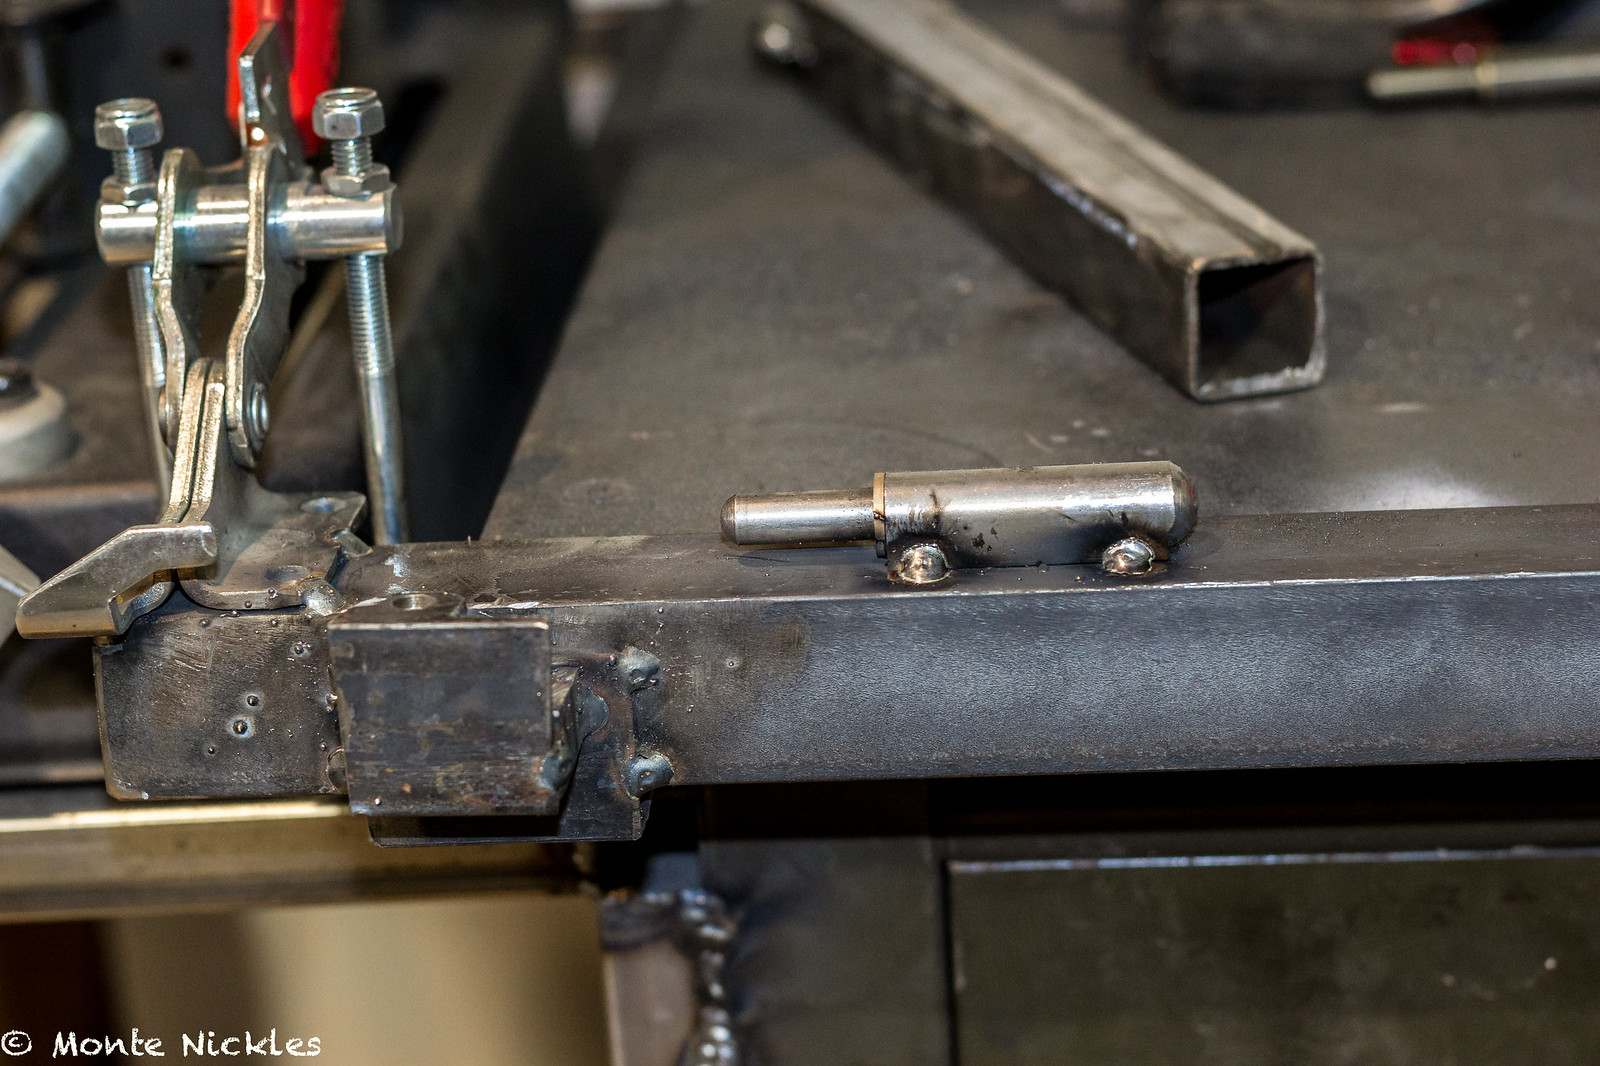 New Bed Rack-43.jpg
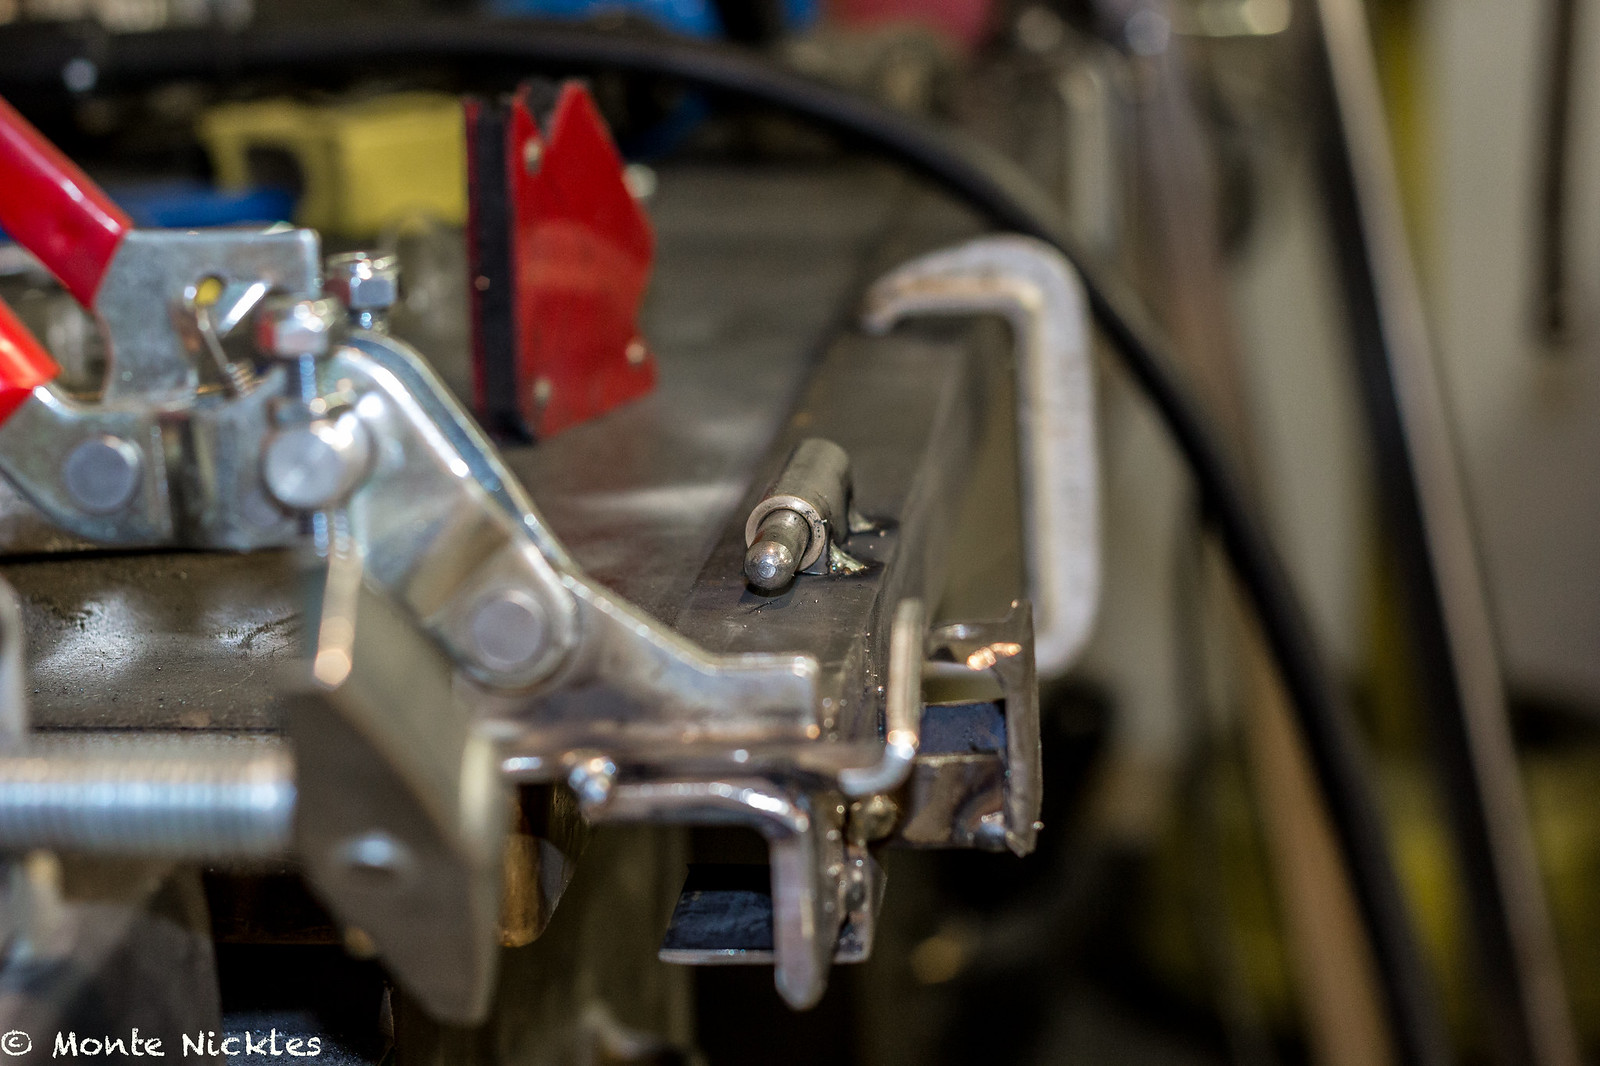 New Bed Rack-44.jpg
 New Bed Rack-45.jpg
 New Bed Rack-46.jpg
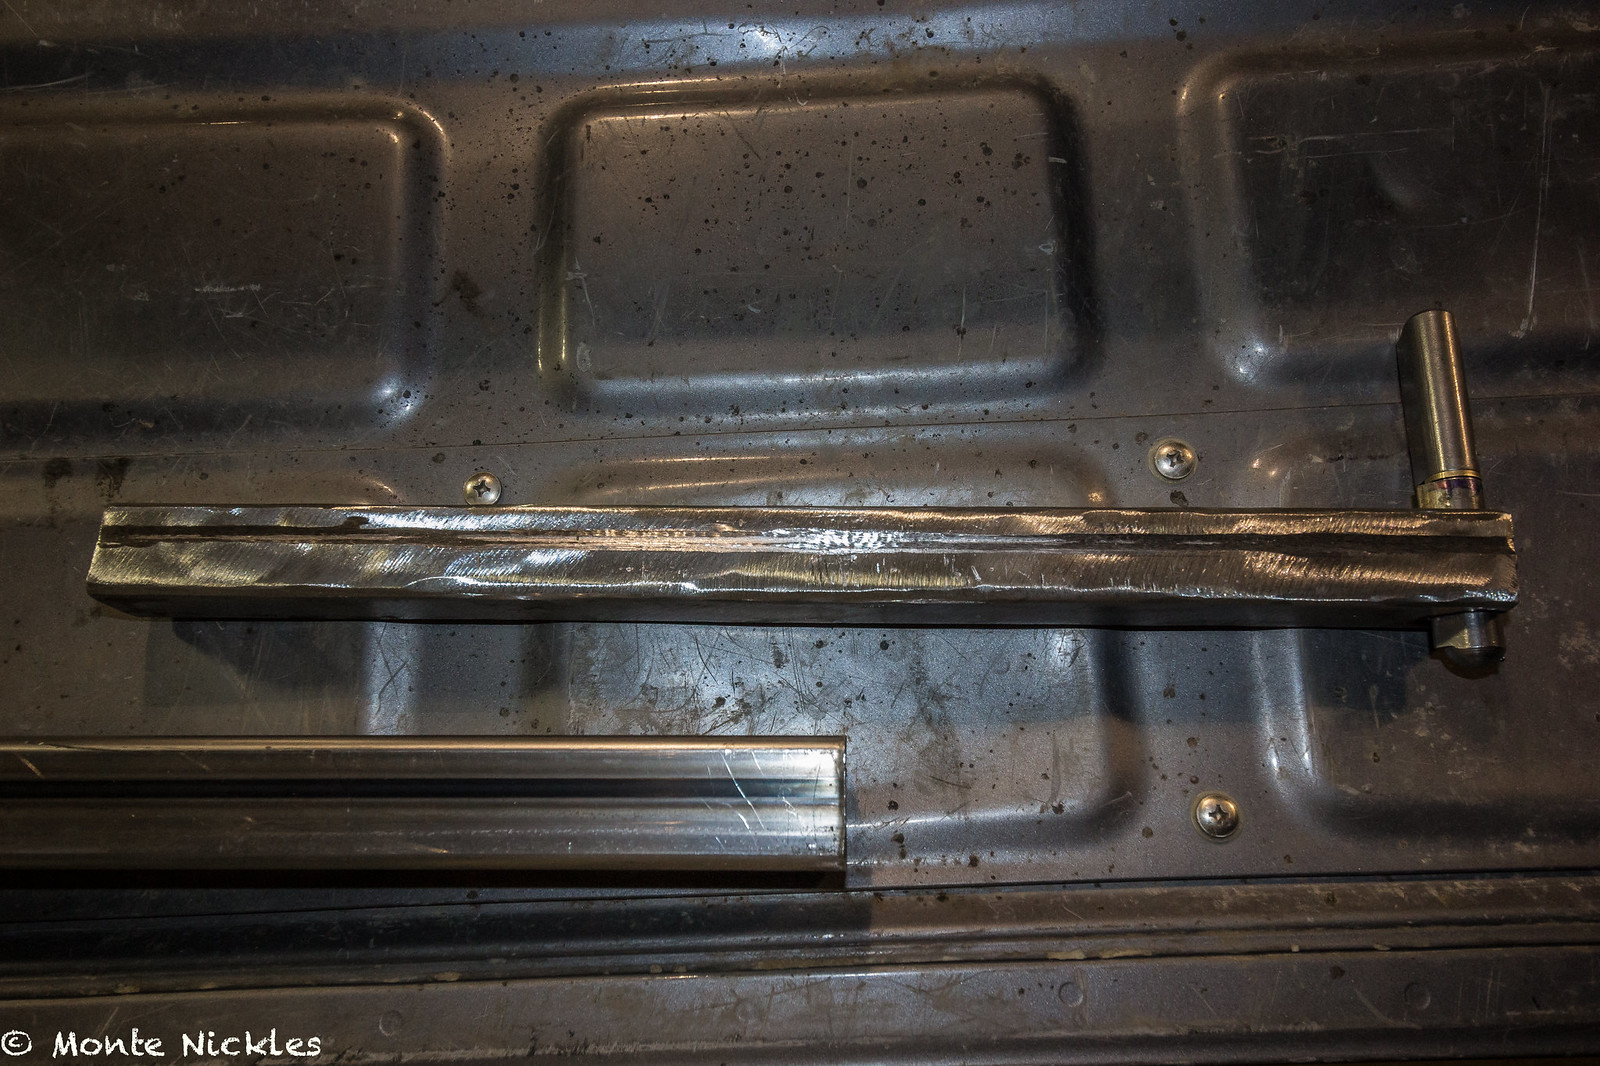 New Bed Rack-49.jpg
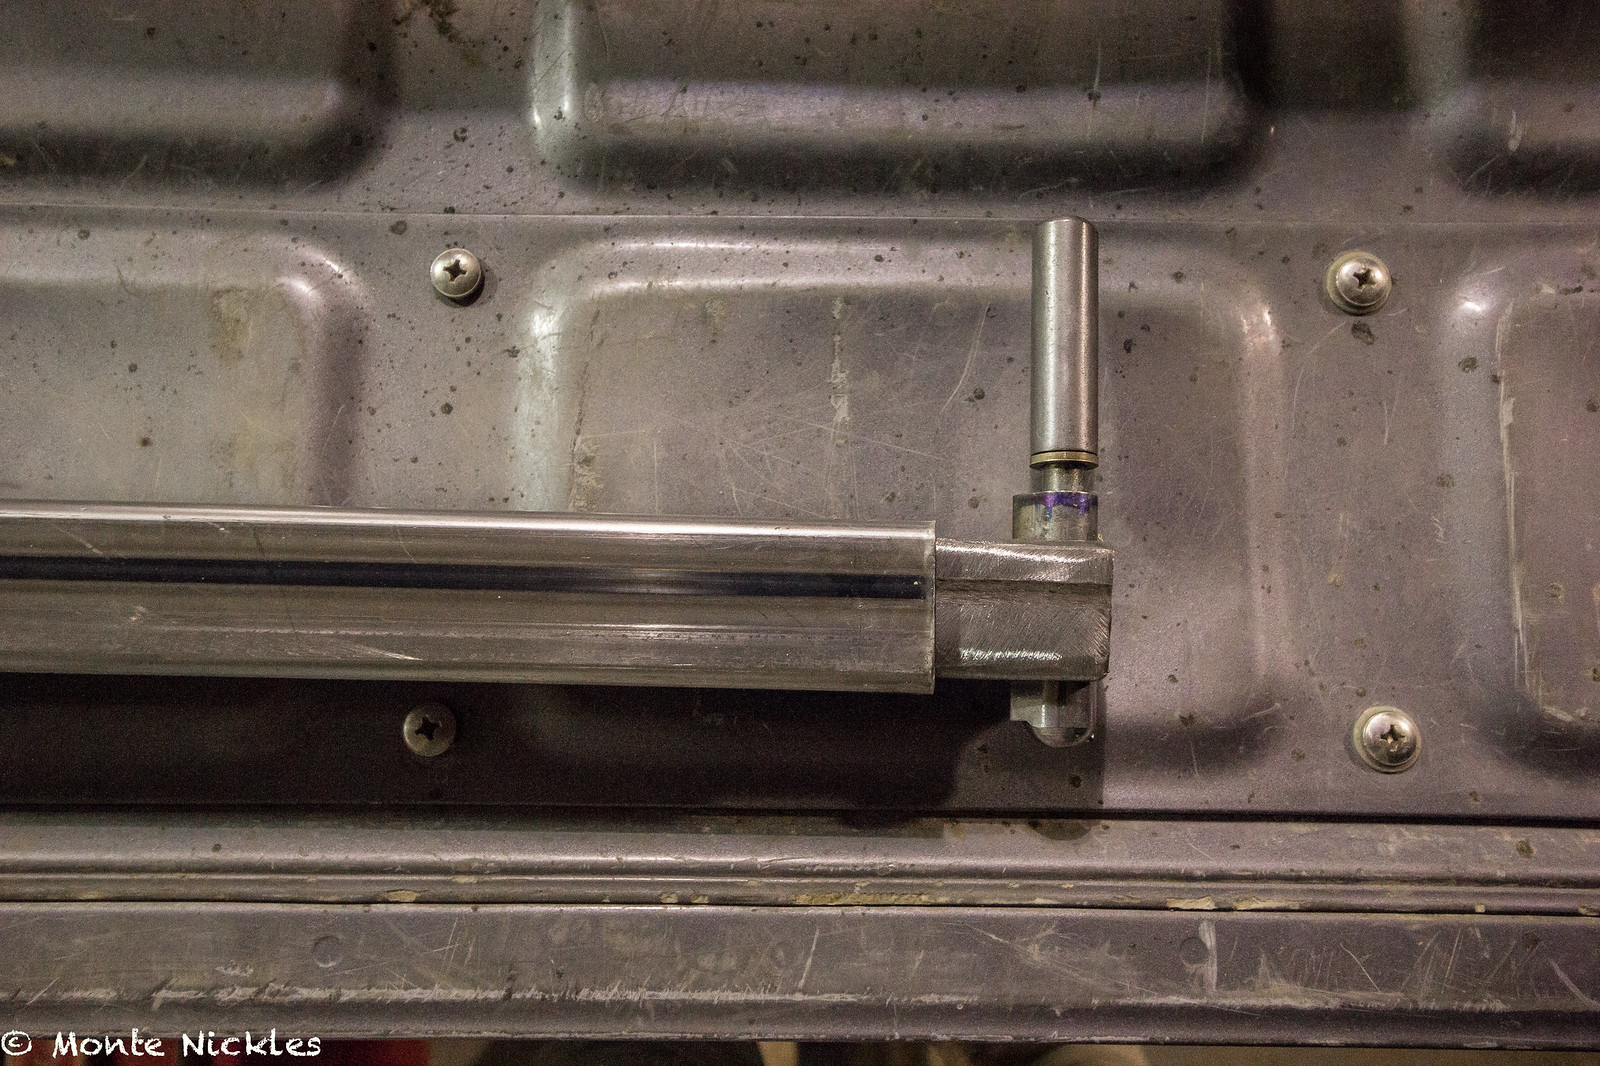 New Bed Rack-50.jpg
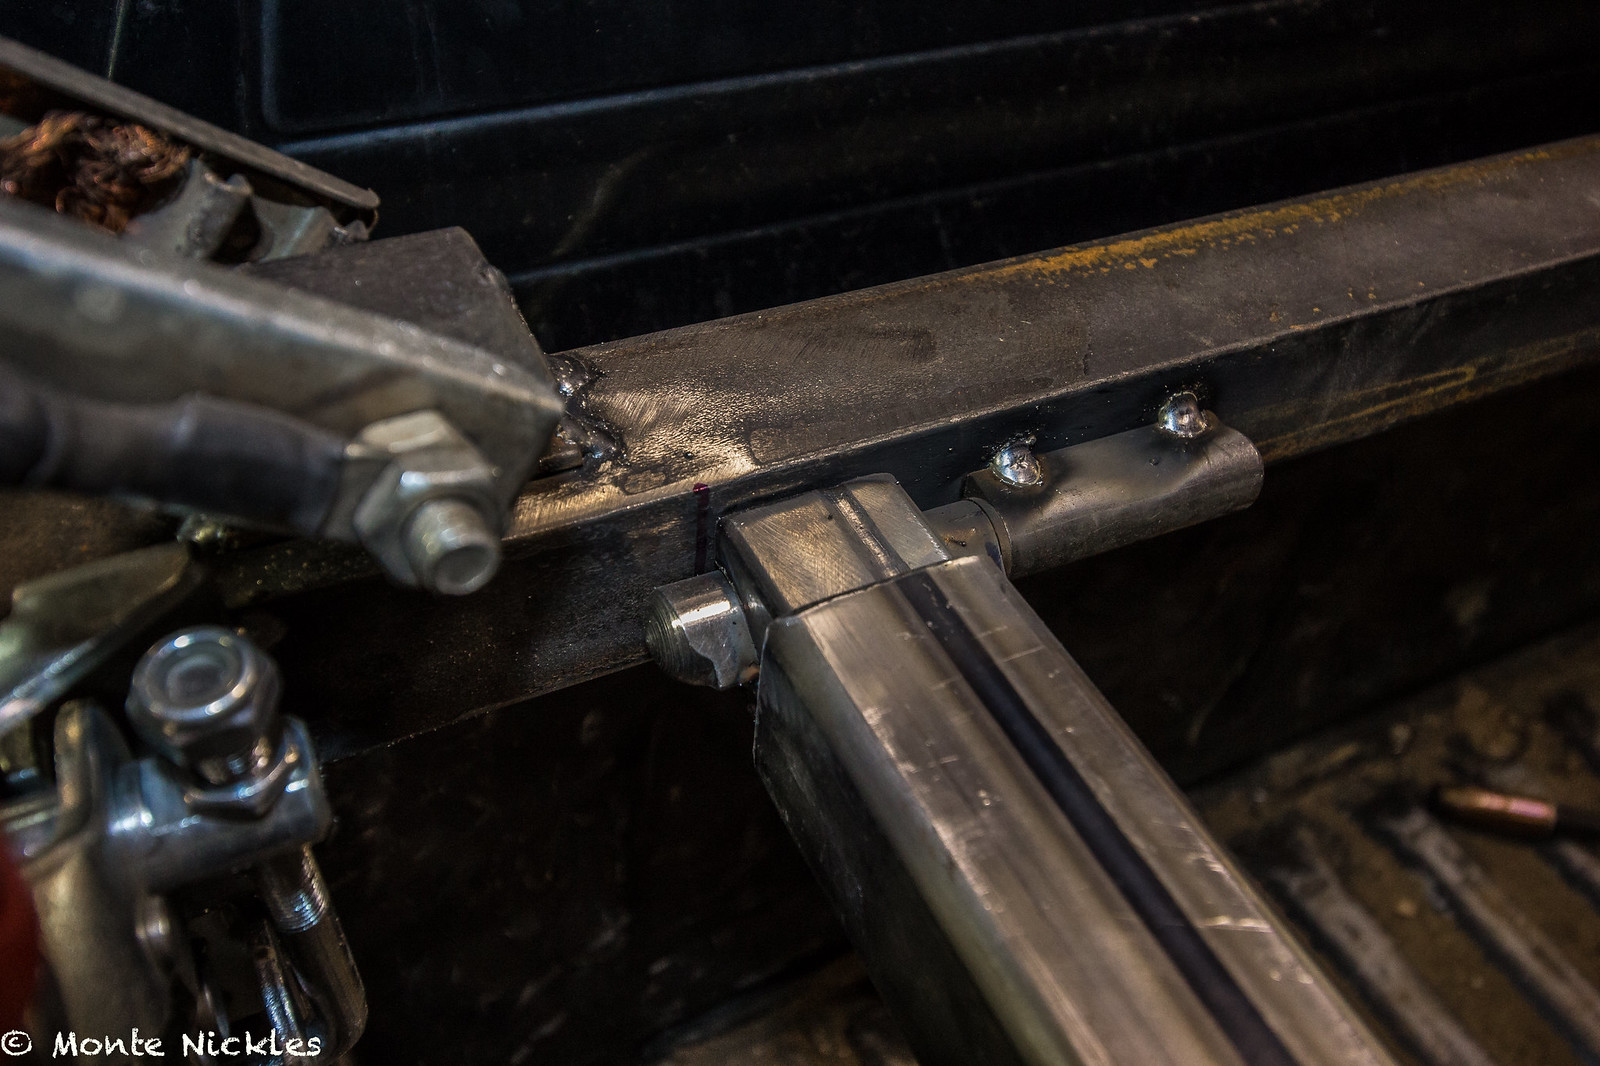 New Bed Rack-47.jpg
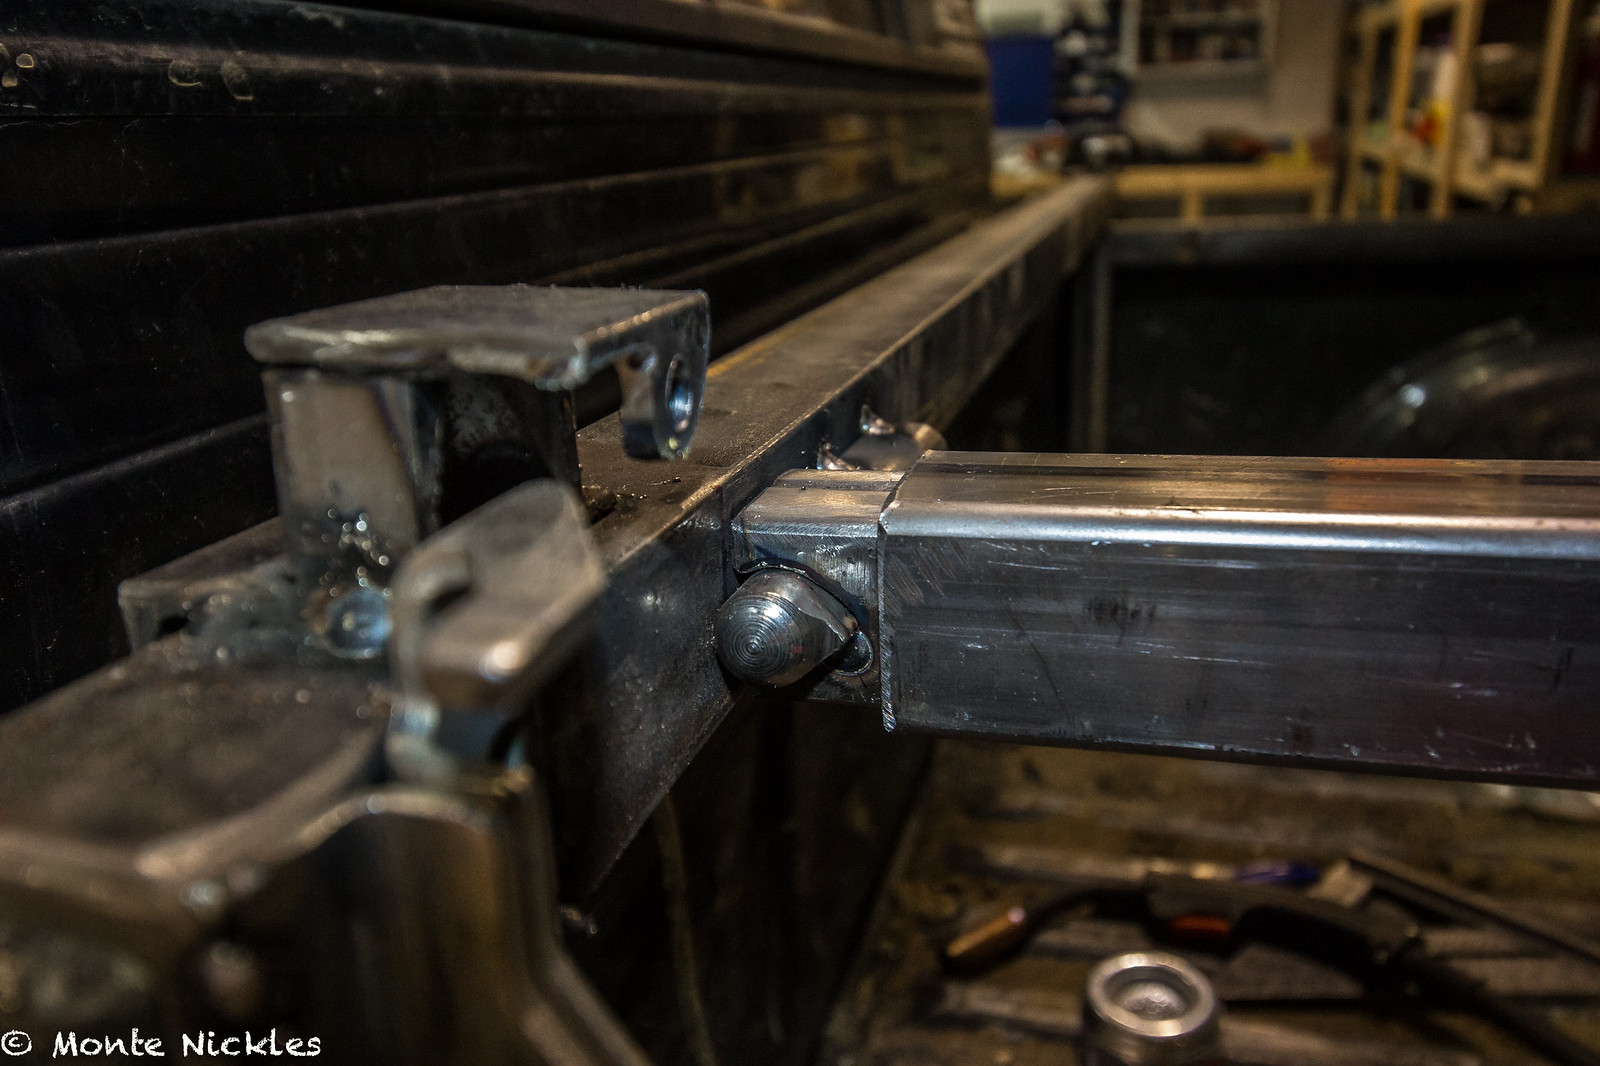 New Bed Rack-48.jpg
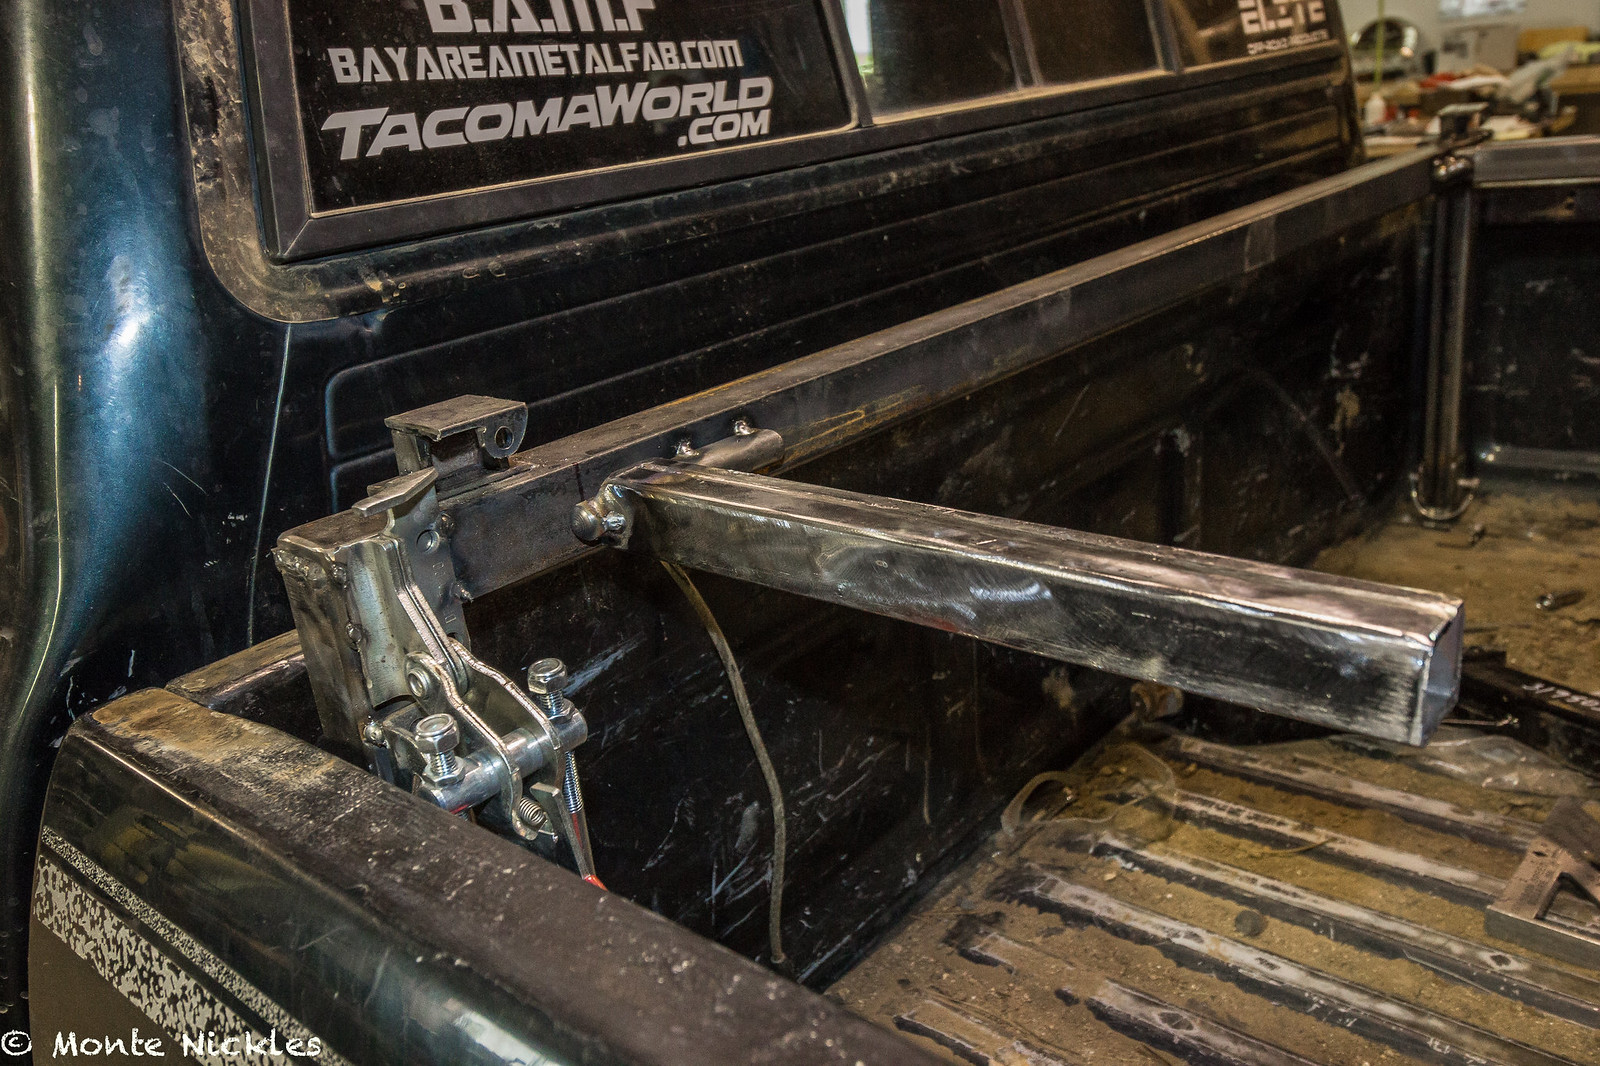 New Bed Rack-51.jpg
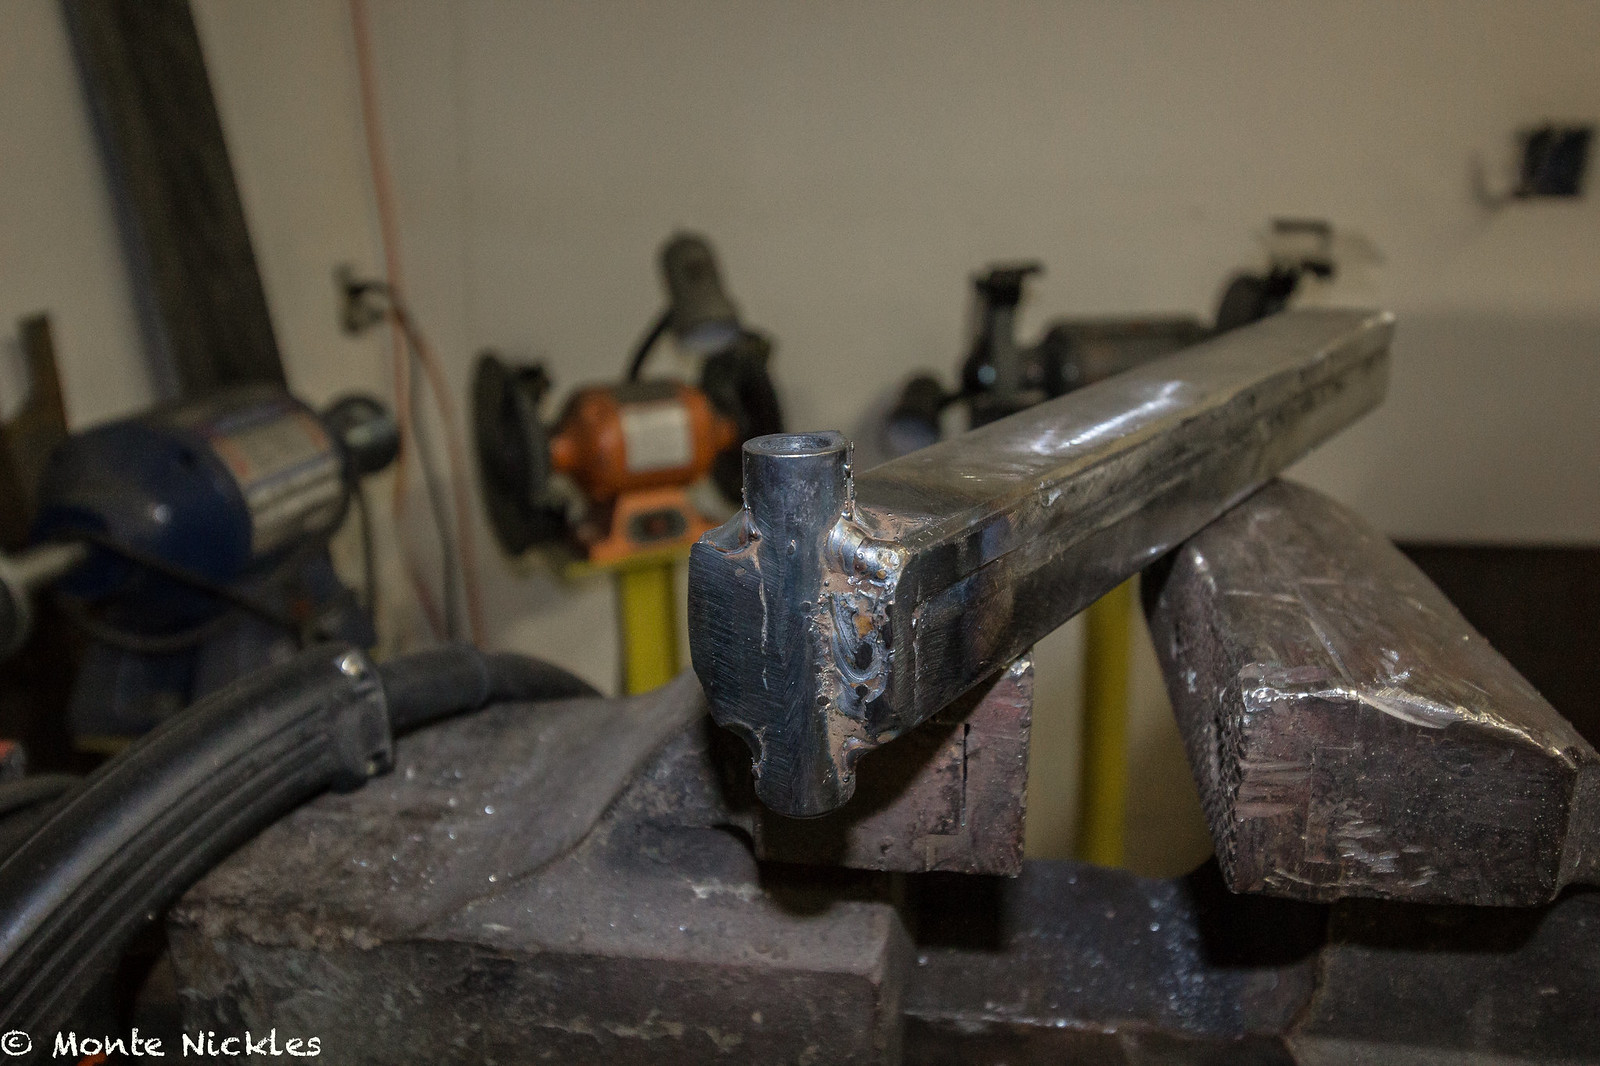 New Bed Rack-52.jpg
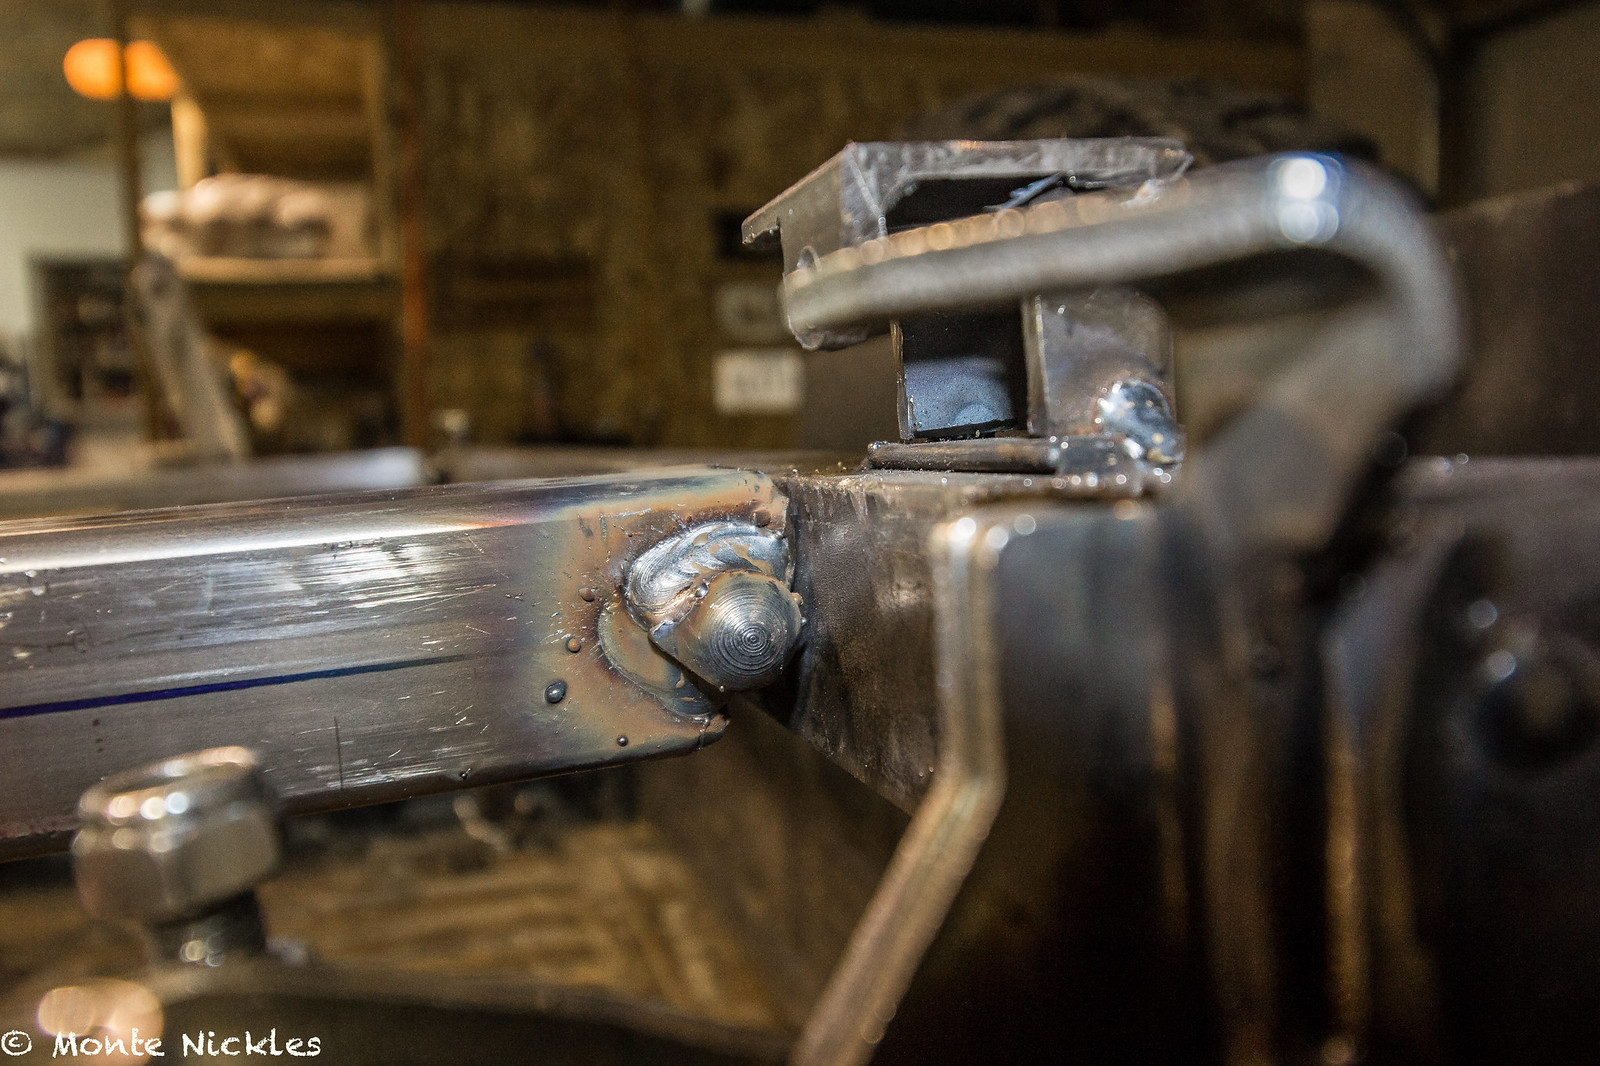 New Bed Rack-53.jpg
 New Bed Rack-54.jpg
 New Bed Rack-55.jpg
 New Bed Rack-56.jpg
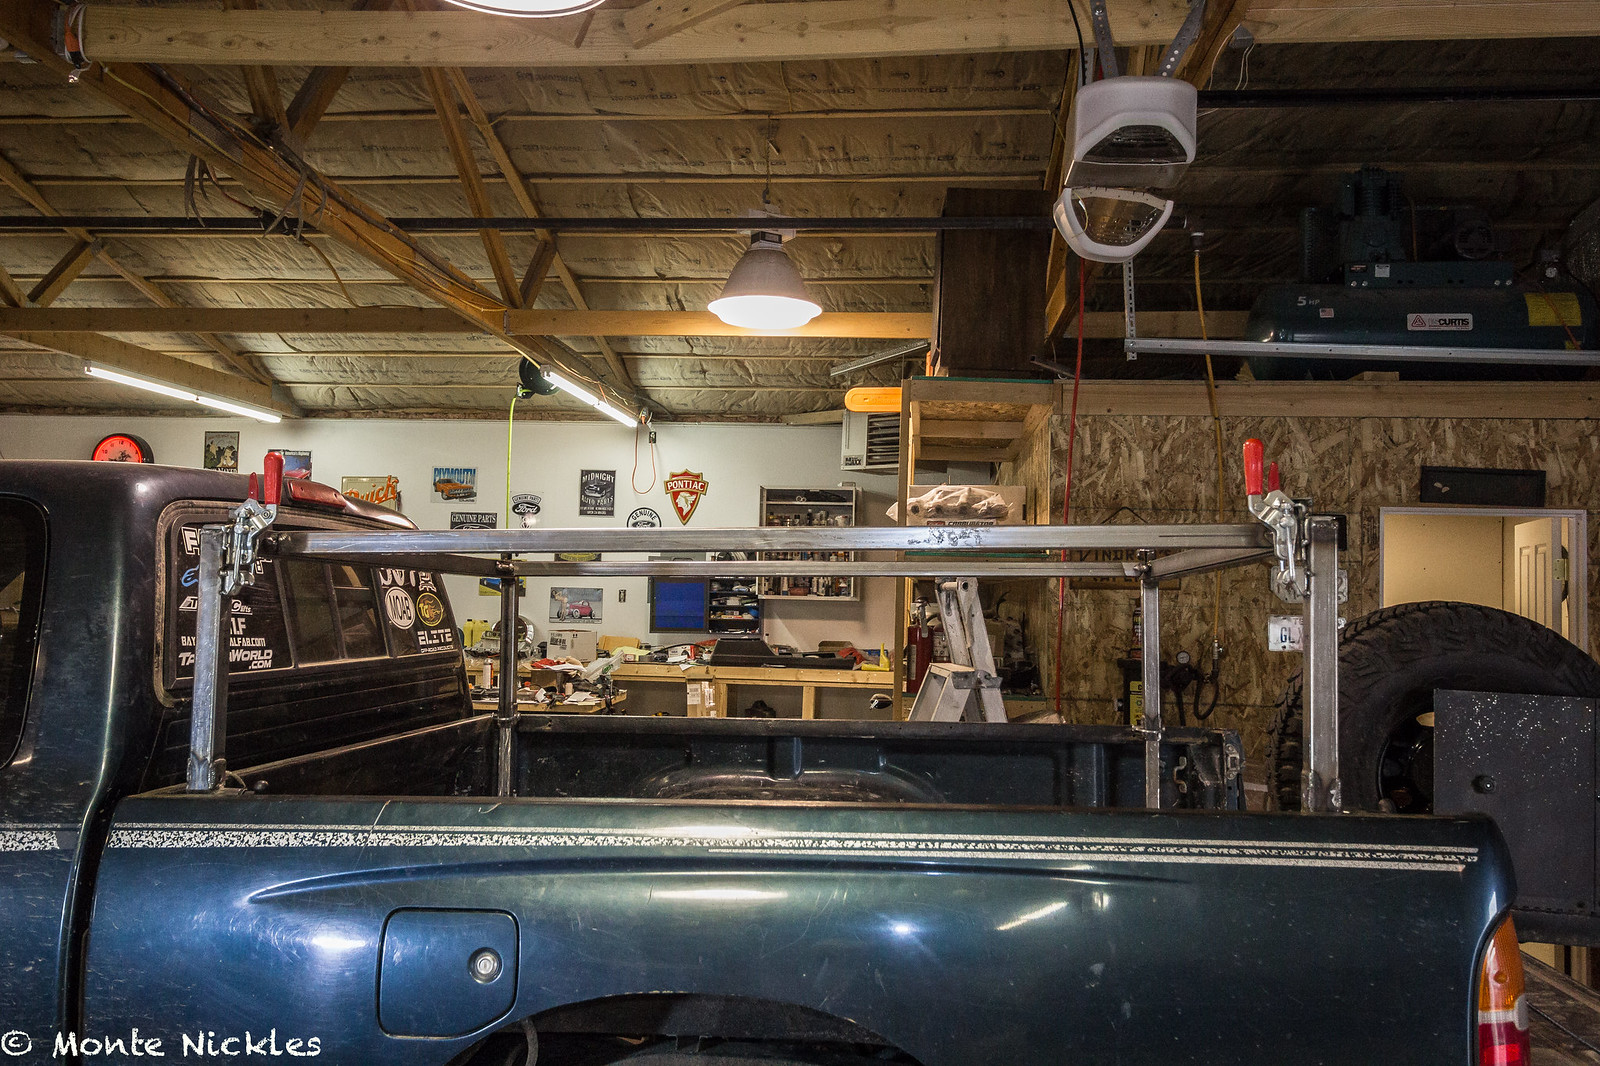 New Bed Rack-57.jpg
 New Bed Rack-58.jpg
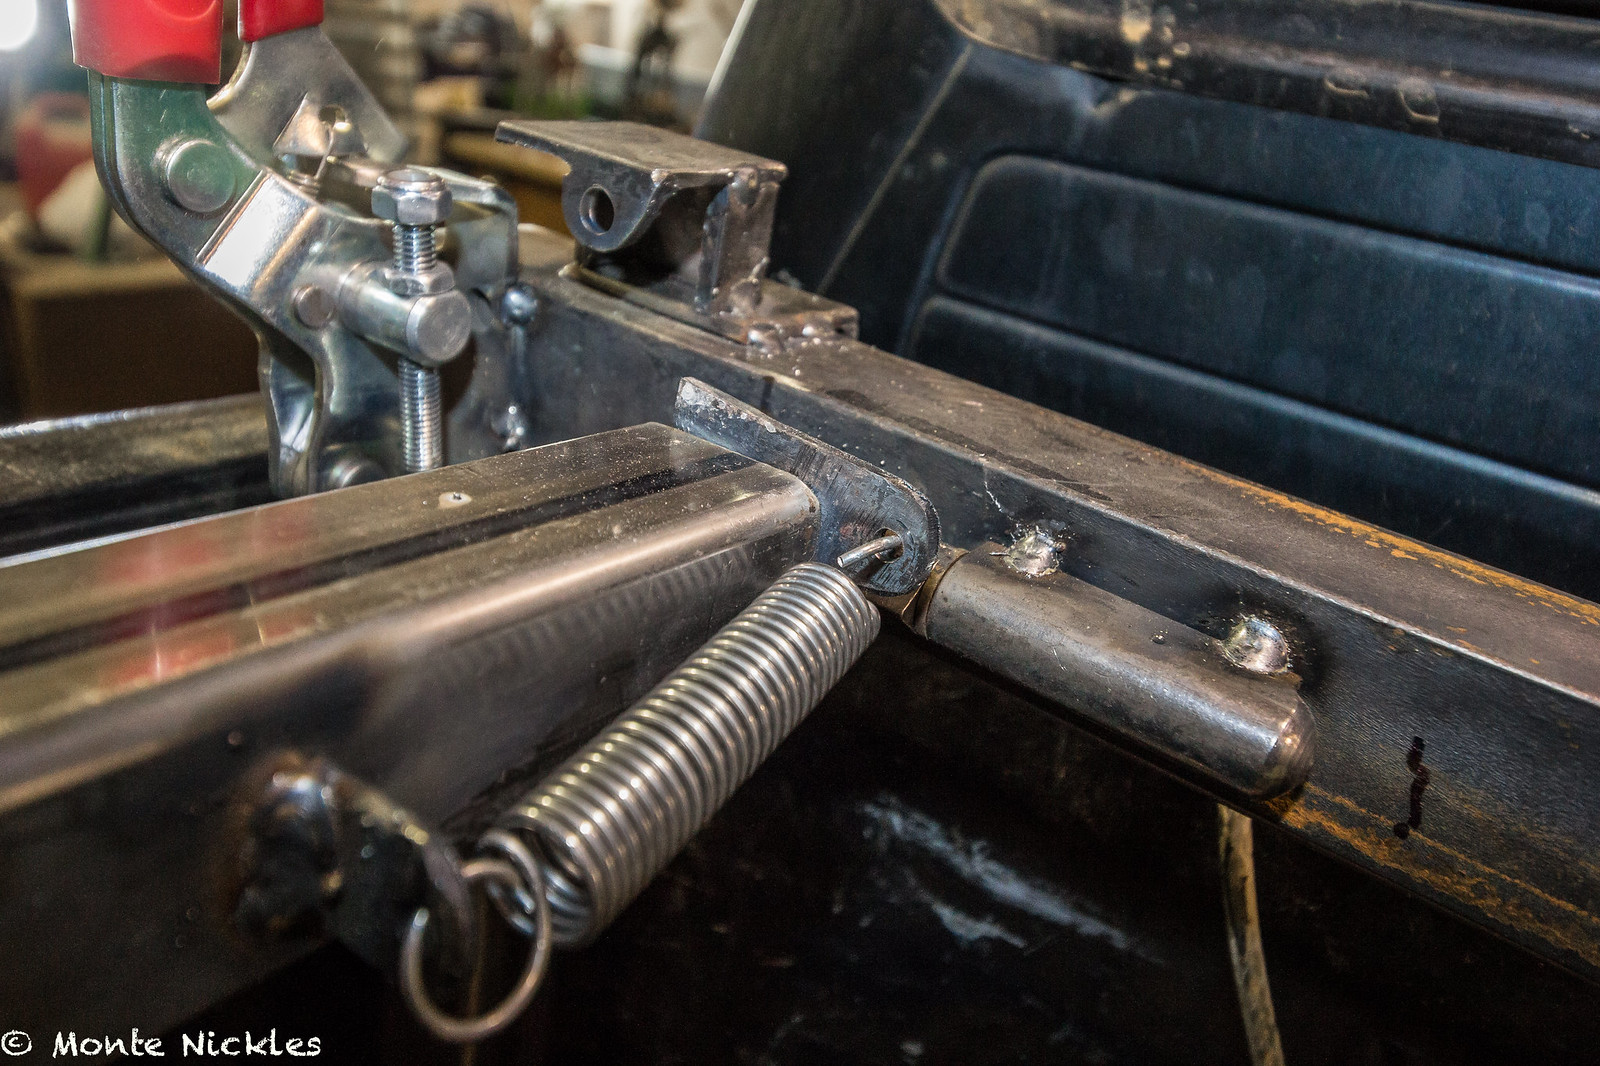 New Bed Rack-59.jpg
 New Bed Rack-60.jpg
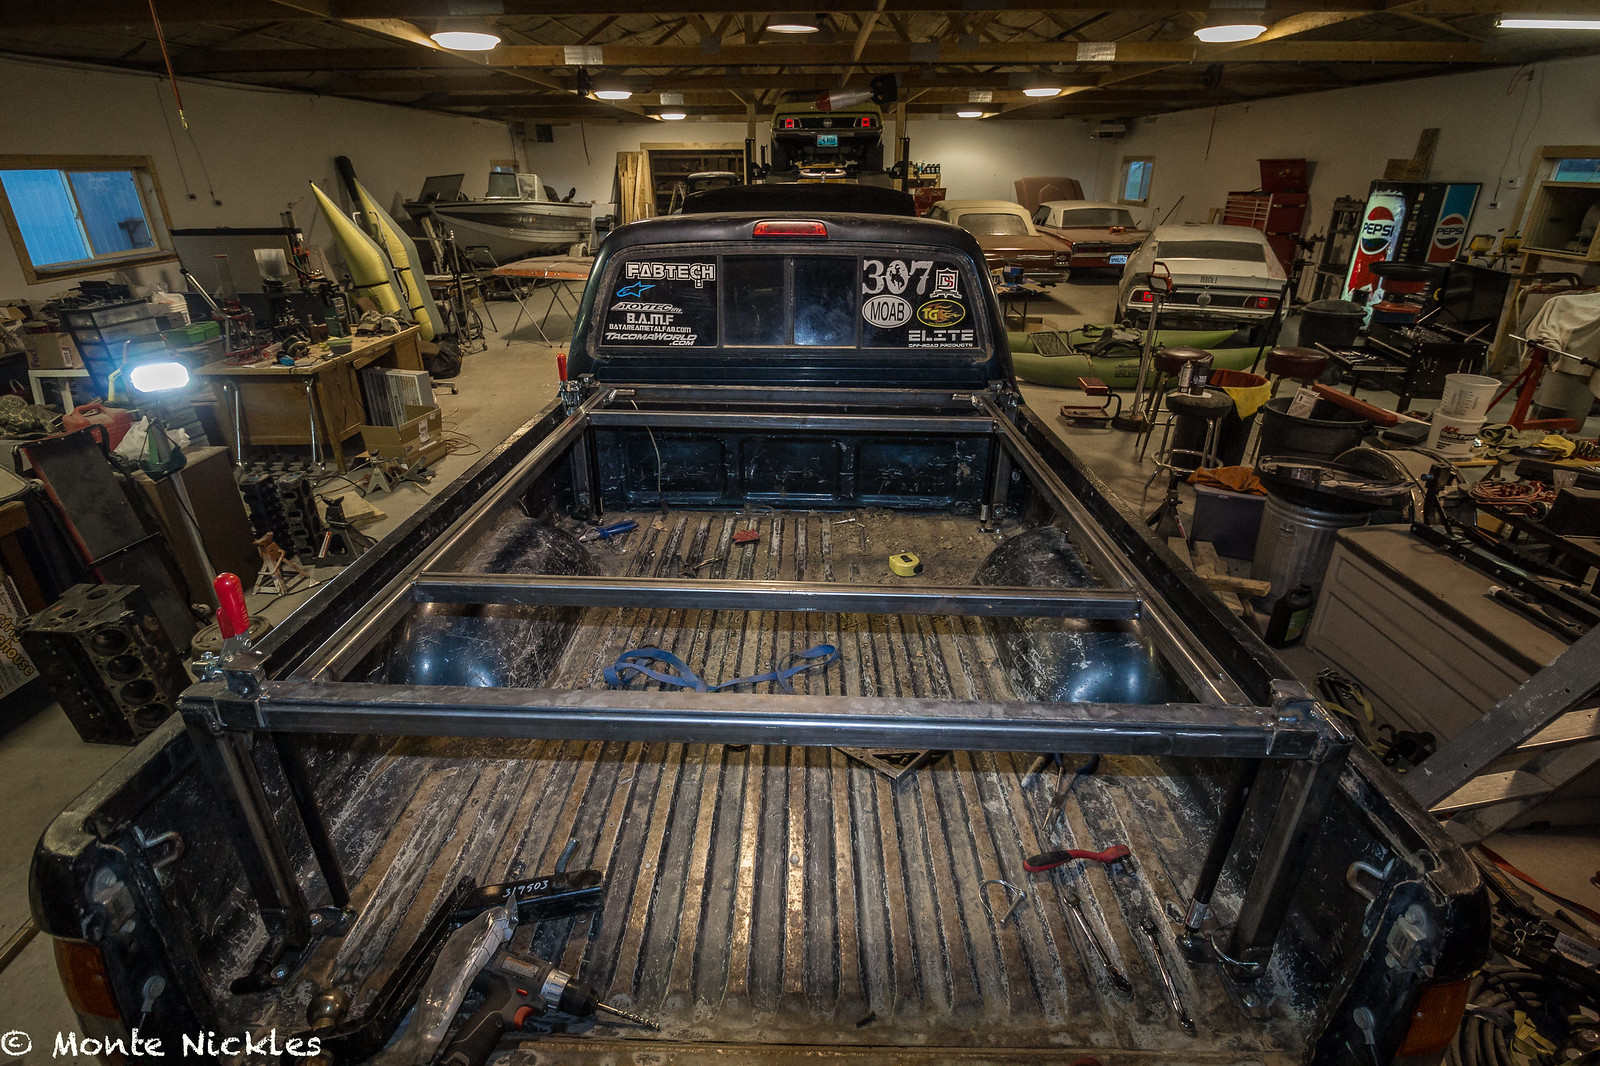 New Bed Rack-61.jpg
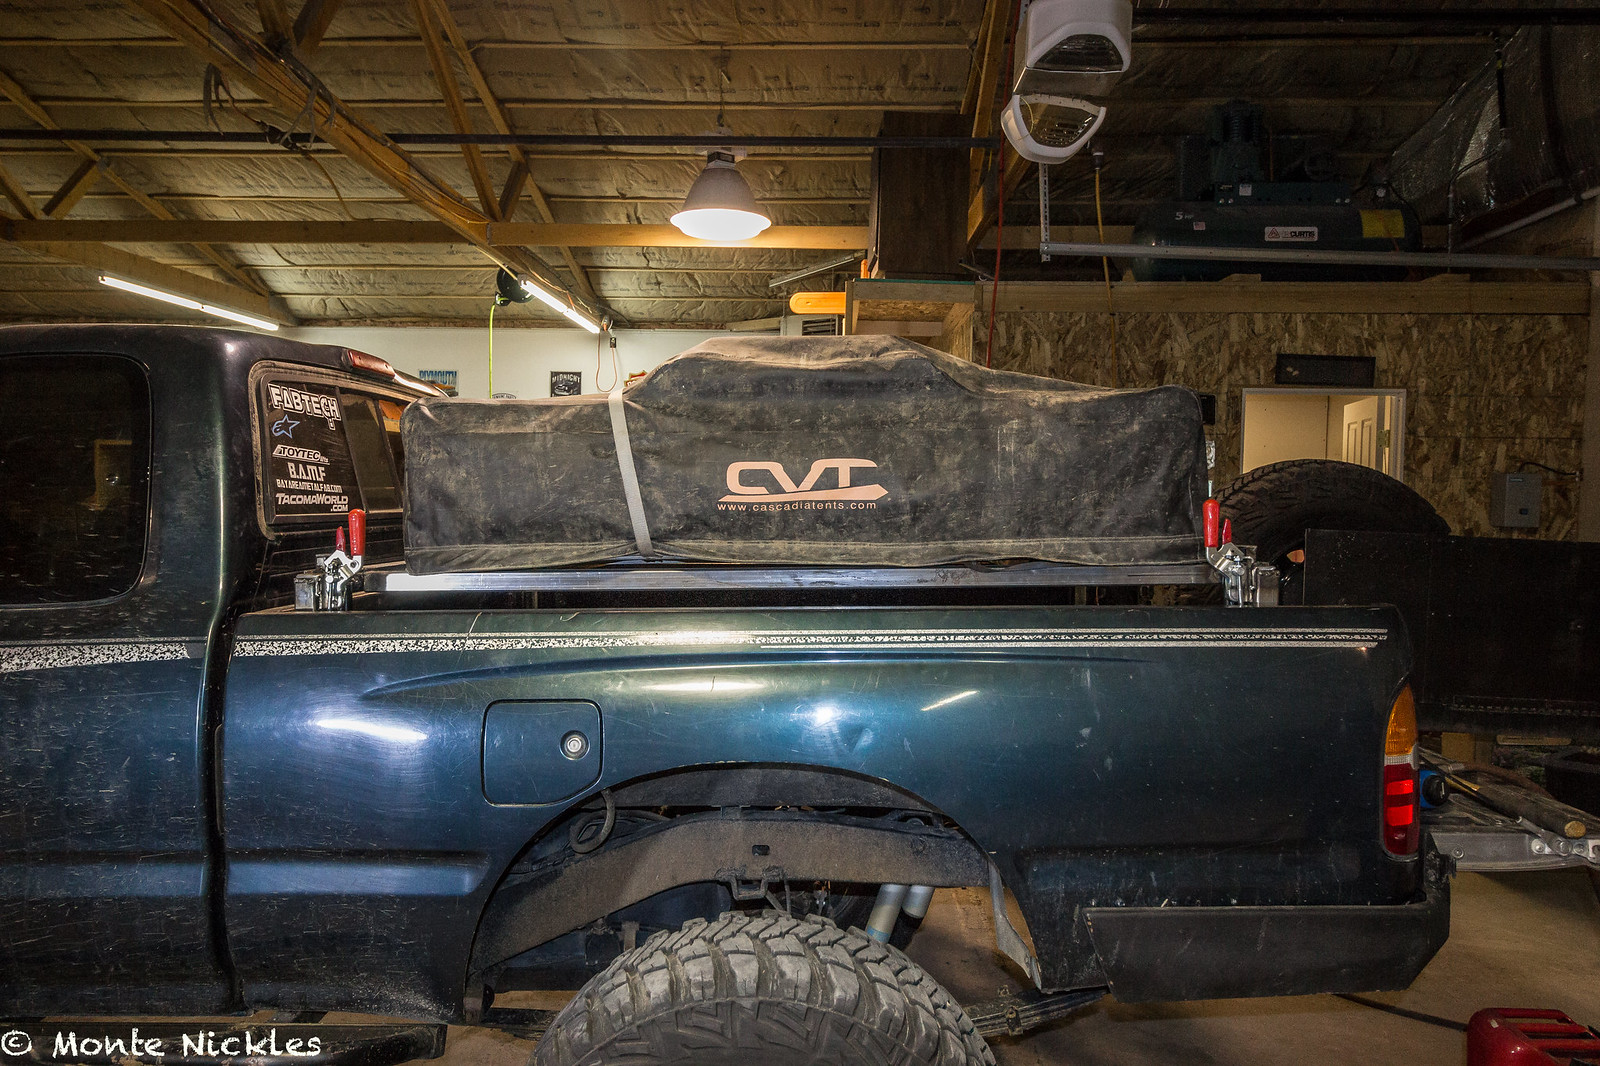 New Bed Rack-62.jpg
 New Bed Rack-63.jpg
 Bed Rack
 Bed Rack 2
 Bed Rack 3
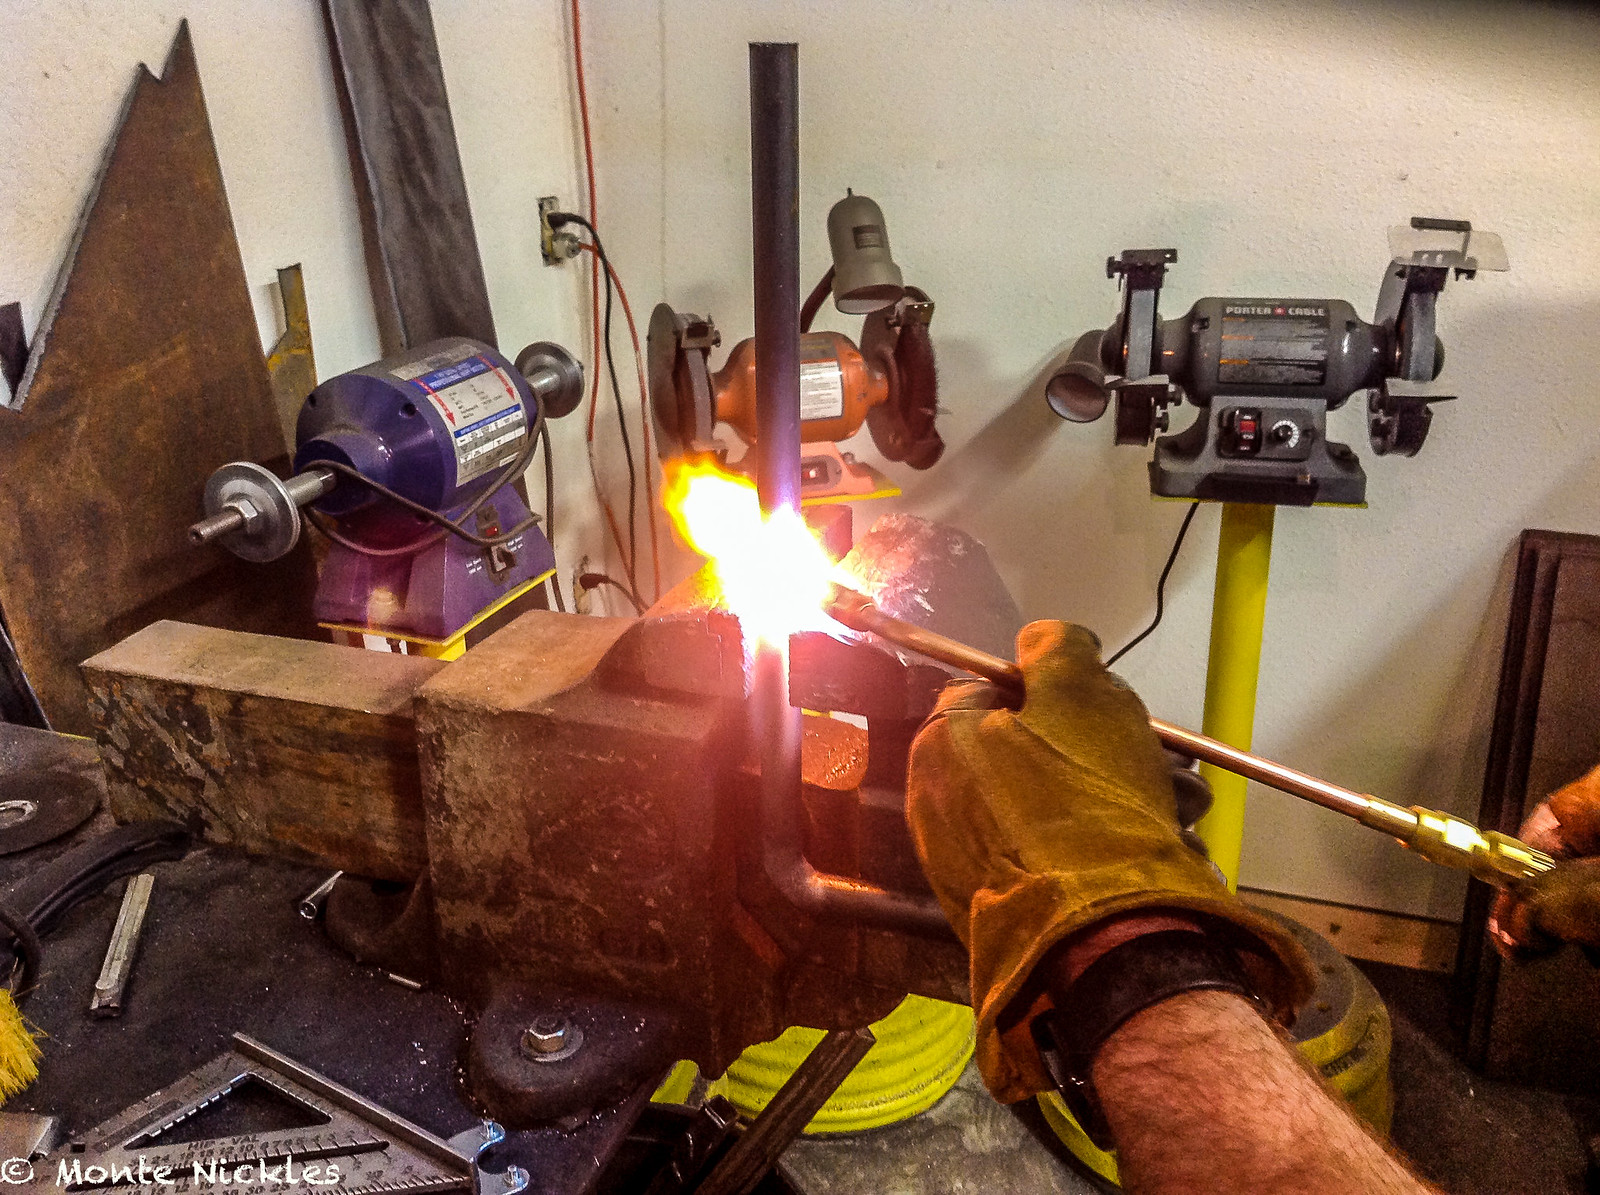 New Bed Rack-2.jpg
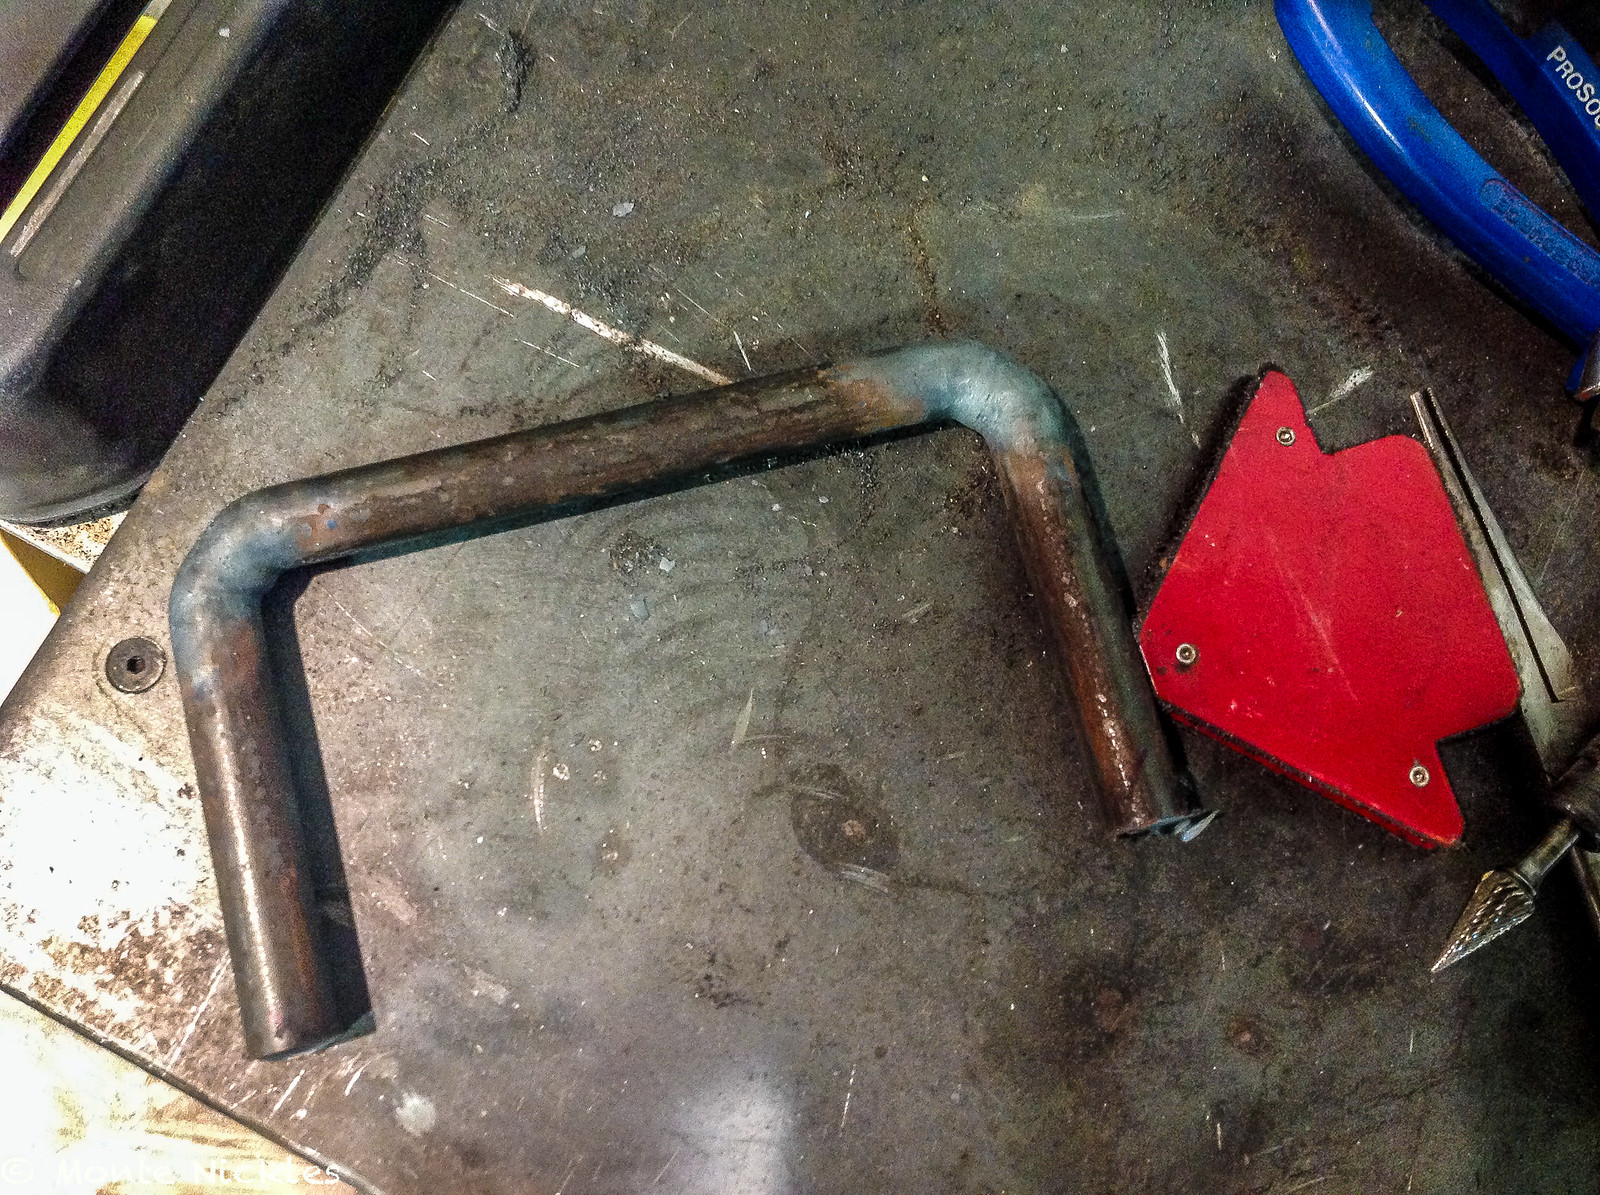 New Bed Rack.jpg
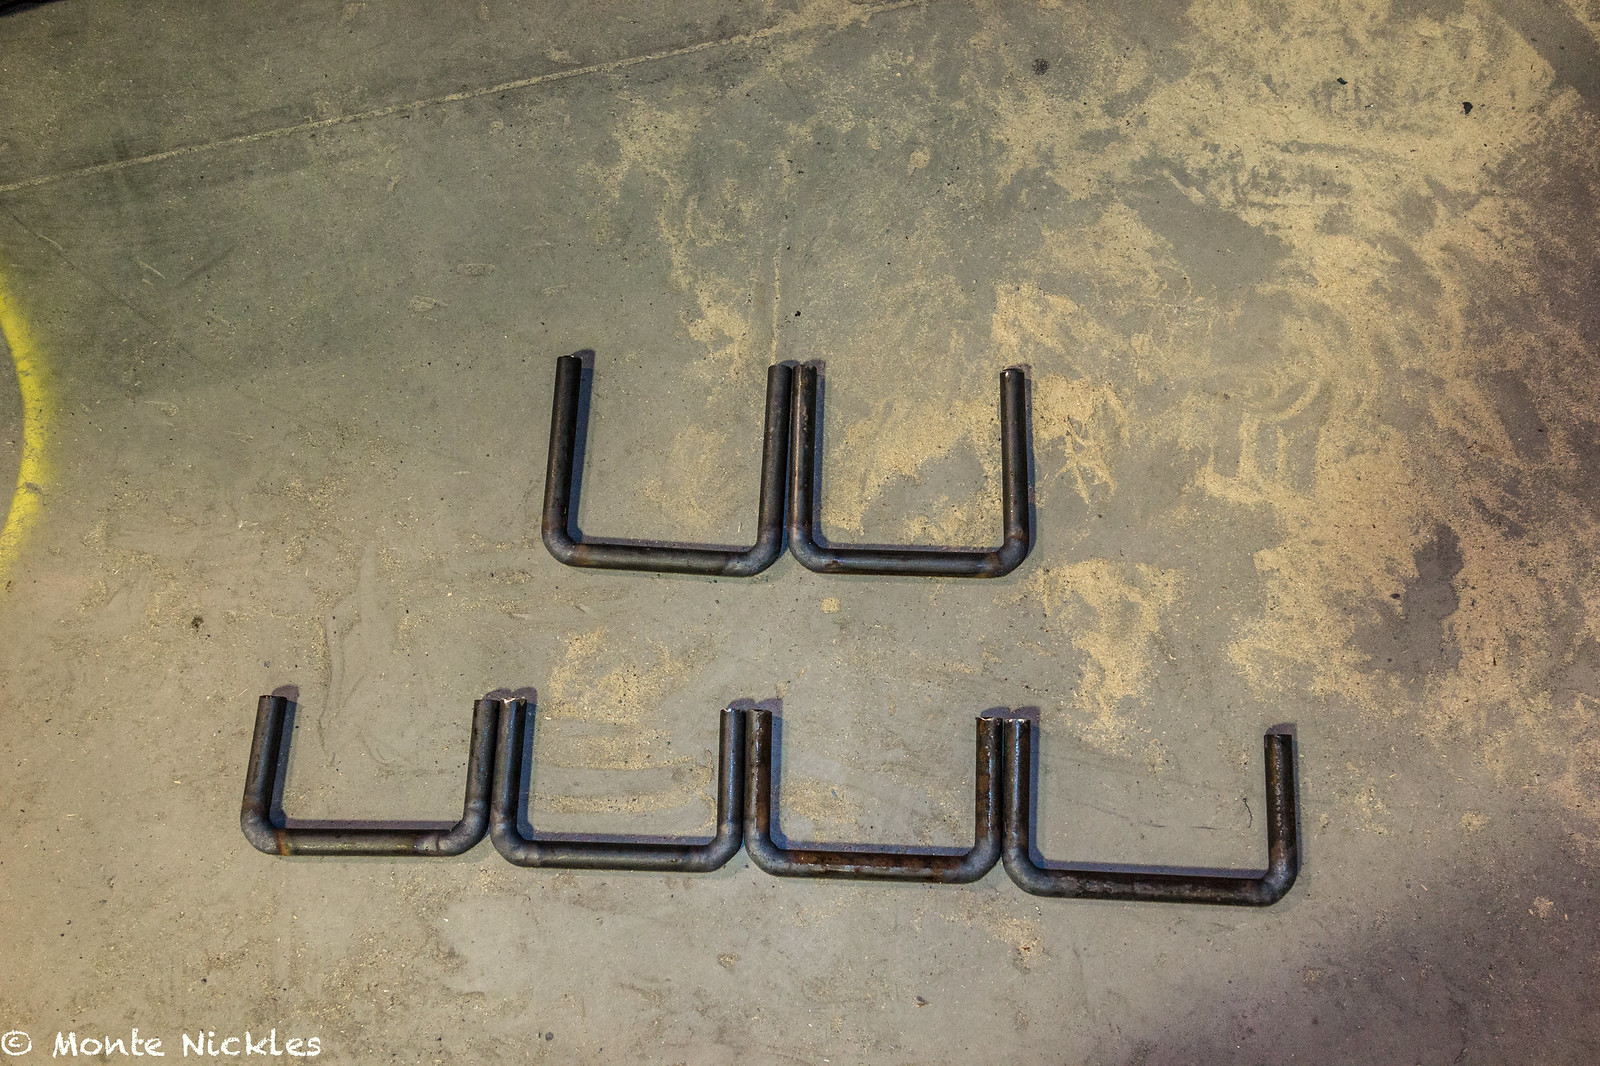 New Bed Rack-72.jpg
 New Bed Rack-73.jpg
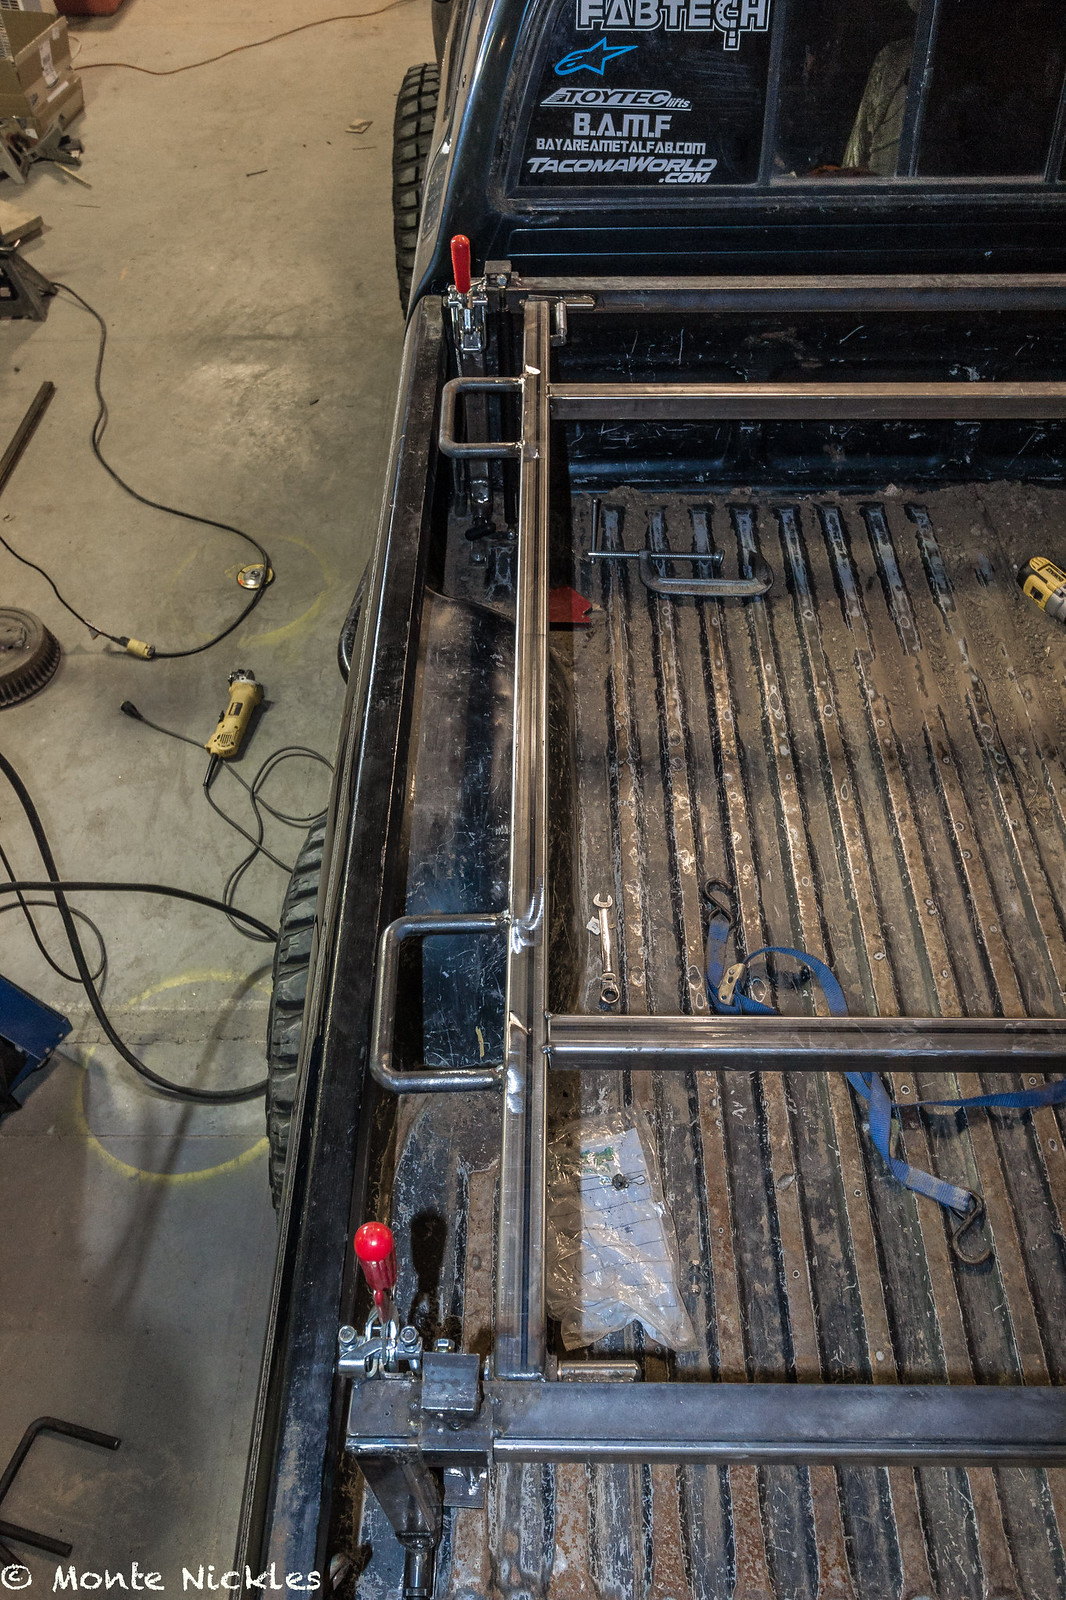 New Bed Rack-75.jpg
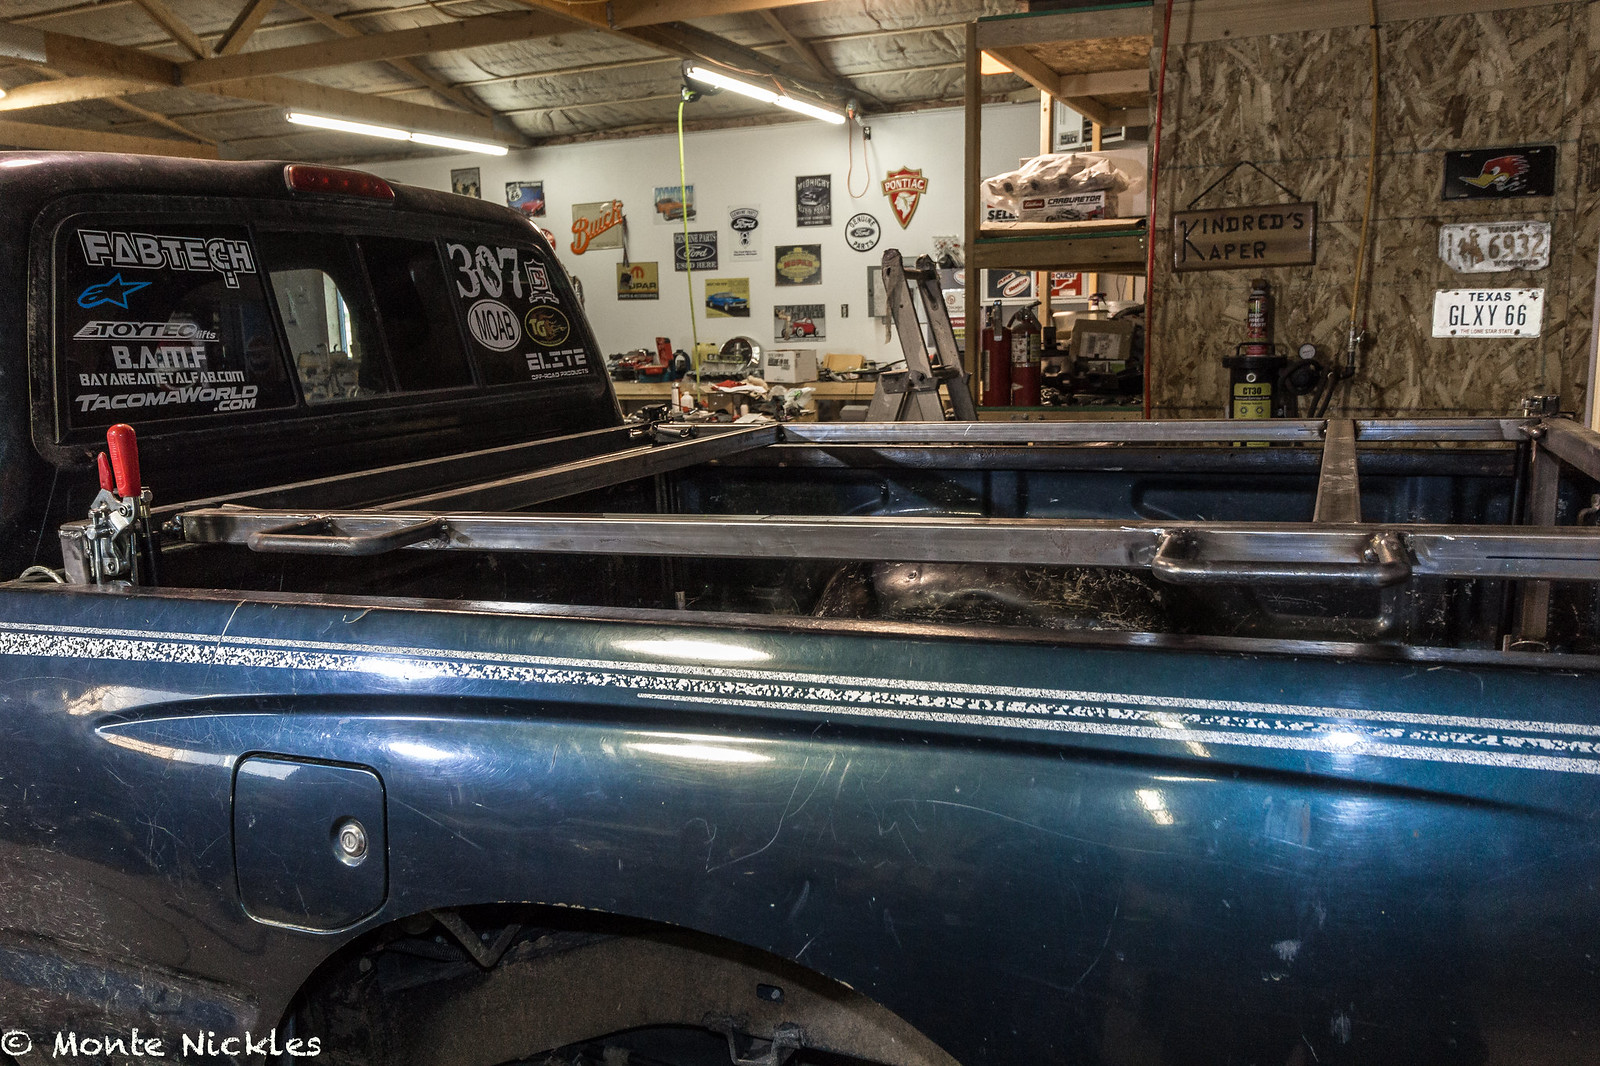 New Bed Rack-74.jpg
 New Bed Rack-76.jpg
 New Bed Rack-33.jpg
 New Bed Rack-34.jpg
 New Bed Rack-37.jpg
 New Bed Rack-38.jpg
 New Bed Rack-40.jpg
 New Bed Rack-39.jpg
 New Bed Rack-35.jpg
 New Bed Rack-36.jpg
 New Bed Rack-64.jpg
 New Bed Rack-65.jpg
 New Bed Rack-66.jpg
 New Bed Rack-67.jpg
 New Bed Rack-68.jpg
 New Bed Rack-69.jpg
 New Bed Rack-70.jpg
 New Bed Rack-90.jpg
 New Bed Rack-88.jpg
 New Bed Rack-89.jpg
 New Bed Rack-78.jpg
 New Bed Rack-79.jpg
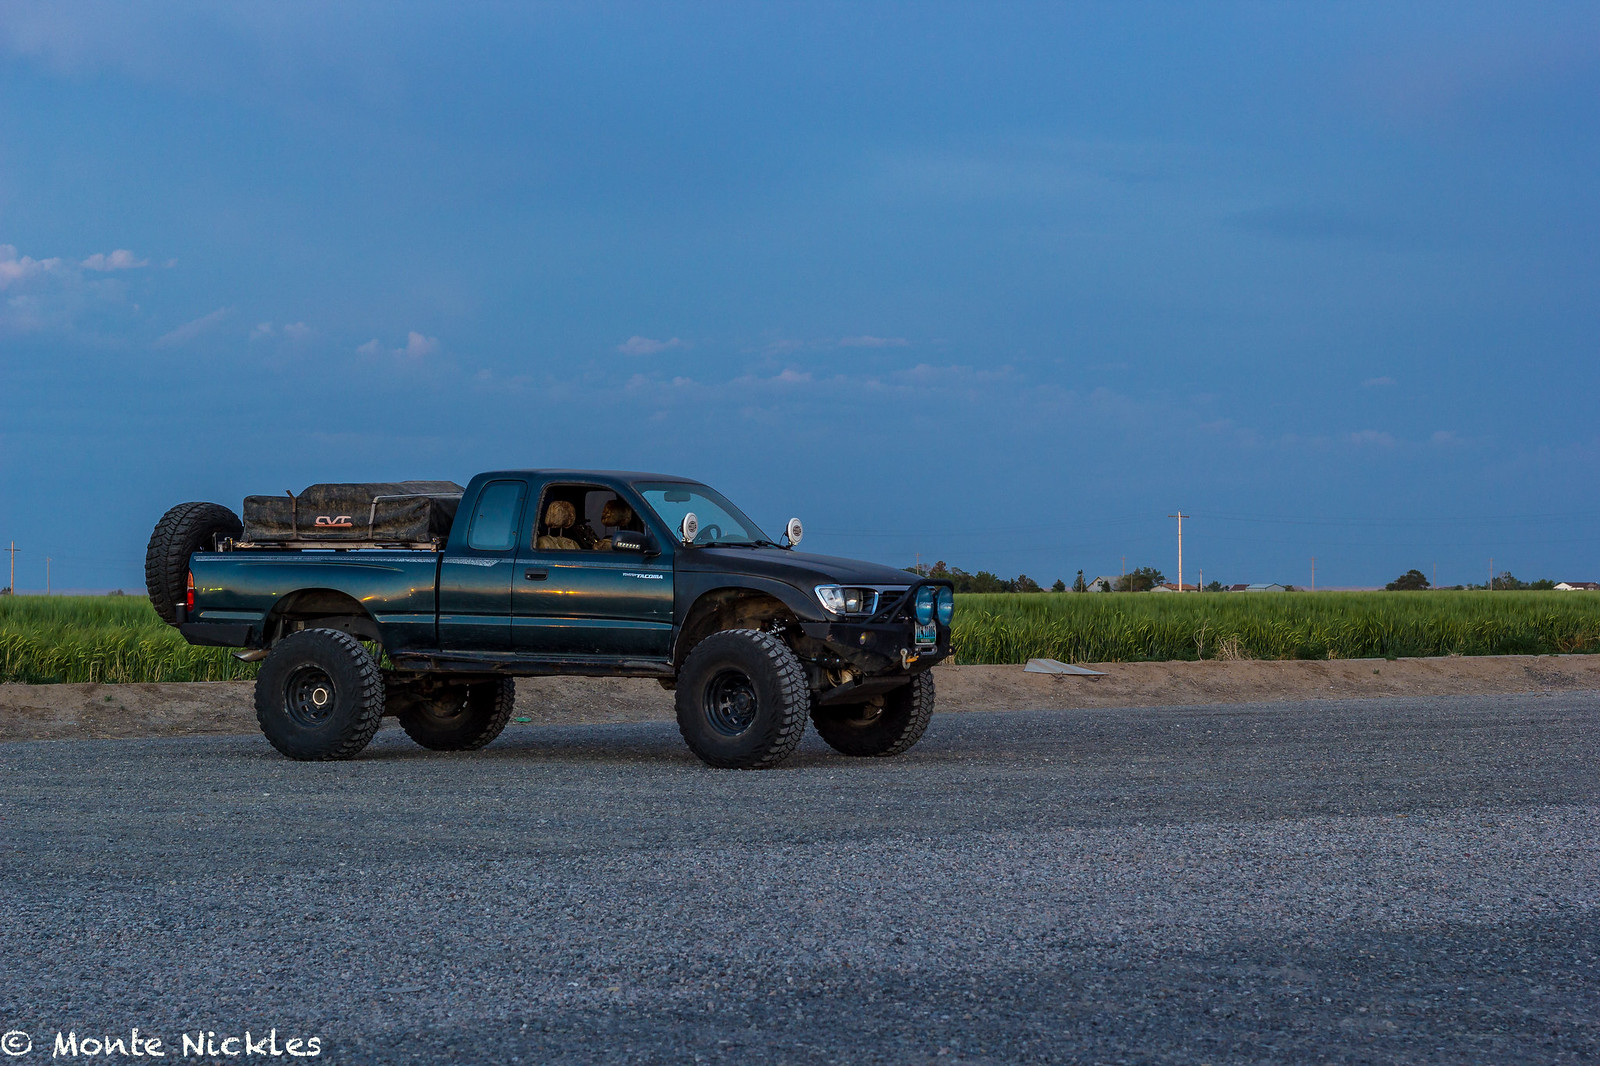 New Bed Rack-80.jpg
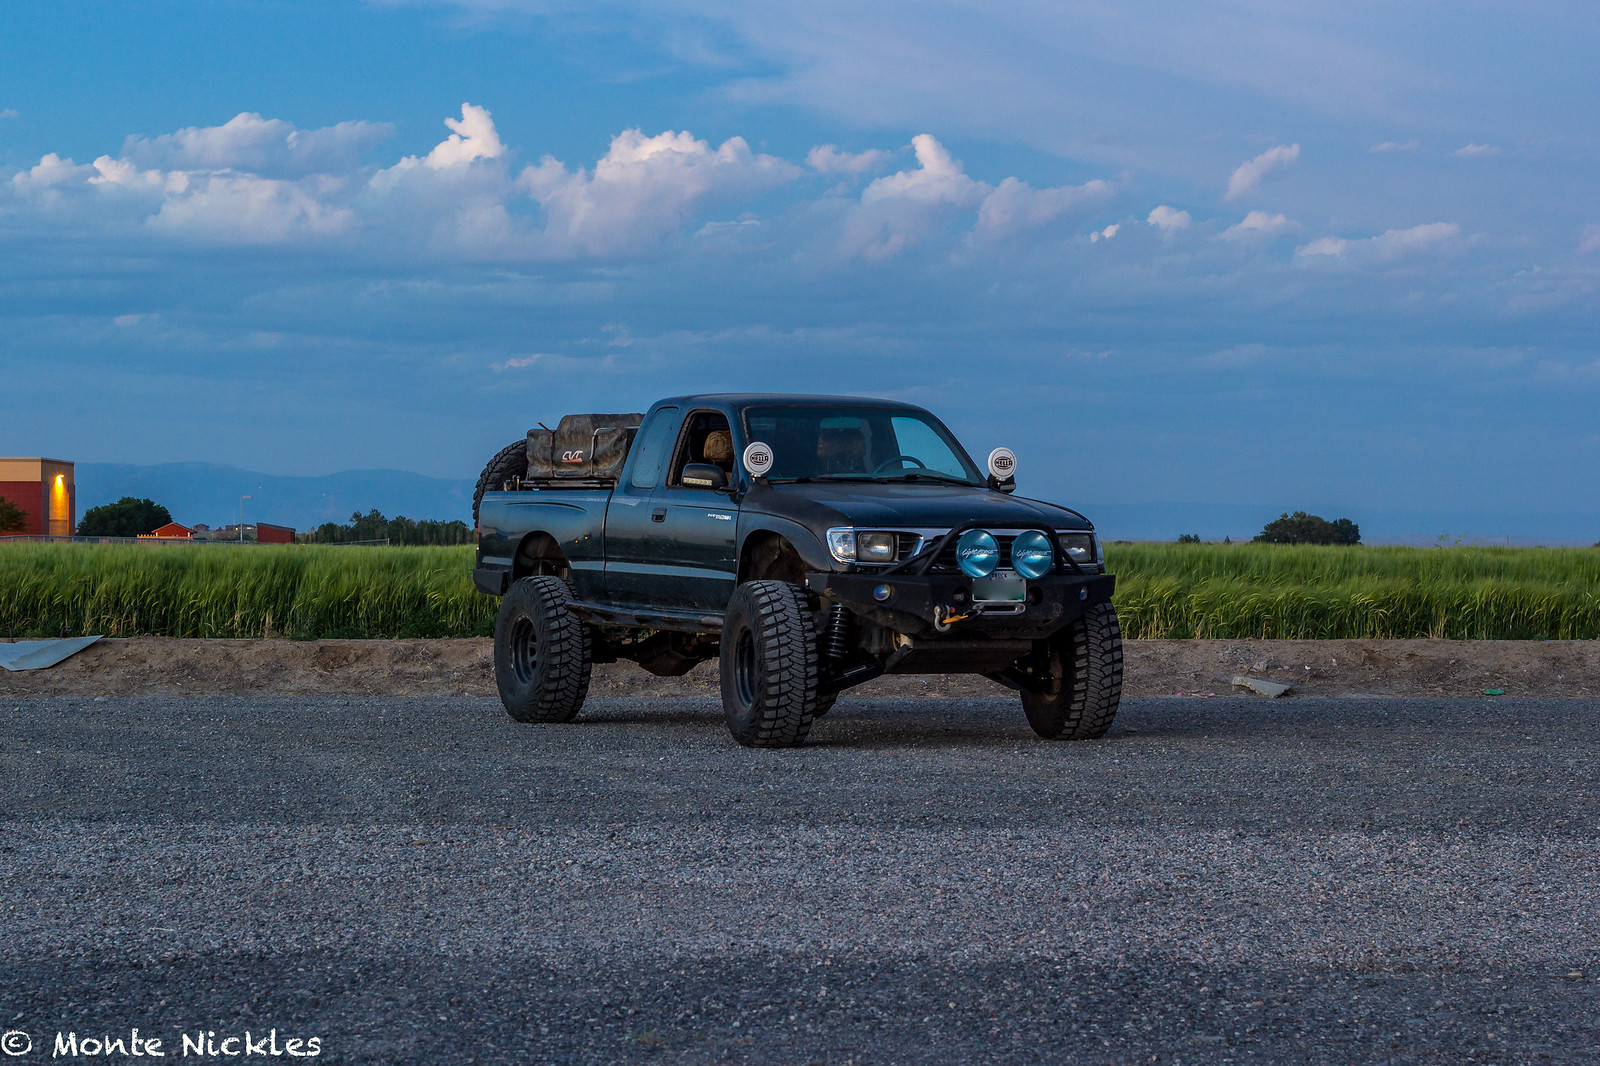 New Bed Rack-81.jpg
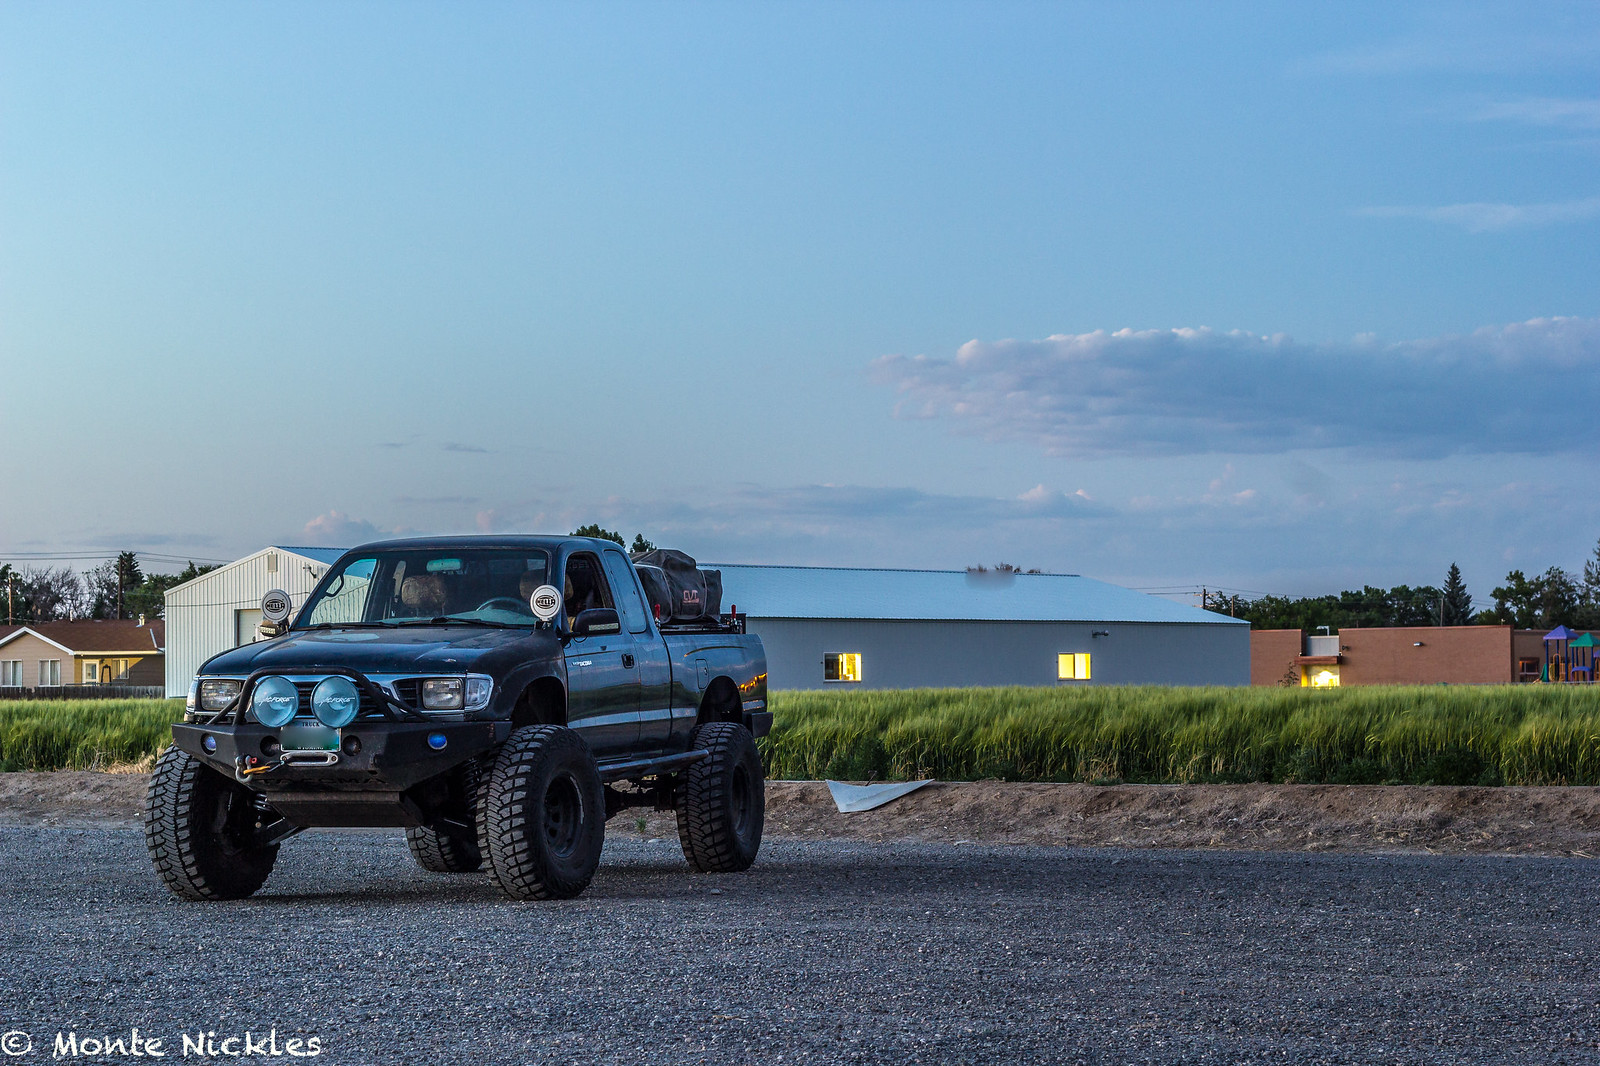 New Bed Rack-82.jpg
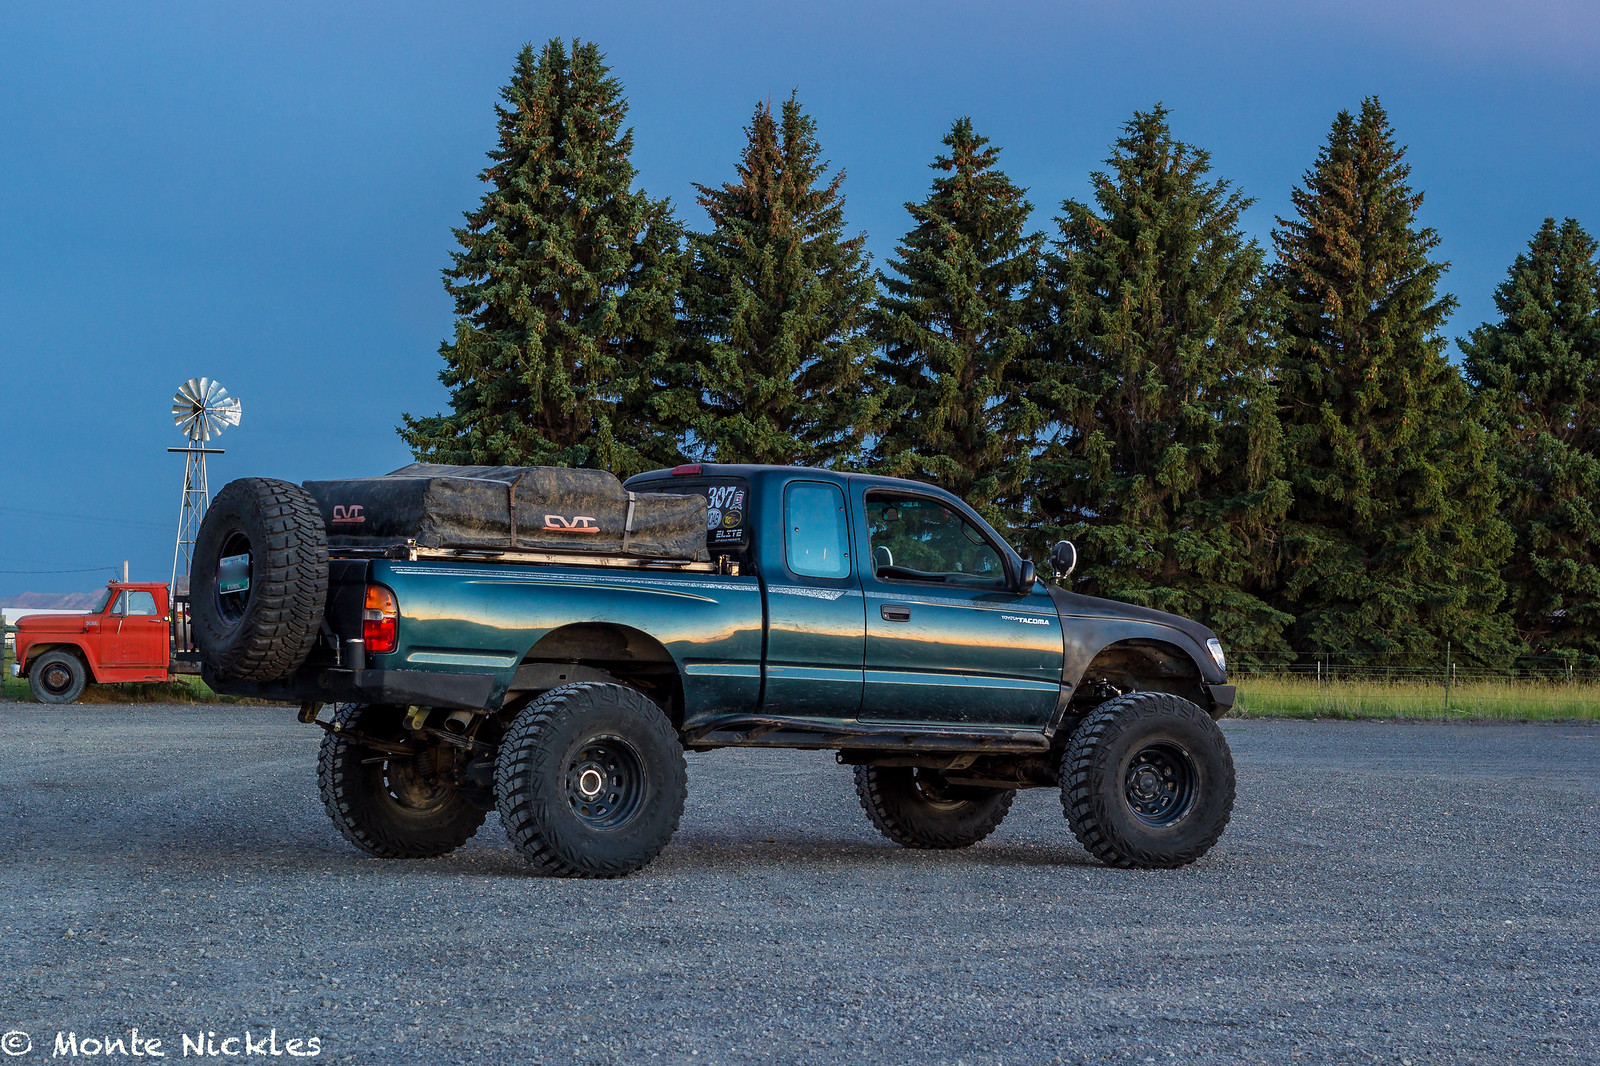 New Bed Rack-83.jpg
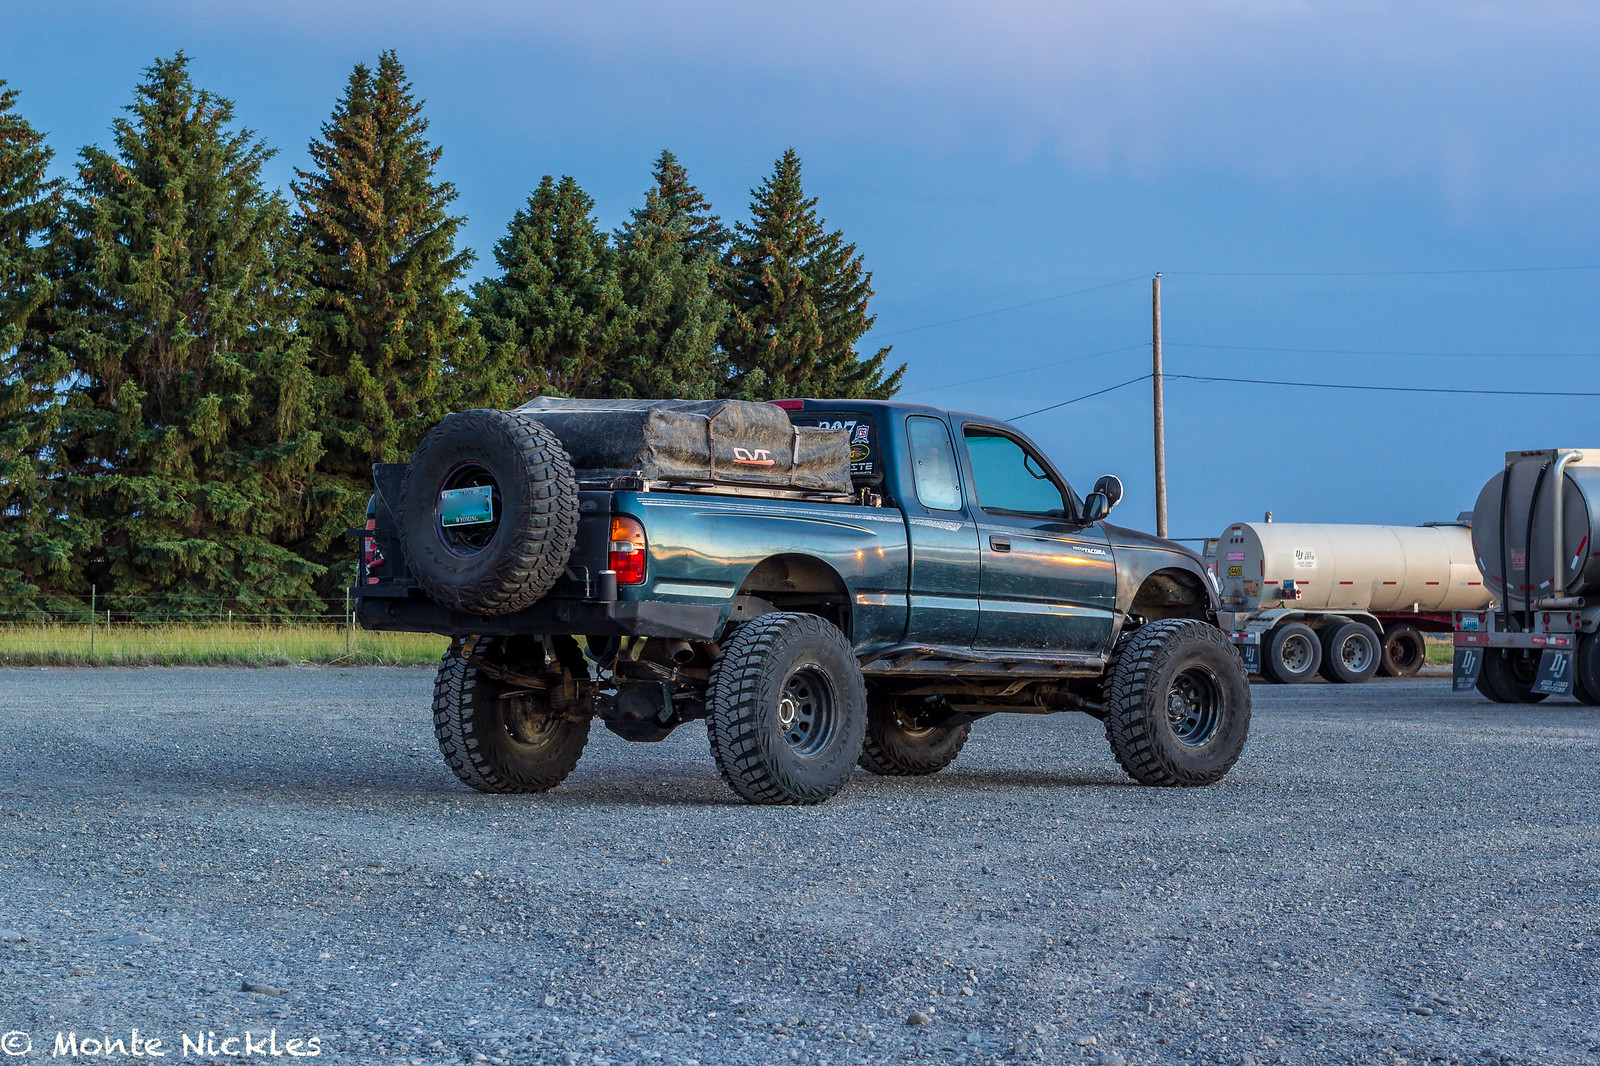 New Bed Rack-85.jpg
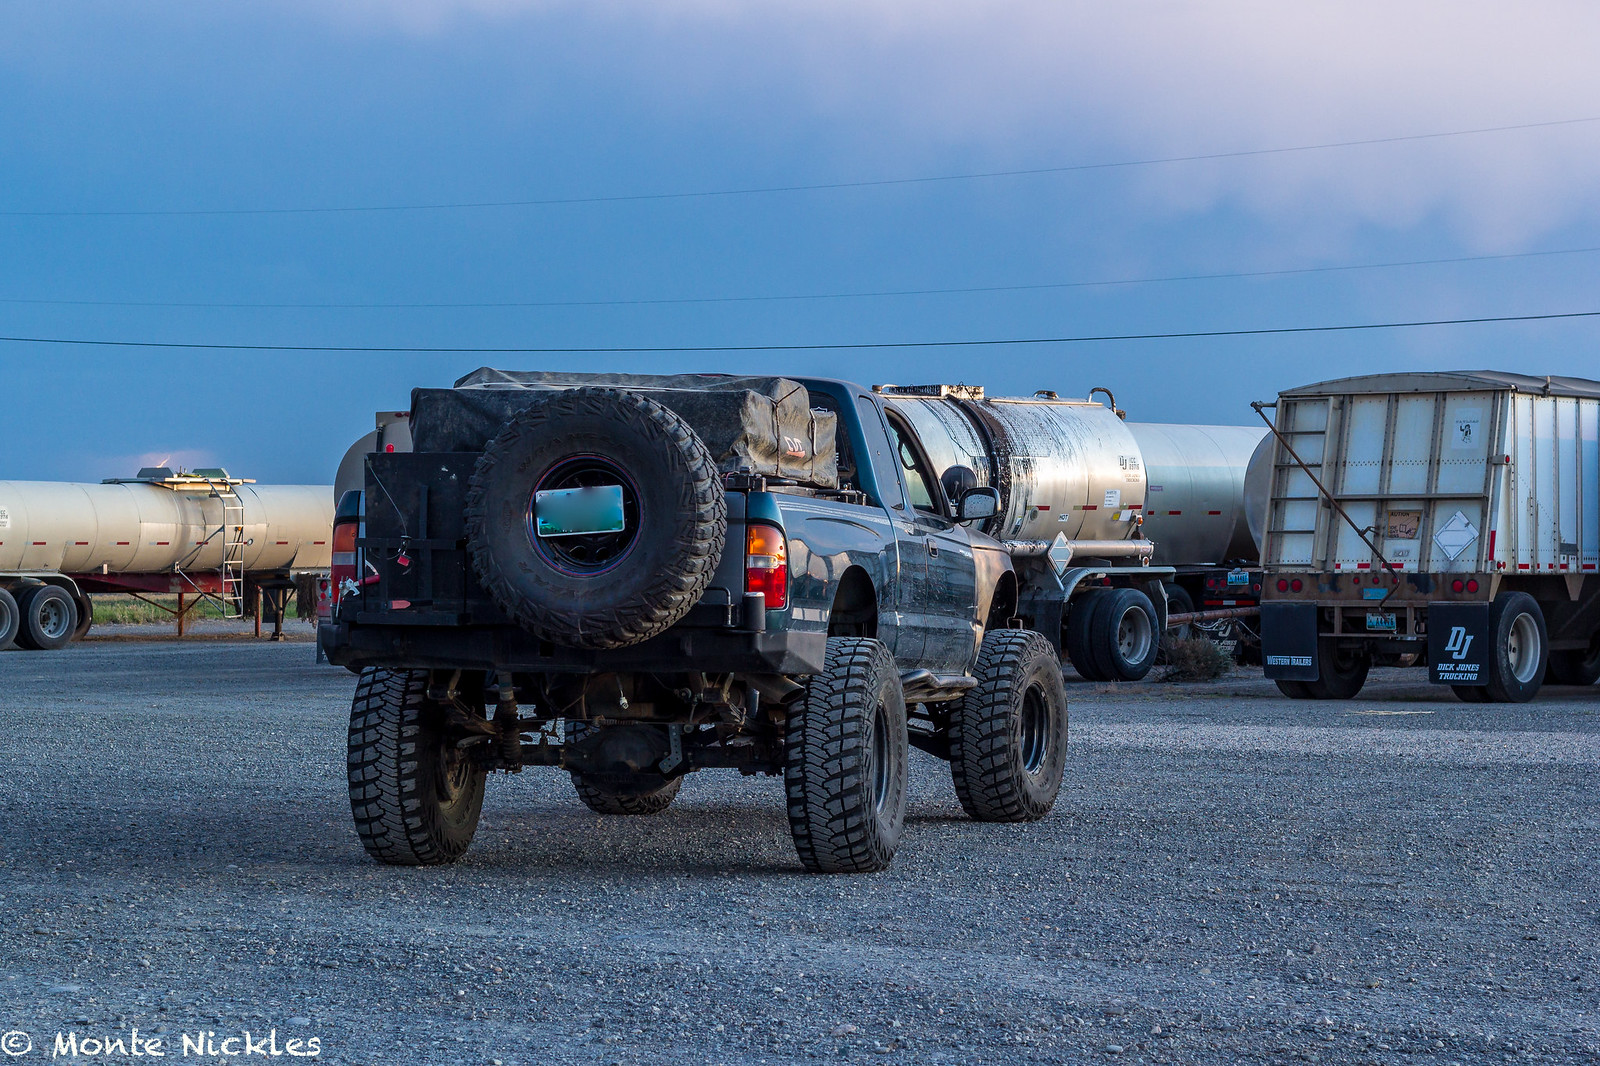 New Bed Rack-86.jpg
 New Bed Rack-77.jpg
 Swingout Redo.jpg
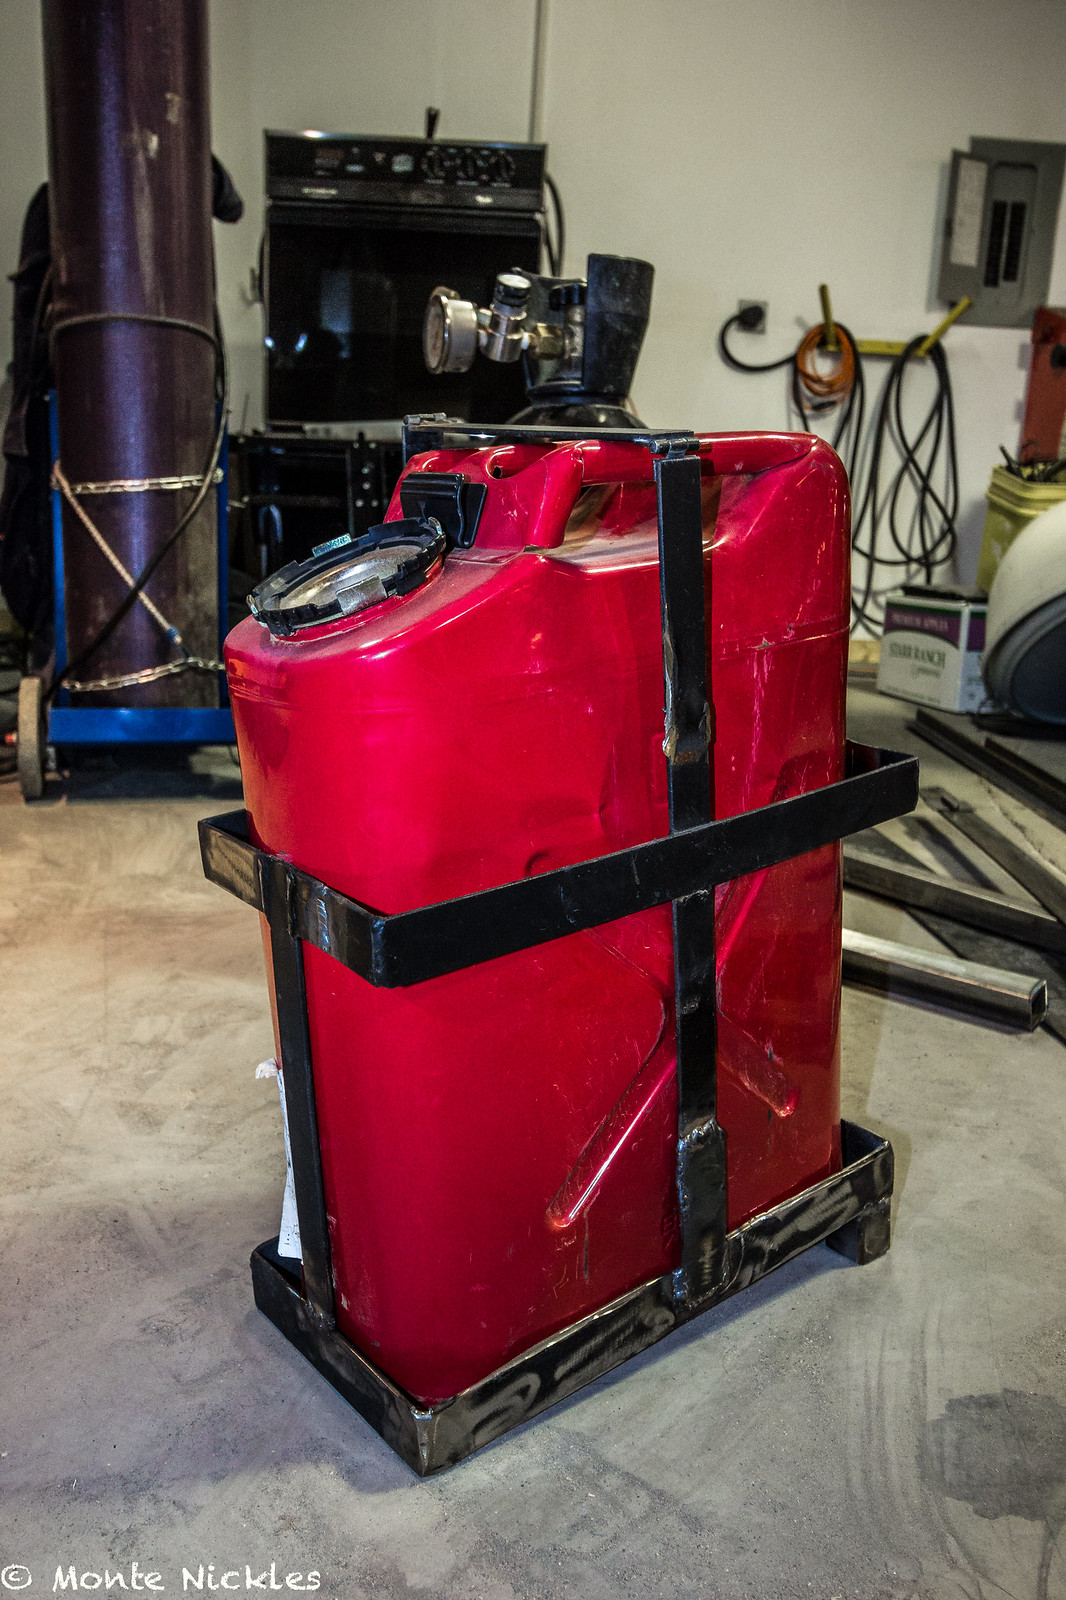 Swingout Redo-2.jpg
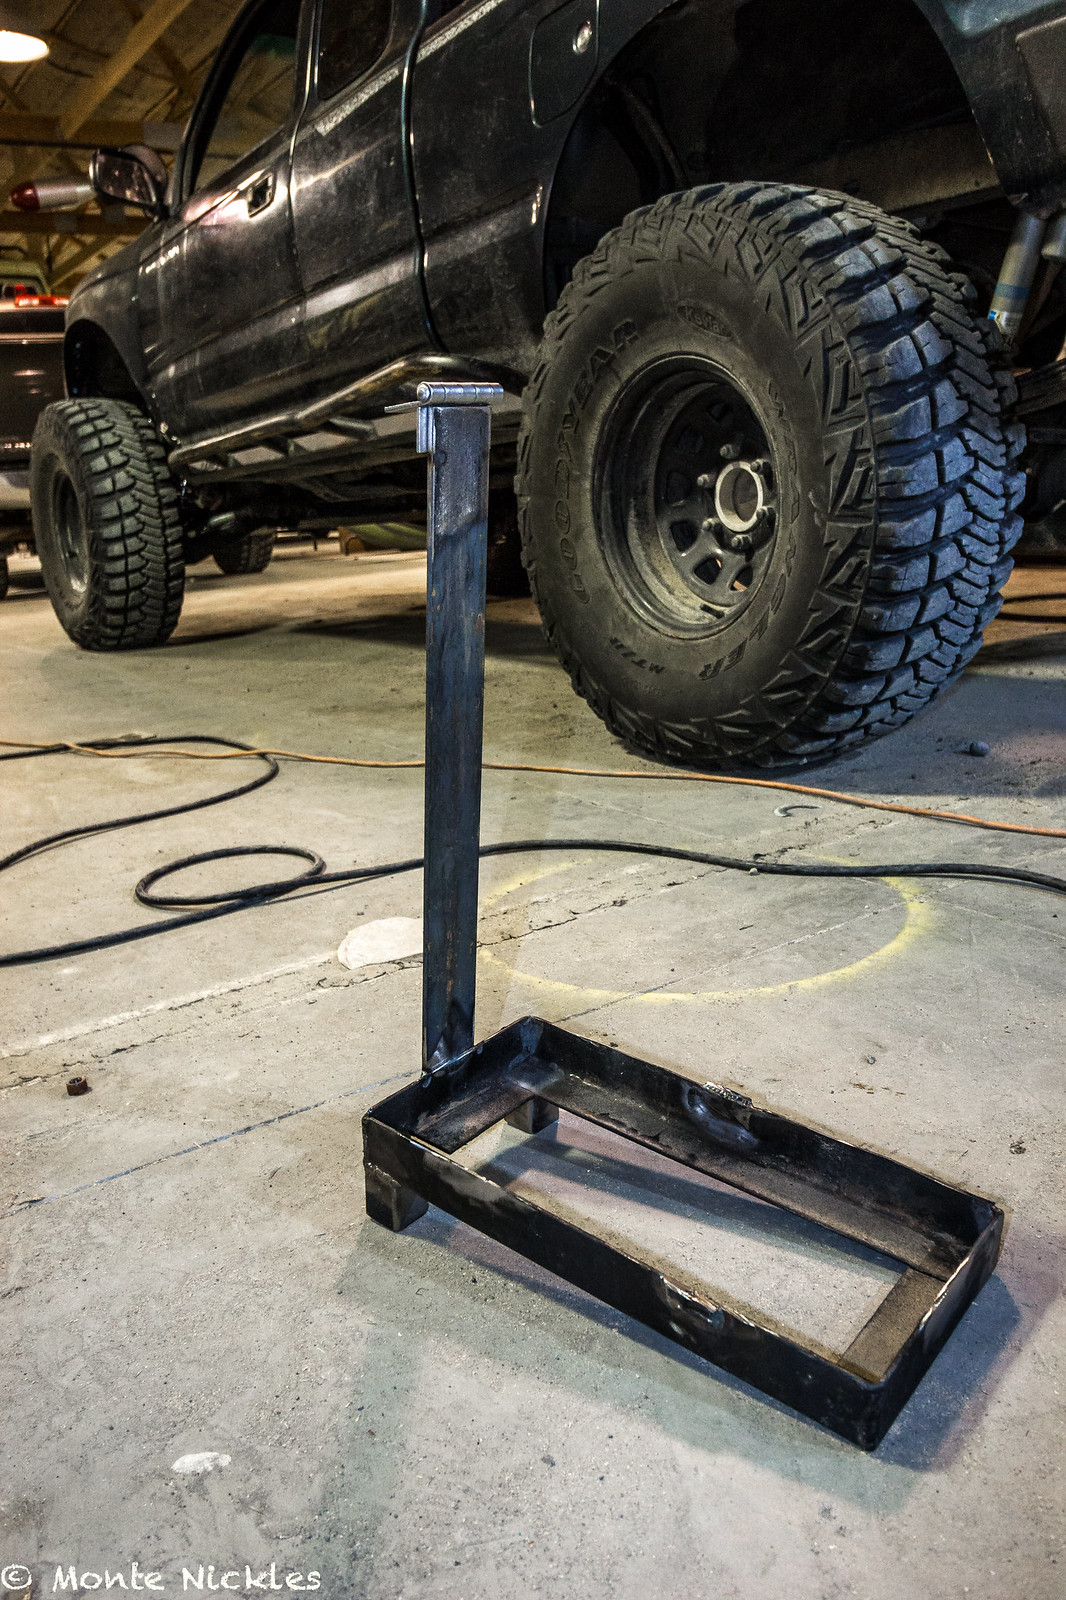 Swingout Redo-3.jpg
 Swingout Redo-4.jpg
 Swingout Redo-5.jpg
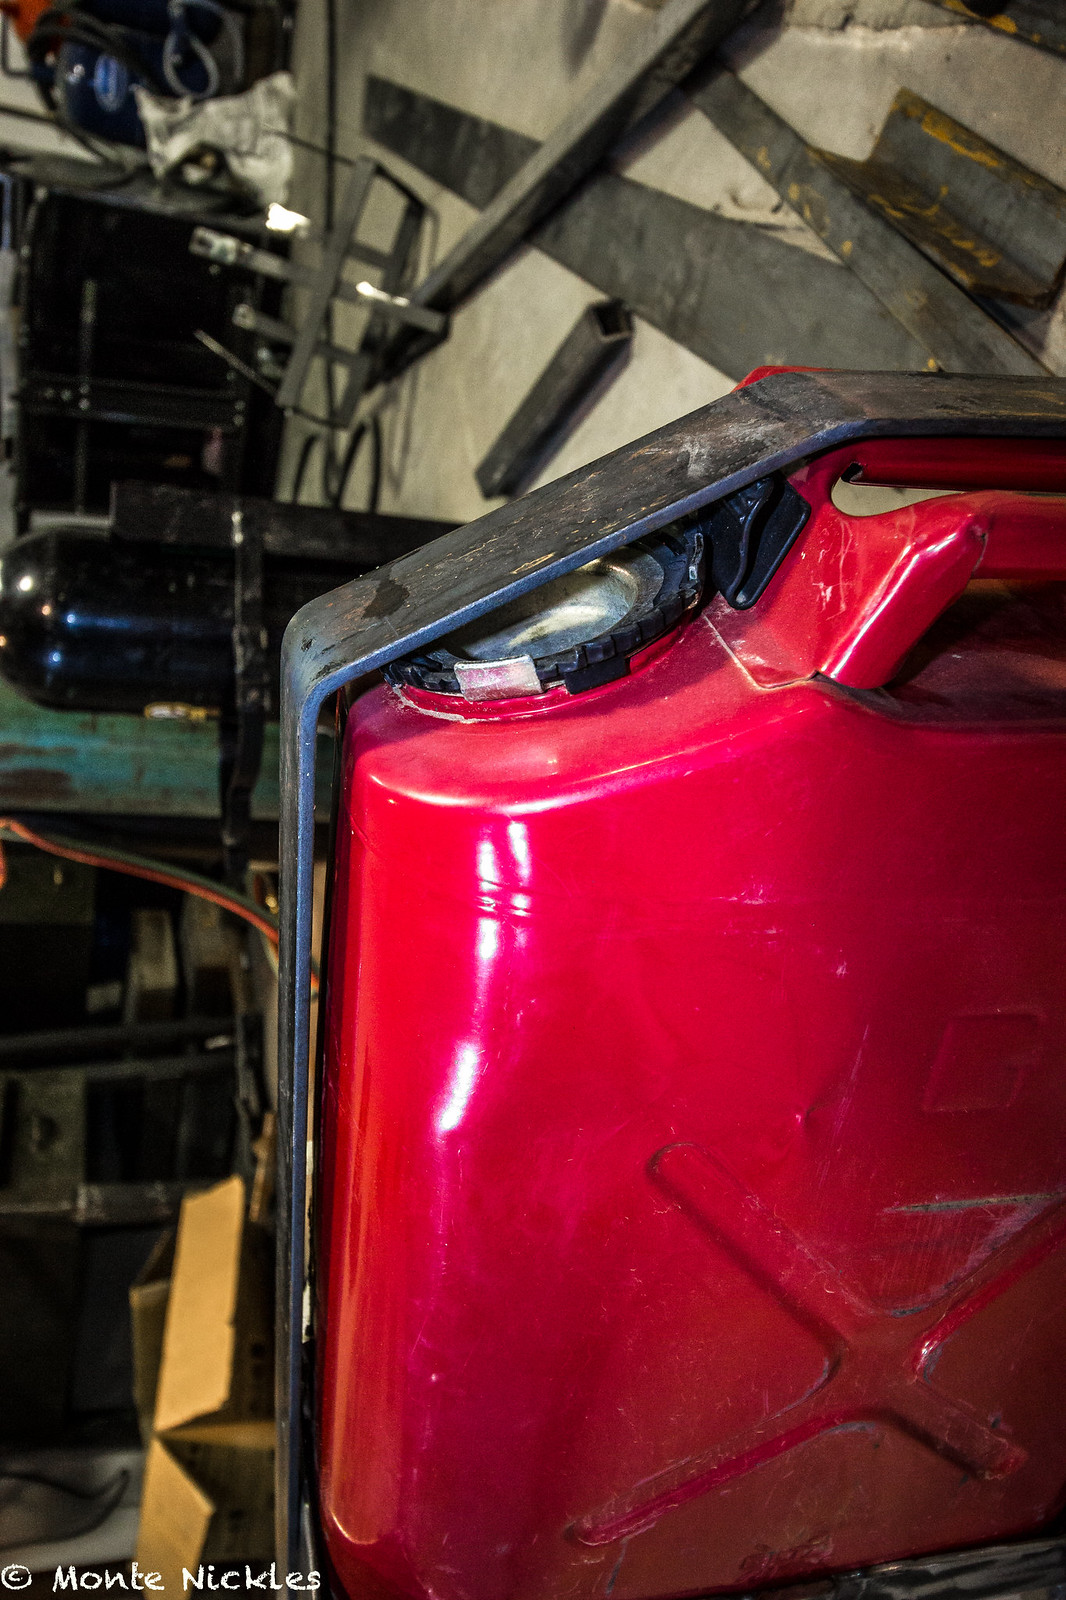 Swingout Redo-6.jpg
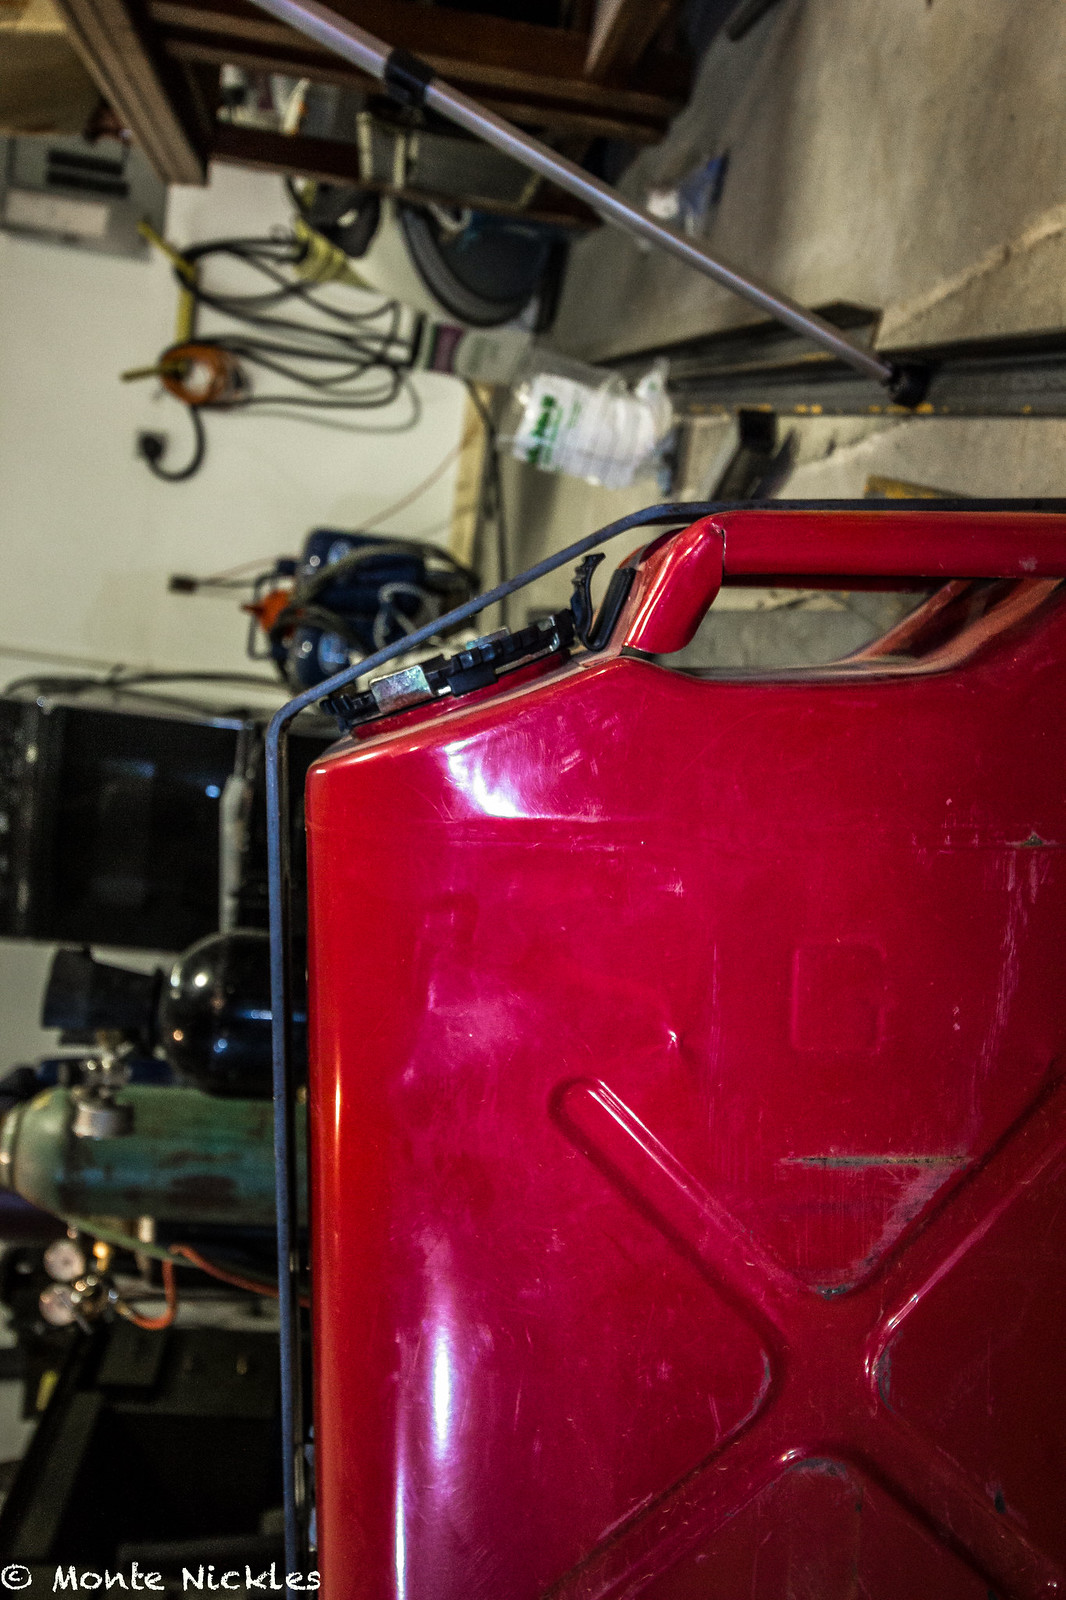 Swingout Redo-7.jpg
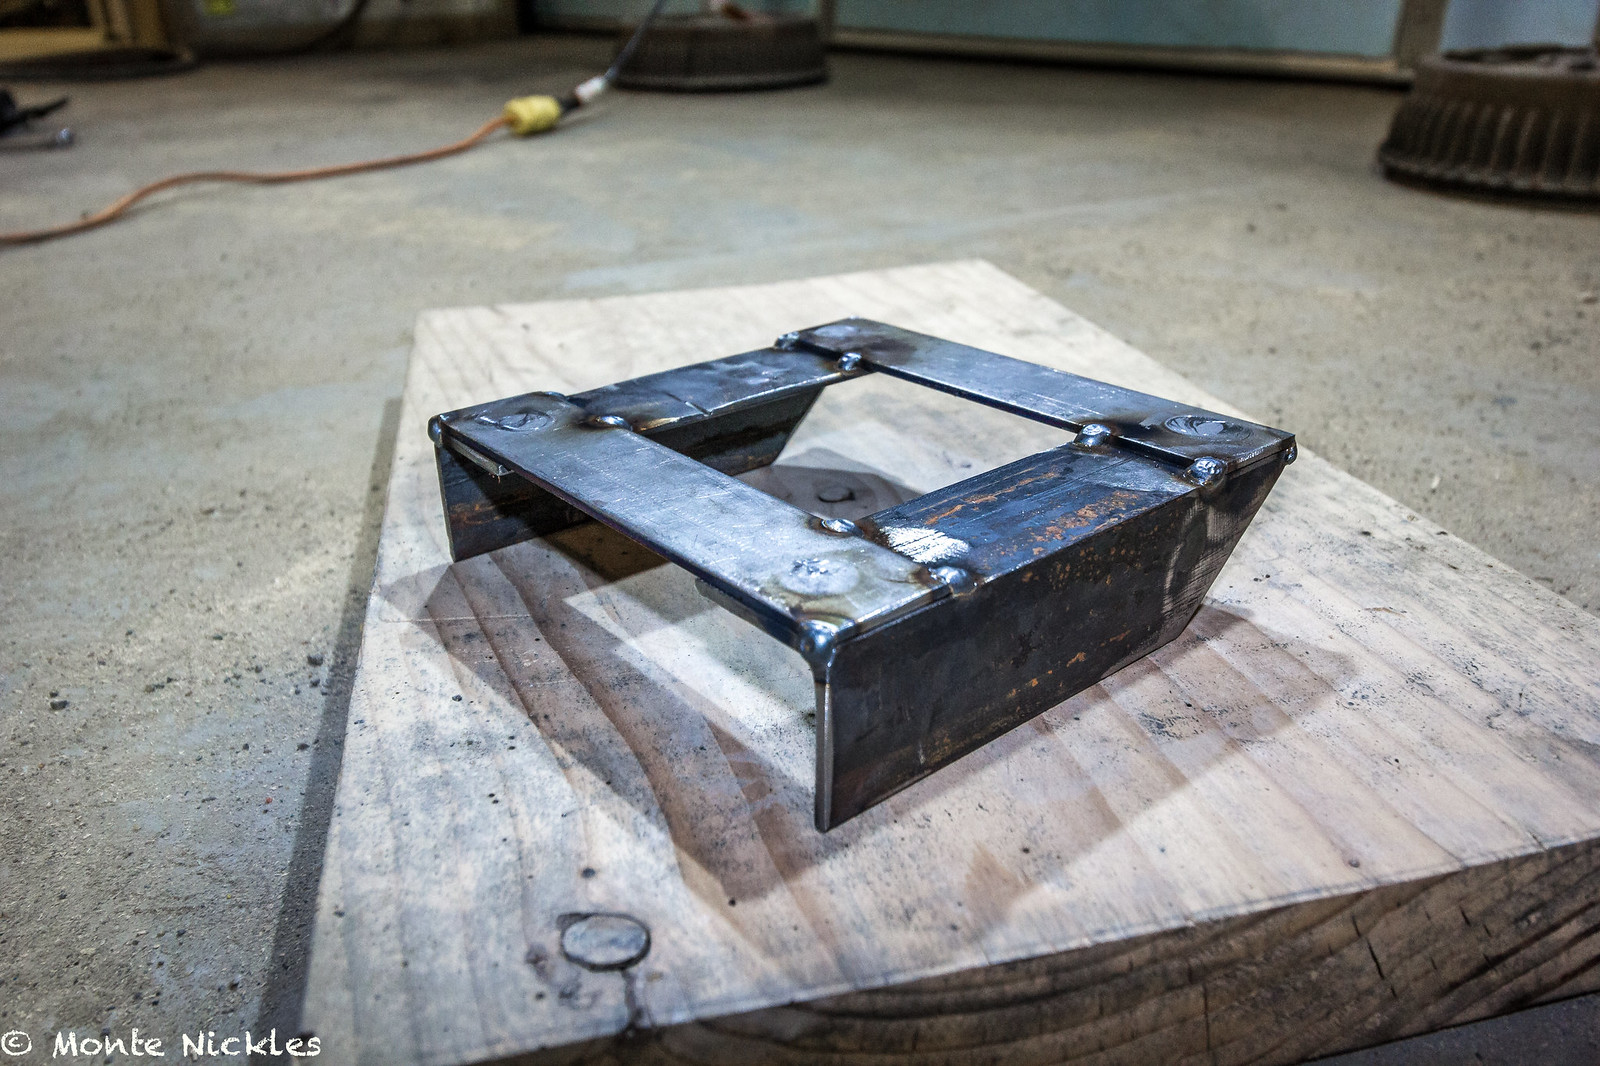 Swingout Redo-8.jpg
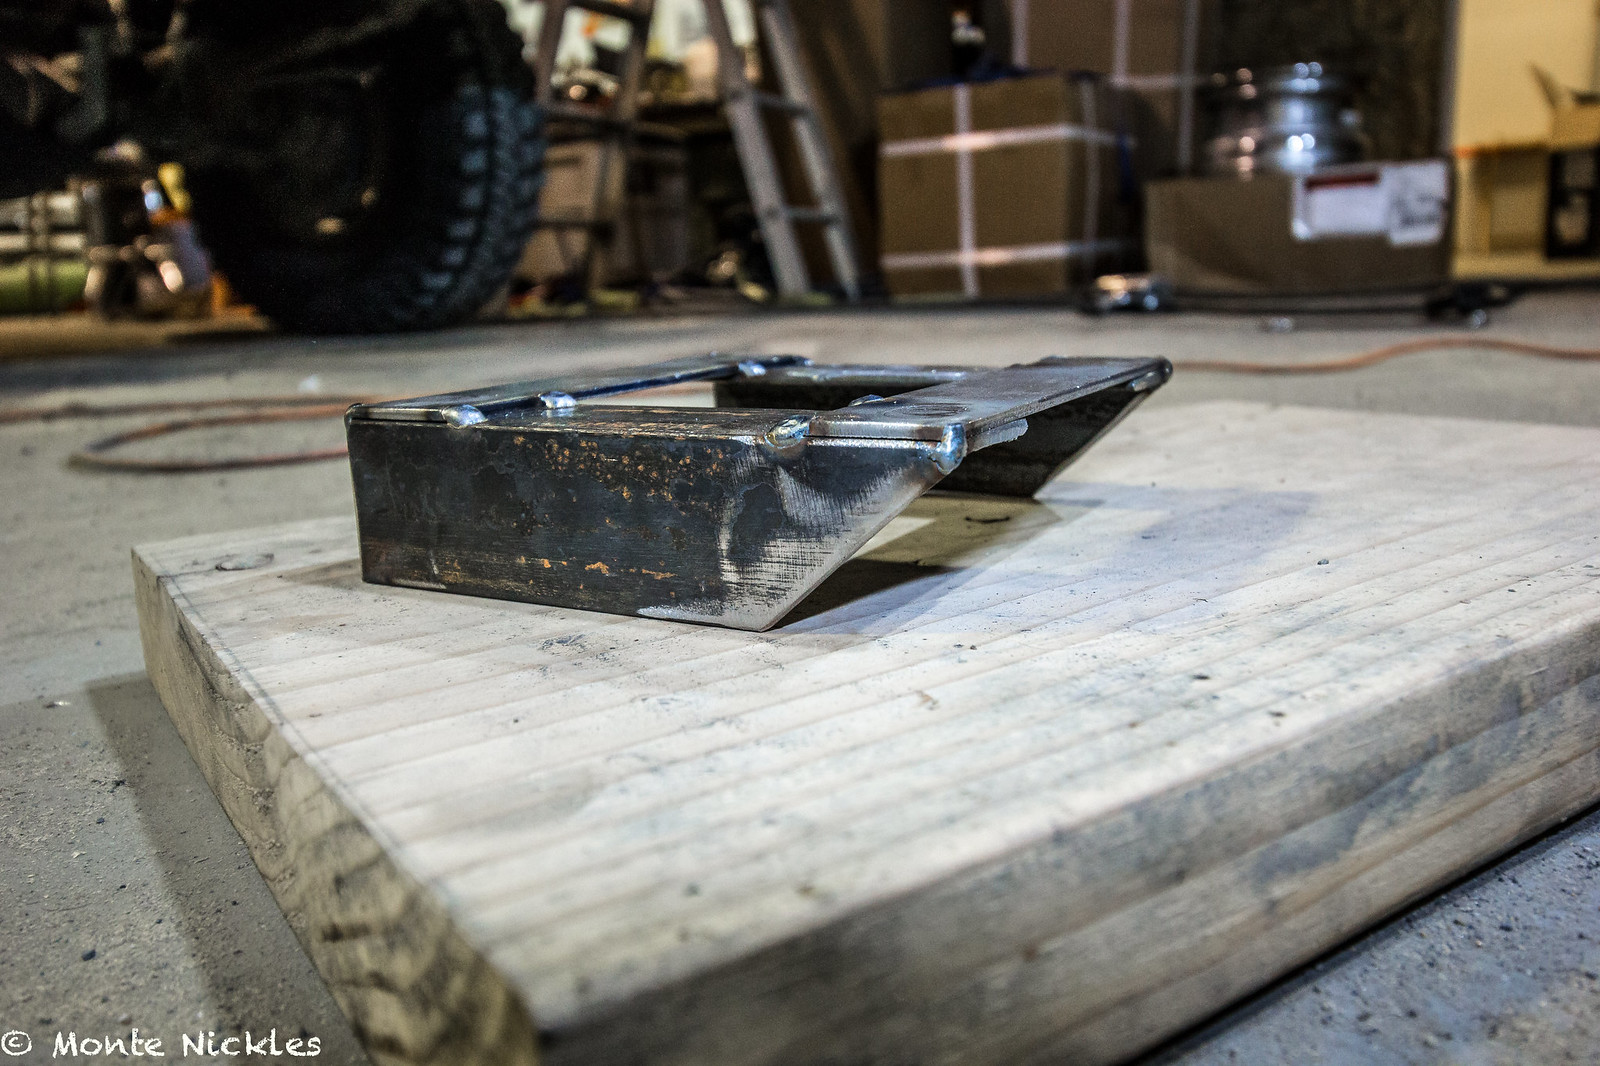 Swingout Redo-9.jpg
 Swingout Redo-10.jpg
 Swingout Redo-11.jpg
 Swingout Redo-12.jpg
 Swingout Redo-13.jpg
 Swingout Redo-14.jpg
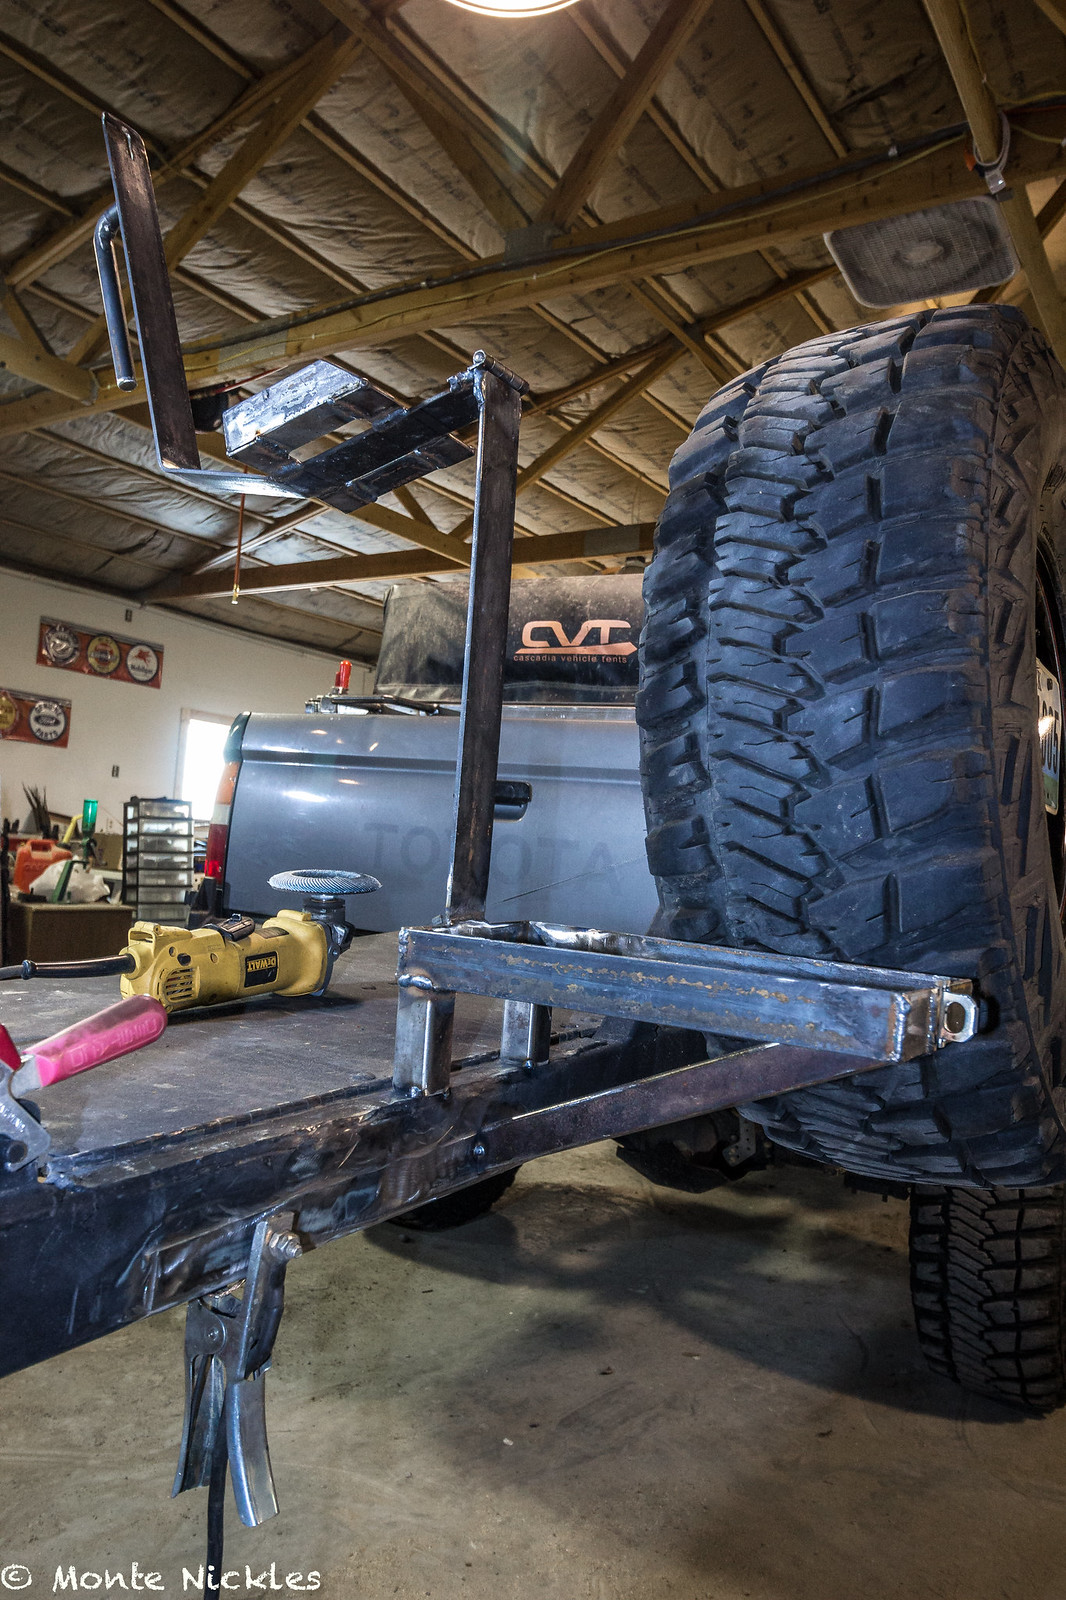 Swingout Redo-15.jpg
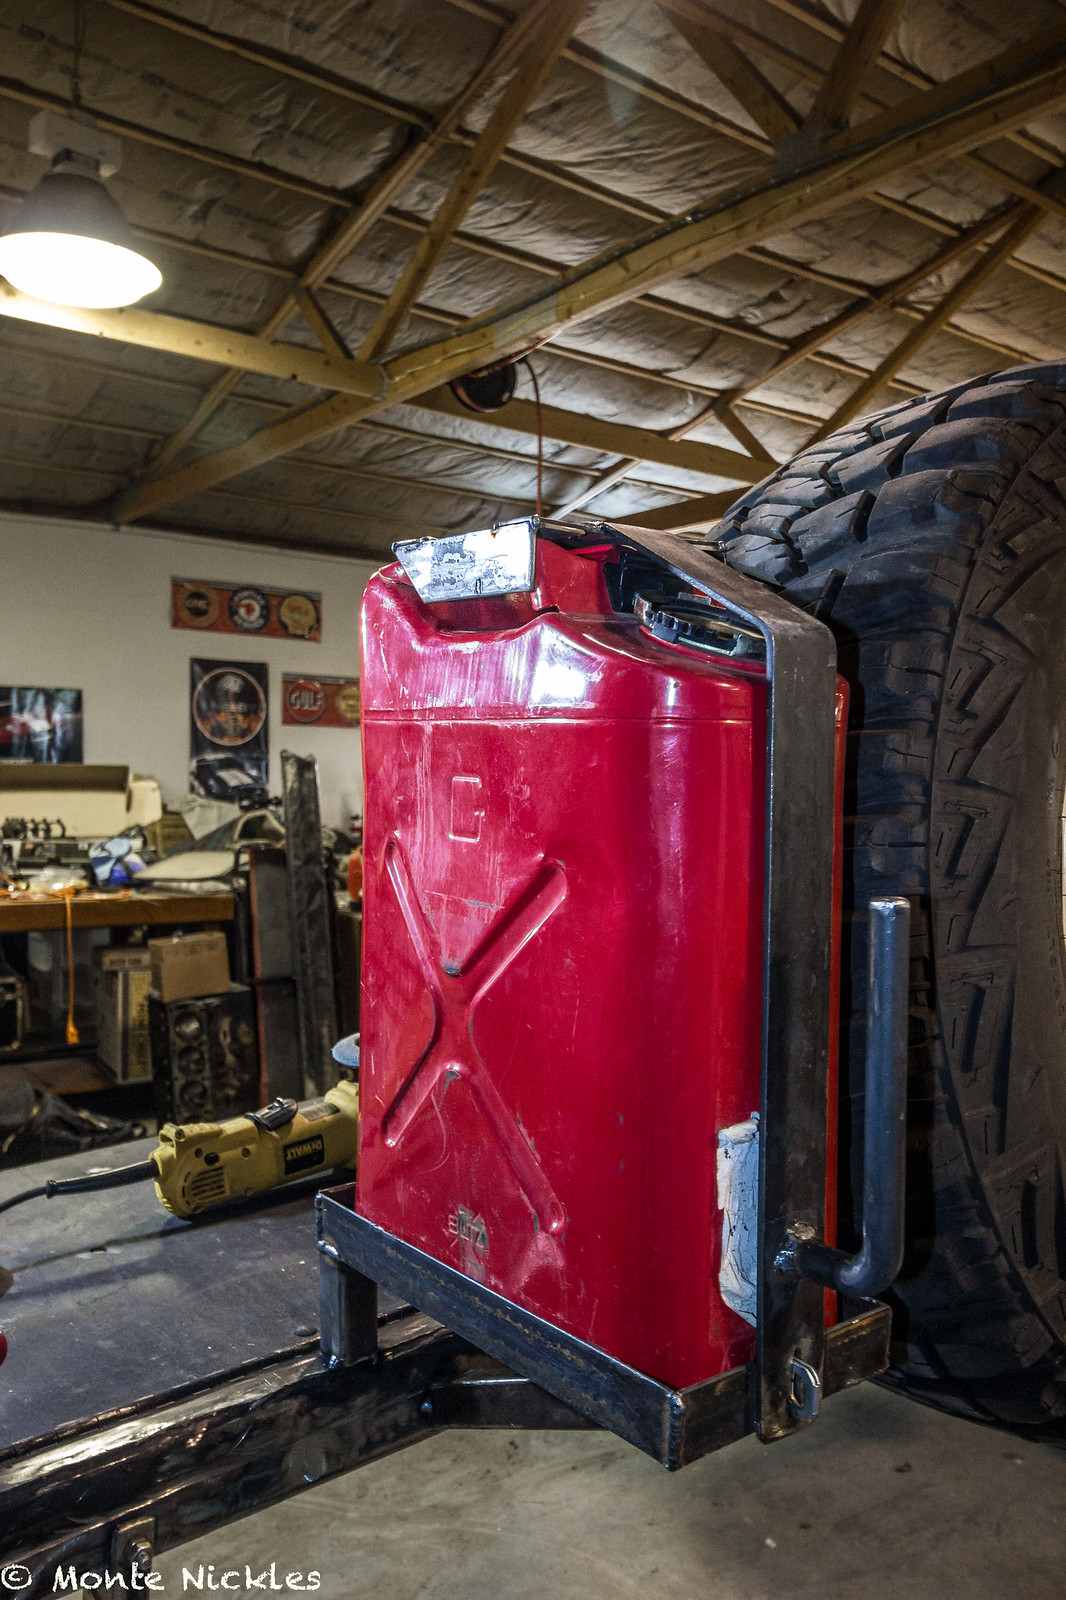 Swingout Redo-16.jpg
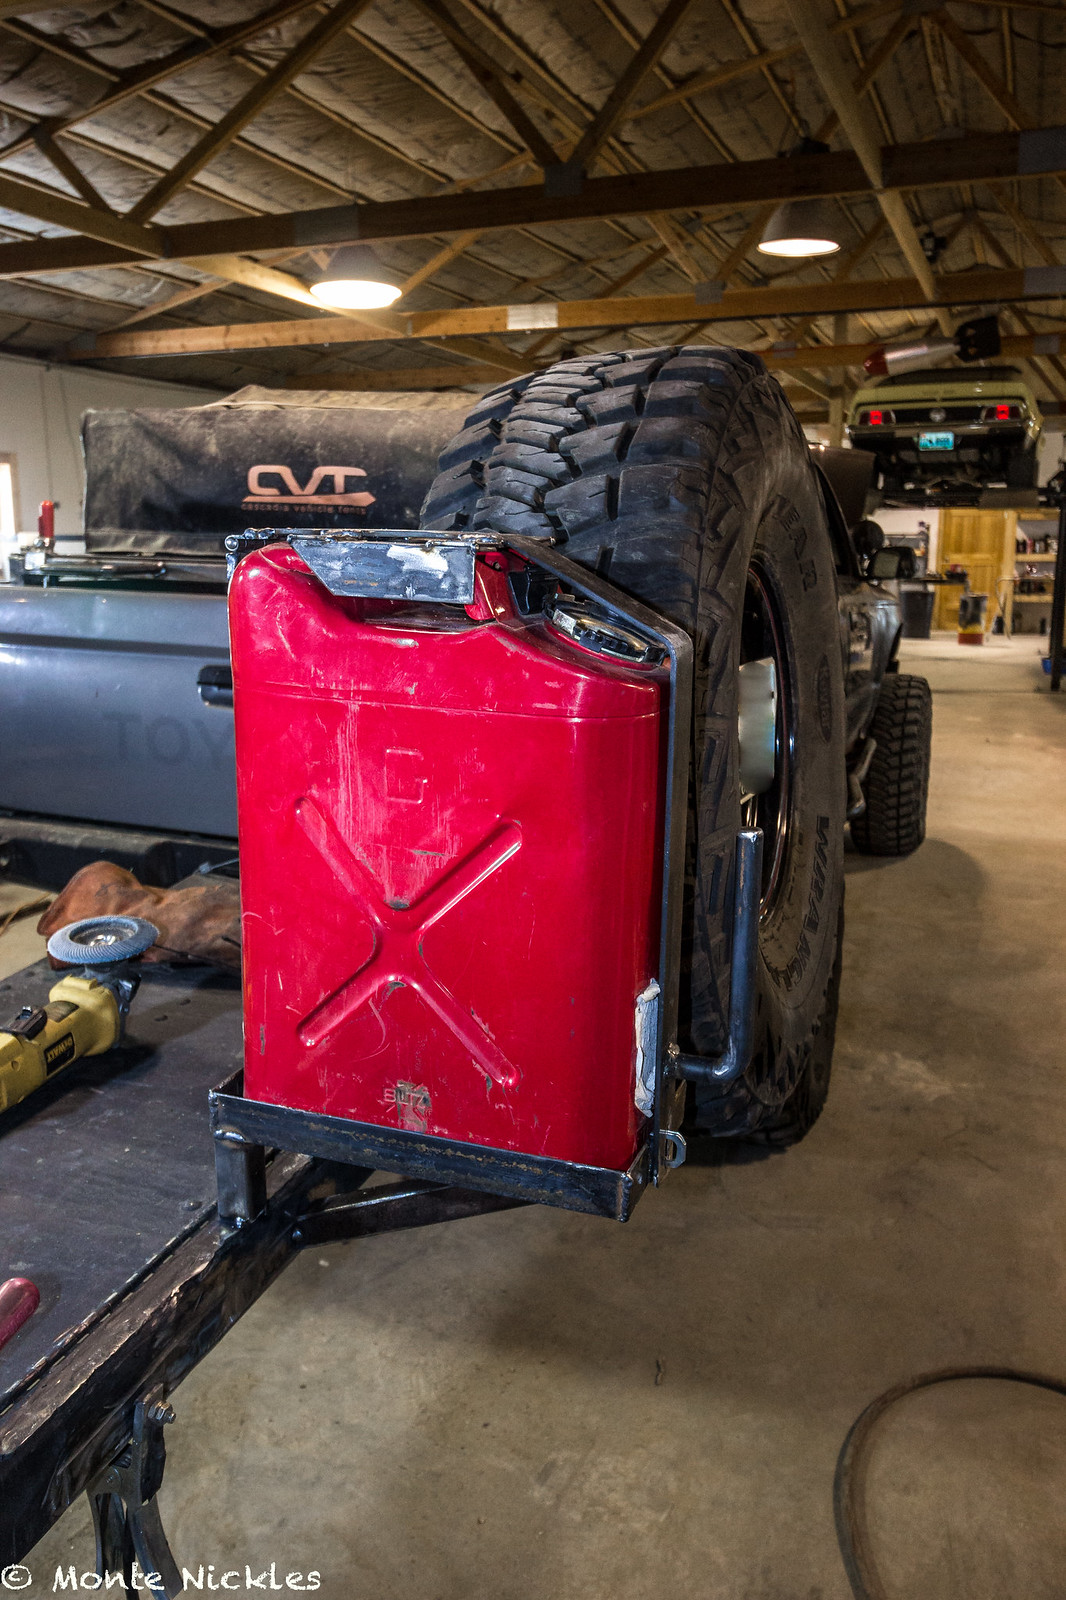 Swingout Redo-17.jpg
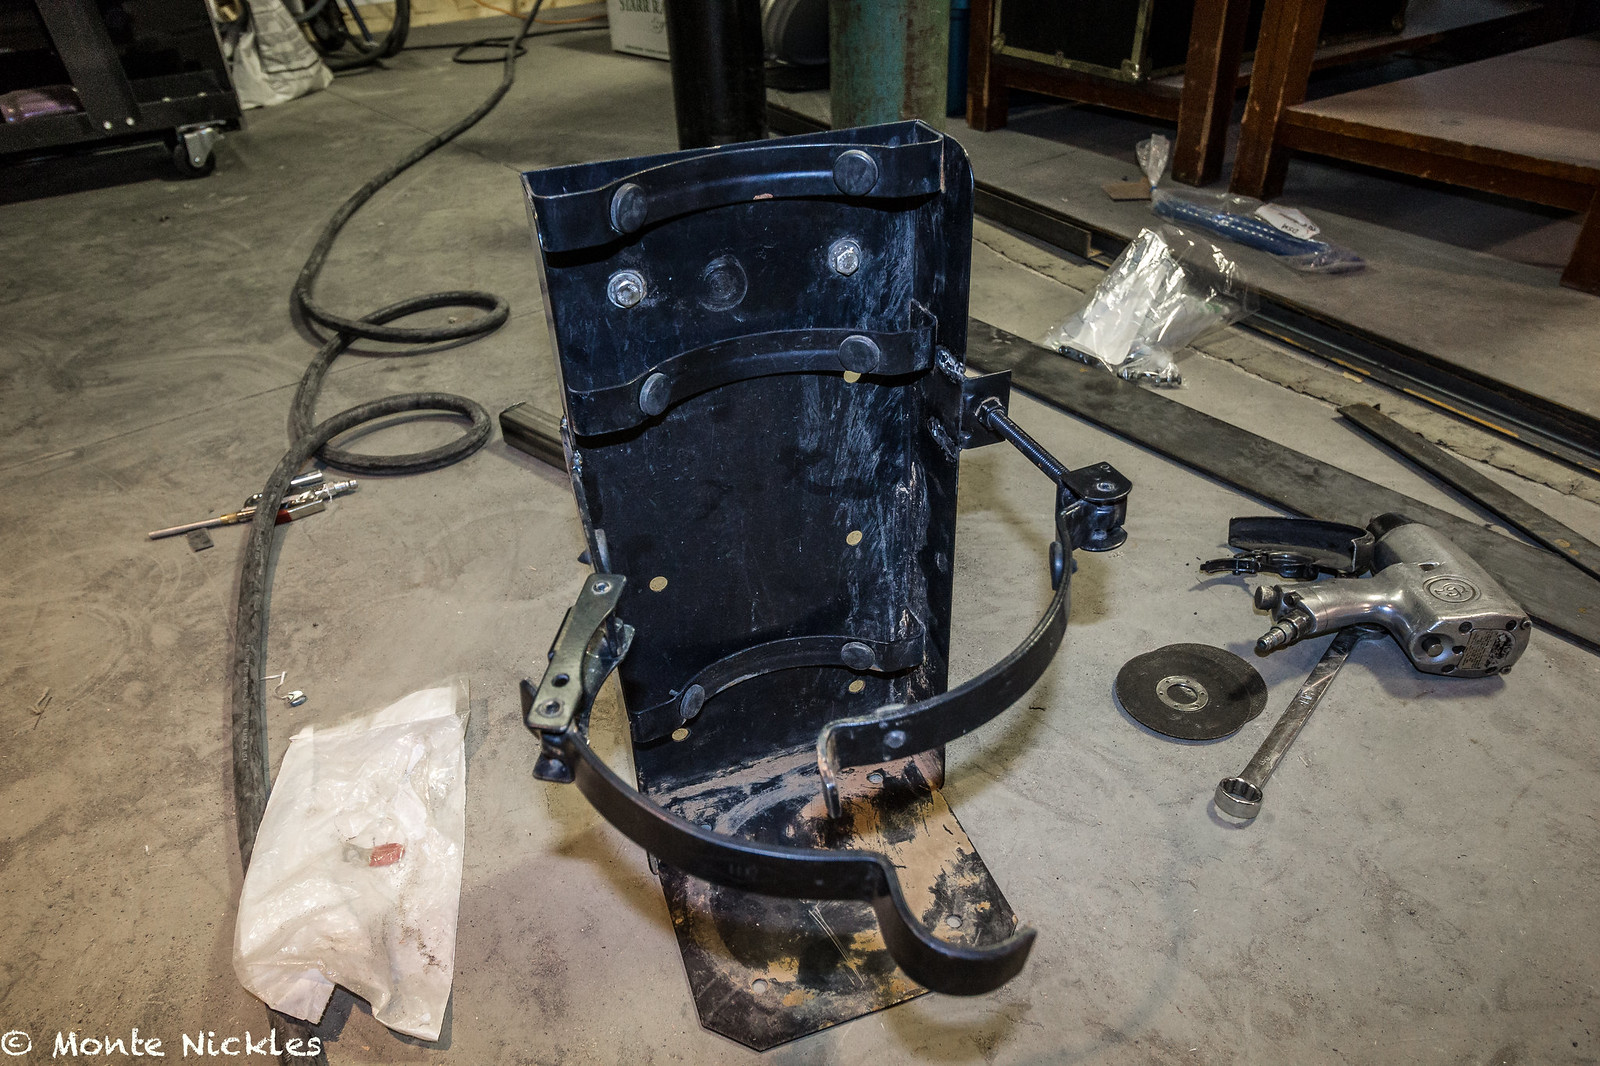 Swingout Redo-18.jpg
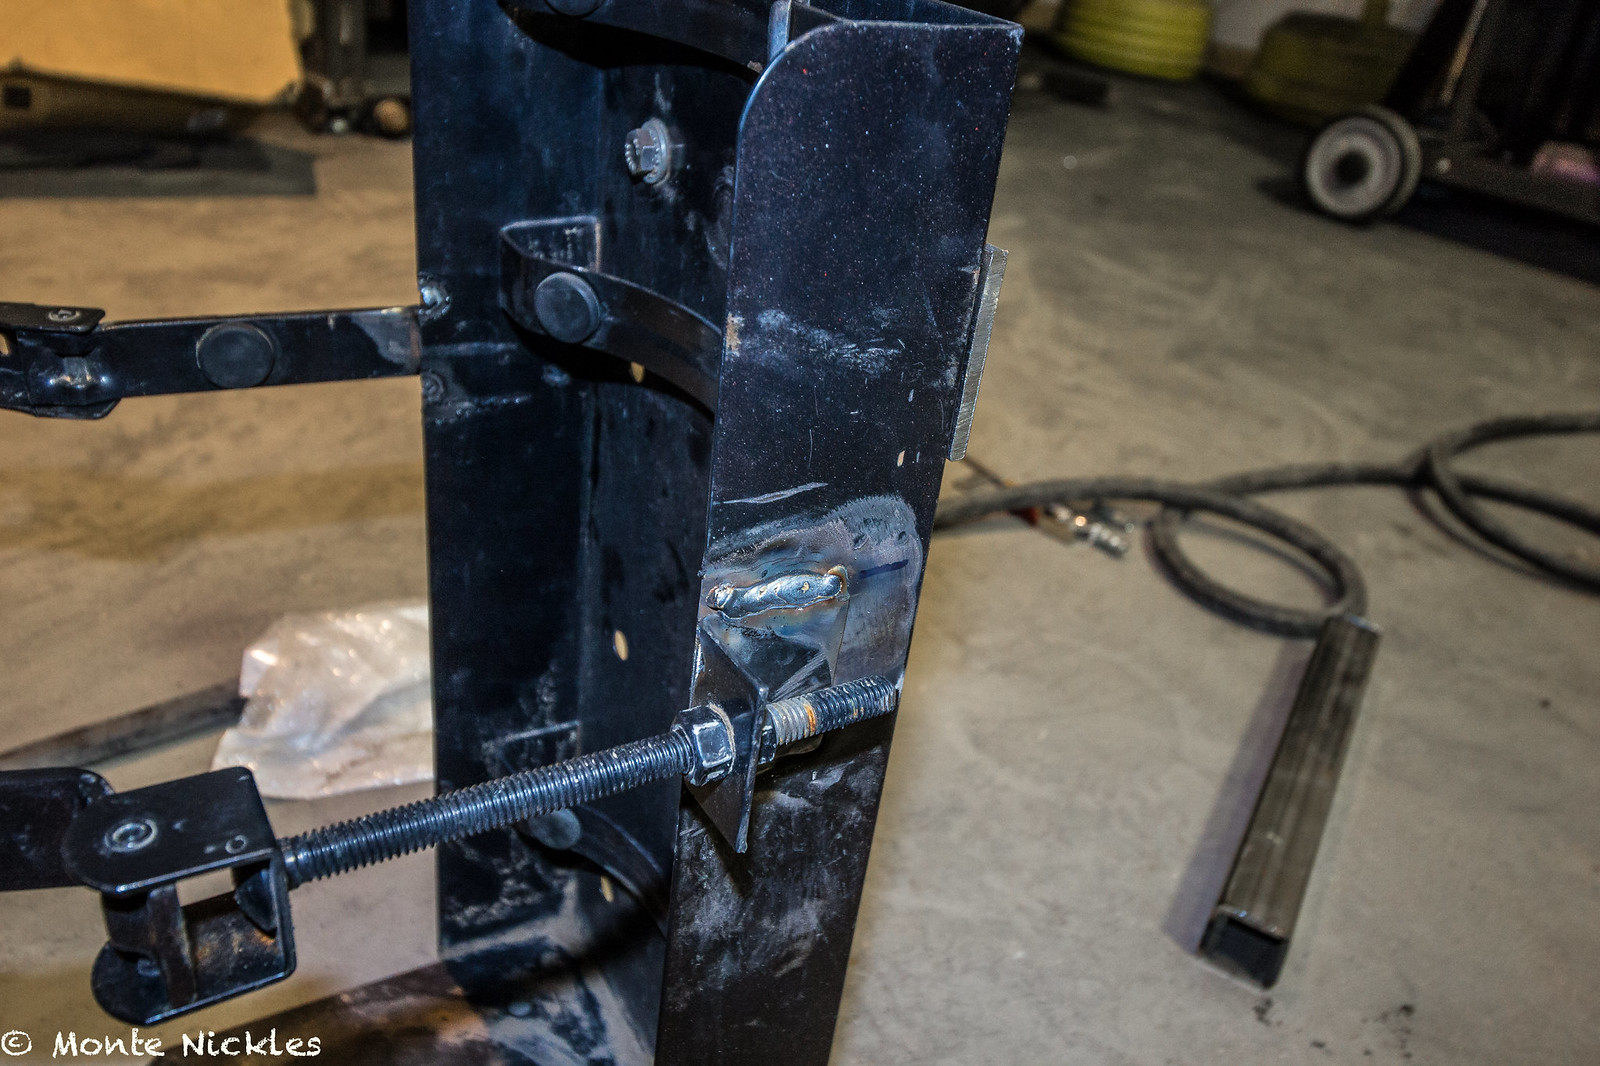 Swingout Redo-19.jpg
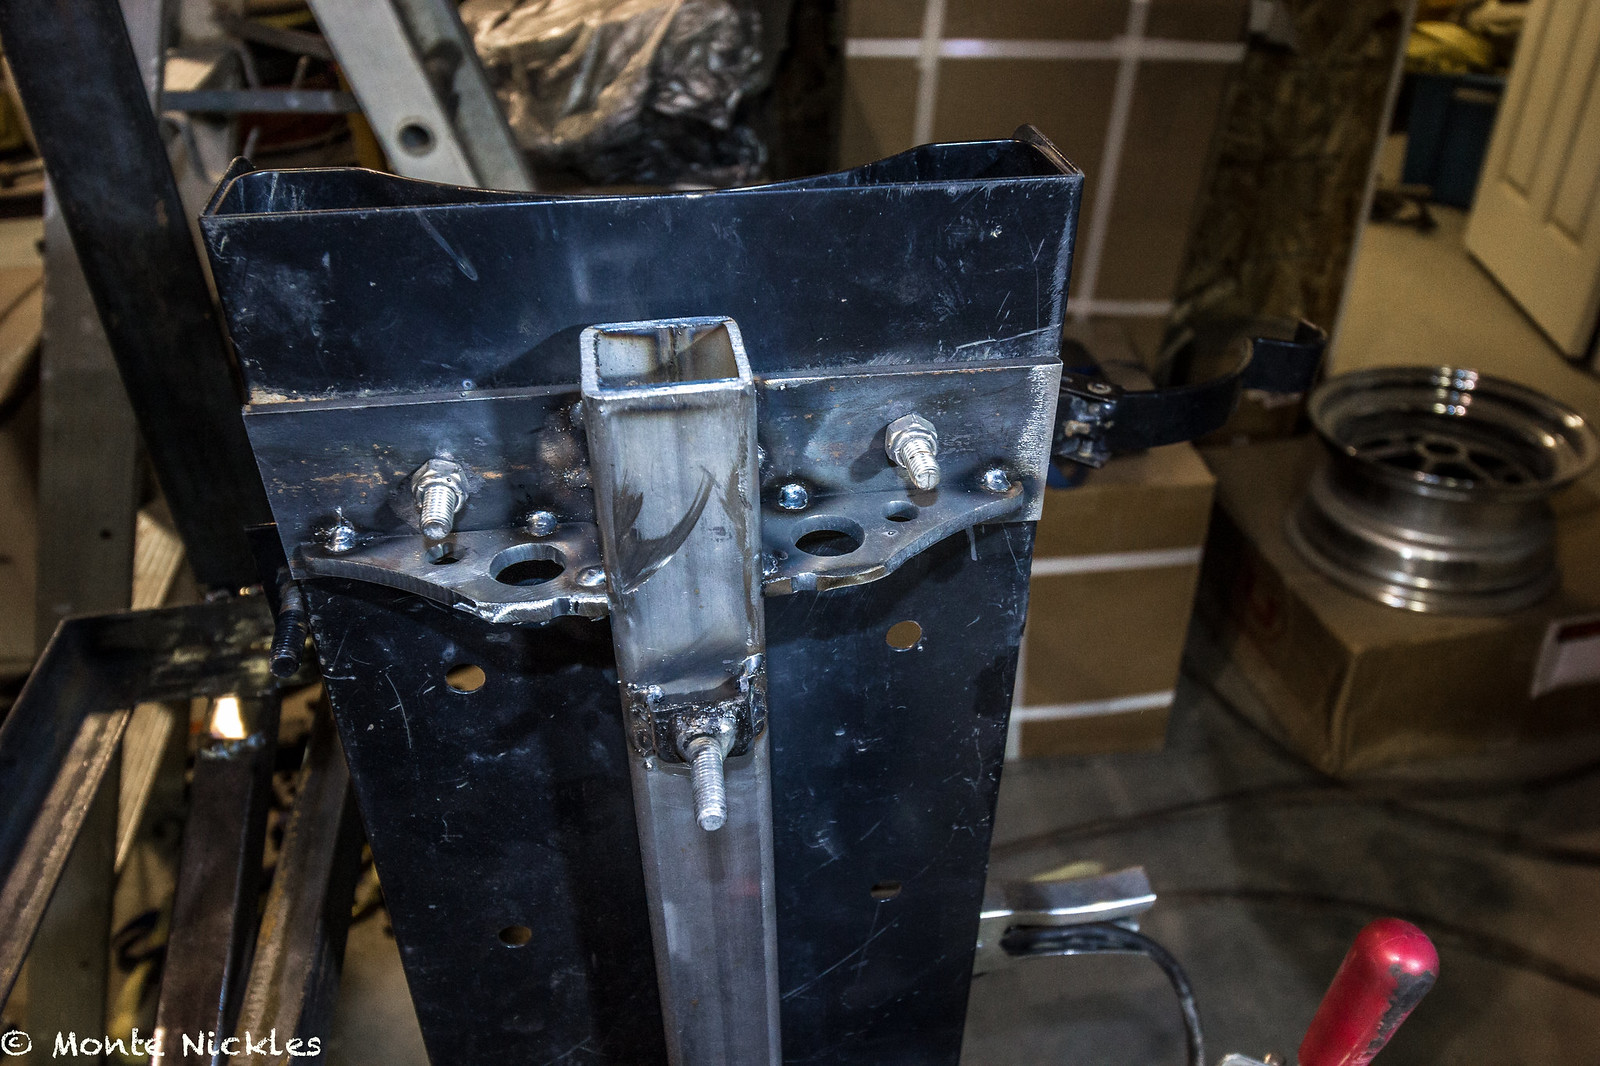 Swingout Redo-20.jpg
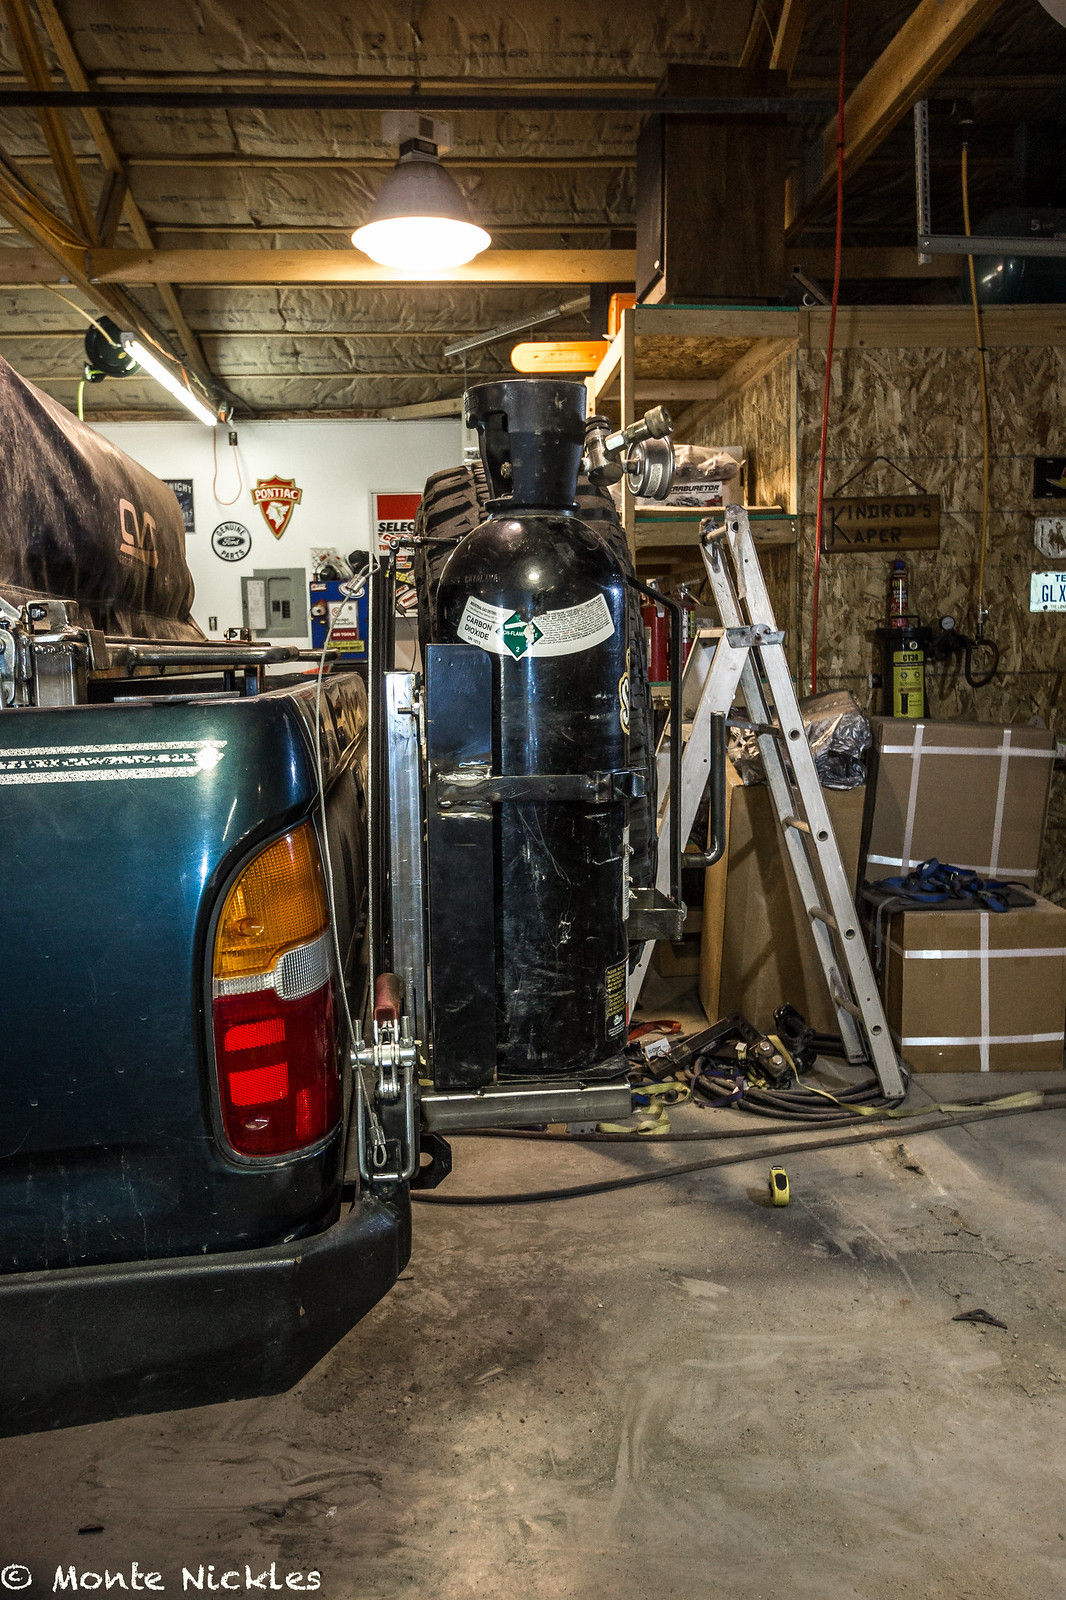 Swingout Redo-21.jpg
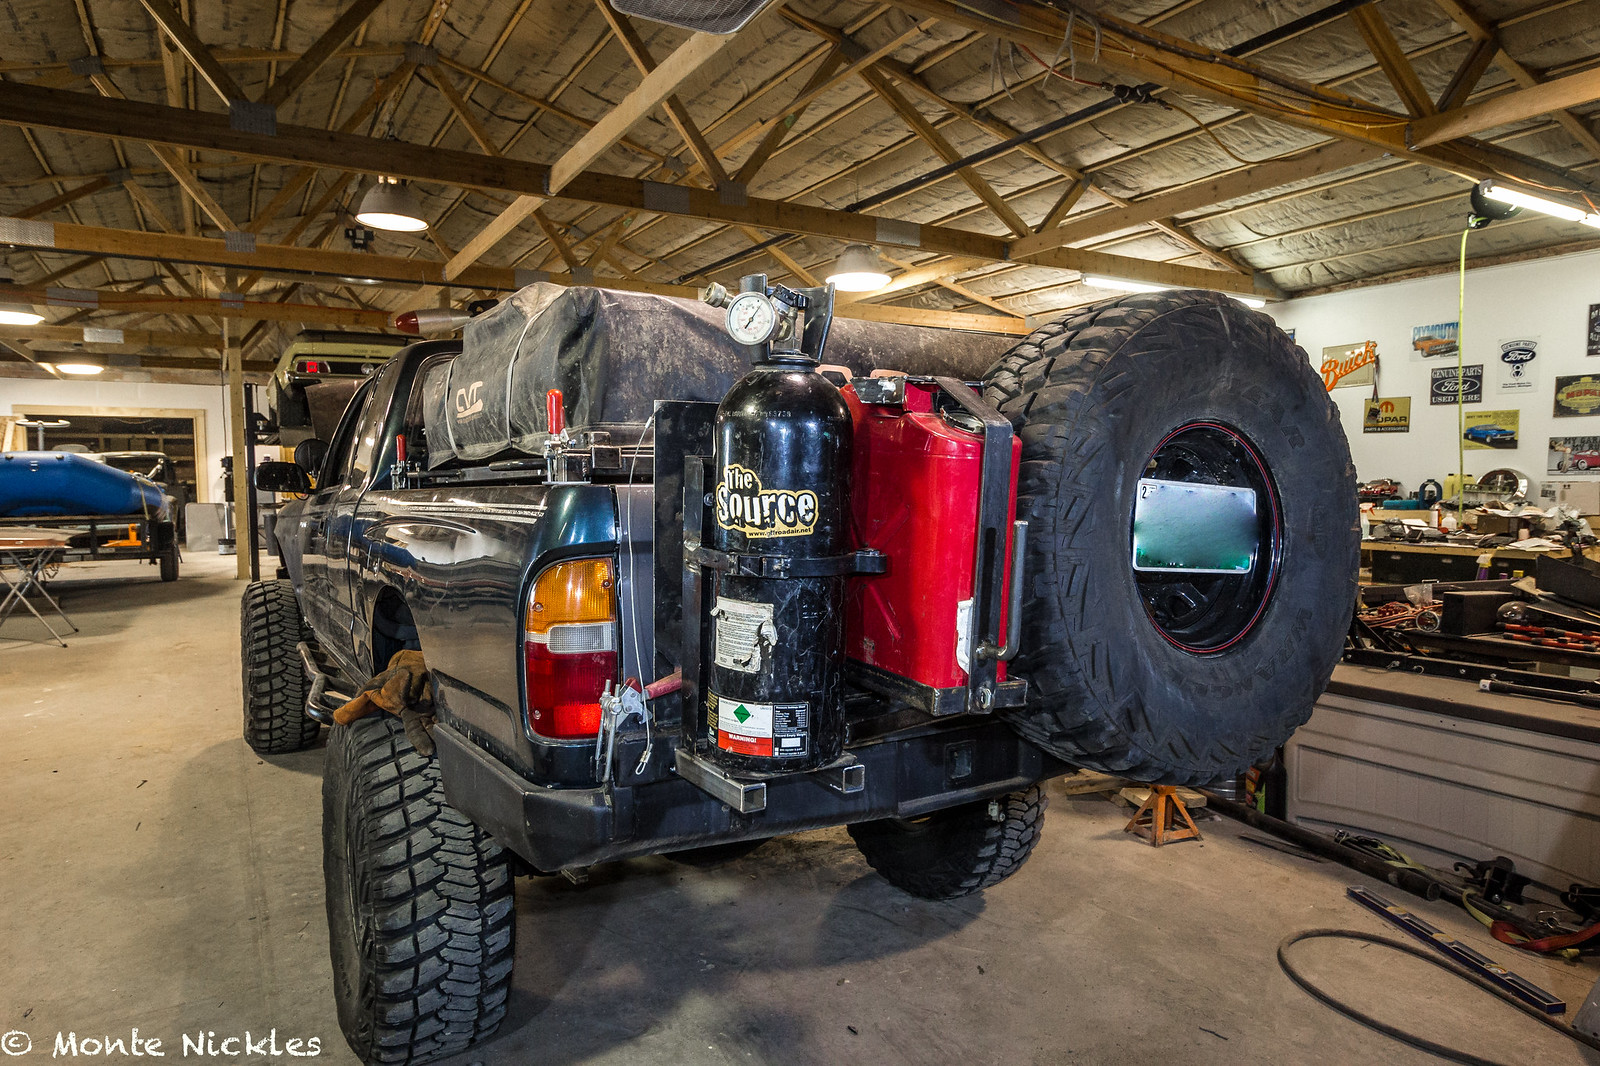 Swingout Redo-22.jpg
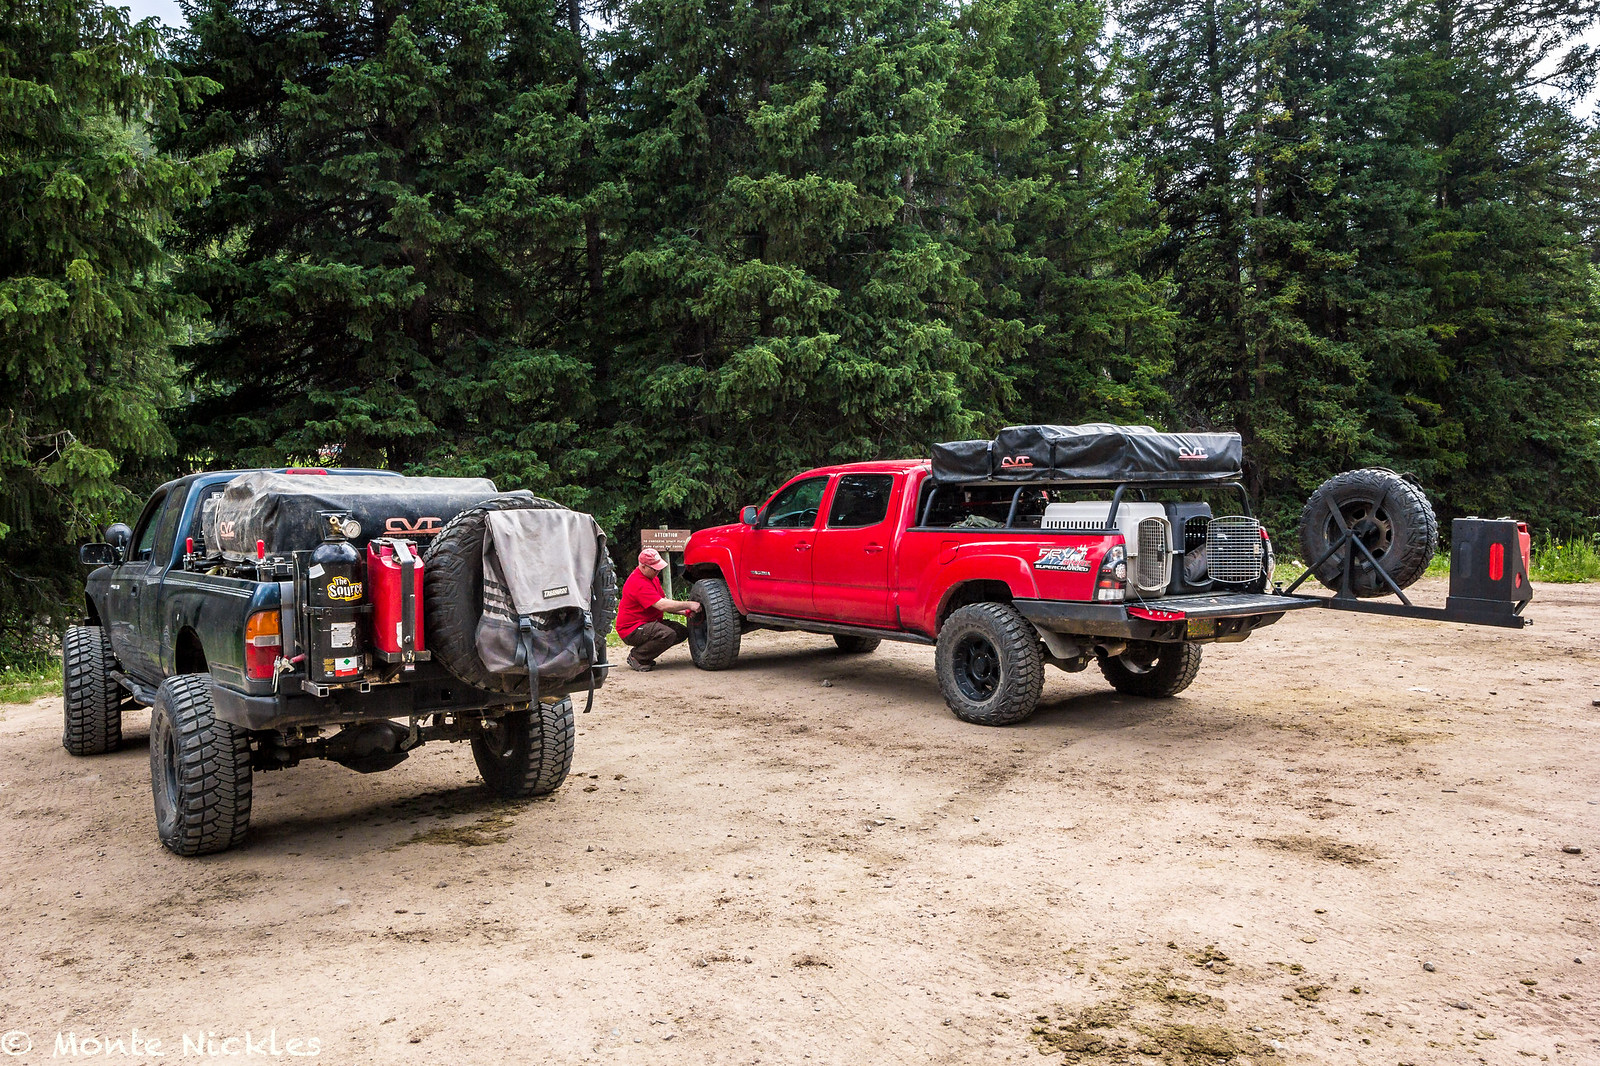 Family 4th Camping.jpg
 Family 4th Camping-2.jpg
 Family 4th Camping-3.jpg
 Family 4th Camping-4.jpg
 Family 4th Camping-5.jpg
 Family 4th Camping-6.jpg
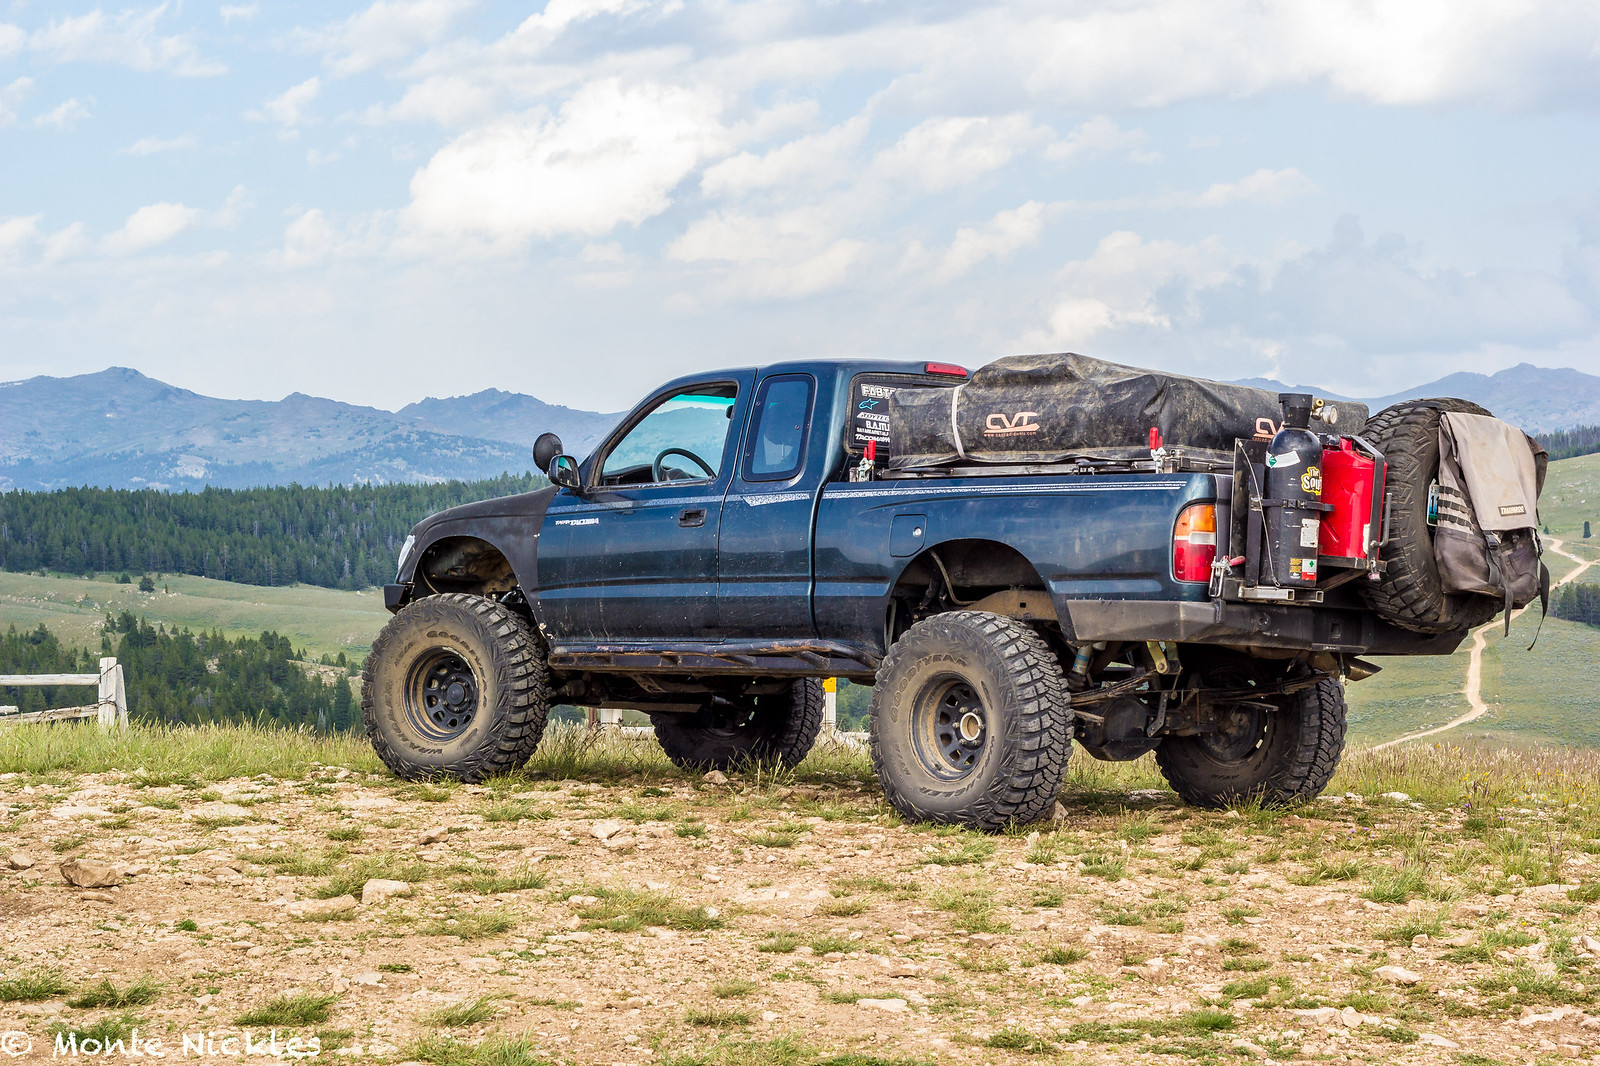 Family 4th Camping-7.jpg
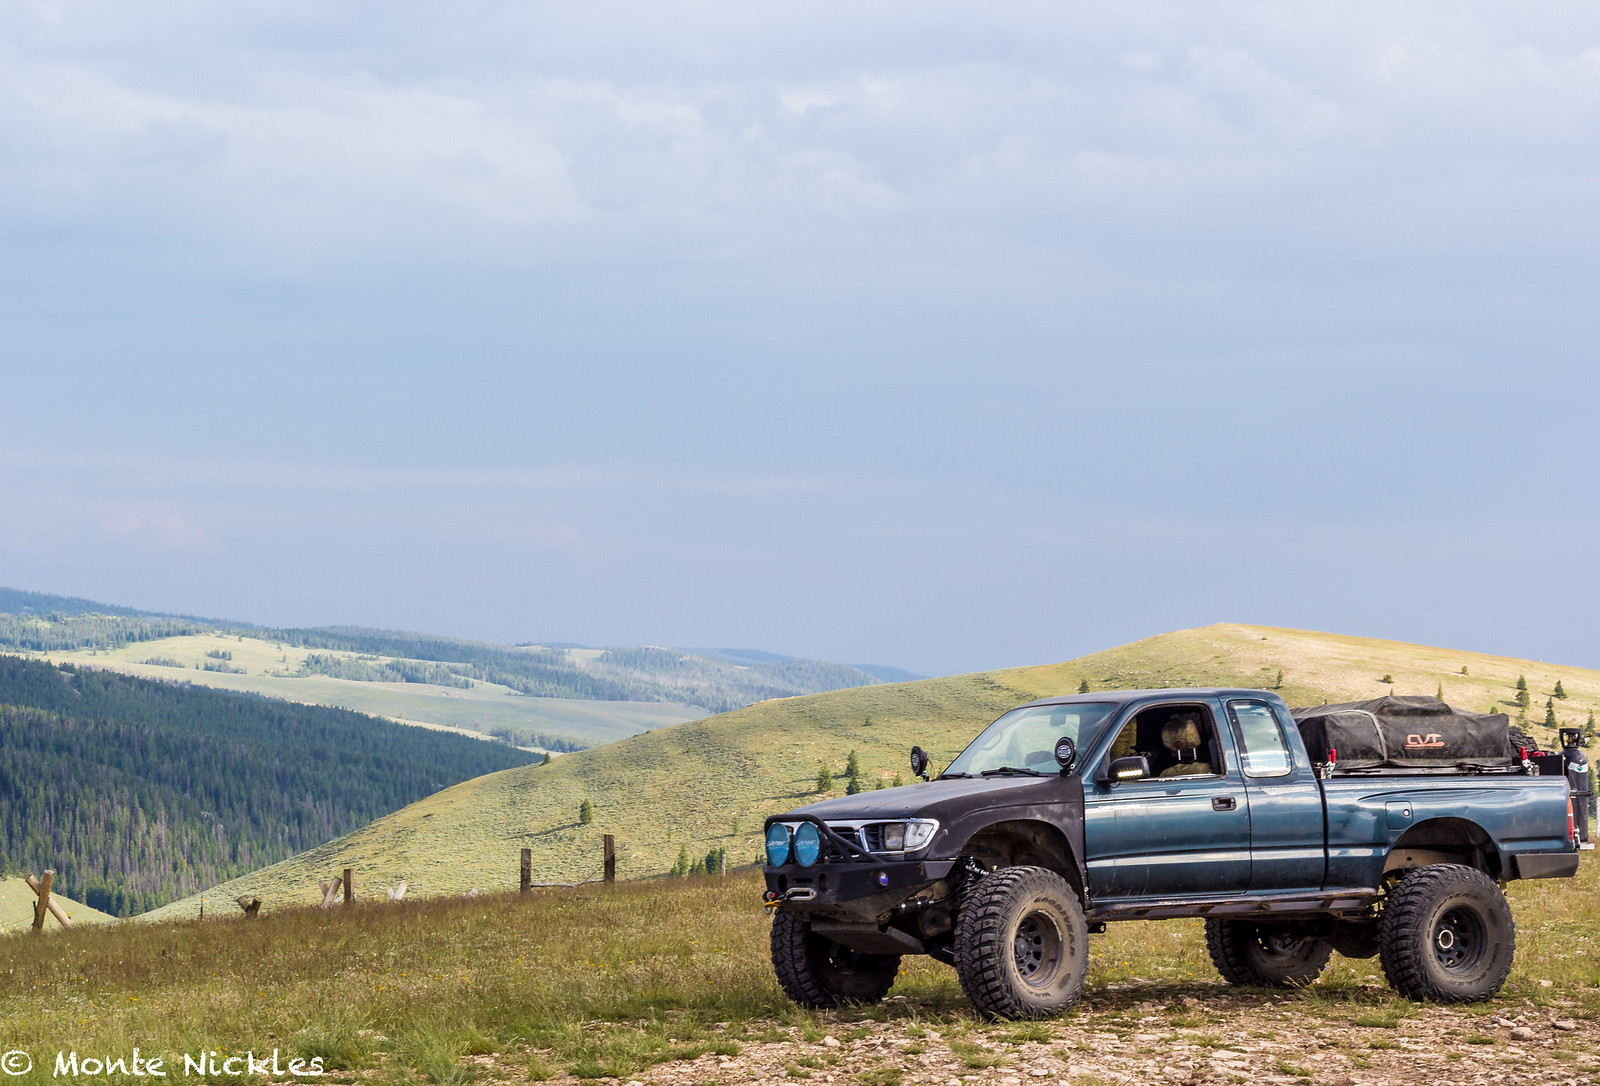 Family 4th Camping-8.jpg
 Family 4th Camping-9.jpg
 Family 4th Camping-10.jpg
 Family 4th Camping-11.jpg
 Family 4th Camping-12.jpg
 Family 4th Camping-13.jpg
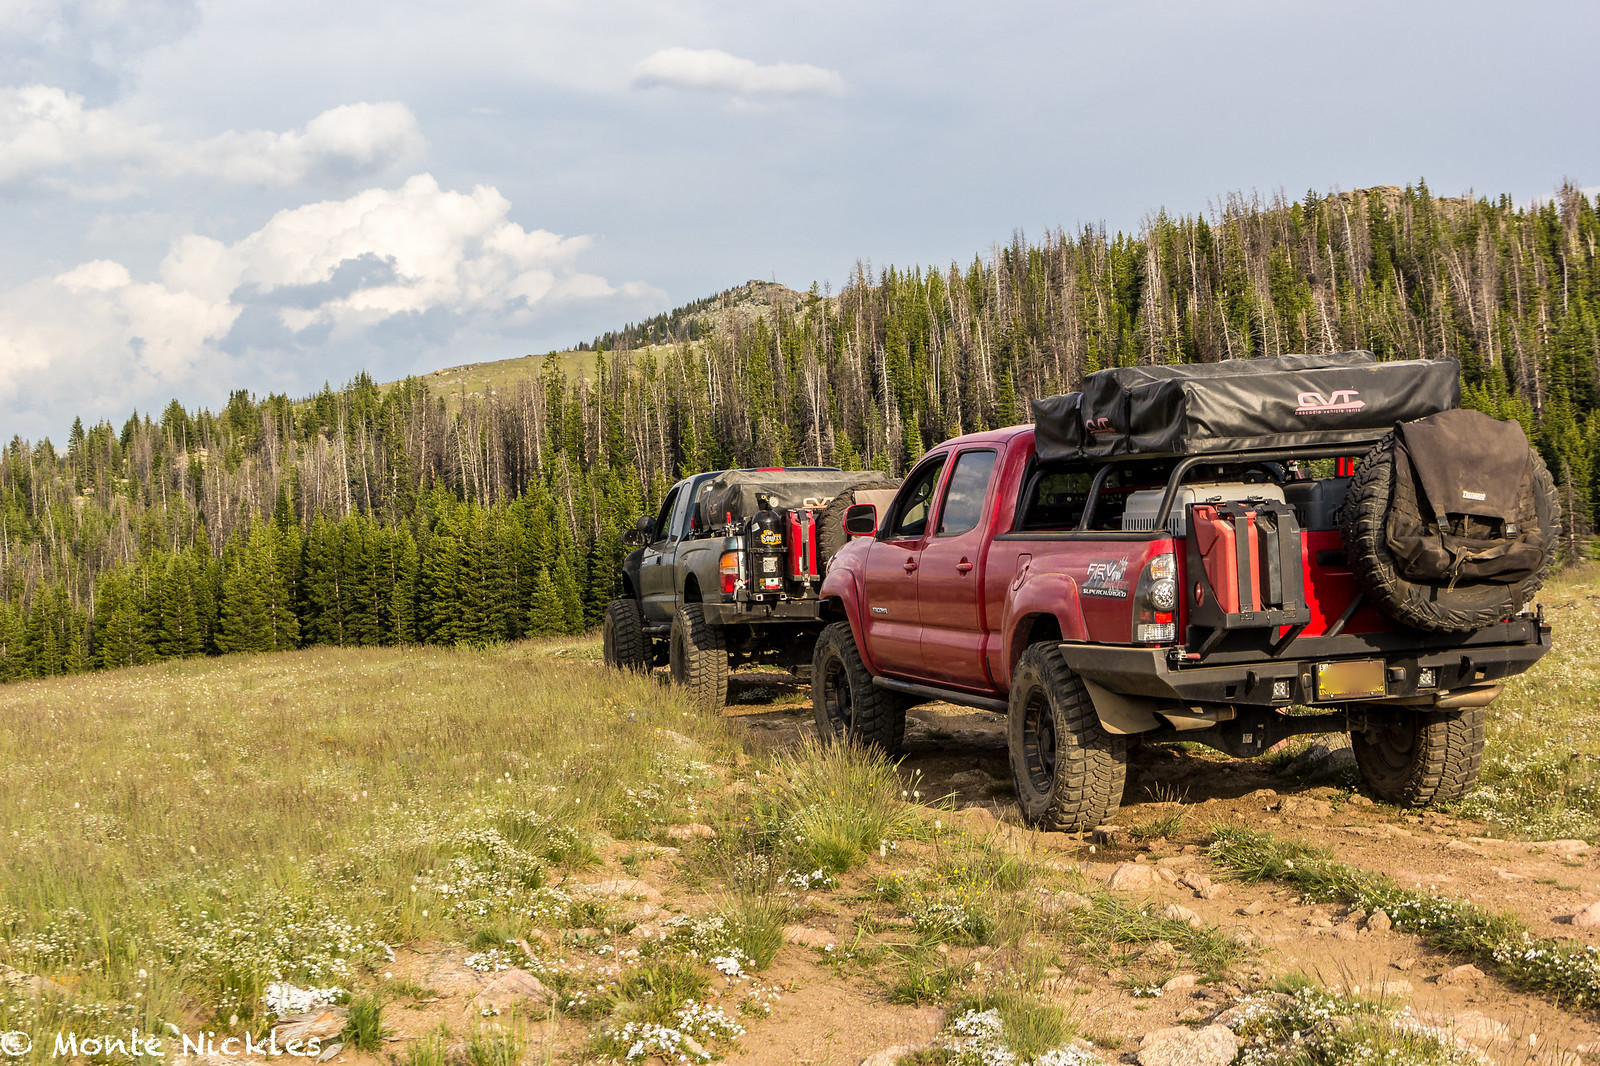 Family 4th Camping-14.jpg
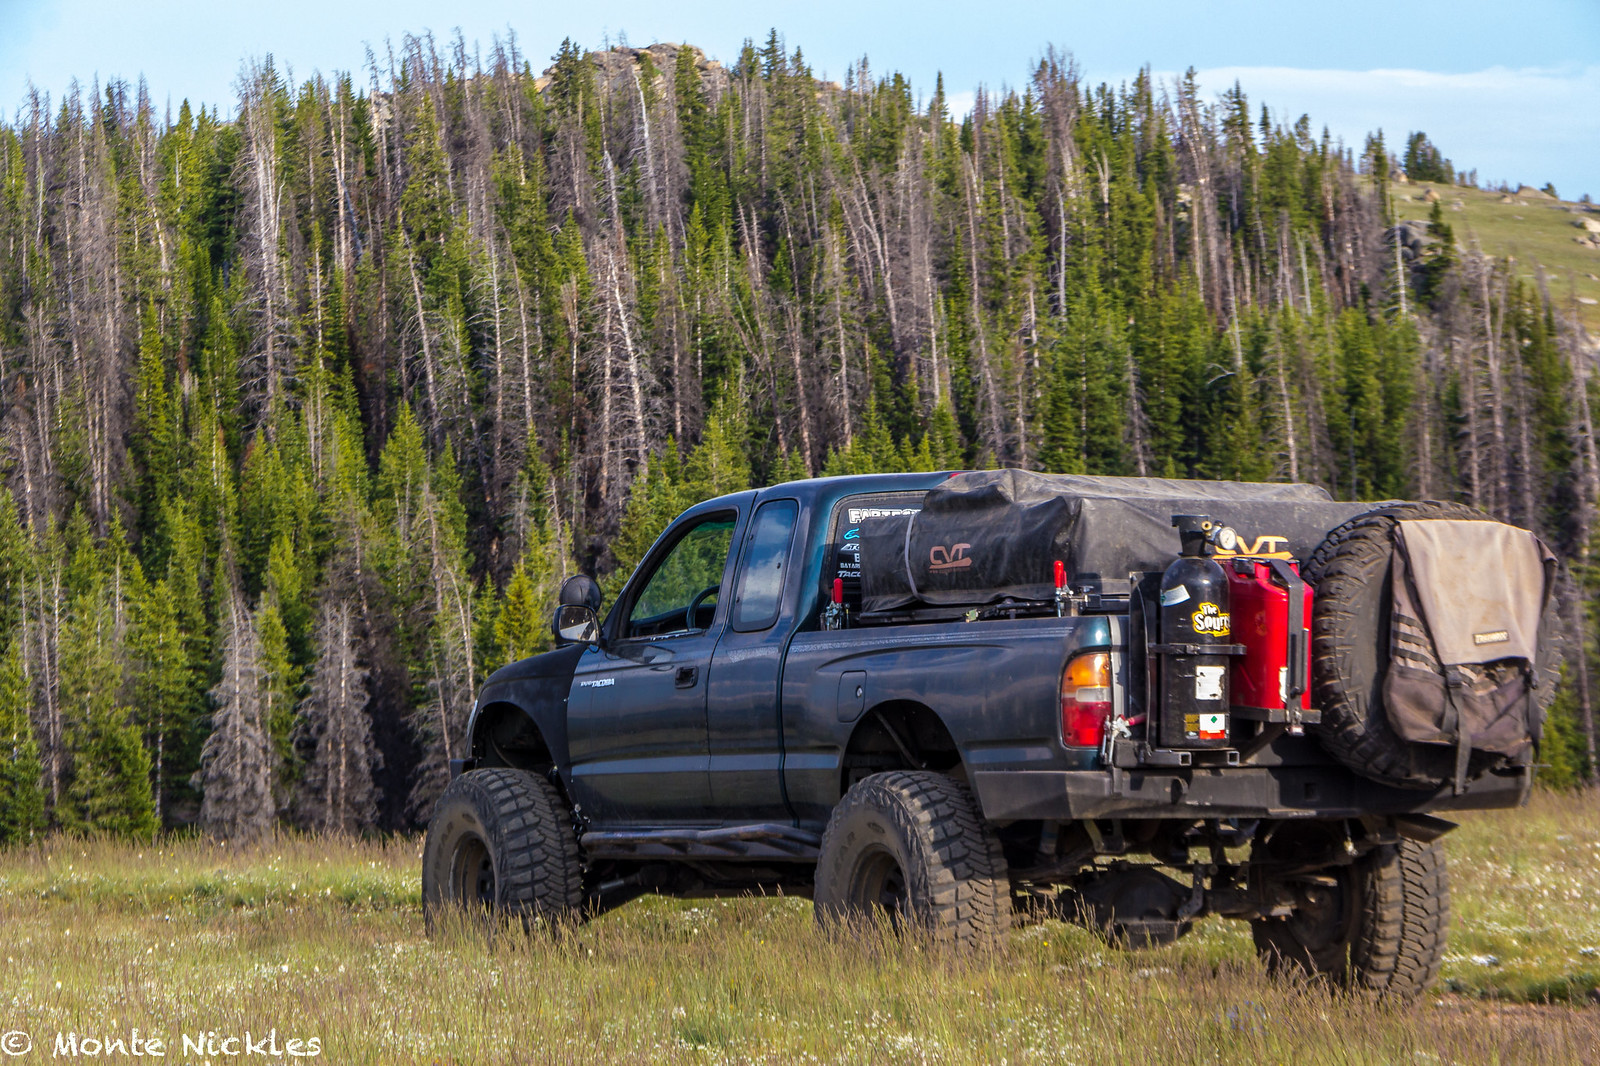 Family 4th Camping-15.jpg
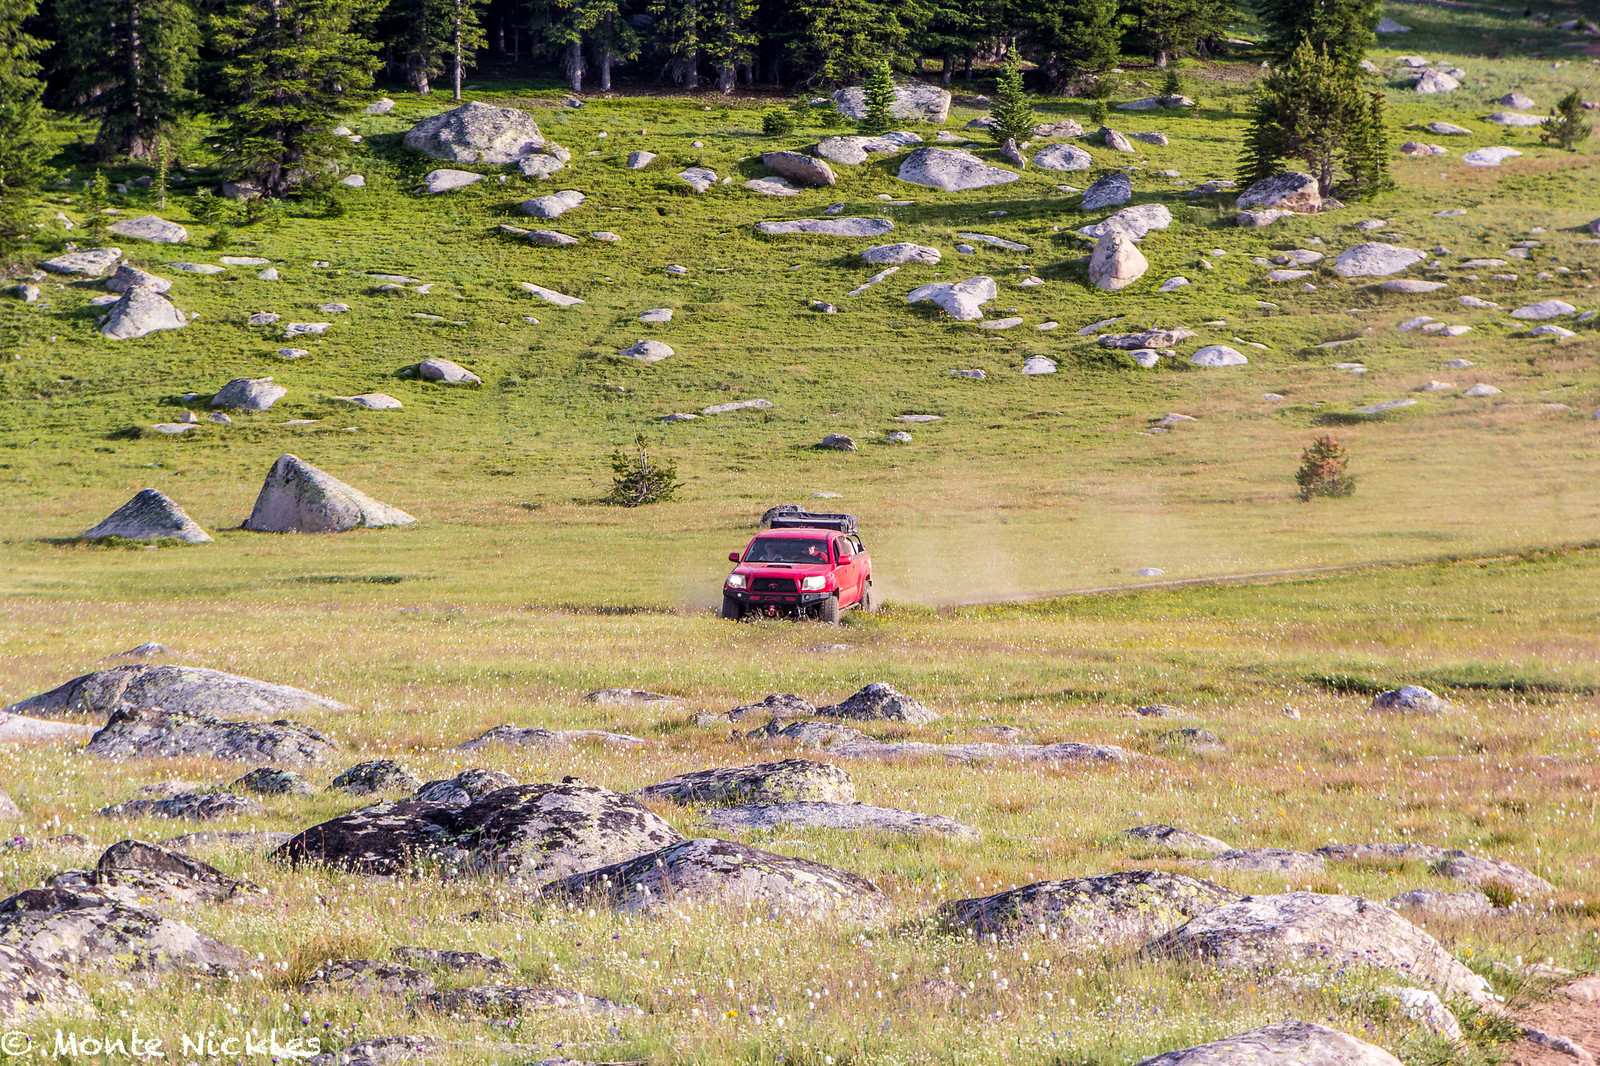 Family 4th Camping-16.jpg
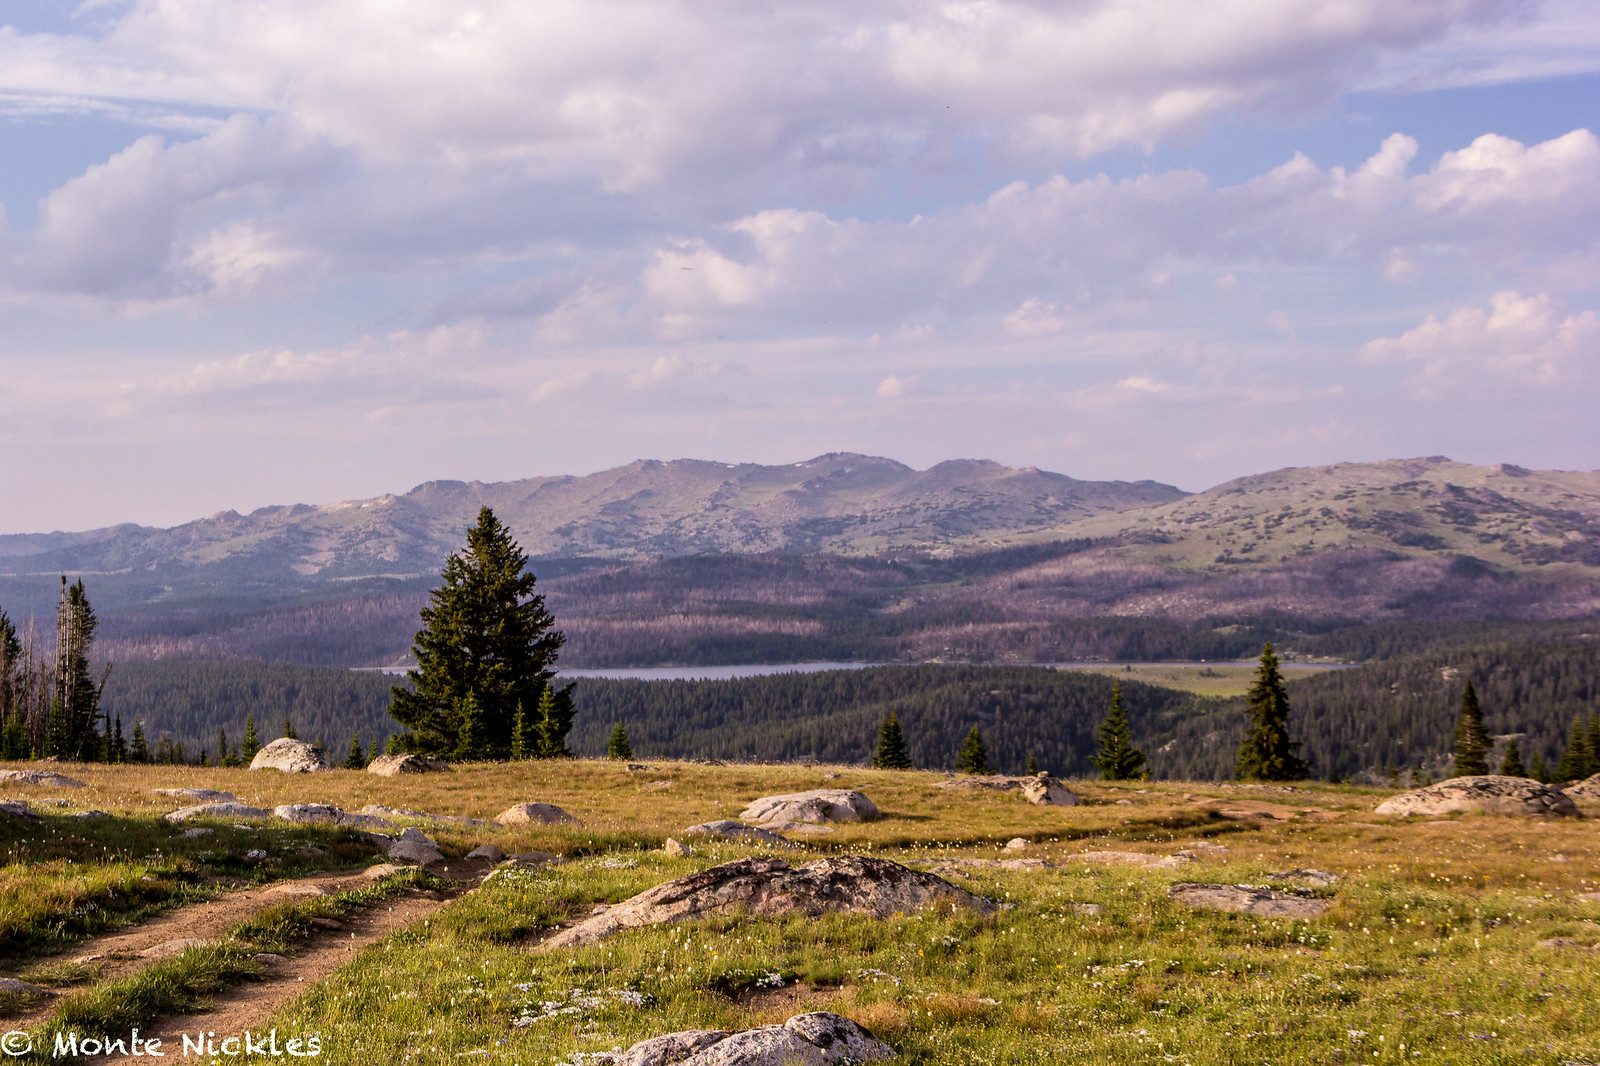 Family 4th Camping-17.jpg
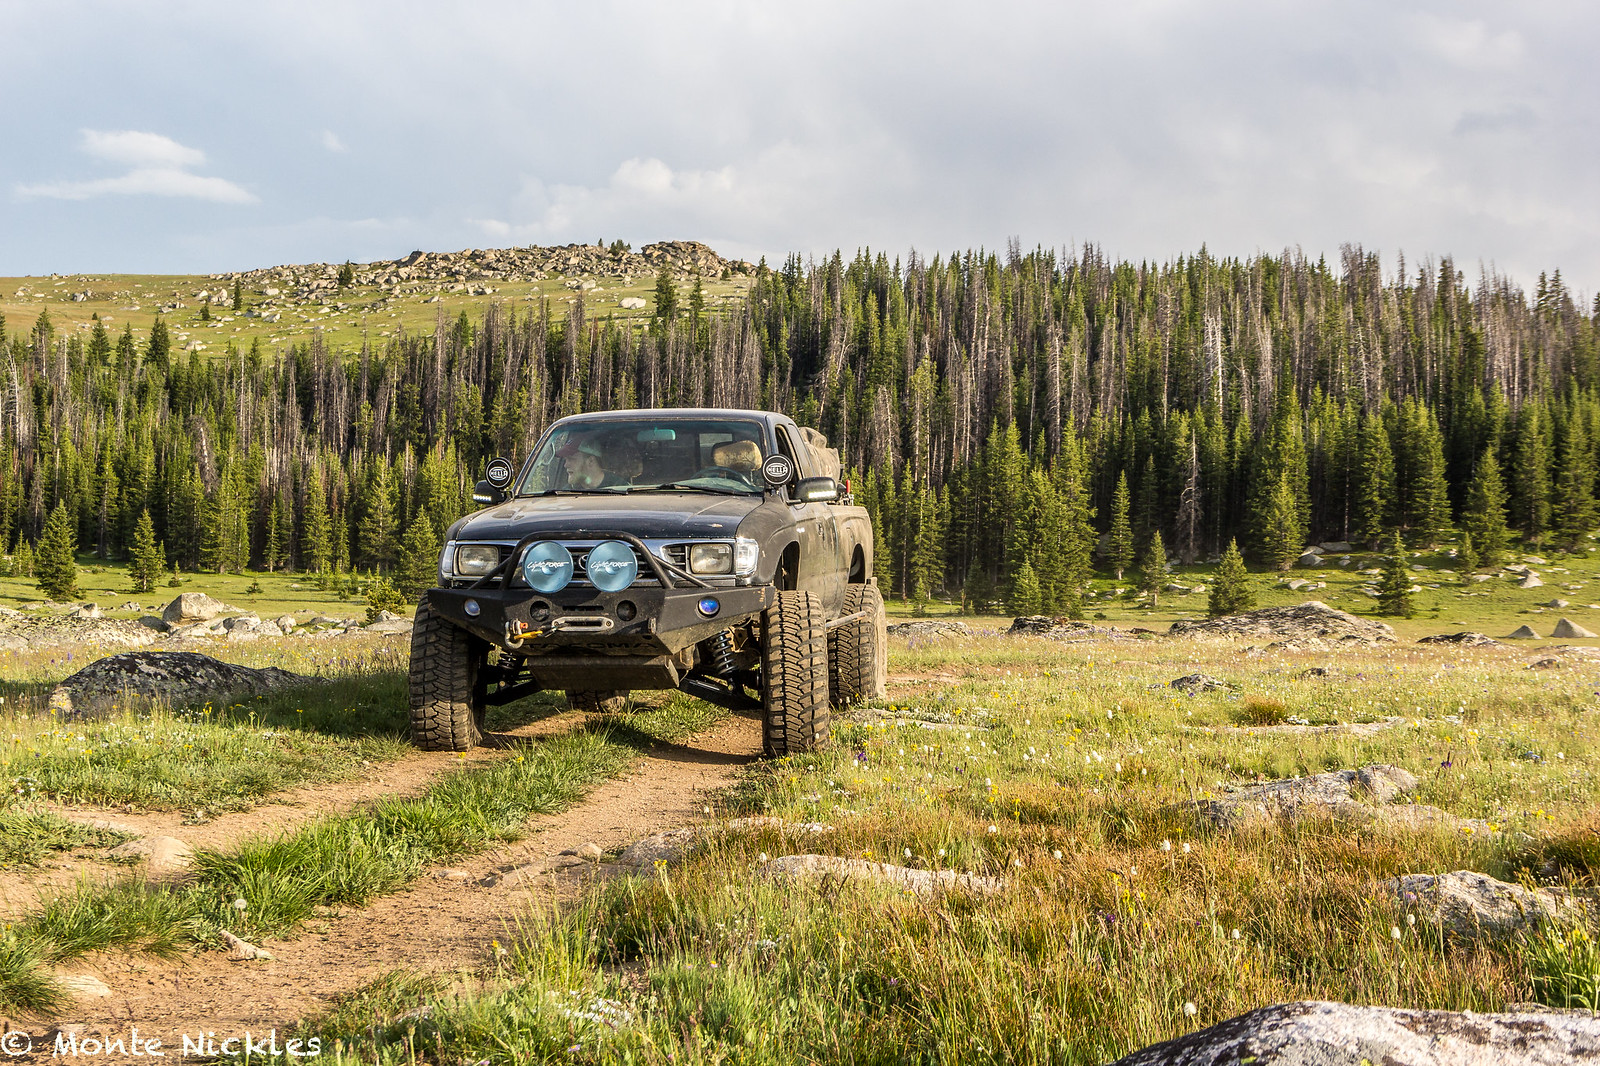 Family 4th Camping-18.jpg
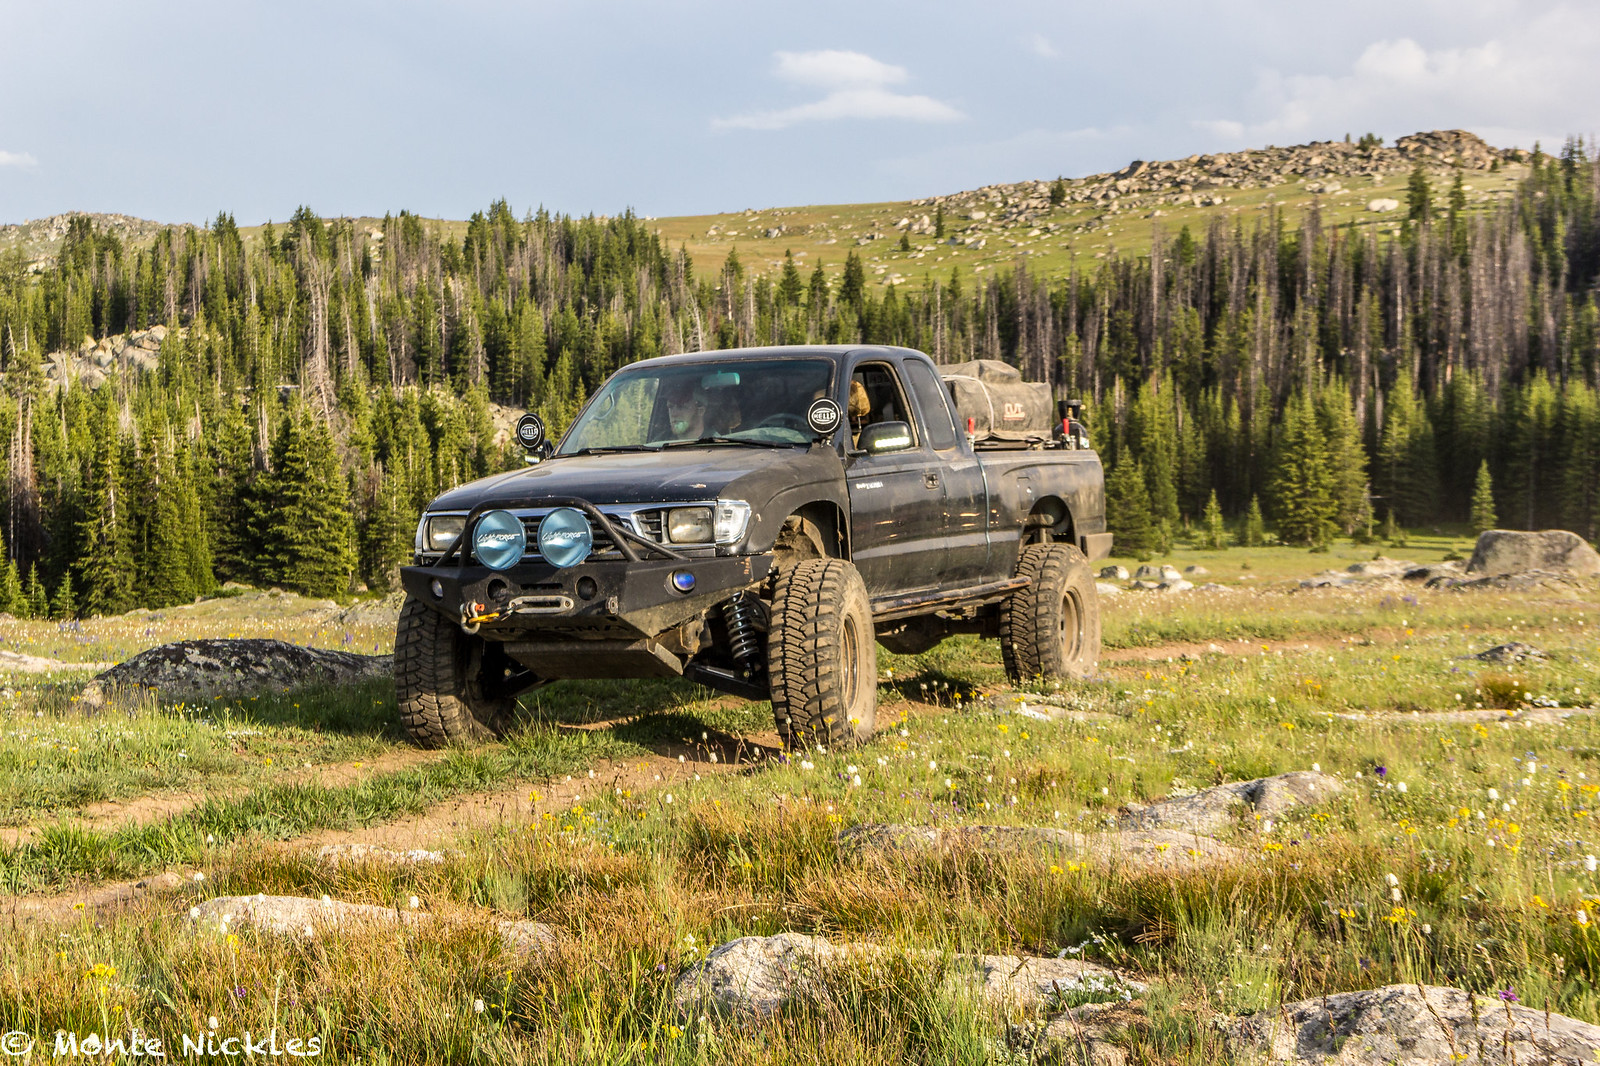 Family 4th Camping-19.jpg
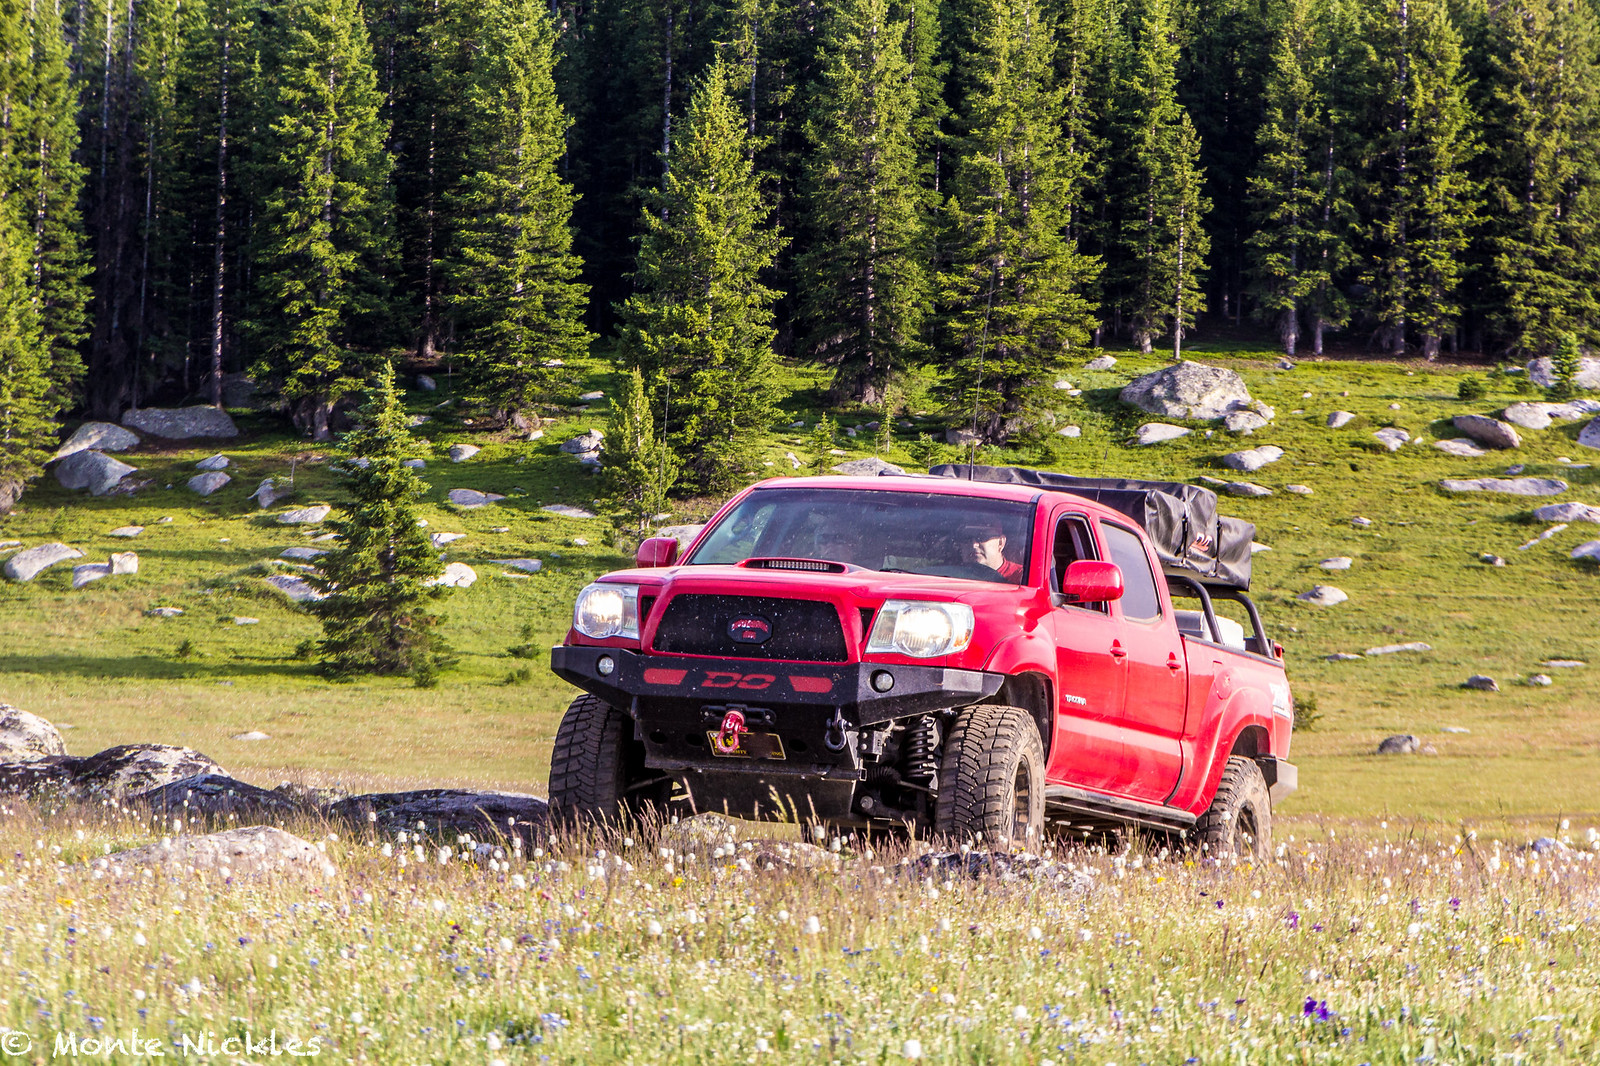 Family 4th Camping-20.jpg
 Family 4th Camping-21.jpg
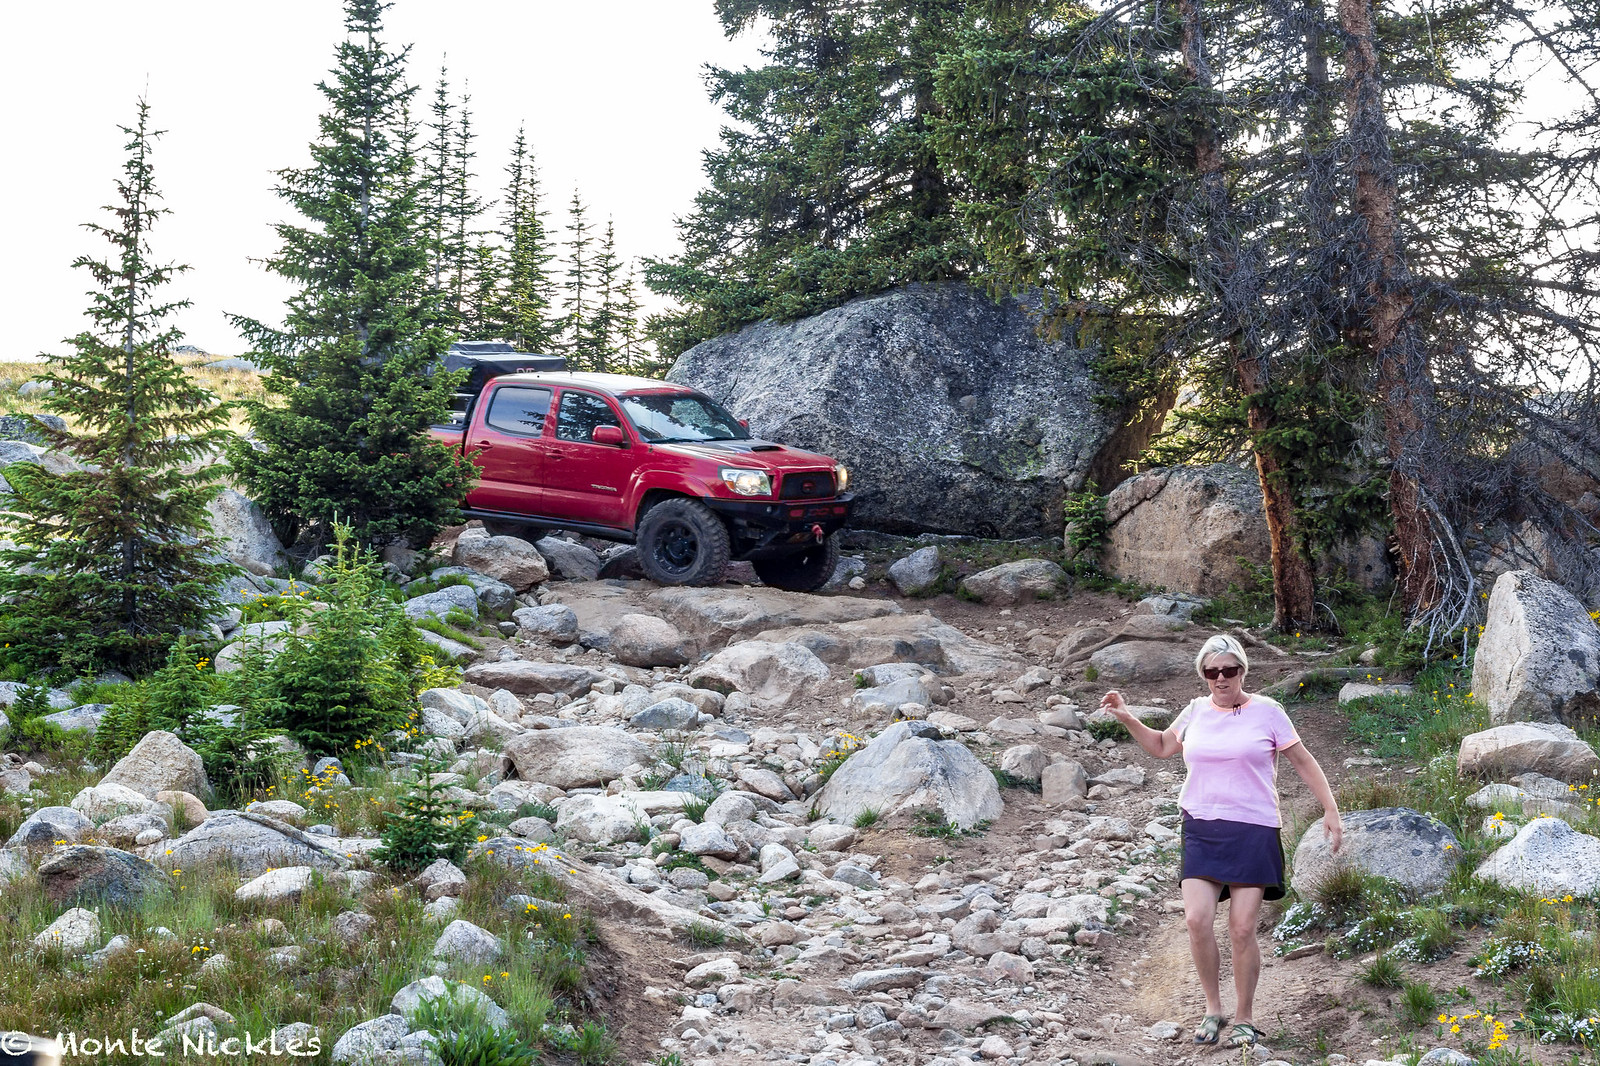 Family 4th Camping-22.jpg
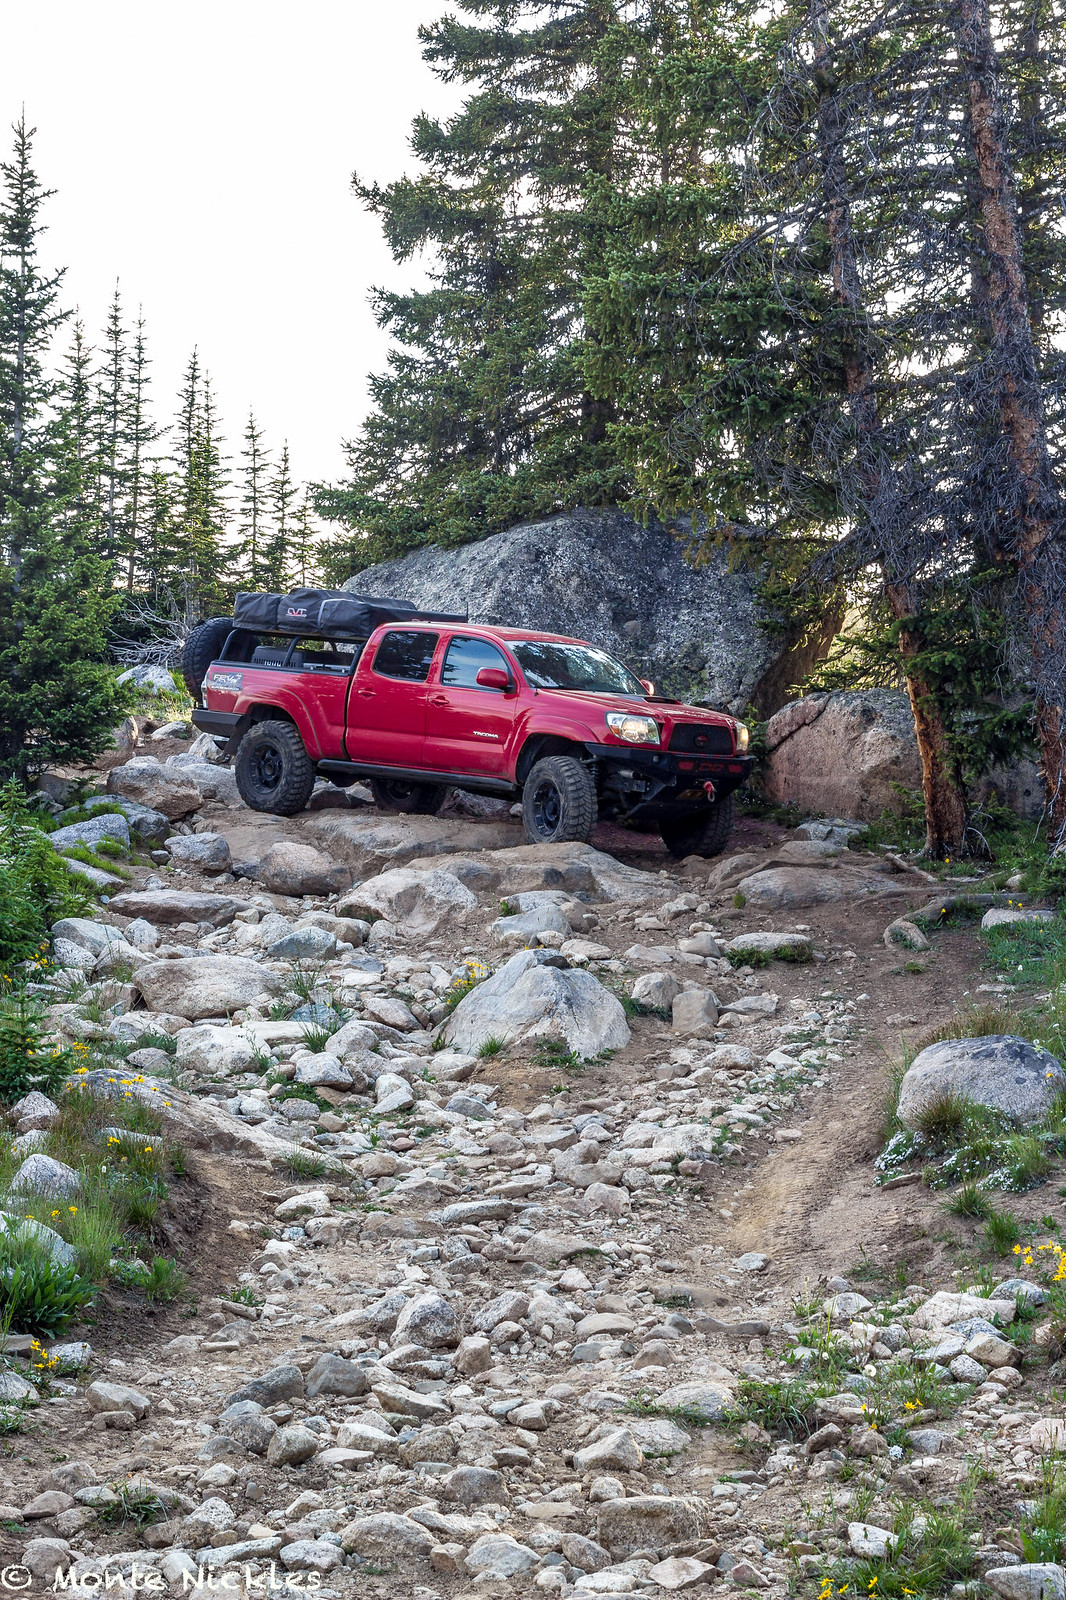 Family 4th Camping-23.jpg
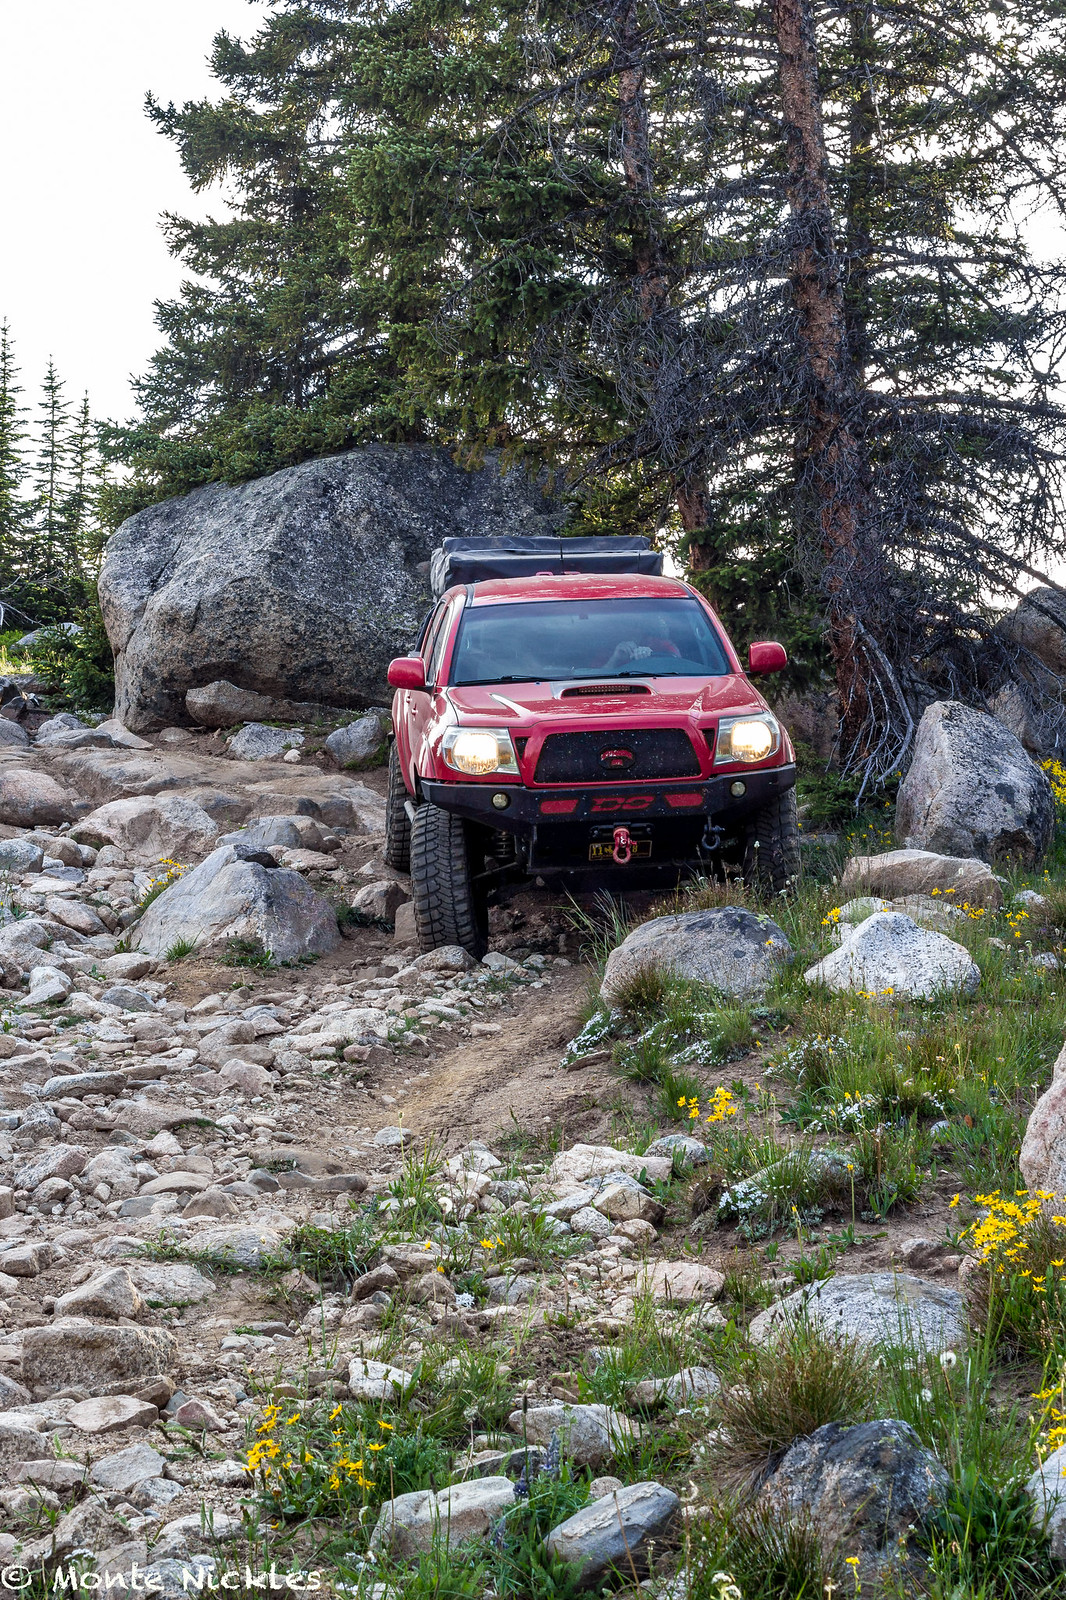 Family 4th Camping-24.jpg
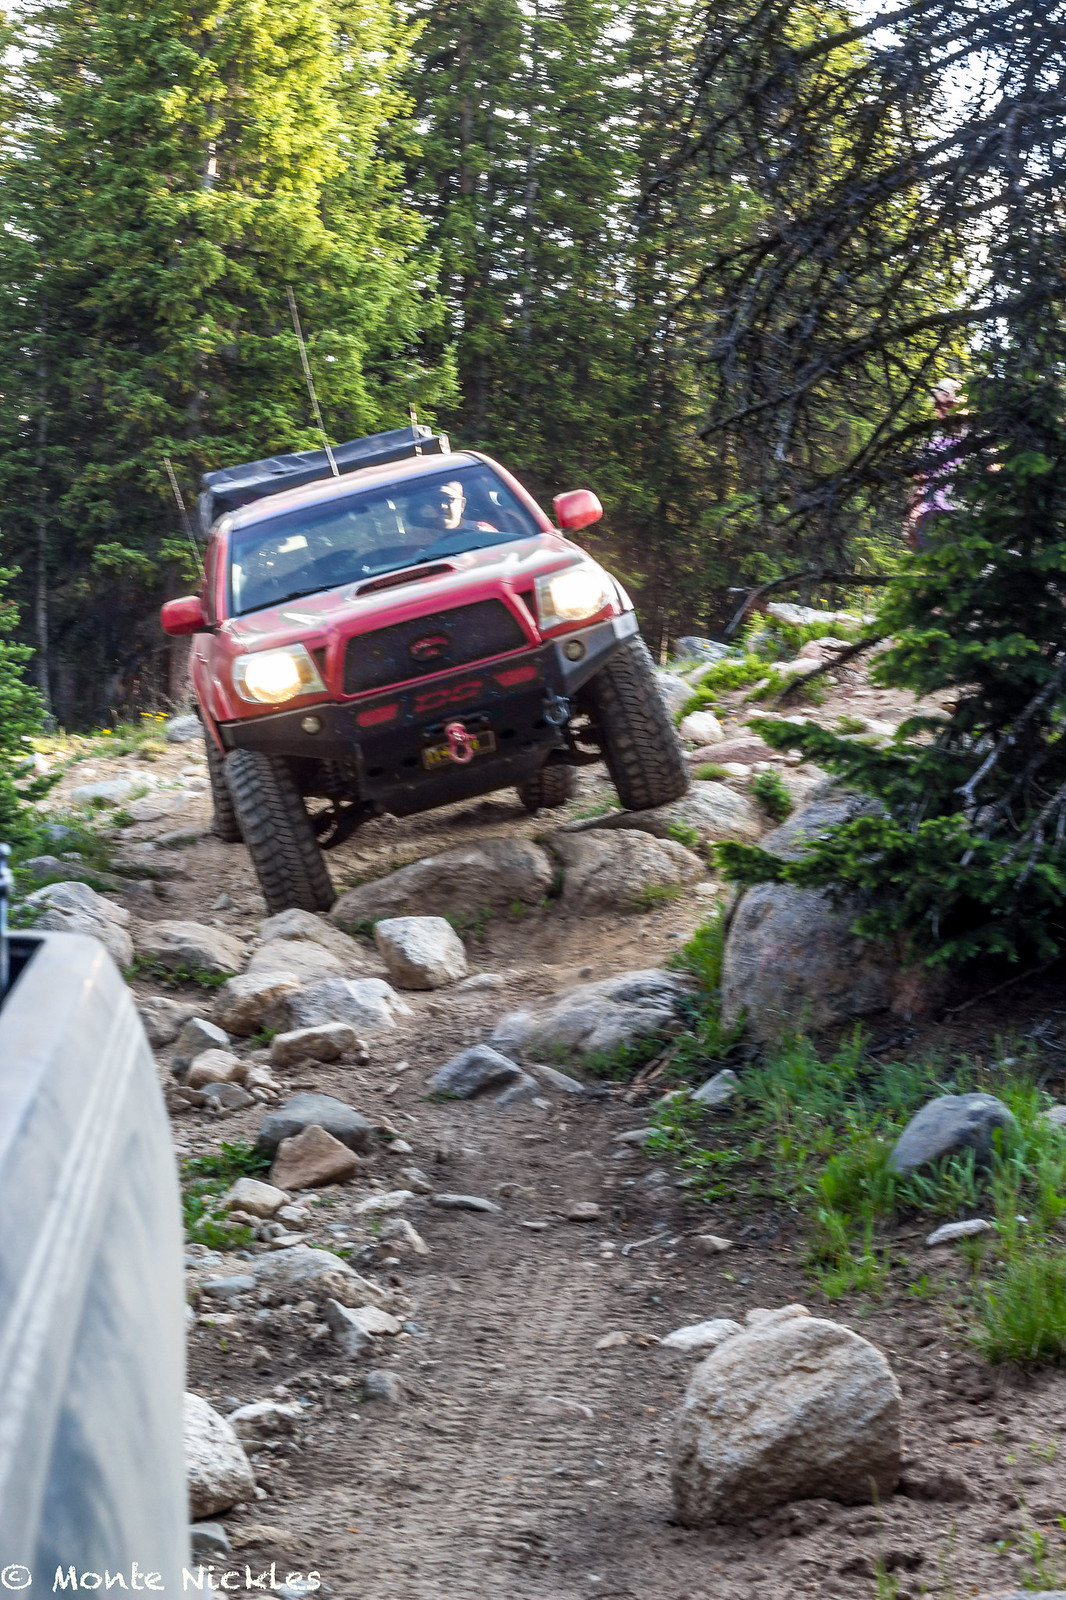 Family 4th Camping-25.jpg
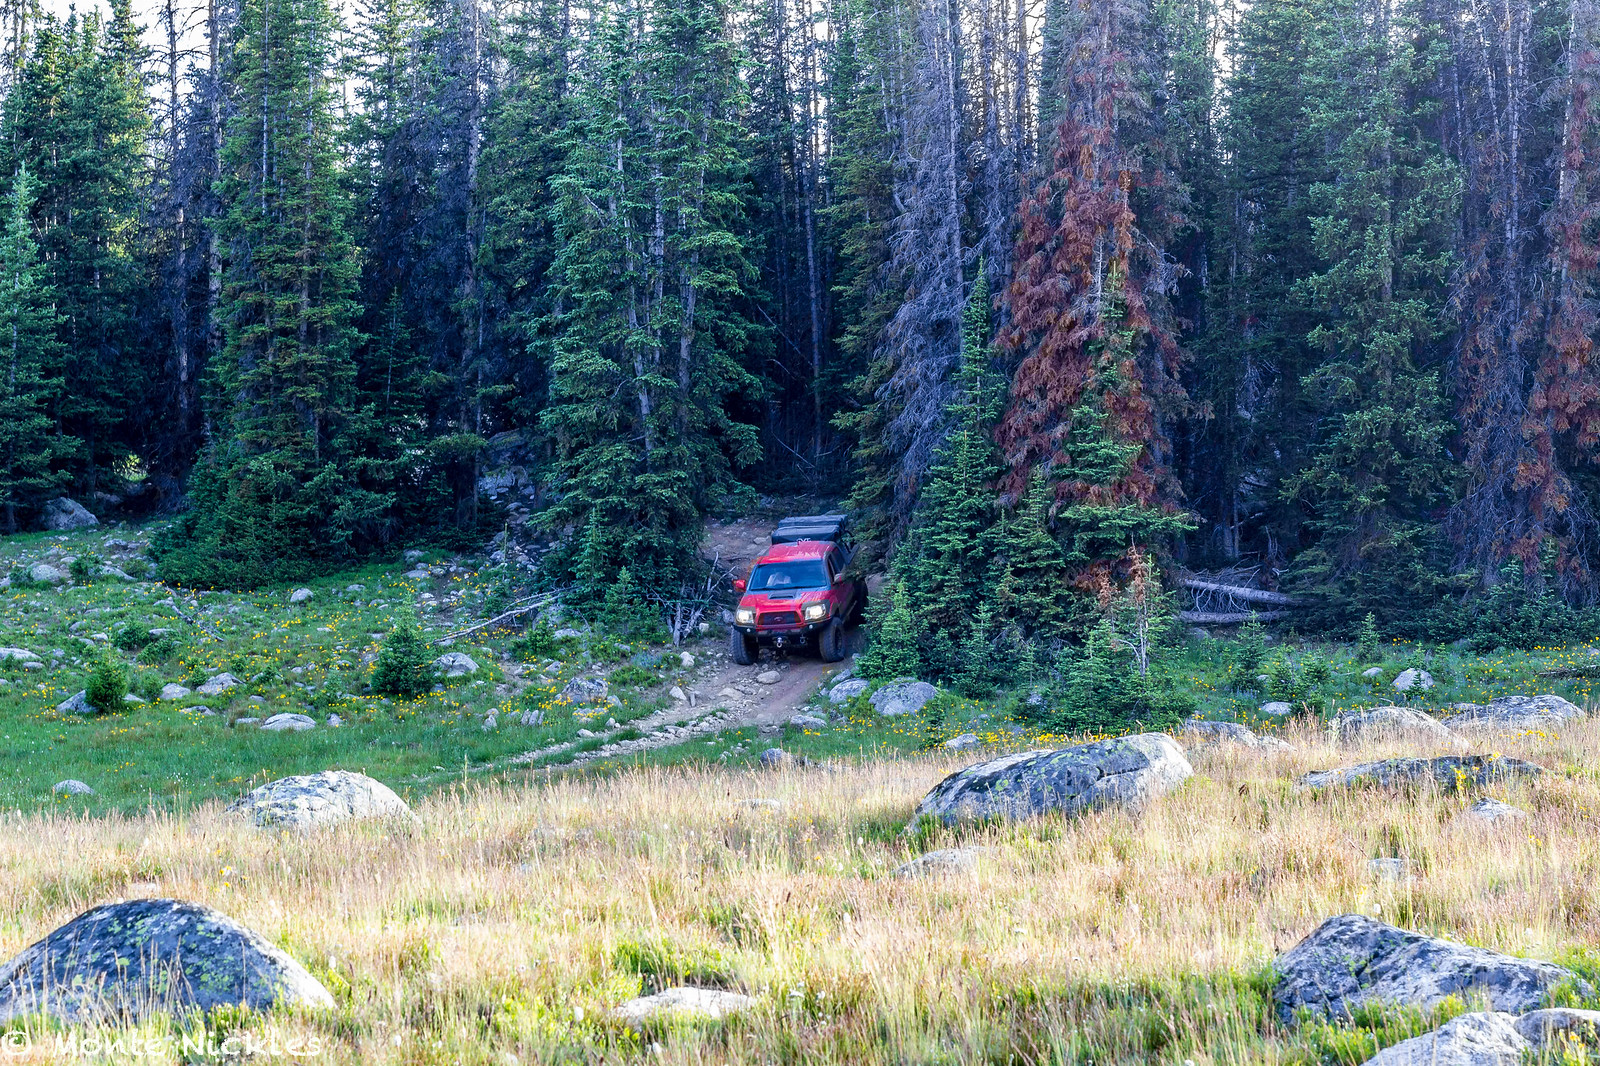 Family 4th Camping-26.jpg
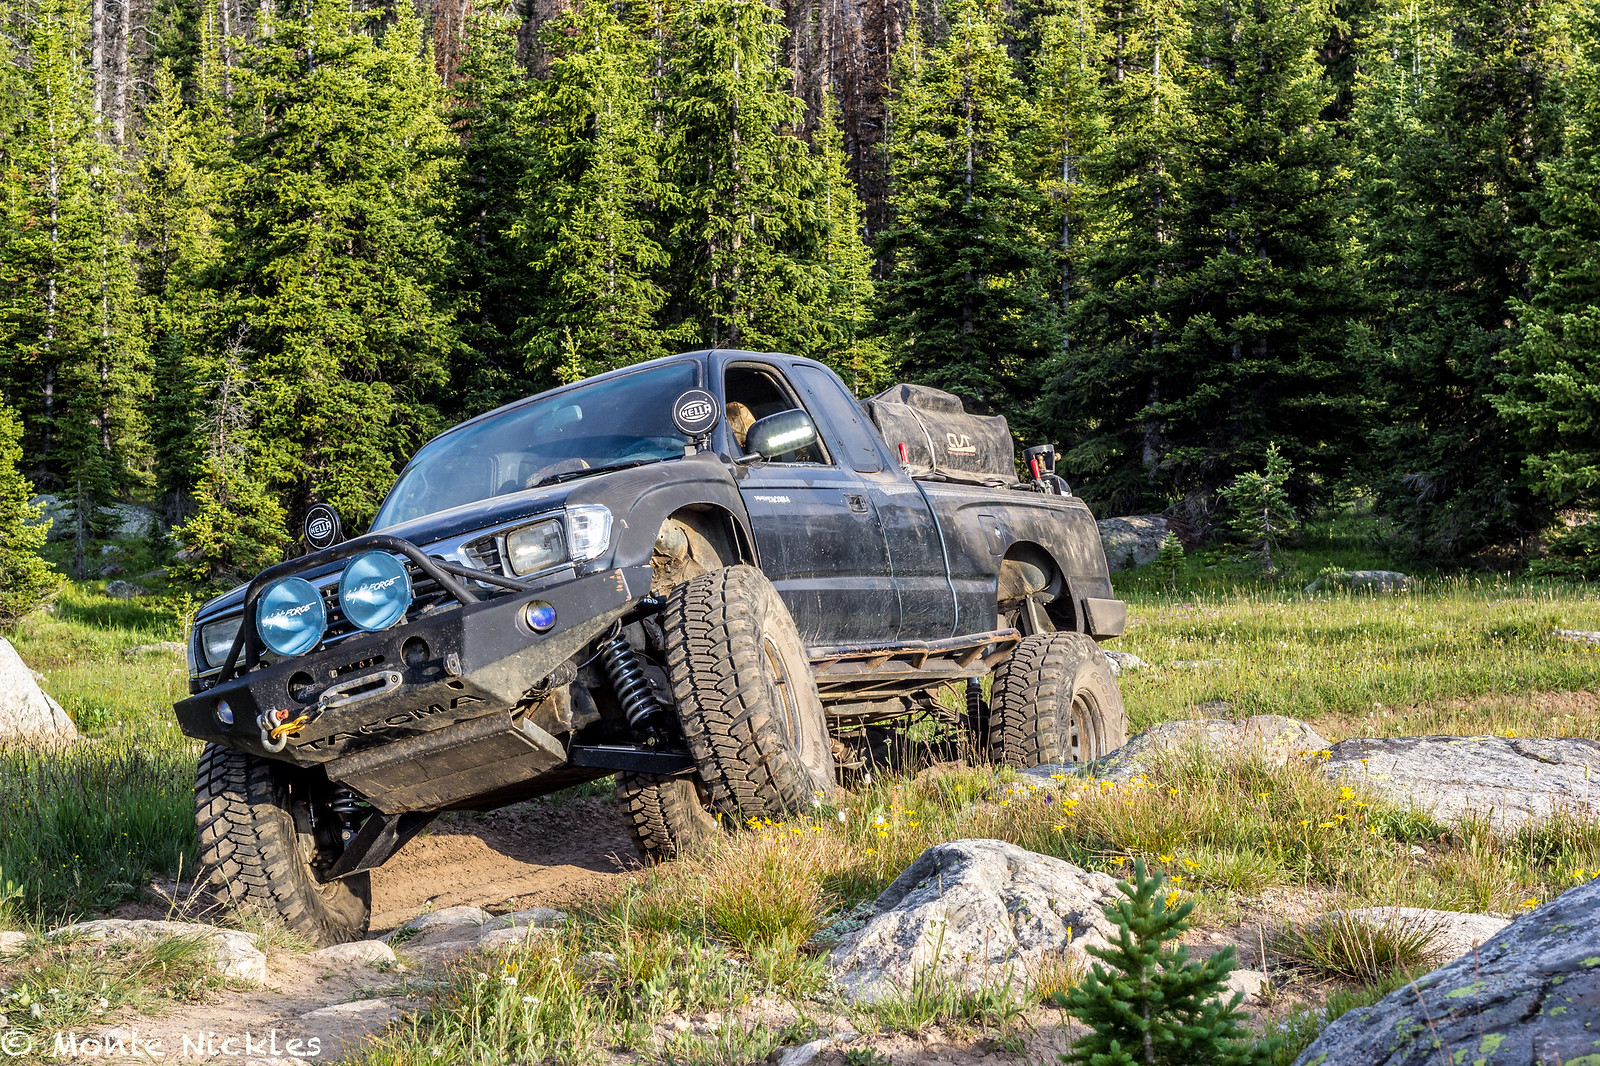 Family 4th Camping-27.jpg
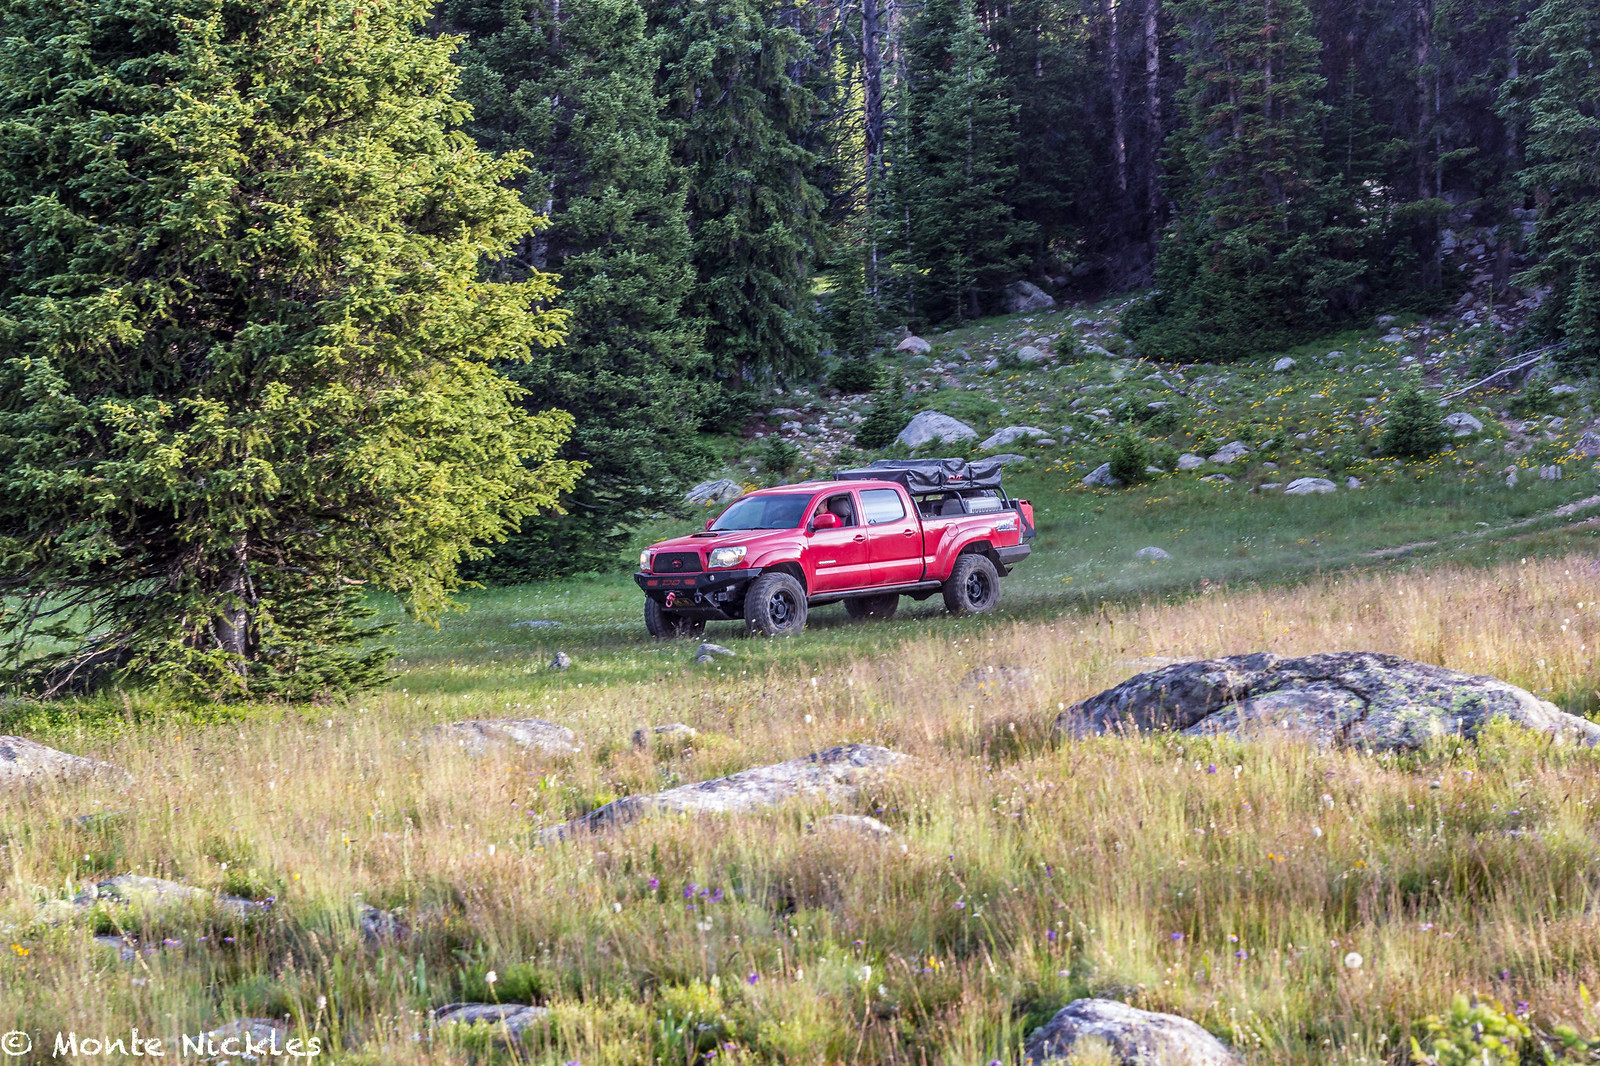 Family 4th Camping-28.jpg
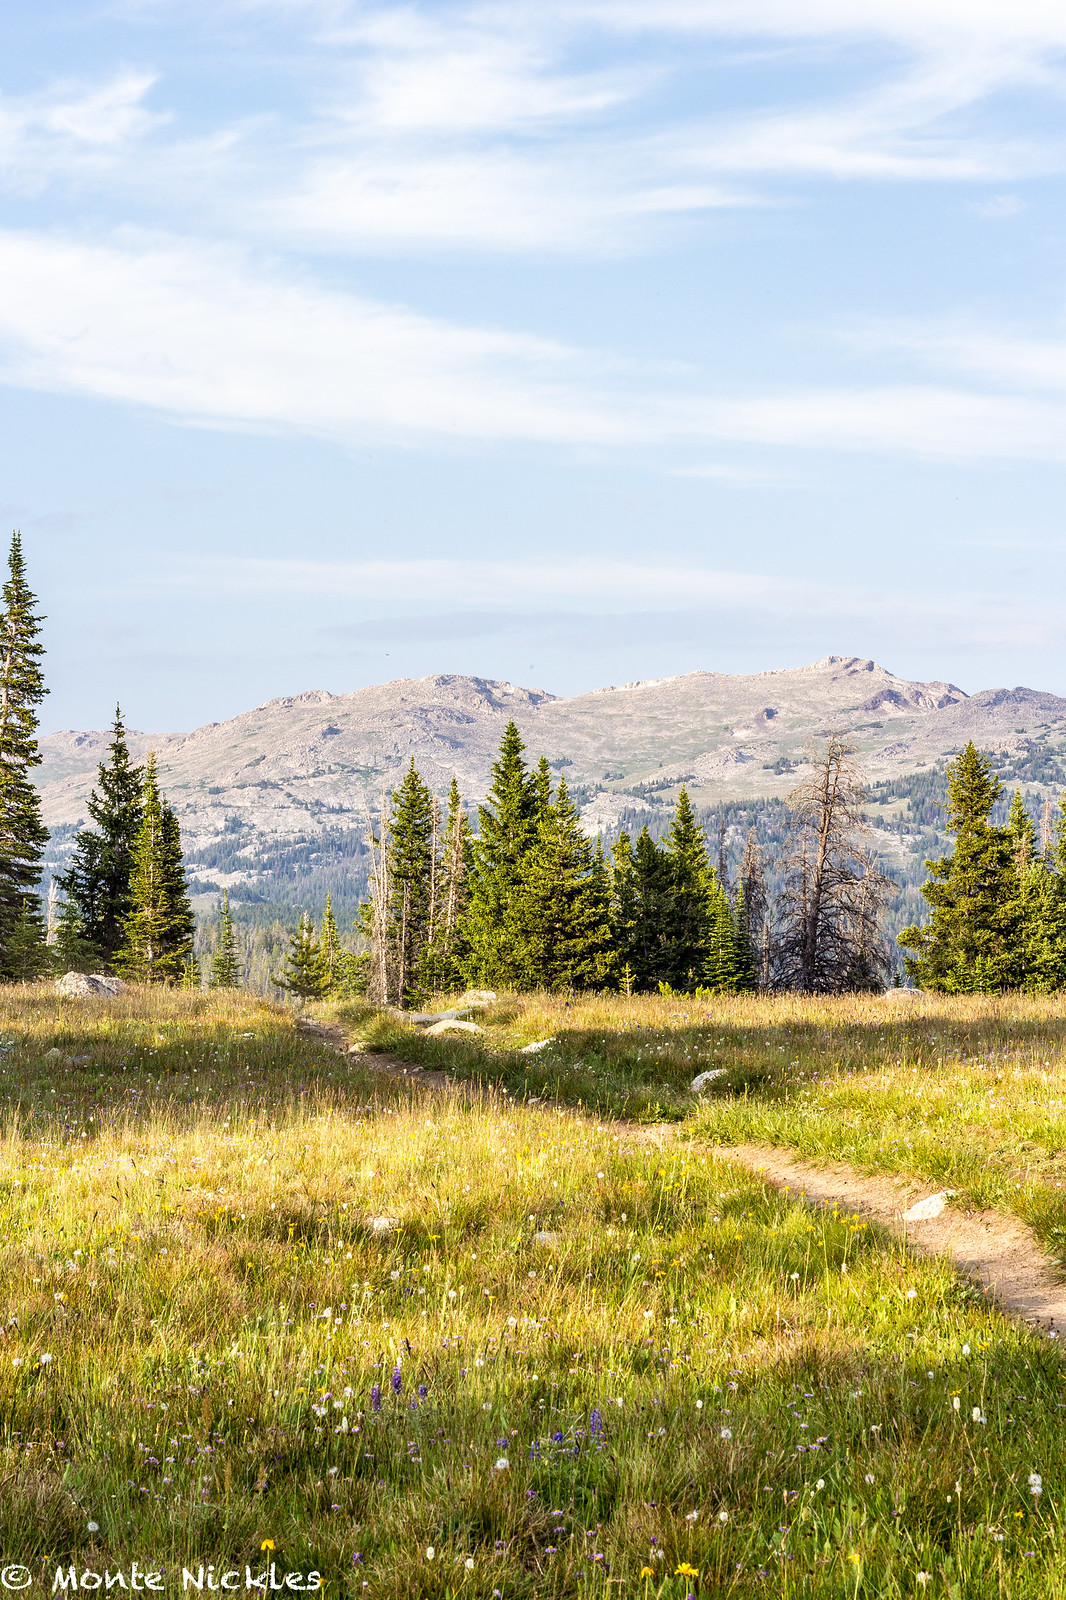 Family 4th Camping-29.jpg
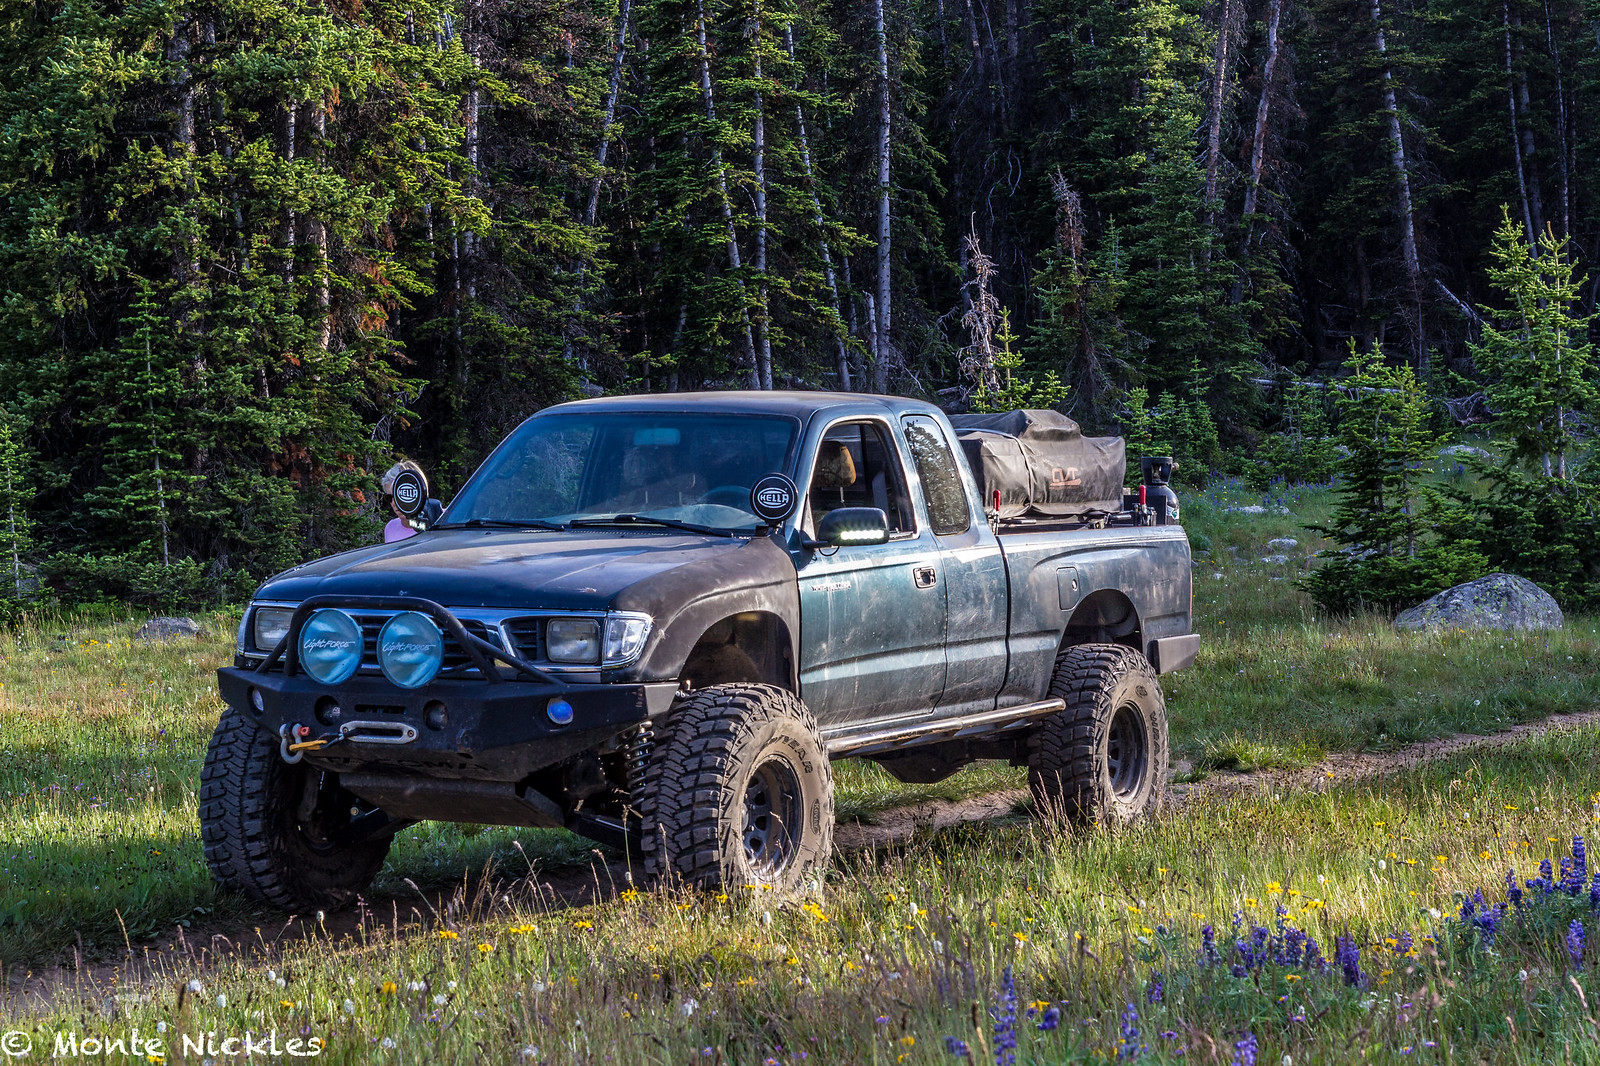 Family 4th Camping-30.jpg
 Family 4th Camping-31.jpg
 Family 4th Camping-32.jpg
 Family 4th Camping-33.jpg
 Family 4th Camping-34.jpg
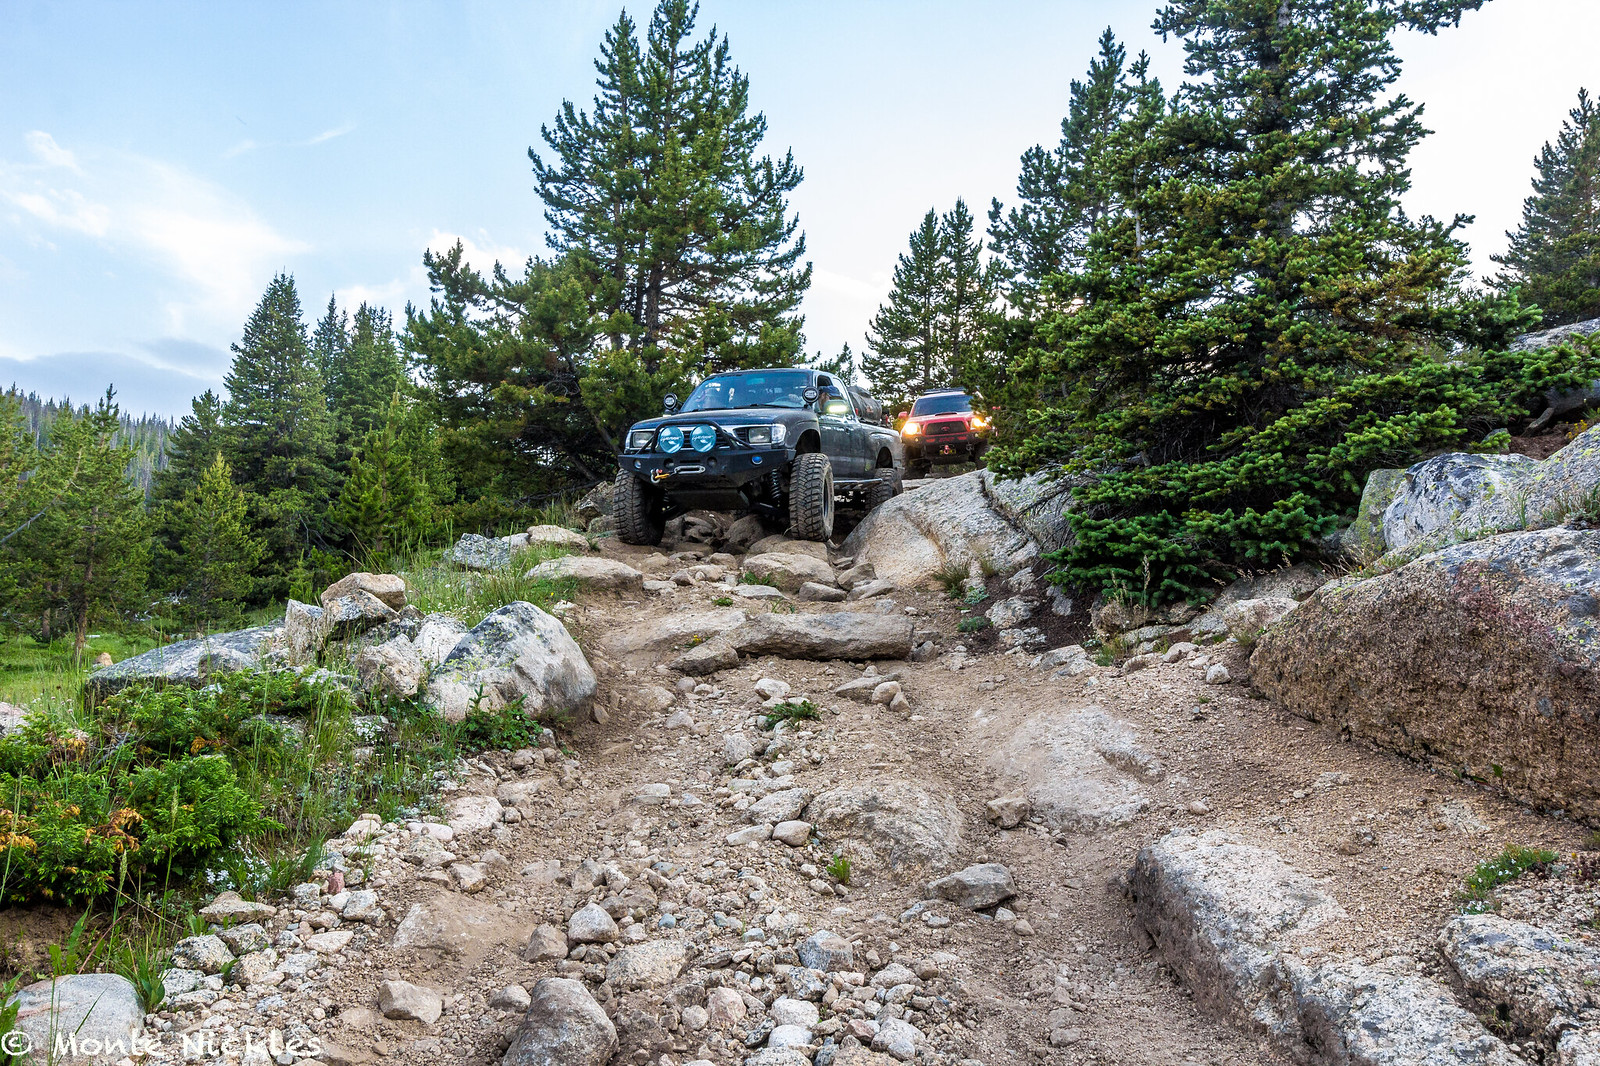 Family 4th Camping-35.jpg
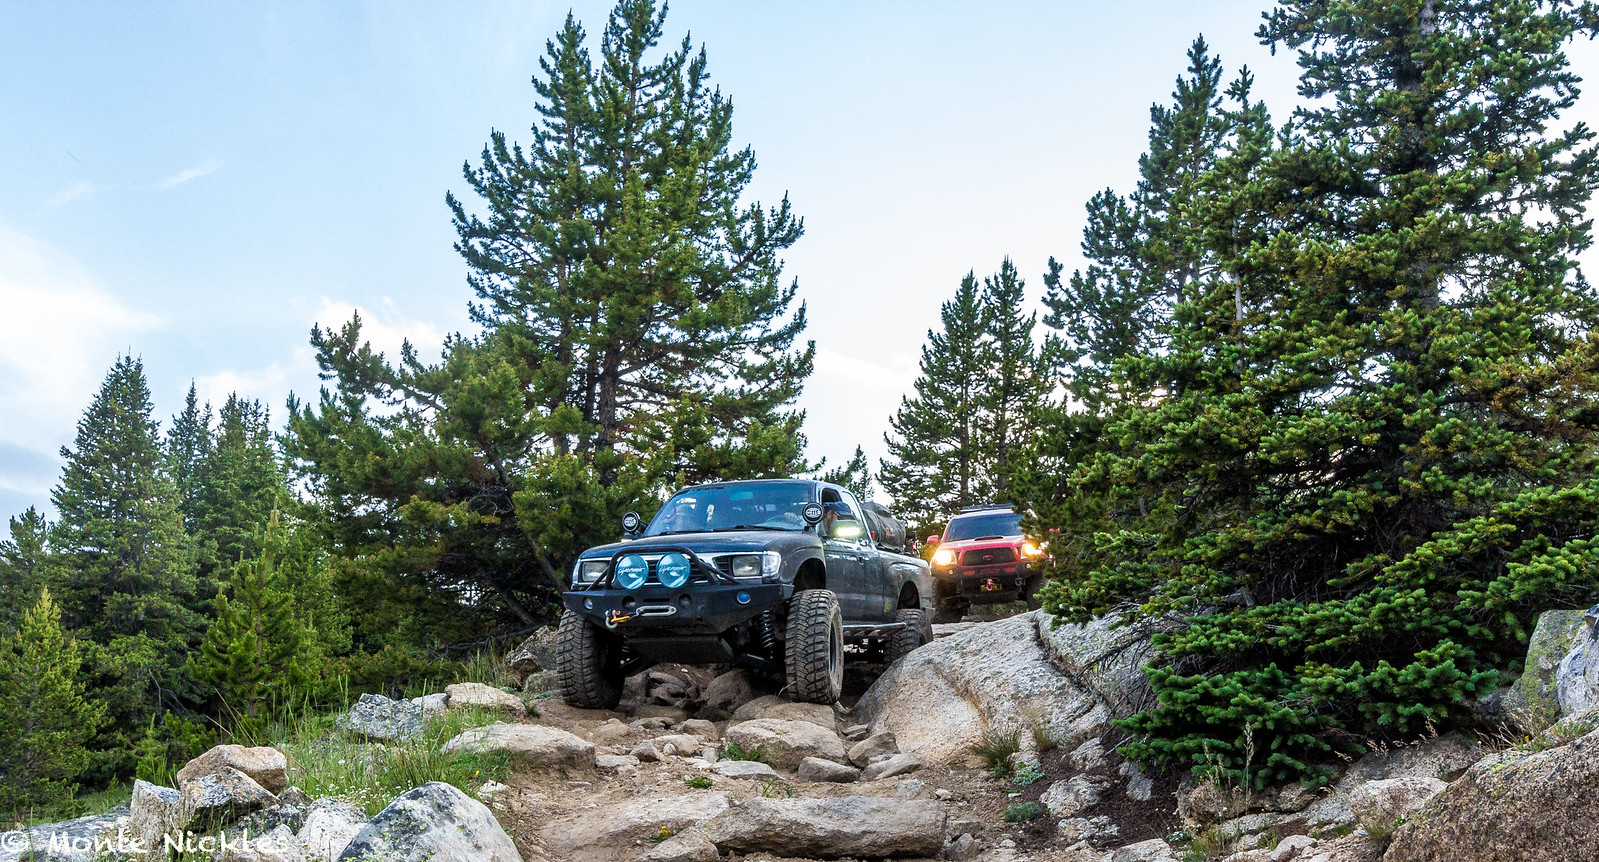 Family 4th Camping-36.jpg
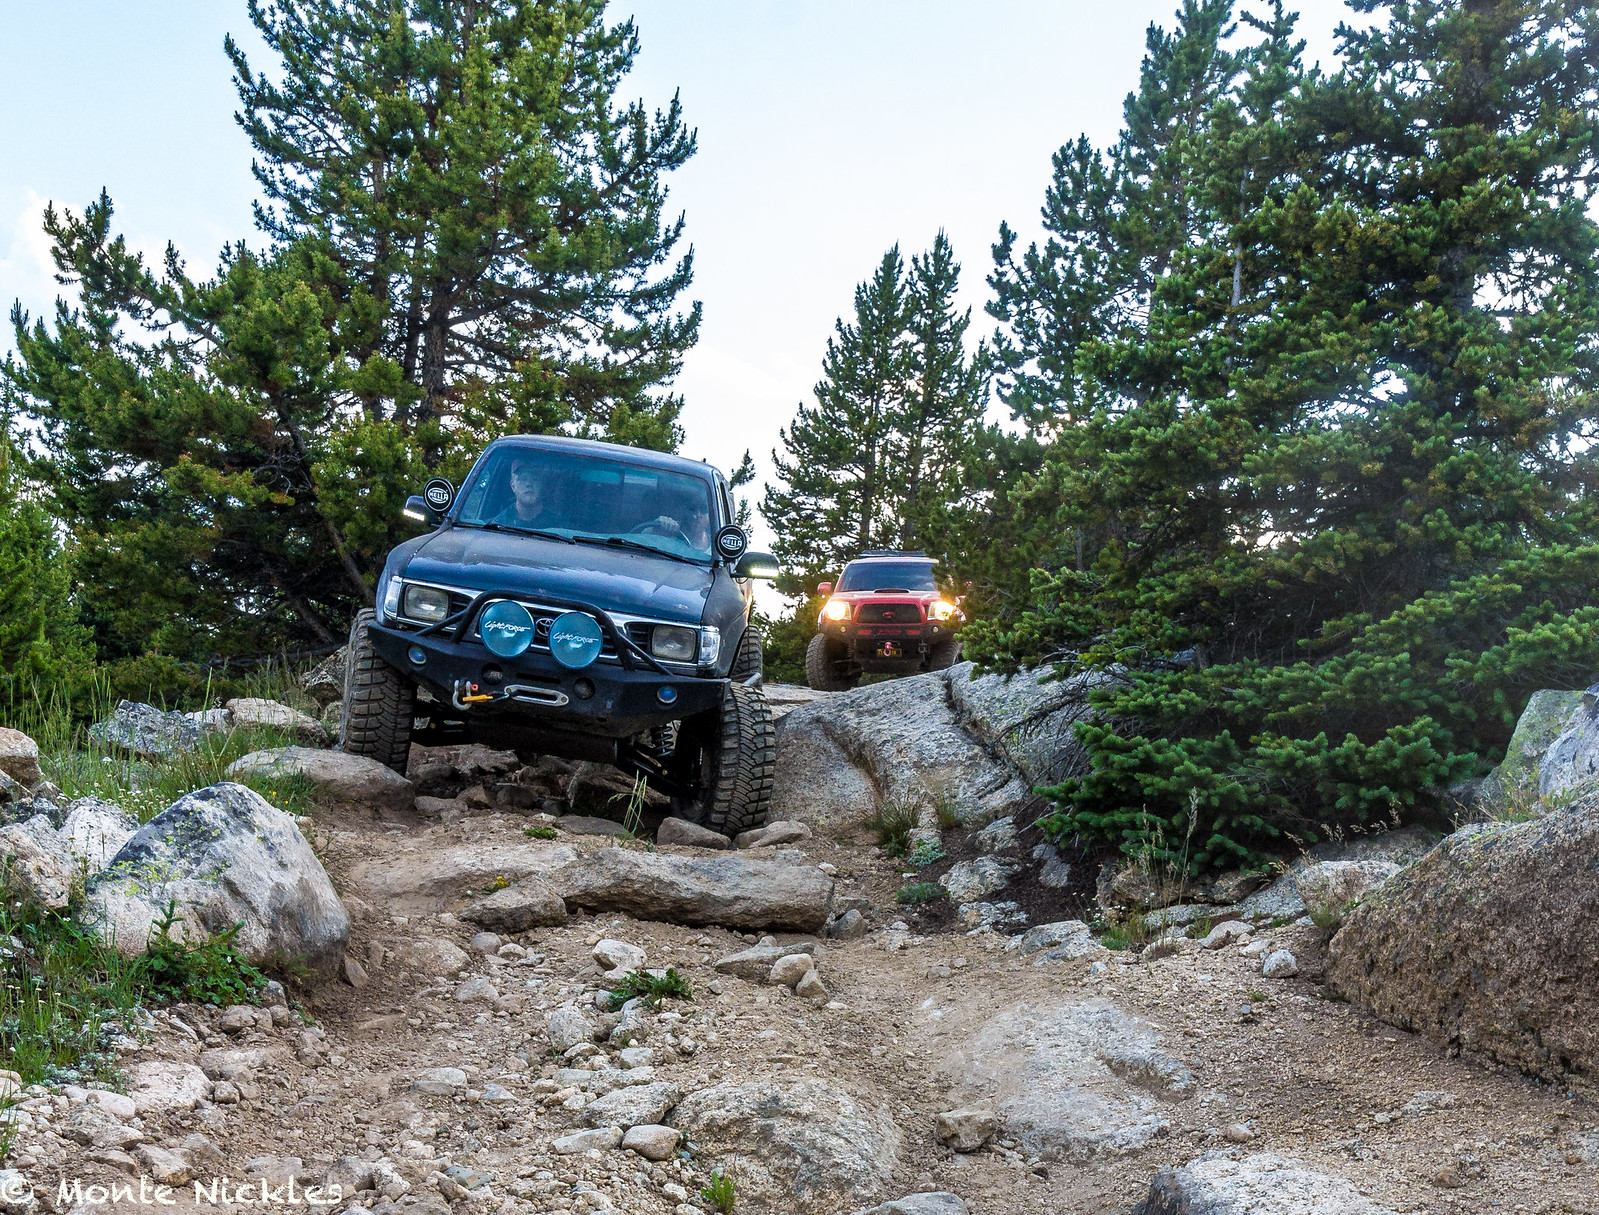 Family 4th Camping-37.jpg
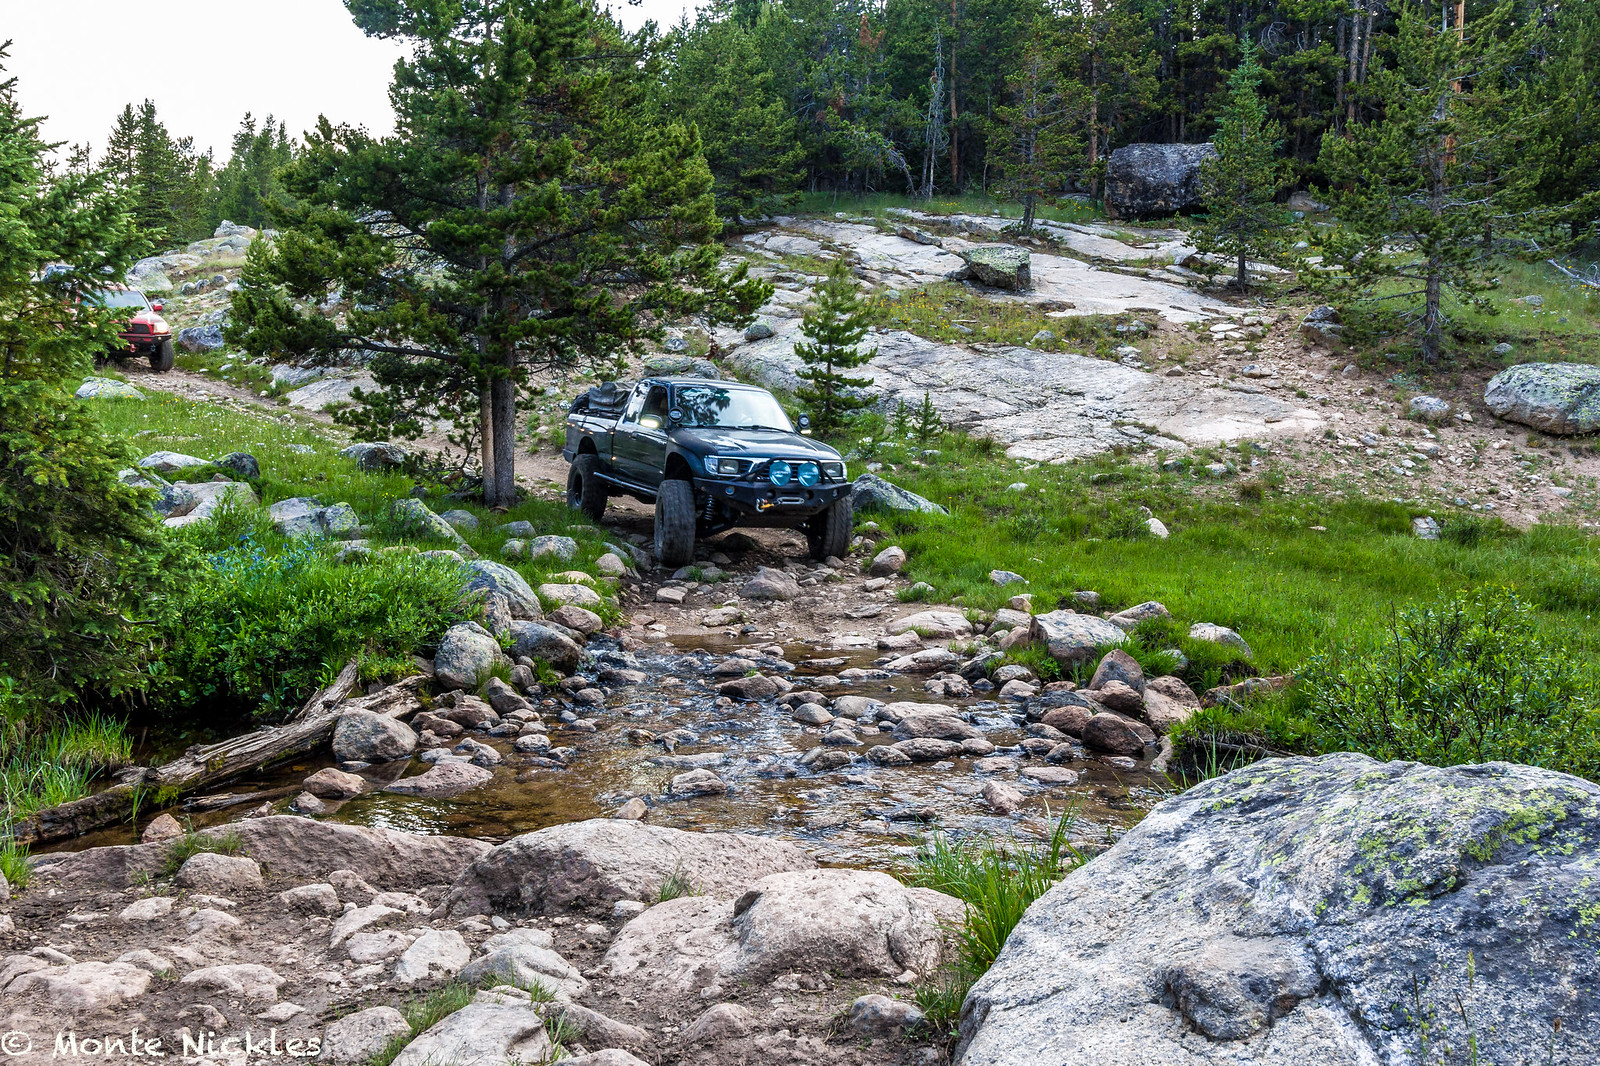 Family 4th Camping-38.jpg
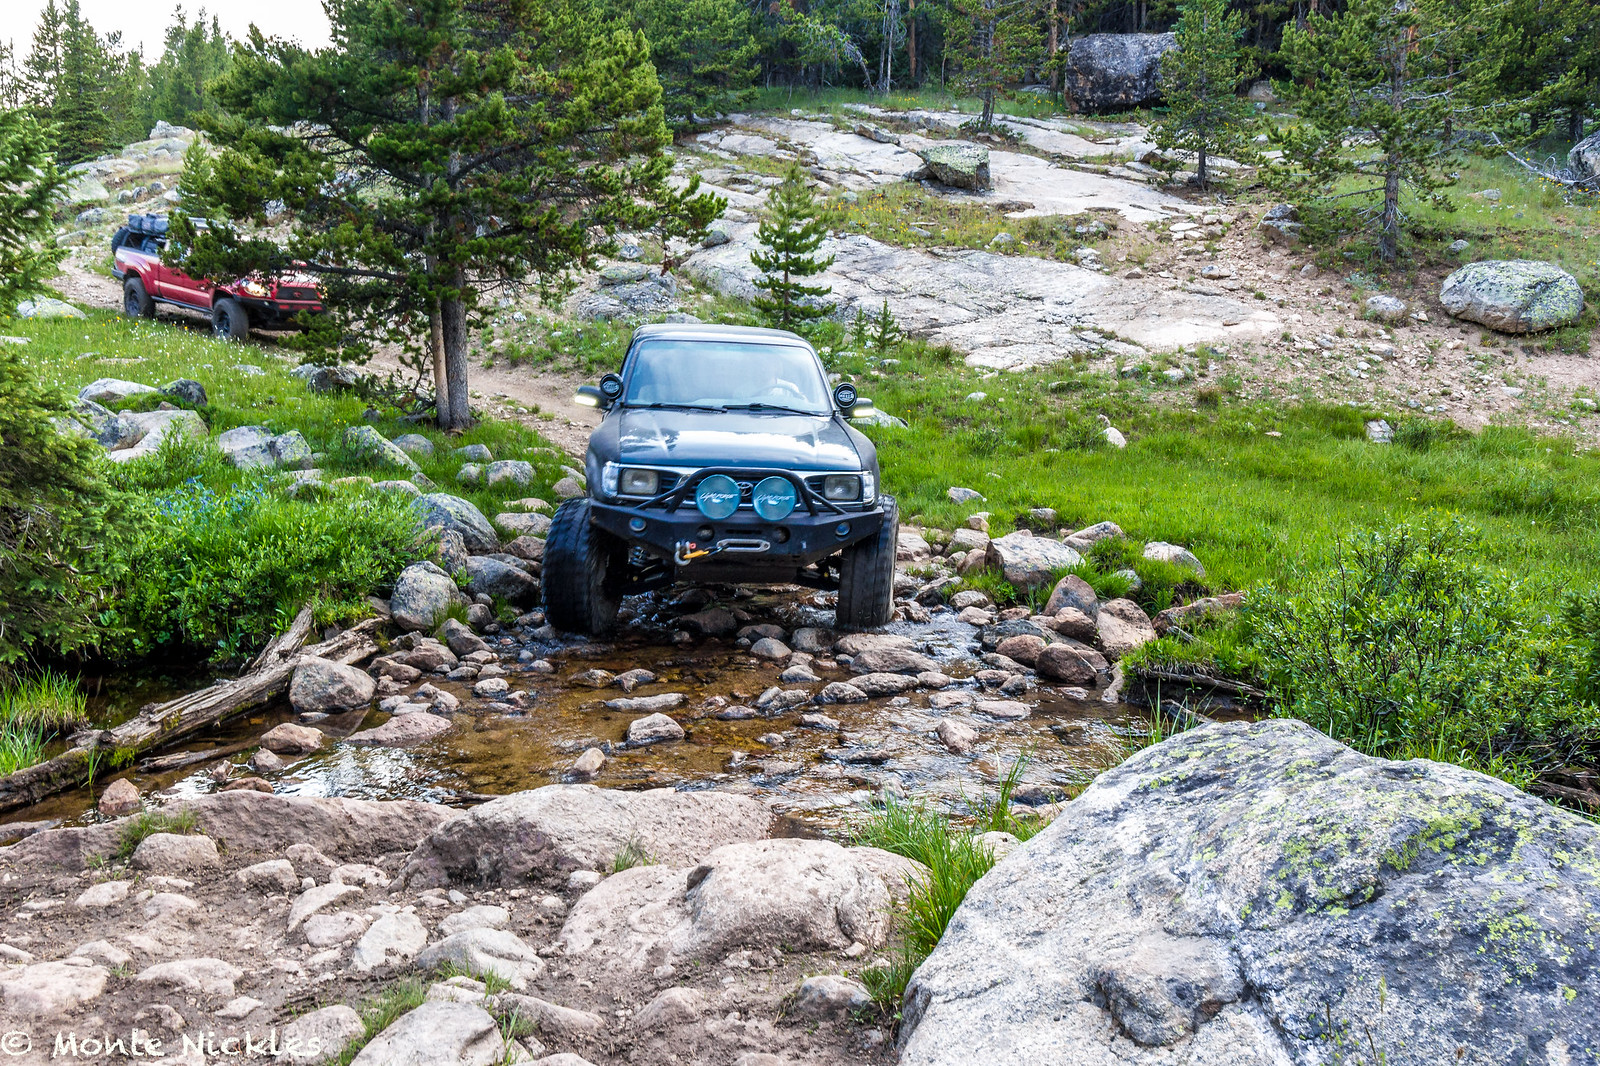 Family 4th Camping-39.jpg
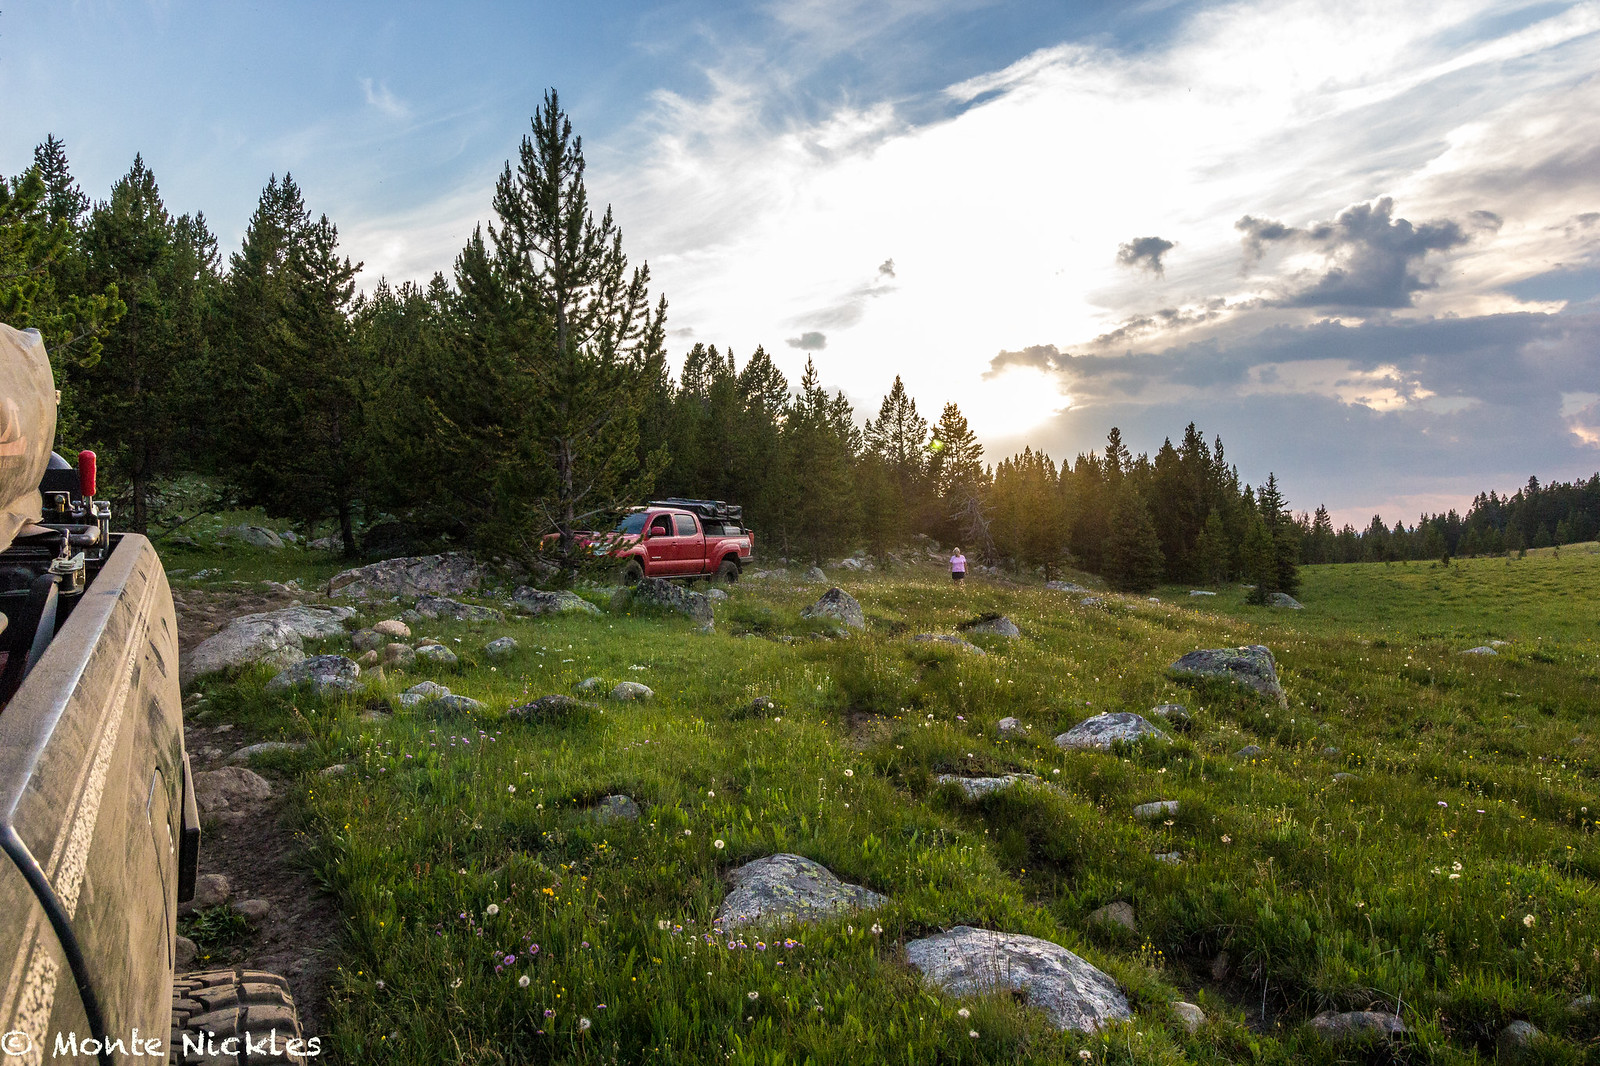 Family 4th Camping-40.jpg
 Family 4th Camping-41.jpg
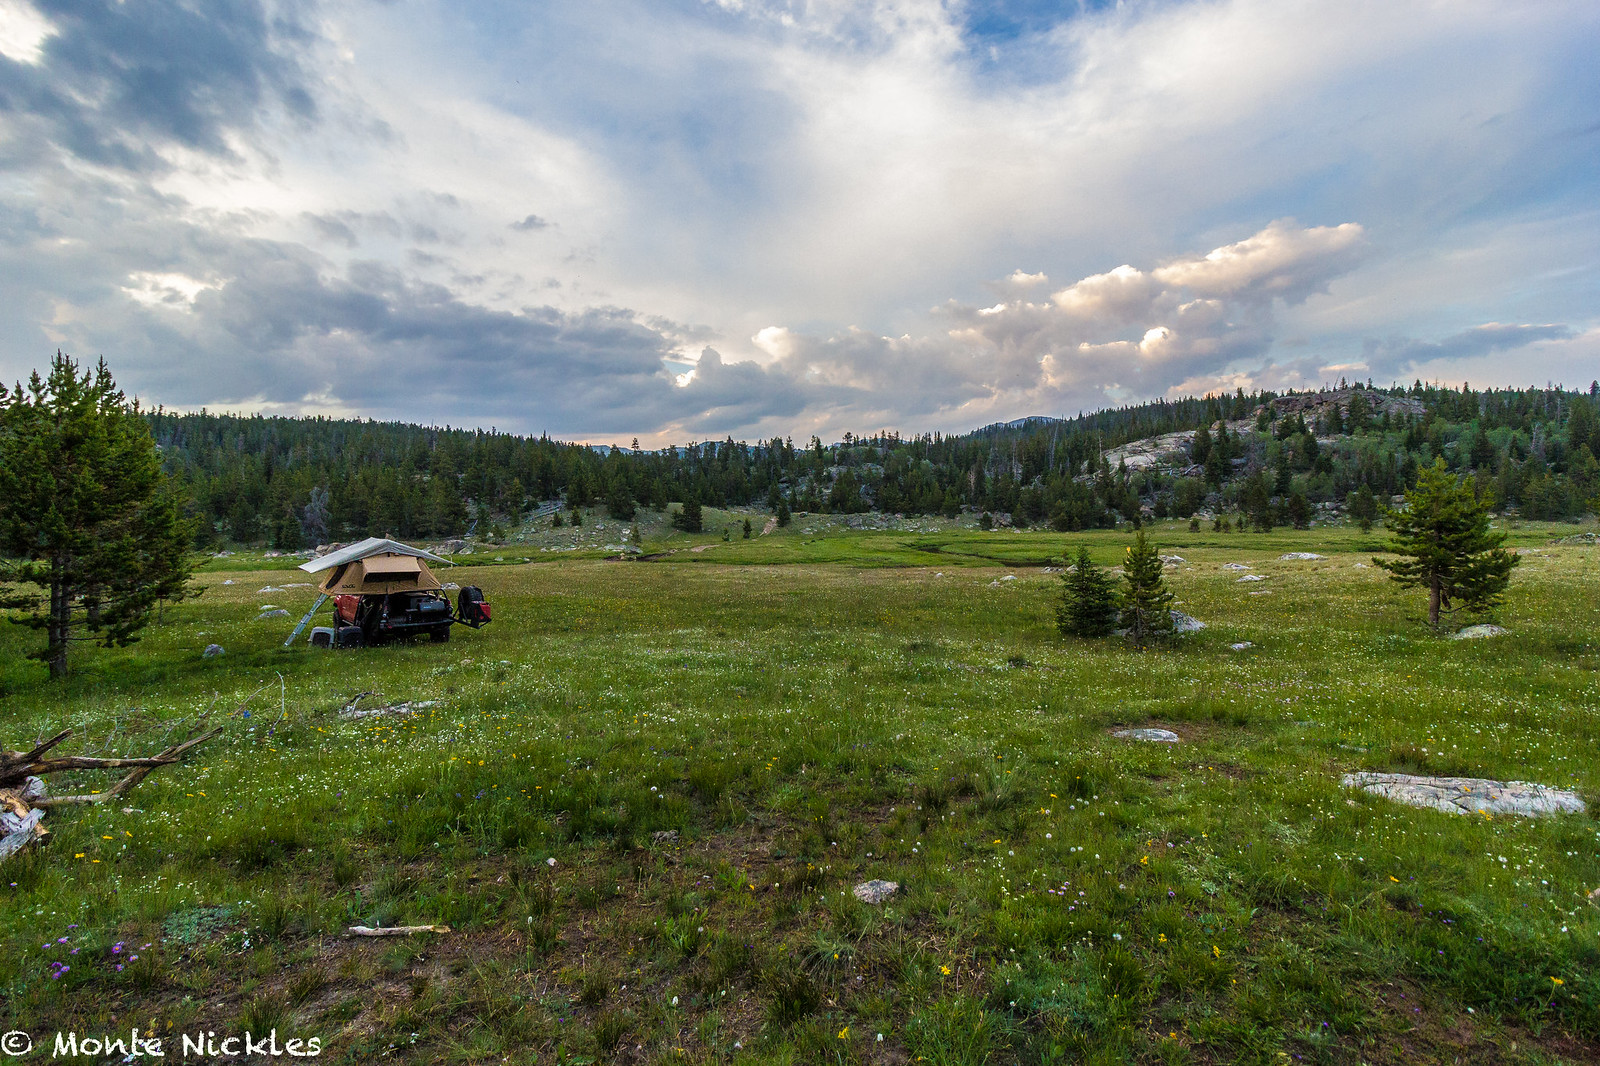 Family 4th Camping-42.jpg
 Family 4th Camping-43.jpg
 Family 4th Camping-44.jpg