Was gonna wait and do one big post but screw it.
Continuing the build of the front diff..
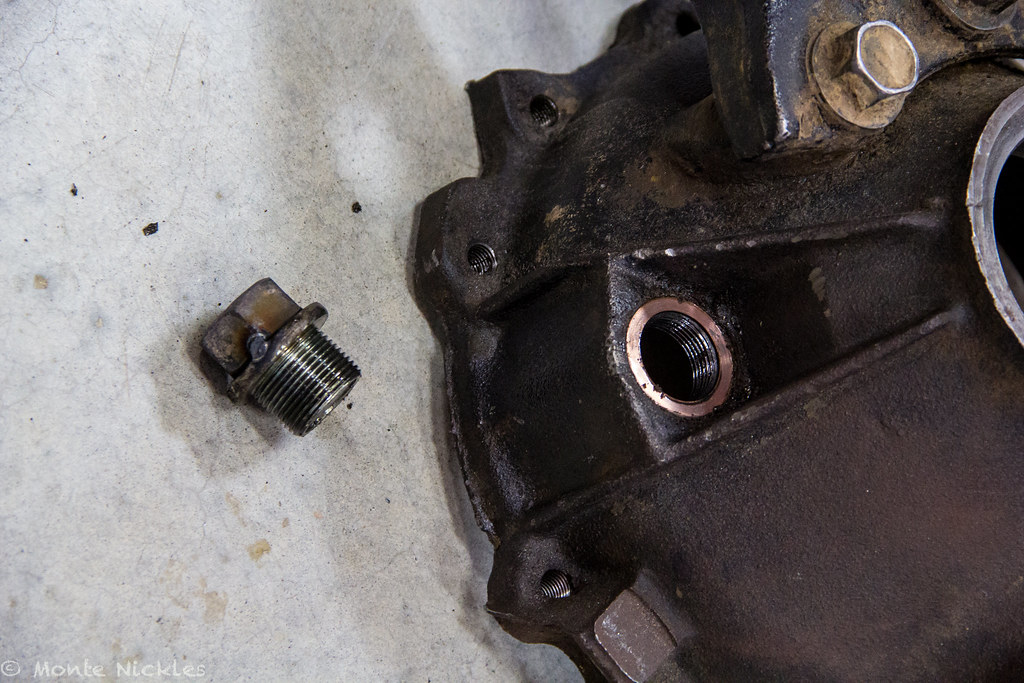
So this is where i left the solid collar spacer..
 Front diff assembly-6.jpg
 by
Monte Nickles Photos, on Flickr
the bench to grind!
 Front diff.jpg
 by
Monte Nickles Photos, on Flickr
after first pass..
 Front diff-5.jpg
 by
Monte Nickles Photos, on Flickr
 Front diff-4.jpg
 by
Monte Nickles Photos, on Flickr
so more grinding..
 Front diff-2.jpg
 by
Monte Nickles Photos, on Flickr
Done!
 Front diff-3.jpg
 by
Monte Nickles Photos, on Flickr
Now to finish getting the inner race in. Thanks to the god of diffs, Zuk, he told me to do this. Took a lot of messing with but i got it to work after many attempts.
first i set it up like so
 Front diff-6.jpg
 by
Monte Nickles Photos, on Flickr
 Front diff-7.jpg
 by
Monte Nickles Photos, on Flickr
 Front diff-8.jpg
 by
Monte Nickles Photos, on Flickr
of course that was stupid for three reasons. One, on the outer pinion side is where i needed to wrench on. Two, having the two nuts on the inside isn't nessicary. Three, the washer hit the housing so i couldn't get it down even if i wanted to.
So, after more messing about the final setup looked like so.
I used the old bearing race to help press in the new one.
 Front diff-9.jpg
 by
Monte Nickles Photos, on Flickr
and had most the all thread in the inside.
 Front diff-2.jpg
 by
Monte Nickles Photos, on Flickr
Of couse i also used super fine grit sand paper, 2000 grit, on the outside of the race and then used a big *** wrench and the screw drive to counter turn. Slide right in with some man handling.
 Front diff-4.jpg
 by
Monte Nickles Photos, on Flickr
hell..yes..
 Front diff-5.jpg
 by
Monte Nickles Photos, on Flickr
that was a mile stone in itself let me tell you. I hope that trick alone helps someone out there out cause i beat my head against the way for literally HOURS trying to get that ****er in.
but its done now

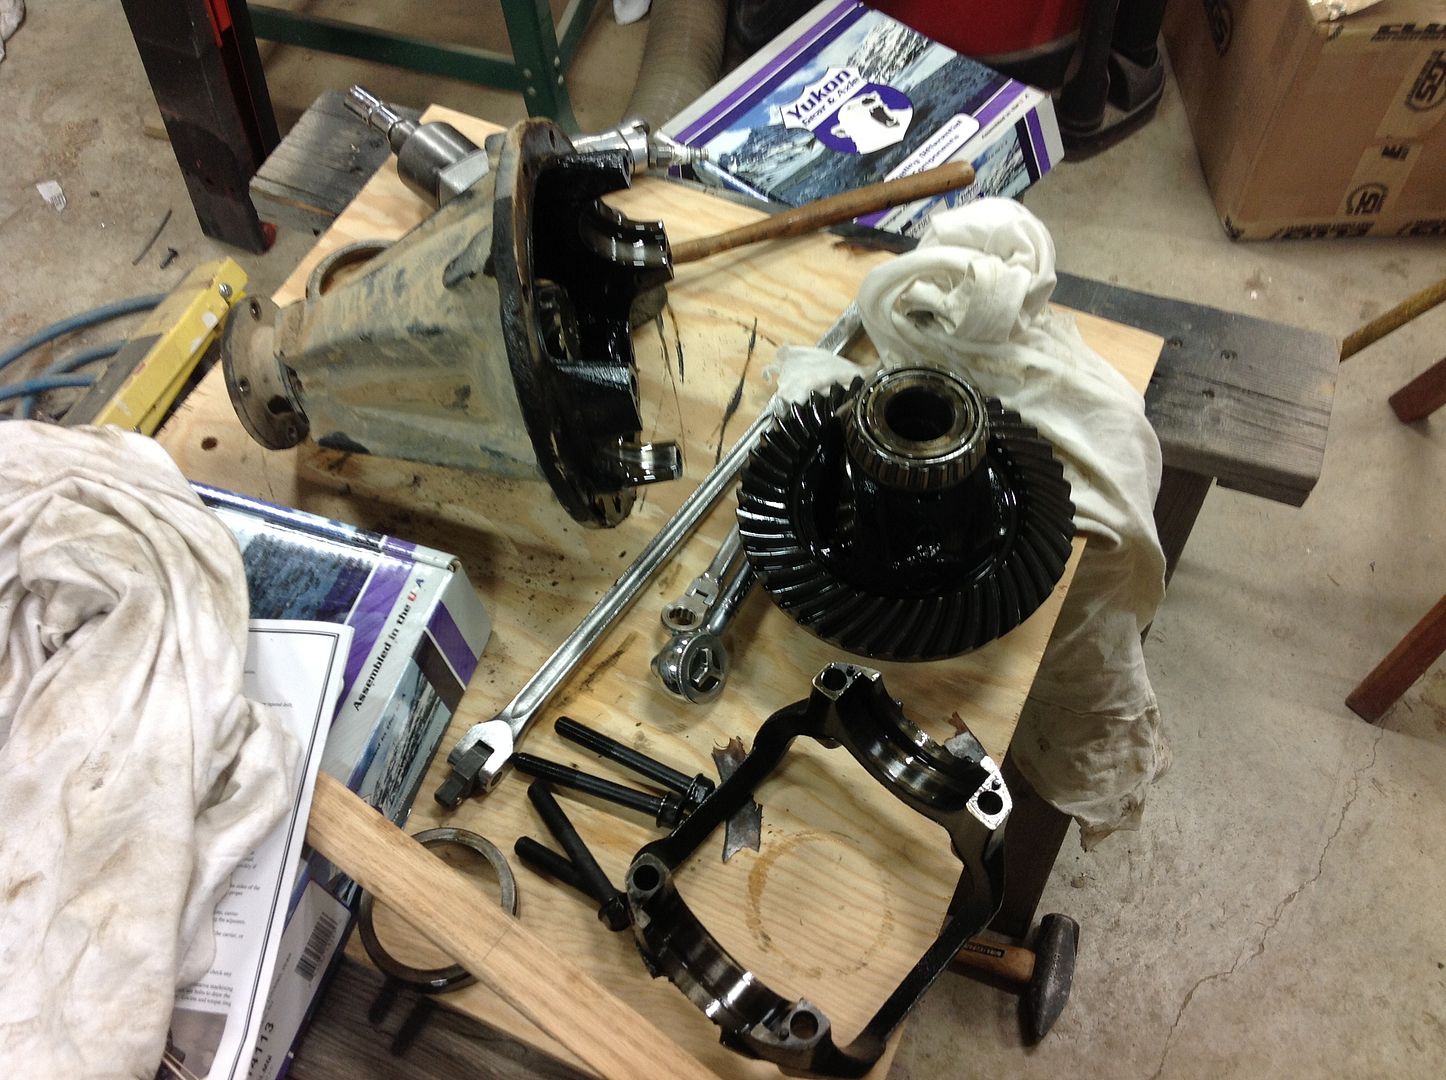
So with that all done, i put the pinion in and and ratched down the outer bearing, slapped the ring housing on and did a pattern check. My god was it off...
 Front diff-6.jpg
 by
Monte Nickles Photos, on Flickr
 Front diff-7.jpg
 by
Monte Nickles Photos, on Flickr
 Front diff-8.jpg
 by
Monte Nickles Photos, on Flickr
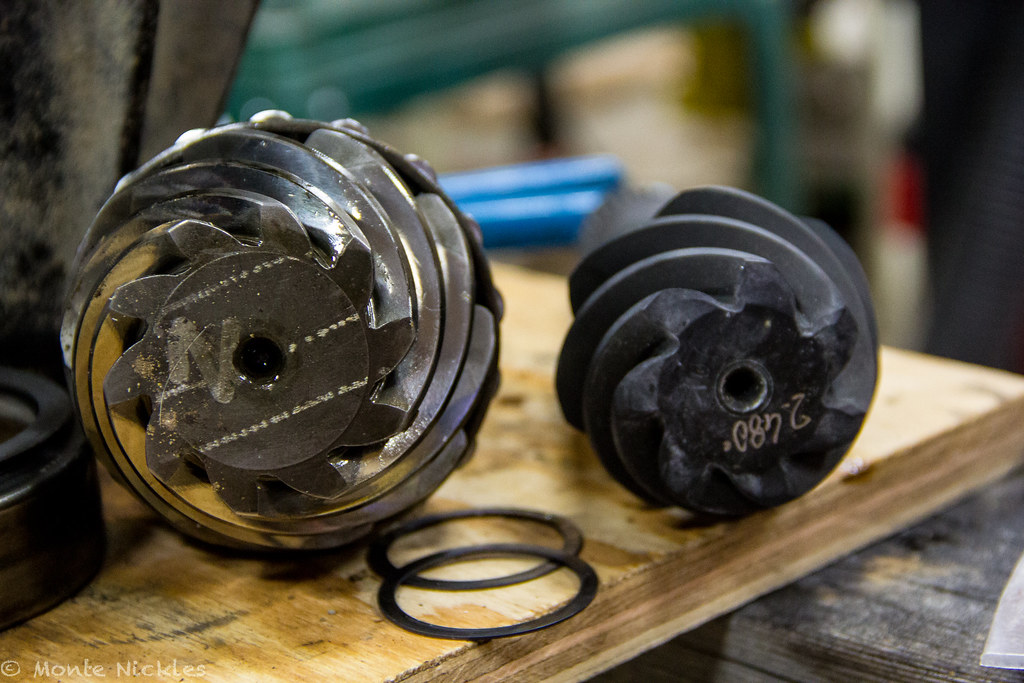
needless to say...that..is..horrible..haha I wasn't sure if my ring was way off or the pinion(which it was off, i shall show you in a second) so i emailed the god Zuk again and he told me to add more to the pinion..Which made sense to me especially since i didn't have a single spacer on there because i THOUGHT the OEM one didn't have one..but i was wrong.
But now i had another problem, how the hell do i get the bearing off it without it getting destroyed.
Time to build a bearing splitter!
Went through the scrap plate we had lying around and found a perfect piece, quiet literally perfect. Mike you'll reconige this as the chunk i cut out your bumper reinforcement plate out of

1/4'' boiler plate, it'll work nicely

 Front diff-9.jpg
 by
Monte Nickles Photos, on Flickr
Fired up the good ole torch and cut off the long piece and was left with a 6x6 about piece.
 Front diff-10.jpg
 by
Monte Nickles Photos, on Flickr
took a square, a washer, and file to mark it and drew this out.
 Front diff-11.jpg
 by
Monte Nickles Photos, on Flickr
 Frankenstein.jpg by Monte Nickles Photos, on Flickr
 Frankenstein-2.jpg by Monte Nickles Photos, on Flickr
 Frankenstein.jpg by Monte Nickles Photos, on Flickr
 Frankenstein-2.jpg by Monte Nickles Photos, on Flickr
 Frankenstein-2.jpg by Monte Nickles Photos, on Flickr
 Frankenstein-4.jpg by Monte Nickles Photos, on Flickr
 Frankenstein-5.jpg by Monte Nickles Photos, on Flickr
 Frankenstein-6.jpg by Monte Nickles Photos, on Flickr
") We had a build thread for him, but my Dad is terrible about it and so am I. But the mods done to it are..well a lot.
We had a build thread for him, but my Dad is terrible about it and so am I. But the mods done to it are..well a lot. 


 Pinion
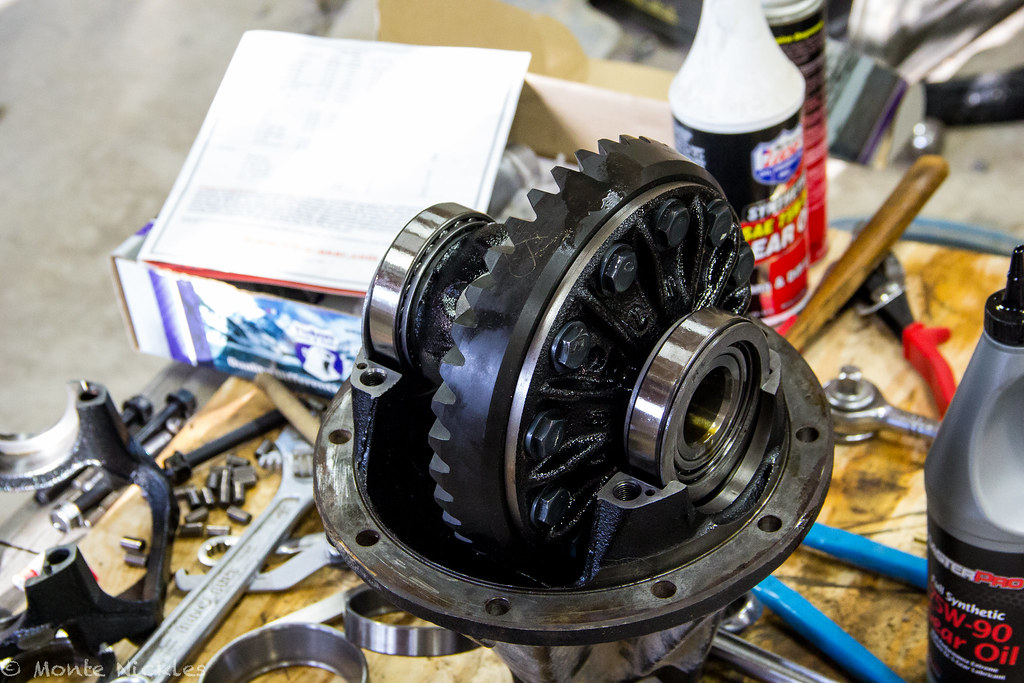 Diff
Diff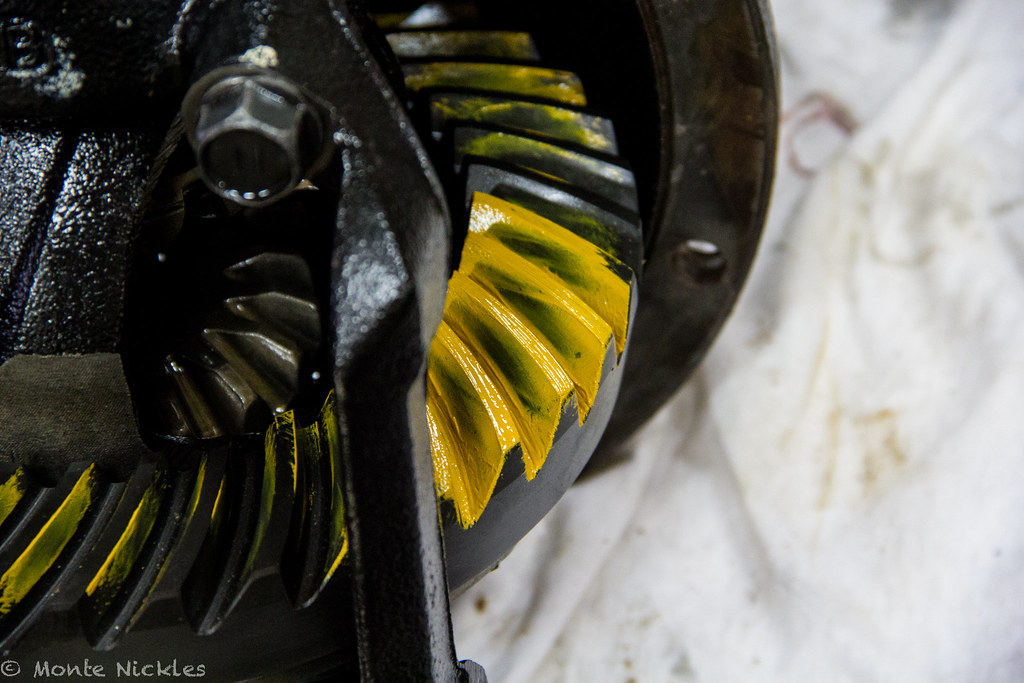 wear
wear Front diff gears.jpg
 Front diff gears-2.jpg
 Front diff gears-3.jpg
 Front diff gears-4.jpg
 Front diff gears-5.jpg
 Front diff gears-7.jpg
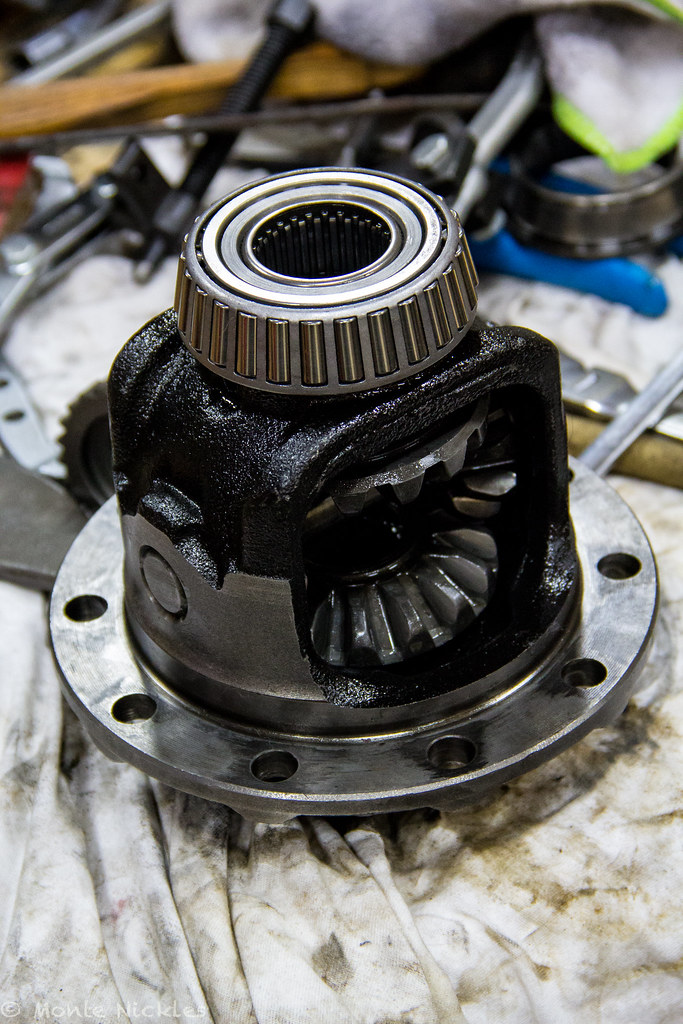 Front diff gears-8.jpg
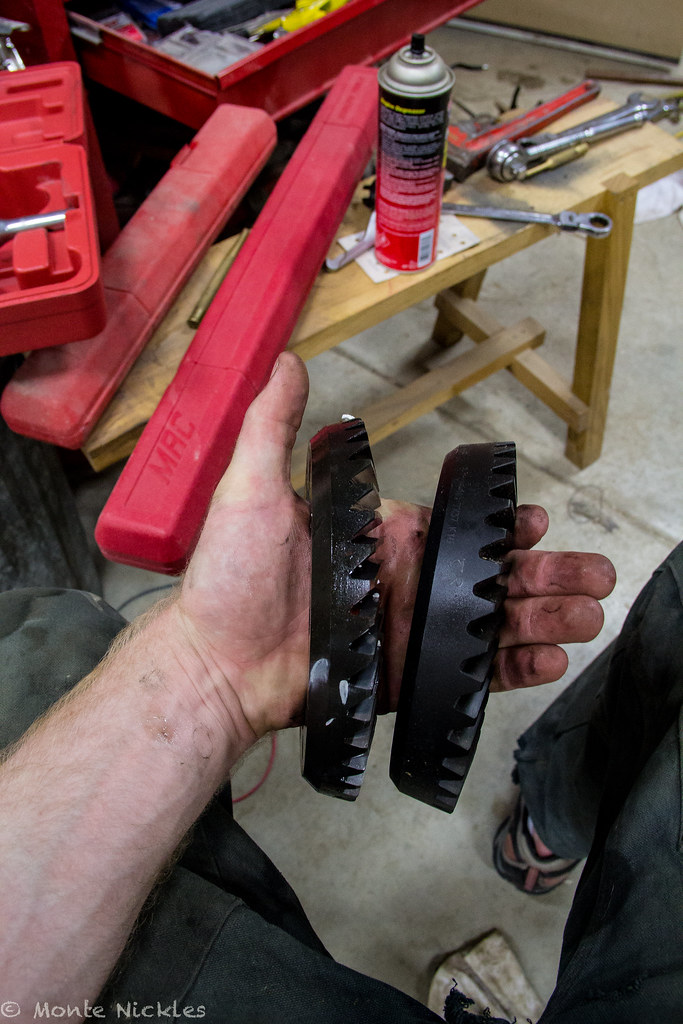 Front diff gears-9.jpg
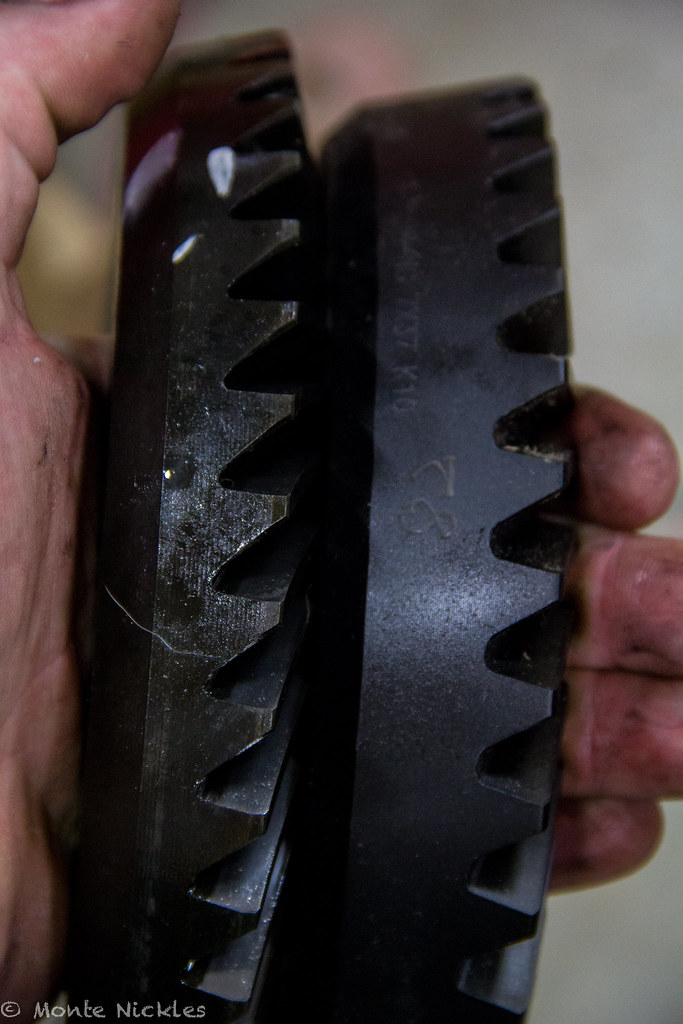 Front diff gears-10.jpg
 Front diff gears-12.jpg
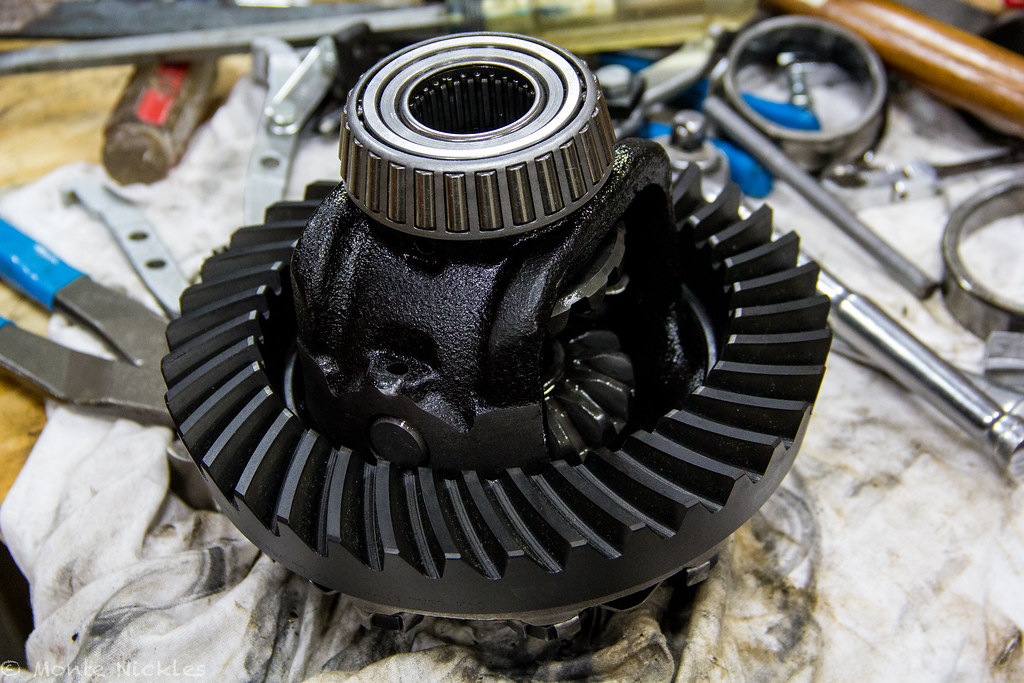 Front diff gears-13.jpg
 Grant's Graduation.jpg
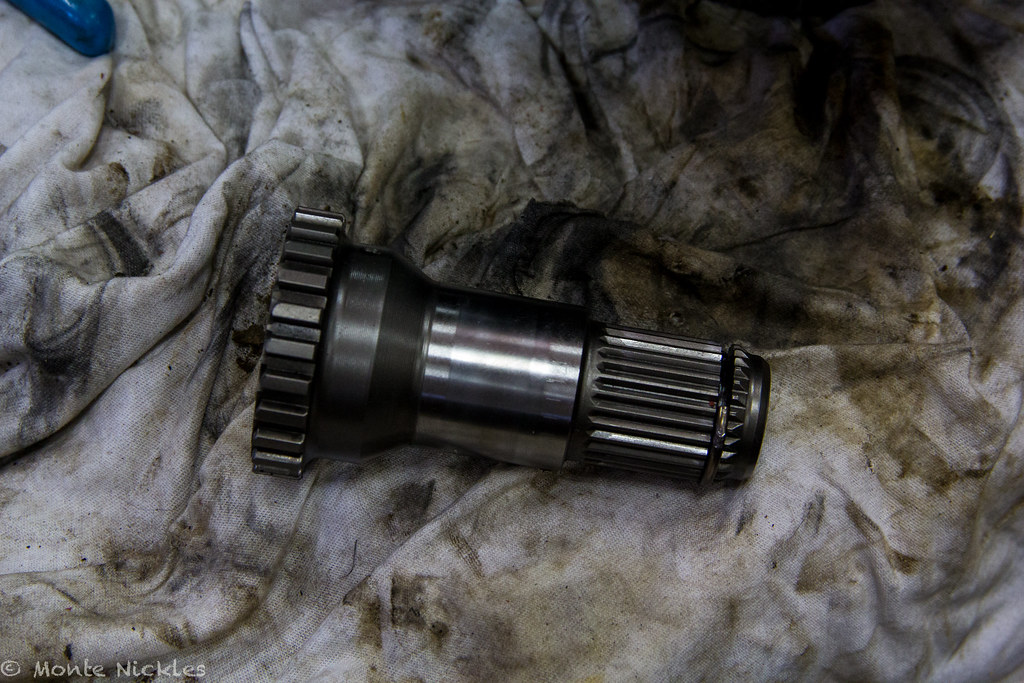 Front diff assembly.jpg
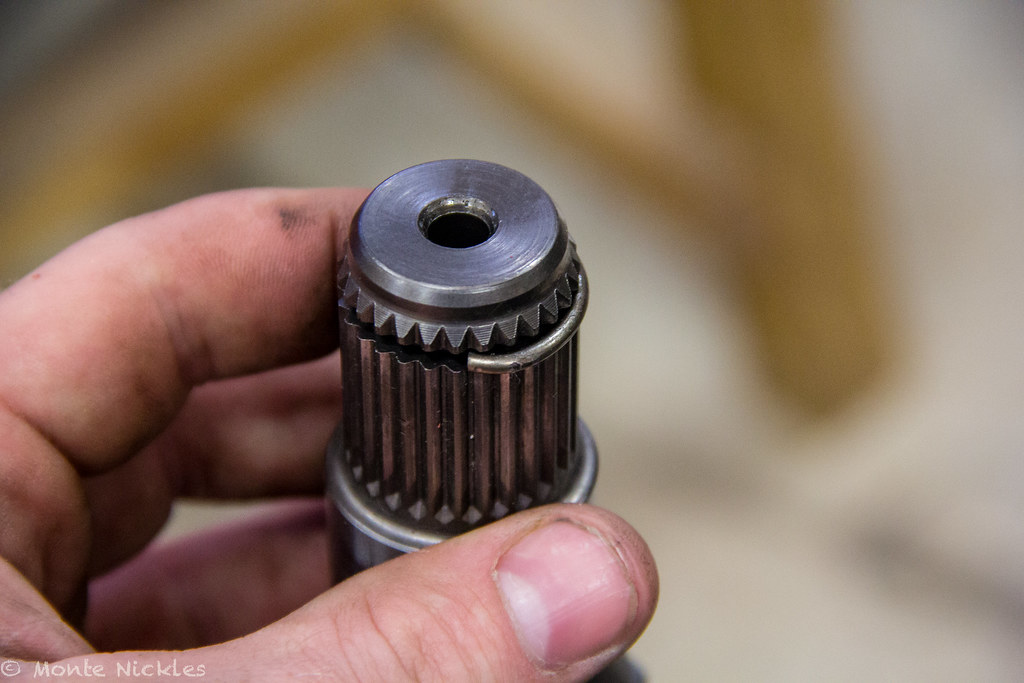 Front diff assembly-2.jpg
 Front diff assembly-3.jpg
 Front diff assembly-4.jpg
 Front diff assembly-5.jpg
 Front diff assembly-6.jpg
 Front diff assembly-7.jpg
 Front diff assembly-8.jpg
 Front diff assembly-9.jpg
 Front diff assembly-10.jpg
 Front diff assembly-11.jpg
 Front diff assembly-12.jpg
 Front diff assembly-13.jpg
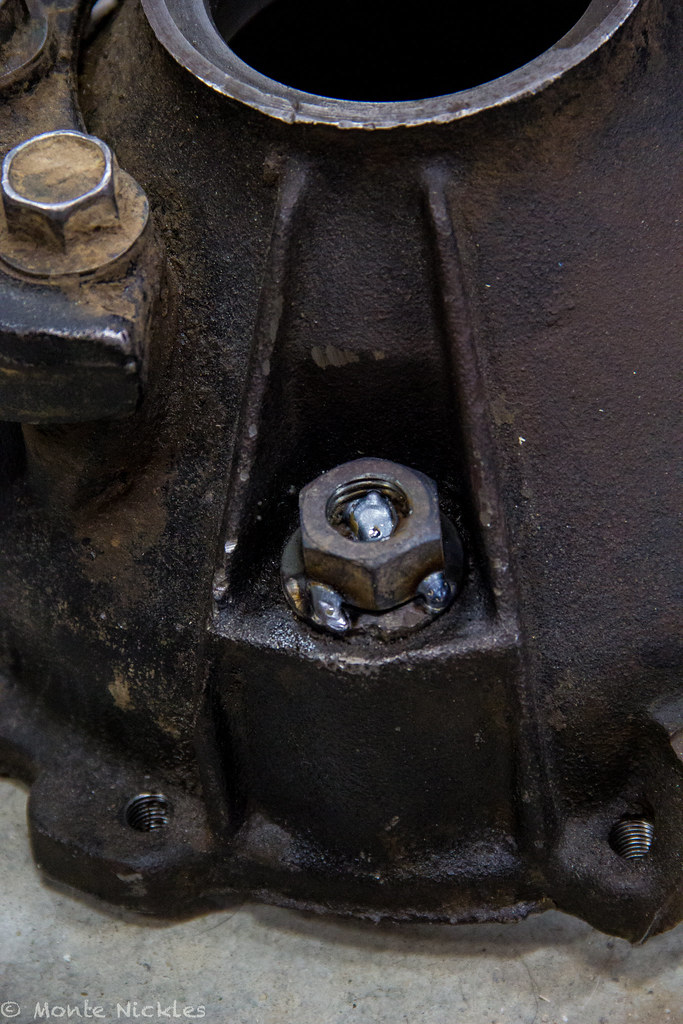


 Front diff assembly.jpg
 Front diff assembly-2.jpg
 TacoLand
 Front diff-12.jpg
 Front diff-13.jpg
 Front diff-14.jpg
 Front diff-15.jpg
 Front diff-16.jpg
 Front diff-17.jpg
 Front diff-18.jpg
 Front diff-19.jpg
 Front diff.jpg
 Front diff.jpg
 Front diff-2.jpg
 Front diff-3.jpg
 Stars n tent
 Frankenstein cleaned.jpg
 Frankenstein cleaned-2.jpg
 Frankenstein cleaned-3.jpg
 Frankenstein cleaned-4.jpg
 Frankenstein cleaned-5.jpg
 Frankenstein cleaned-6.jpg
 Frankenstein cleaned-7.jpg
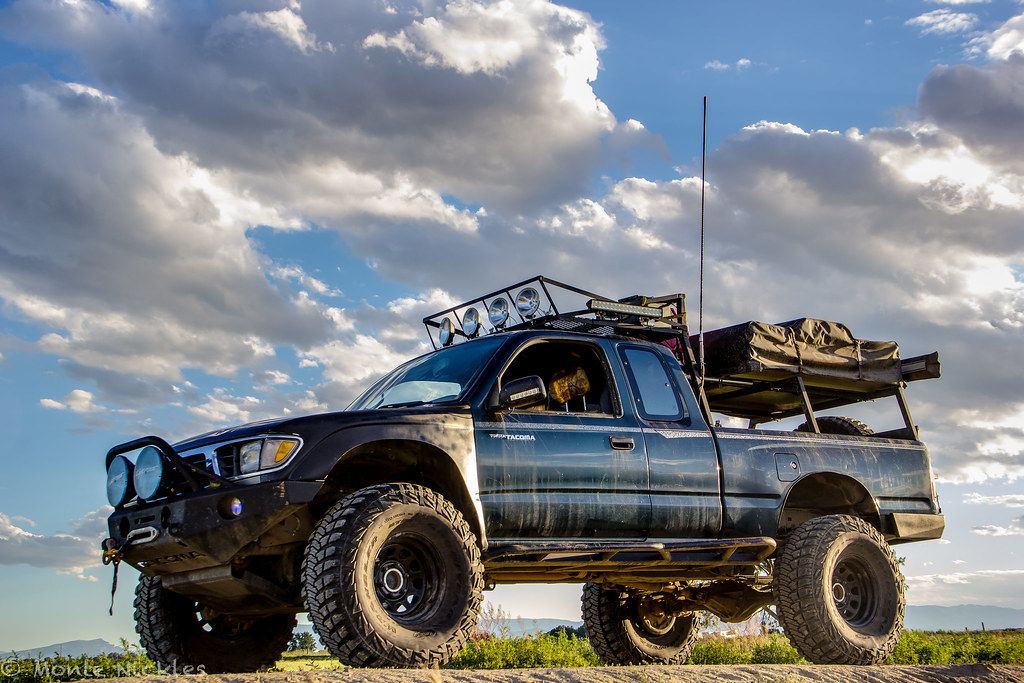 Frankenstein cleaned-8.jpg
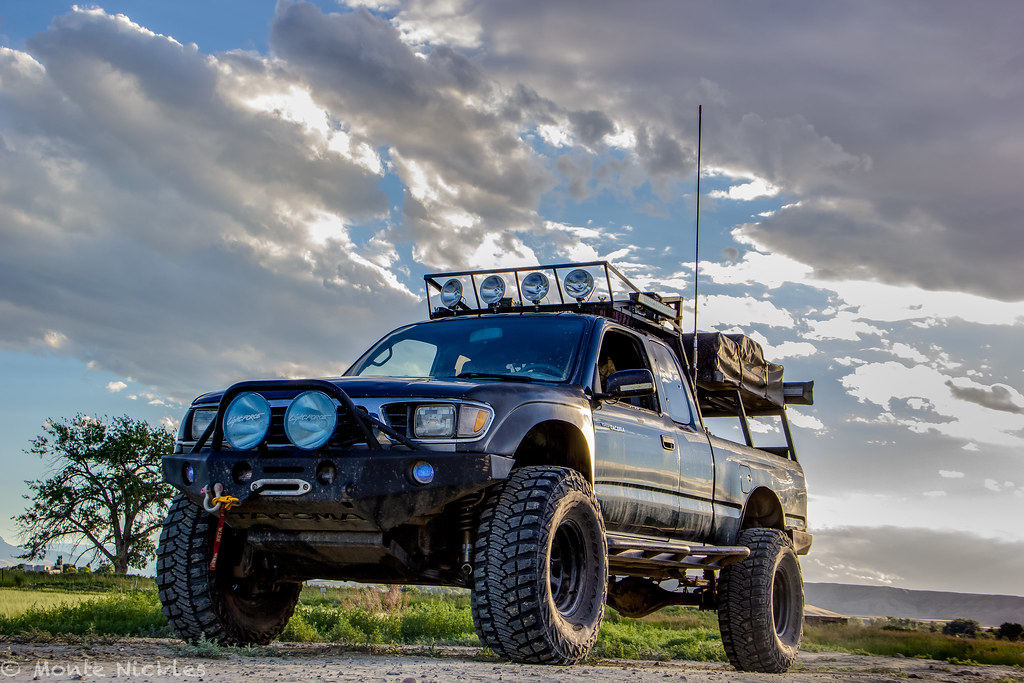 Frankenstein cleaned-9.jpg
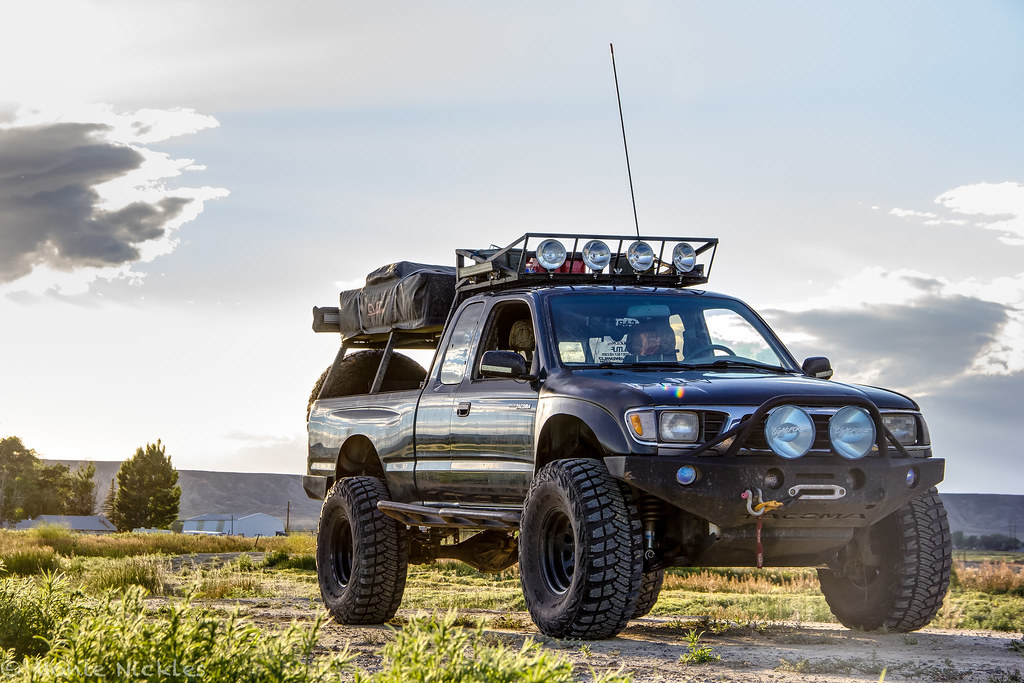 Frankenstein cleaned.jpg
 So will have to try and fix it and maybe come up with a new removable mount.
 4thjulyweekend-2.jpg
 4thjulyweekend.jpg
 4thjulyweekend-3.jpg
 4thjulyweekend-4.jpg
 4thjulyweekend-2.jpg
 4thjulyweekend-3.jpg
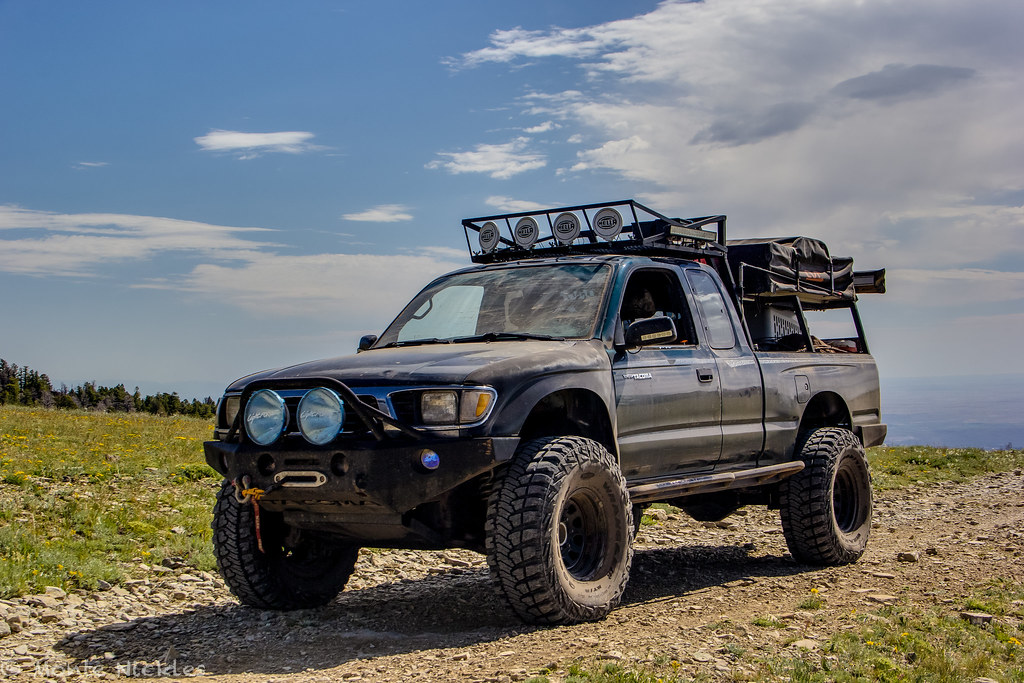 4thjulyweekend-4.jpg
 4thjulyweekend.jpg
 4thjulyweekend-2.jpg
 4thjulyweekend-3.jpg
 4thjulyweekend-4.jpg
 4thjulyweekend.jpg
 4thjulyweekend-5.jpg
 4thjulyweekend-6.jpg
 4thjulyweekend-7.jpg
 4thjulyweekend-8.jpg
 4thjulyweekend-9.jpg
 4thjulyweekend-5.jpg
 4thjulyweekend-6.jpg
 4thjulyweekend-7.jpg
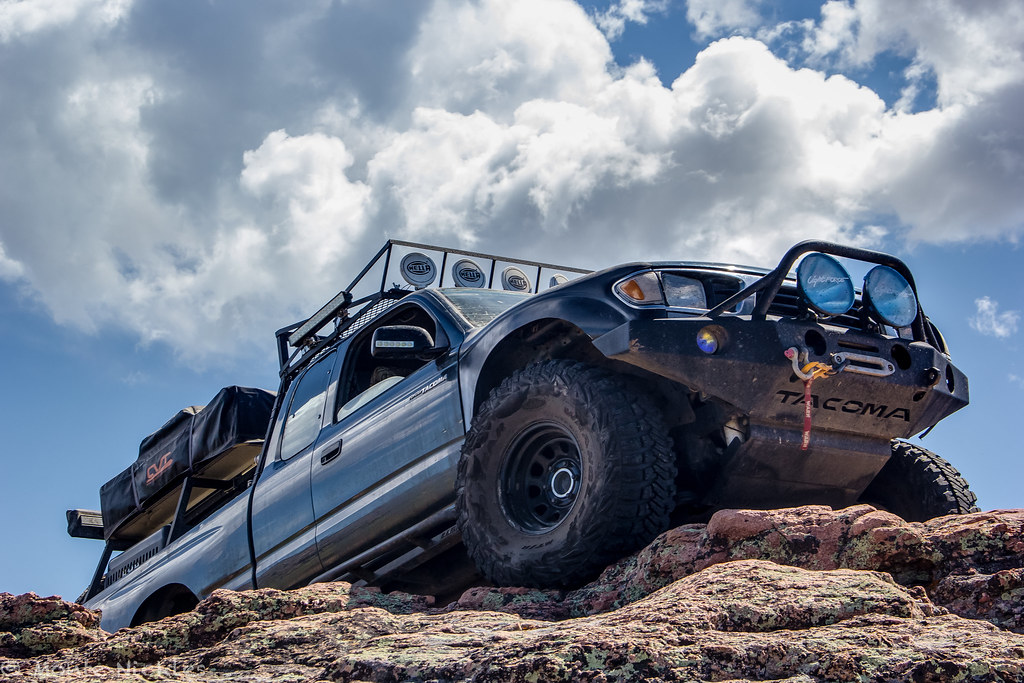 4thjulyweekend-8.jpg
 4thjulyweekend-9.jpg
 4thjulyweekend-10.jpg
 4thjulyweekend-11.jpg
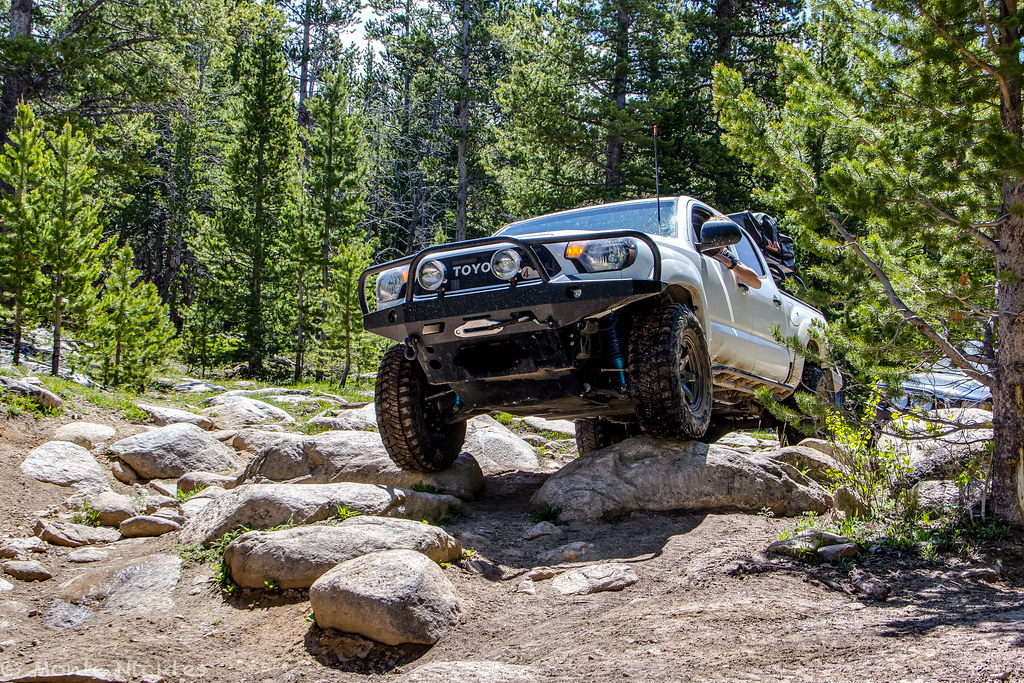 4thjulyweekend-12.jpg
 4thjulyweekend-13.jpg
 4thjulyweekend-14.jpg
 4thjulyweekend-15.jpg
 4thjulyweekend-16.jpg
 4thjulyweekend-17.jpg
 4thjulyweekend-18.jpg
 4thjulyweekend-19.jpg
 4thjulyweekend-20.jpg
 4thjulyweekend-21.jpg
 4thjulyweekend-22.jpg
 4thjulyweekend-23.jpg
 4thjulyweekend.jpg
 4thjulyweekend-24.jpg
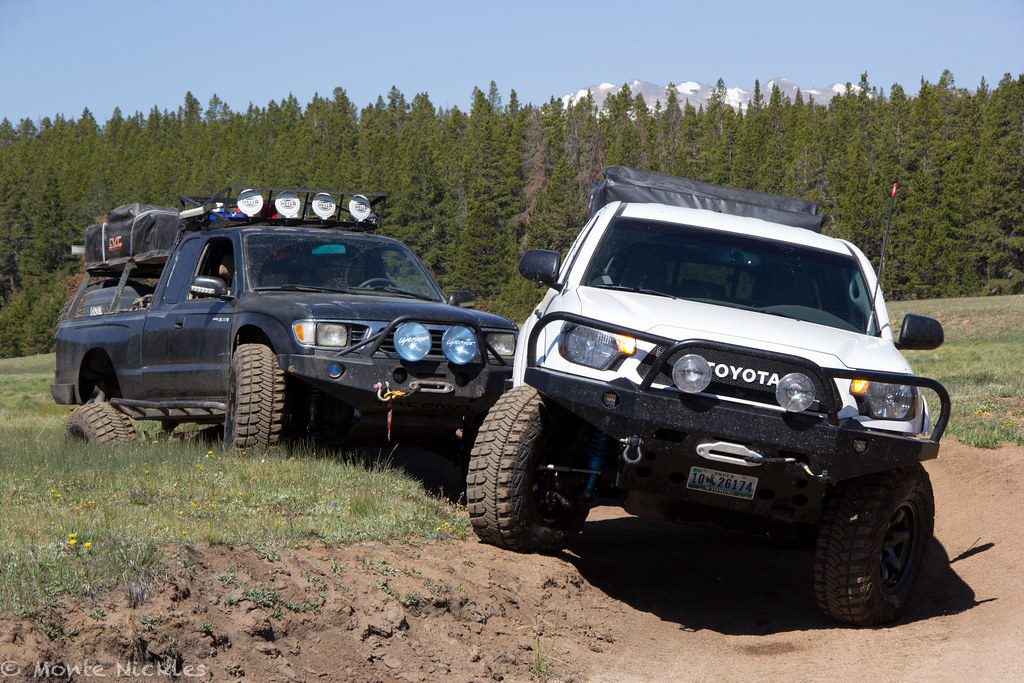 4thjulyweekend-25.jpg
 4thjulyweekend-26.jpg
 4thjulyweekend-27.jpg
 4thjulyweekend-28.jpg
 4thjulyweekend-29.jpg
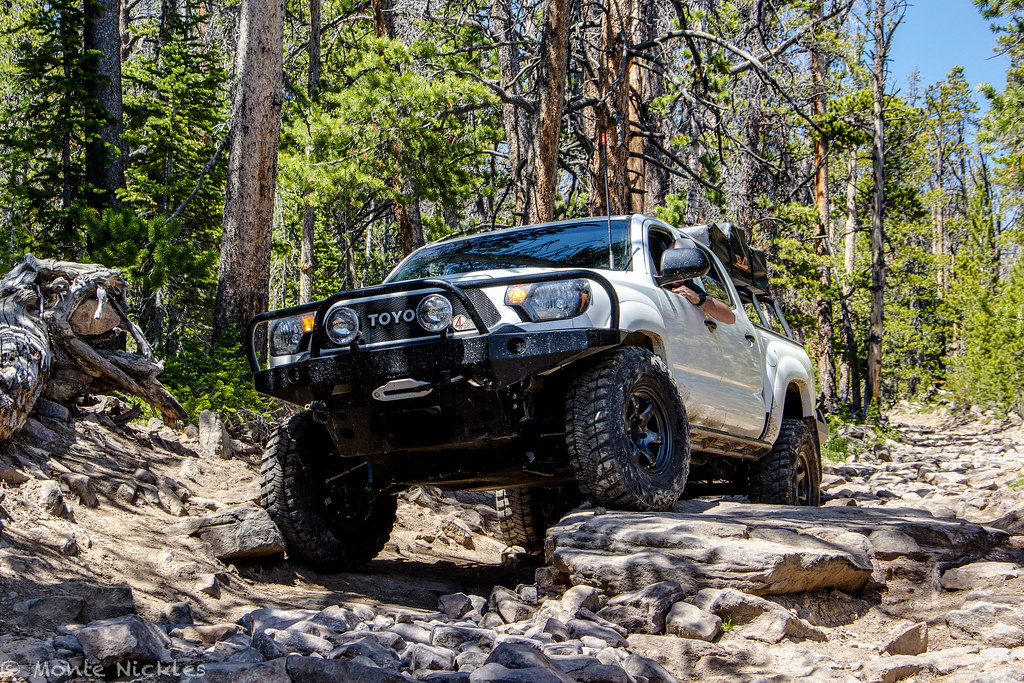 4thjulyweekend-30.jpg
 4thjulyweekend-31.jpg
 4thjulyweekend-32.jpg
 4thjulyweekend-33.jpg
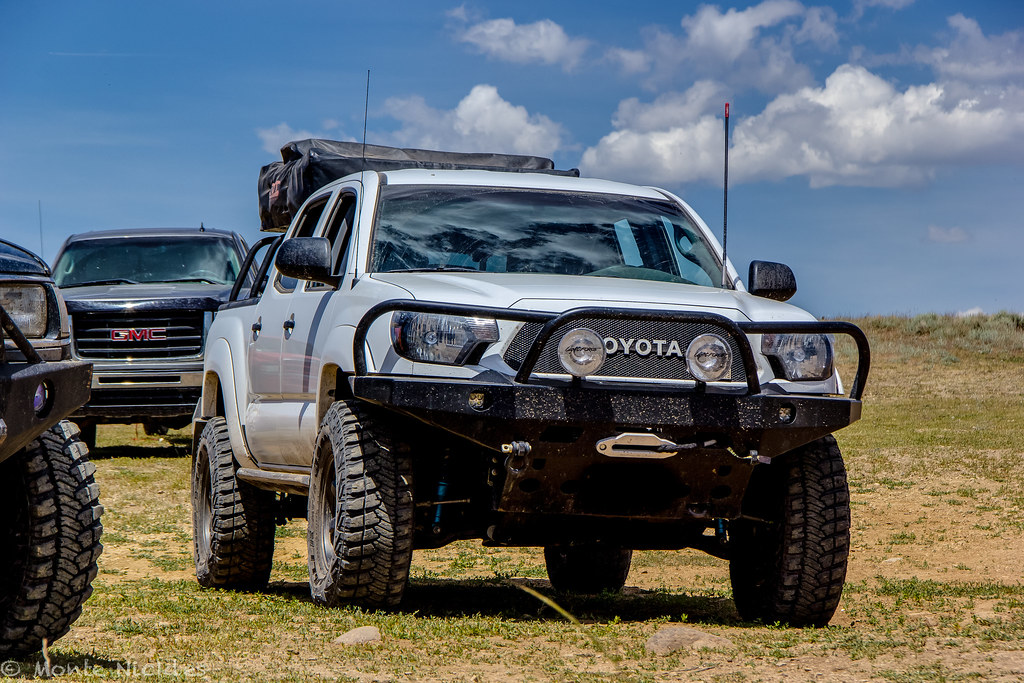 4thjulyweekend.jpg
 4thjulyweekend-2.jpg
 4thjulyweekend-3.jpg
 4thjulyweekend-4.jpg
 4thjulyweekend-5.jpg
 4thjulyweekend-6.jpg
 4thjulyweekend-7.jpg
 4thjulyweekend-8.jpg
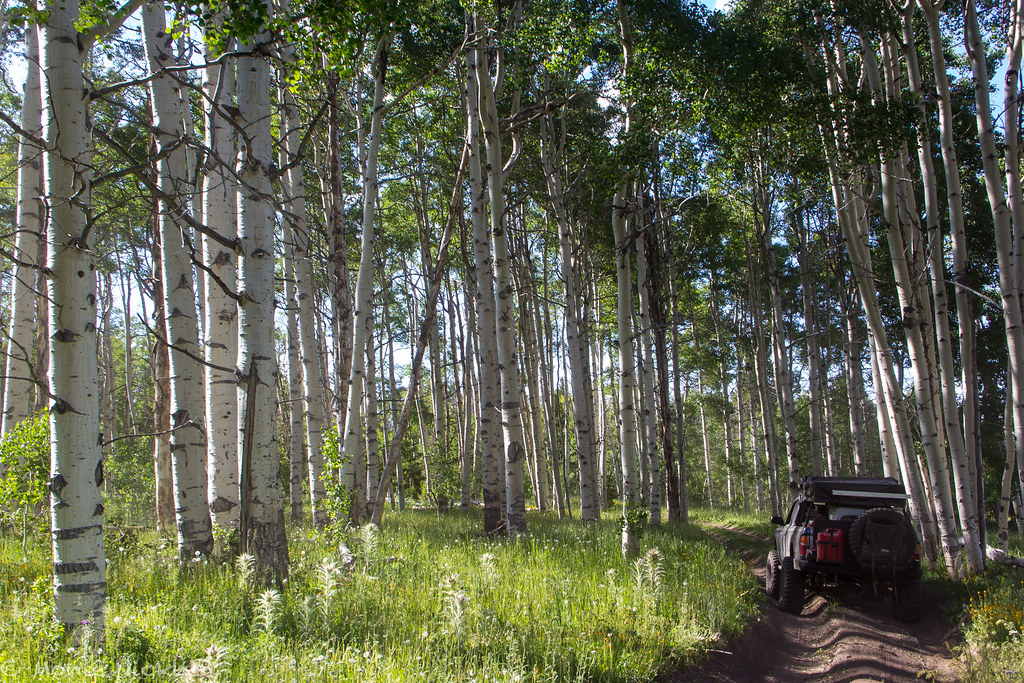 4thjulyweekend-9.jpg
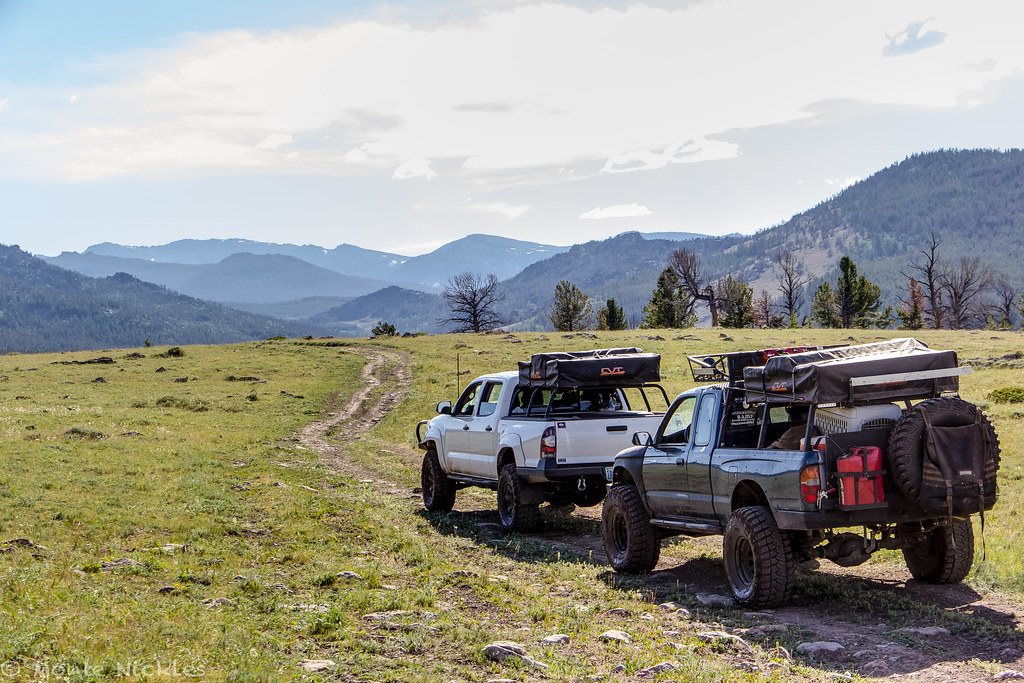 4thjulyweekend-10.jpg
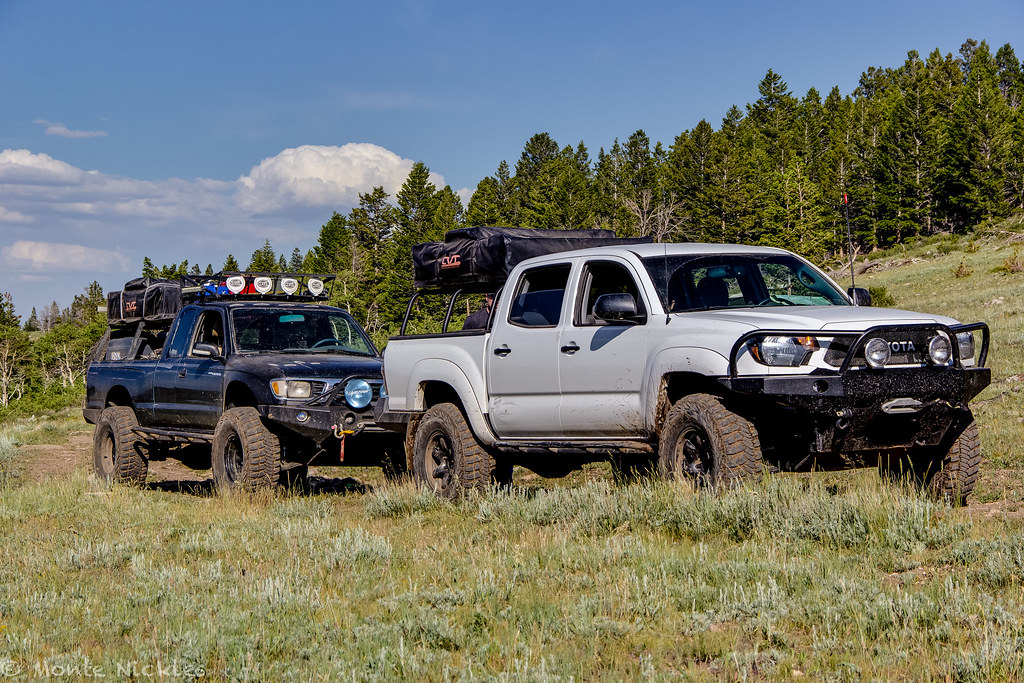 4thjulyweekend-11.jpg
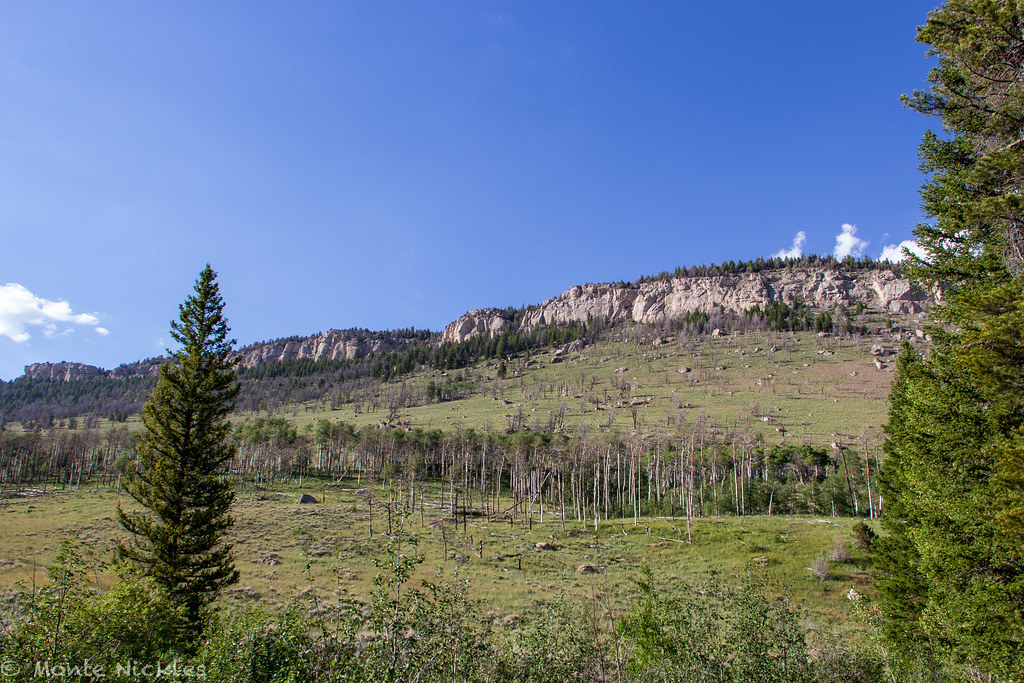 4thjulyweekend-12.jpg
 4thjulyweekend-13.jpg
 4thjulyweekend-14.jpg
 4thjulyweekend-15.jpg
 4thjulyweekend-16.jpg
 4thjulyweekend-17.jpg
 4thjulyweekend-18.jpg
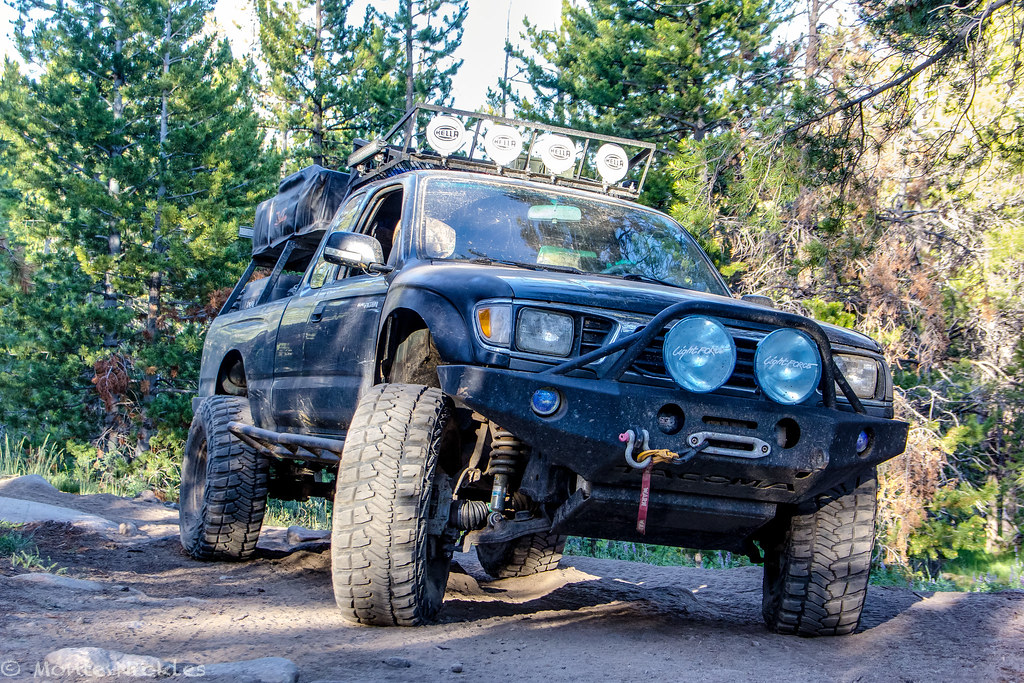 4thjulyweekend-19.jpg
 4thjulyweekend-21.jpg
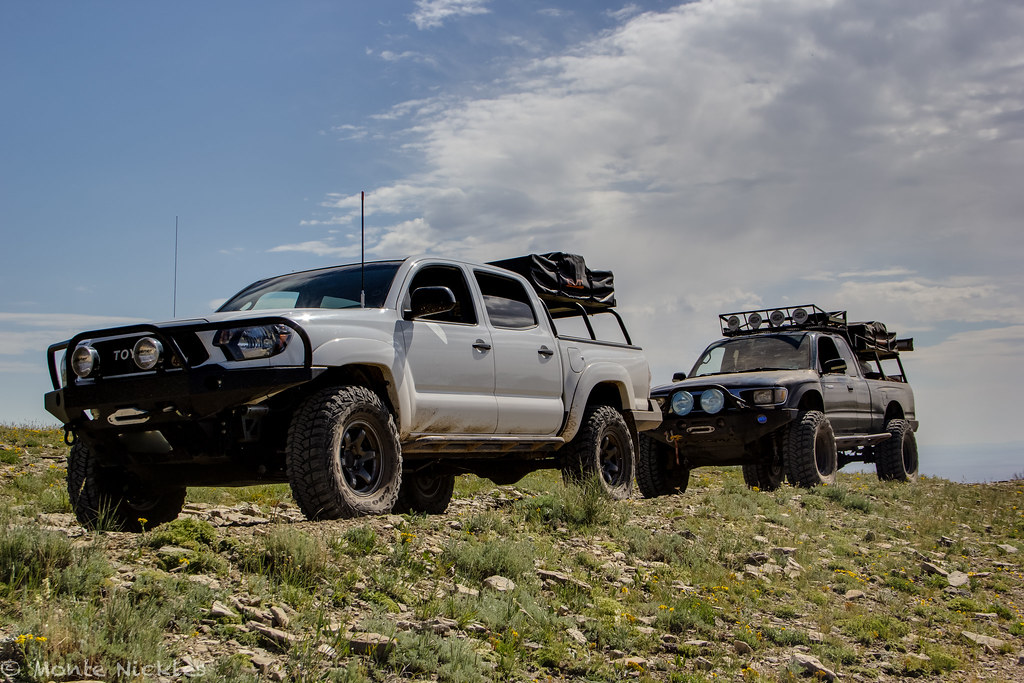 4thjulyweekend-20.jpg
 4thjulyweekend-22.jpg
 4thjulyweekend-23.jpg
 HDR11 (1 of 1)
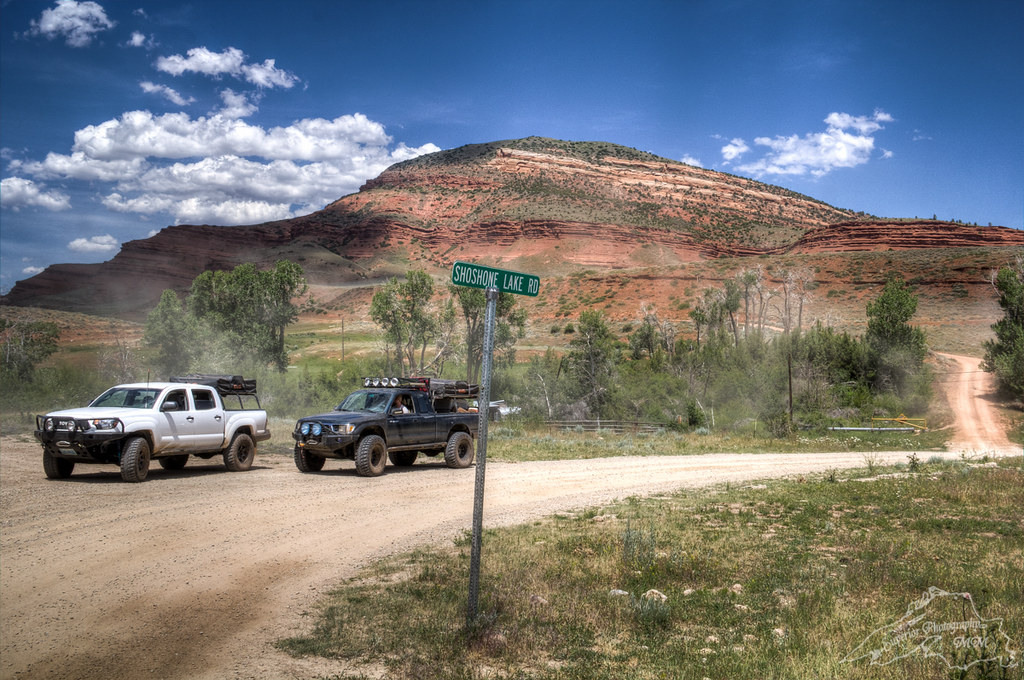 HDR8 (1 of 1)
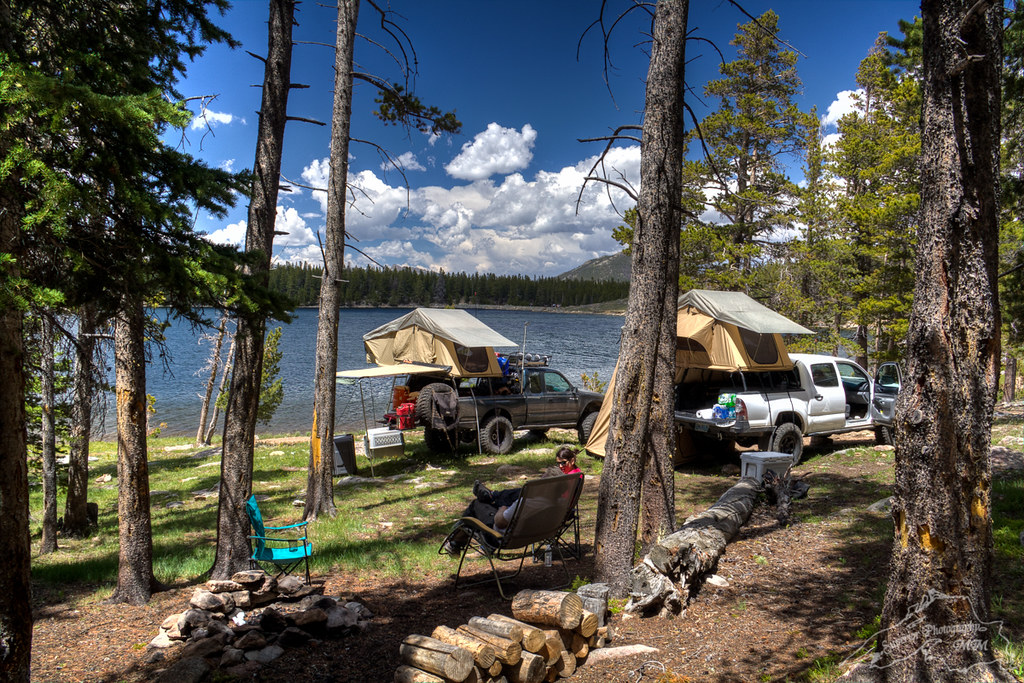 HDR5 (1 of 1)
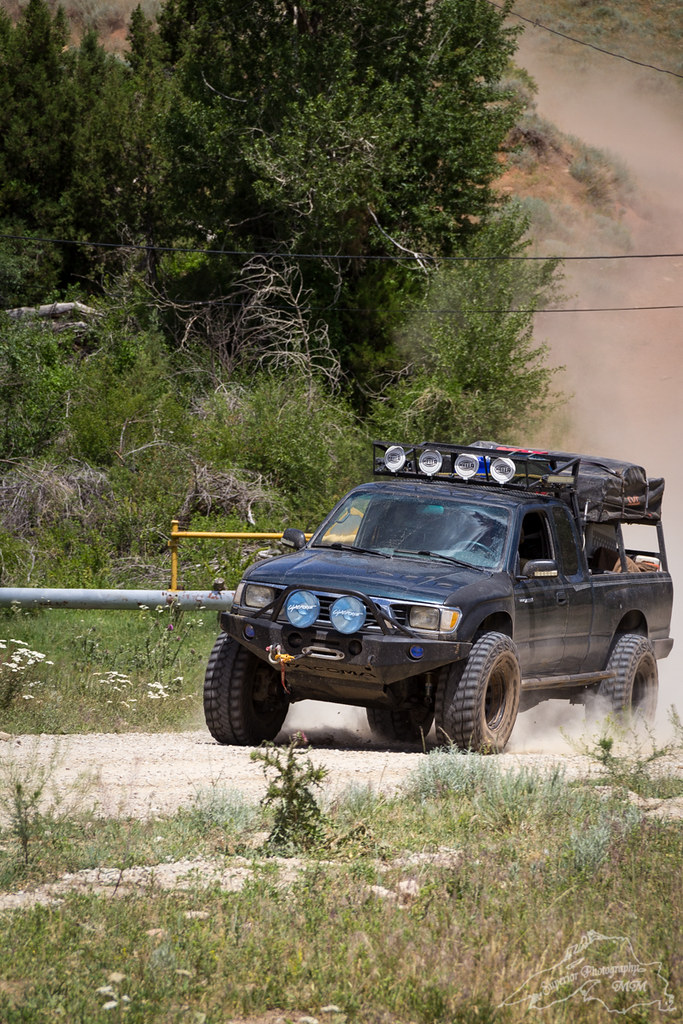 26-1
26-1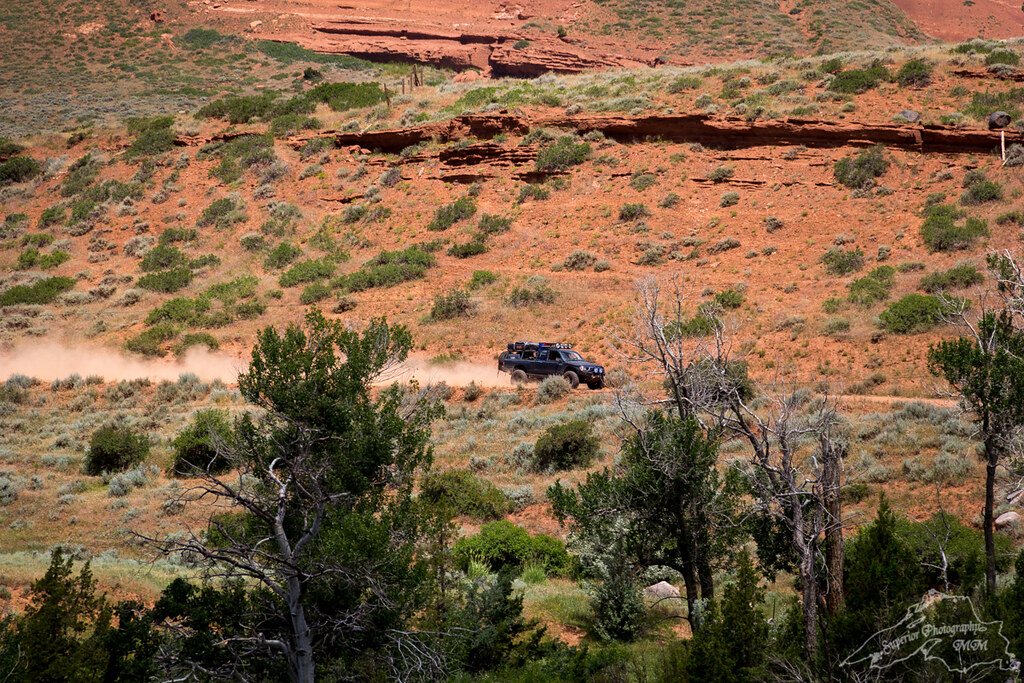 25-1
25-1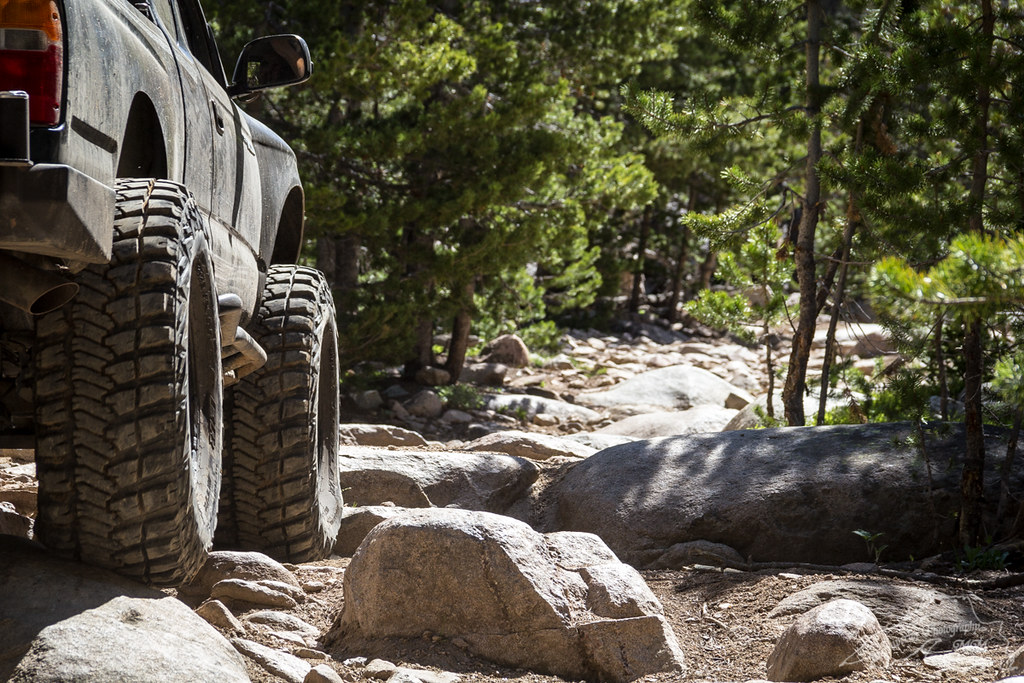 21-1
21-1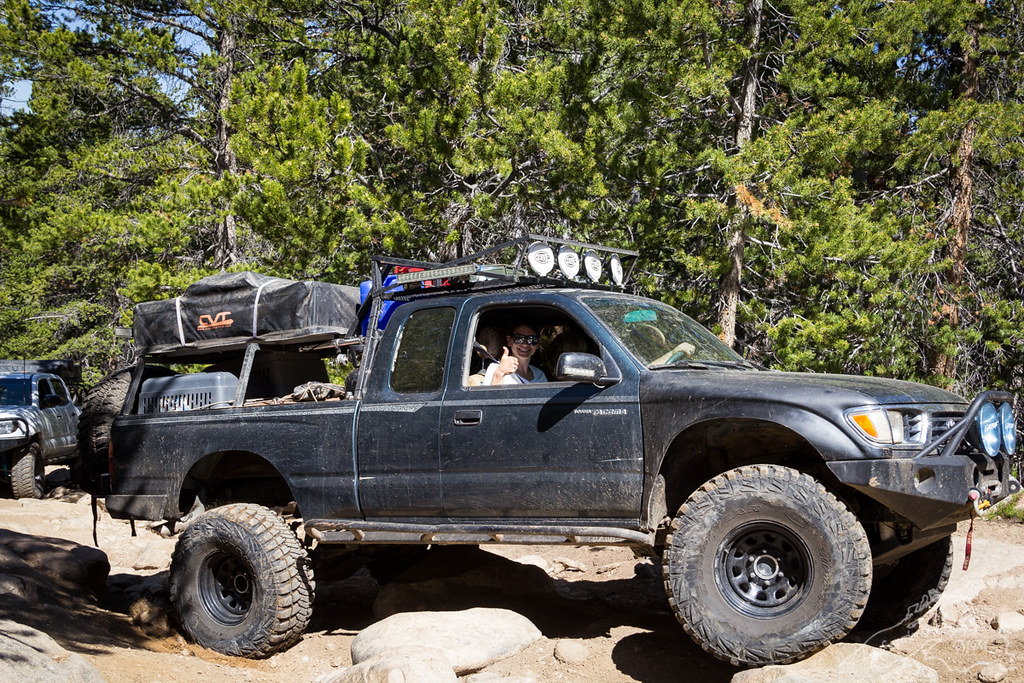 20-1
20-1 19-1
19-1 18-1
18-1 9-1
9-1 10-1
10-1 3-1
3-1 22-1
22-1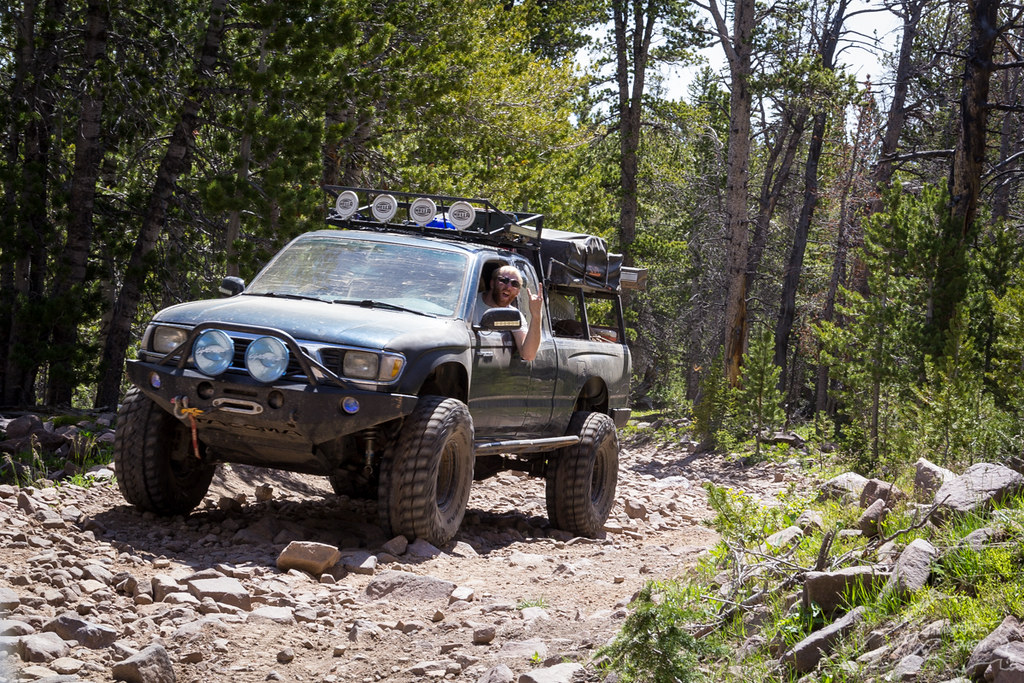 5-1
5-1 Frank.jpg
 Frank-2.jpg
 Frank.jpg
 Frank-2.jpg
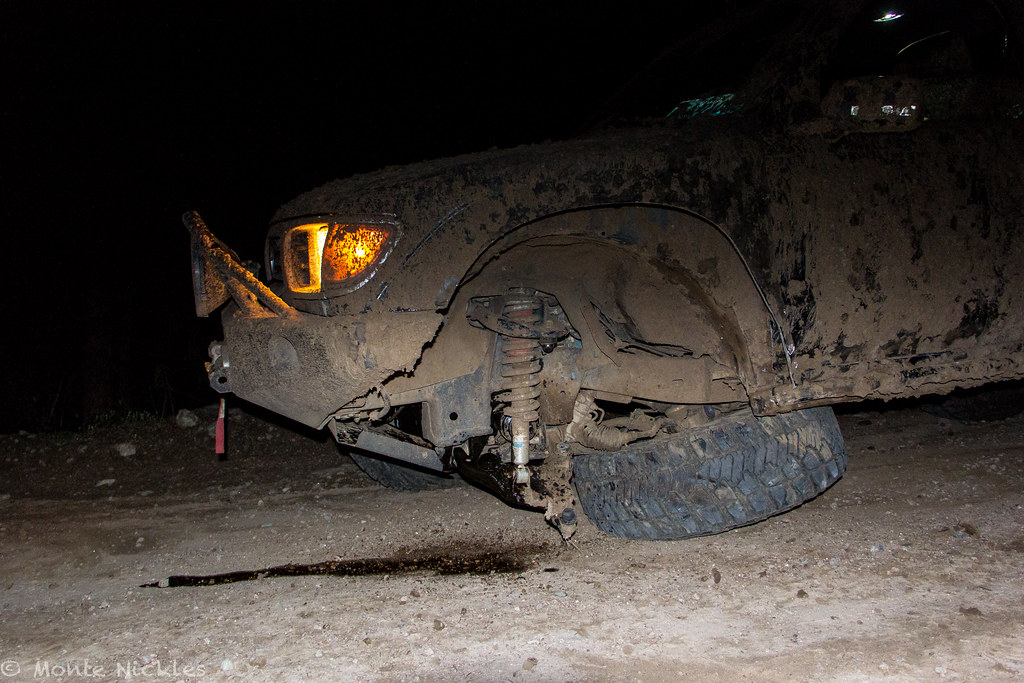 Frank-3.jpg
 Frank-4.jpg
 Frank.jpg
 Frank-2.jpg
 Frank-3.jpg
 Frank-4.jpg
 Frank-5.jpg
 Frank.jpg
 Frank.jpg
 Frank-2.jpg
 Frank-3.jpg
 Frank-4.jpg
 Frank.jpg
 Frank-2.jpg
 Frank-3.jpg