And now for the front. This one isn't as extensive as i had wanted it to be. But i was short pressed for time. I had to go back to St louis for school so i finished this literally the night before. Im missing some photos i wish i had. But im sure you'll all survive haha
Okay. So i really wanted to do a decent write up on cutting the front up..but i ran short on time so my photos aren't exactly what i wanted for this..but i have enough to give you all an idea.
There will be holes in it though unfortunately due to just getting the job done.
Its much more difficult then i thought it would be and i have come to the concussion its due to the 35x12.5r15 size. If your getting 315/75r16s, you won't have near as bad a time from what i can see of others jobs and such.
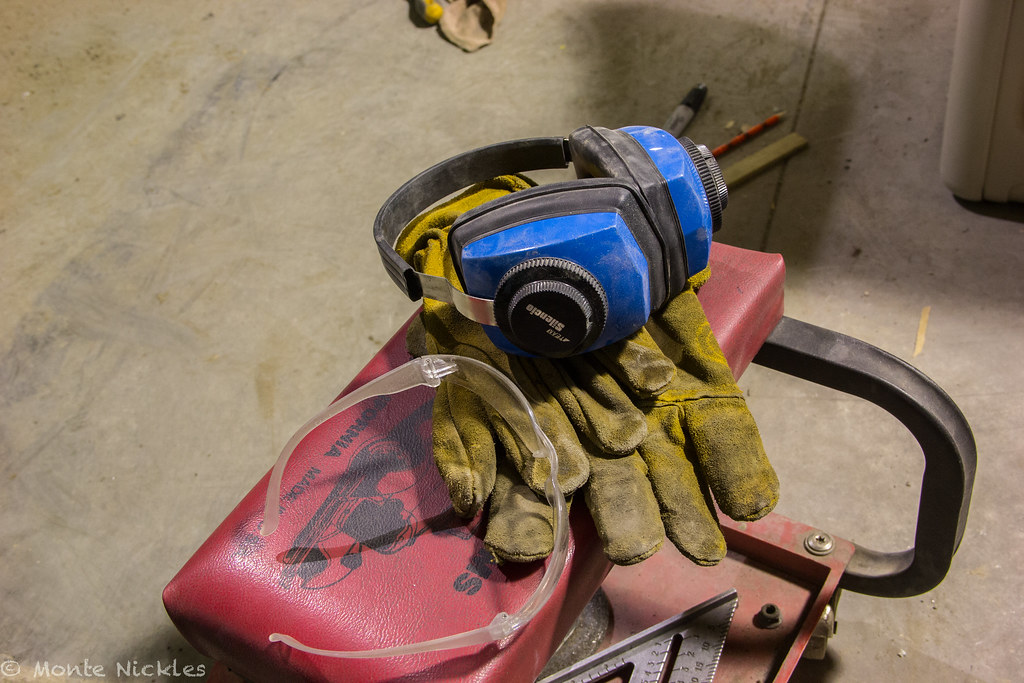
Things you'll NEED:
-35s..duh

haha
-Nice comfortable place to work thats roomy
-Grinder
-Cut off wheel for grinder or a seperate angle grinder
-Sawzall
-Flap disks or some sort of power tool that can clean the metal off. Yes, power tool. Your good ole elbow grease aint gonna do **** to the toyota undercoating
haha
-regular tools, ie. Sockets, wrenches, screw drivers
-pry bar
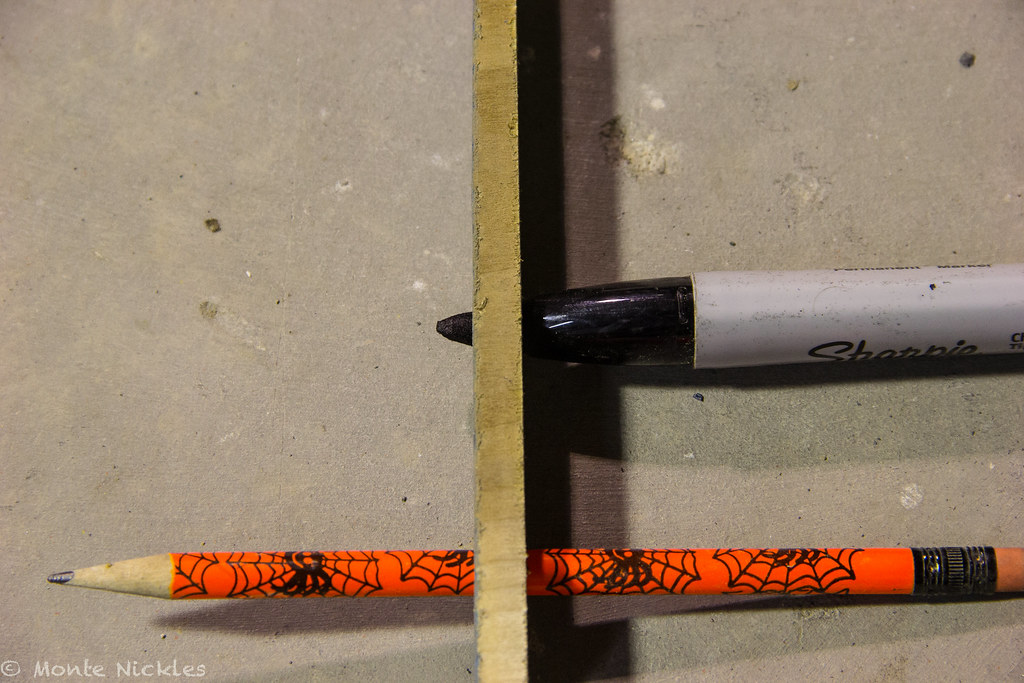
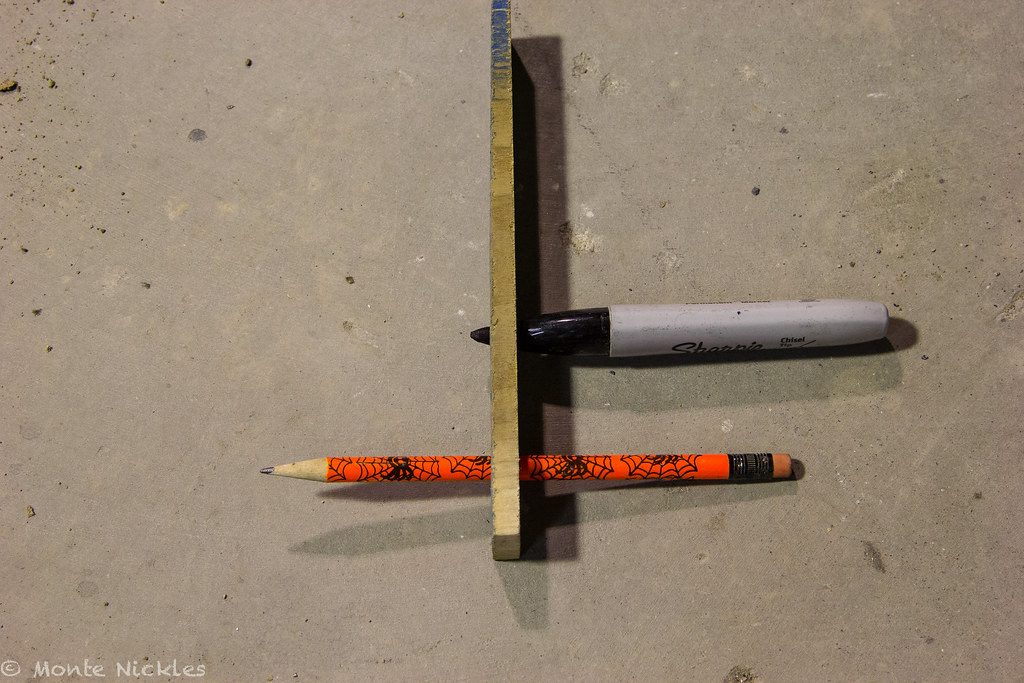
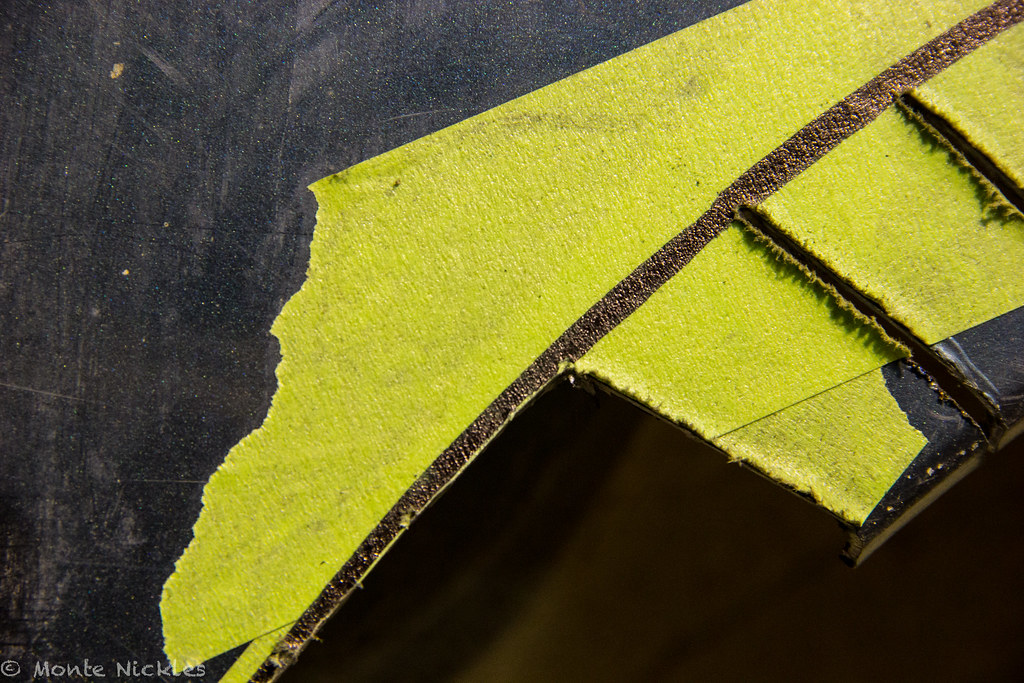
-Tape
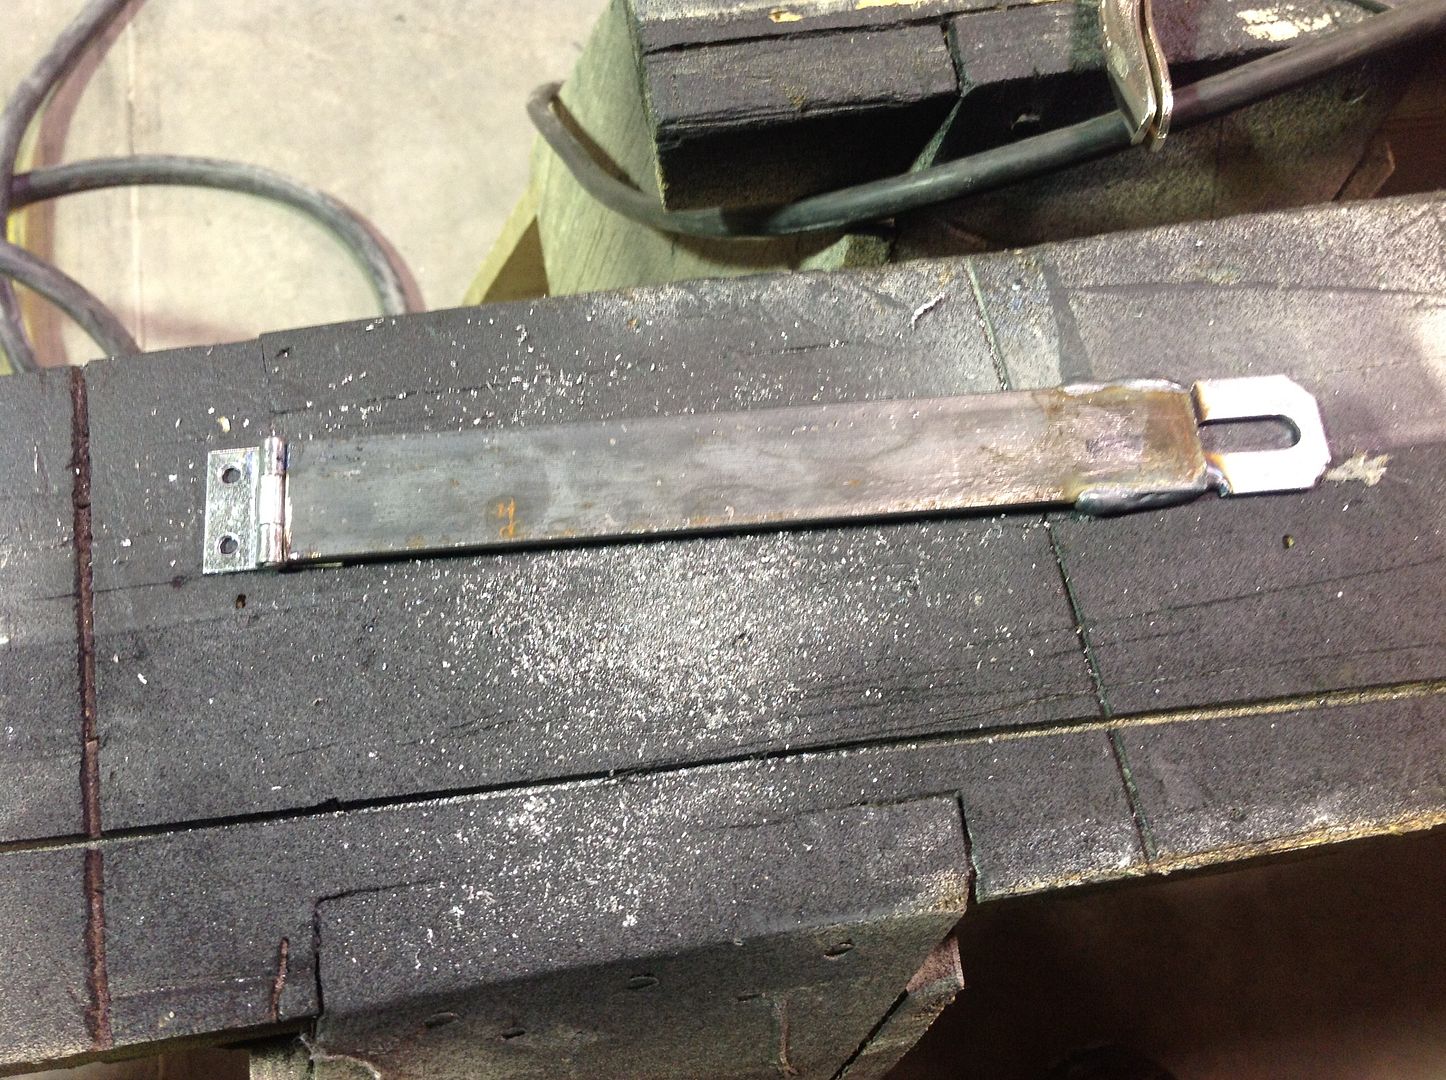
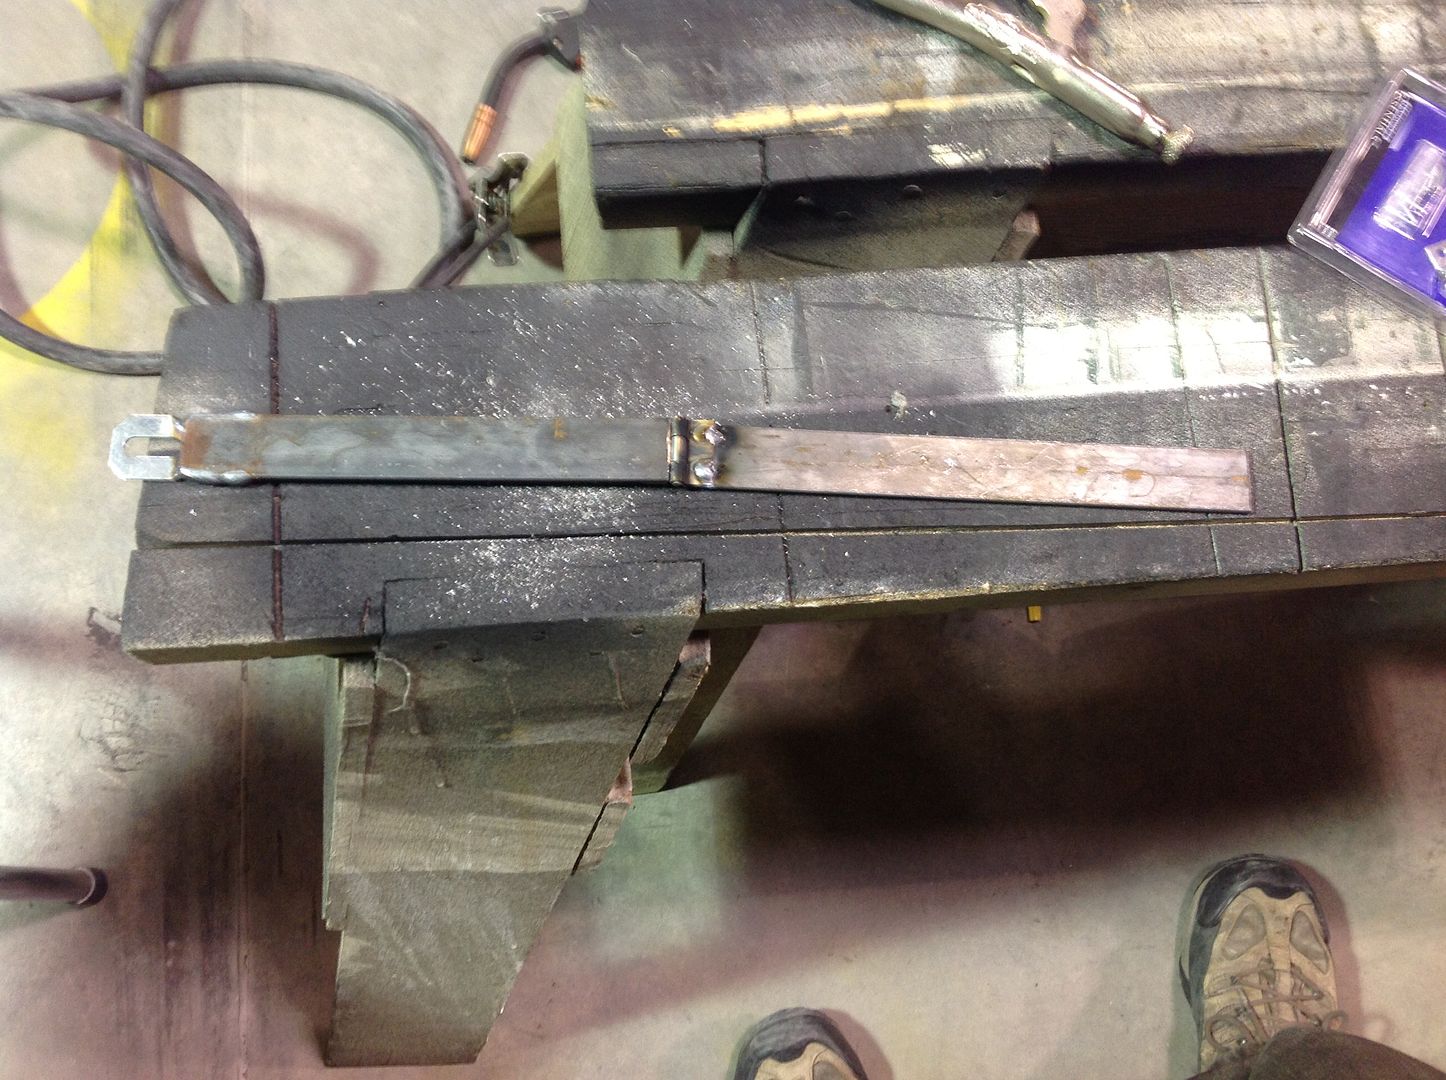
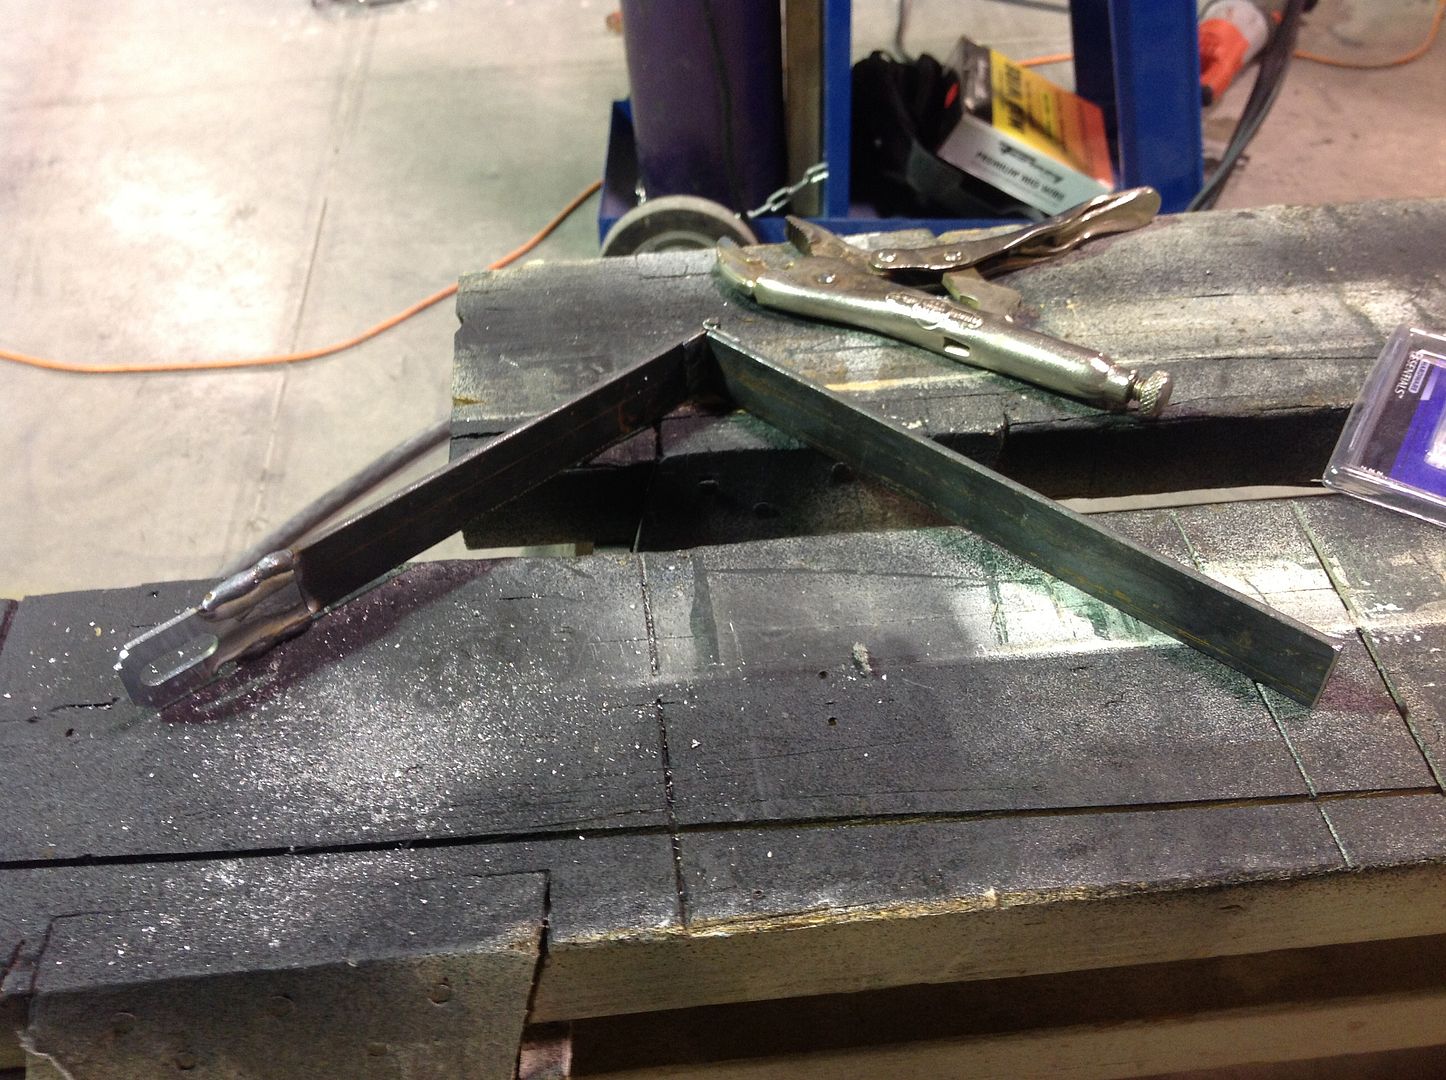
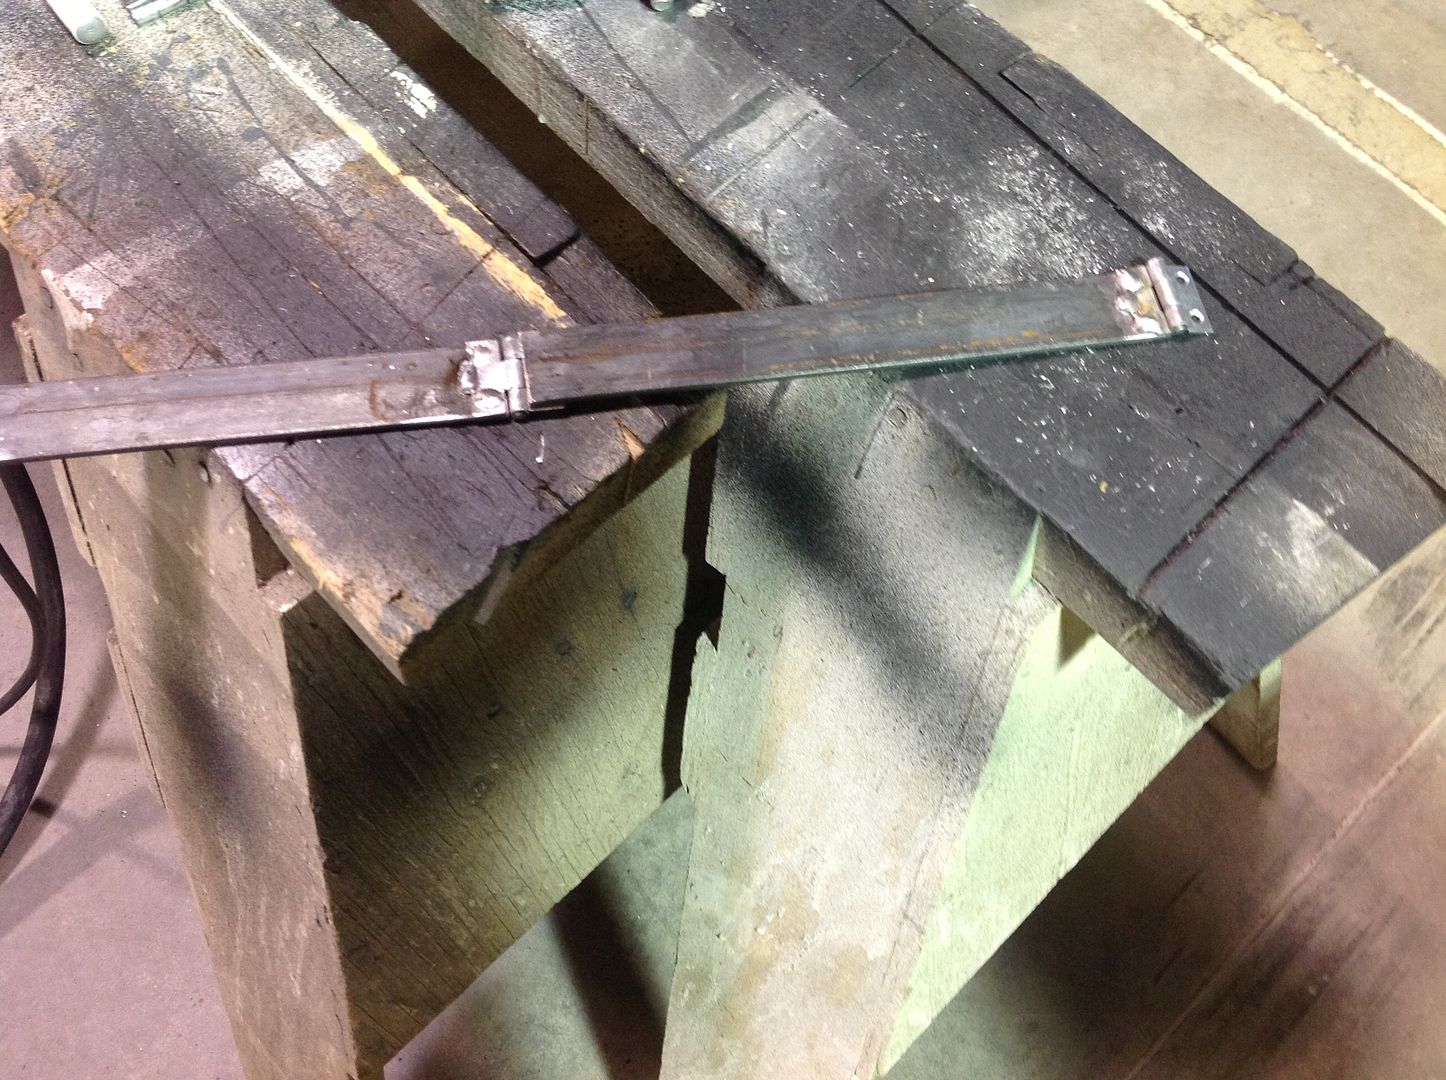
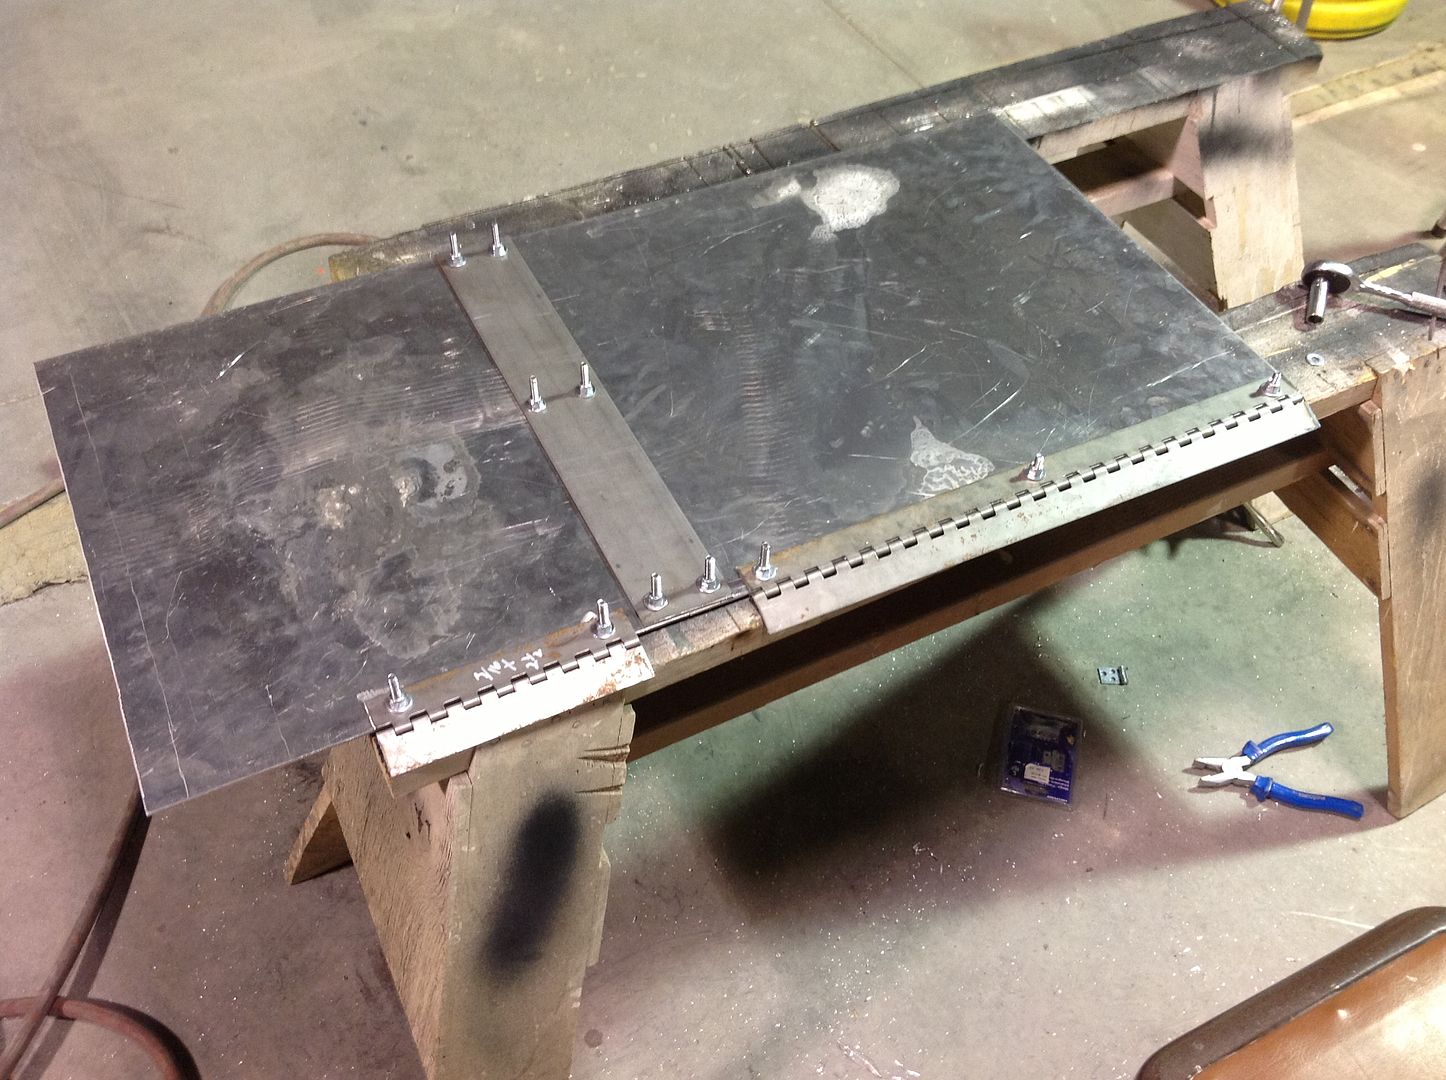
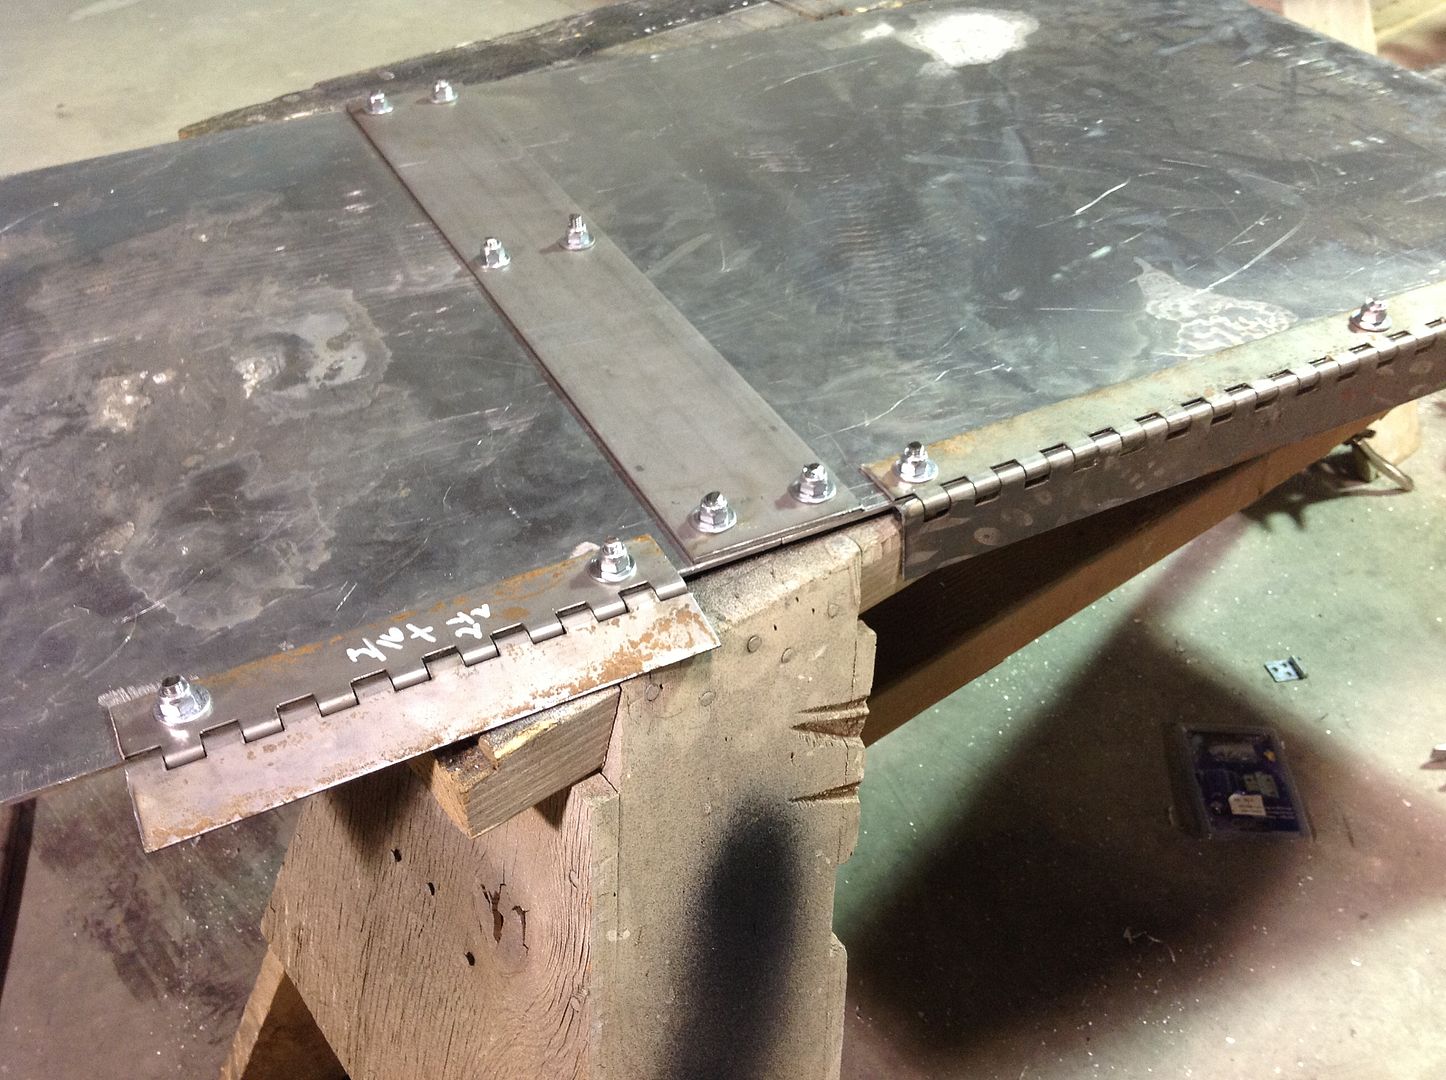
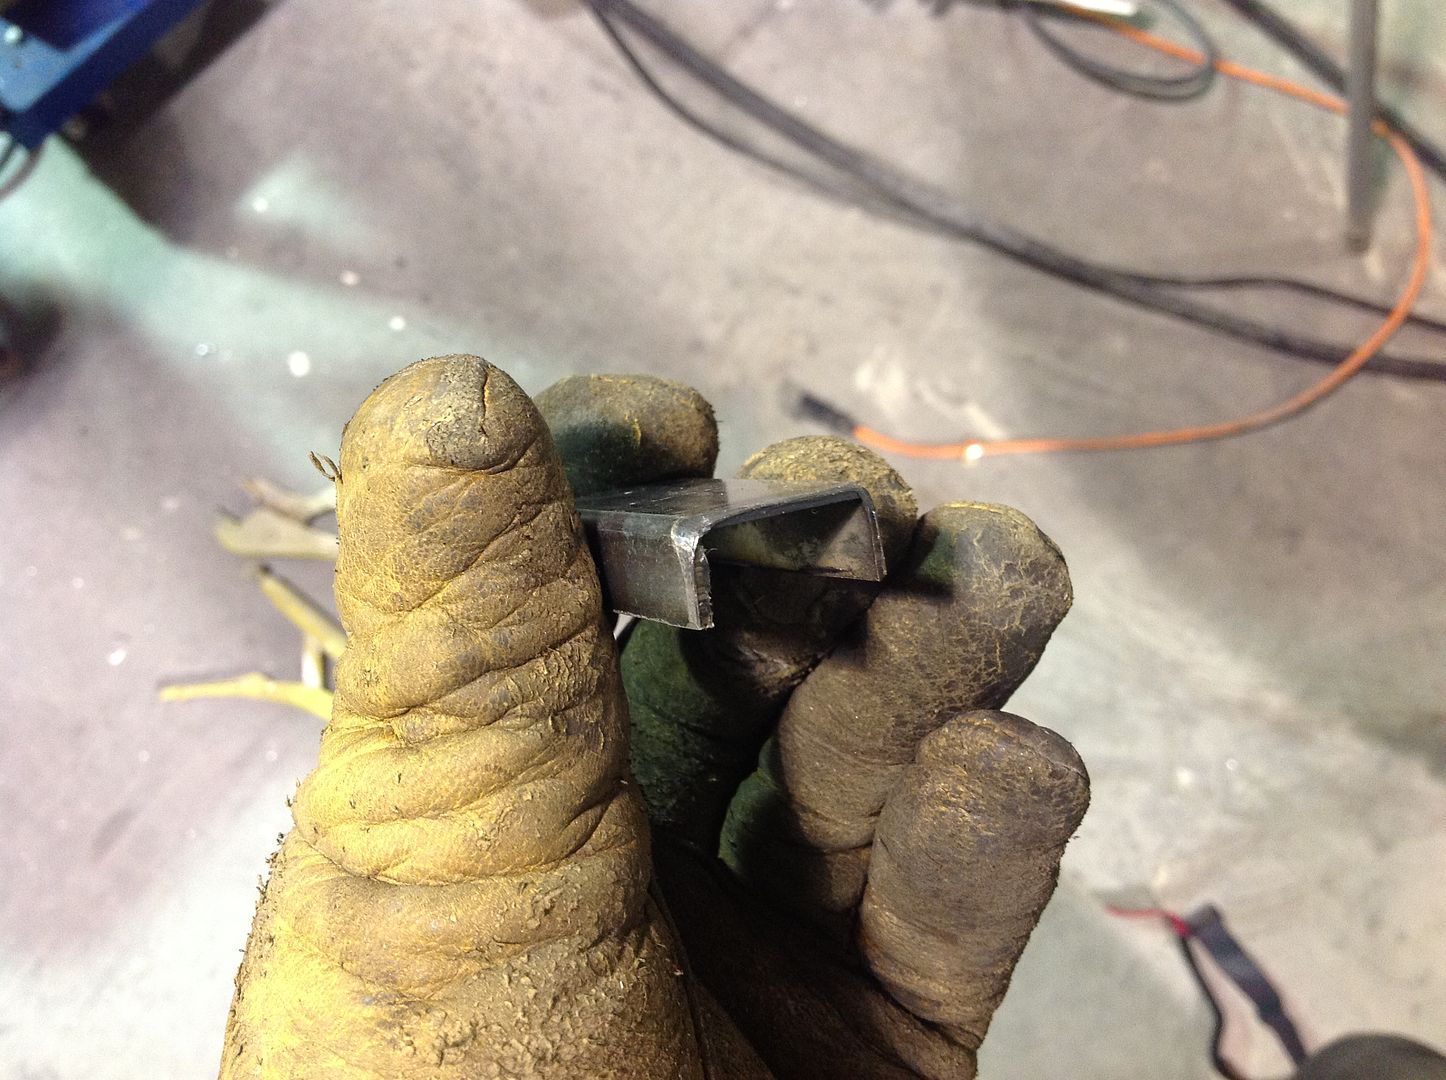
-Same cool tool you used for the rear fenders
-lots of extra blades and disks for cut off tools
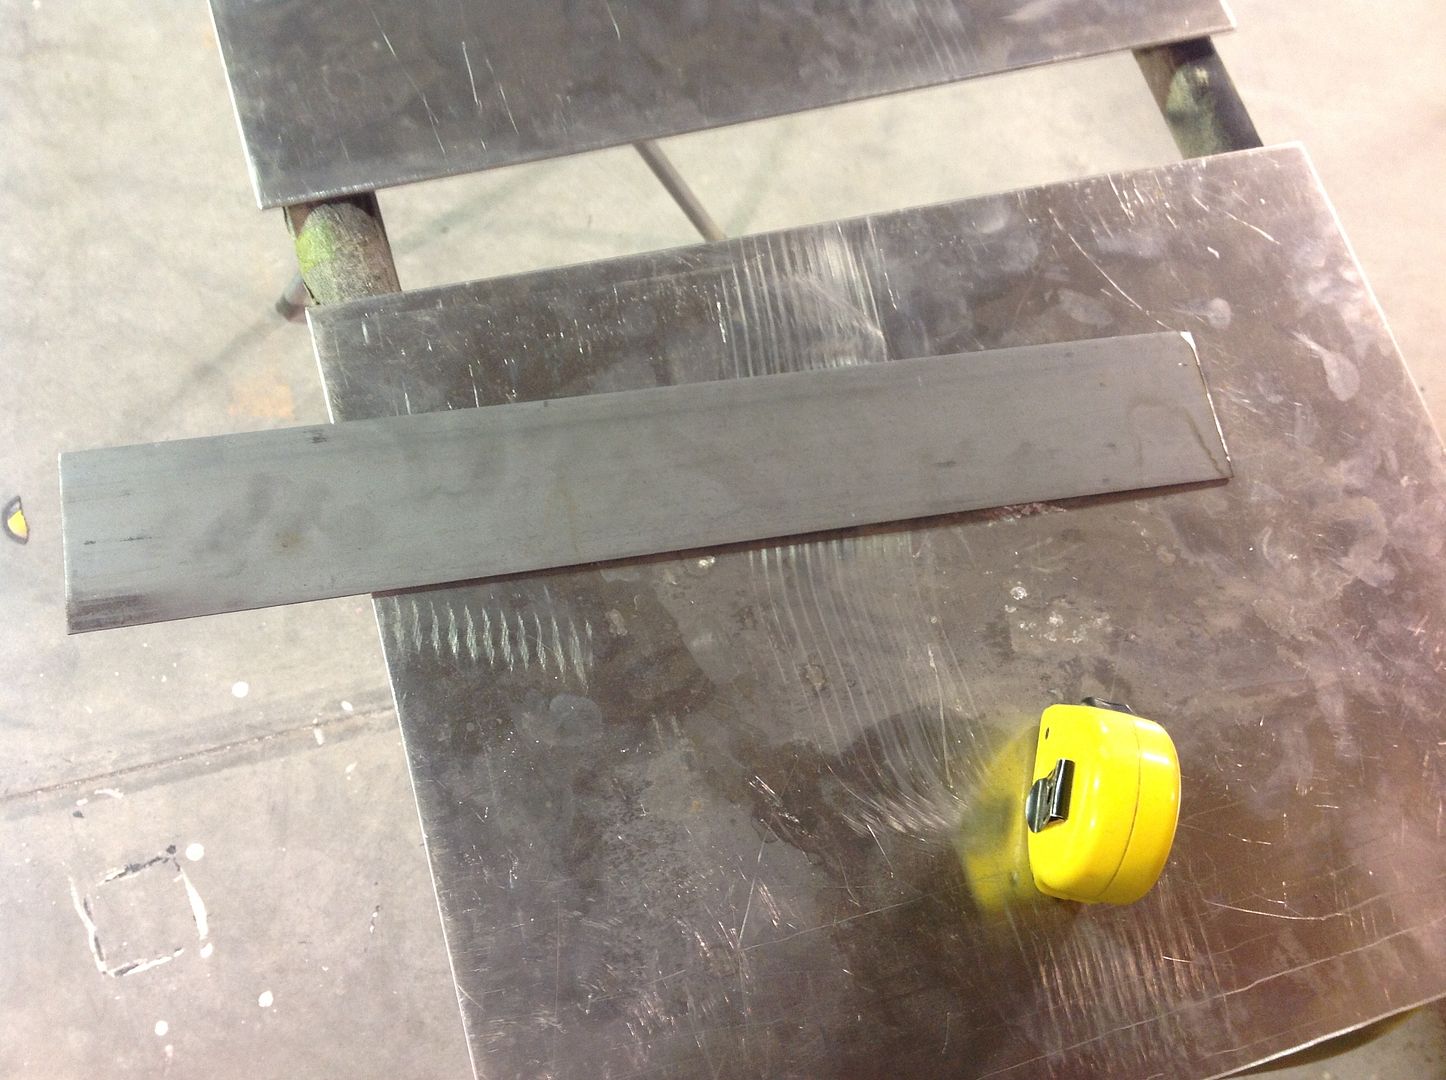
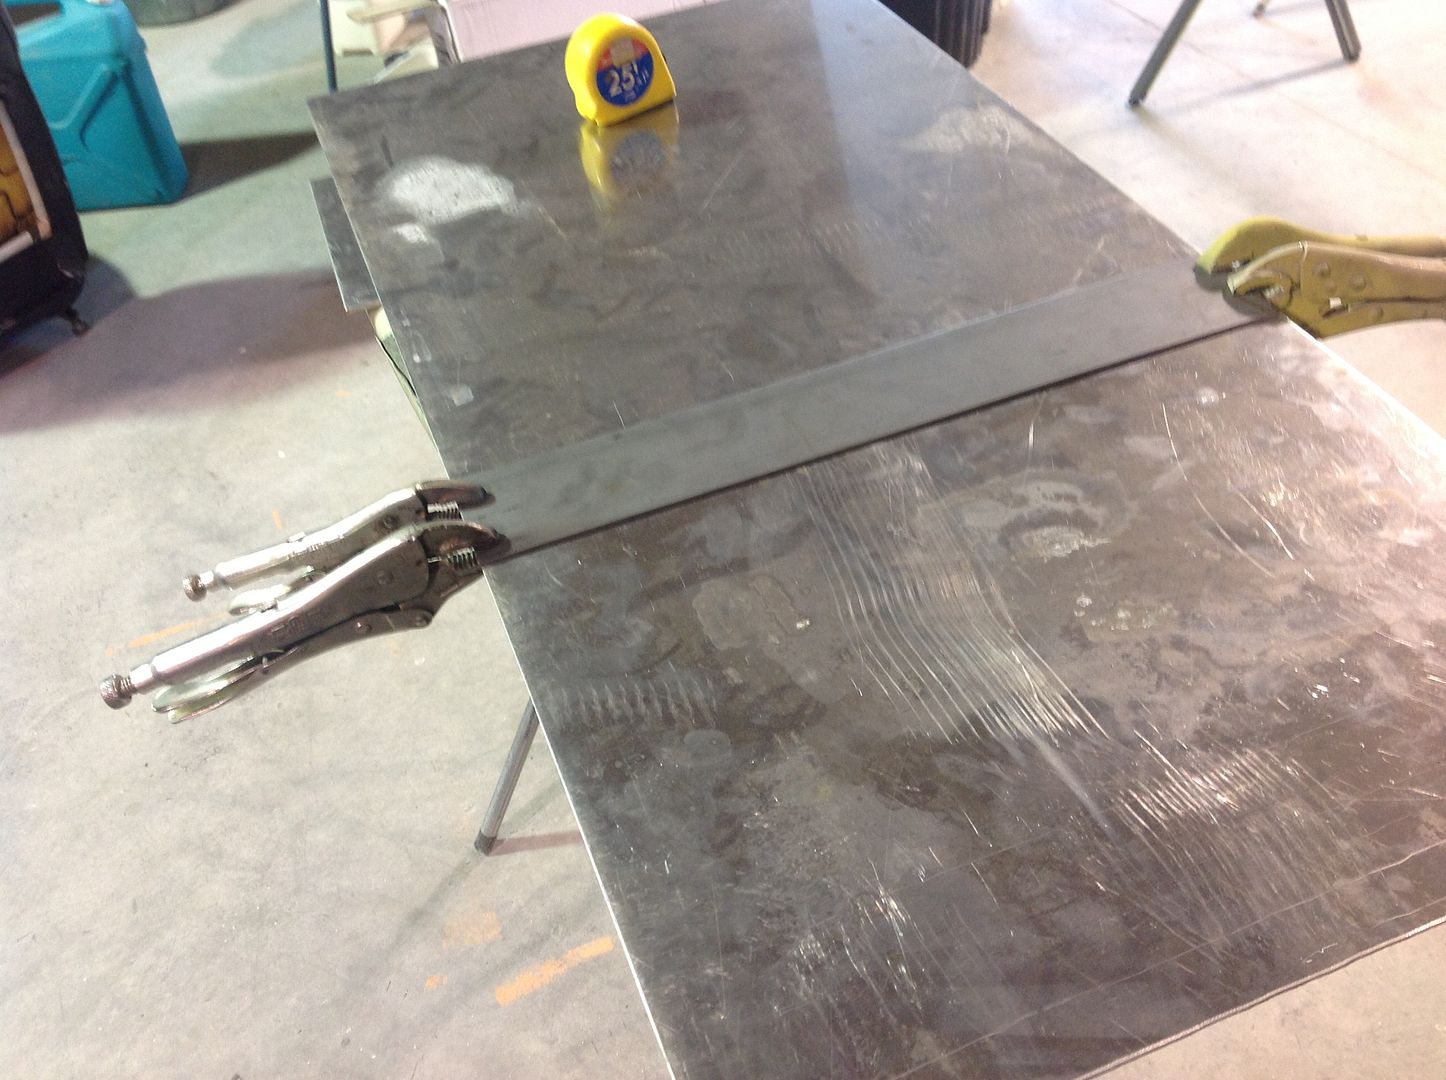
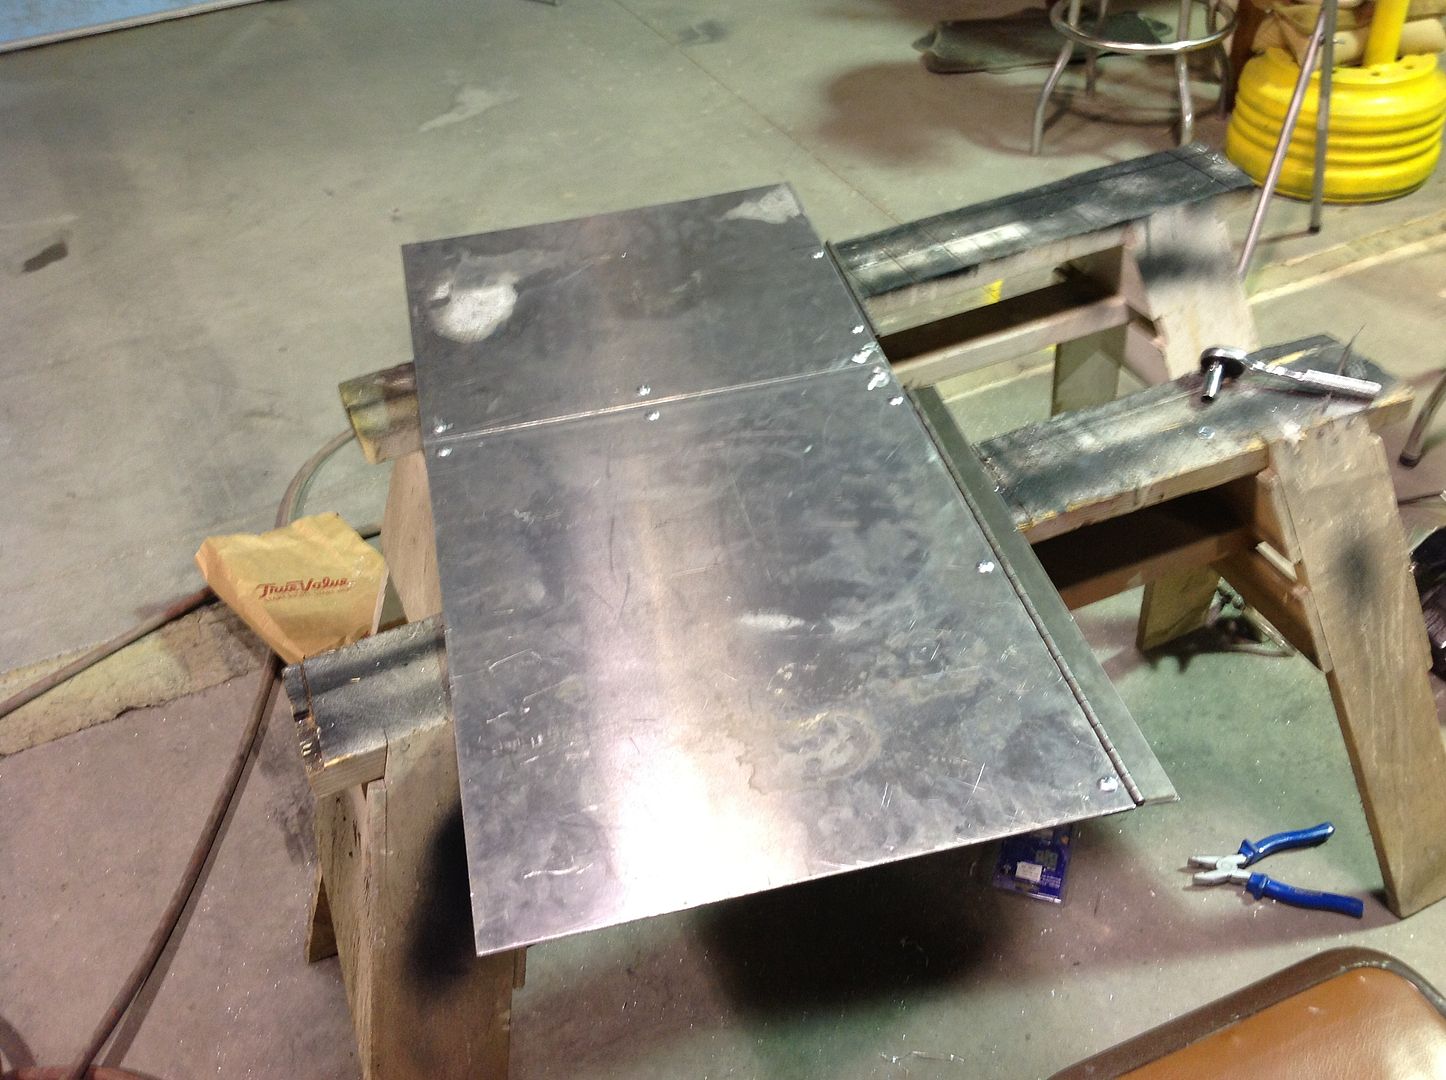
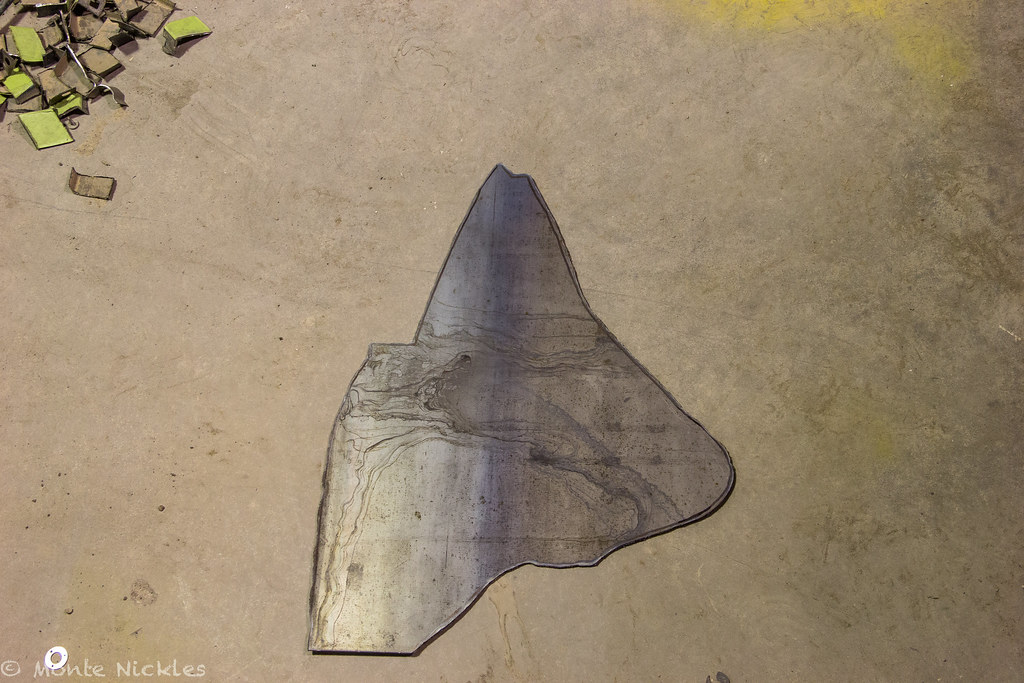
-20 ga steel sheet. I bought a sheet that was like 4'x2' for 10 bucks. More then enough
-welder and all welder gear( better be pretty good a welding..welding on the body SUCKS. Not a first time project thing..)
-Jack
-Jackstands
-Your old mud flaps from the rear..or some sort of rubber mat or wet towl for the inside.
-Hammers. Big, little, flat heads and round heads.
-hand anvil helps
-Shears
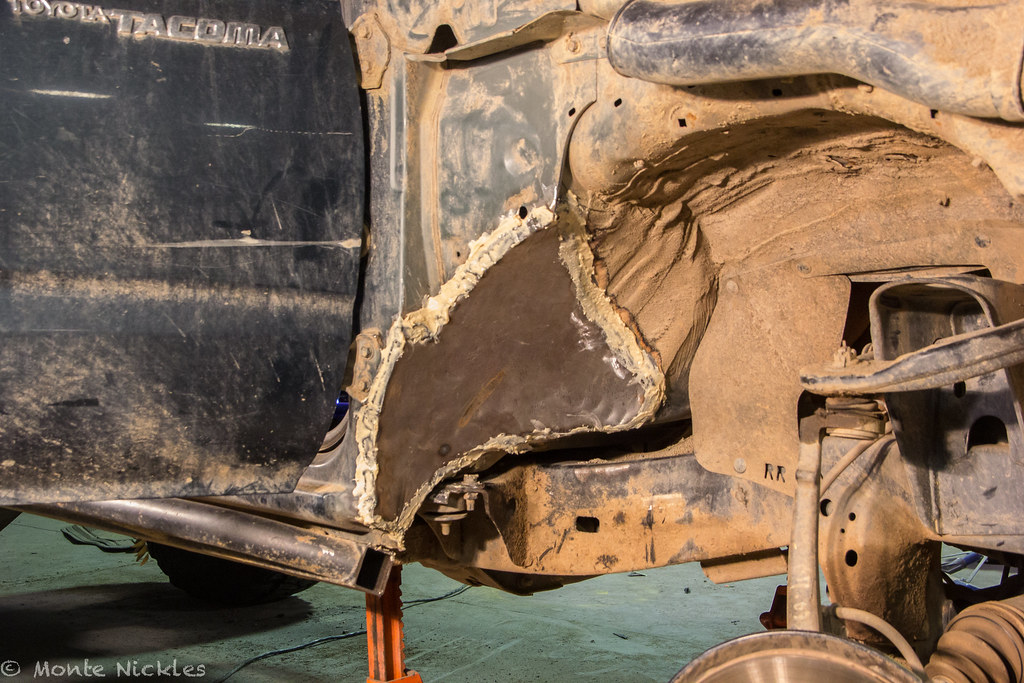
-Seam sealer
-Undercoating spray/or paint..
-Plasma cutter can't hurt if you want it to be one big piece like mine..or be REALLY good with saws and grinders haha
and above all..
a lot of time..more then you think.
But here we go.
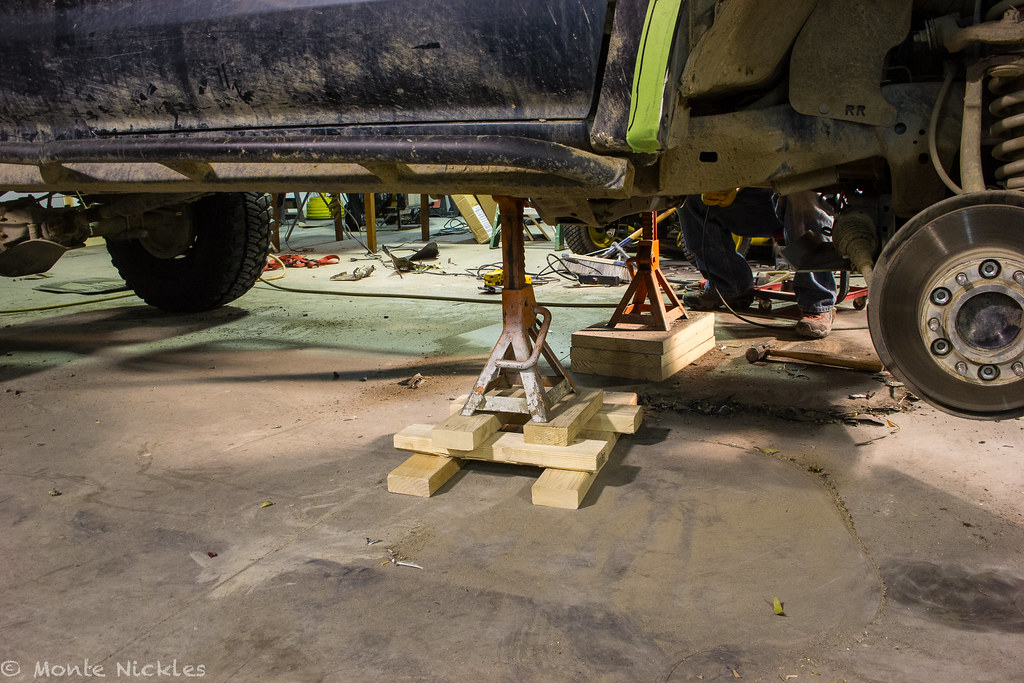
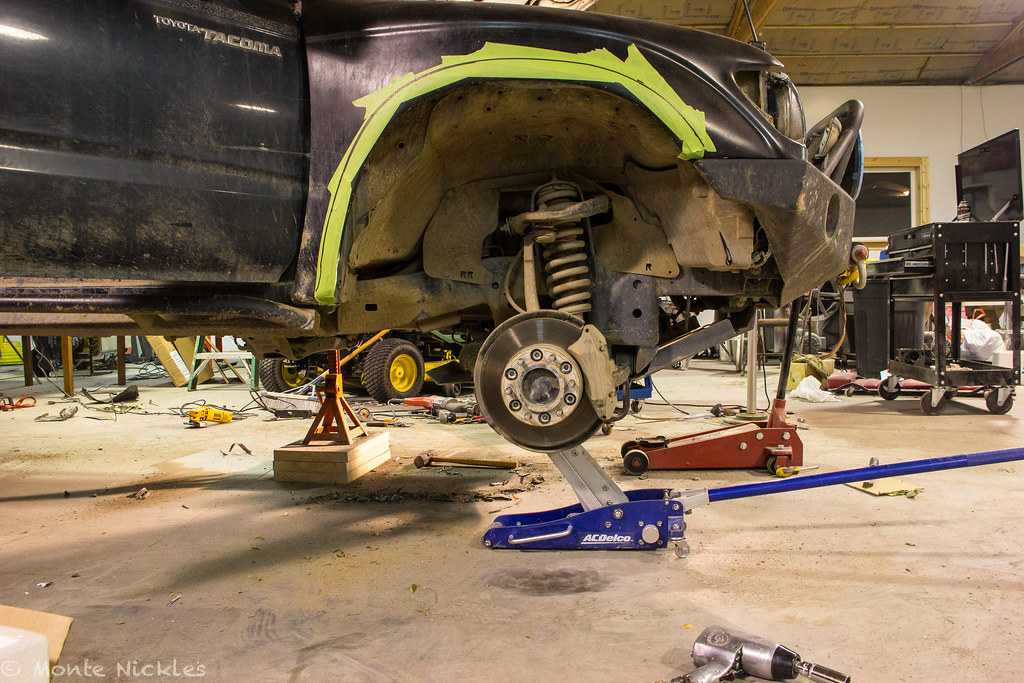
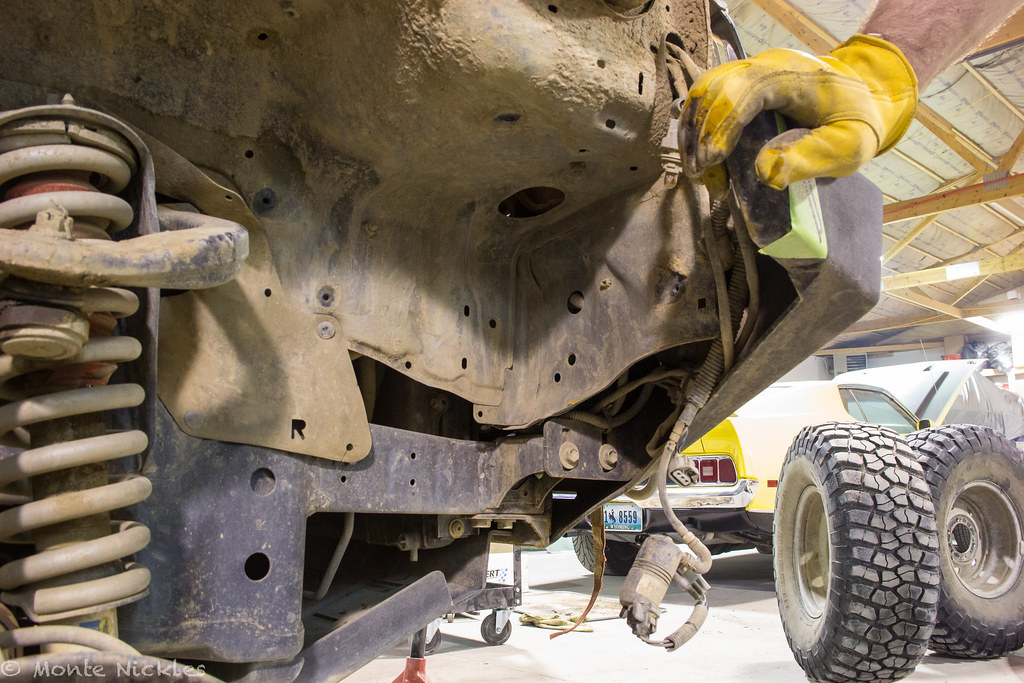
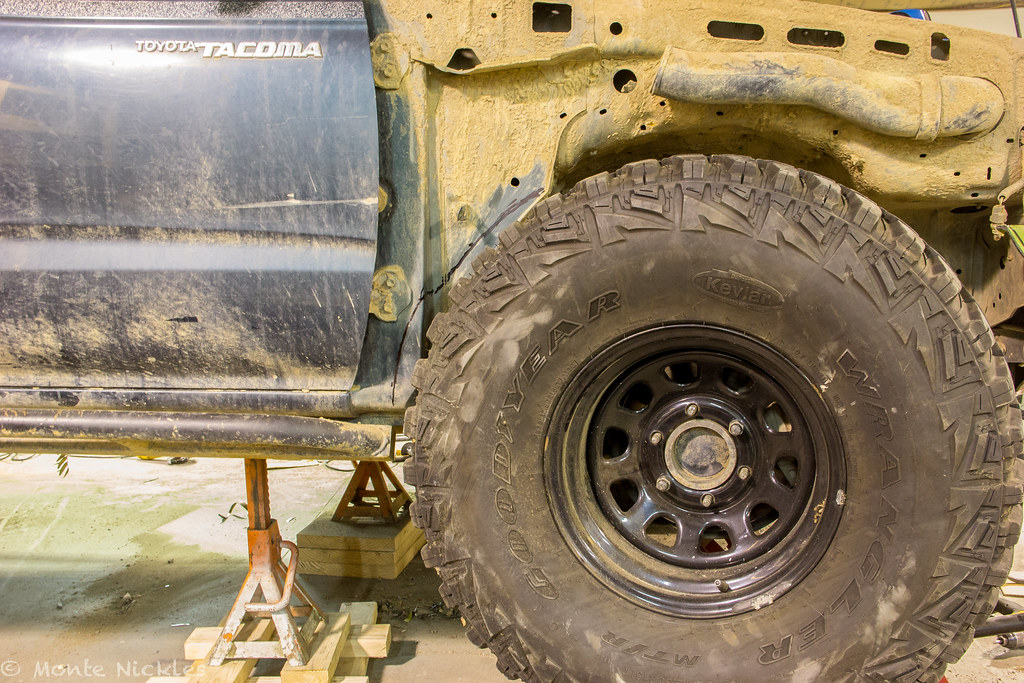
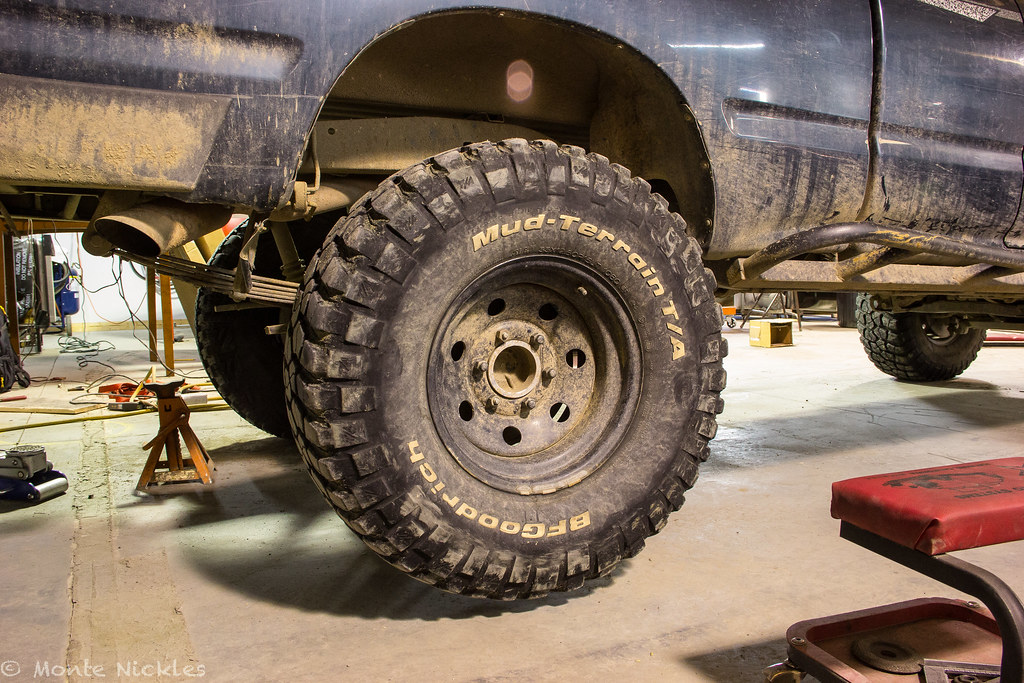
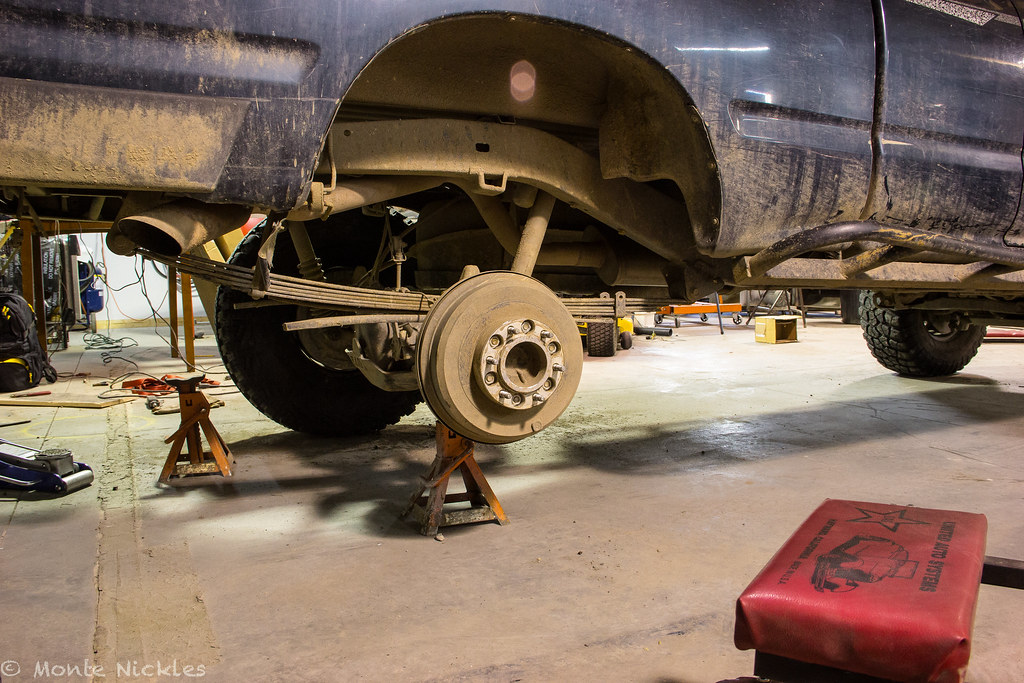
Of course, take the tire off and get a jackstand on the frame of the truck.

IMG_7986.jpg by
Monte Nickles Photos, on Flickr
IMG_7999.jpg by
Monte Nickles Photos, on Flickr
Now you will want to take out your front Coil over. This is important as you will need to cycle the suspention a LOT to check for clearances. Its pretty simple. You should know how to do this as you probably installed your own lift..but here is a quick how too..
three bolts on top. Think they were 14s..either that or 12s..duh
haha
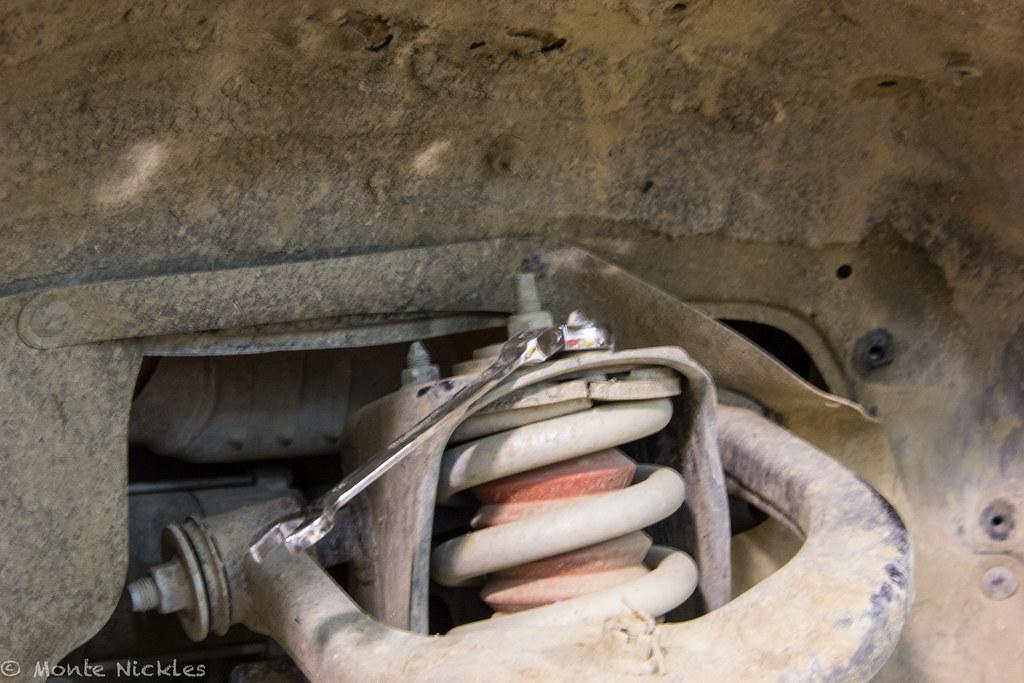
IMG_8006.jpg by
Monte Nickles Photos, on Flickr
then undo the lower nut. Its a 19 I believe..or 17mm..
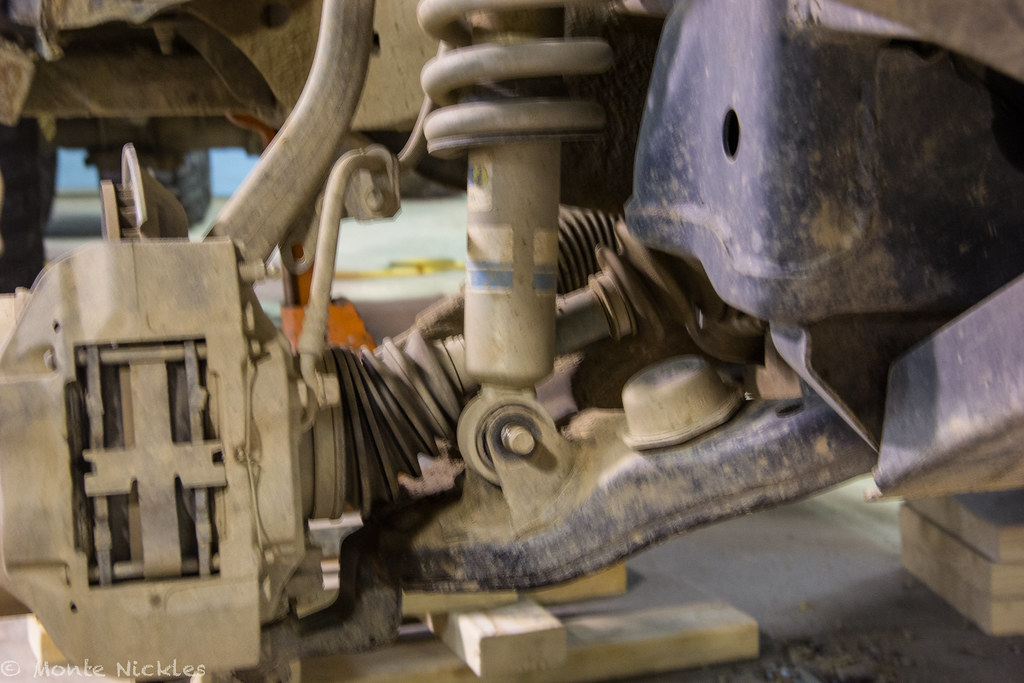
IMG_8008.jpg by
Monte Nickles Photos, on Flickr
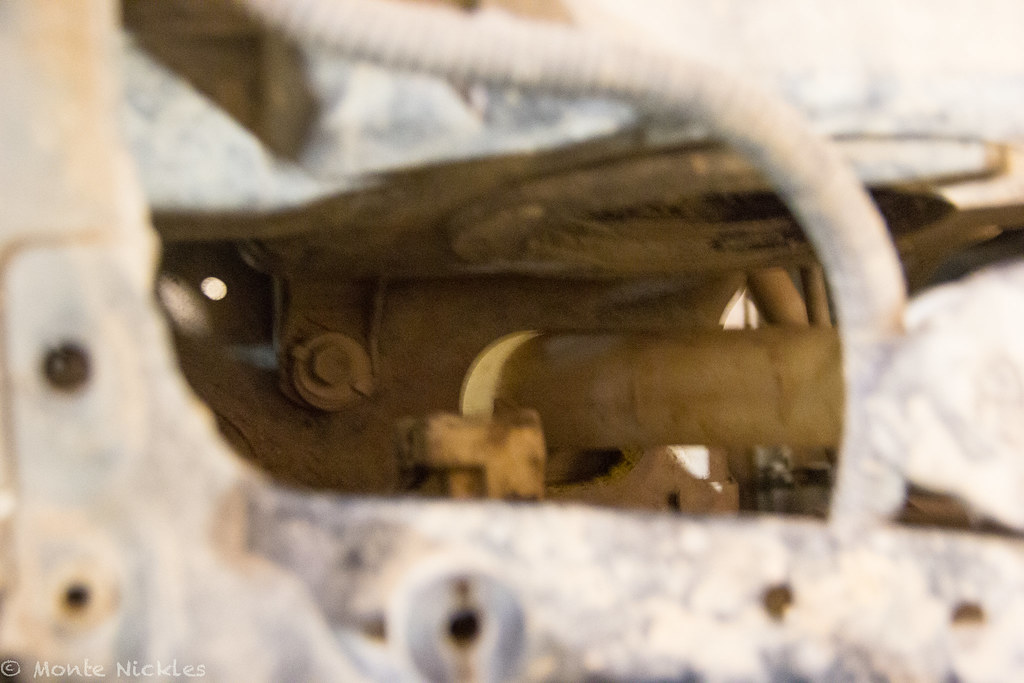
Now here is a cool trick. Get your pry bar and slip it under where the UCA bolt runs and pry down on the UCA. This will allow you to take the weight off the CO for easier removal and installation.
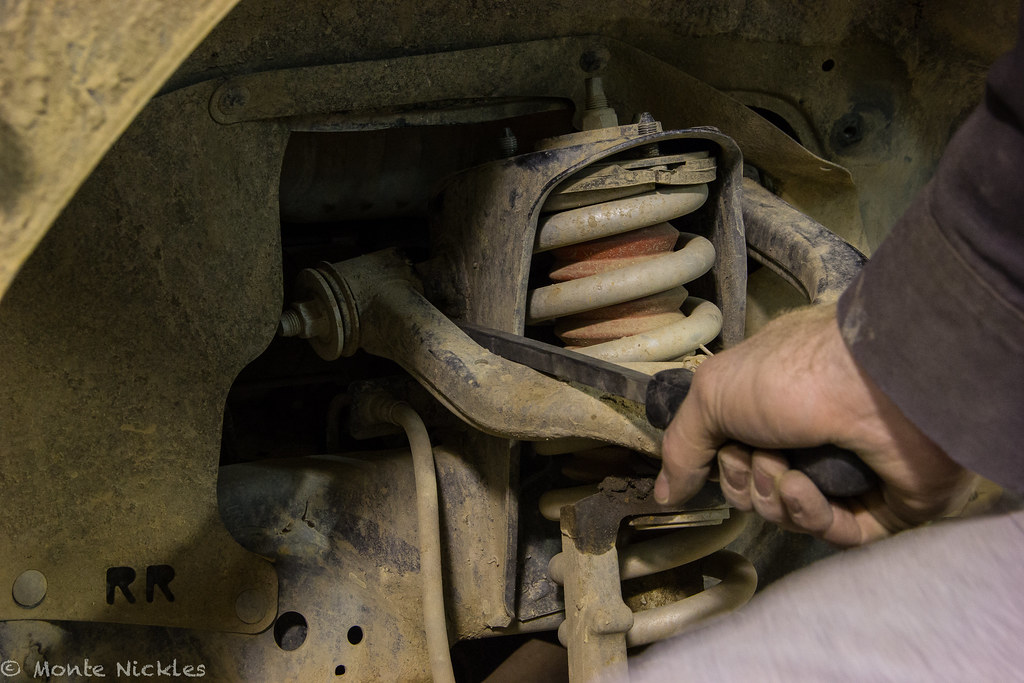
IMG_8009.jpg by
Monte Nickles Photos, on Flickr
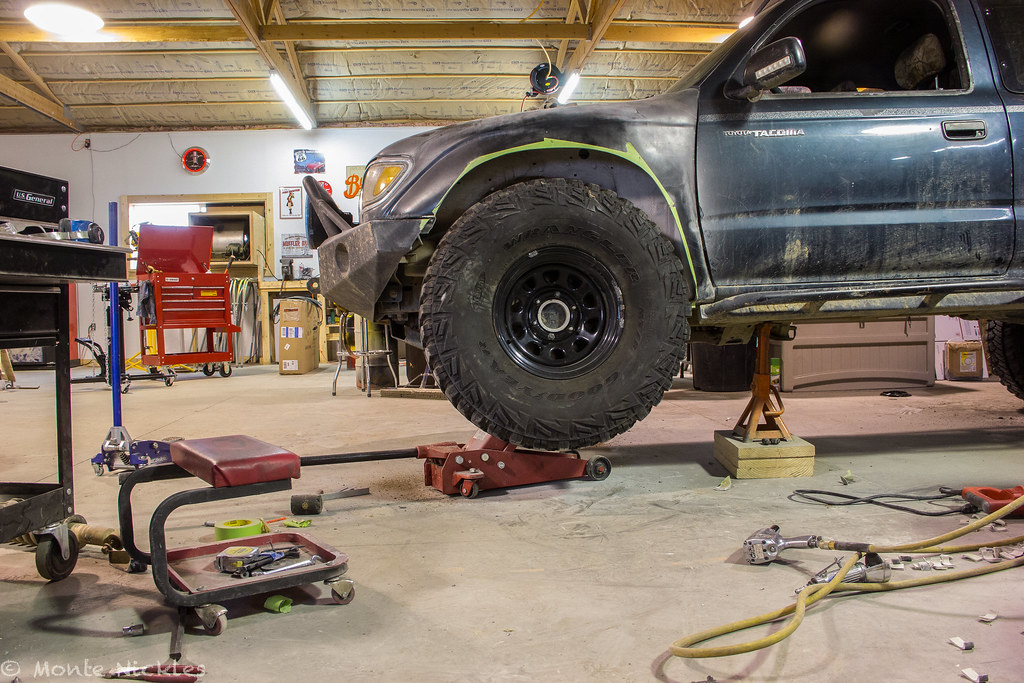
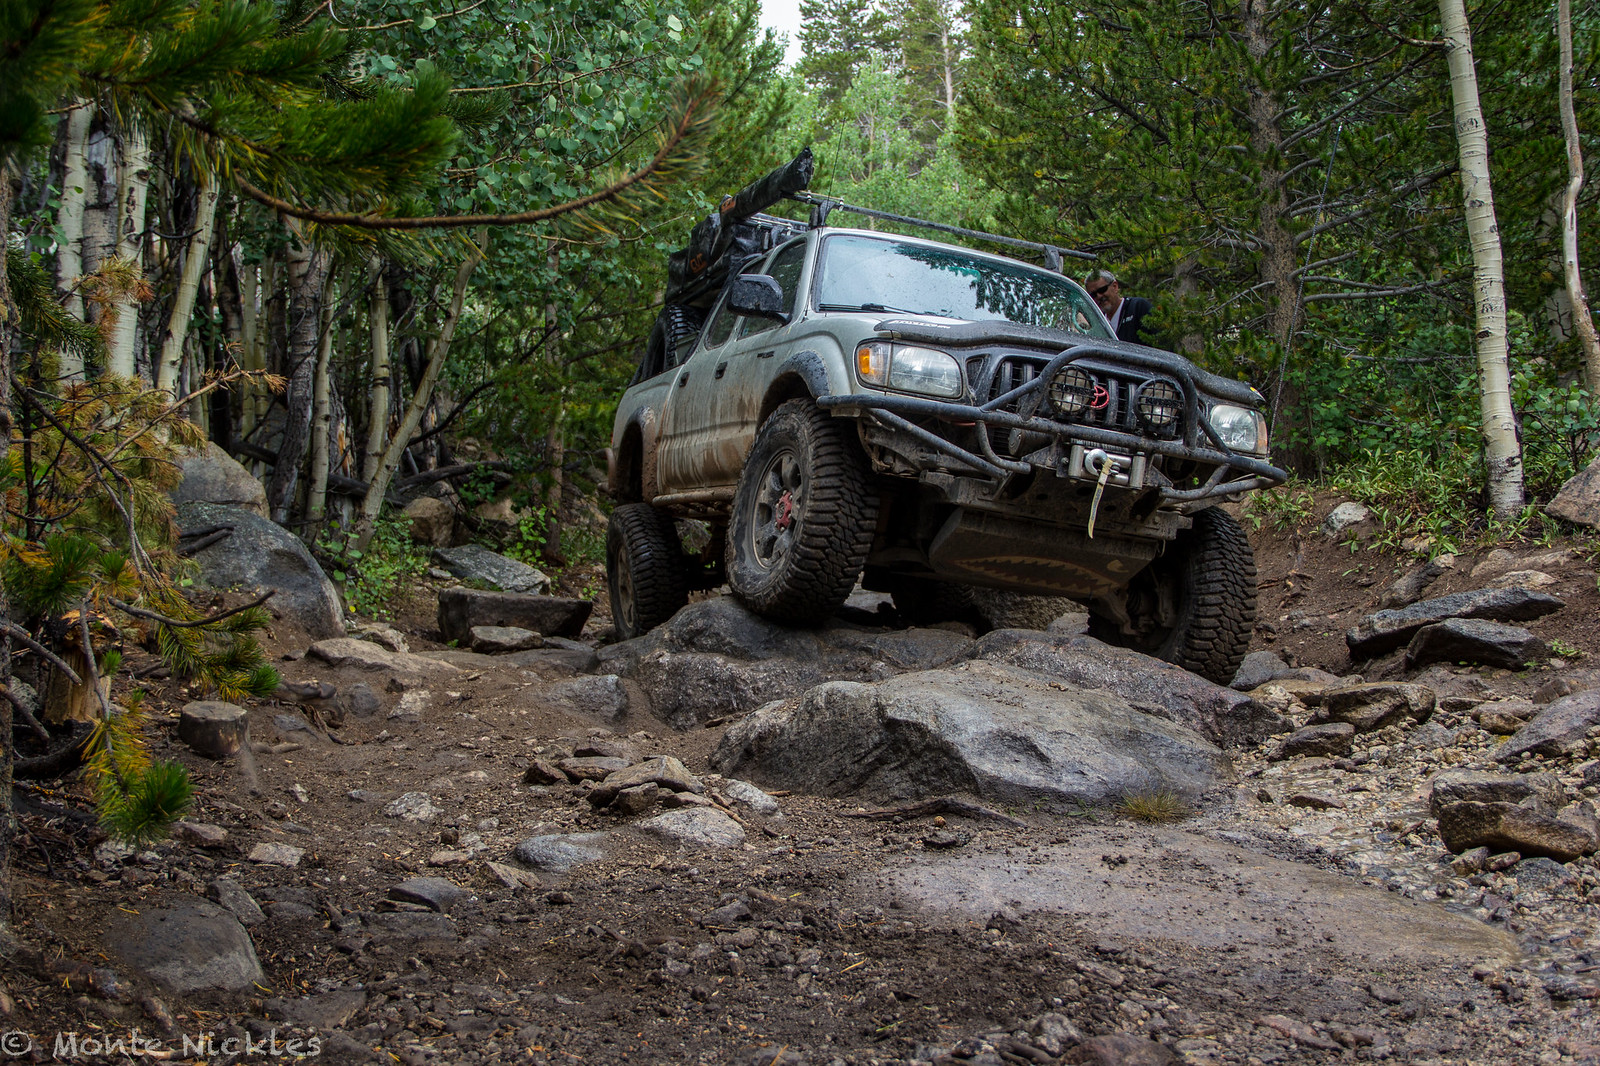
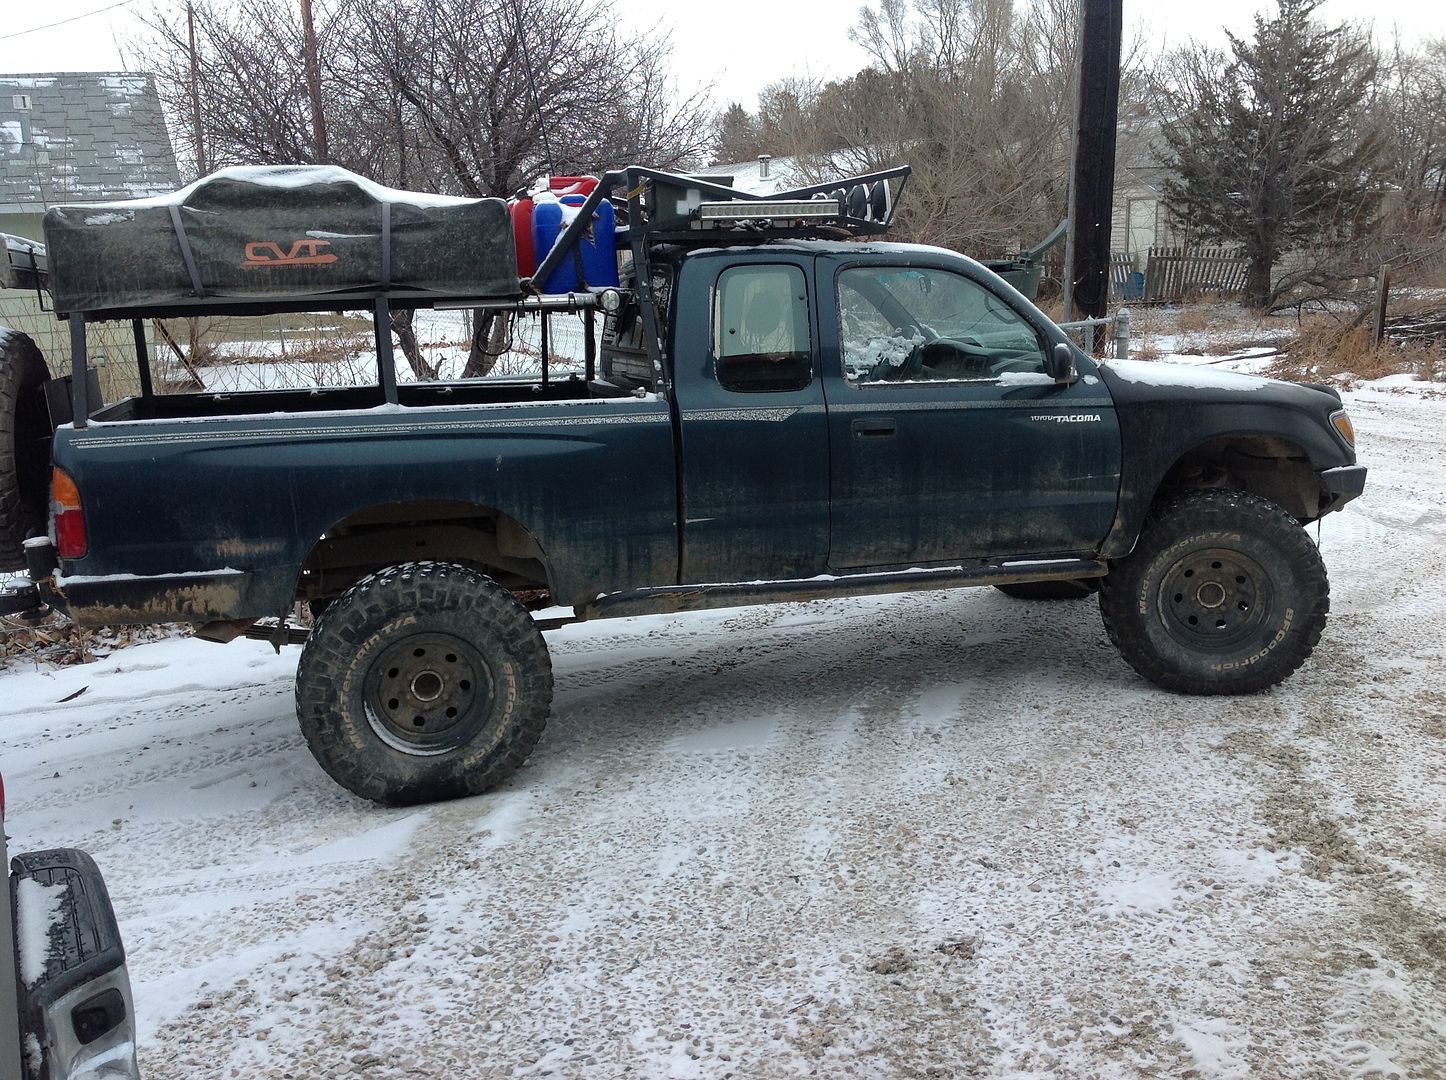
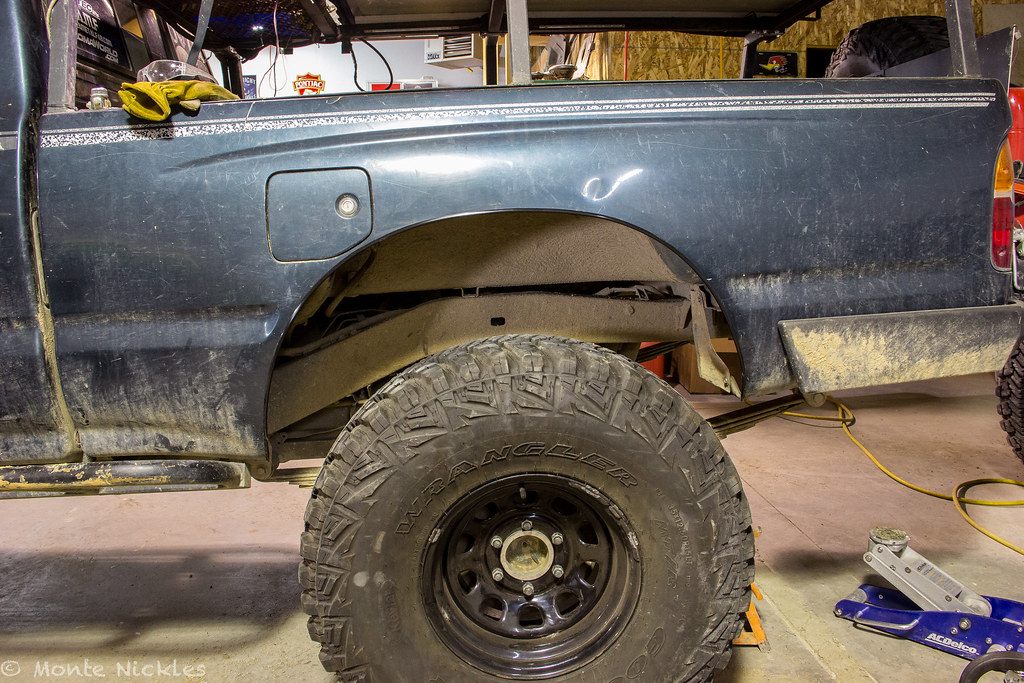
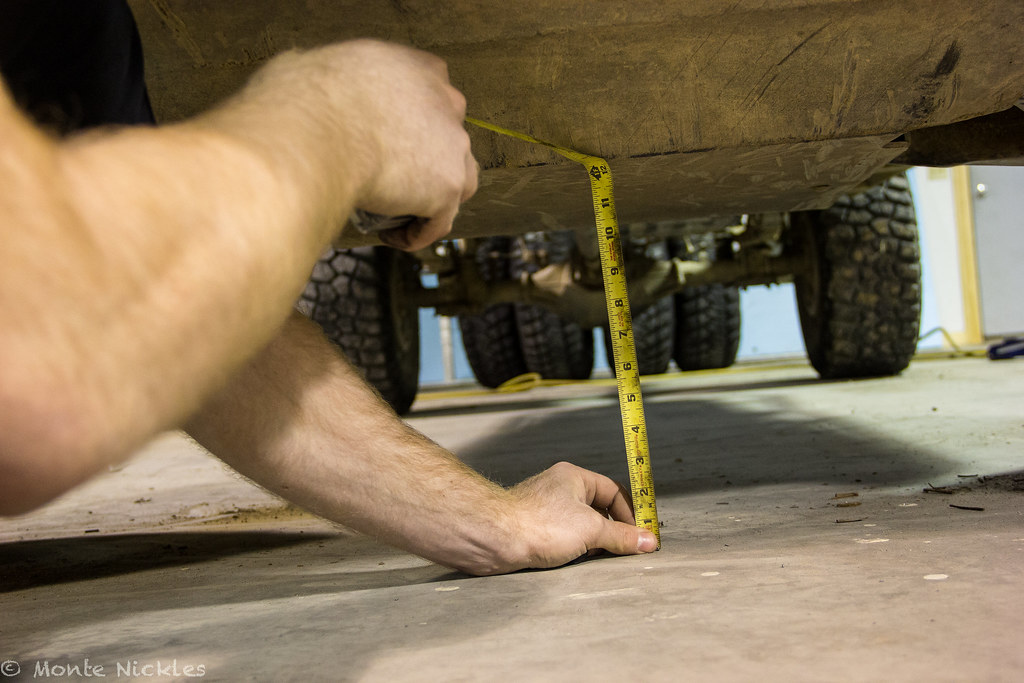
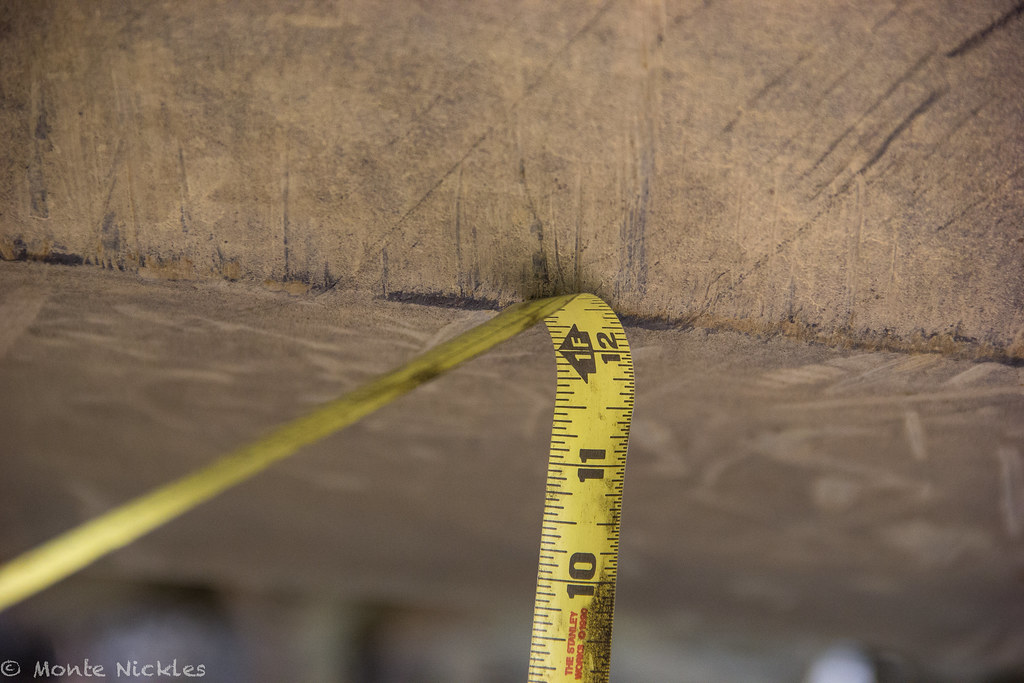
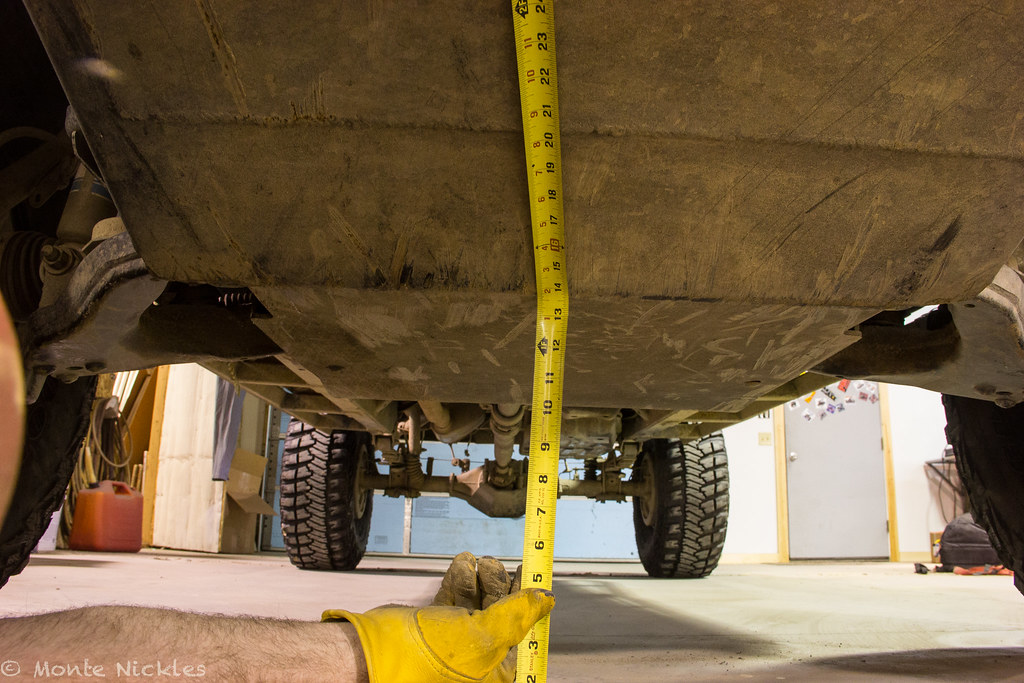
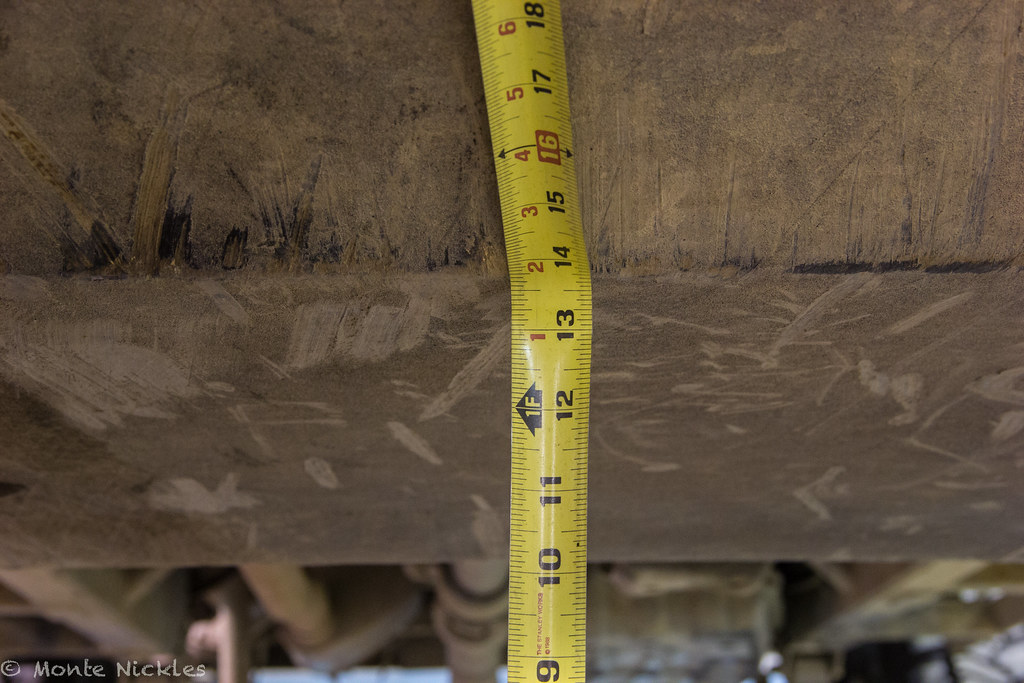
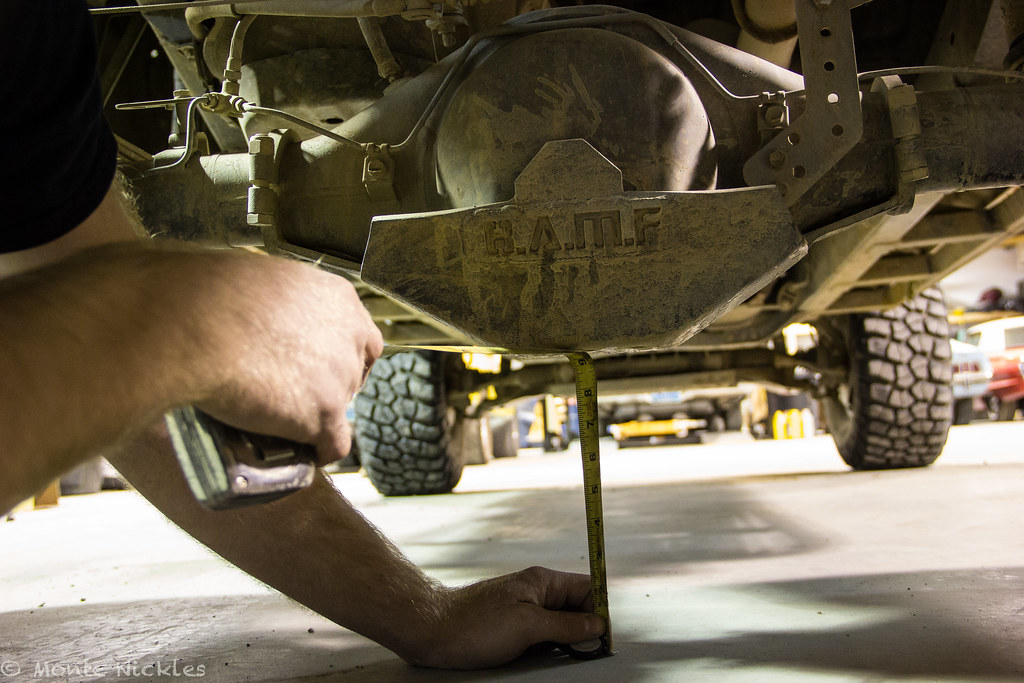
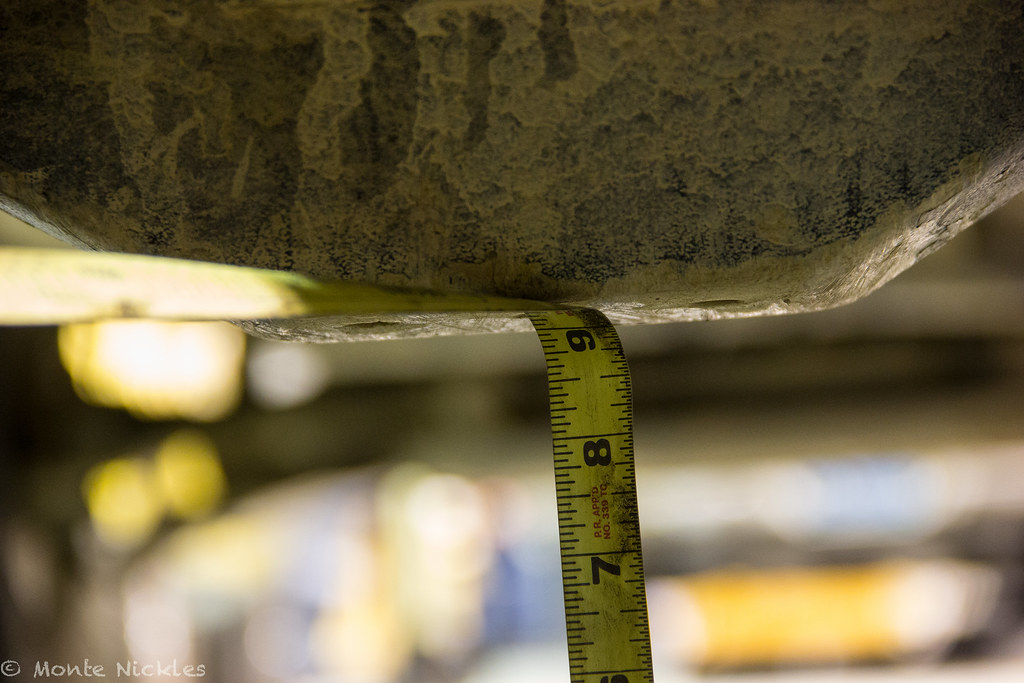
Now test fit a 35 with the fender on! You do this by putting the jack under the LCA or LBJ and jacking it up with the tire on it. Do it ALL the way to the bump stops and even a bit higher so its off the jack stand a tad. Why? Bump stops compress so you'll want to cut enough to clear the tire if you even hit the bumps while offroading and that'll mean the full weight of the rig will be on it.
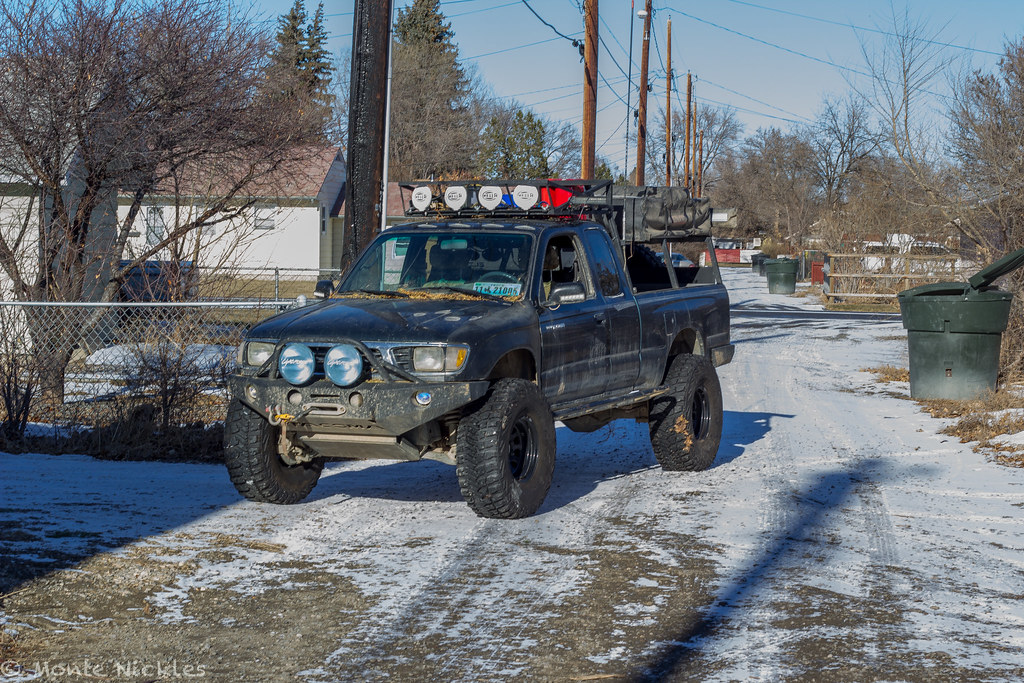
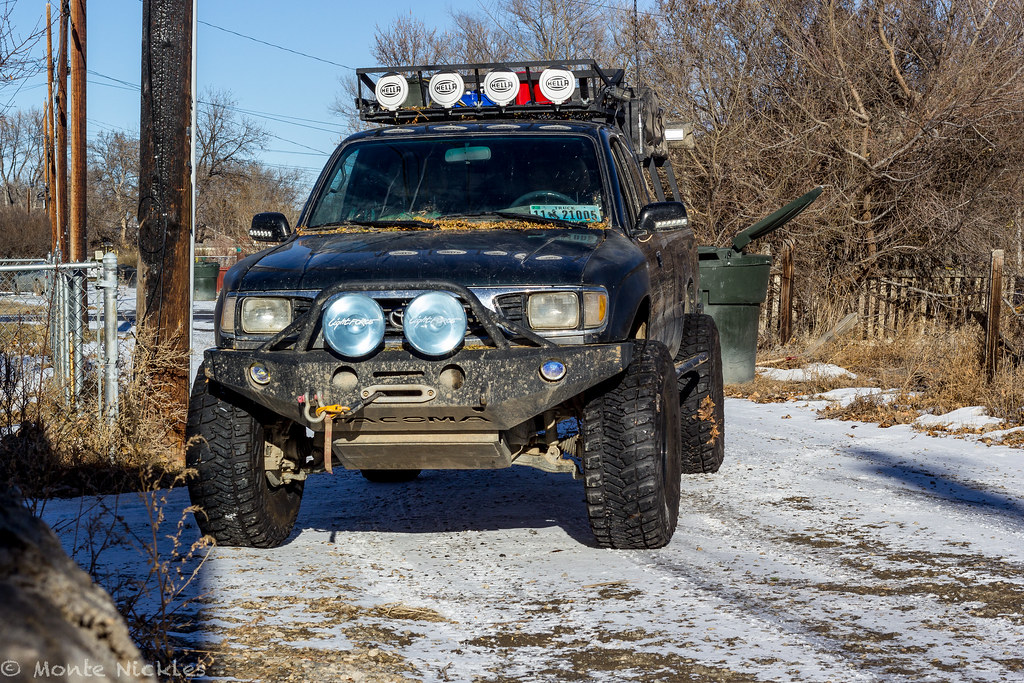
BEAST!

IMG_7955.jpg by
Monte Nickles Photos, on Flickr
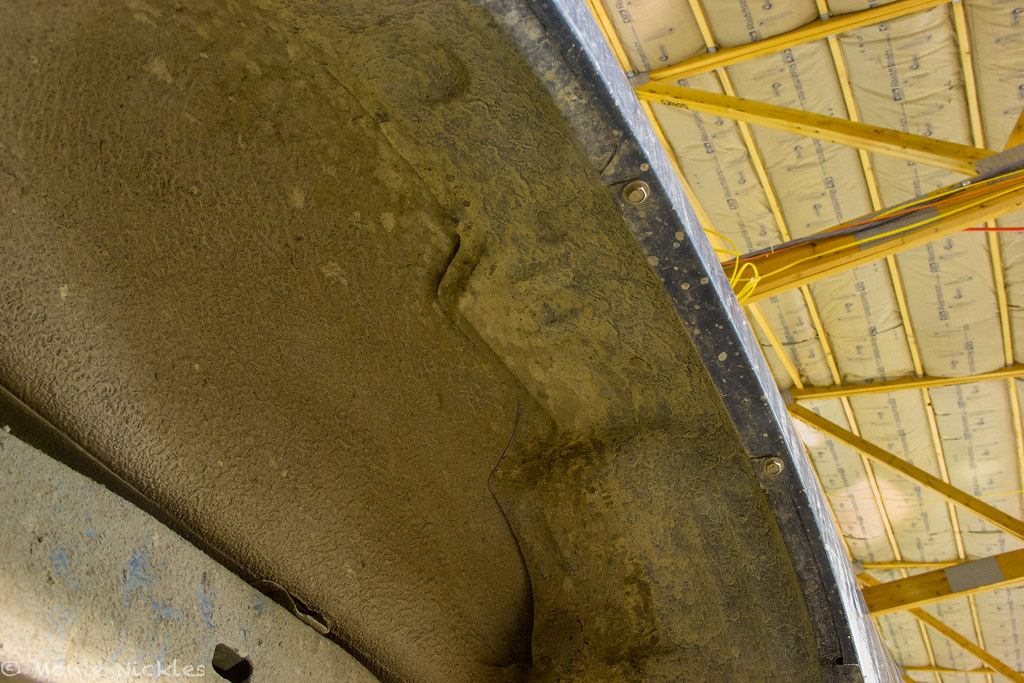
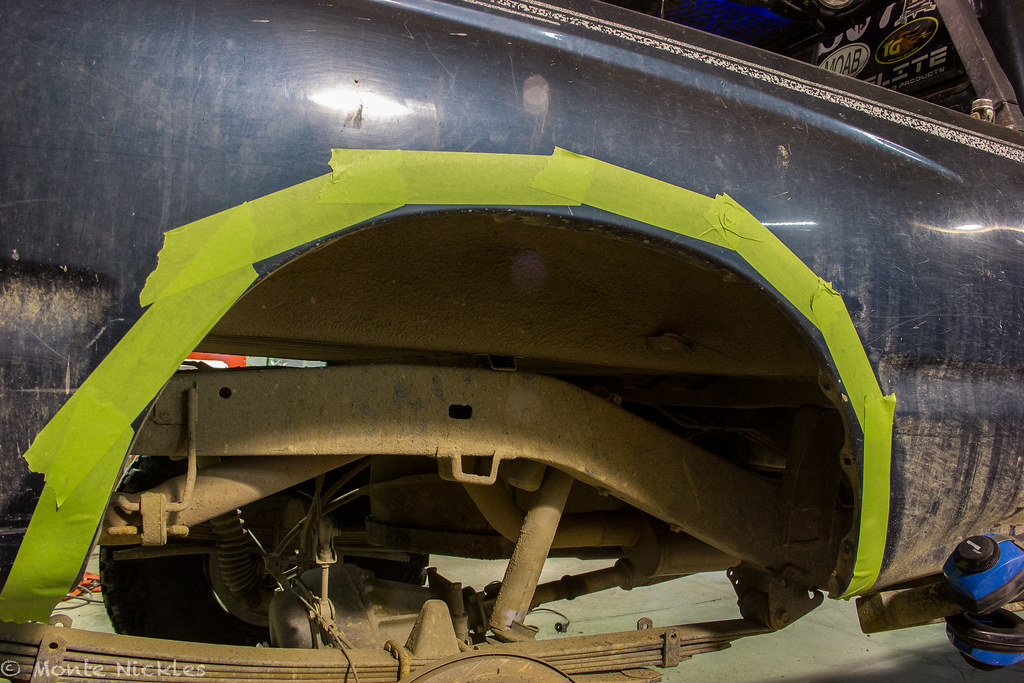
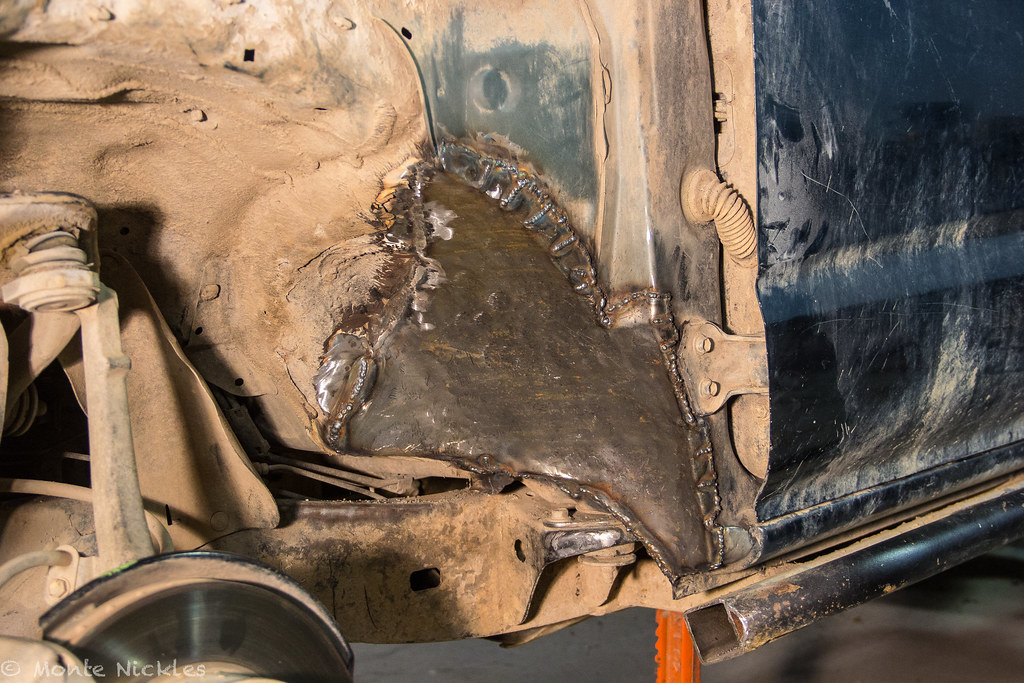
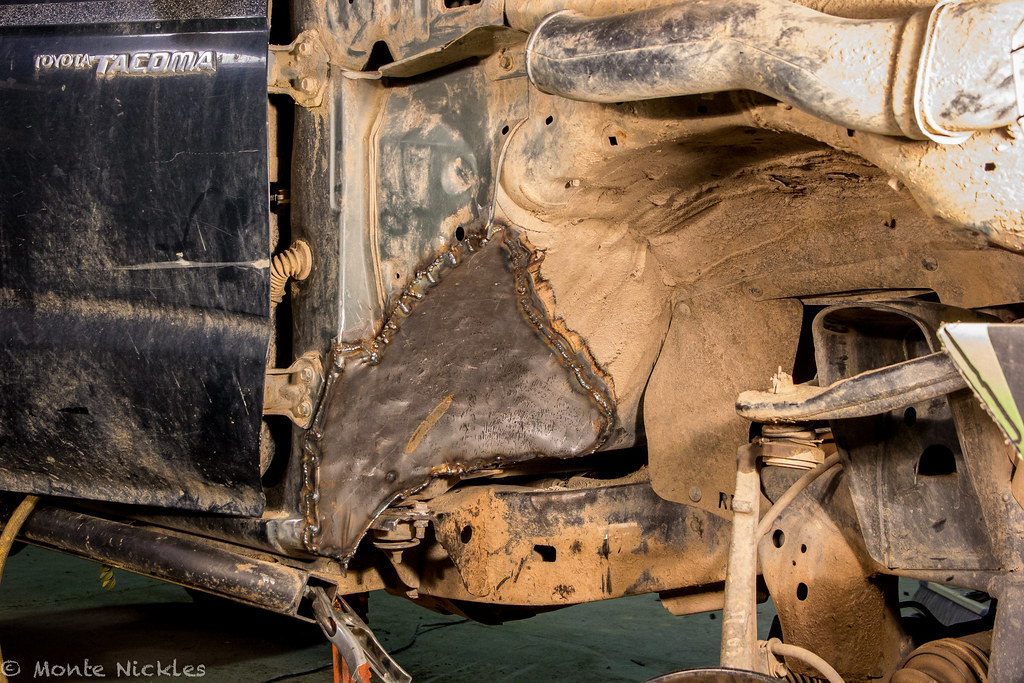
You'll find you cant turn..even a little bit due to the fender and maybe bumper like me. So lets start cutting

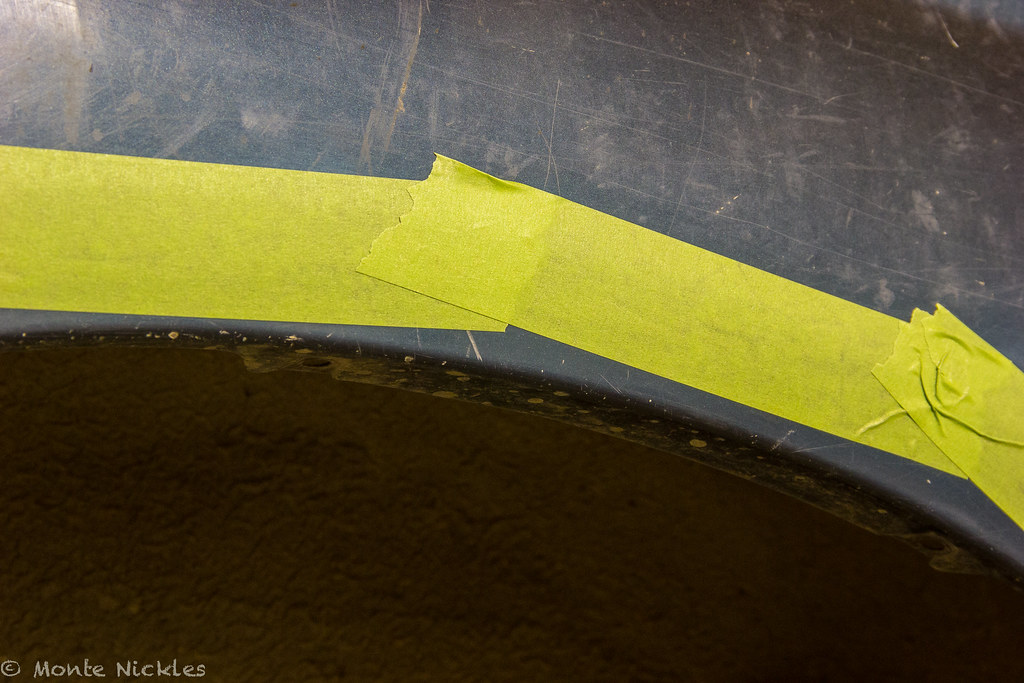
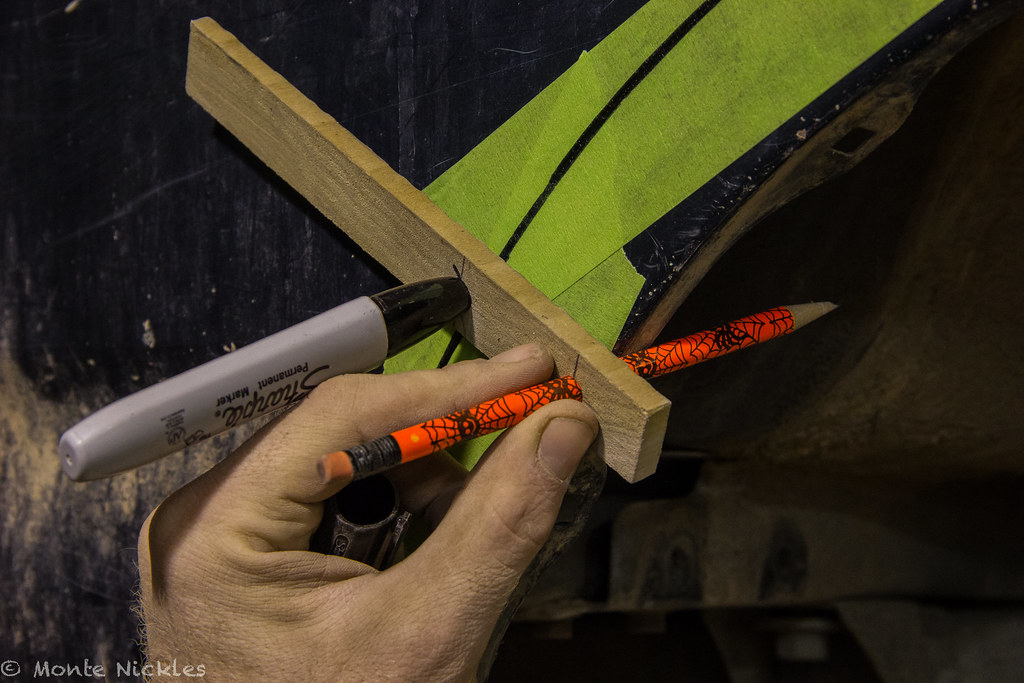
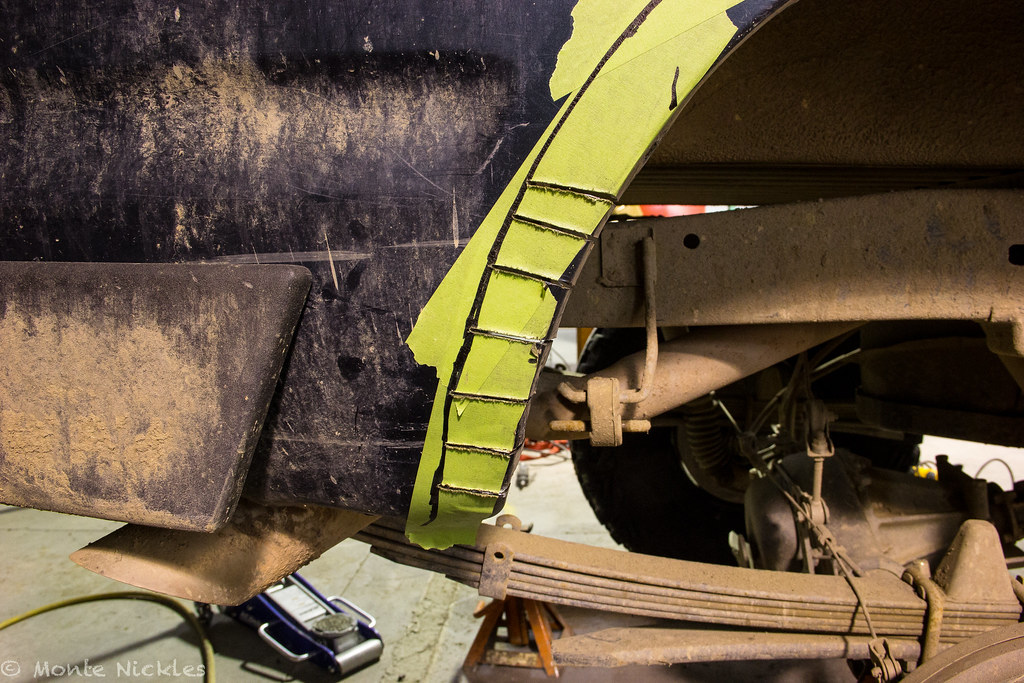
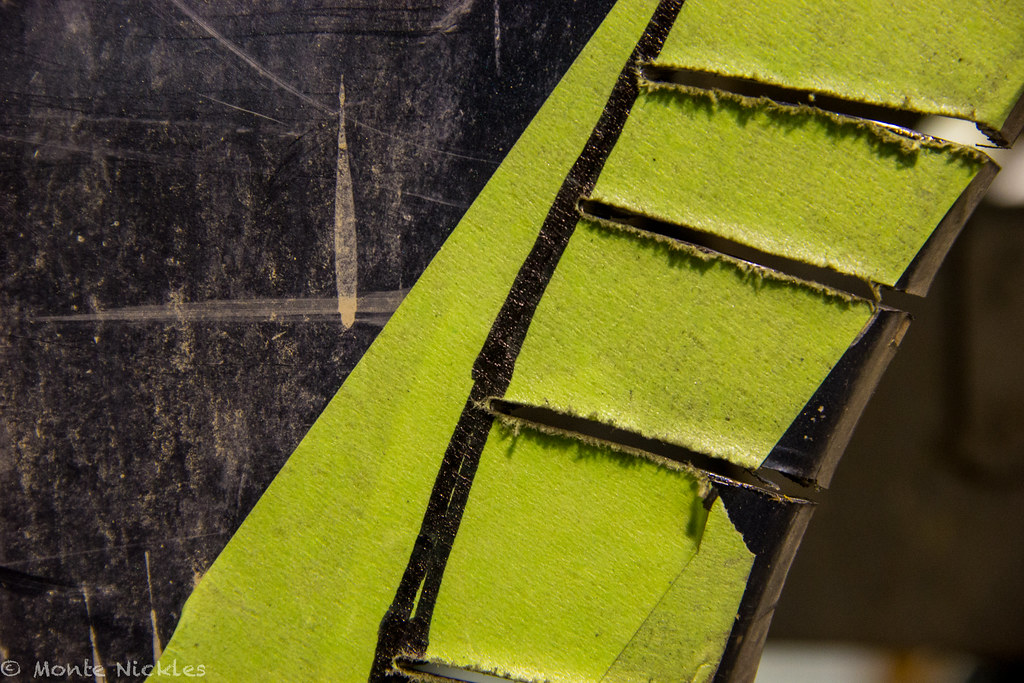
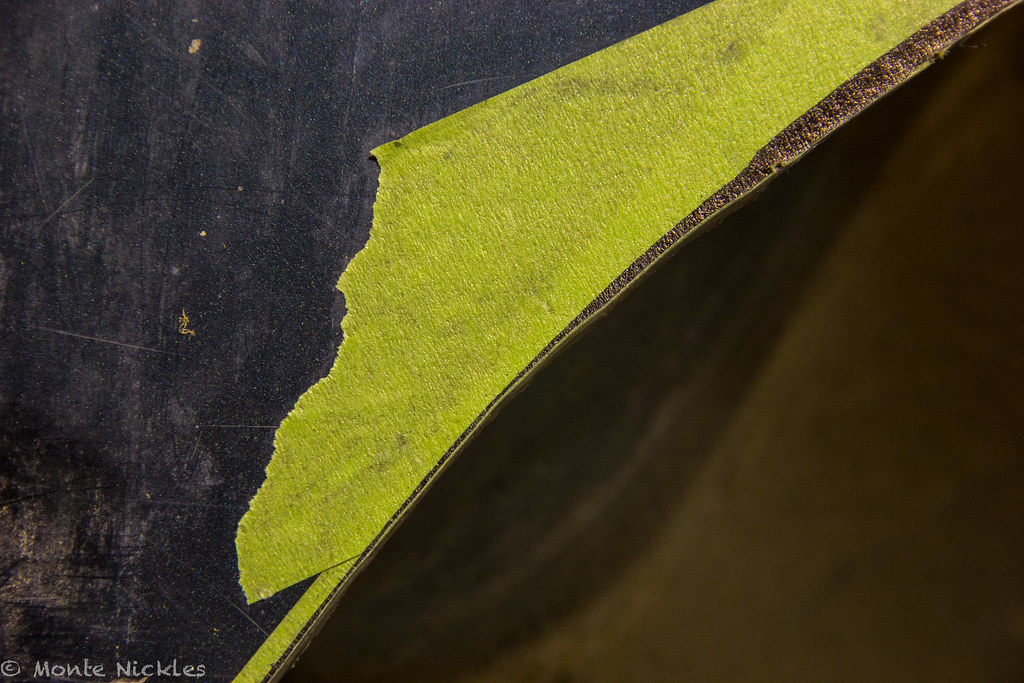
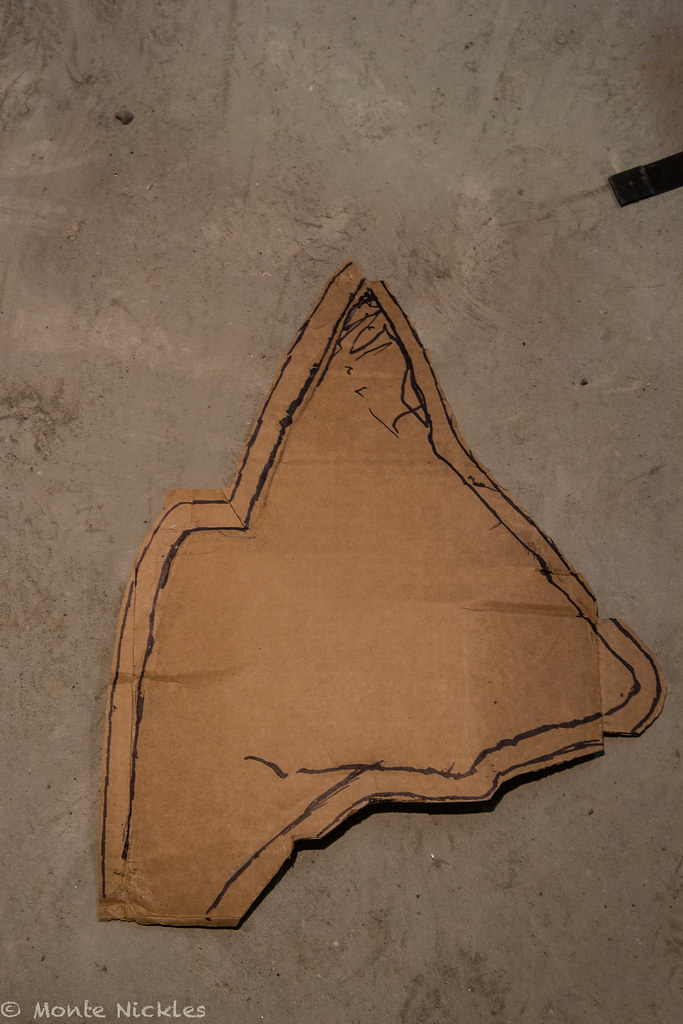
Now you'll recall how we did the tape and drew a line with the rear fenders from a few pages back? Do that here too!
IMG_7998.jpg by
Monte Nickles Photos, on Flickr
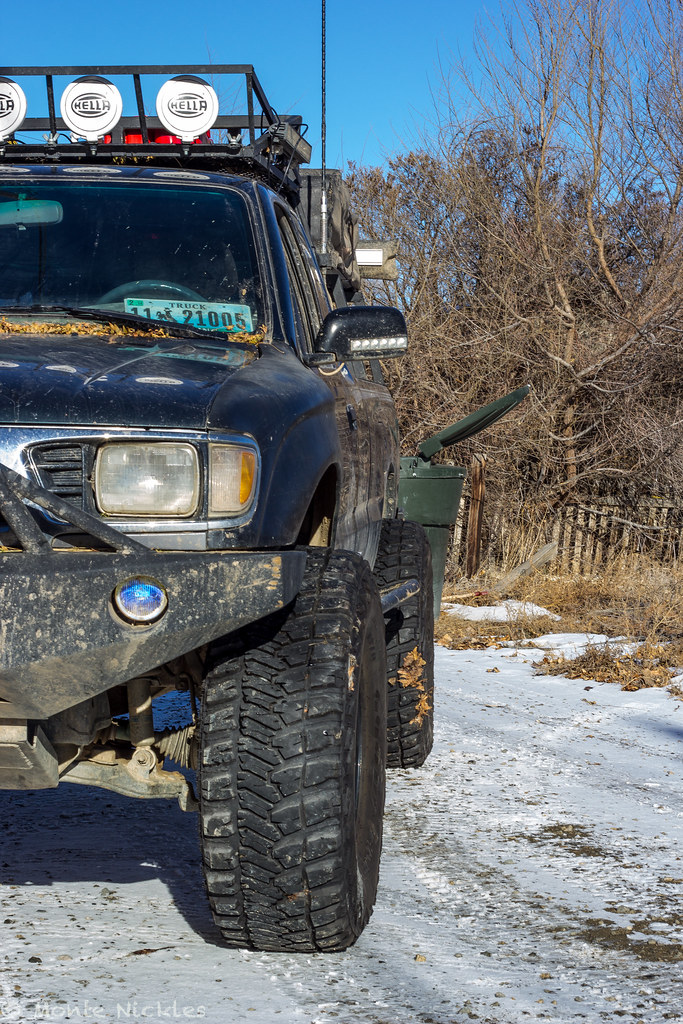
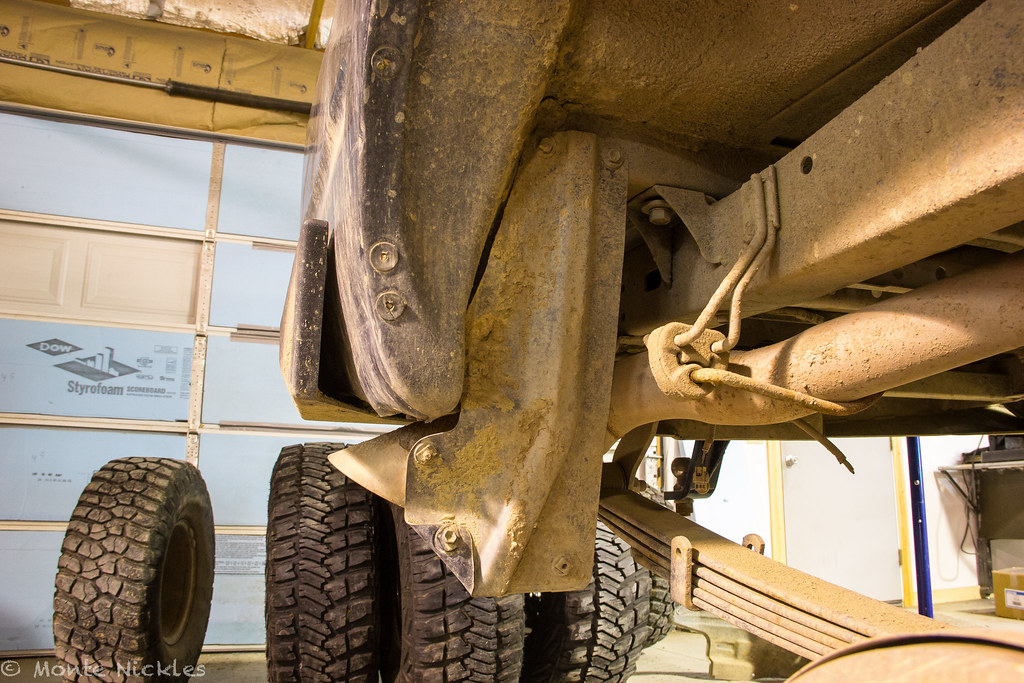
You'll see my Elite bumper is too long and I also had to cut 1.75'' out of it. This will vary with trucks/bumper makes/tire makes..so make sure you test fit the 35 you have first. Make sure that you take into account what a new tire would be like if you bought used ones.
Anyways. Cut like you did the rear. You'll have to cut more of the rear portion of the fenders later..but we will get to that.
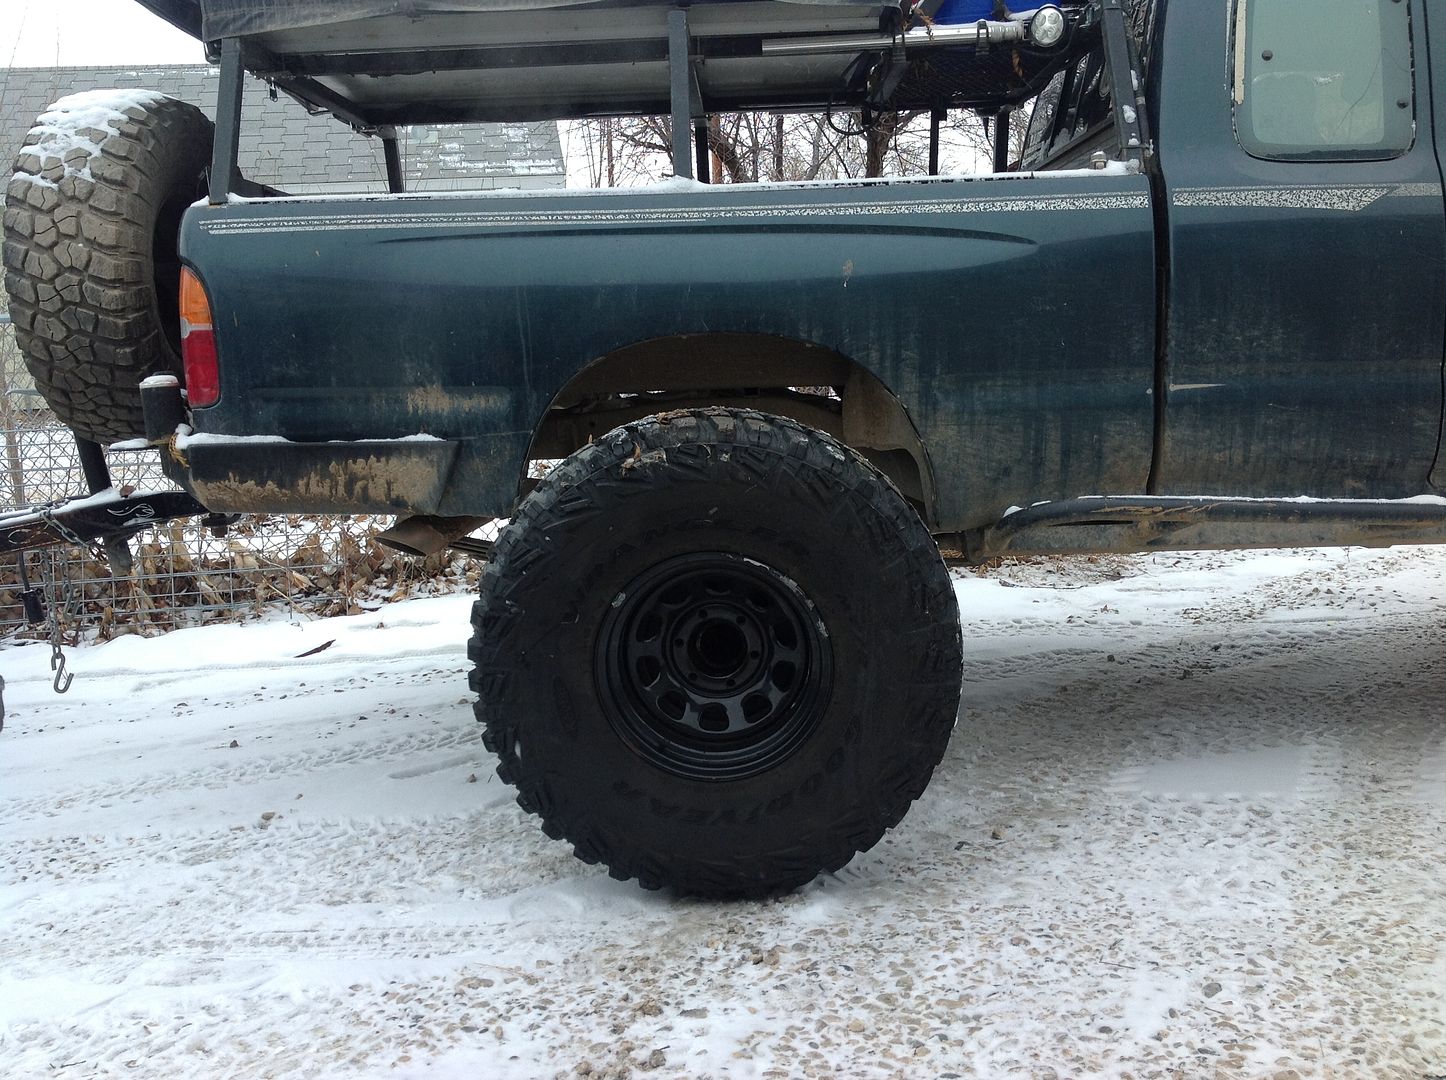
Now slap the tire on again and make sure it fits!
IMG_7957.jpg by
Monte Nickles Photos, on Flickr
now take the fender off. All bolts are 10mm. Be three bolts up here
IMG_7988.jpg by
Monte Nickles Photos, on Flickr
One here behind the grill filler plate

IMG_7989.jpg by
Monte Nickles Photos, on Flickr
and two down here if your on stock fenders unlike me

IMG_7997.jpg by
Monte Nickles Photos, on Flickr
and one up here behind the door
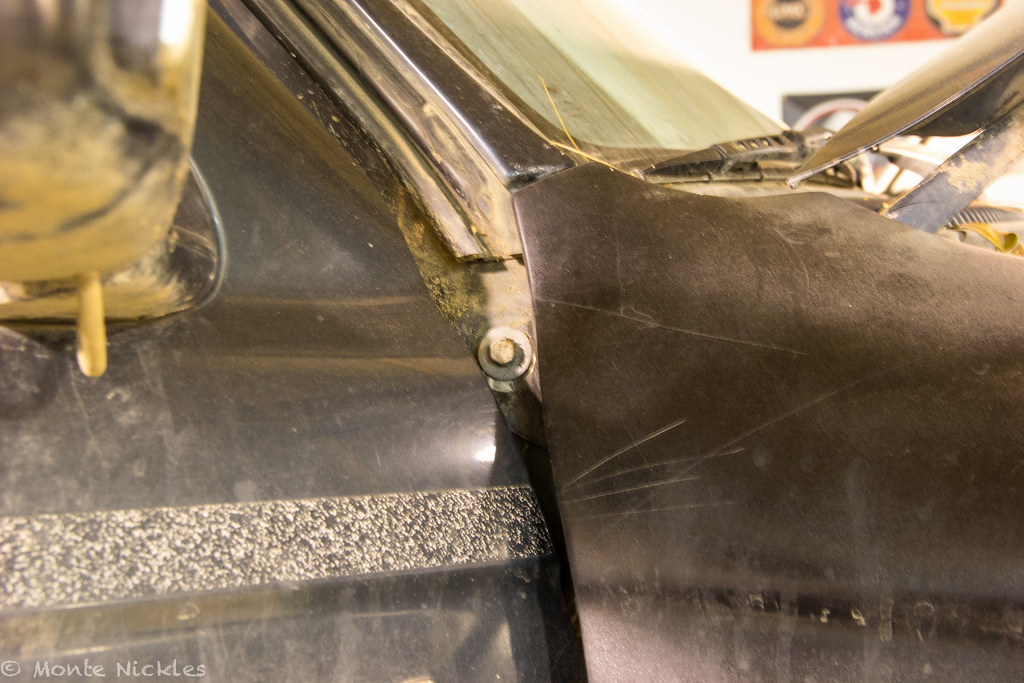
IMG_8000.jpg by
Monte Nickles Photos, on Flickr
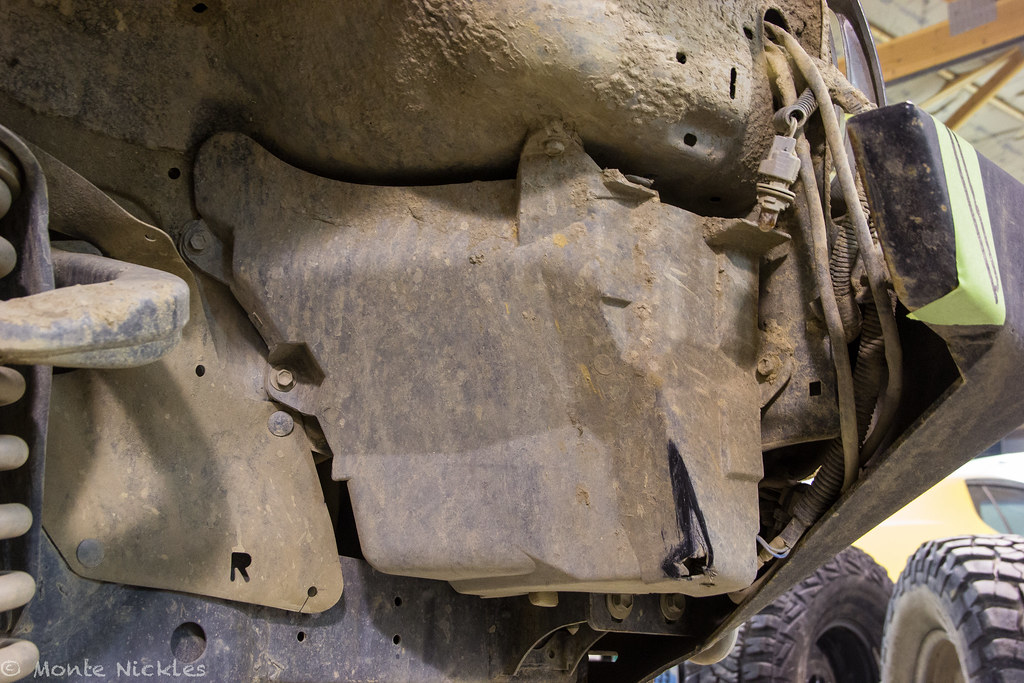
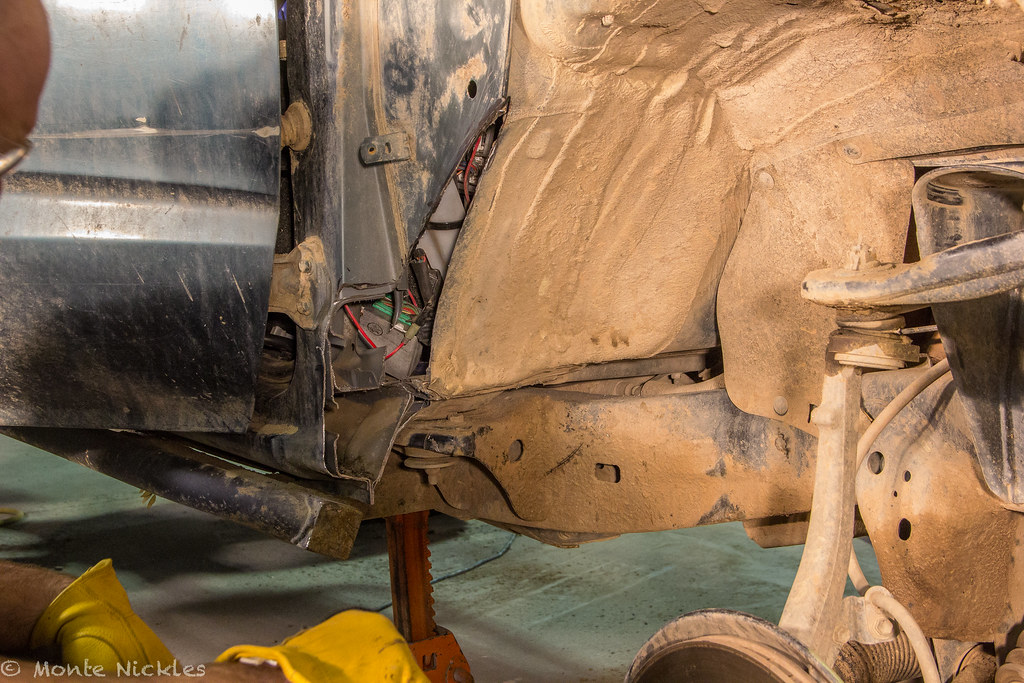
You will also have to take off the corner lights..which..you should know how to do if your doing this anyways.
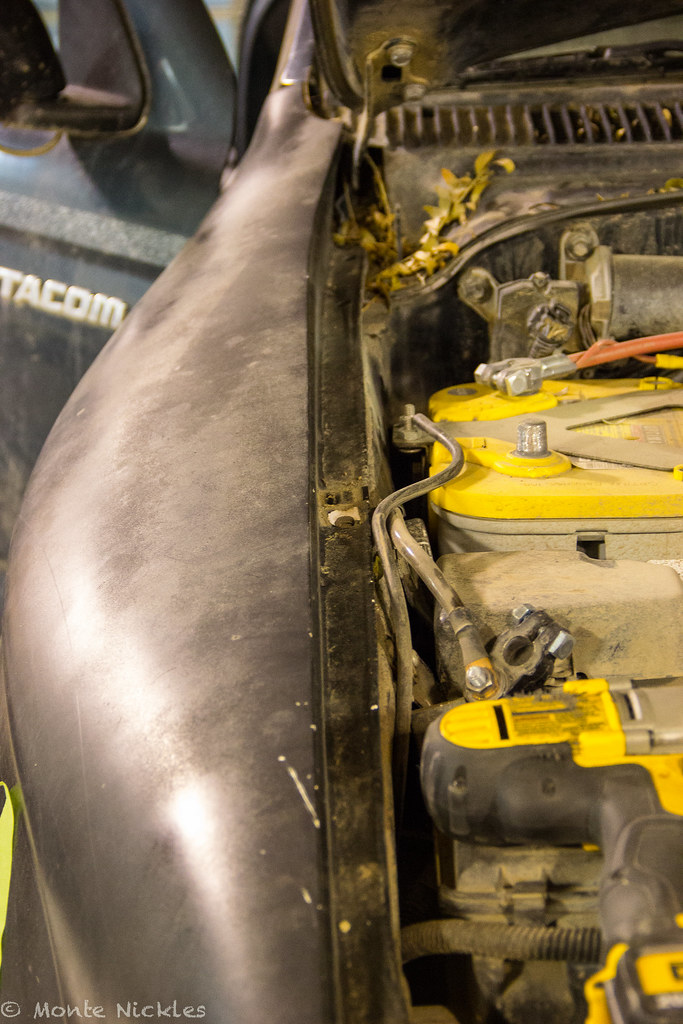
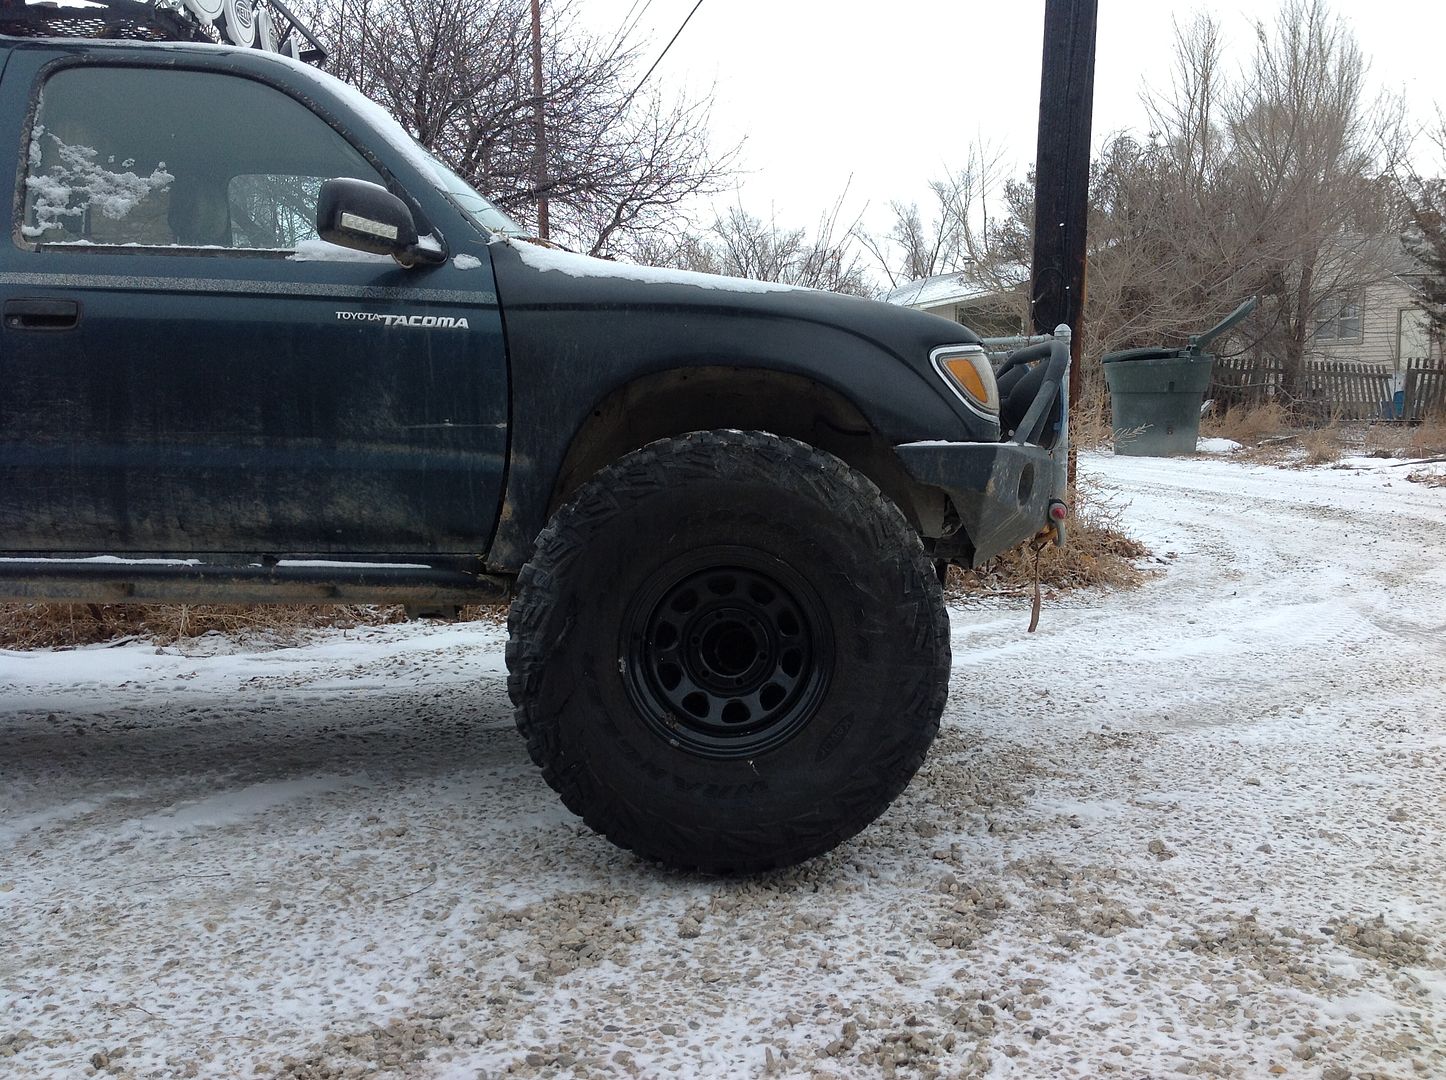
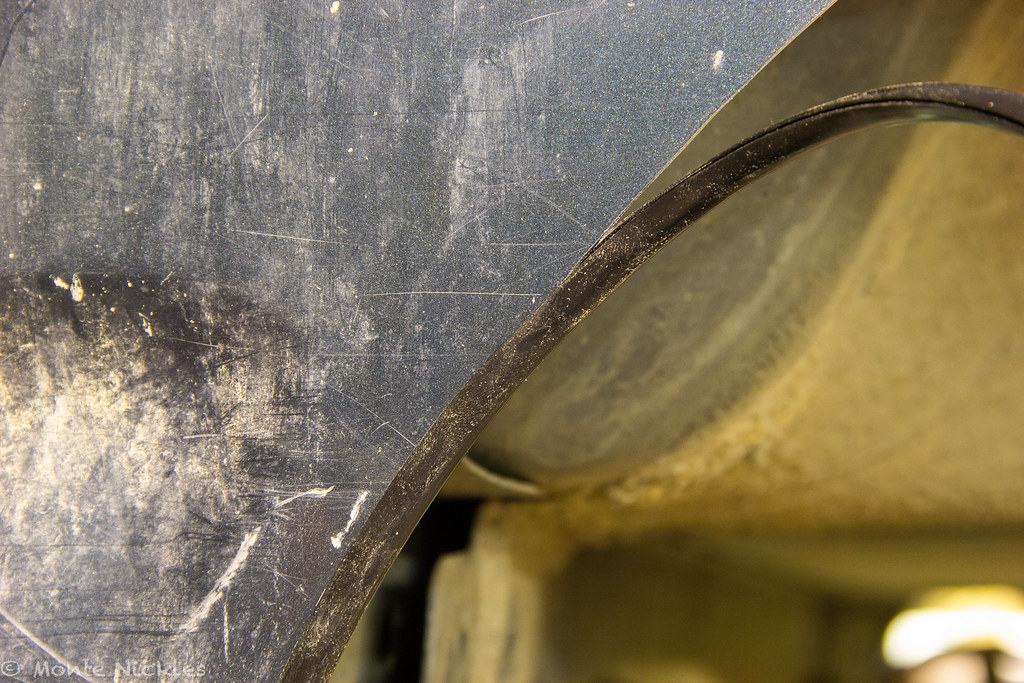
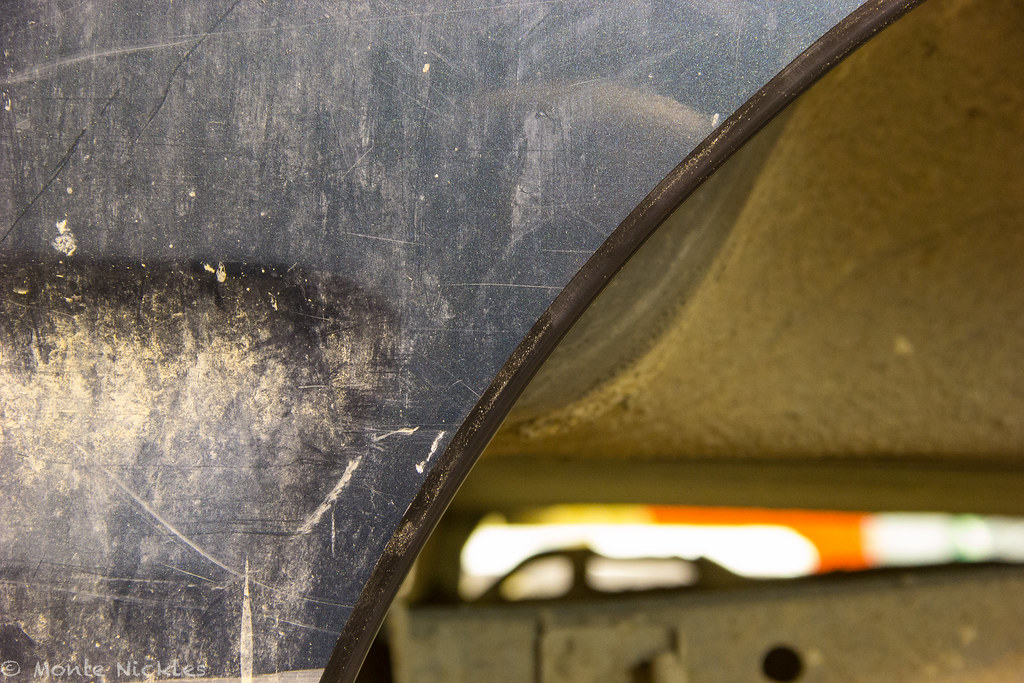
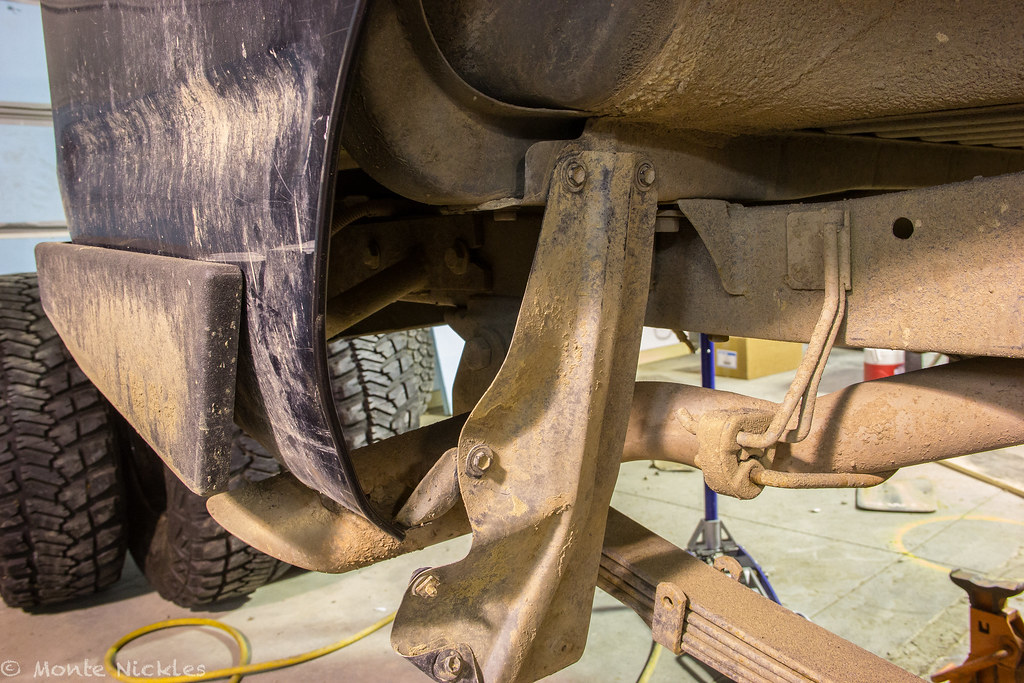
On the driver side, you'll be able to turn it passenger usually fine. But you'll hit the fire wall quickly when turning passenger. On the passenger side though, at least with my tires, you'll see you still can't turn very far either way due to the wind shield washer bottle. You can even see my 33s have rub a hole straight through the plastic guard...it has to go!
IMG_8001.jpg by
Monte Nickles Photos, on Flickr
It's pretty simple to remove. First, disconnect this plug.

IMG_8002.jpg by
Monte Nickles Photos, on Flickr
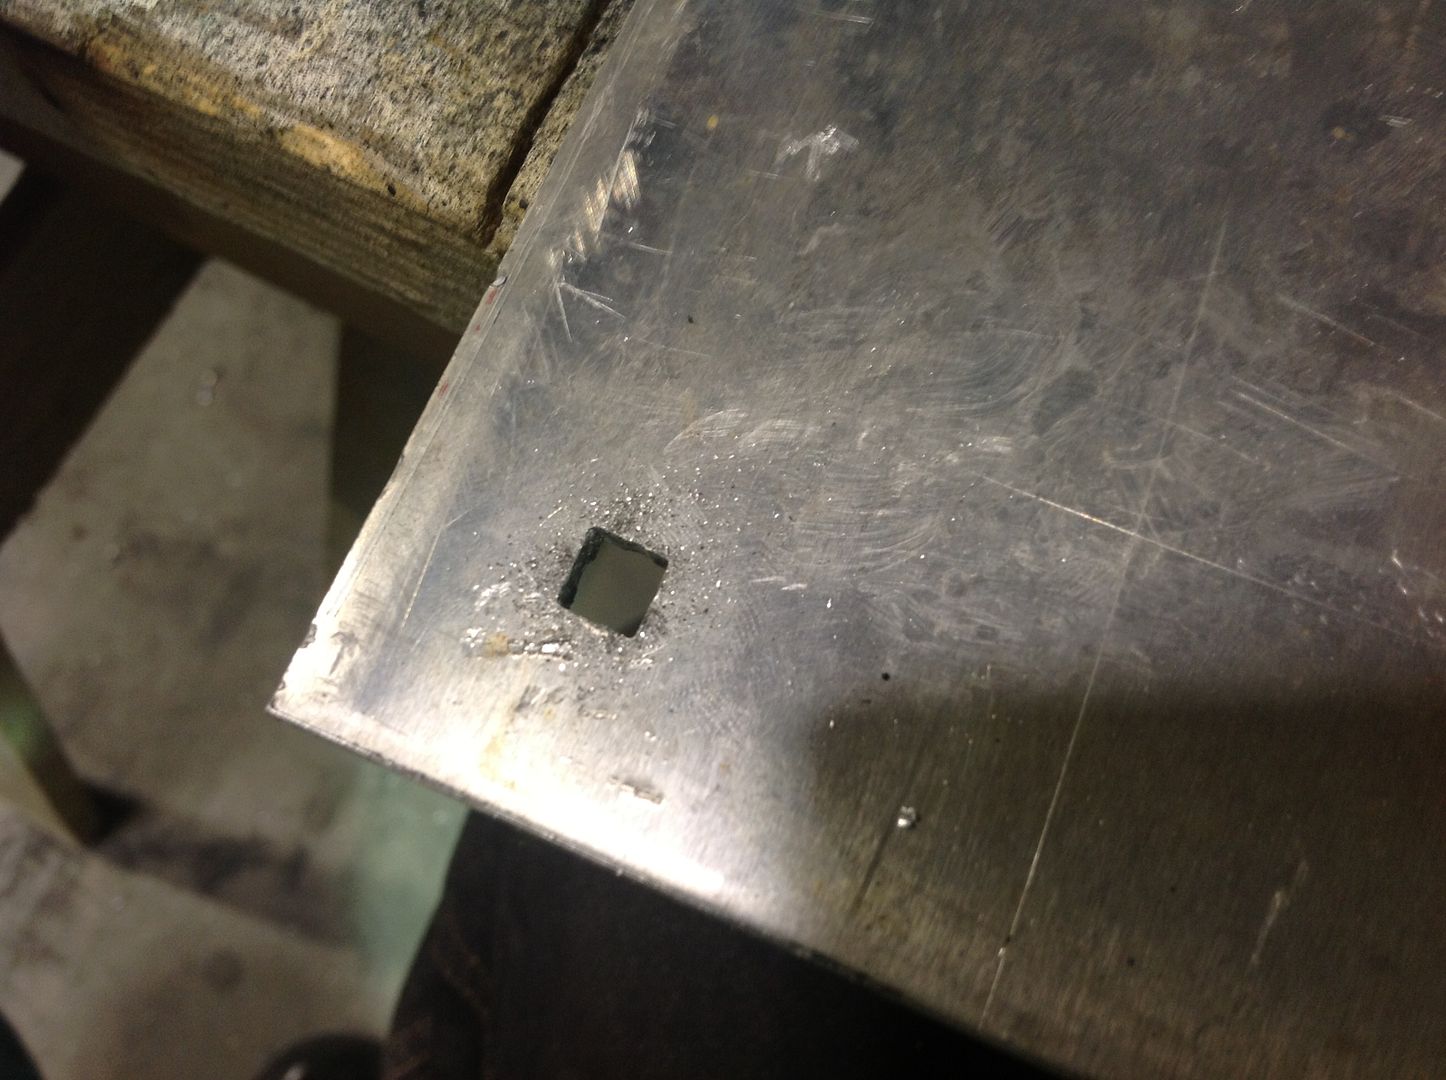
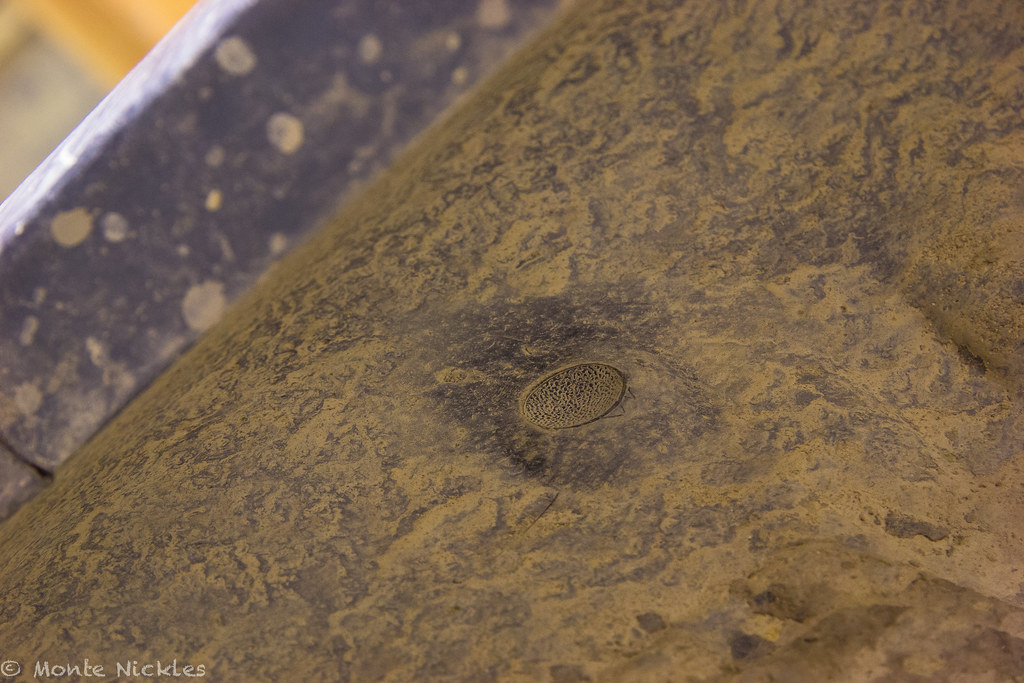
There are 4 10mm bolts down here to remove. This shows you what i'll look like AFTER I have removed them. Obviously..just easier to see the holes. The plastic guard will pull right off after you have removed them.
IMG_8003.jpg by
Monte Nickles Photos, on Flickr
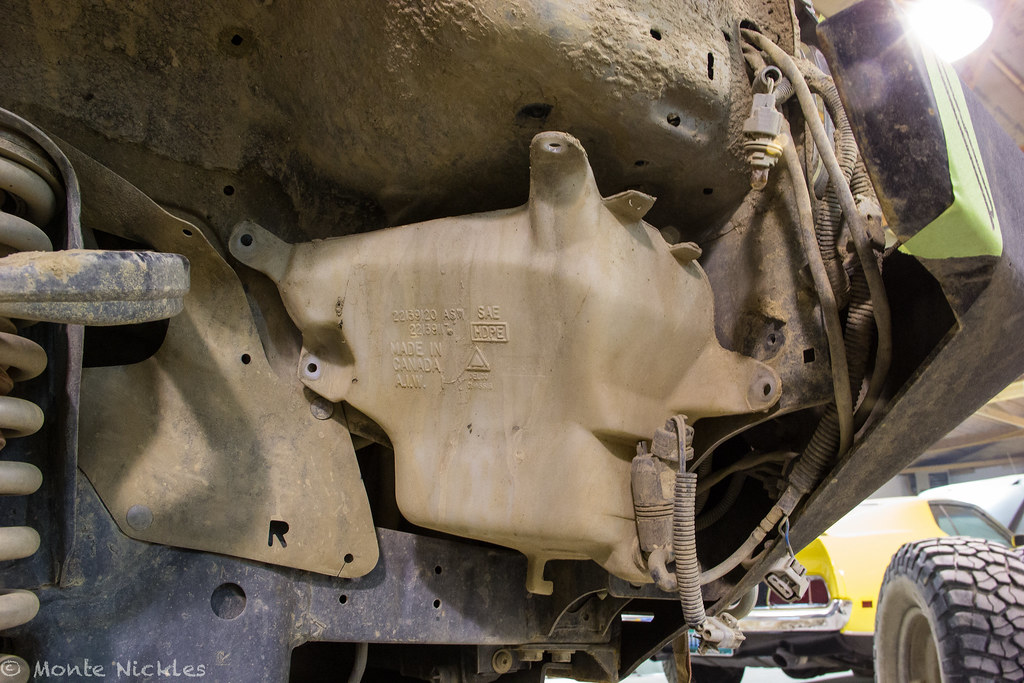
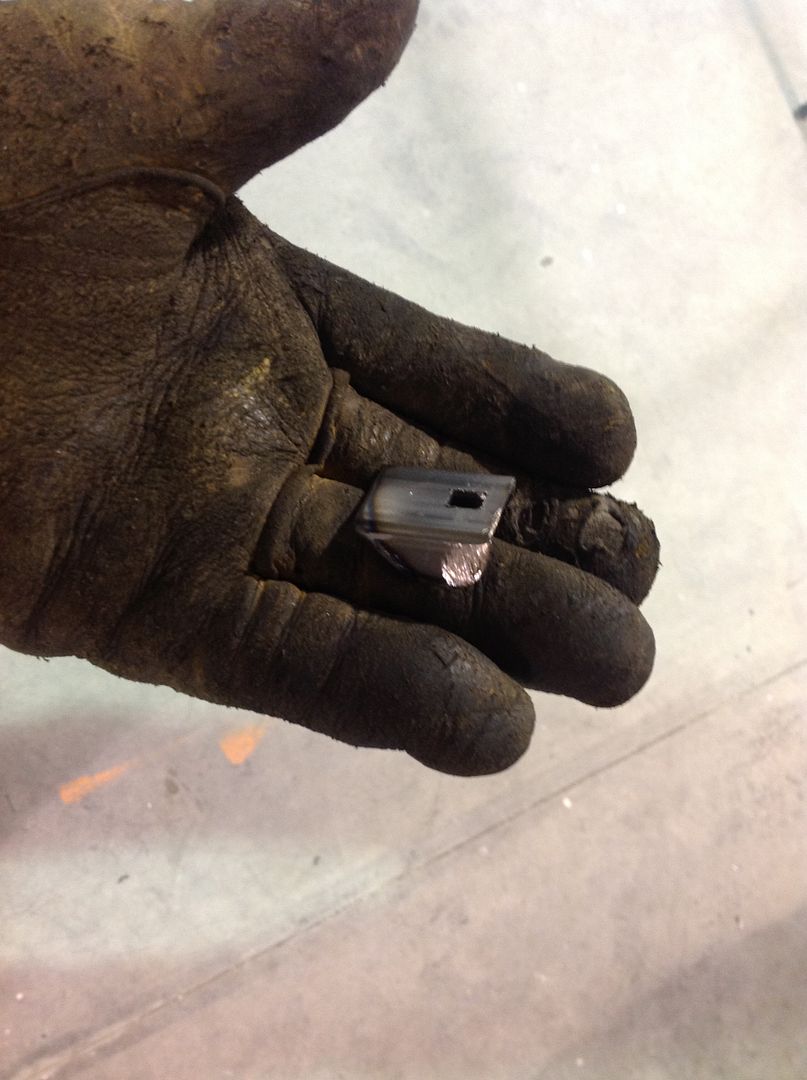
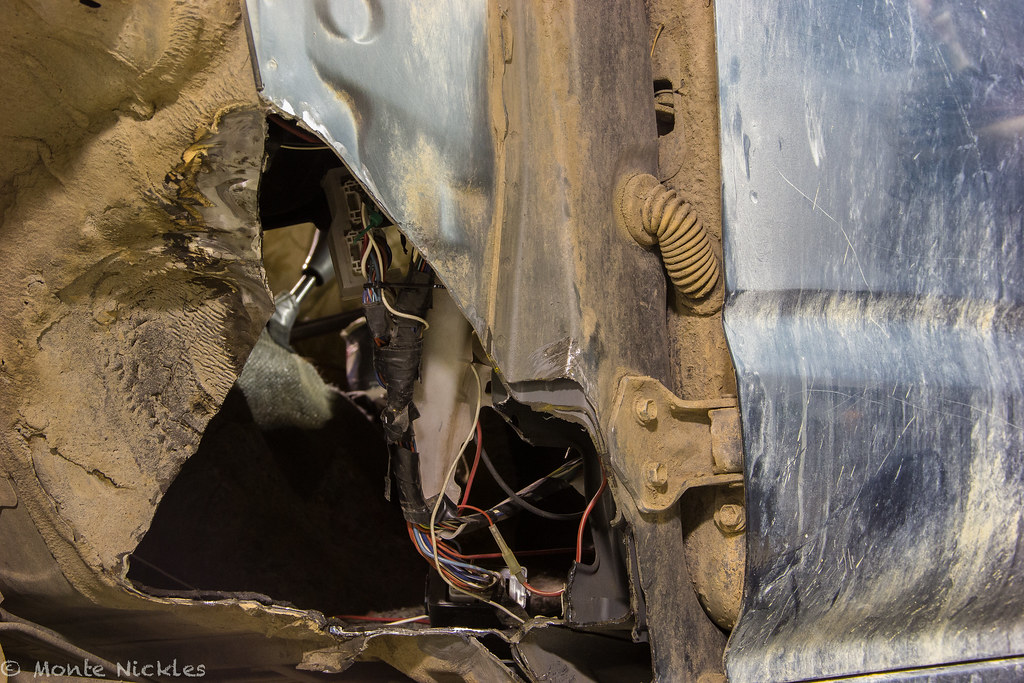
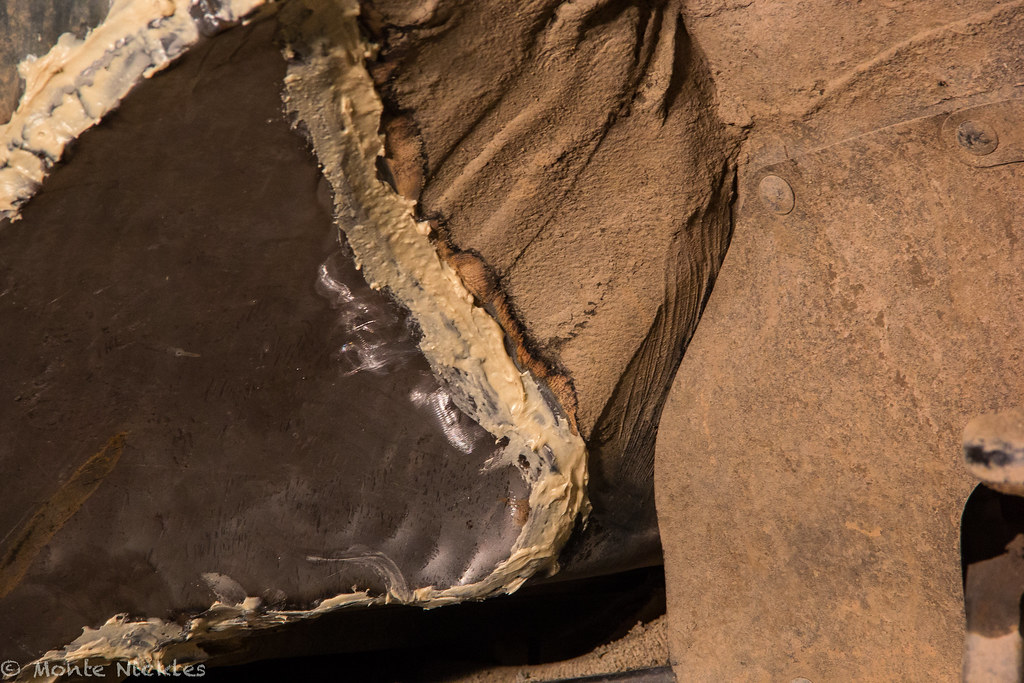
Now this baby is ready to come out. All thats holding it in is two big plastic tabs on the neck up in here..sorry for the **** photo

IMG_8004.jpg by
Monte Nickles Photos, on Flickr
HOWEVER!
You now have a choice to make..either pull the pump out of the resivour..or pull some of the tubing off the pump..
if your resivour is fullish..pull some tubing. If its not..just pull the pump.
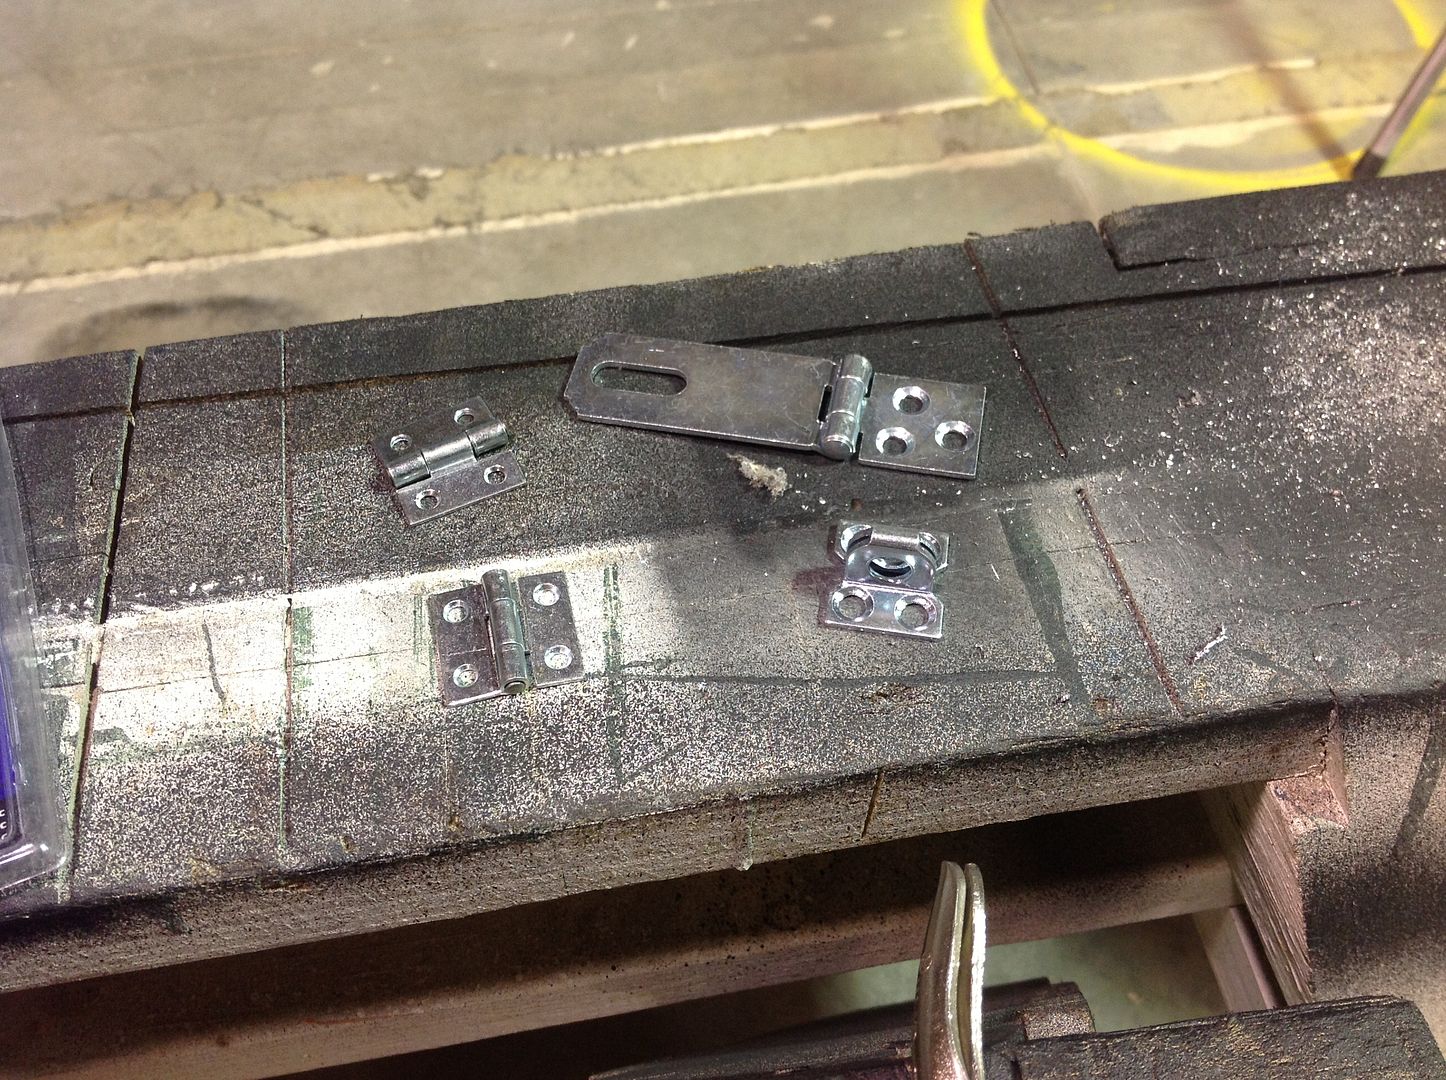
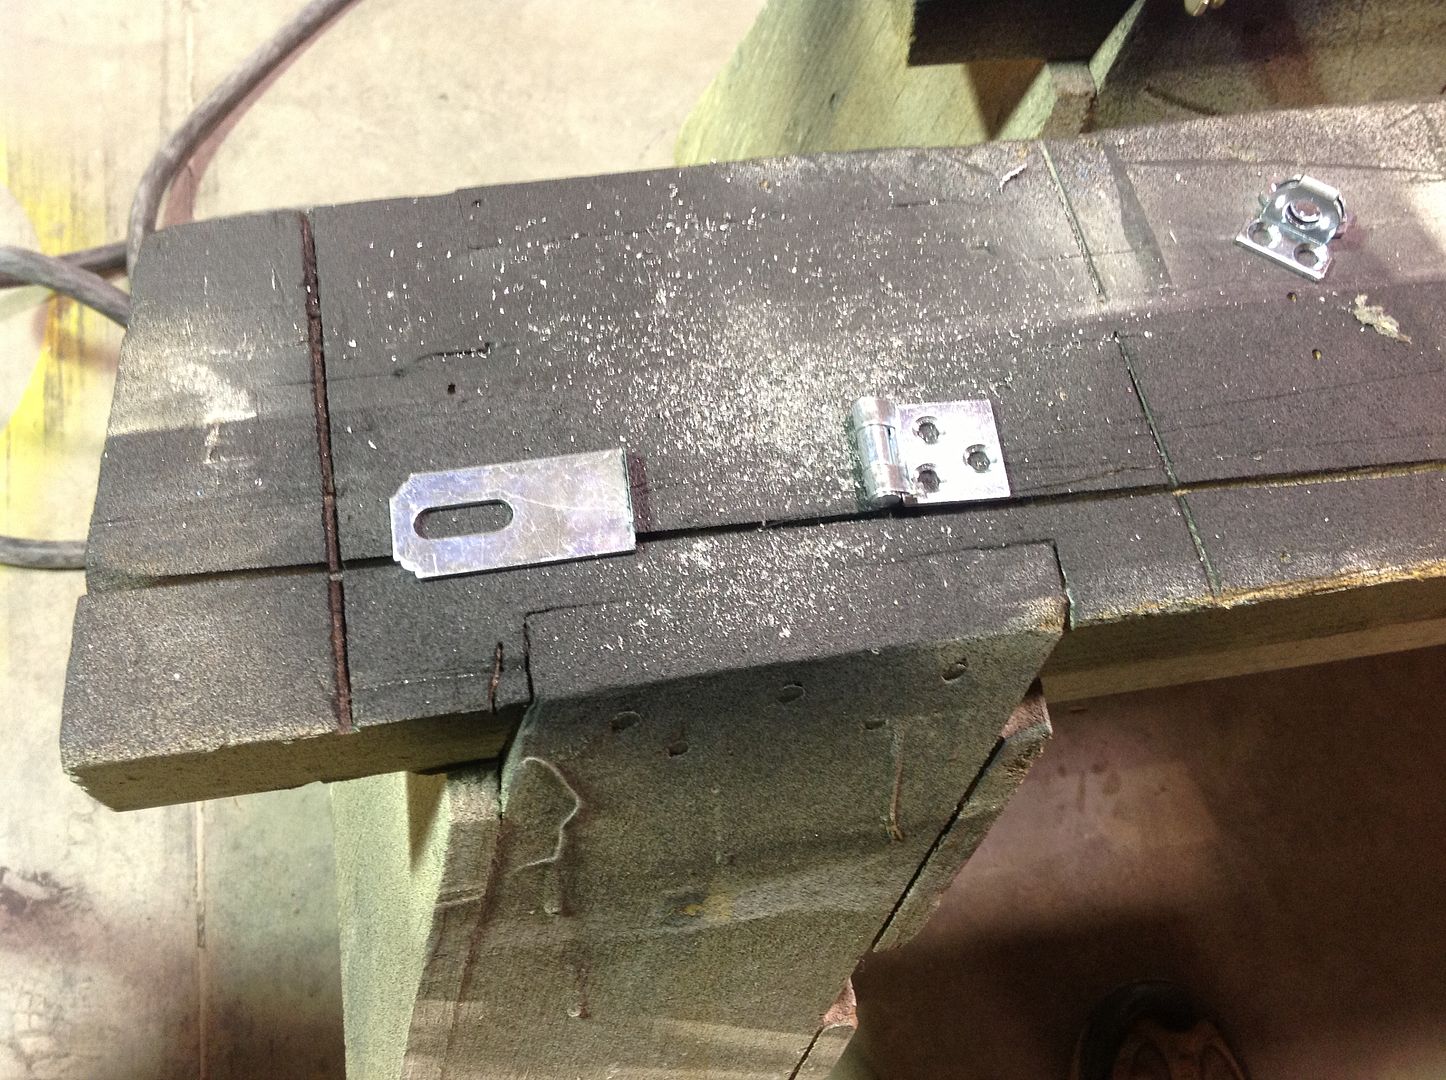
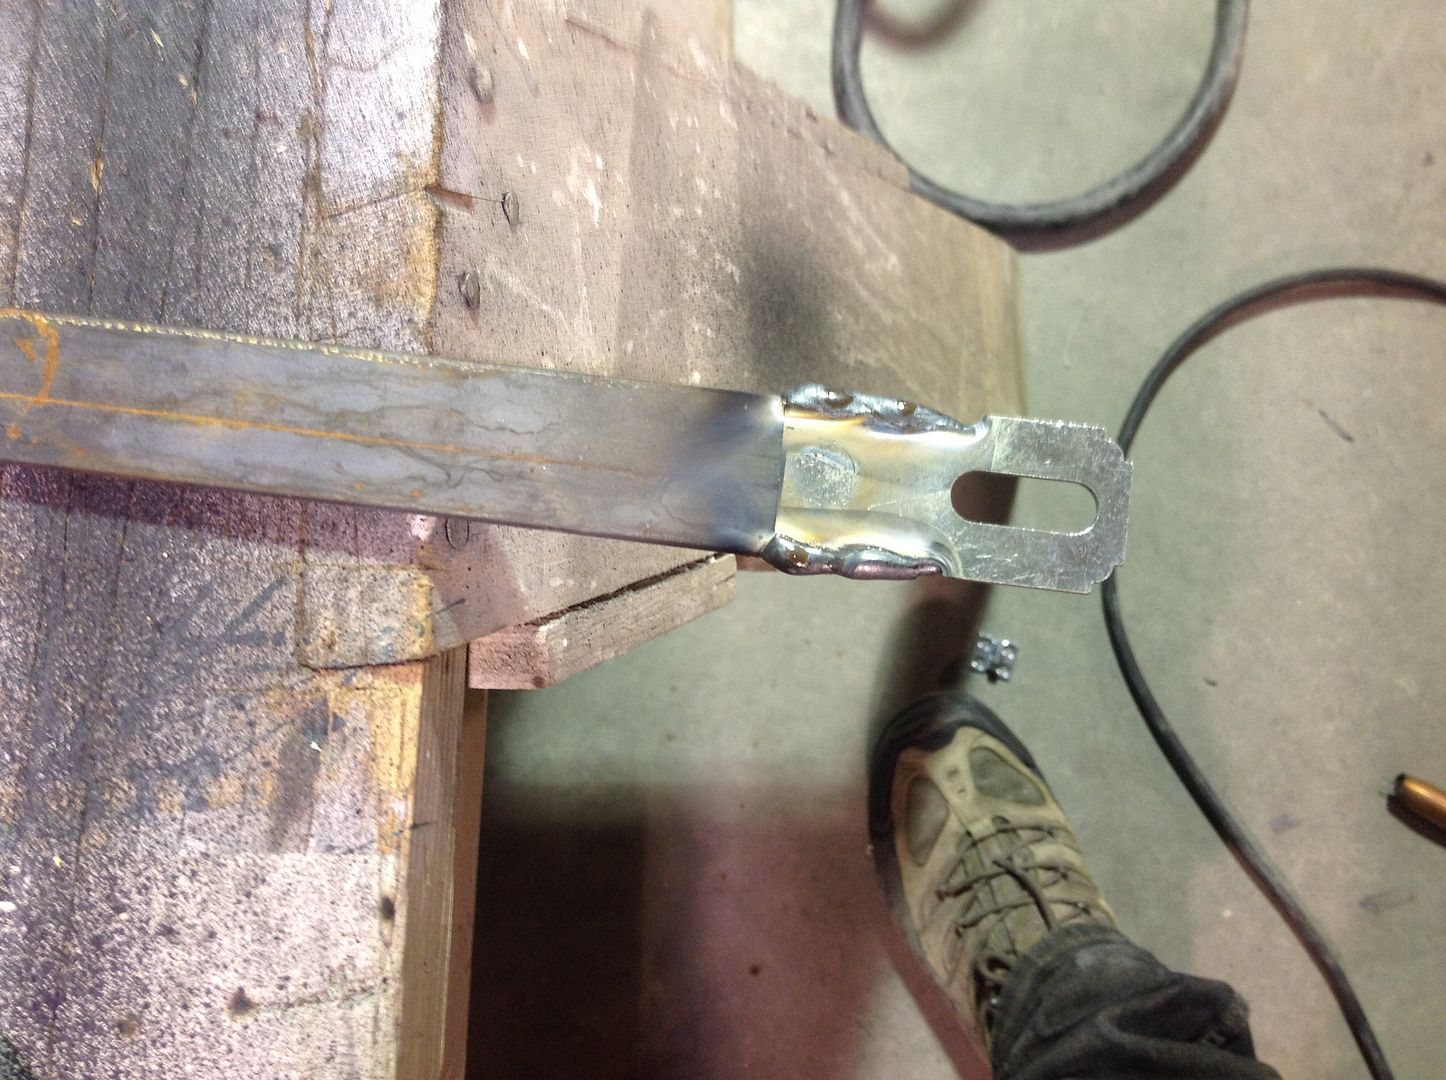
KEEP THE PUMP! You'll want it later for a simple tank that I will show you all how to make when I get back to Wy after school. I pulled the pump and the rubber gasket in the bottle. I then pulled the wire harness and tubes back through the hole they were coming out of and just left them sitting in front of the air box.
Either way..make a decision and then just push the tabs in and let the bottle out. Much more roomy!
IMG_8005.jpg by
Monte Nickles Photos, on Flickr
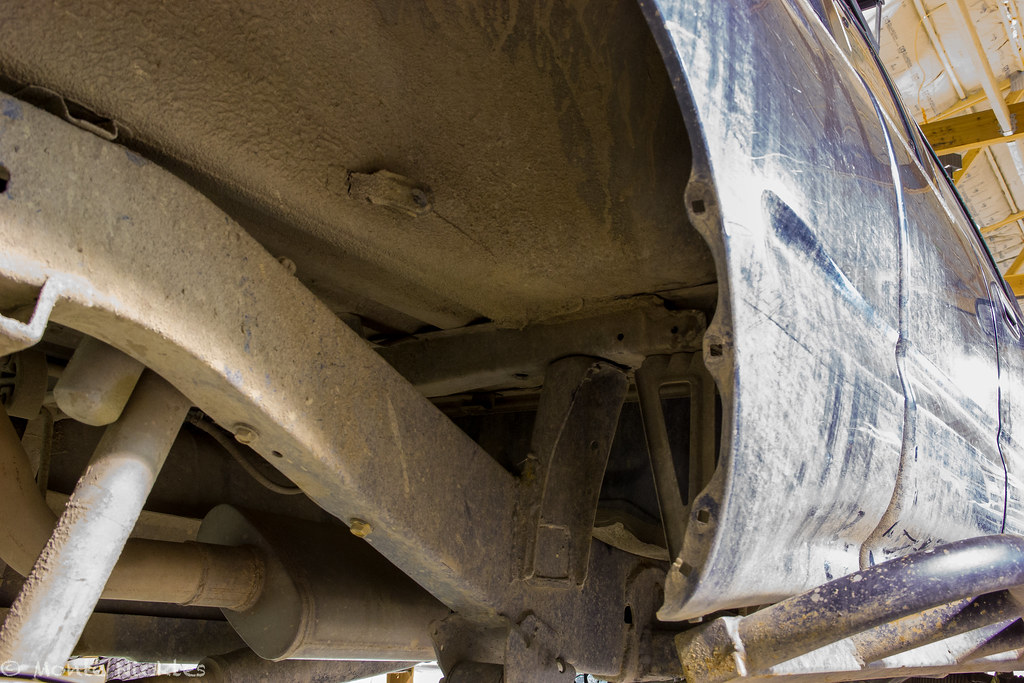
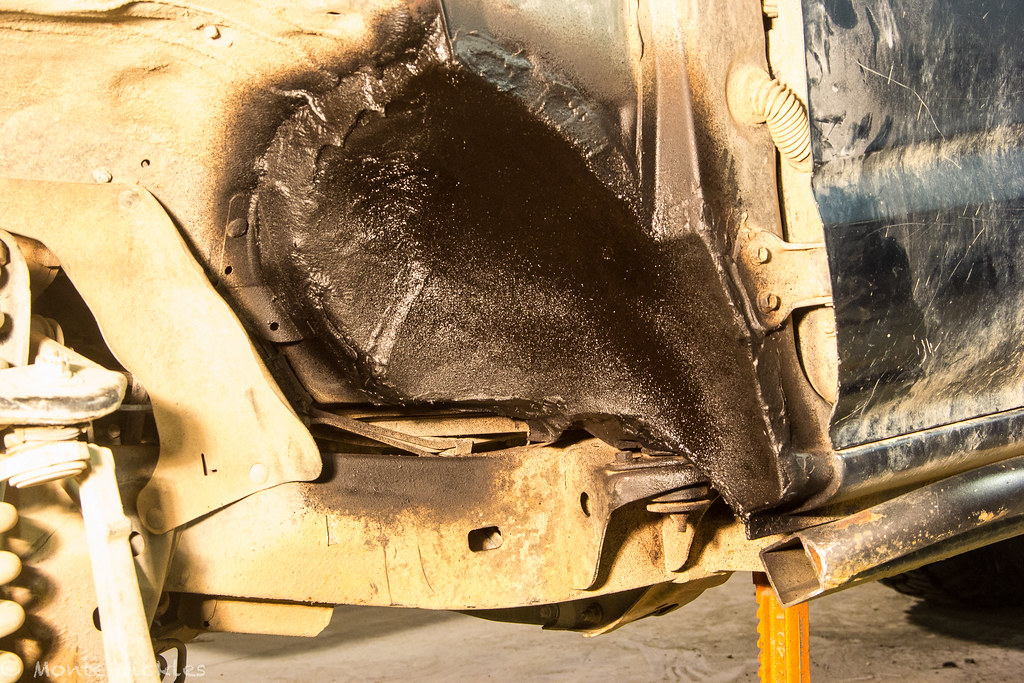
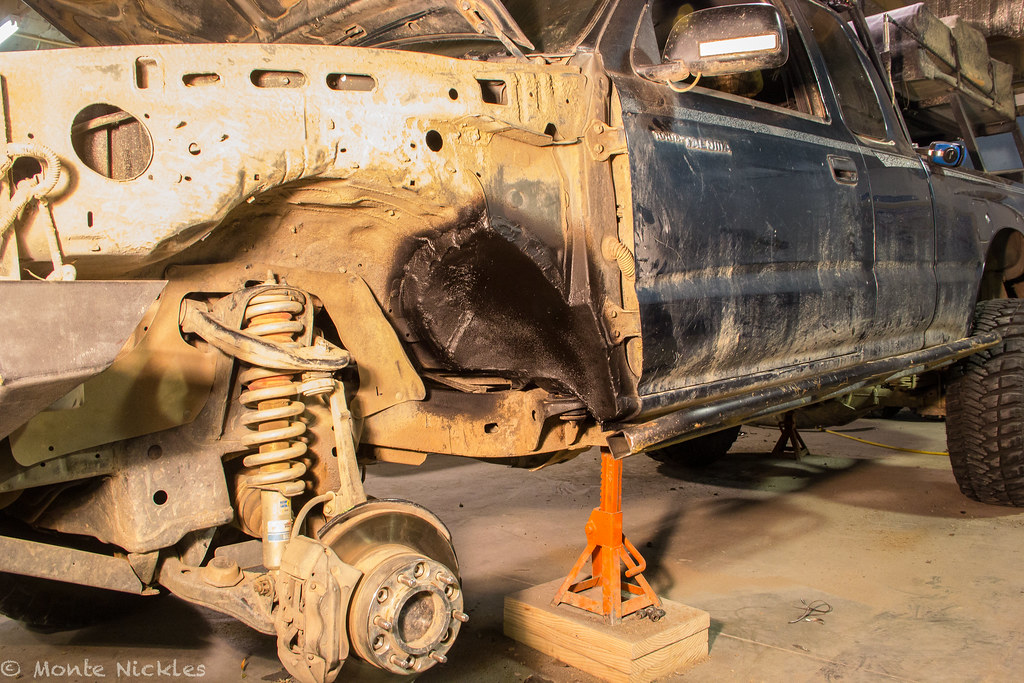
Put the 35 back on(get used to taking it on and off..on and off..on and off
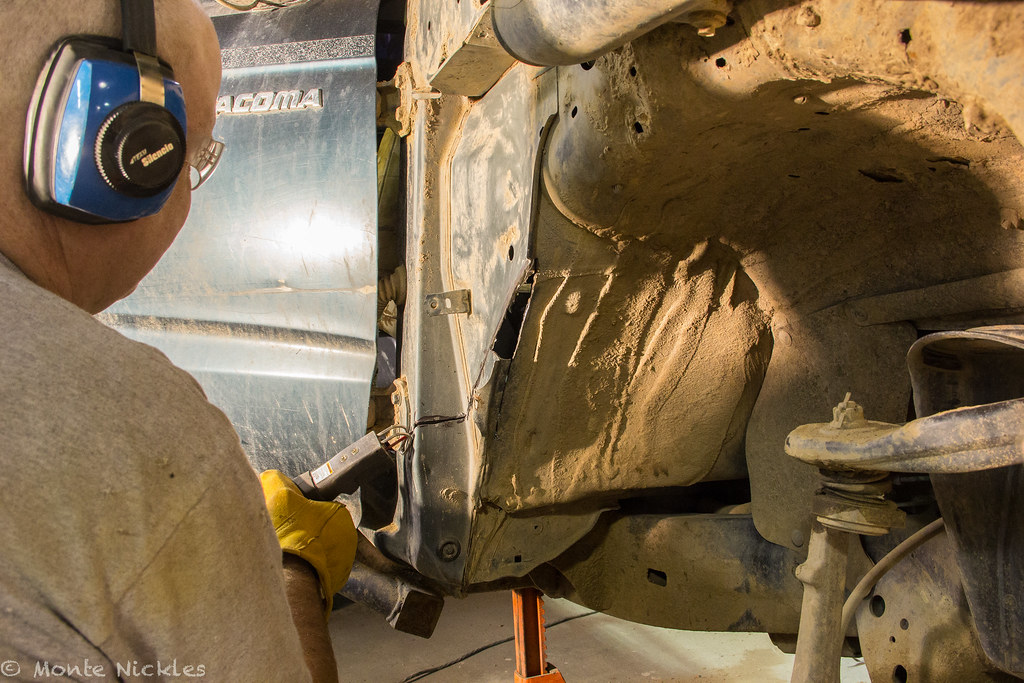
) and turn it so its cutting into the fire wall..im sure you have noticed by now im using photos from both sides..i was NOT doing both sides at the same time..nor would I recommend doing that. Remember to jack the tire all the way up on the bump stops.
Draw your line where you think you'll have to cut. Every truck is a bit different..but a line like this is a good place to start.
IMG_8016.jpg by
Monte Nickles Photos, on Flickr
Take the tire off and now prep the cab for cutting.
") a Canon 60D. so photo quality from this point on only gets better and better. I didn't totally know ****** i was doing with it and editing so the first go around was interesting haha
a Canon 60D. so photo quality from this point on only gets better and better. I didn't totally know ****** i was doing with it and editing so the first go around was interesting haha


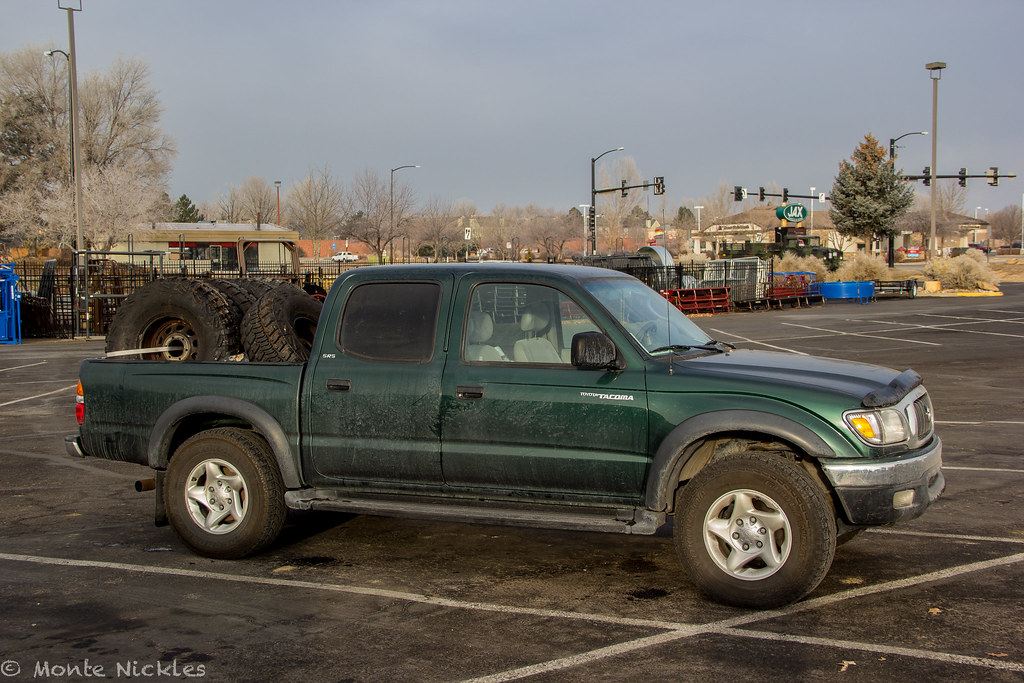


 i had a good buddy come down from WA and i did some work on his truck. Installed a CS144 alternator, Frame plate reinforcements, relocated the rear shocks and reinforced his Elite front bumper like mine.


")


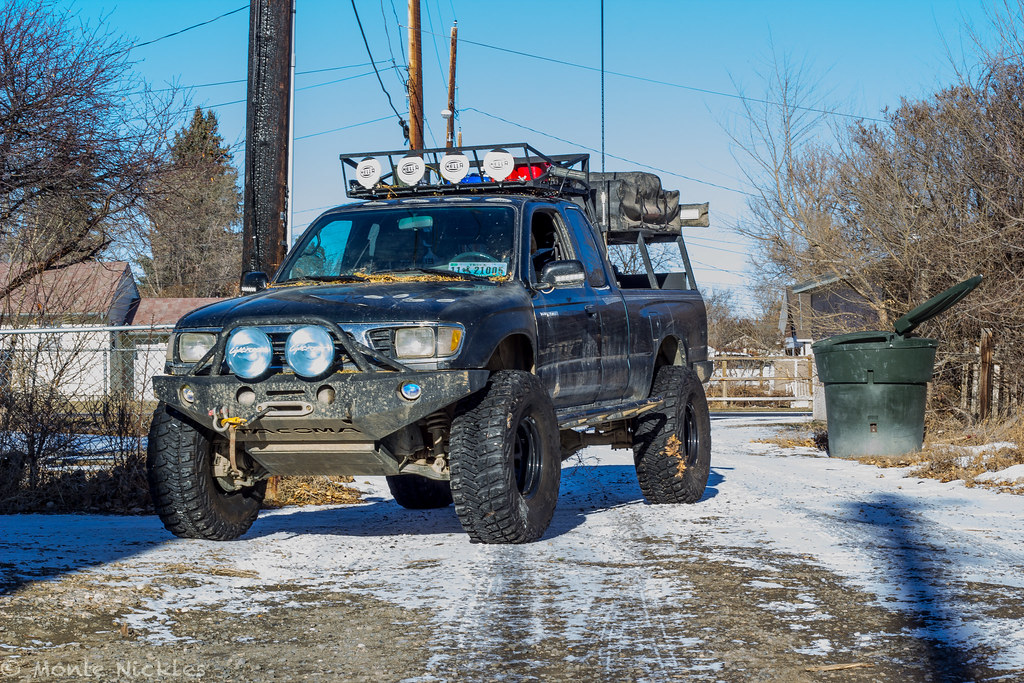
 Gears
Gears Frankenstein
 Frankenstein
 Frankenstein
 Frankenstein
 Frankenstein
 Frankenstein
 Frankenstein
 Frankenstein
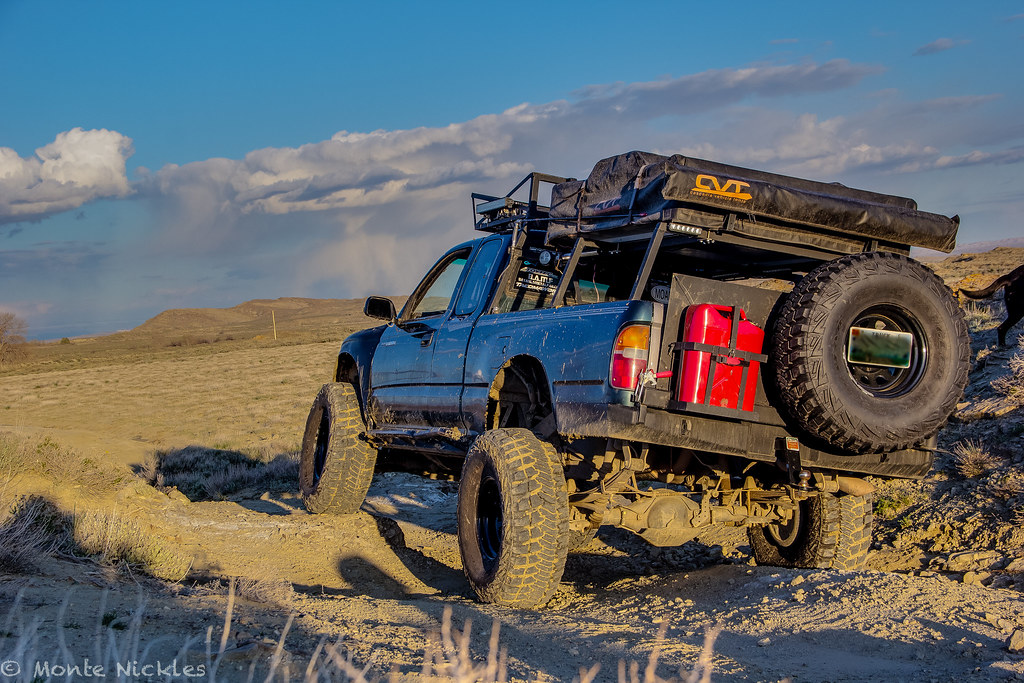 Frankenstein
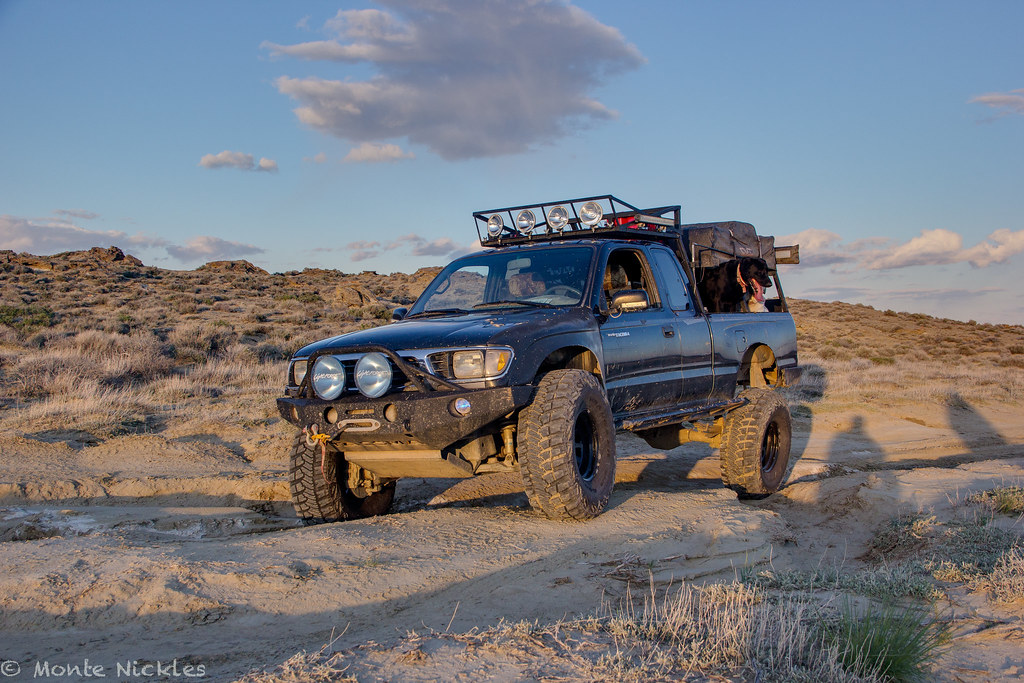 Frankenstein
 Frankenstein
 Frankenstein.jpg
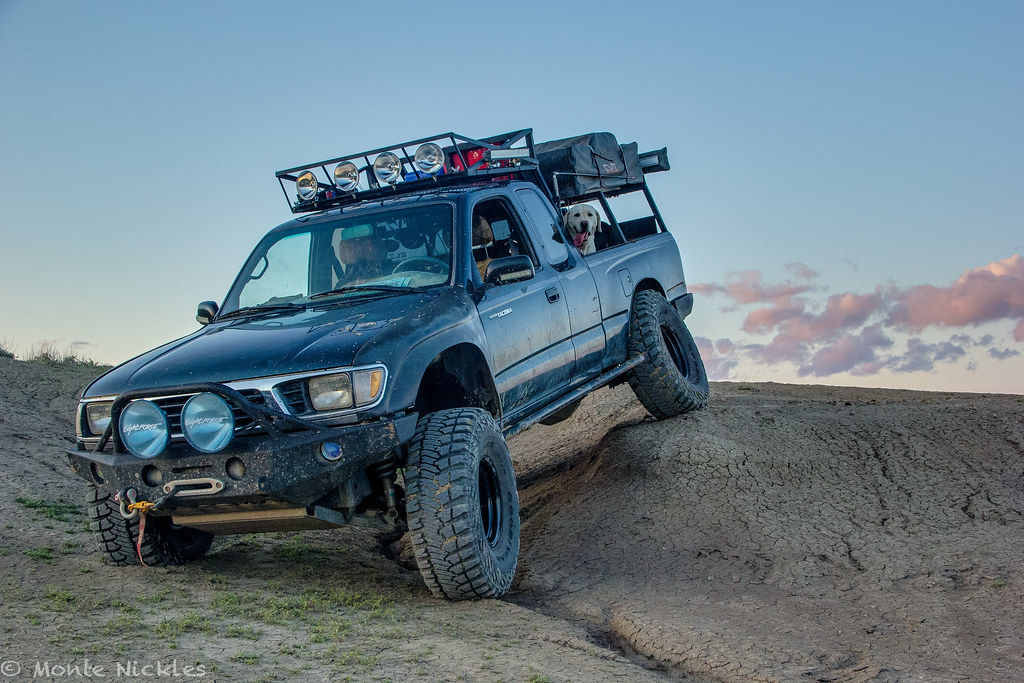 Frankenstein-2.jpg
 Frankenstein-3.jpg
 Frankenstein-4.jpg
 Frankenstein-5.jpg
 Frankenstein-6.jpg
 Frankenstein-7.jpg
 Frankenstein-8.jpg
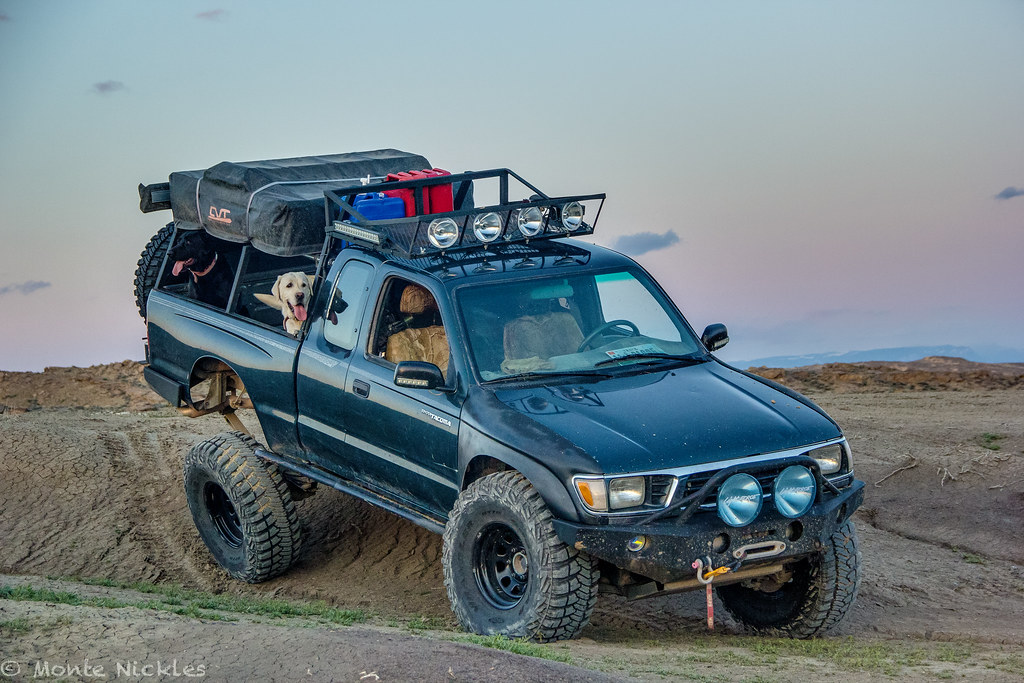 Frankenstein-9.jpg