Ok, here we go with more of the build and where we are as of the end of May.
Installing the new 3500# axle and finishing up phase one of the trailer build:
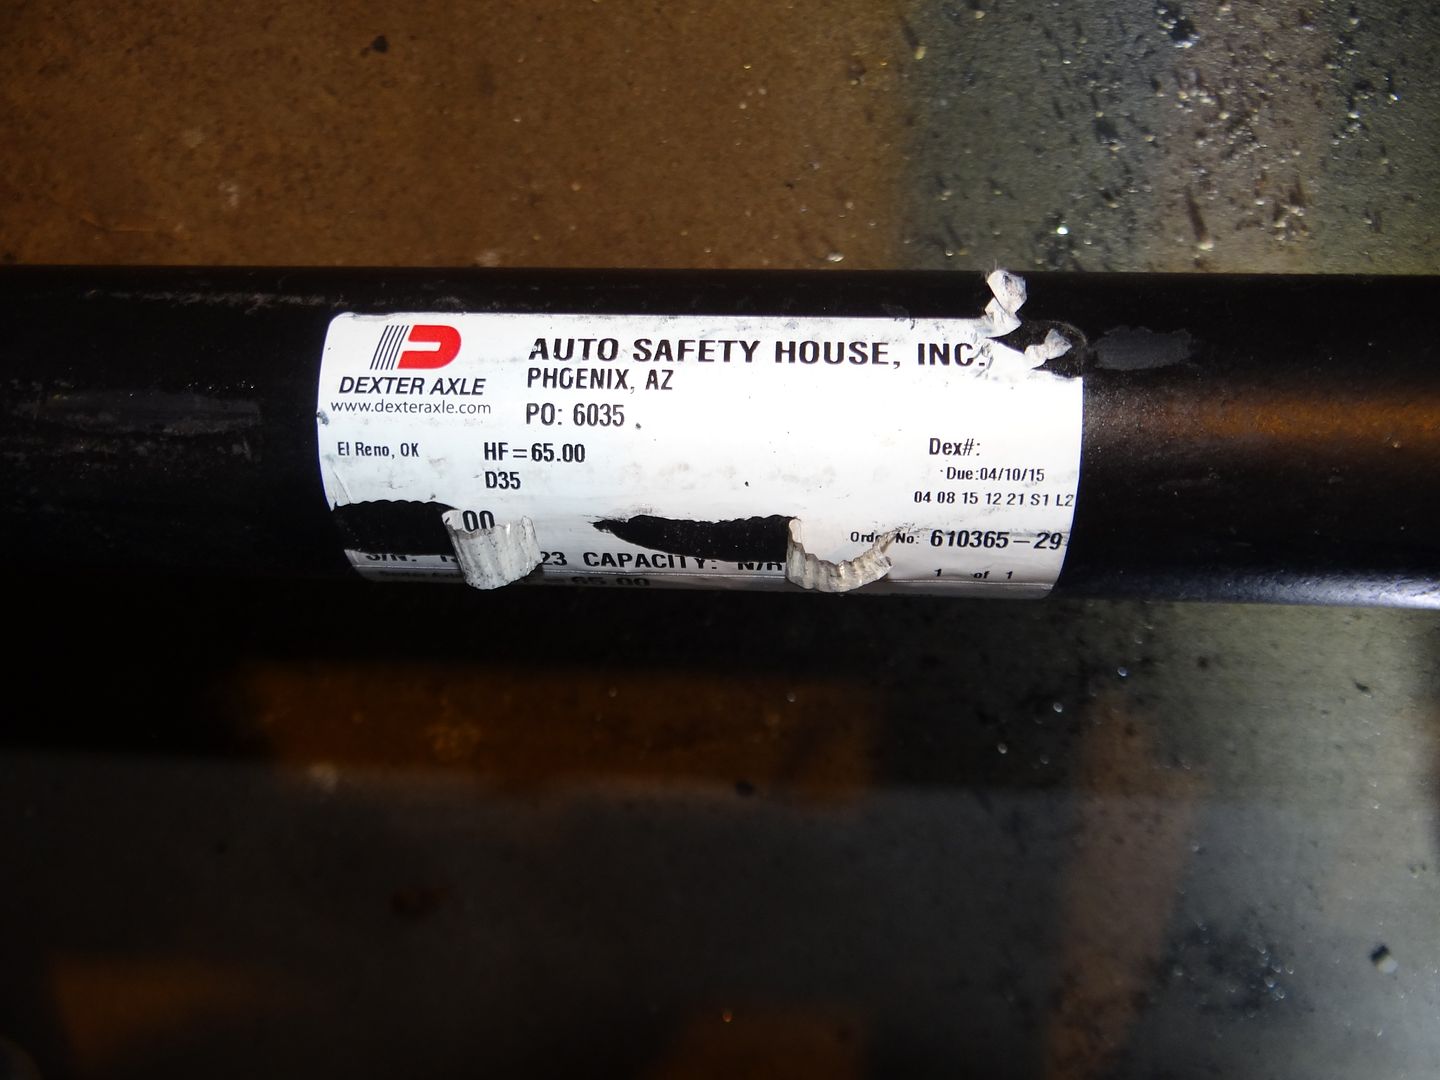
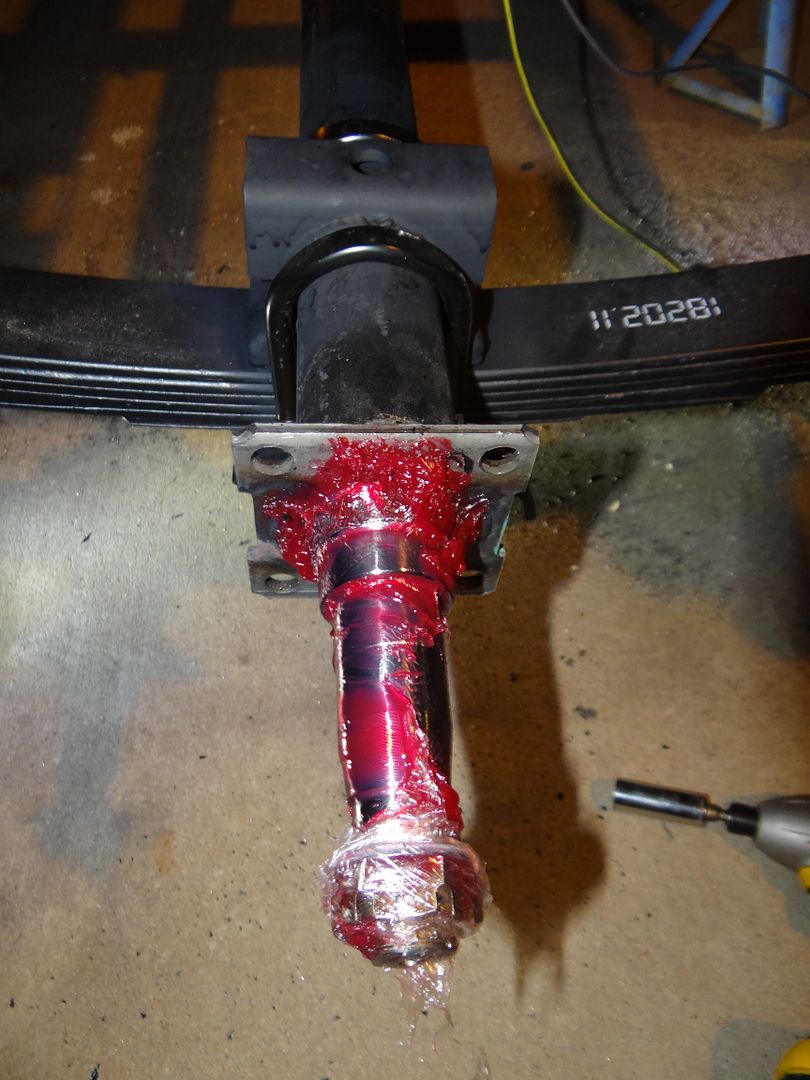
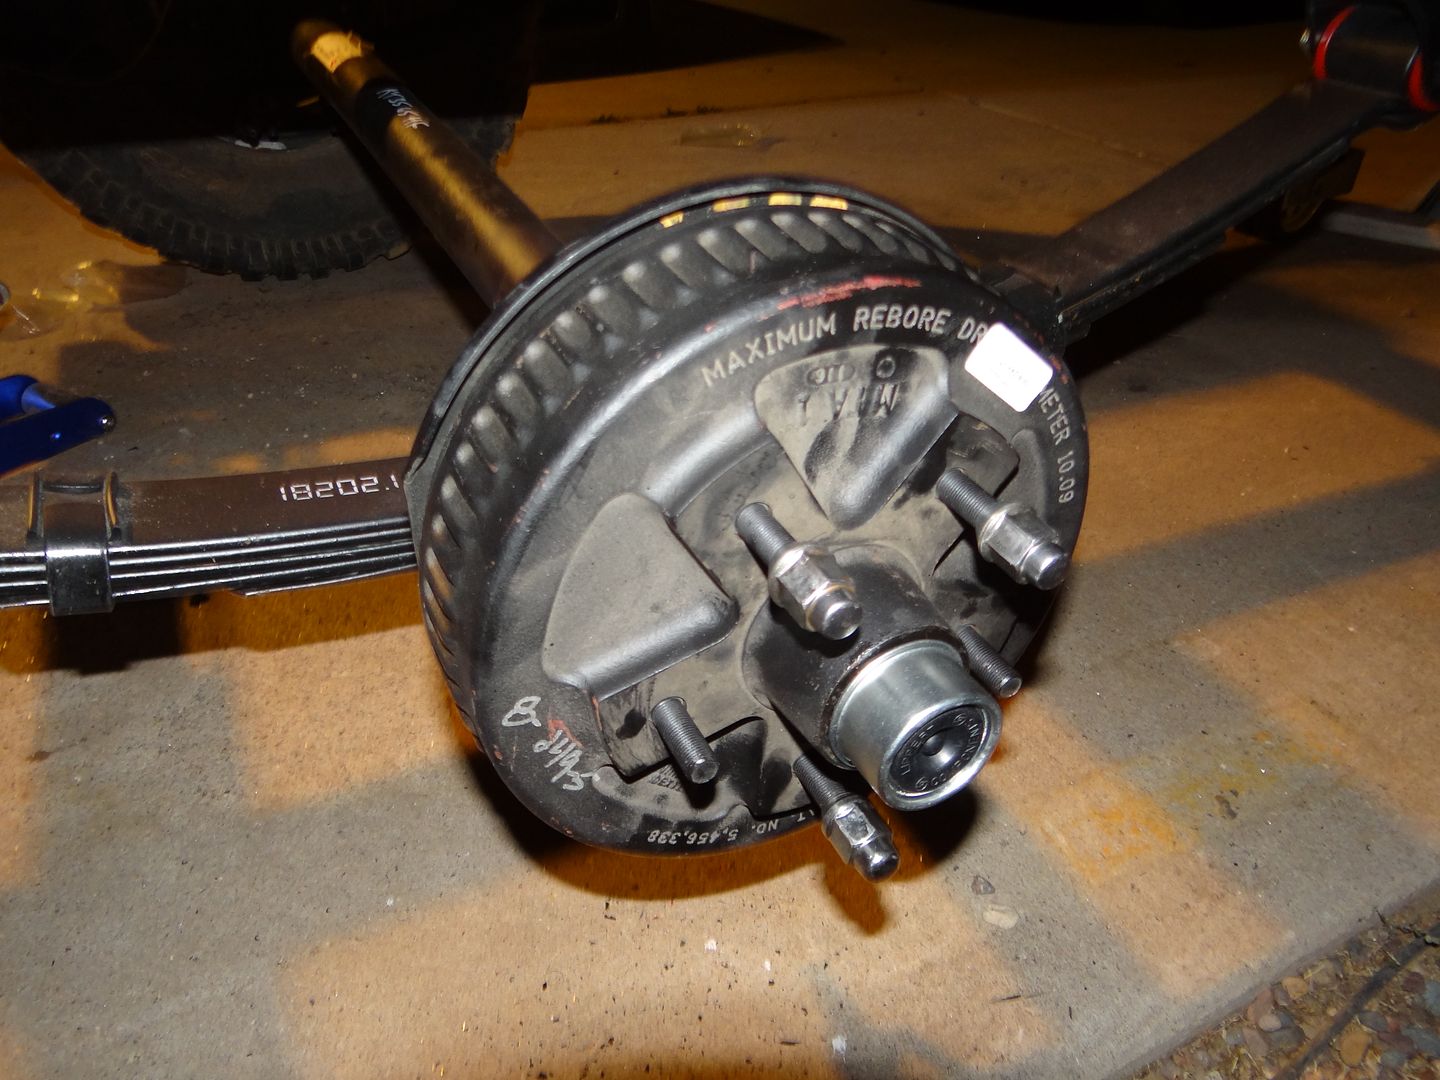
The axle comes pretty much "bare". You will need to have spring perches welded on for either spring over or spring under. I will have perches welded top and bottom so I could easily change from spring under to spring over in the future, but I doubt I will. In any case it's easier to do now than later.
The spring center to spring center for welding perches on a new axle is 46 1/2". WMS to WMS on a JK is just a hair over 65 1/3", I've found that standard WMS to WMS on off the shelf axles seems to be 65" which will more than work.
Today we do the axle swap. I listed the kit axle, tires, wheels, springs, spring mounts and coupler that came with the kit on Craigslist last night and sold it in less than 24 hours for $150. That was half what the kit cost so how could I be more pleased. Now the net cost of the trailer kit was about $130 before taxes.
Installing the 3500# Axle:
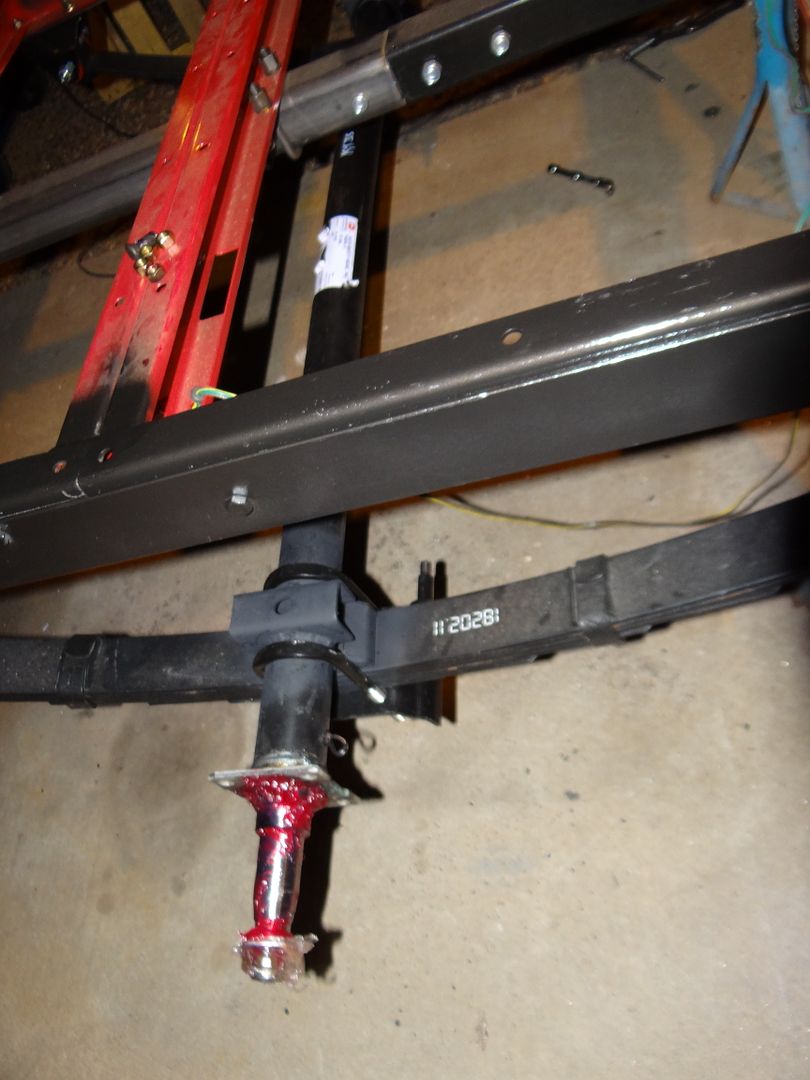
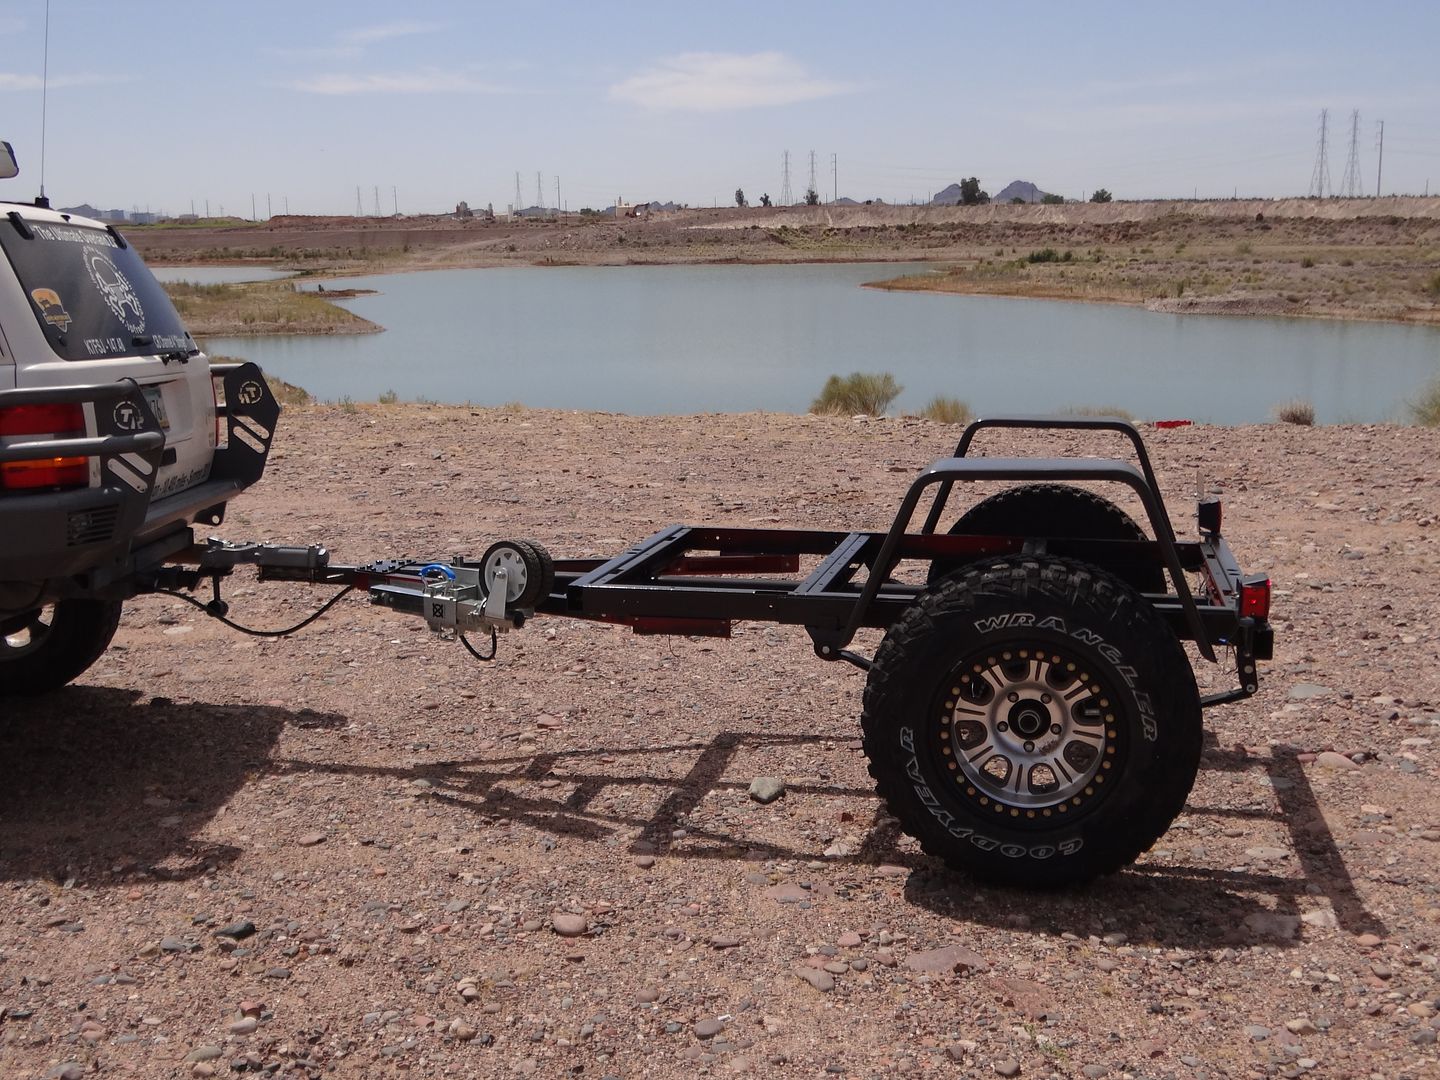
After the axle we add the fenders then the tires and wheels. We started off with a set of free white wagon wheels with some used 33" tires. Then replaced them right away when I realized I had some nice rims I had in my garage and two new Goodyear Kevar MTRs. Since they were already in my parts "inventory" why not use them and they didn't add to the cost either! I'll replace the wheels soon with JK Rubicon rims to match my Jeep.
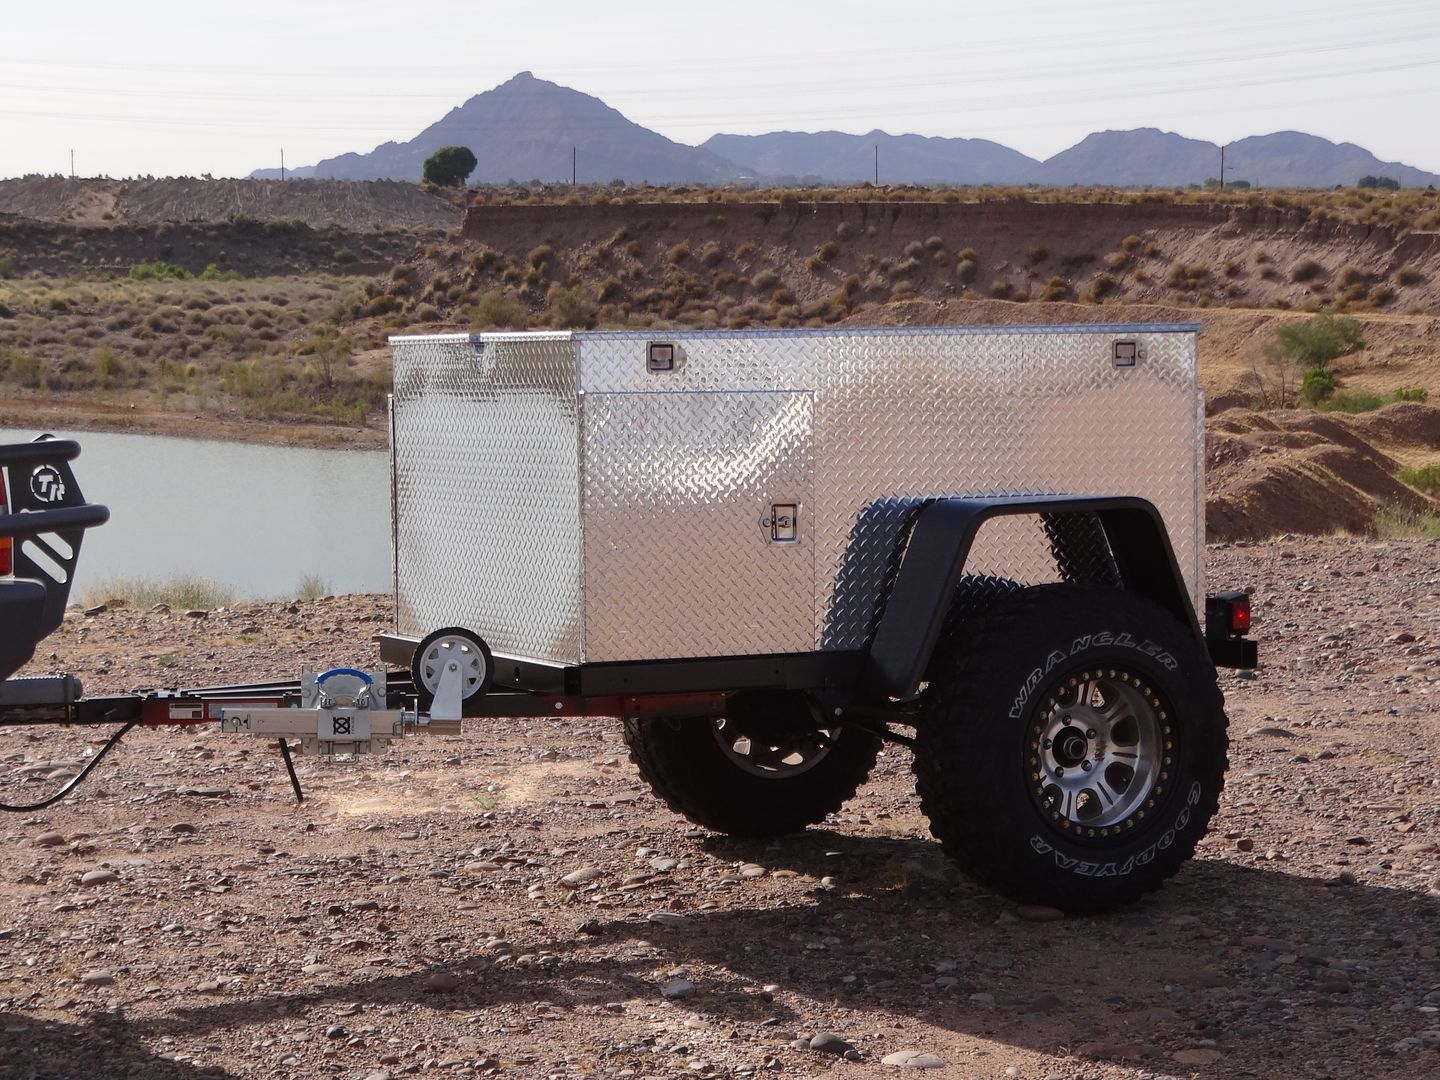
The trailer frame is essentially done and it's ready for the box.
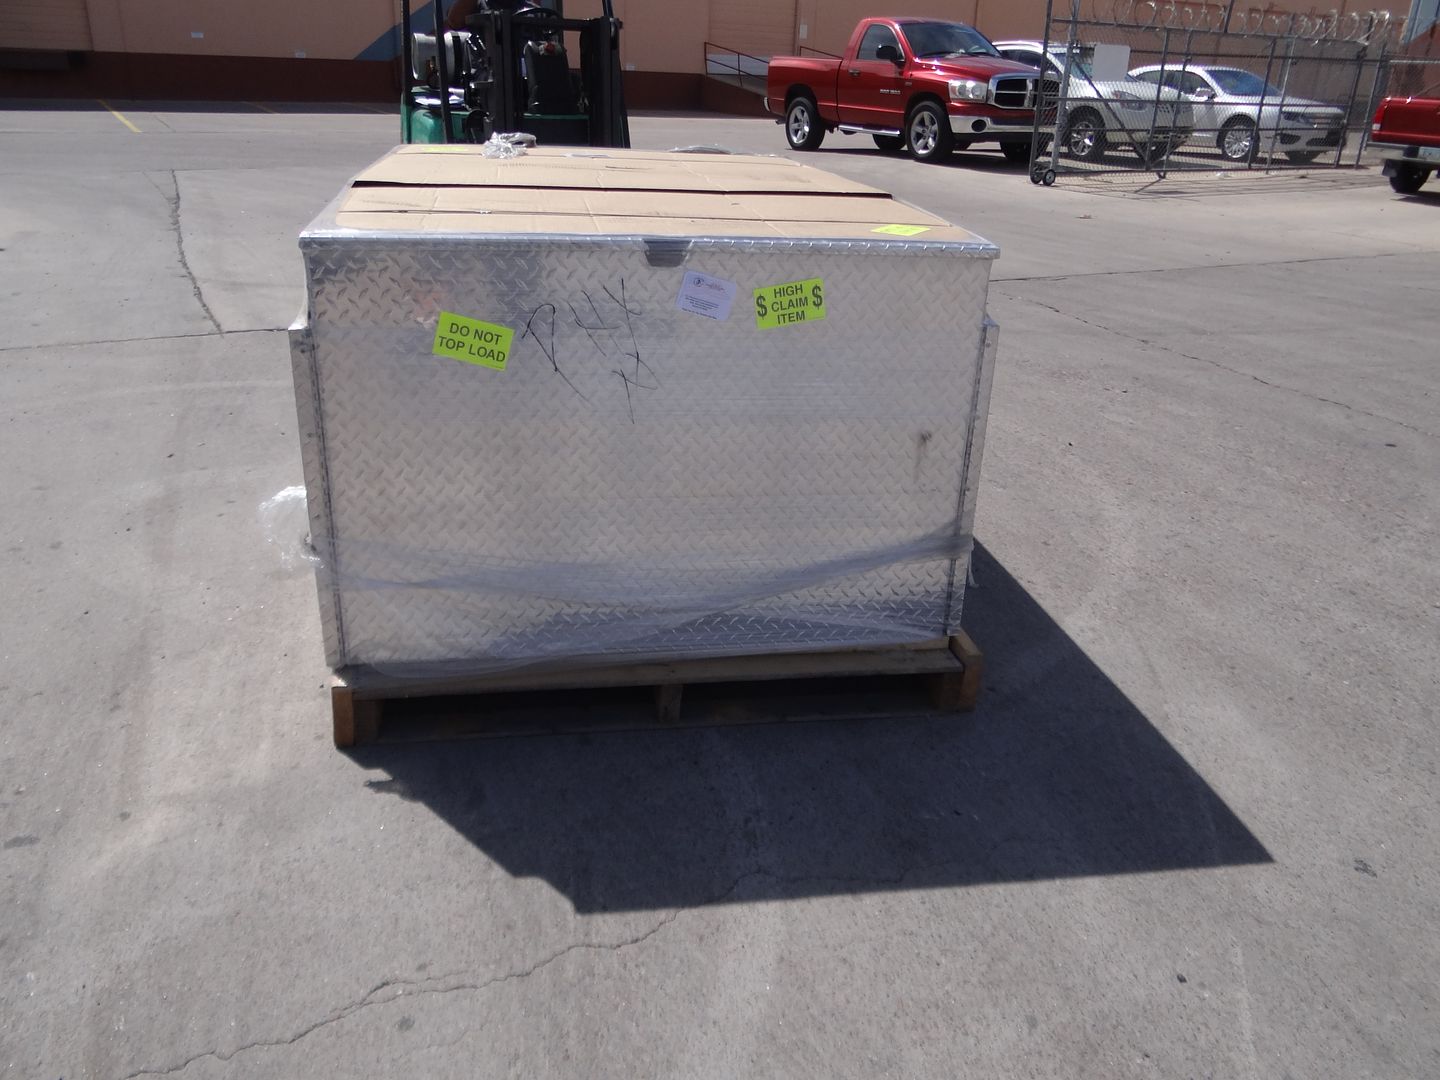
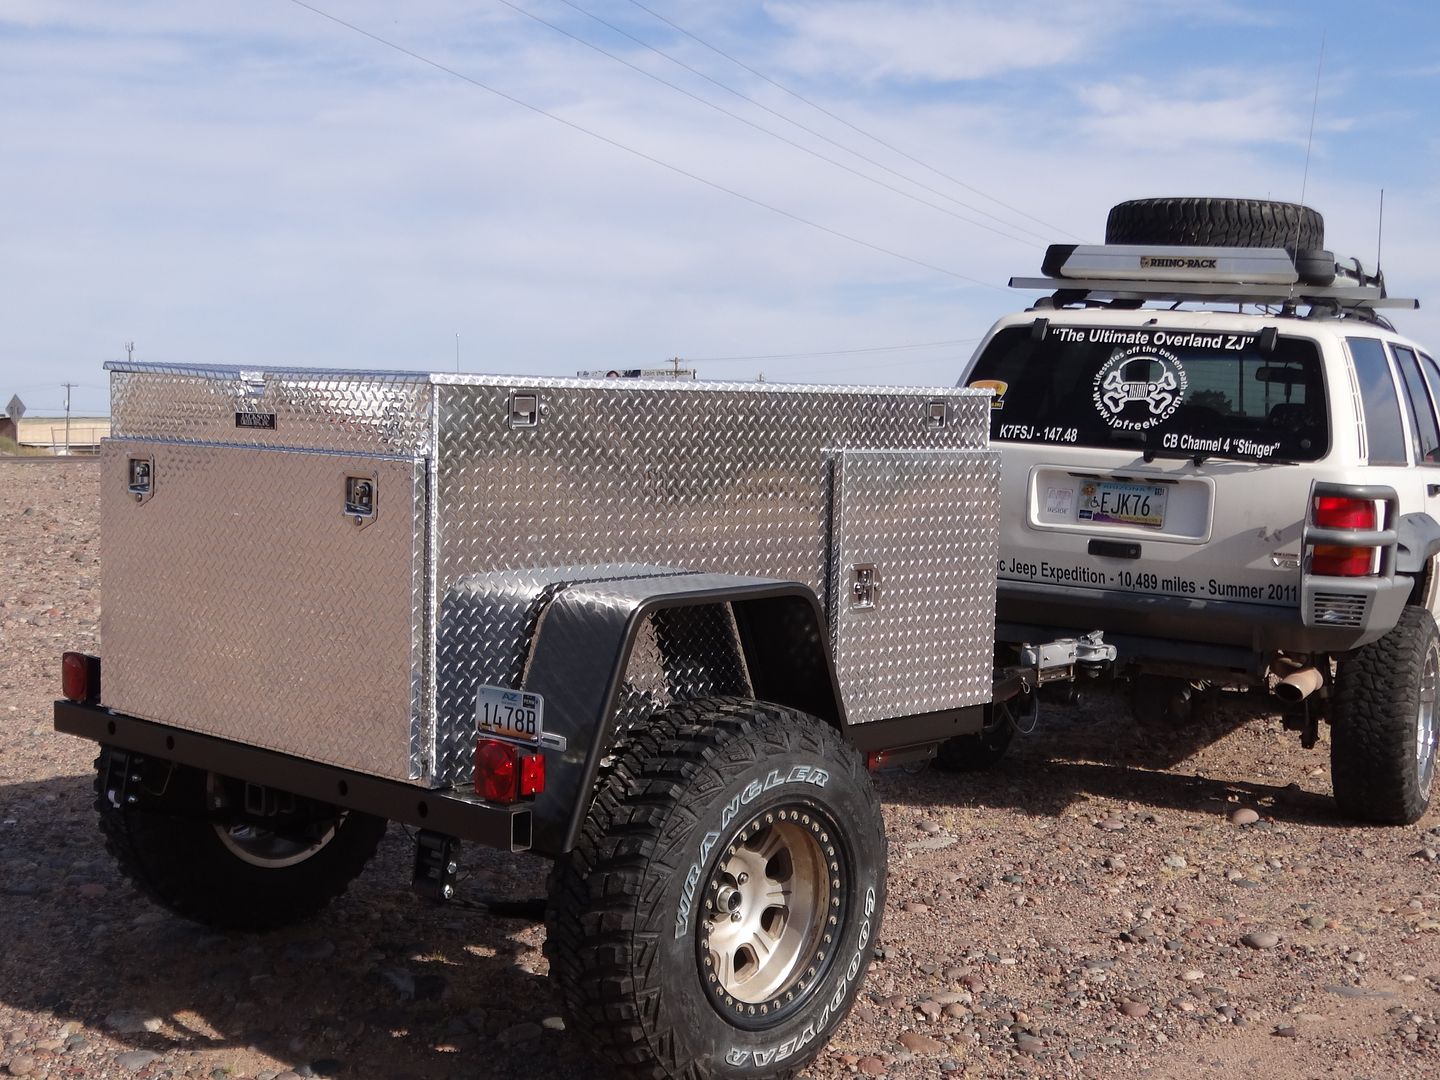
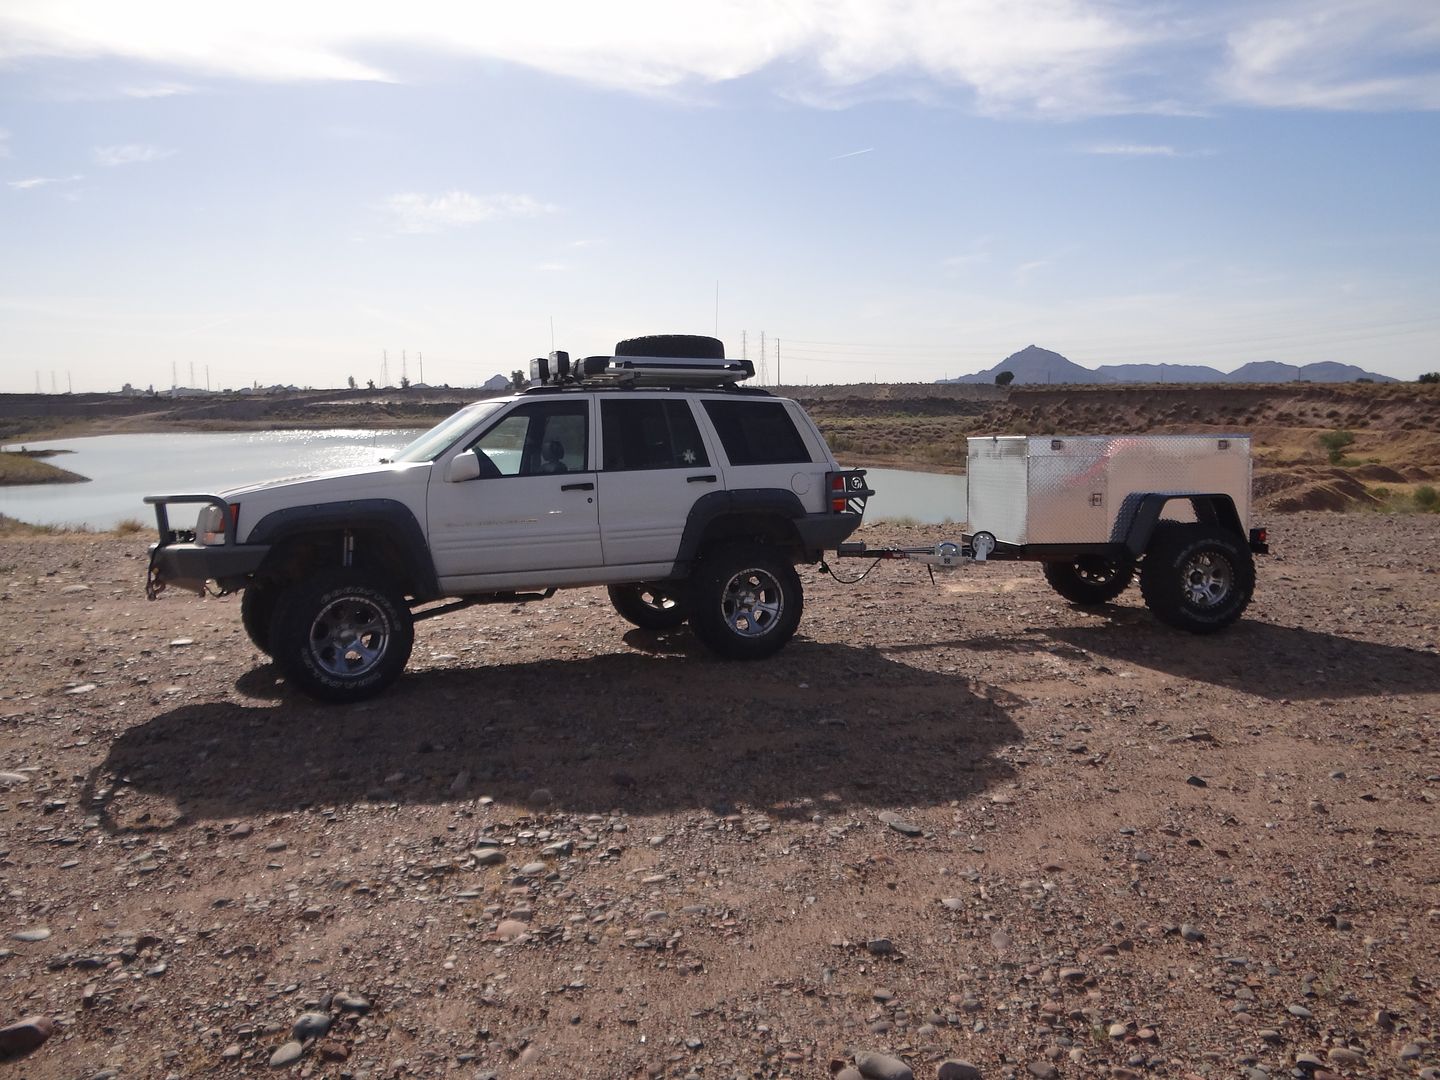
Here we are on Thursday, I get a call from the trucking company that my box is in and ready to pick up. I hitch up the trailer and head out to pick up the box at the trucking terminal, along the way I stop to take a few pictures of the "finished" product.
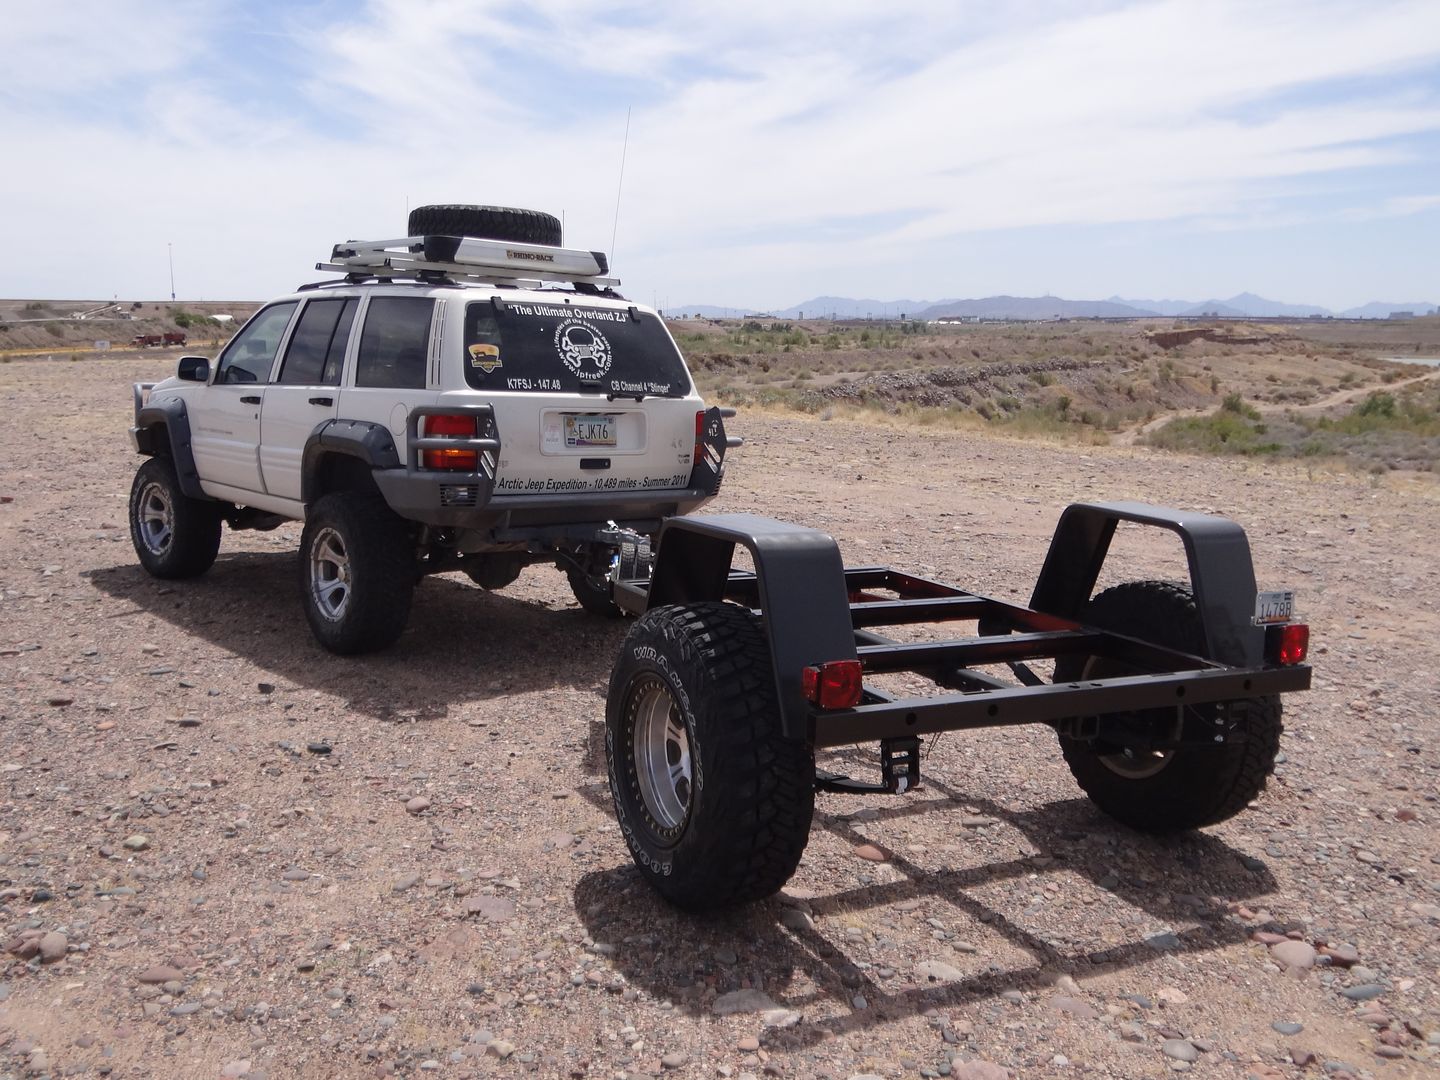
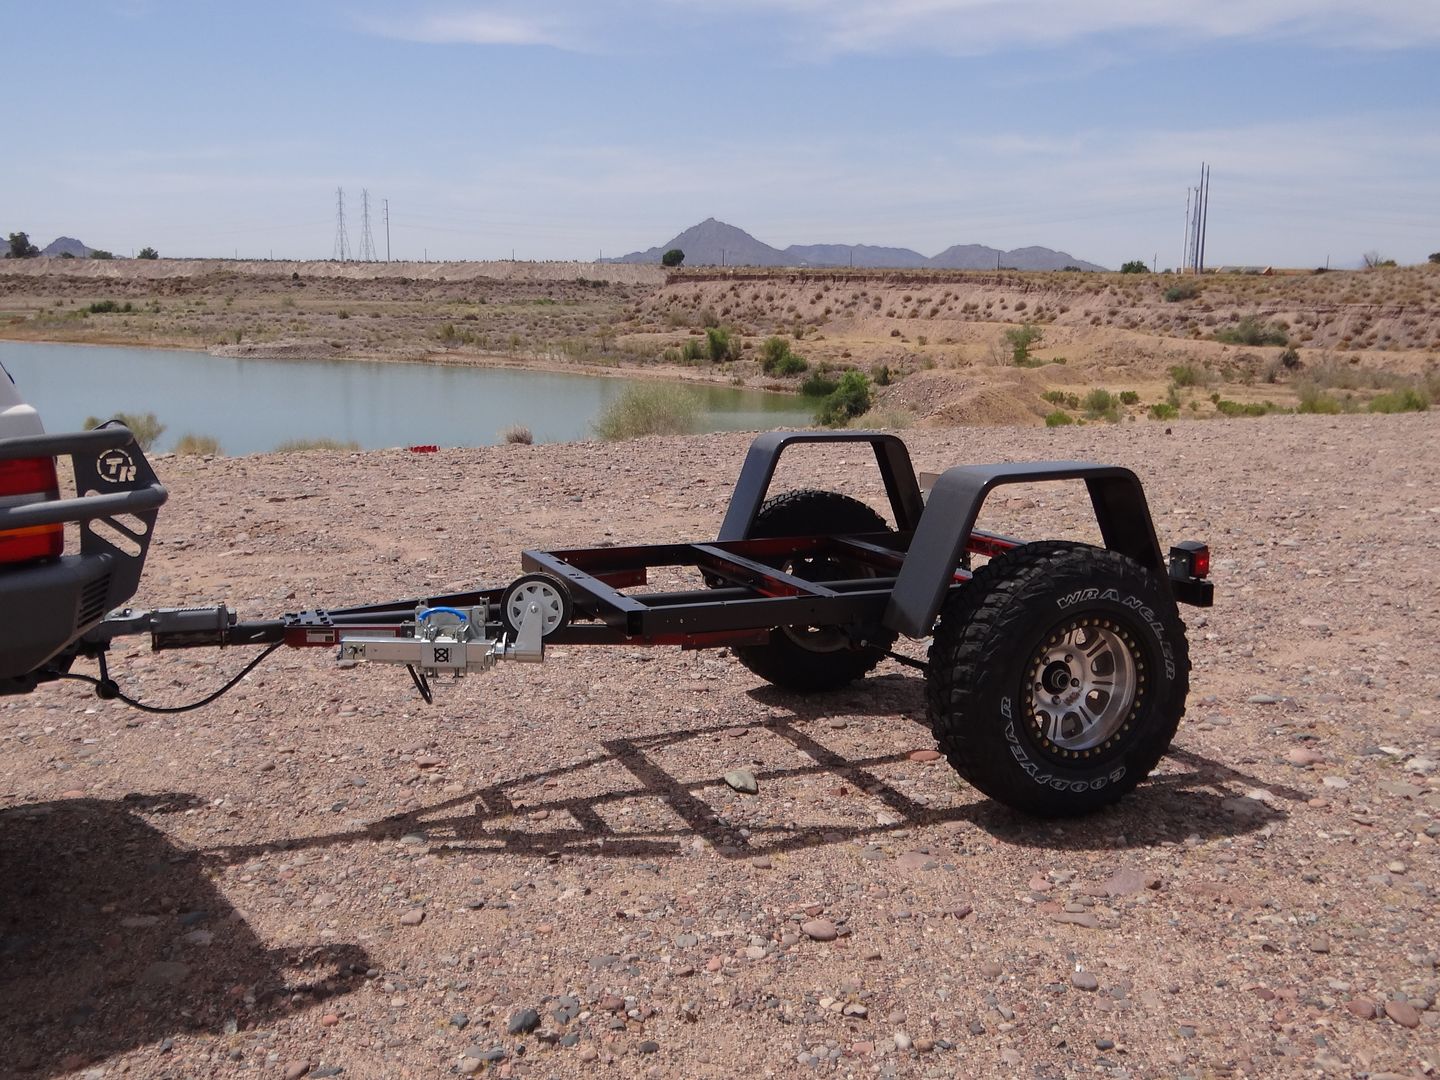
You'll notice the fenders here just don't work with the wheels and tires. Well be making a few changes which you will see later.
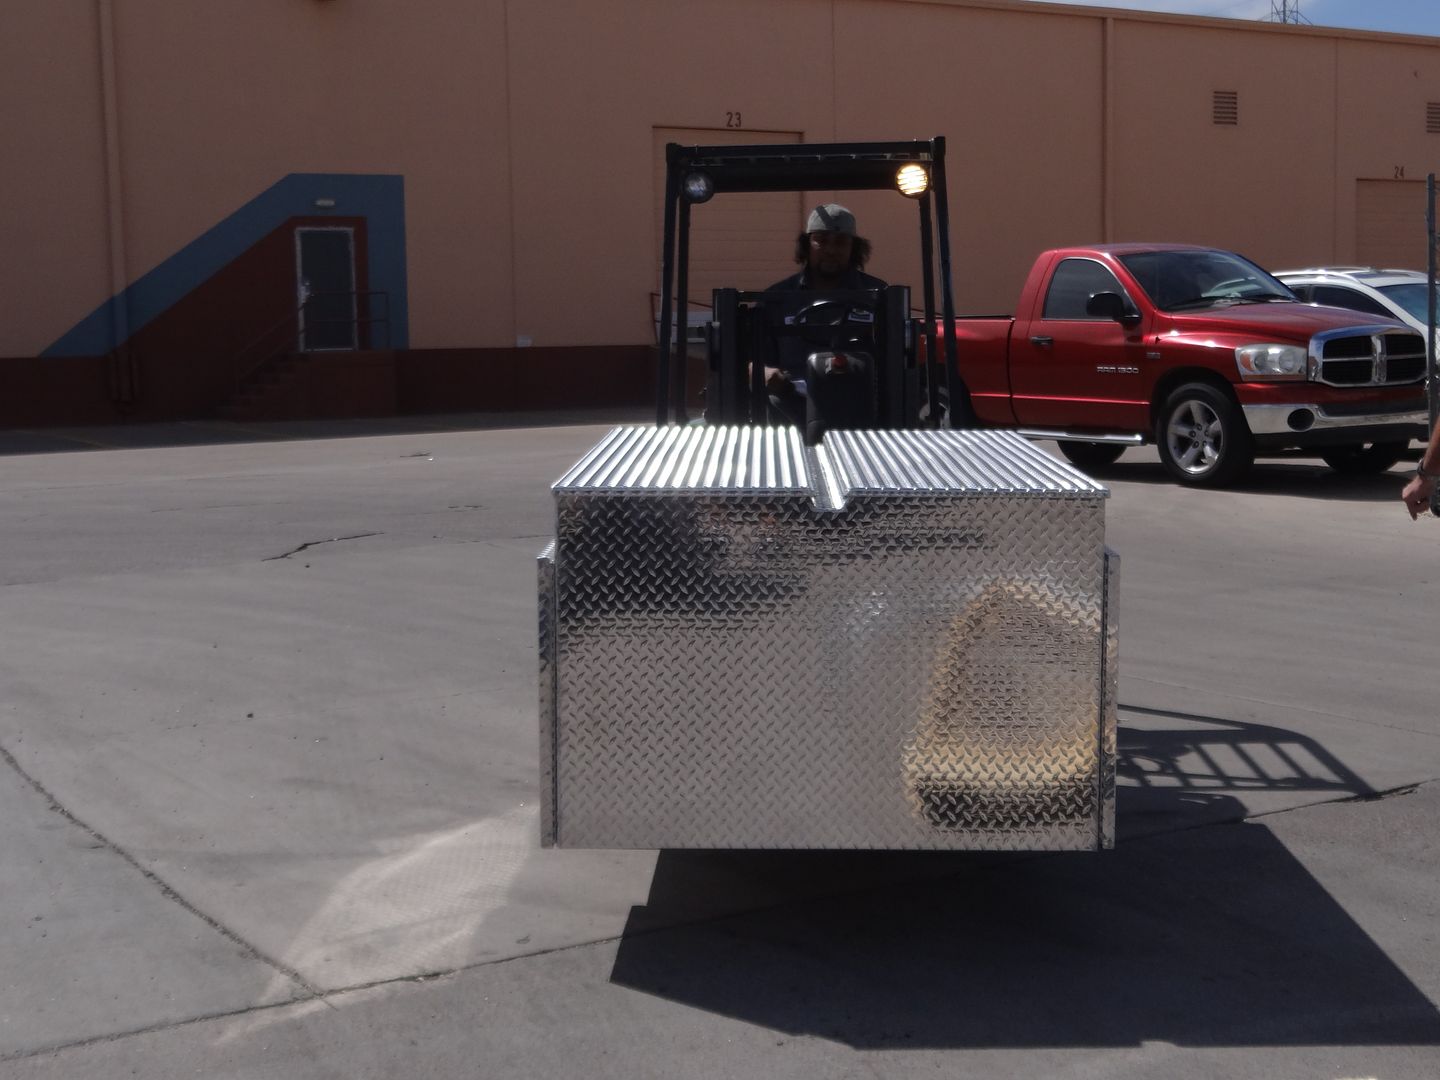
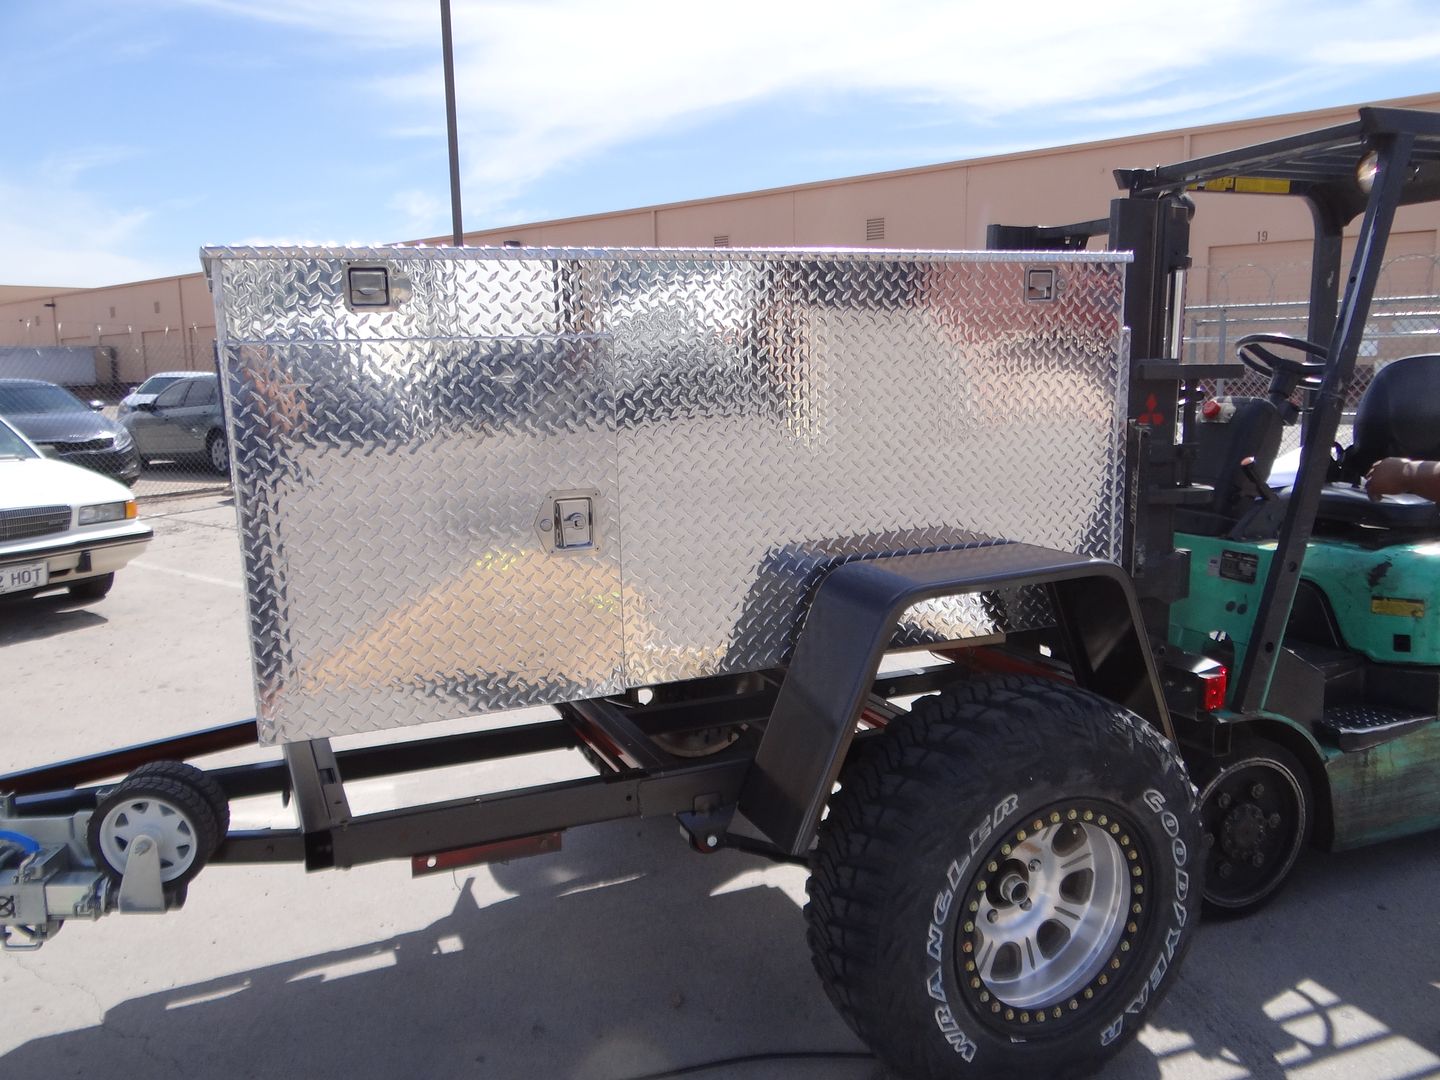
I get to the trucking company and they help me remove the protective wrap and cardboard from the pallet and use a fork lift to place it on my trailer frame. I drill holes at all four corners to install some 7/16" grade 8 bolts to hold the box to the trailer until I get back home where I will probably put another eight or so bolts thru the box into the frame.
On the way home I stop at the same "Kodak Moment" spot and take some pictures of the now finished product. I like it !
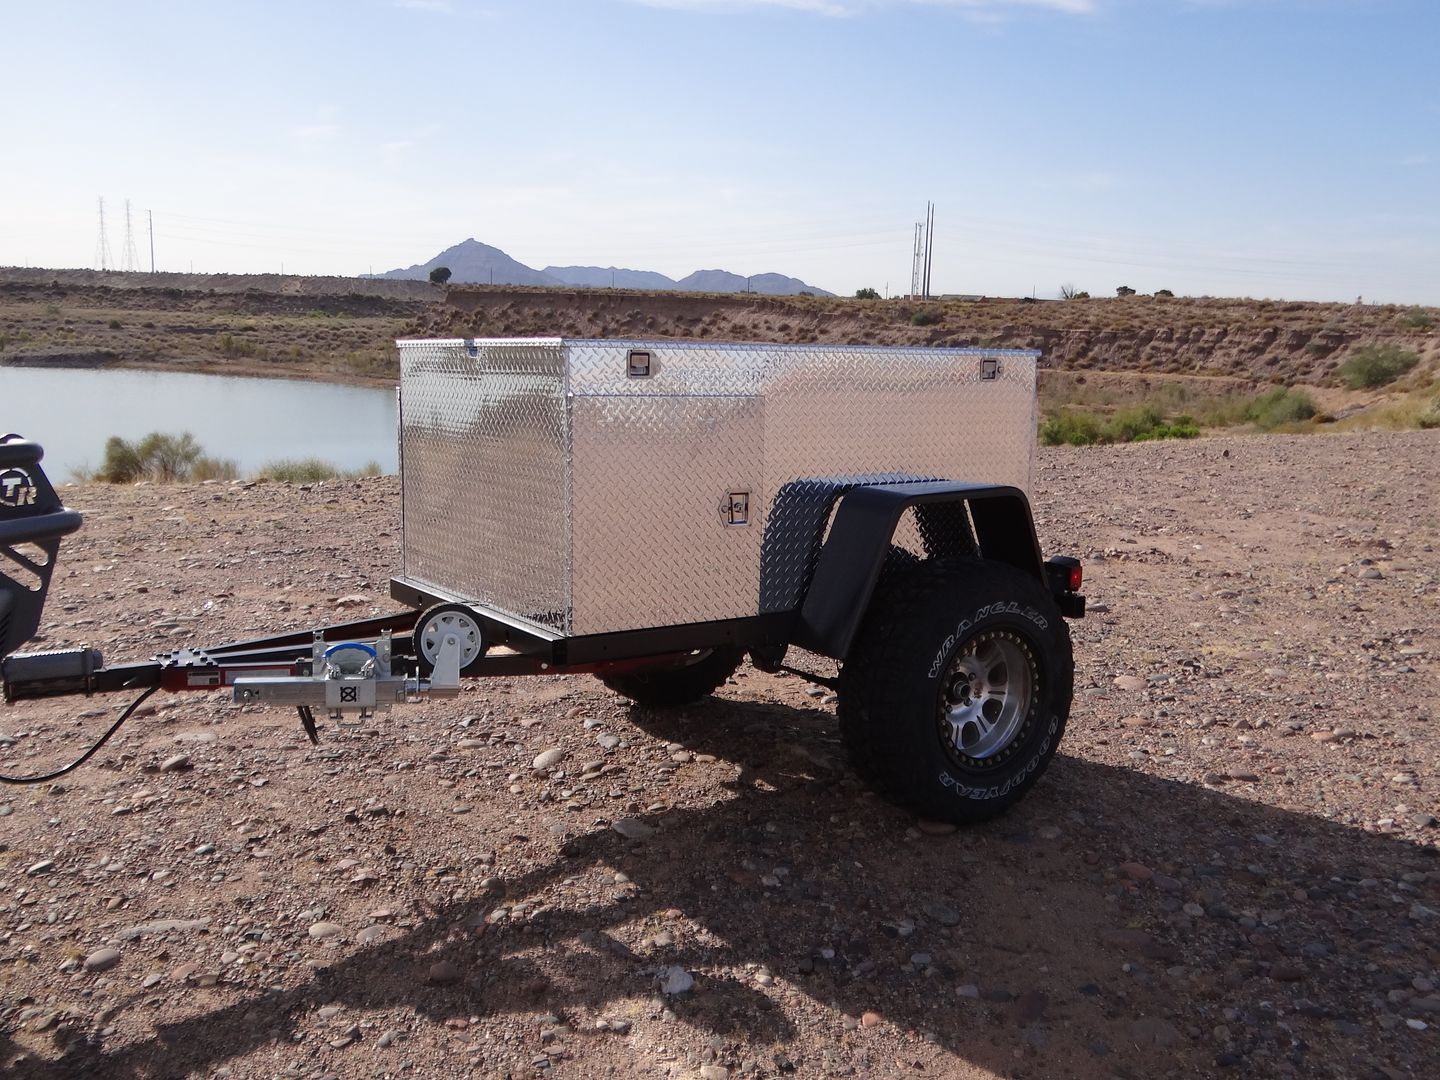
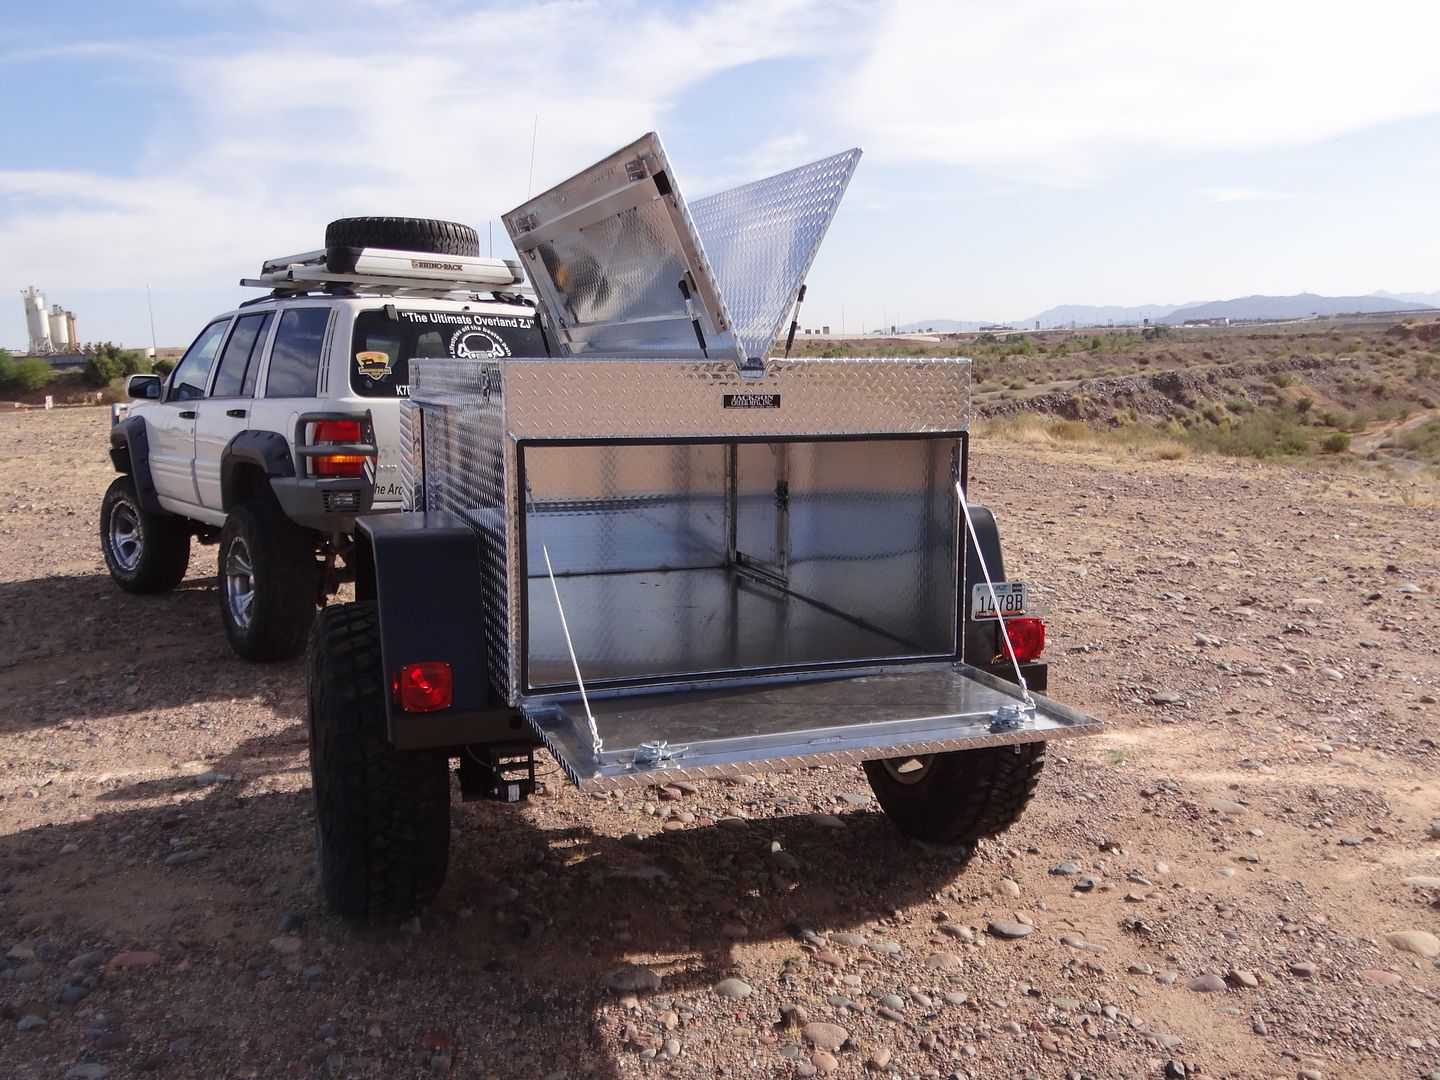
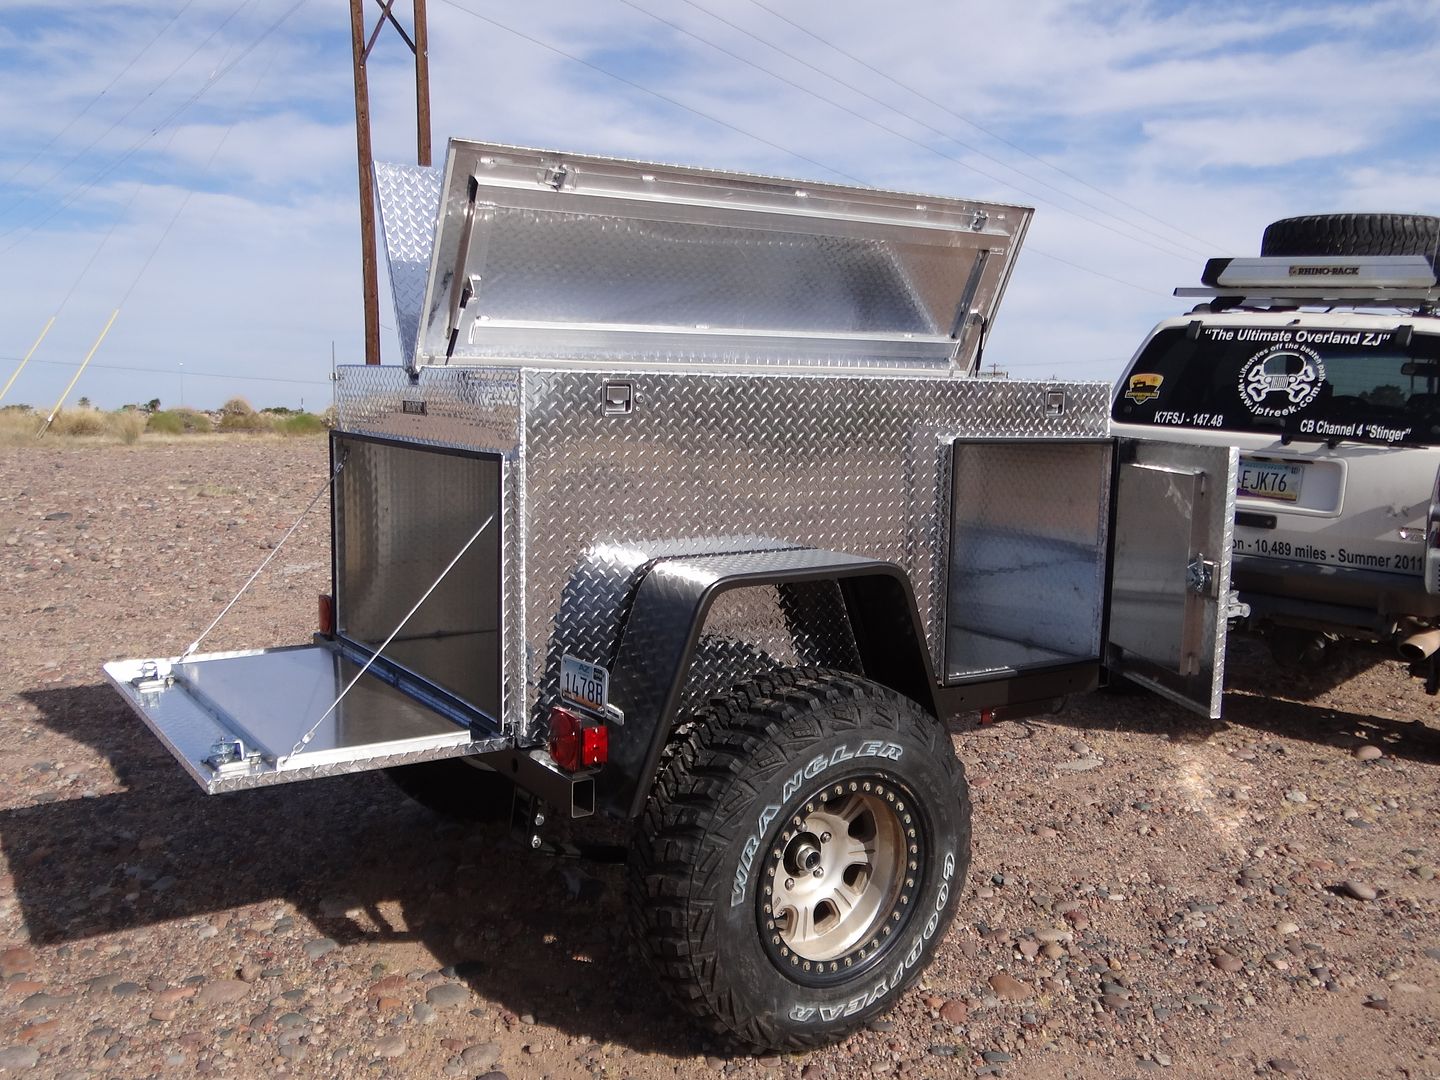
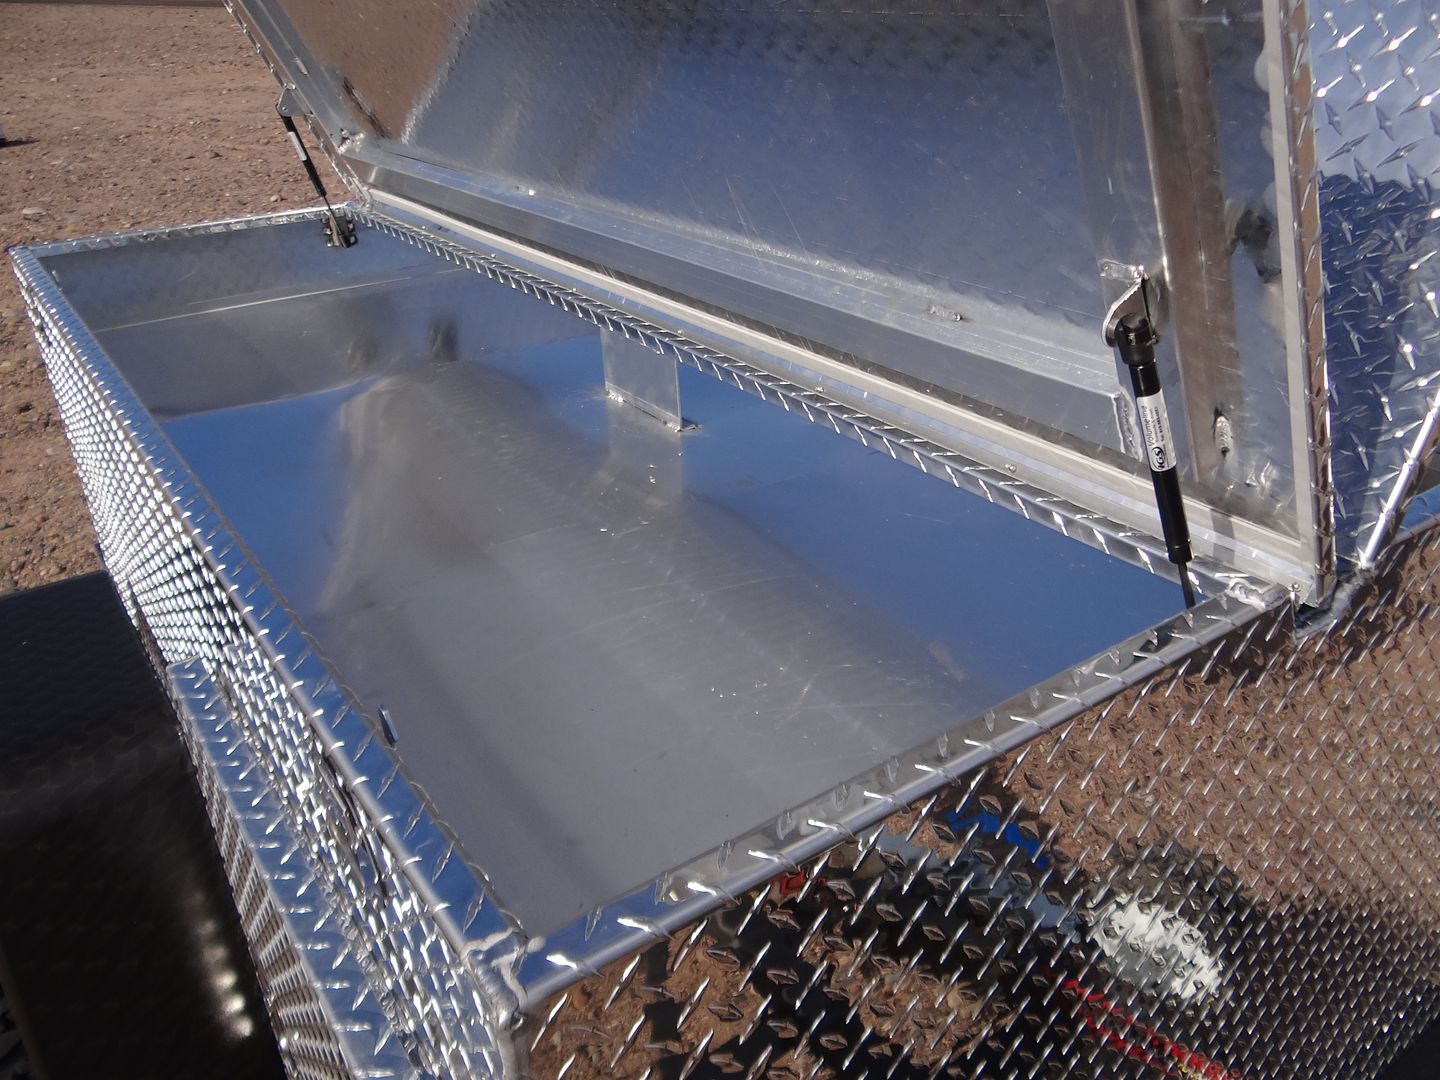
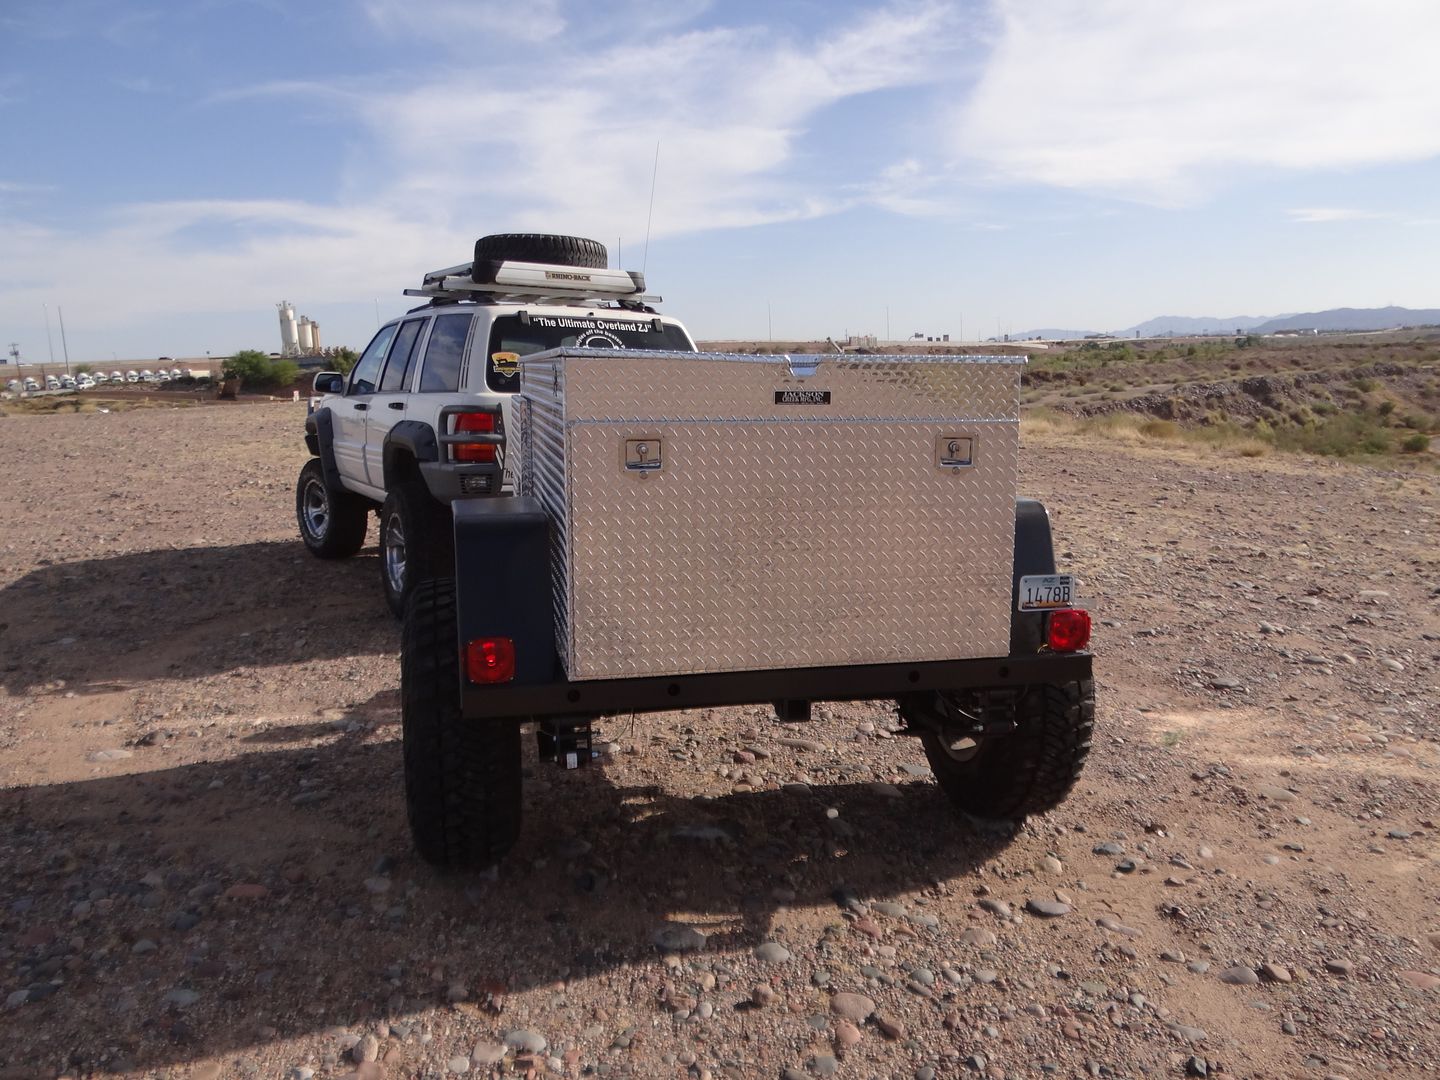
So lets talk about the box some as up to now we've been all trailer frame. The box from Diamond Deluxe/Jackson Creek Mfg. is really nice. The quality and pride of the workmanship are evident. The price you will find is very reasonable. The design is based on what I wanted from an off-road trailer. It can be adapted in different ways to meet what you might want such as one big lid instead of the two separate ones like I chose and one side door or none.
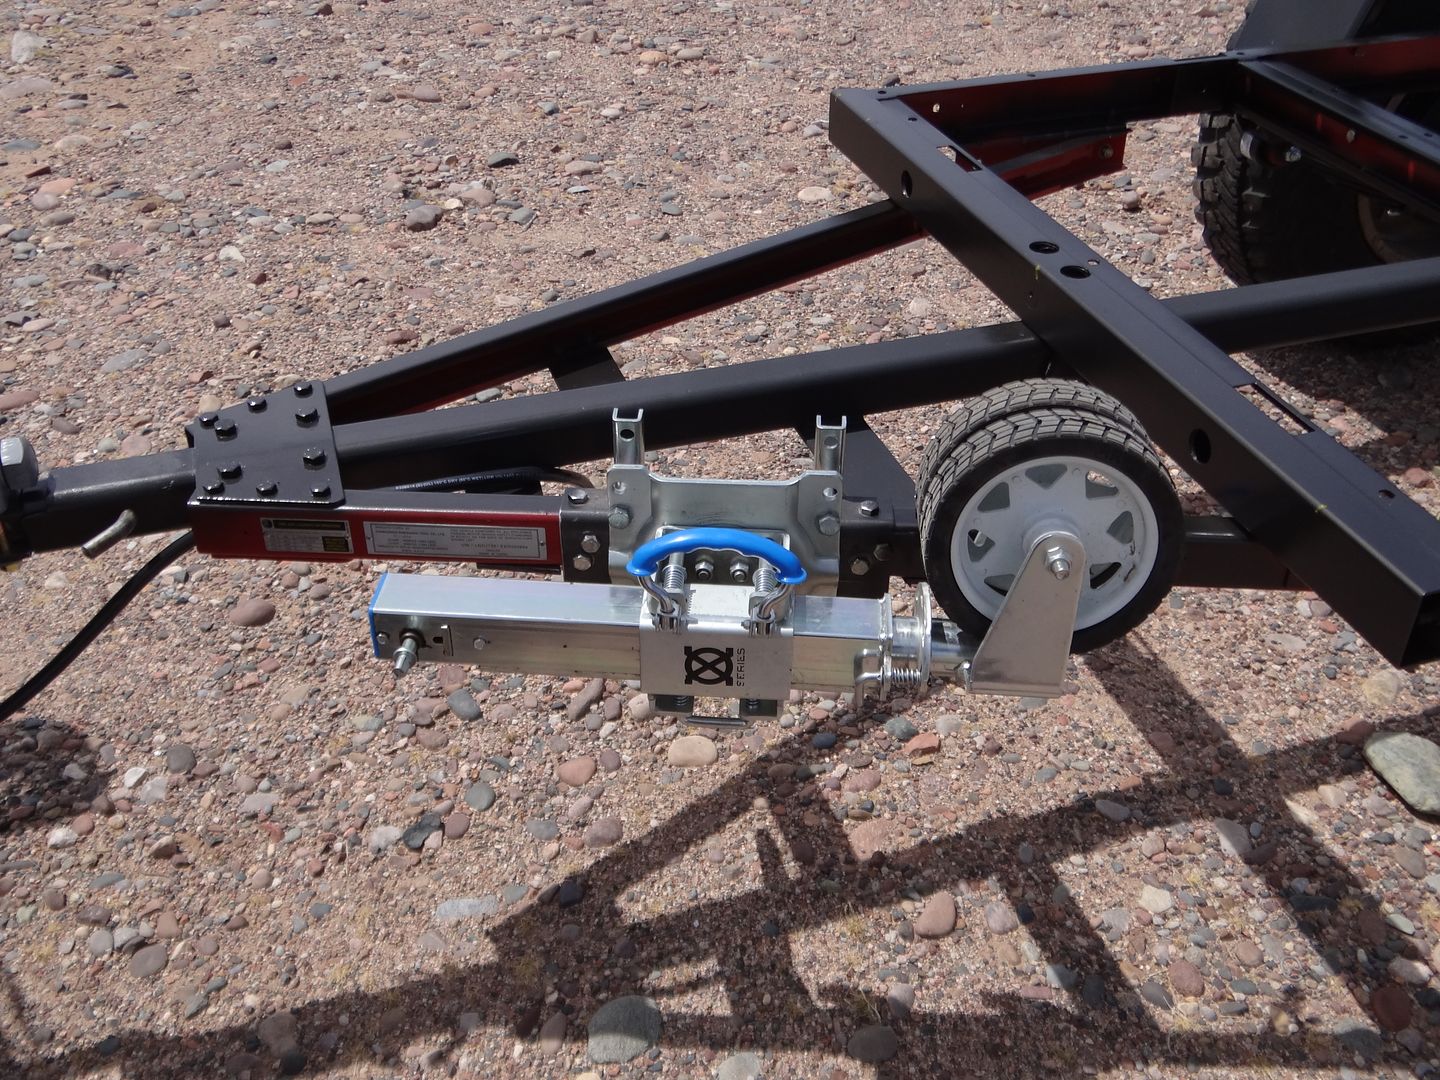
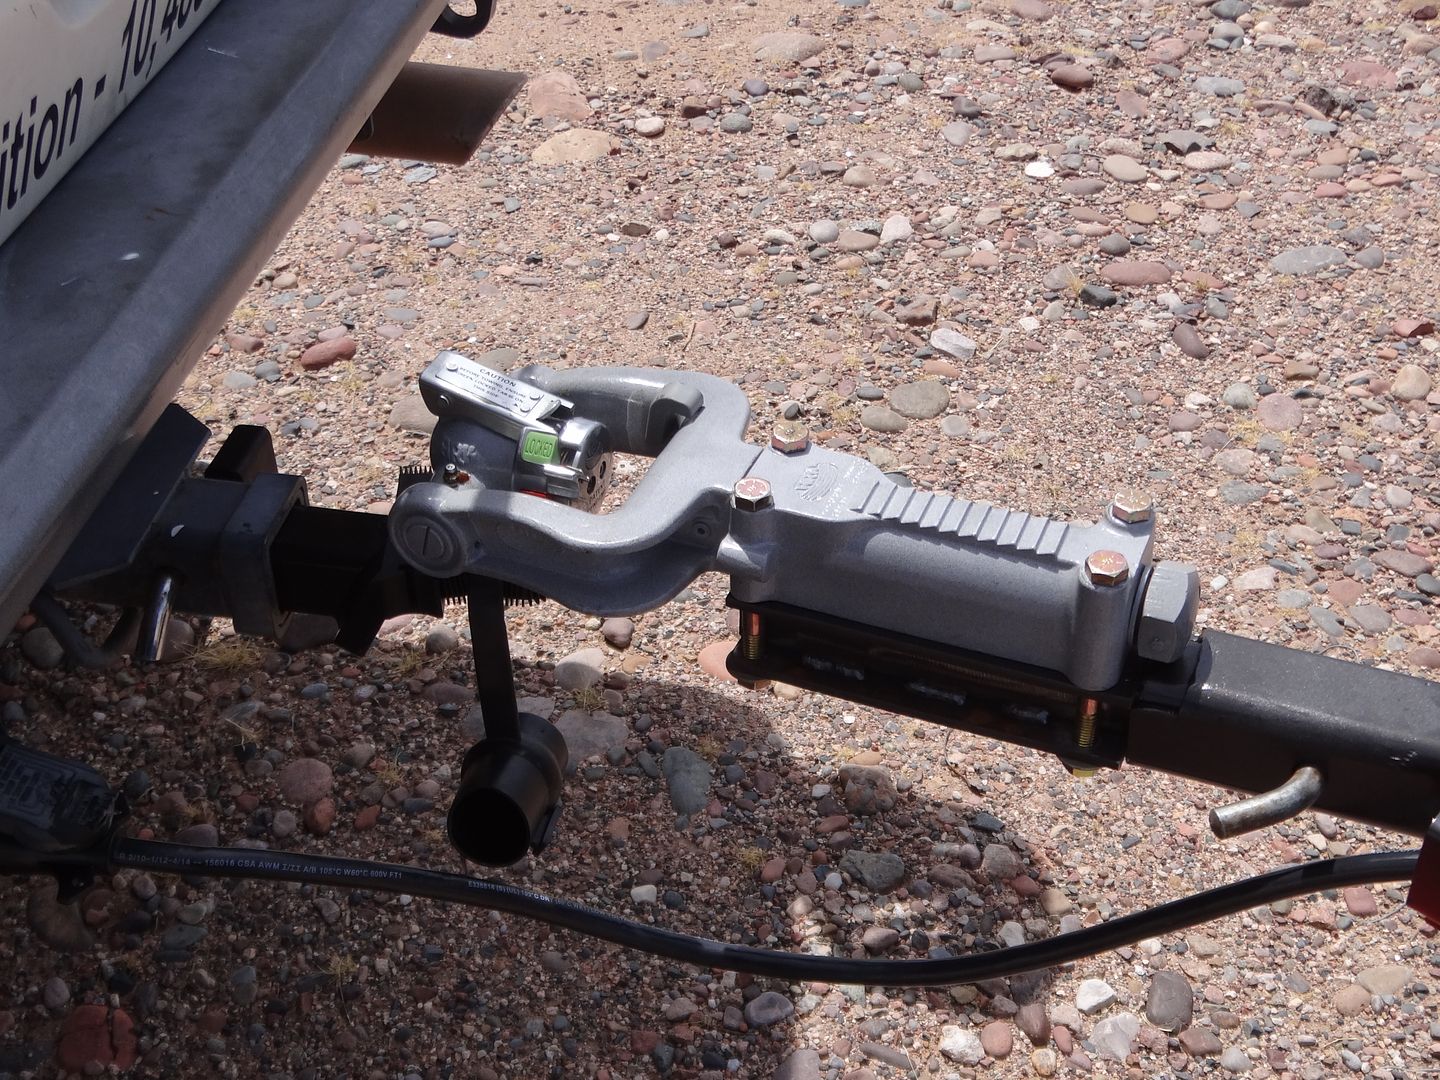
I wanted to have the box built to closely resemble the dimensions of my M101/M416 1/4 ton Military Trailer whose box size is 4ft X 6ft. My custom box is the same dimensions. The Military trailers cargo area is about 24" high, my main cargo area is 26" high. I added 6" of upper cargo space which makes the total height of the custom box 32" high, or about the same height as my Military trailer with the lid I had custom made for it. The ground clearance with the spring under axle set up is 24" with the 33" tires or the same amount of clearance as my military trailer with similar sized tires. My hitch coupler slides into the front 2" receiver and can be adjusted up to 18" longer to make up for different weight distributions in the trailer.
All in all, I am very pleased with how Phase 1 of our trailer turned out. It is much more versitle in my opinion than my Military trailer, actually weighs about 100 lbs less due to the all aluminum box and gives me much greater access to cargo. I am thinking that a commercially built trailer similar to this one would run you around $7500 so the approximate cost of $2500 for our project trailer is about 1/3 of the cost of something close to it.
Here is how it breaks down in cost for the basic trailer:
Basic Custom Aluminum Box: $1500
Trailer Kit (net cost after sale of parts not used) $130
Steel for frame rails and center hitch stock: $
3500# axle with hubs, bearings, perches: $180
Fenders: $42
Complete Spring Mounting Kit from OmixADA: $241
Grade 8 Hardware : $105
CJ7, YJ or other similar sized springs: Used take offs if you can find them $ ? New ones: $149 ea.
Wheels and tires: Depends on if you have access to some at no or little cost. Used tires and rims can be bought for $50 to $100 each. I already had so no cost to me.
Options: All depends on what options you want to or need to add.
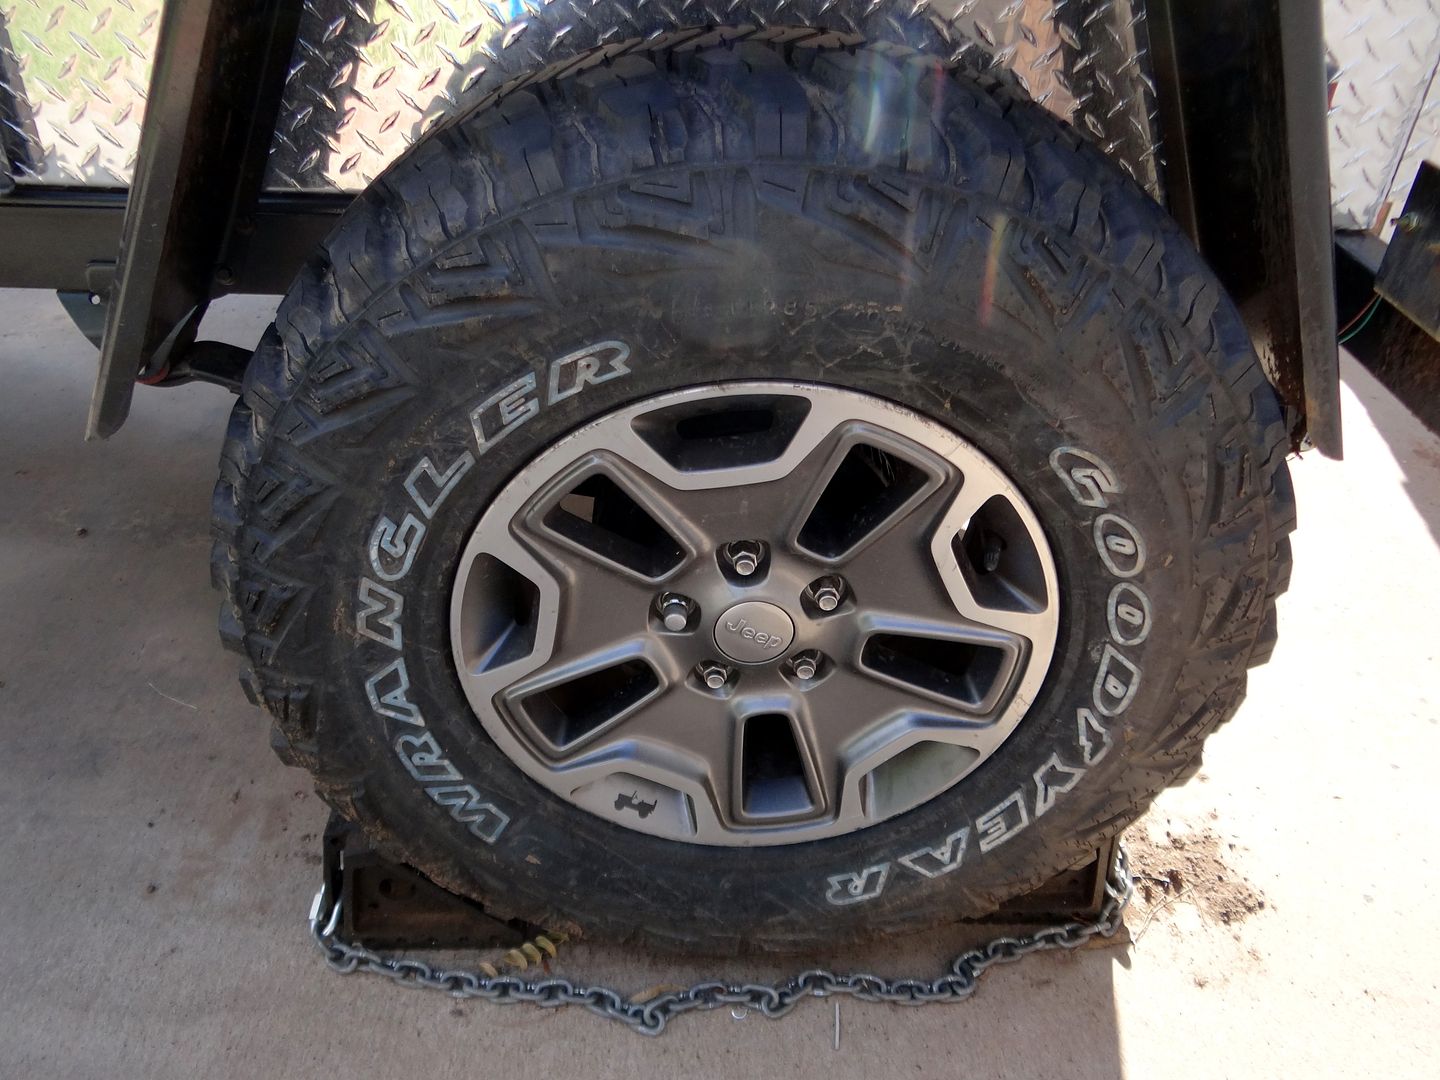
Here's what we've done to finish up Part #1 of our build. I finally got the GoodYear MTRs on factory rims to match my JK's rims. Here you will run into a bit of a problem. The "hub hole" in the center of the rim is too small to fit over the trailer axle hub. Simple fix is a pair of Rugged Ridge 1.5" wheel spacers. The rim will fit perfect and will give you a little more track width when you put that roof top tent on in the future and will still fit under the new 13" wide fenders that I've got on the way.
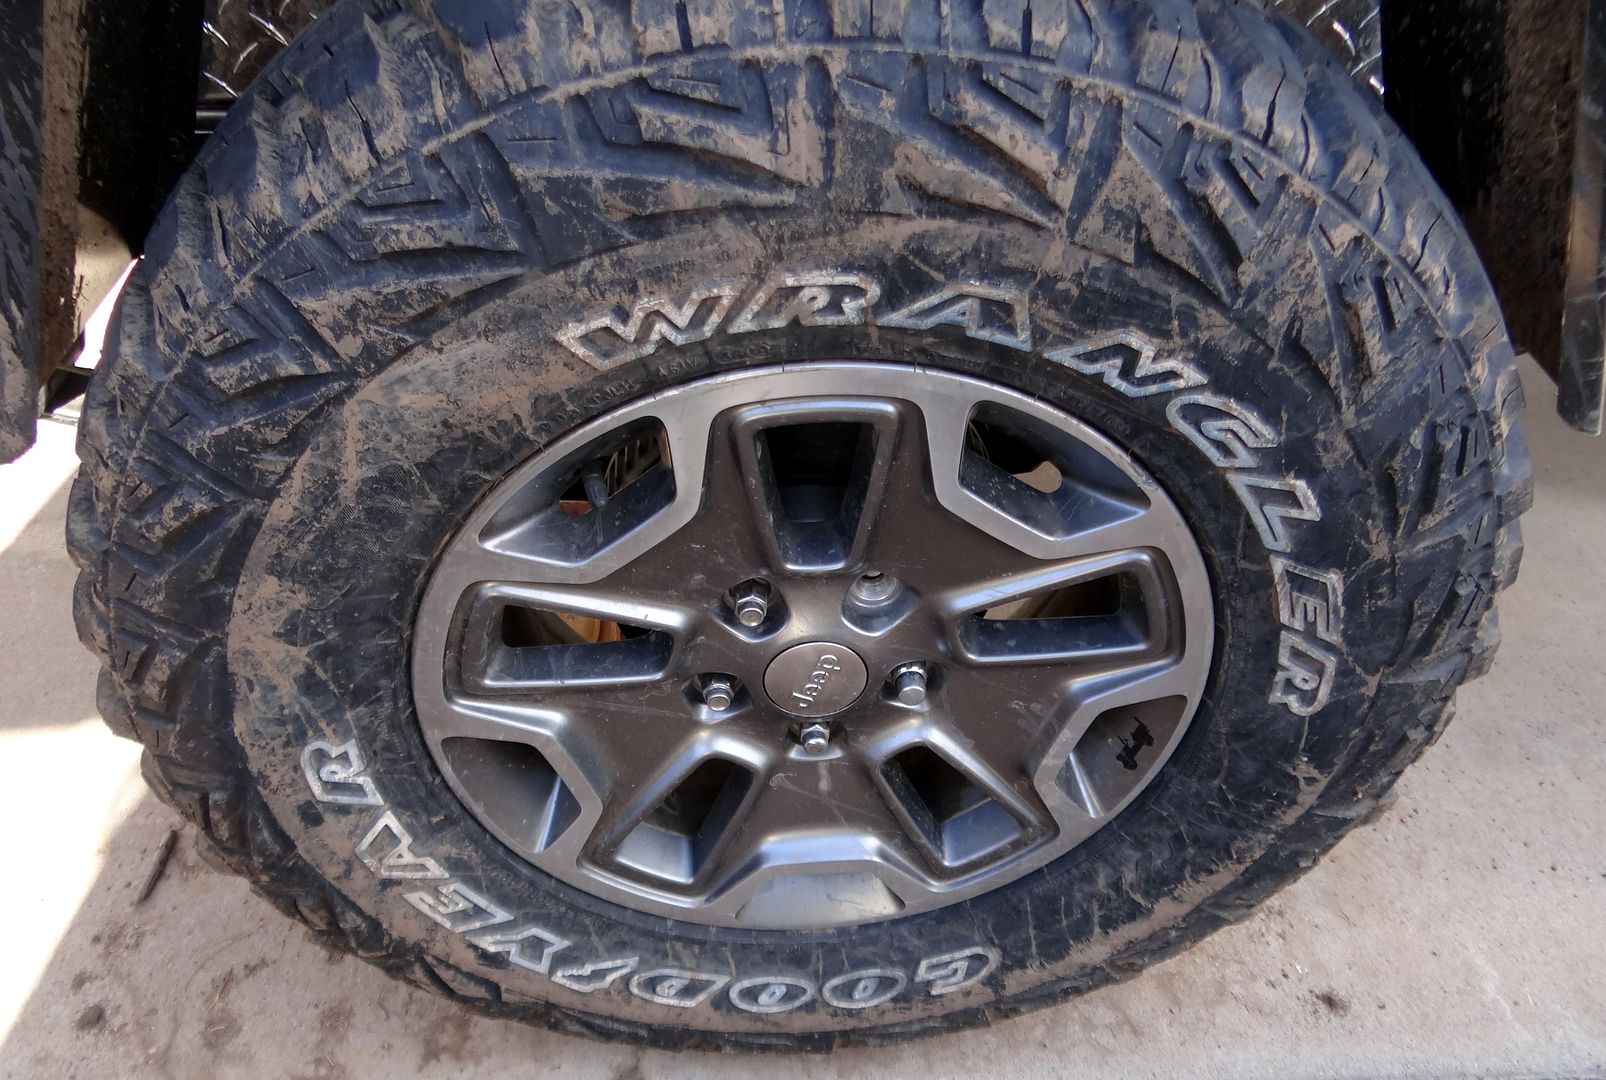
Took the rig into the backcountry and got some mud on it, here are some pics of my dirty wheels and tires now that I added the Rugged Ridge 1.5" spacers.
PIC 51 ( new fenders) TO BE ADDED SOON>>>>>>>>>>
The whole idea behind this project was to build an affordable trailer that would give you good long term service for moderate off-roading. Since most if not all of the trips and trails that Jeep Expeditions plans are stock Wrangler friendly, this trailer build will be perfect for our guys from Mohave to Moab, Canyon De Chelly to Death Valley and everywhere in between. Keep in mind that this trailer can be built in your driveway in just a few days with tools you already have. No welding is necessary or needed. But if you want to really stiffen things up, a few strategic weld beads will make things really solid. Remember when you bolt the box to the frame you are essentially going to make the box a part of the frame which will stiffen it all the more.
Using a kit is the perfect option for the driveway mechanic who doesn't have or want to spend $5000 on a trailer.
So what do others think about our new trailer ?
We took the trailer out to display at the Jeep Expeditions booth at the 8th annual Overland Expo held in Flagstaff, AZ - May 15-17, 2015. Despite the bad weather our trailer was a big hit with attendees. We even had a few vendors make very positive comments about it. One trailer dealer said "you guys aren't going to be selling these are you". He said that it was a product that he could not compete with at that price level. Lots of people looking at it and lots asking questions and taking pictures. After all, entry level trailers were on display and being sold starting around $5000 before options and not nearly as nice as ours, in our opinion of course.
Isn't building something from scratch fun? The more I build the more ideas I get on how to improve on it. You'll see what I mean once you start building yours.
What's in store for our trailer going forward?
I plan on adding some options to the trailer. Since options end up costing more money, these can be done over a period of time as you find that you want or need some of these options and as your budget allows. After all, when members of Jeep Expeditions bought 36 surplus Canadian M101 trailers about 8 years ago, they were just simple trailers. Some of the guys still use them as they were stock with a tarp over the top to protect what's inside from dust and the elements. Most have spent a few hundred and added a hinged lid. Some have mounted roof top tents and most have changed the bolt pattern of the hubs to match their Jeep along with tires to match their Jeep. All of those trailers started basic and the owners optioned them out over time.
In the next part of this trailer build, I'll be adding a number of options based on my preferences, needs and tastes. One of these options will be a roof top tent and just wait to see how we do that. I think we also need a swing out spare tire carrier which Detours USA will be building for us.
Supplier Listing:
Industrial Metal Supply (steel) -
https://www.industrialmetalsupply.com/
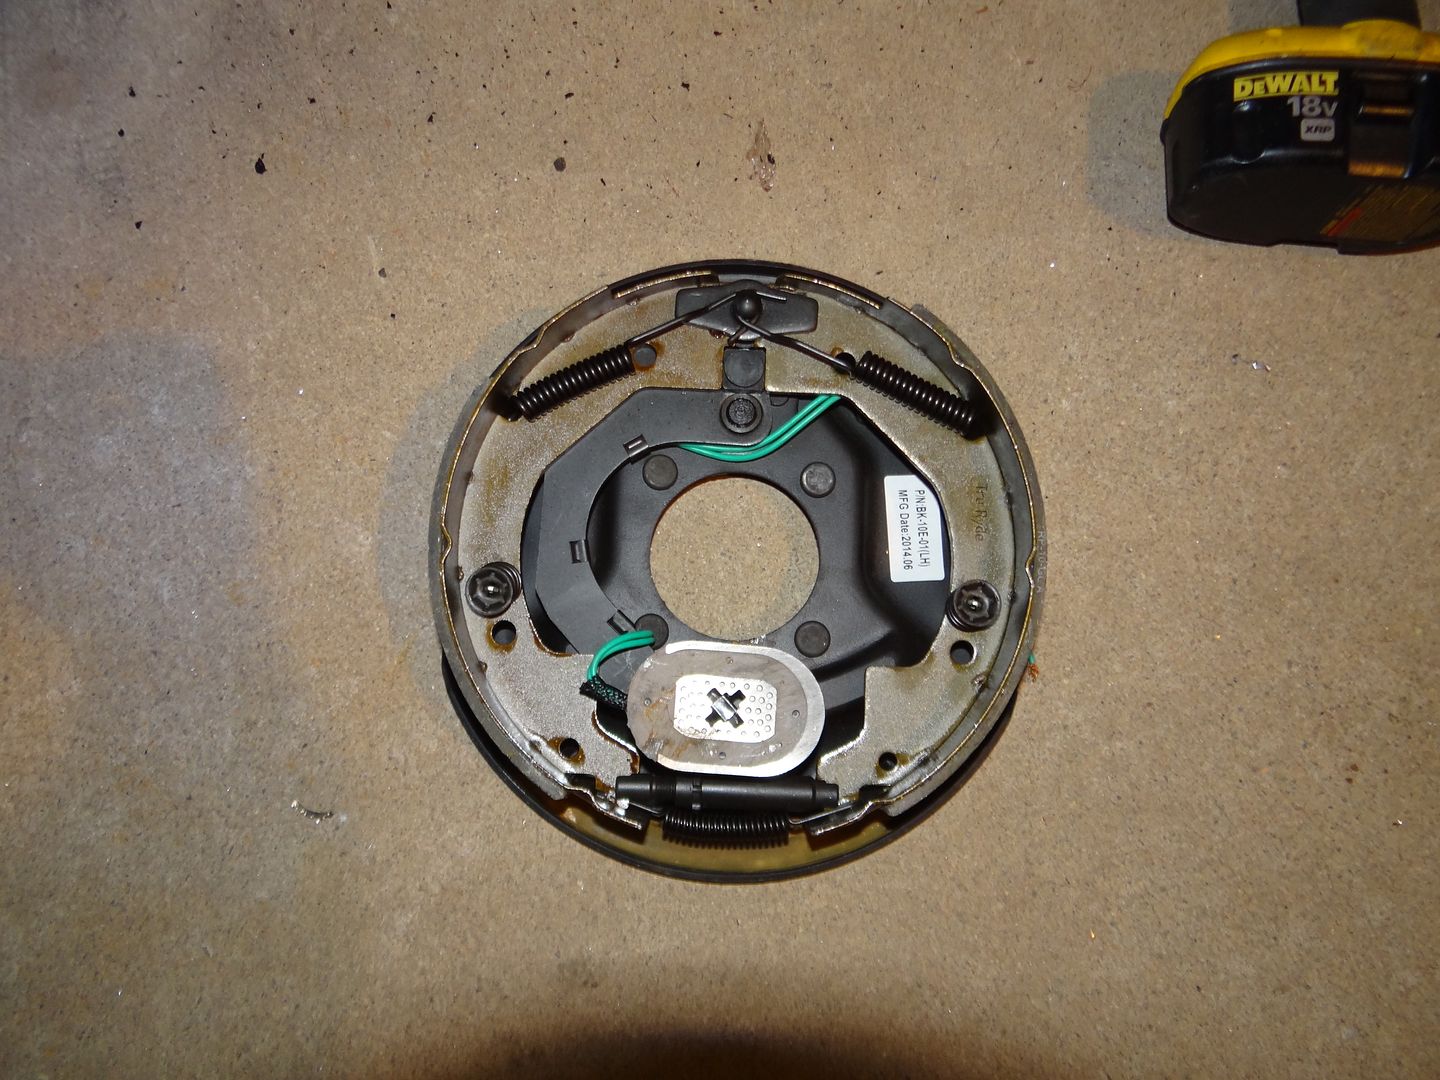
Auto Safety House (axle, hubs, brakes, fenders) -
http://www.autosafetyhouse.com/
Rugged Ridge (springs & suspension mounts) -
http://www.ruggedridge.com/
ARK Corporation (trailer jack & articulating coupler) -
http://www.arkportablepower.com/
Harbor Freight Tools (trailer frame kit) -
http://www.harborfreight.com/
Jackson Creek Manufacturing (custom aluminum box) -
http://www.jacksoncreekmfg.com/
You can see Part #2 of this build showing lots of options for gas water, fridge/freezer and more in Post #43 on page #5 of this thread.


