RMP&O
Expedition Leader
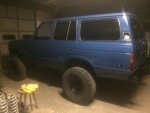
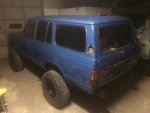
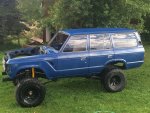
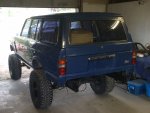
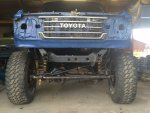
Well after nearly two weeks of busting my ******** everyday I have built an FJ142! 
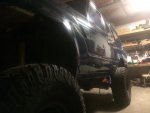
This is not a flex test, I am just putting wheels on and that kind of stuff. It is going to flex real nice though!
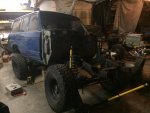
Getting the frame back up under the body after pulling it out one last time to do final welding and paint.
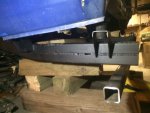
Rear frame rail extension and rear body mounts. You can see there is tons of room back here for a nice big fuel tank.
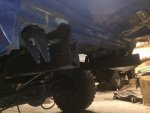
I used 3/16s on the frame extension and plated the inside with 1/4", plenty strong.
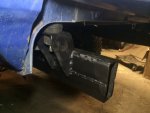
This is the rear wheel well with a stock coil spring in it and a 1" spacer. Yup just like I thought, way easy to play with suspension and get the ride height however a person wants. Easily run 35'son stock coils.
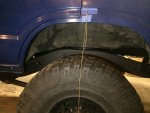
Soon to come, pictures of the truck on my lawn after it's first bath since 2011!
Cheers
This is not a flex test, I am just putting wheels on and that kind of stuff. It is going to flex real nice though!

Getting the frame back up under the body after pulling it out one last time to do final welding and paint.

Rear frame rail extension and rear body mounts. You can see there is tons of room back here for a nice big fuel tank.

I used 3/16s on the frame extension and plated the inside with 1/4", plenty strong.

This is the rear wheel well with a stock coil spring in it and a 1" spacer. Yup just like I thought, way easy to play with suspension and get the ride height however a person wants. Easily run 35'son stock coils.

Soon to come, pictures of the truck on my lawn after it's first bath since 2011!
Cheers

