You are using an out of date browser. It may not display this or other websites correctly.
You should upgrade or use an alternative browser.
You should upgrade or use an alternative browser.
TheGillz Explo Off-Road Trailer via Geotracker90 Build!
- Thread starter TheGillz
- Start date
Backwoods Rambler
Explorer
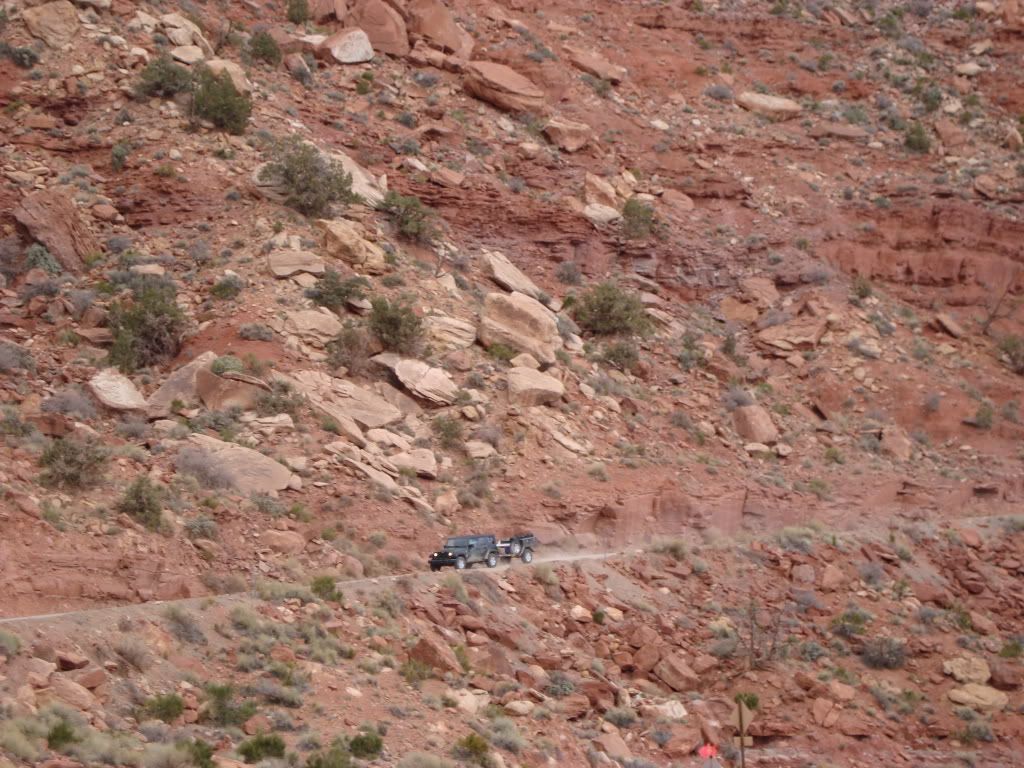
Shots like this always amaze me. Do you just have the wife/friend leave you on the side of the road,then come back for you?
ntsqd
Heretic Car Camper
The tongue on the TrailBlazer was made adjustable way back when. I highly doubt that it has ever been really used in the extended position. Tried out maybe, but not used.Thanks a lot for measuring that for Me! I really appreciate it!!
I'm still debating on weather or not I want to make the tongue of the trailer adjustable. Decisions, decisions.")
Recently I realized that if I drilled a new tongue-slider hole in an as yet to be determined spot that I can possibly load my XR far back across the tongue up against the trailer body and then use the adjustability to put the tongue weight back where it needs to be.
TheGillz
Explorer
Camp stove 1
Well this week I got to order two new supplies. One an 18" Partner Stove with windscreen, and a Grizzly 25 degree Two person Sleeping bag.
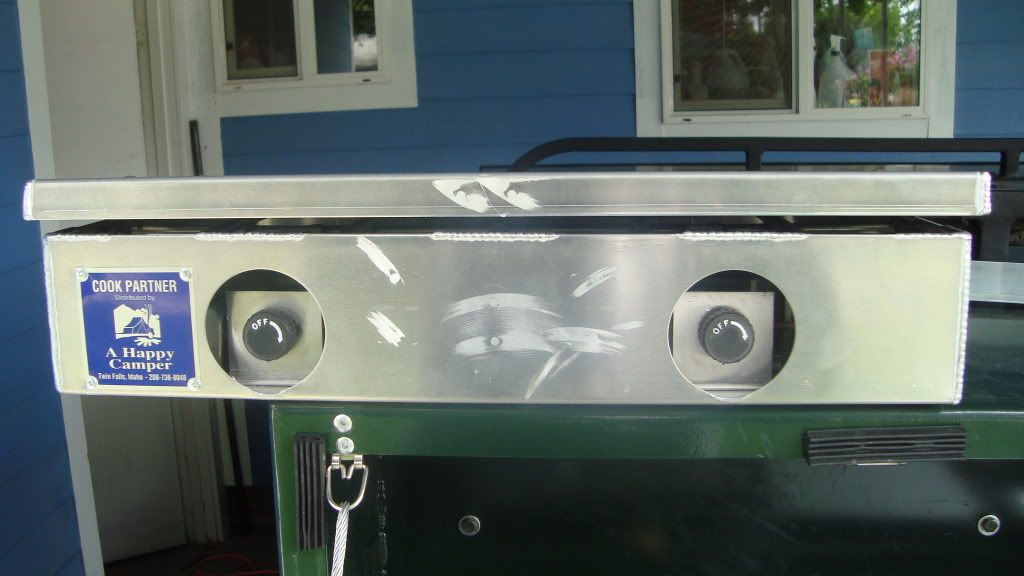
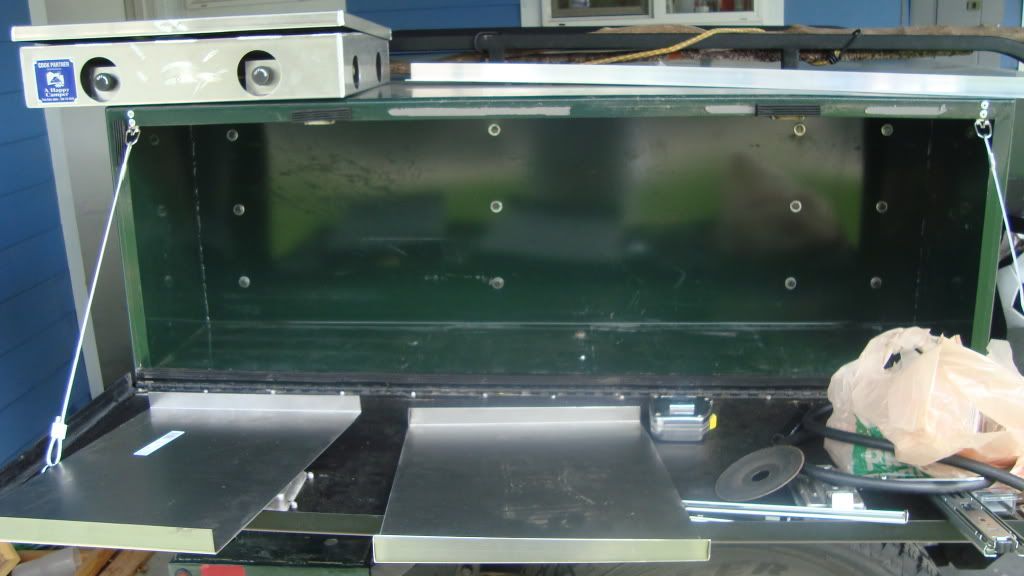
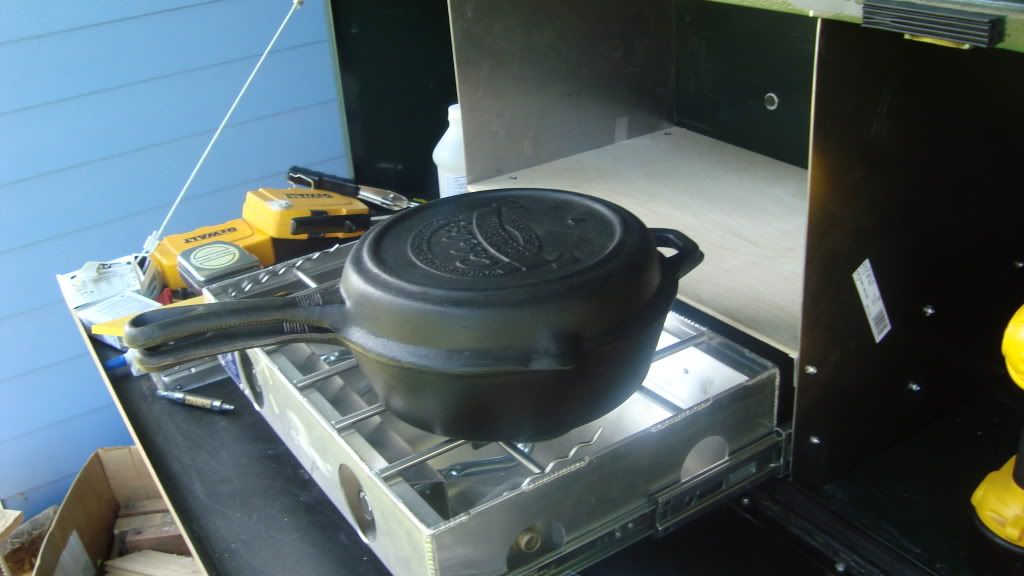
I had a plan to "Horizonize" the stove into my side box so that it pulled out and made the box spaced out for more orginization. Here is the progress and results.
First in this process I learned why AT uses the basic stove with no lid or windscreen, however, I was determined to make screens work since I think they are handy and I like them. Plus it made the process alot more challenging and fun figuring out how to do it.
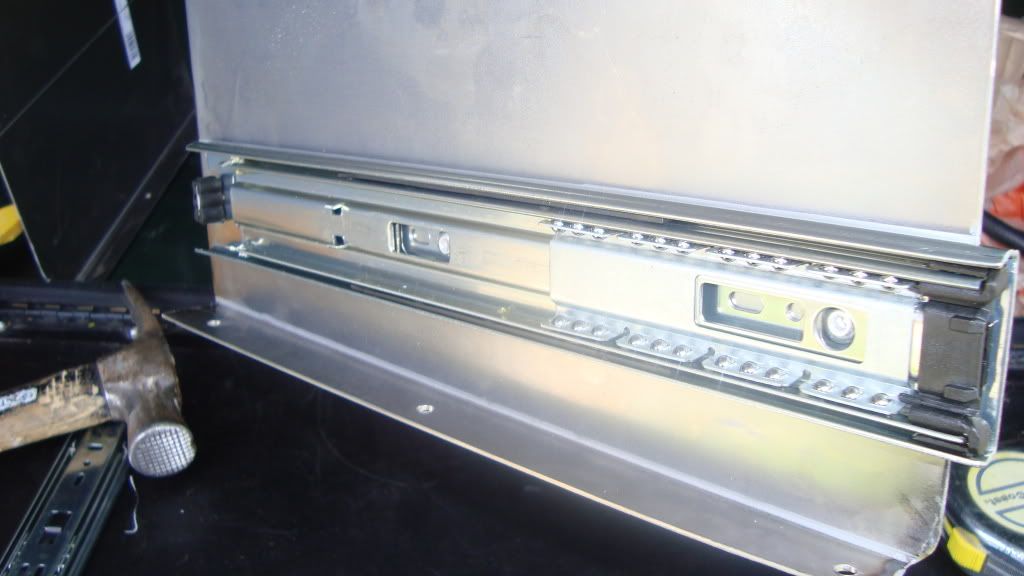
One of the first things I found in testing was that the stove itself is 12" deep, however the lid is just shy of a half inch deeper as it has to have a lip over the back and front. Well I placed the stove in the box and attempted to shut the lid, and BINK- it wouldn't shut, not quite a half inch short. BUT upon further investigation I found it was the handle and latch that was out past the lid about another 3/8" and so they had to go.
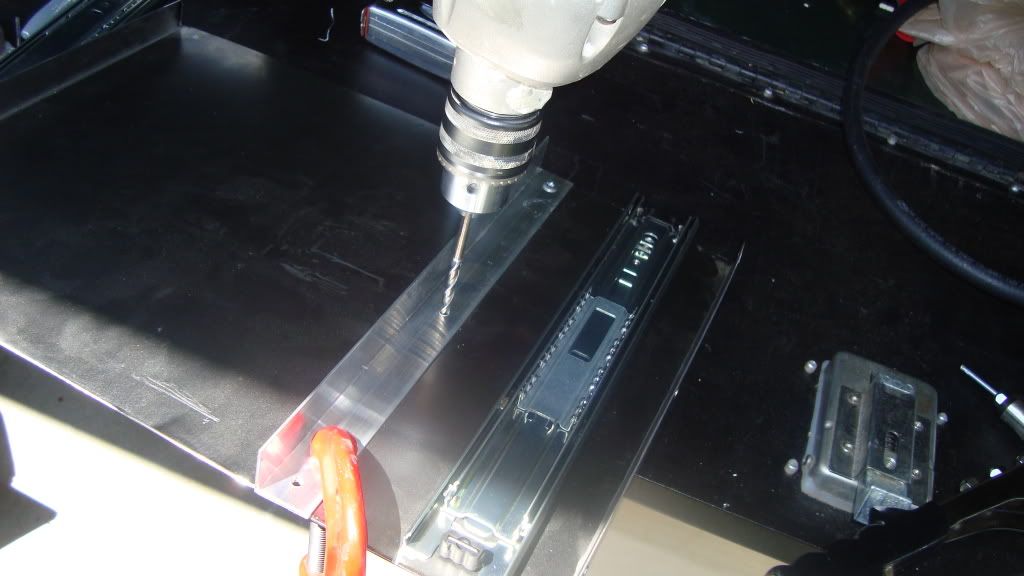
Well I needed walls to house the stove and shelf so I got some 18"x12" 16ga steel from Lowes, measured and marked it and took it to a local sheet metal shop and they did the bends for me, too bad Mike wasn't closer to use his handy Brake!
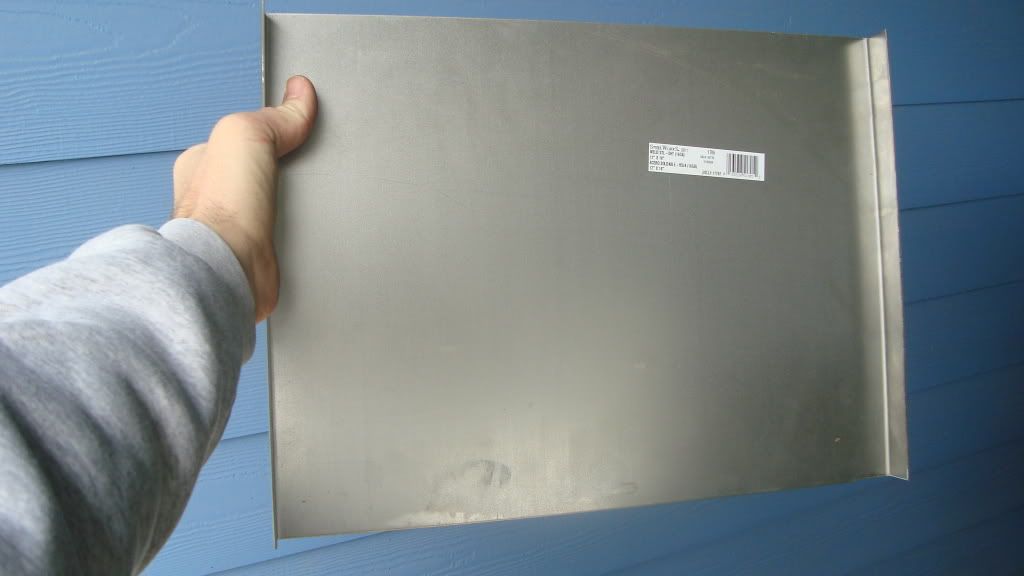
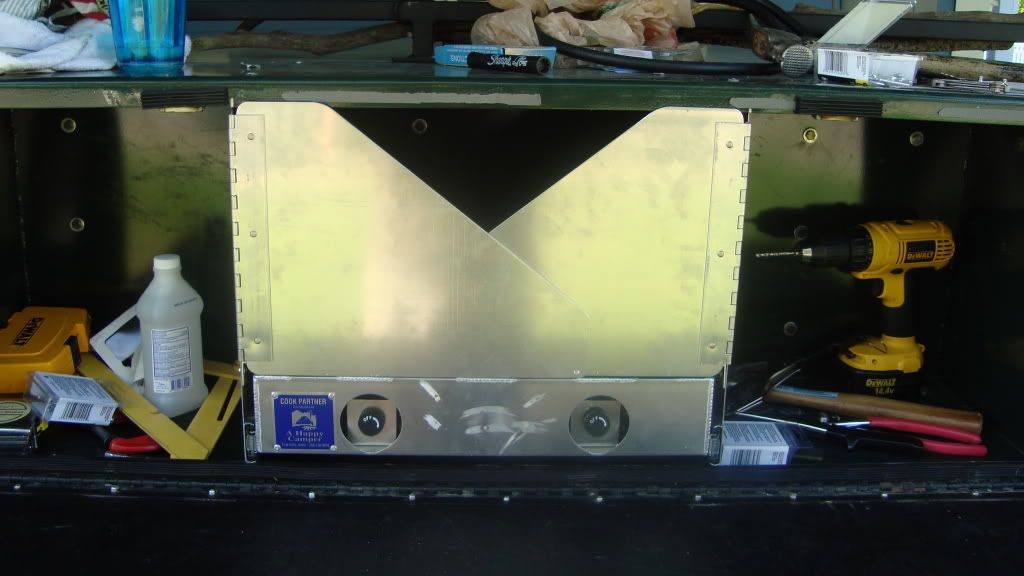
And here is the space I was working with.
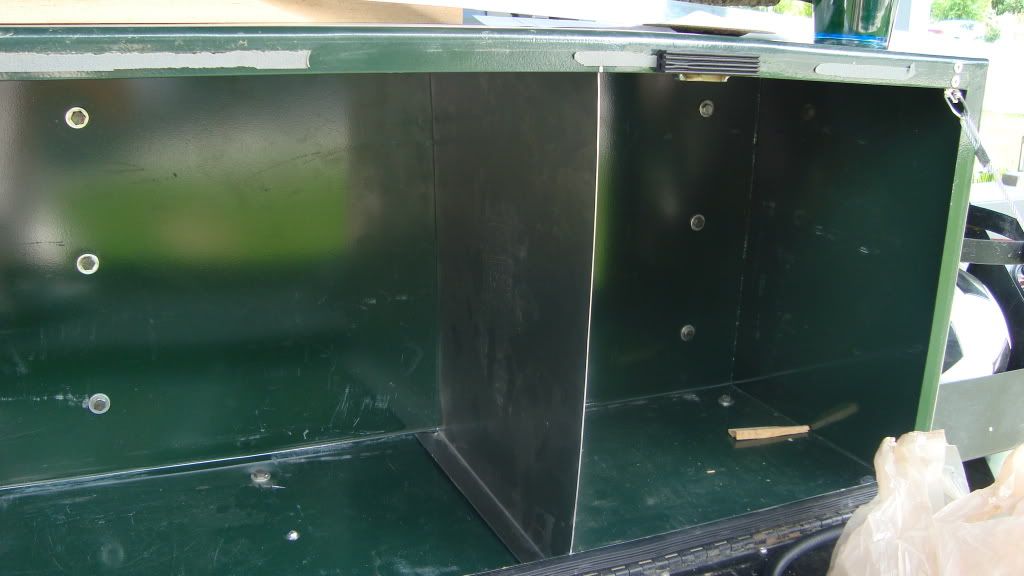
As you can see they are bowed quite a bit when squeezed in there. I spent a good hour or longer with my grinder to get them just the right size, especially in the corners, to fit with minimal bow.
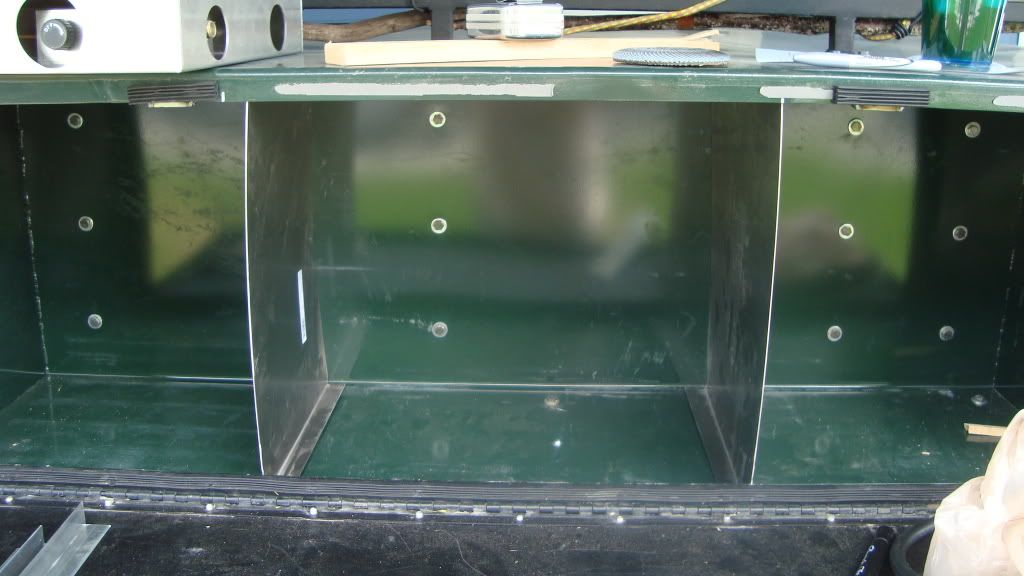
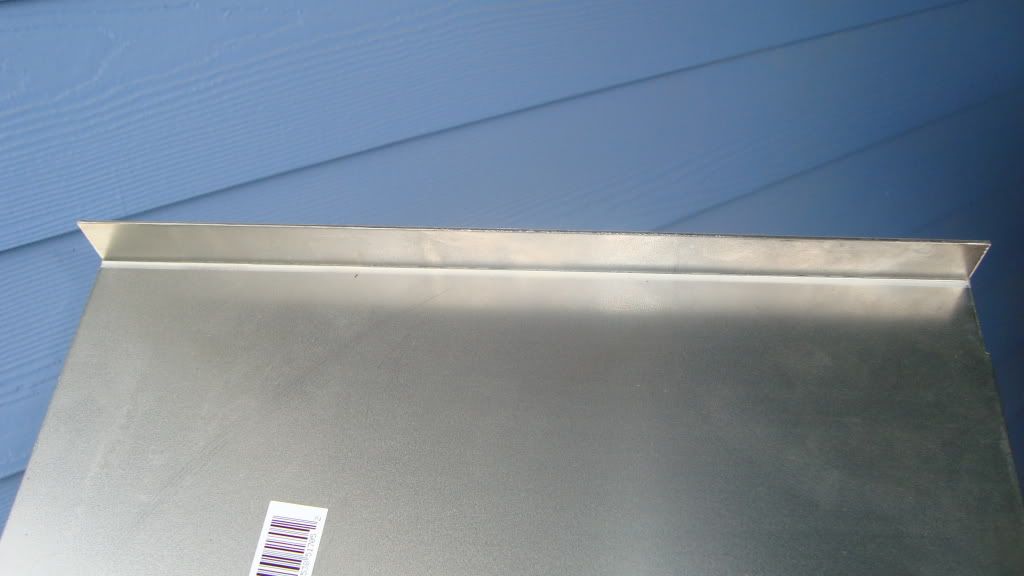
I had planned on leaving the lid on and getting another latch like what came on it or getting two of a different sort and mounting them on the outsides of the stove to keep the lid shut since I had to take the original off of the front, but I couldn't find any that worked, and it would have been very difficult to mount them in such a narrow space with just the width of the drawer glides between the side of the stove and the wall, so I instead hatched a plan to mount "L" metal to the walls that would hold the lid down as it is pushed in.
Well this week I got to order two new supplies. One an 18" Partner Stove with windscreen, and a Grizzly 25 degree Two person Sleeping bag.
I had a plan to "Horizonize" the stove into my side box so that it pulled out and made the box spaced out for more orginization. Here is the progress and results.
First in this process I learned why AT uses the basic stove with no lid or windscreen, however, I was determined to make screens work since I think they are handy and I like them. Plus it made the process alot more challenging and fun figuring out how to do it.
One of the first things I found in testing was that the stove itself is 12" deep, however the lid is just shy of a half inch deeper as it has to have a lip over the back and front. Well I placed the stove in the box and attempted to shut the lid, and BINK- it wouldn't shut, not quite a half inch short. BUT upon further investigation I found it was the handle and latch that was out past the lid about another 3/8" and so they had to go.
Well I needed walls to house the stove and shelf so I got some 18"x12" 16ga steel from Lowes, measured and marked it and took it to a local sheet metal shop and they did the bends for me, too bad Mike wasn't closer to use his handy Brake!
And here is the space I was working with.
As you can see they are bowed quite a bit when squeezed in there. I spent a good hour or longer with my grinder to get them just the right size, especially in the corners, to fit with minimal bow.
I had planned on leaving the lid on and getting another latch like what came on it or getting two of a different sort and mounting them on the outsides of the stove to keep the lid shut since I had to take the original off of the front, but I couldn't find any that worked, and it would have been very difficult to mount them in such a narrow space with just the width of the drawer glides between the side of the stove and the wall, so I instead hatched a plan to mount "L" metal to the walls that would hold the lid down as it is pushed in.
TheGillz
Explorer
Camp stove 2
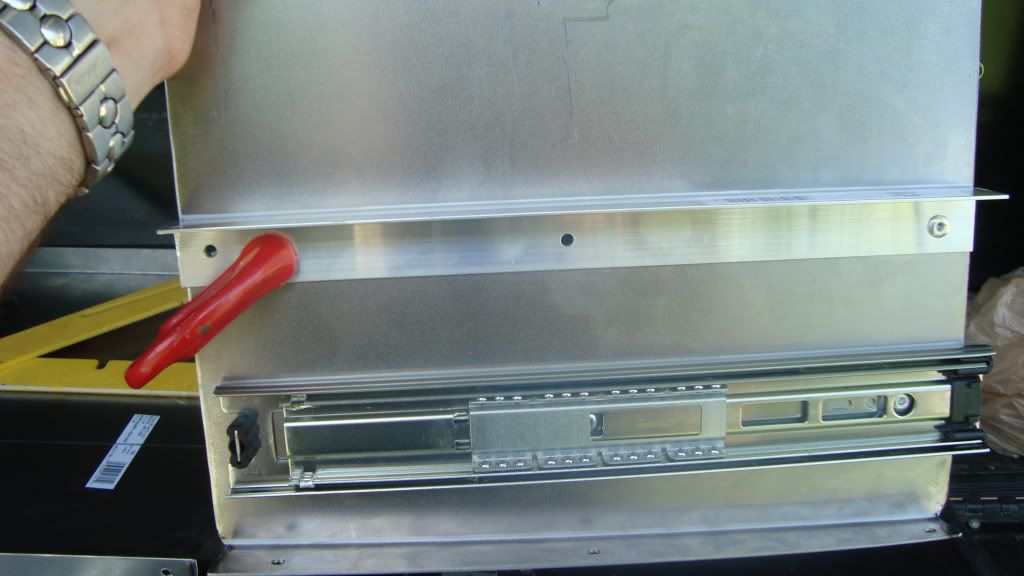
I got two 100lb 12" glides from a local cabinet shop.
Here is the mounting of the Aluminum "L" metal.
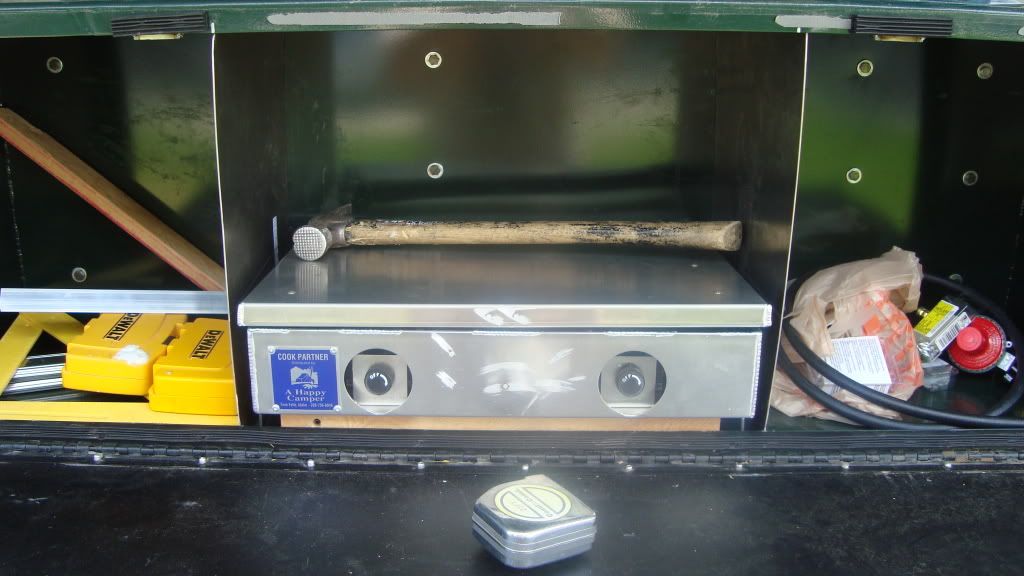
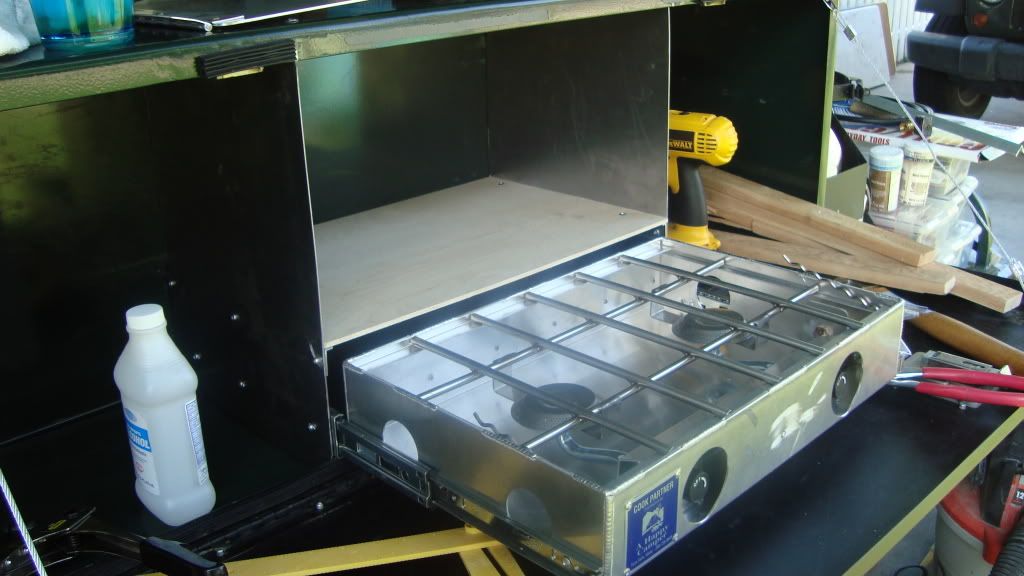
I also puchased some nice 1/4" birch plywood for a shelf. Well it turns out that I needed that shelf for more than just looks. As I mounted the stove for the first time I was pleased with how it slid nicely and fit great. Just one thing.
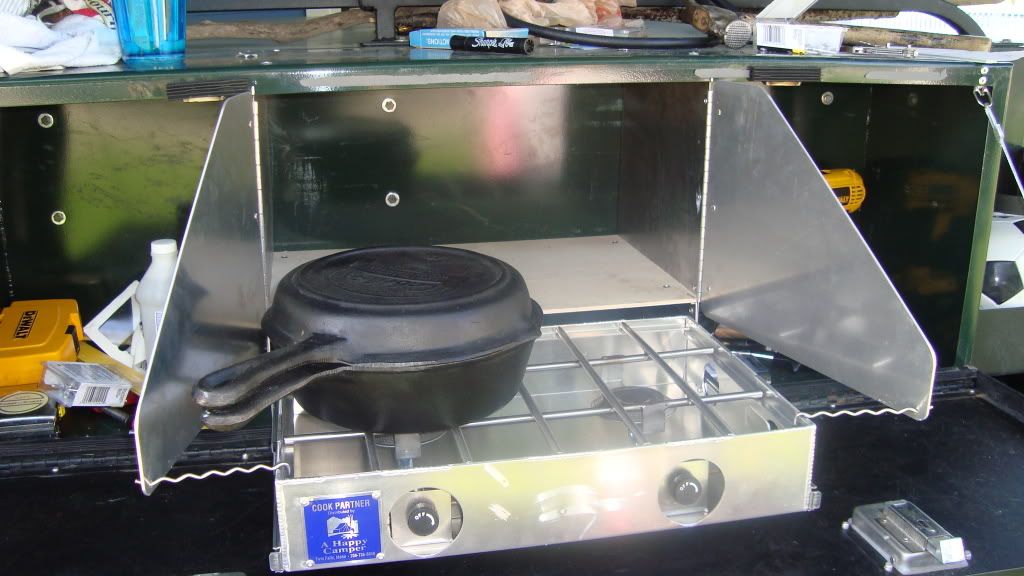
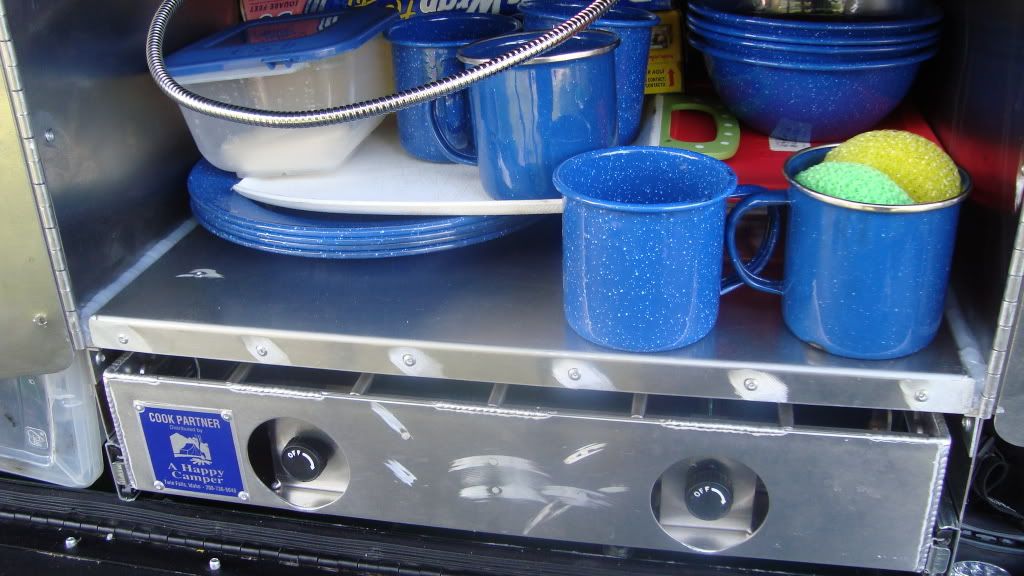
The lid wouldn't open up enough to get the screens to hinge out. It had enough tilt so that the screens opened ever so slightly down instead of horizontal, and they were useless. Well after brainstorming with my wife and mother in law. I hatched a plan. I would mount the stove without the lid just like the basic one. BUT I would just mount the screens to the walls and it closes nicely on the shelf area and makes a nice cubby, I am very pleased with the results and can't wait to use it this next weekend on our first camping trip of the year. (The trip through Utah excepted, as it had a different over all goal, namely helping my wife's mother move here.)
Any way, the rest of the pics...

Did I tell you how much I LOVE having a rivet gun??

And the weight test. Didn't seem to notice the load at all!
And the screens closed....
....and open, ready to cook!
I got two 100lb 12" glides from a local cabinet shop.
Here is the mounting of the Aluminum "L" metal.
I also puchased some nice 1/4" birch plywood for a shelf. Well it turns out that I needed that shelf for more than just looks. As I mounted the stove for the first time I was pleased with how it slid nicely and fit great. Just one thing.
The lid wouldn't open up enough to get the screens to hinge out. It had enough tilt so that the screens opened ever so slightly down instead of horizontal, and they were useless. Well after brainstorming with my wife and mother in law. I hatched a plan. I would mount the stove without the lid just like the basic one. BUT I would just mount the screens to the walls and it closes nicely on the shelf area and makes a nice cubby, I am very pleased with the results and can't wait to use it this next weekend on our first camping trip of the year. (The trip through Utah excepted, as it had a different over all goal, namely helping my wife's mother move here.)
Any way, the rest of the pics...
Did I tell you how much I LOVE having a rivet gun??
And the weight test. Didn't seem to notice the load at all!
And the screens closed....
....and open, ready to cook!
Curtis in Texas
Adventurer
Uh, aren't you concerned of catching the Birch on fire with it that close to the flame and unprotected?
I only ask because the other night I was cooking a grill cheese sandwich and had a paper towel on the counter next to the gas stove. It went up in flames even though it was about 4 inches from the edge of the stove. The heat of the flame under the pan traveled close enough to the edge of the pan to cause combustion of the towel. I can see that your brich shelf panel is near the edge of your stove. If it were me I'd consider making the self out of the same gauge metal you made the deviders out of. Then maybe use the birch piece as a removable cutting board. That or a small lip up metal lid to use as a heat shield.
I've really enjoyed reading you build.
Would love to see some camping spot shots of it set up and making the family comfortable.
ntsqd
Heretic Car Camper
I was concerned about that too, but hadn't had time yet to post about it.
A thin piece of aluminum cut to the same size as the shelf and laid down first would offer a surprising amount of heat shielding. I'd suggest that it also be formed with a 90* on one side to fit up the front edge of the ply shelf. Make the flange just high enough to equal the thickness of the ply.
A thin piece of aluminum cut to the same size as the shelf and laid down first would offer a surprising amount of heat shielding. I'd suggest that it also be formed with a 90* on one side to fit up the front edge of the ply shelf. Make the flange just high enough to equal the thickness of the ply.
adventureduo
Dave Druck [KI6LBB]
Lookin' good man. We have the same dish set in our Horizon, in the exact same spot and let me tell you... they don't stay put for long. When you get to your destination they're everywhere.
I ended up putting them in a plastic tote.
I ended up putting them in a plastic tote.