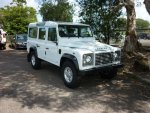
It has been quite a while since I updated the blog - I have been a bit distracted on the Unimog since getting this - my new Land Rover Defender 110. This is what it looked like the day before got my grubby paws on it....
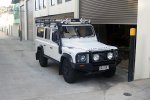
This it what it looks like now - just can't seem to leave things alone. We are going up to Cape York in July, and since the Mog was not going to be ready, I had to have something to drive - it's a long walk otherwise

Anyway, back to the camper build.
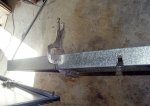
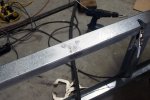
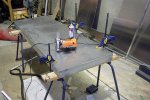
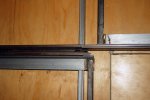
Next up was the fridge slides - Anyway, about a month ago I started work on the fridge slides, and after much fabrication and engineering - this is what I ended up with this.
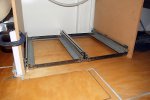
There is a lot of detail in this slide, first the two runners have to be off-set, as the bolts have to be countersunk to allow the runners to pass - so I could not just bolt them back to back. The frame has to allow for the slight sag on the runner due to the weight of the fridge, and not hit the floor or the framing.
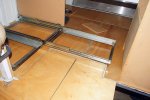
The sliding parts have to fit a "standard fridge" - otherwise if we have to replace the fridge on day, we may have to remake things. The slide is now the standard size for a 40/50litre fridge. In the end it was a neat fit - I have primed it and will paint it when I paint the rest of the things that will need painting - no point mixing up 1/2 a litre of two pack paint just for this little thing.
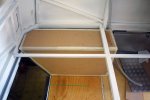
Next thing on the list was the water tanks - I made a mock up out of thin craft wood the exact size of the space available - only to discover that there was no way to actually get the tank in. That was the purpose of the mock up - I need to make sure I can get them in and out - I read on a few other truck builds where the builders installed the tank early on in the build, only to find out a few month later that once other things were installed, the tanks became permanent fixtures - on poor guy had to rip up half of his floor to replace a leaking tank a few years later. What should have been a 1/2 day job for him turned out into a month long re-build.
With a bit of cutting I managed to get a mock up that I was able to fit into the space without having to dismantle anything. That made the tank a bit smaller, but I made it slightly wide to compensate.
I has Atlas Tanks build the plastic water tanks from my drawings - in the end I decided that 100 litres each would be enough and keep the rest as "boot space". The initial idea was to have a chamfer in the corner as per the mock up - but when they told me how they make the chamfer - first make the tank with a flat plate on the angle part, then cut the chamfer into it, then weld in a new piece of plastic - and that would cost an extra $250 per side - and would only gain 8 litres. I decided to just go with the flat rear plate. So now instead of 2 x 100 litres, I have 92 litre per side ( probably around 88 usable unless we part the truck downhill). We have another 20 litres in the hot water calorifier, and for the $500 can easily get another 100lt flat water tank in the boot if we need more water.
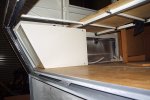
I've made up all the brackets to hold the water tanks in place - there will be another on behind as well - I don't want 100kg of water tank moving around.
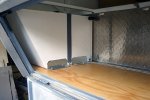
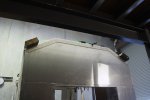
I also decided to completely separate the rear boot area from the rest of the truck. I made up some brackets and a sheet of 3mm chequer plate to form a bulkhead. There will also be a solid lid to the boot, with inspection hatches to allow me to remove the water tank hold down straps, the senders etc etc. I'm still deciding whether to make it from aluminium or plywood. I will also run part of the heating system through into the rear boot compartment - probably just a few runs of copper tubing - to ensure the water tanks don't freeze up.


