Vanilla Gorilla: 2017 Power Wagon build

Oilbrnr

Active member
I had done some camera research last week. You can get the harness for a chassis cab and the whole harness out of the tailgate, change some pin-outs, and I can't really remember what else. There is also a company that sells a whole plug and play kit that comes with a Sony camera, kinda meant for the back of a commercial application, again on the chassis cab. E1 acted like they included an adapter harness, but for $25 I can't see that... I'll have to email them back. You still having Park Assist sensor issues?
 

marshal

Burrito Enthusiast
yeah their setup is a lasered and braked stainless steel bracket, no harness extension. Tomorrow afternoon im going to pull the tailgate access plate and disconnect the camera and do some research on the harness.

and yes on the sensors, i've just shut them off for now. Im not sure what to do with them
 

marshal

Burrito Enthusiast
I got a sPOD HD, and I've been struggling to figure out a place to mount the control panel. Wasn't totally sure on what was going to be the best method for getting it done. I had come up with three different places that i thought would work. One was in the dash were the 110 outlet and mostly useless little slot cubby is, the second was the storage tray at the top of the dash where the radio is (i considered ordering the AEV rocker panel piece to mount this control module to and possibly wiring in some additional high amp USB outlets) or my third option, which was in the headliner on the backside of the overhead console bump. I dont have a sunroof so it its in a good spot with easy access.

the center stack option on top would be the easiest and least invasive, the headliner would be the best looking but at the highest cost because the entire headliner would need to be replaced in the event of reversal or i didn't like its placement, and lastly - the 110v outlet/cubby location is in a great spot for use, but was going to be the hardest to make work. The plastic knockout is also super cheap in the event that i wanted to redo it or reverse it for some reason.

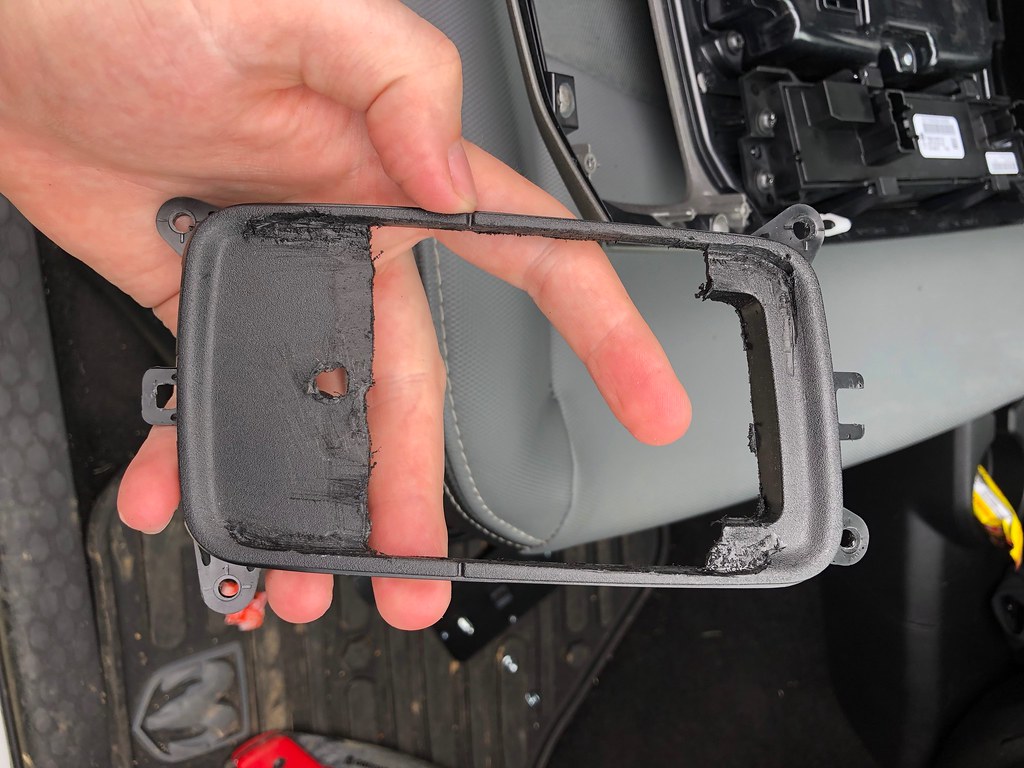
Ultimately i decided to go with the cubby location. First off was to place the control module on the piece of plastic and trace out with my daughters white colored pencil that i stole

Untitled by Will Marshal, on Flickr

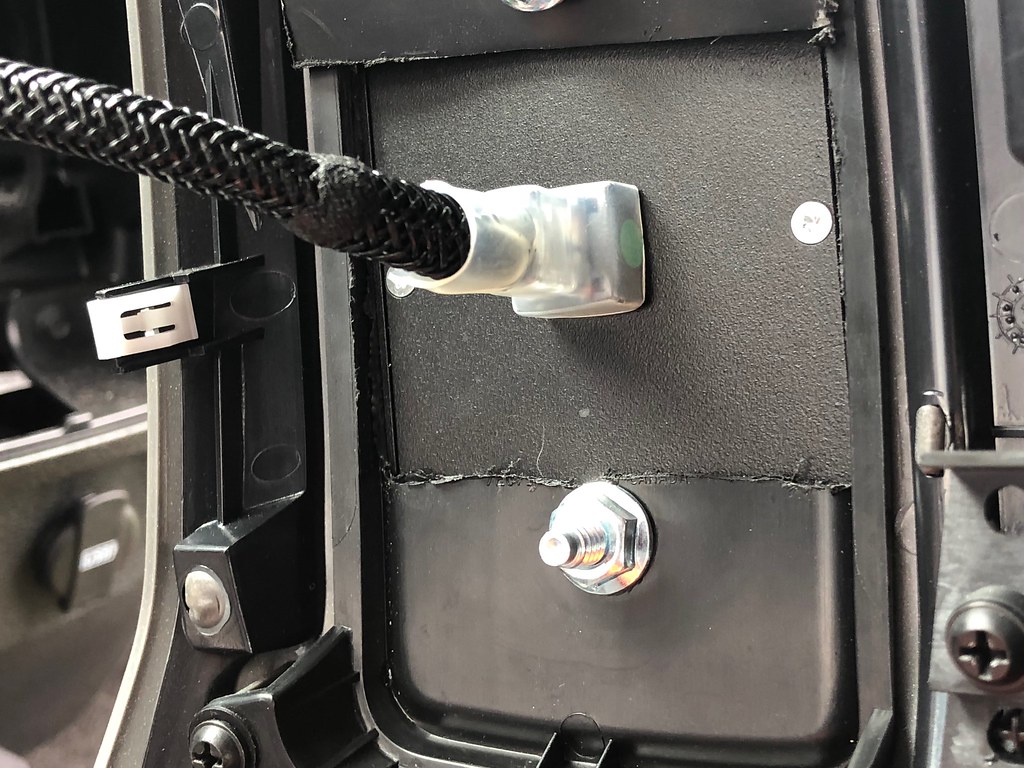
then i went to town hacking this thing up. i started carving out the edges to make it sit flush, but realized after getting into it that i would need to remove most of the plastic because of the slight arc that was in the dash piece so that it could sit flush in there. which meant i would need to come up with a solution to secure the top bolt

Untitled by Will Marshal, on Flickr

which i did with some scrap plastic

Untitled by Will Marshal, on Flickr

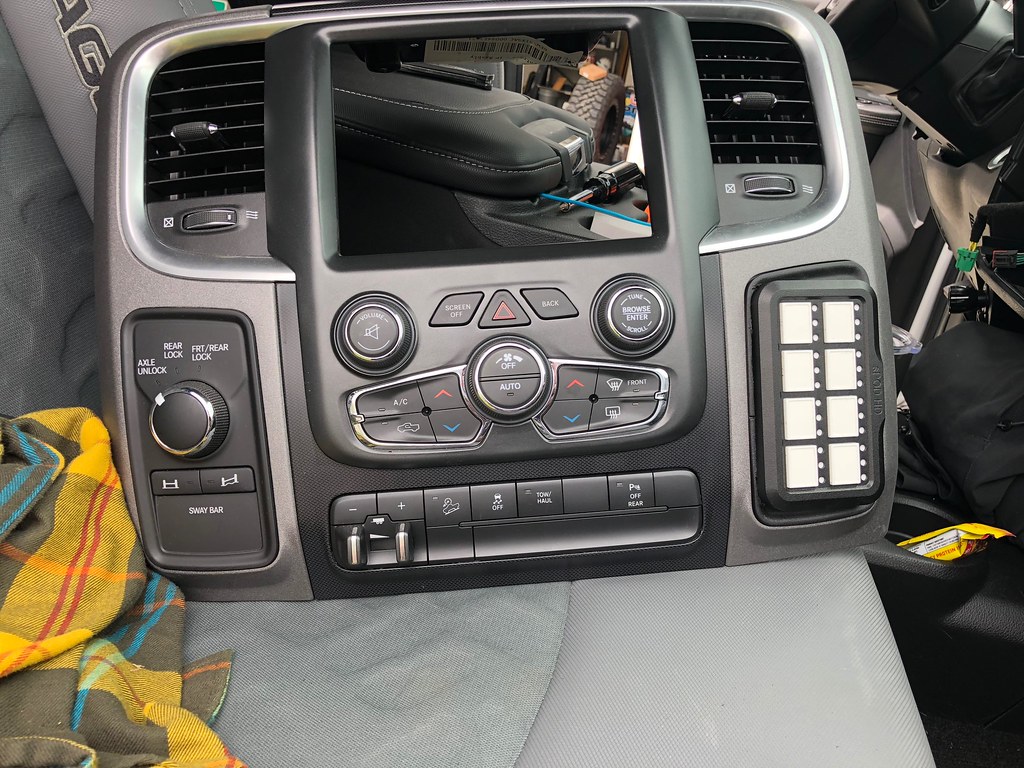
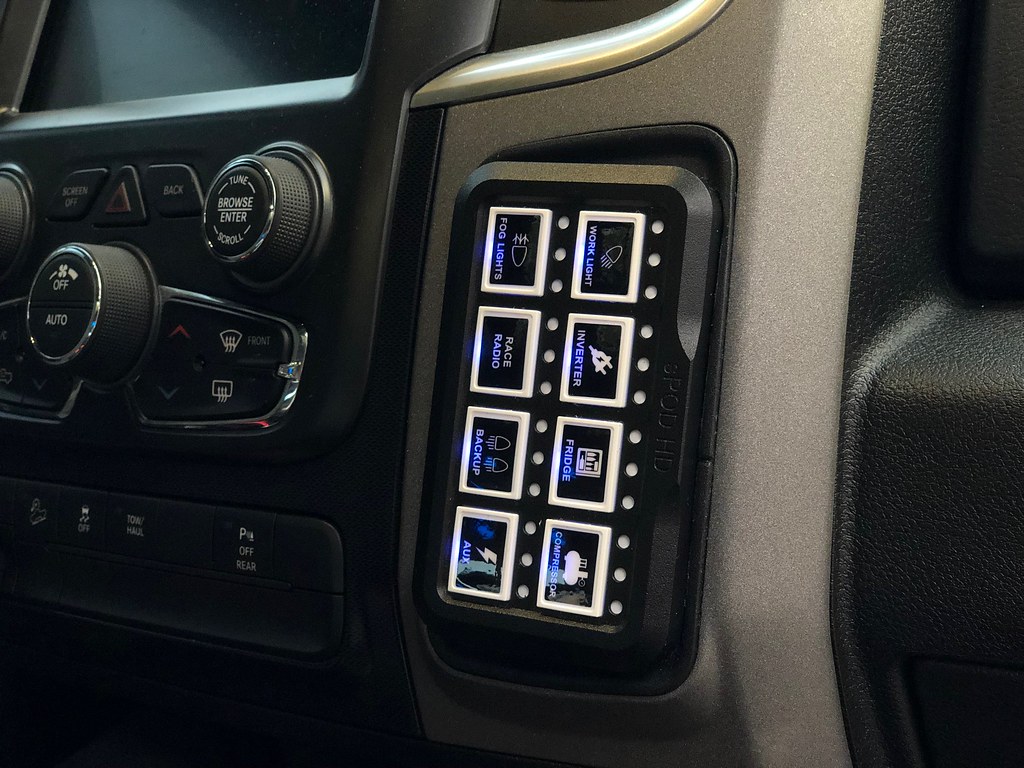
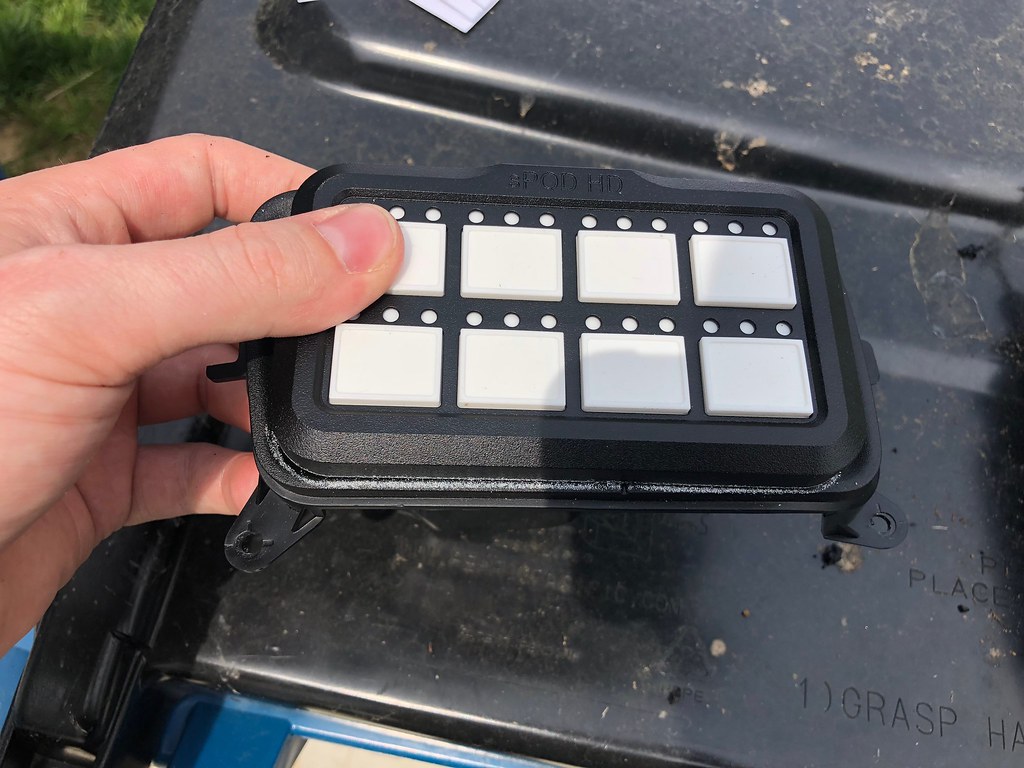
I really like the sPOD HD because it uses a CAT5 ethernet cable for the control box, which means its waaaaaay more compact than previous versions and the ability to control stuff is way better. Previously, the systems just used carling rocker switches which just gave you an on/off ability. The new HD setup uses the digital control panel which lets you do stuff like dim LED's to any percentage, or strobe them, or link multiple switches as a gate such as front and rear locker switches won't engage until the compressor switch is turned on as well, or any other combination you can come up with. You can even set switches up to not be available to be turned on until the ignition switch is activated.

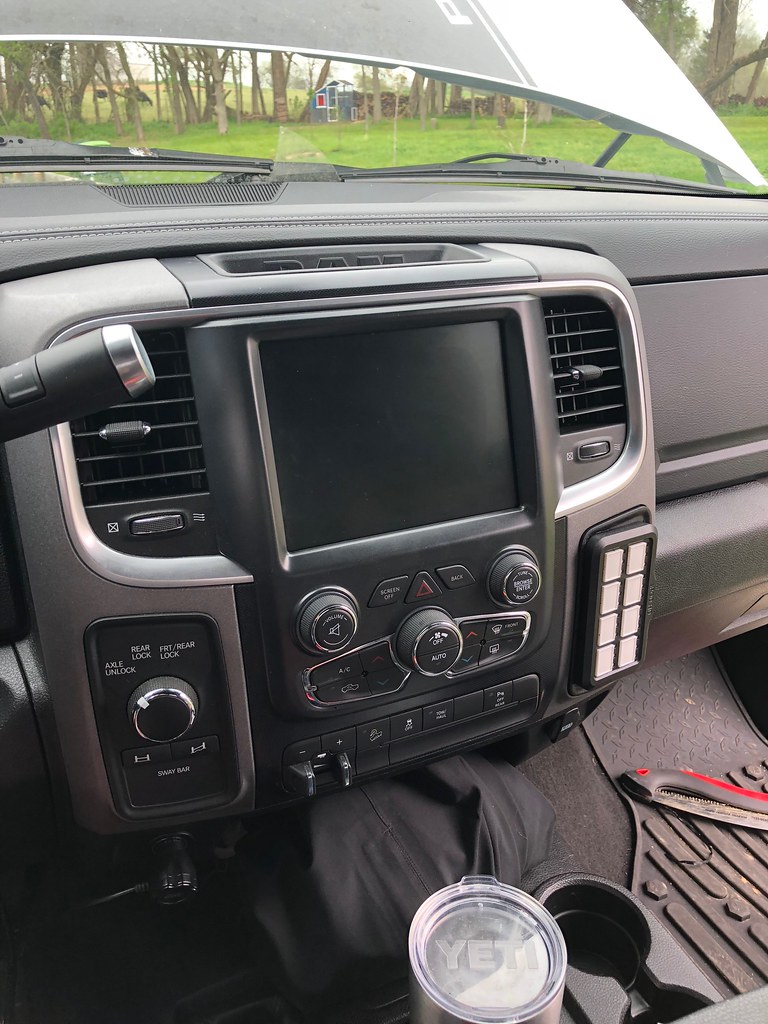
anyway - here is what it looks like

Untitled by Will Marshal, on Flickr

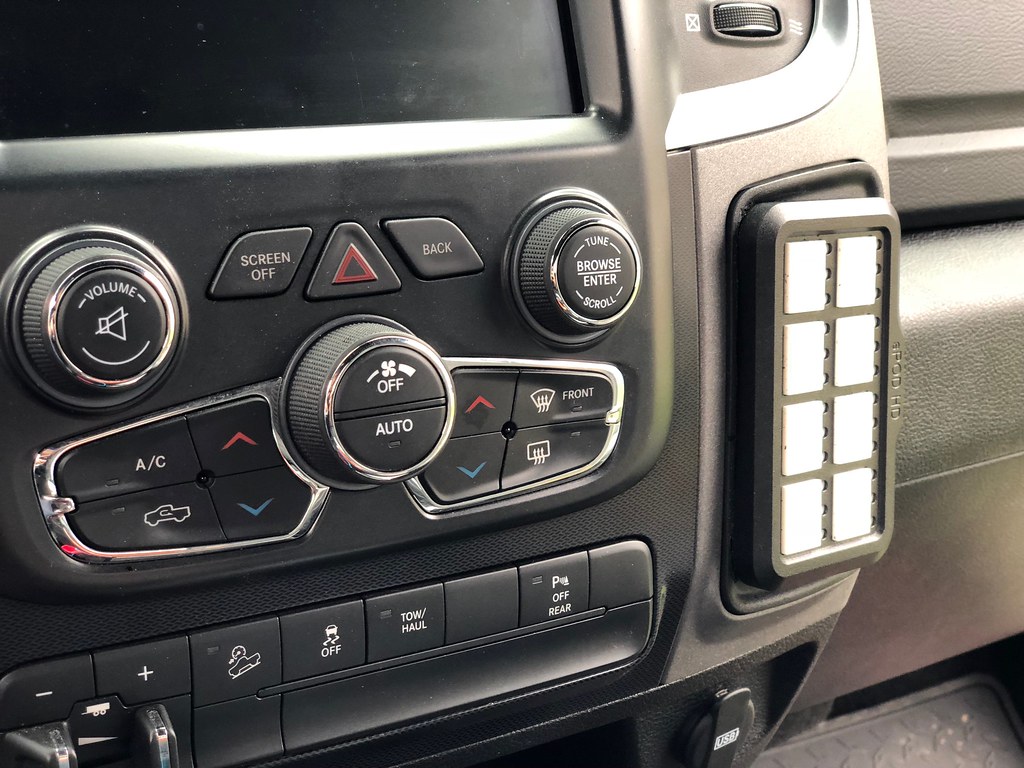
then i popped it back into the dash. Really pleased with the outcome. i need to get the legends applied and the rest of the wiring finished and we'll be good to go

Untitled by Will Marshal, on Flickr

Untitled by Will Marshal, on Flickr
 

Tex68w

Beach Bum
Nice! I went back and forth between the sPOD and Switch Pros, I ended up going with the Switch Pros 9100. I'll do a write up when I am ready to put her in. It has a smaller footprint than the sPOD panel so I have the ability to do an even stealthier install.
 

Torq

Observer
got them on! it was a cooler day than i expected. we got a dusting of snow last night that immediately started melting as soon as the sun came up. so everything was wet and humid. When the old wheels came off i was expecting to need to paint the raw steel hubs black - but i was also expecting it to be 55 and sunny. needless to say the install progress was heavily impeded by waiting for paint to dry, as well as methodically hammering back the pinch weld in the wheel well. i got it mostly out of the way - but im going to revisit it possibly tomorrow or next weekend to hammer it back all the way, higher up (i need a heavier sledge)

otherwise, im really pleased with how it turned out. the Falkens are incredibly quiet (as expected) compared to the duratracs, and roll smooth and true. So far im running them unbalanced and i haven't experienced any vibration through 75mph. I have to run to Lowe's tomorrow so i'll get it on the highway and see how she rolls then

Hey - I think I was hitting you up earlier on your FB page about your tire wheel combo. Glad I found your build thread. Do you have any pictures of how much you had to hammer back the pinch weld?
 

Kingsize24

Well-known member
Interesting spot with the SPod. I like you went back and forth on where to put mine. I ended up adding a RAM mount to the factory tray. I really wish I would have gotten the HD mount instead of the touch screen, but all in all it has been a great system. Please post up in the time to come how your HD works out for you.

20171003_142640.jpg

20171002_152326.jpg
 

marshal

Burrito Enthusiast
Hey - I think I was hitting you up earlier on your FB page about your tire wheel combo. Glad I found your build thread. Do you have any pictures of how much you had to hammer back the pinch weld?

i don't have one, i can get one for you though if you really want it. I hammered it totally flat against the firewall about 8 inches up

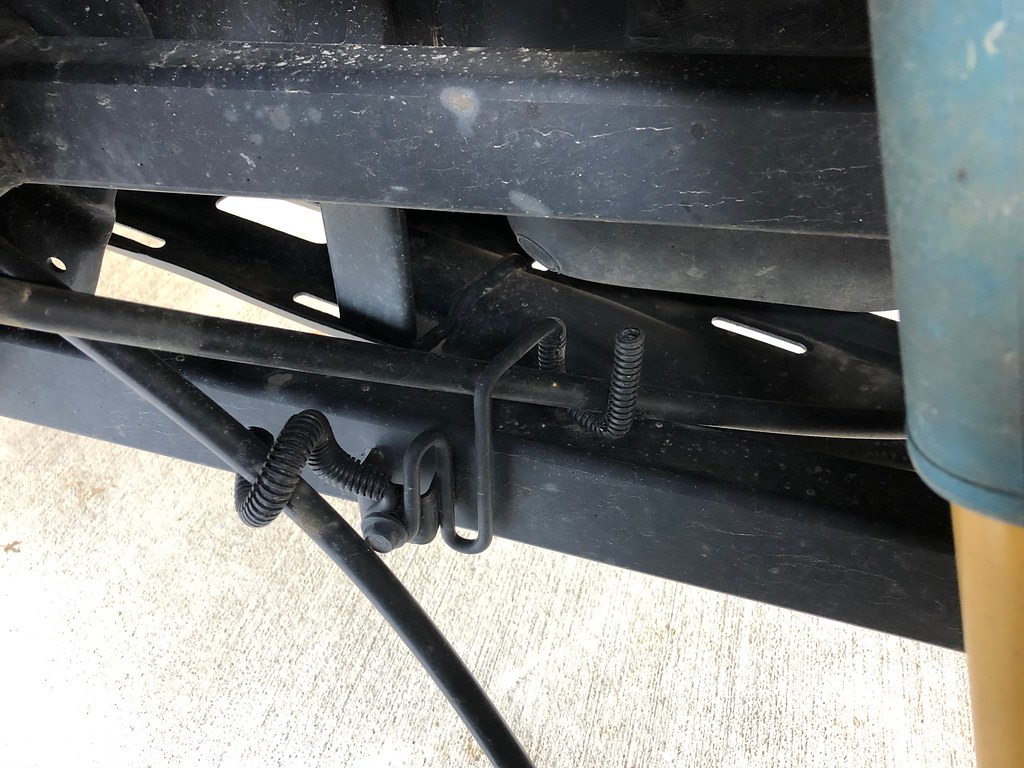
For the few people that have been DM'ing me on how i stopped the rear suspension squeak, here is what i did. its been trouble free since i did it
Untitled by Will Marshal, on Flickr

back to the sPOD!

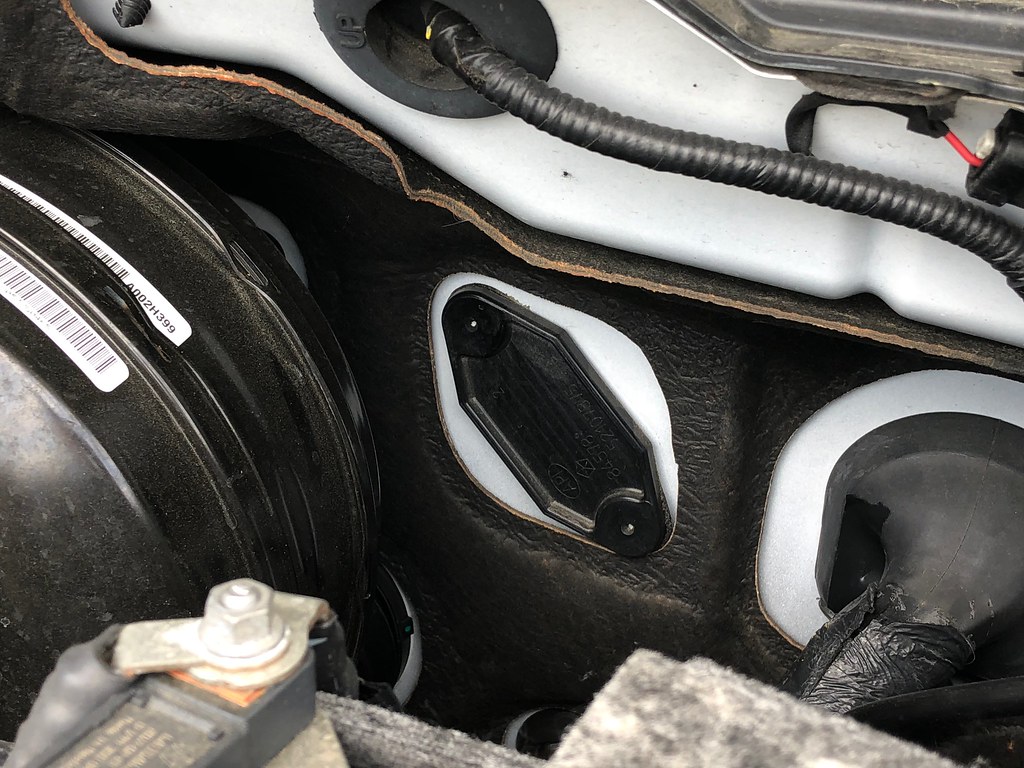
I've been struggling with the best way to bring the CAT-5 wire for the HD panel through the firewall. Not wanting to cut into the existing firewall boots, or going around their edges and creating a rub/pinch point i was really only going to be able to pass it through a new hole in the firewall. I noticed this panel on the firewall looking through the engine bay
Untitled by Will Marshal, on Flickr

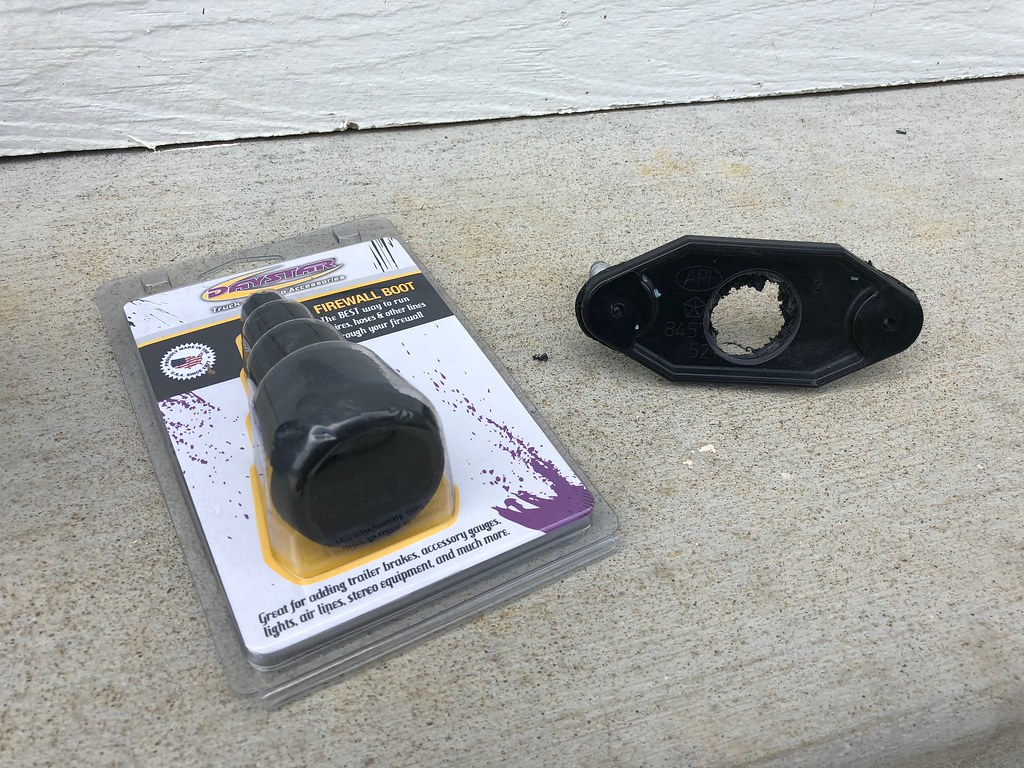
this is a block off plate for what would be the clutch master cylinder on a manual truck. So i decided i was going to punch a hole through it and put in a scalable firewall boot. I ordered a Daystar USA boot that can expand from 3/8" all the way up to 1" diameter for full looms.

Untitled by Will Marshal, on Flickr

went to town with the step bit - 1.25" hole later
Untitled by Will Marshal, on Flickr

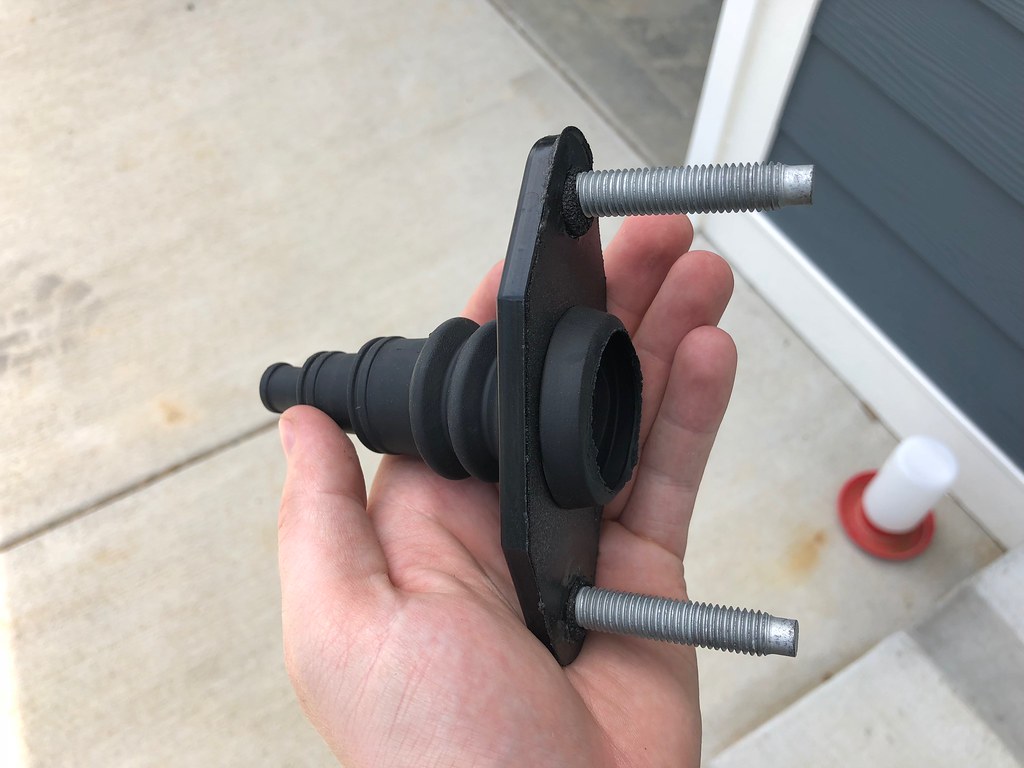
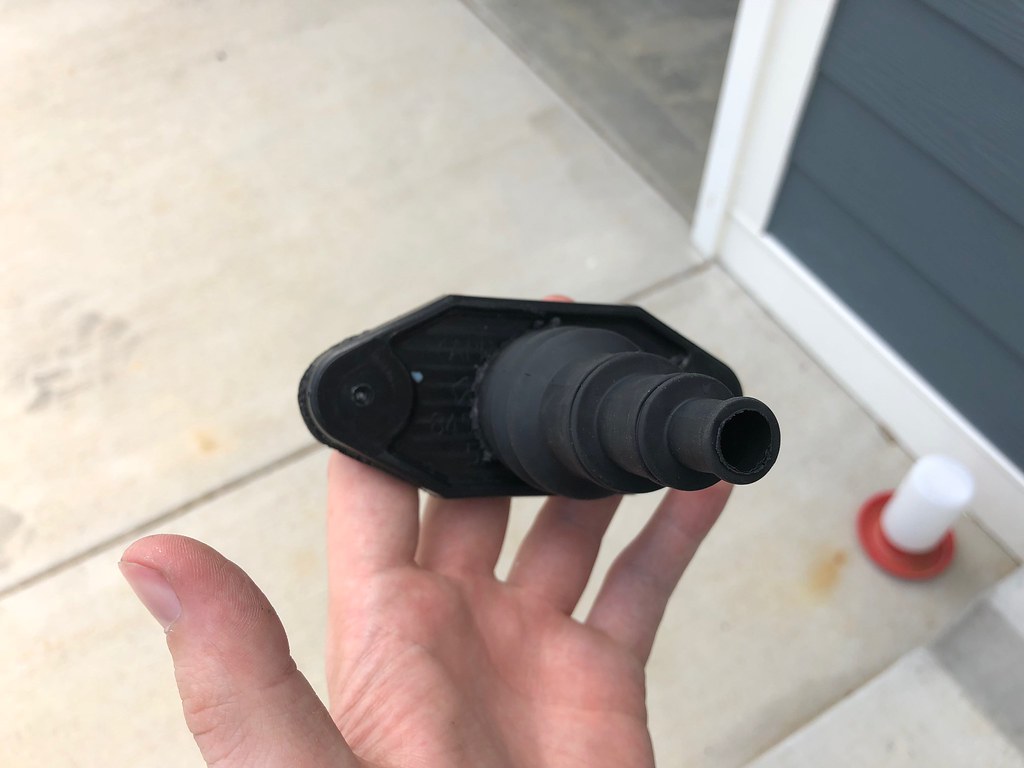
rubber dong installed
Untitled by Will Marshal, on Flickr
Untitled by Will Marshal, on Flickr

i cut the smallest end off so i could pass the CAT5 jack head through, but left it a little long so that when i put a zip tie on it would synch down nicely
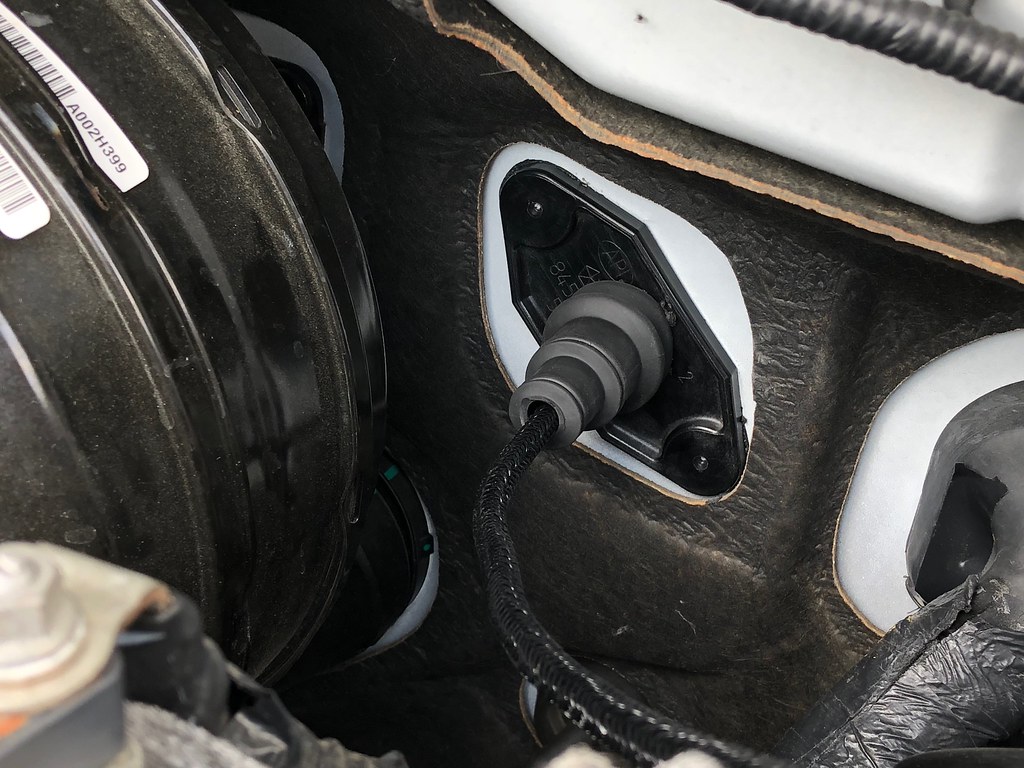
Untitled by Will Marshal, on Flickr

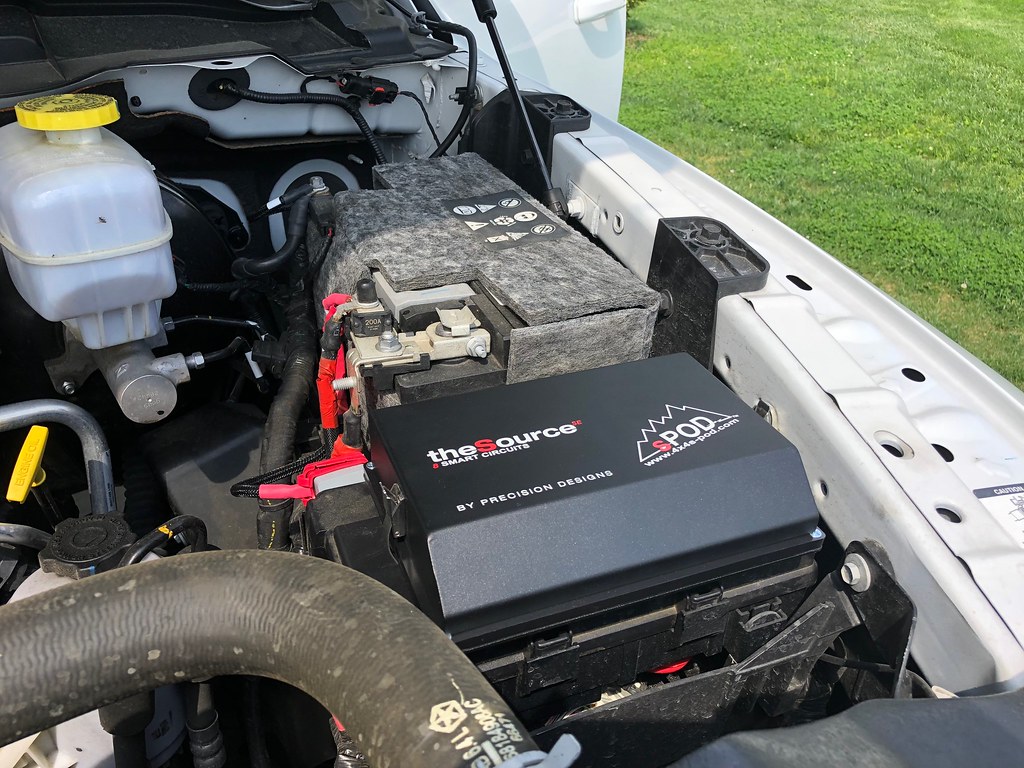
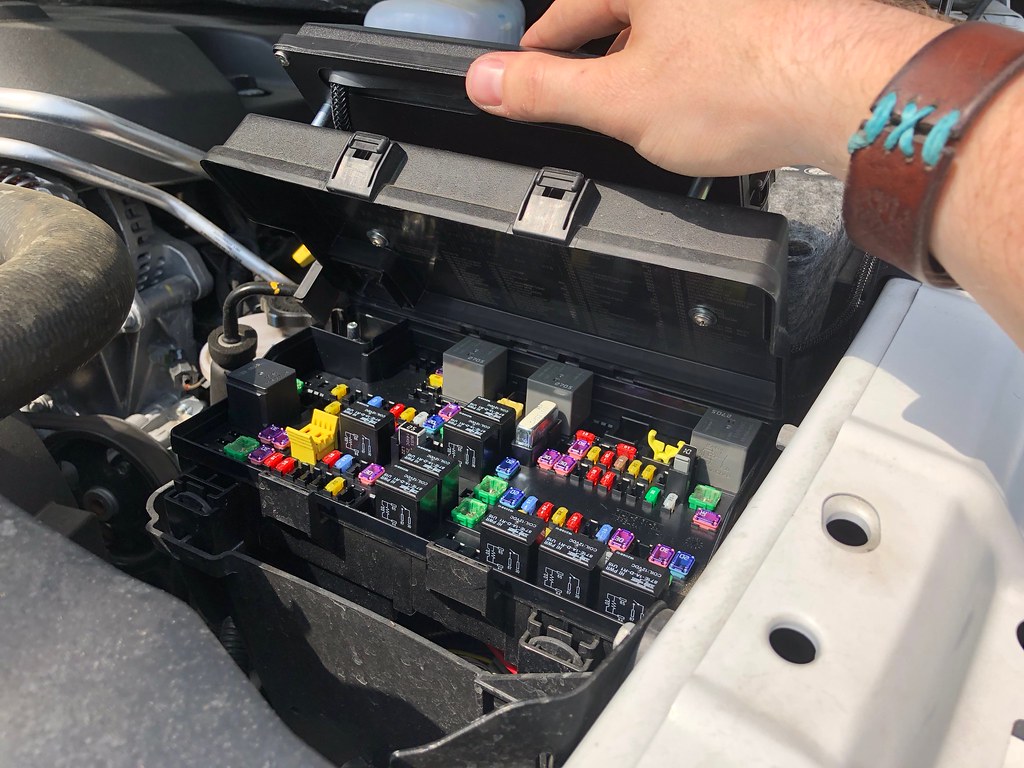
that was my biggest headache and thankfully was solved pretty easily. Next was mounting the actual sPOD unit. I decided to put it on the fuse box lid. I pushed it as far forward and inboard as possible while leaving enough pace to comfortably clear the radiator hose and the hood when its closed.
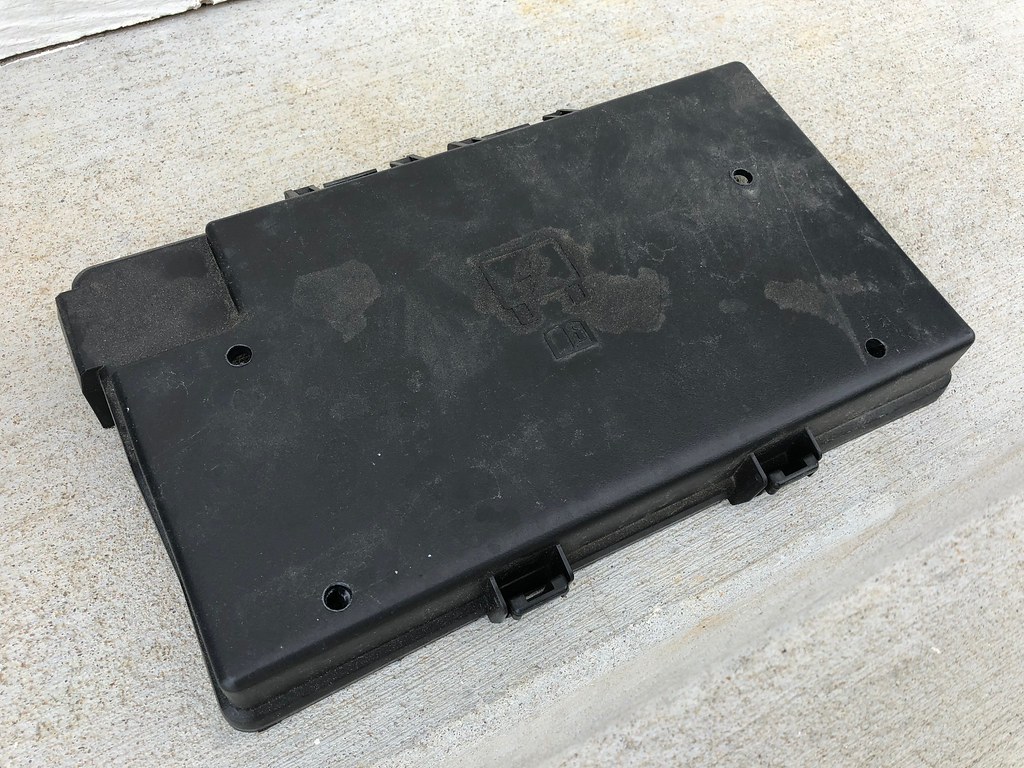
Untitled by Will Marshal, on Flickr

i dont really need the legend, im not planning on anything breaking. at the very least i have a copy on my phone i can reference if need be.
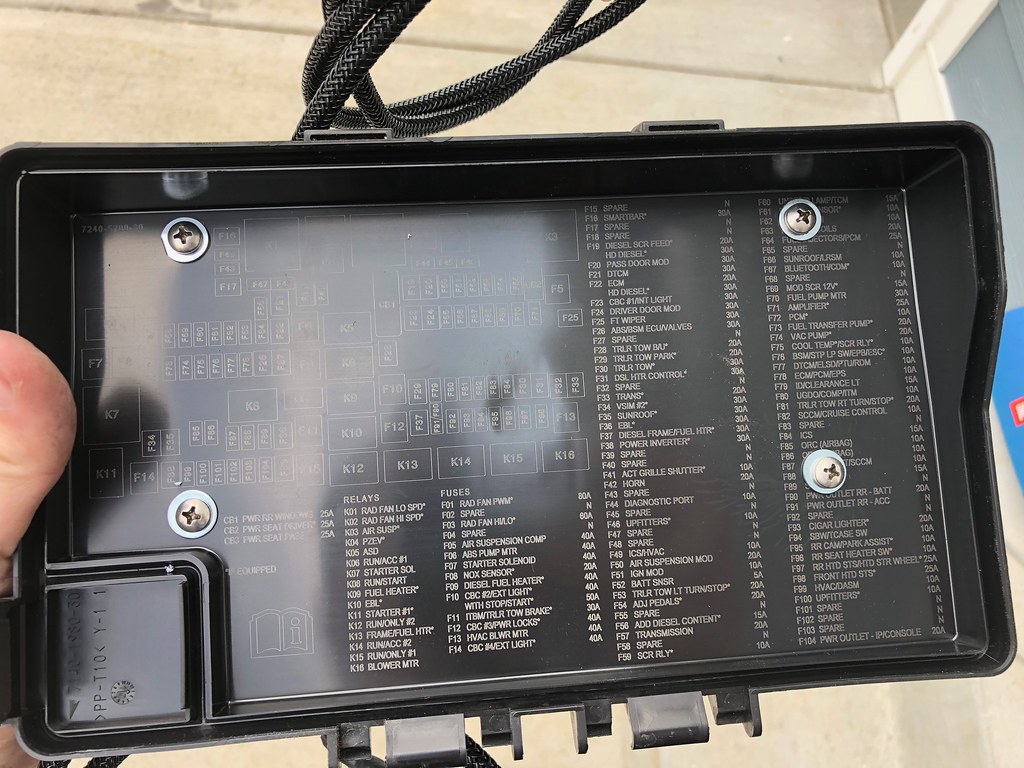
Untitled by Will Marshal, on Flickr

this is a great little unit. everything on it is solid state and the circuitry has been covered in resin to keep it protected from water. there are no fuses as its a MOFSET board and can max out at 30amps per circuit. There is also a built in low voltage protection that will shut everything off so there is enough to crank the engine. Since im not going to be running a dual battery setup, this is some nice piece of mind.
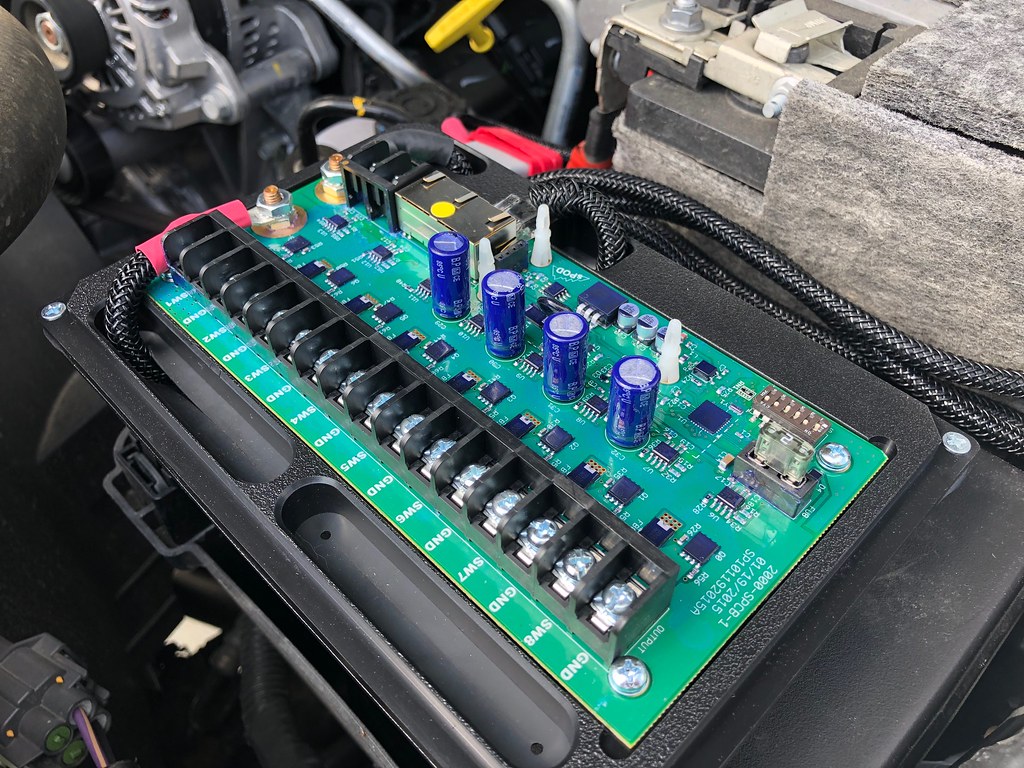
Untitled by Will Marshal, on Flickr

so fresh and so clean clean
Untitled by Will Marshal, on Flickr

and like i was saying before, i shifted it as far forward as i could so i could make sure that the box minimally effects the fuse box lid arc when opening. i can still fully access the panel and snap it from the hinge if needed
Untitled by Will Marshal, on Flickr
 
Last edited:

marshal

Burrito Enthusiast
put my legends on for what im going to be using this for. i dont have everything hooked up yet, but its laid out

Untitled by Will Marshal, on Flickr

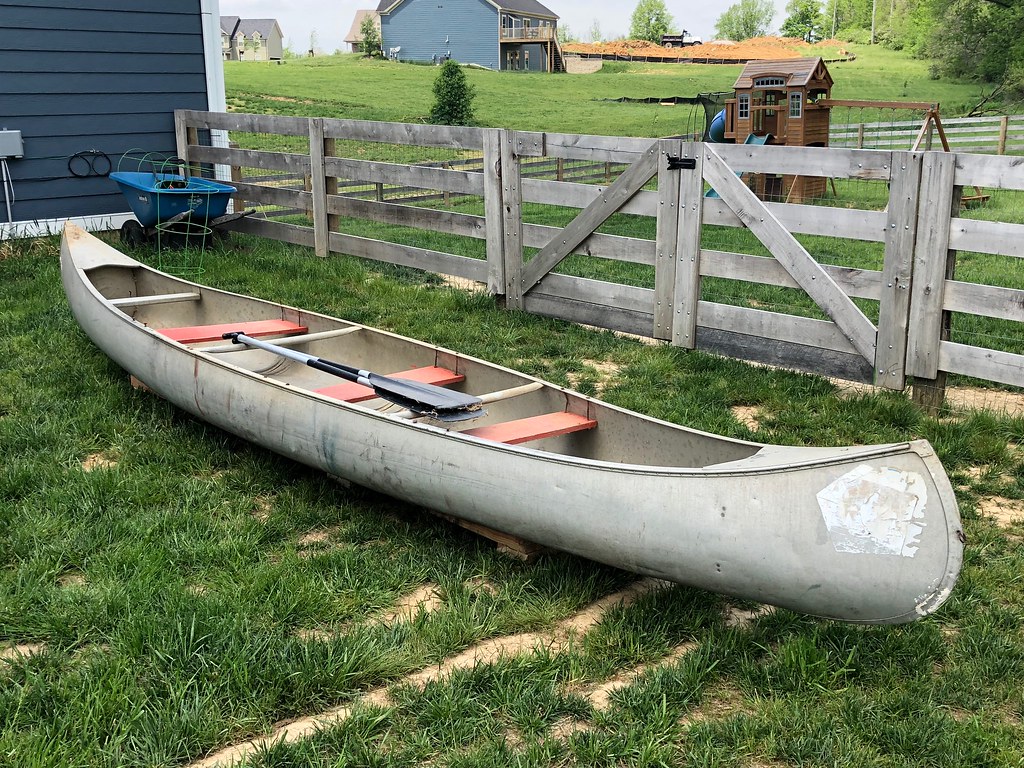
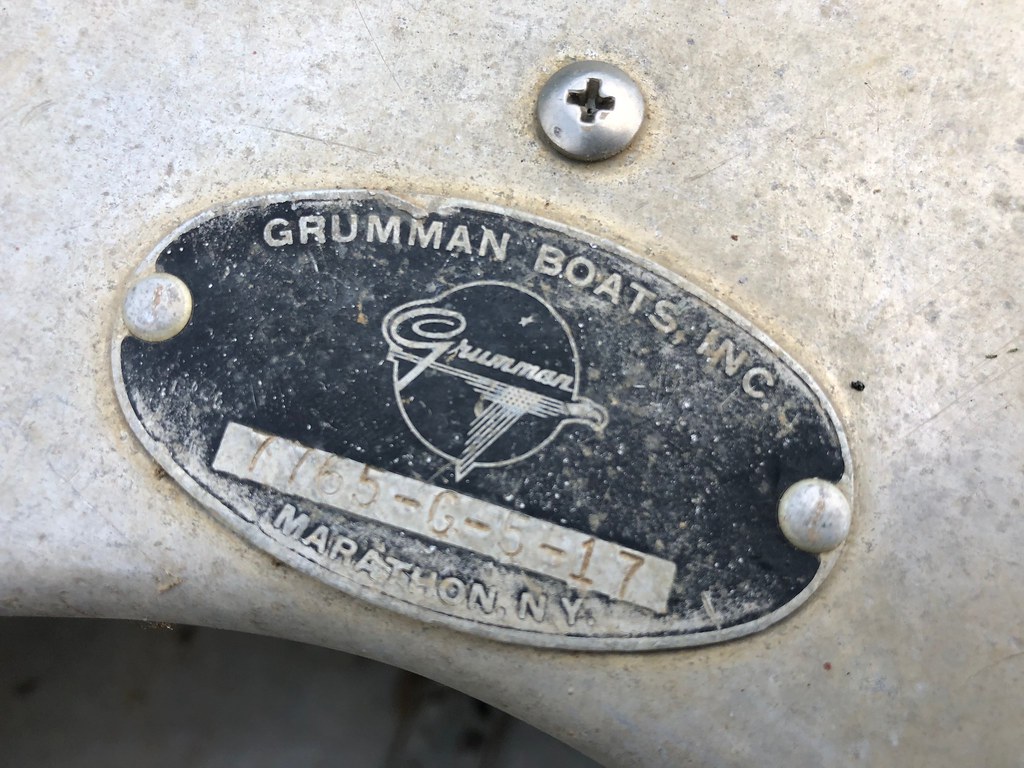
picked up this today: its a 1964 (from what i can tell) Grumman Aircraft 17 foot double ender aluminum canoe. It was purchased in 1965 by the Boy Scouts and was in their service until the mid 90's when they replaced it with new ones. This one is in great shape and just has a few dents to be dinged out, two small cracks in the keel ribbing to be welded and a small straw sized hole in the hull that looks like it was pierced by a jagged rock that also needs to be welded shut.

Untitled by Will Marshal, on Flickr

Untitled by Will Marshal, on Flickr

I need to get the hull fixed up and fabricate some new non **************** seats and then im going to go to town on the hull and mirror polish it like the waterborne airstream she is

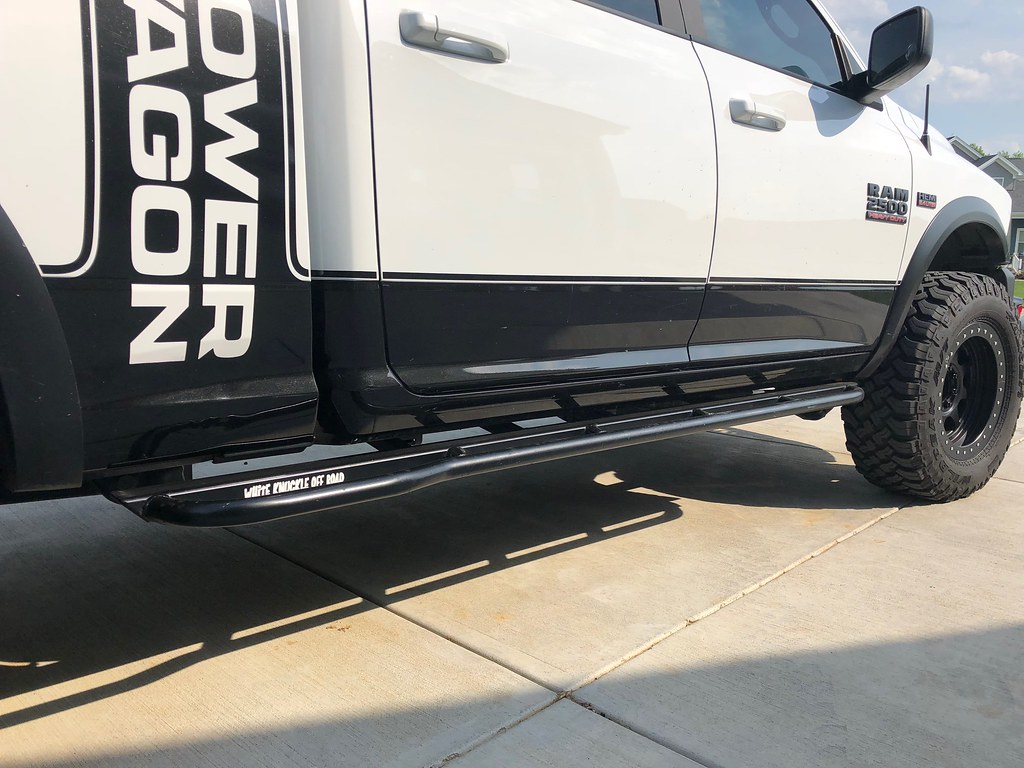
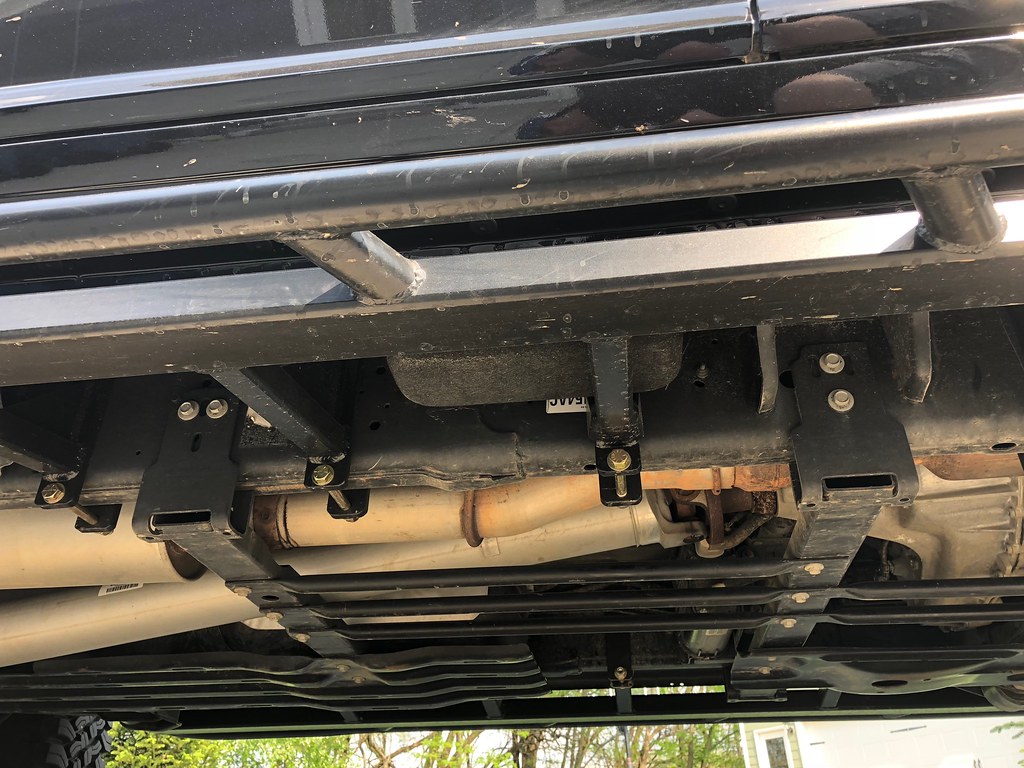
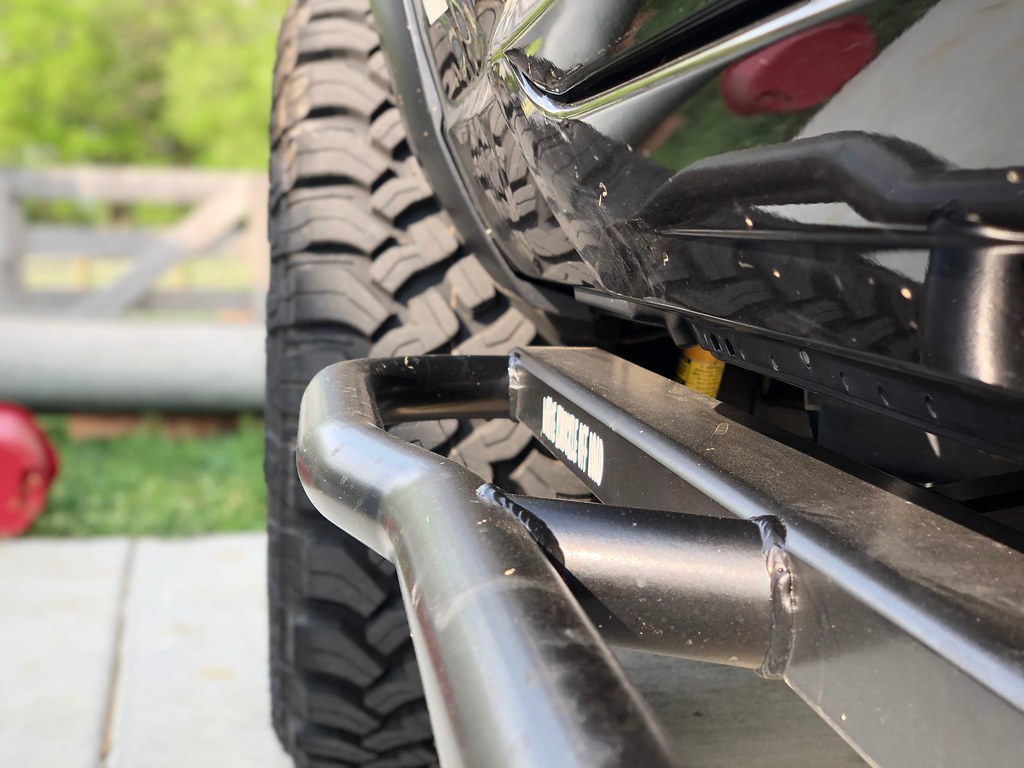
These white knuckle sliders are really cool - i will give them that. They are absolutely the most substantial sliders on the market and are the ones i would trust if i was going to be beating the absolute snot out of this truck. but i've decided i dont need that - they're far too bulky and overbuilt for my needs and I dont like how low they hang. I've sacrificed about 5" of ground clearance at the rocker with these and thats not really my cup of tea with how long the wheelbase on this truck is. So, They're coming off and a set of Randy Ellis sliders are going on (which i already purchased)

Untitled by Will Marshal, on Flickr

Untitled by Will Marshal, on Flickr

Untitled by Will Marshal, on Flickr
 

marshal

Burrito Enthusiast
Great work on the SPOD install, I always look forward to your updates. Did you ever mount the spare on the rear bumper?

Cheers

i did, but i took it off for daily use because i haven't figured out a solution for the backup camera yet, and with the reversing sensors in-op, backing this thing up anywhere is a total pain in the ass. Its easy as can be when you know where the ass end of the truck is, without either one of those aids its next to impossible if you're weaving it into a parking space surrounded by other cars. When i initially signed up for this bumper E1 said that there would be an extension wire for the camera harness, and now they're telling me all I need to do is just move the existing harness down with the camera relocation. That would be fine, if the harness didn't split in the middle and head to the tailgate latch for the locking mechanism. Between the backup sensors detecting the d-ring tabs and being forced to turn them off, and not having a good solution for the backup camera, im starting to get a little frustrated with the bumper. Hopefully they can get these issues sorted out.
 

ttengineer

Adventurer
So, They're coming off and a set of Randy Ellis sliders are going on (which i already purchased)

Yaaaaassss. Those sleekster rails are awesome. They also work with amp steps.

Really looking forward to see them on your rig and reading your impressions and experiences.


Sent from my iPhone using Tapatalk
 

Kingsize24

Well-known member
I hade M2Mods make a custom breakout harness for me specifically for this type of bumper if you are looking for a way to connect your camera. He now sells them for this and Wilco hitchgates.


bc69aefec60ab74940659c757c89a6ce.jpg


NEW 11/1/17! Factory Backup Cam Connector Breakout: $60 Shipped
Allows bypass of factory tailgate/camera and use of an aftermarket camera. Retains factory lock/unlock if tailgate is still installed. Handy if you have a camera at the end of an RV/Trailer or if you use an aftermarket spare tire carrier w/Camera that blocks the factory unit.
 

ttengineer

Adventurer
I hade M2Mods make a custom breakout harness for me specifically for this type of bumper if you are looking for a way to connect your camera. He now sells them for this and Wilco hitchgates.


bc69aefec60ab74940659c757c89a6ce.jpg


NEW 11/1/17! Factory Backup Cam Connector Breakout: $60 Shipped
Allows bypass of factory tailgate/camera and use of an aftermarket camera. Retains factory lock/unlock if tailgate is still installed. Handy if you have a camera at the end of an RV/Trailer or if you use an aftermarket spare tire carrier w/Camera that blocks the factory unit.

Nice. Got a link?


Sent from my iPhone using Tapatalk
 

Forum statistics

Threads
188,214
Messages
2,903,872
Members
229,665
Latest member
SANelson
Top