marshal
Burrito Enthusiast
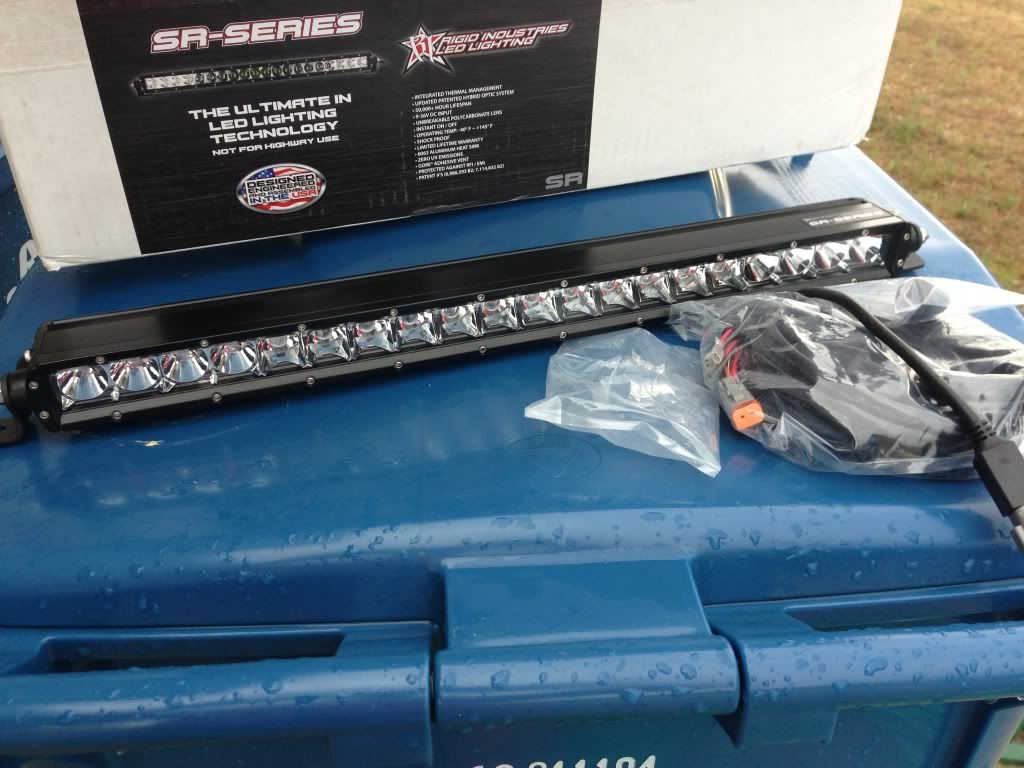
Picked up a set of nearly free AEV shock shifter brackets and a Rigid SR20. Have a wheeling trip planned for the weekend of the 20th
I think this is how it goes right?
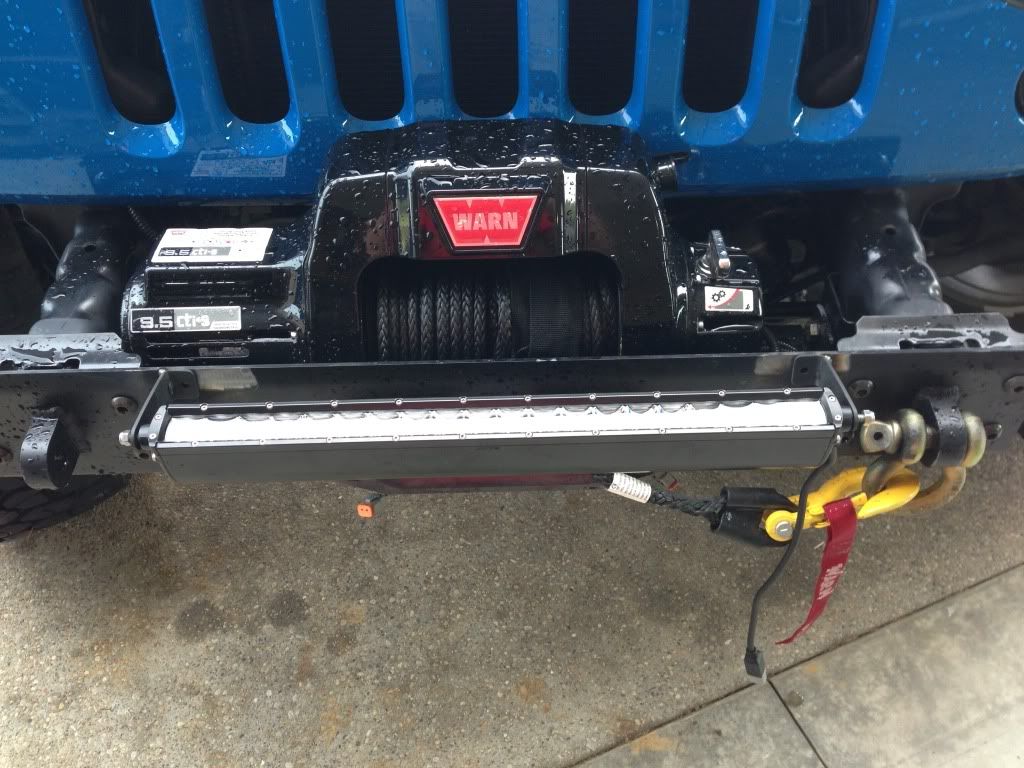
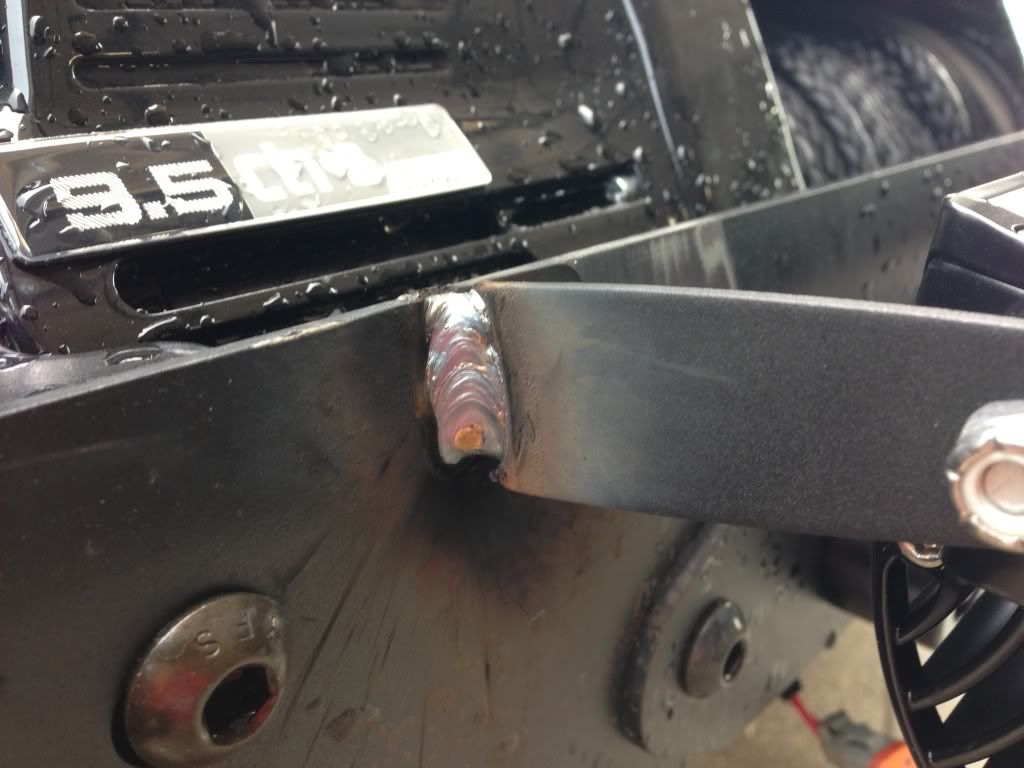
I've resorting to welding everything I don't feel like bolting on
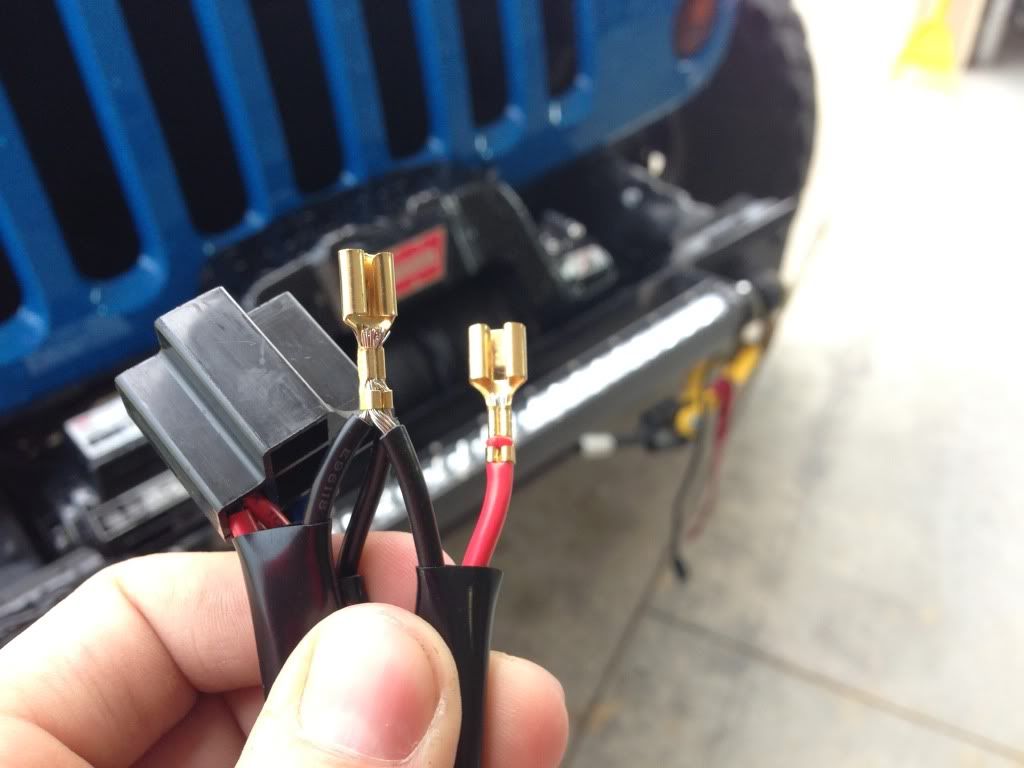
Pulled the tabs out of the harness, need to put spades on for the SPOD. It shares a common ground so we gotsta hack it off
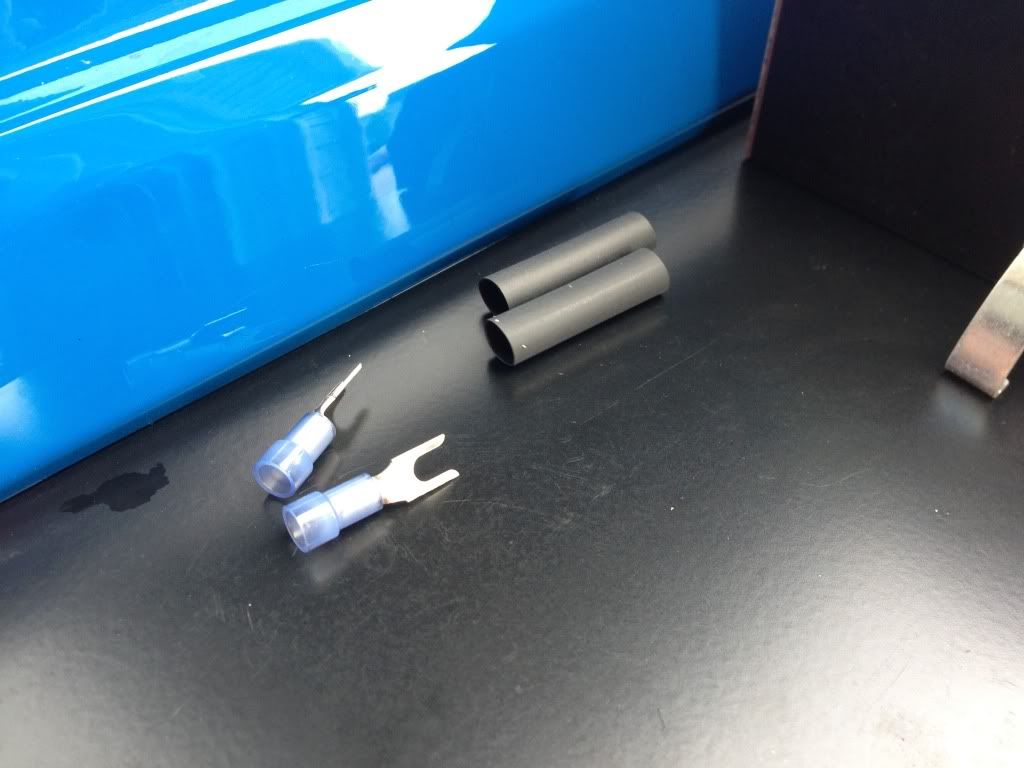
New ends
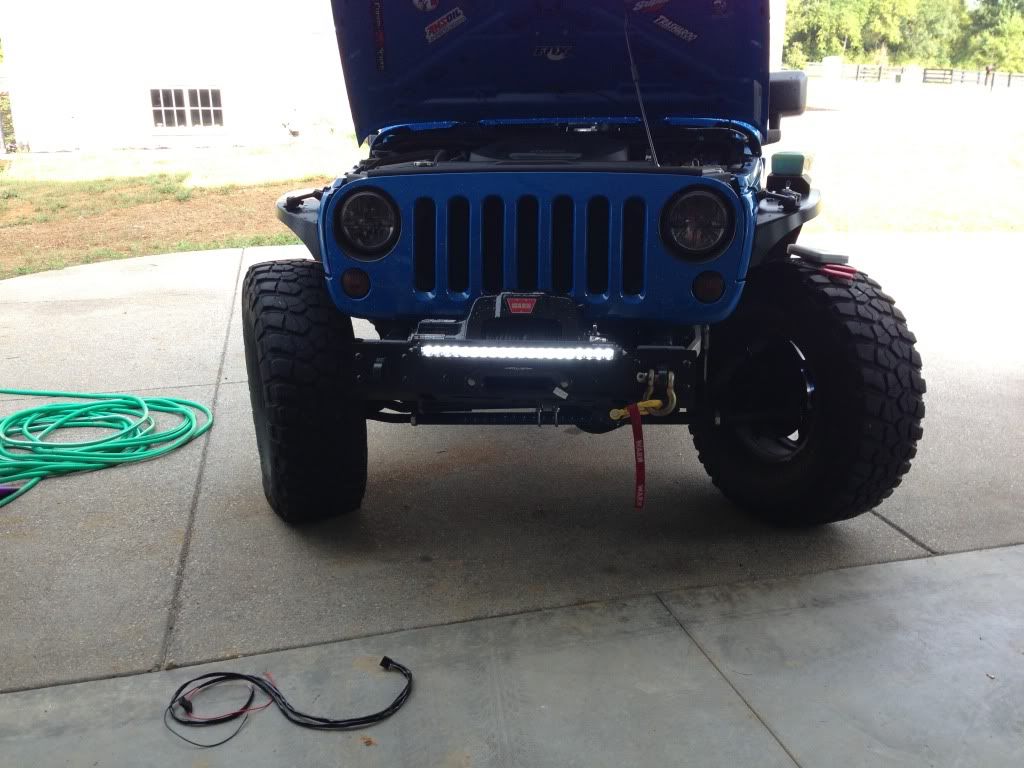
Running
I think this is how it goes right?
I've resorting to welding everything I don't feel like bolting on
Pulled the tabs out of the harness, need to put spades on for the SPOD. It shares a common ground so we gotsta hack it off
New ends
Running


")