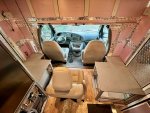
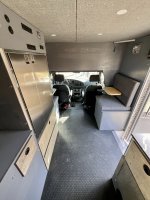
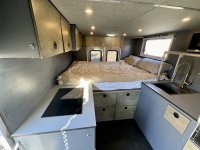
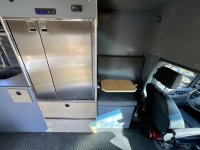
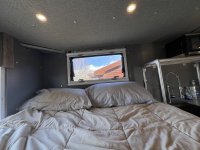
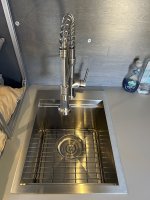
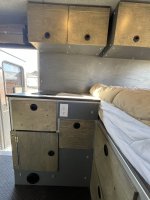
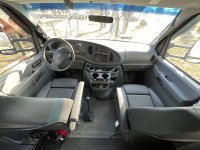
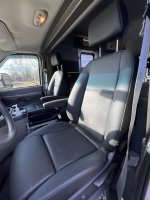
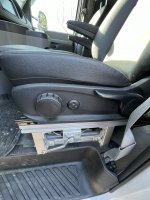
Hello again. It has been a while since my last update. I spent September - November 2023 getting to the interior details. That means adding the ceiling, walls, drawers, seating, flooring, etc. I wanted a solution that would be perfect for two, but capable of transport/seating four. I added bench-type seats behind the driver and passenger seats. The one behind the driver has an integrated seatbelt. I also swapped out the original seats with new takeout Mercedes sprinter van leather seats. Oh...so comfortable and inexpensive to do.
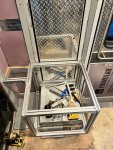
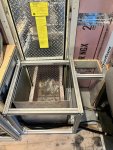
You can see in my previous posts that I used a lot of 80/20 extruded aluminum. I used 1.5" profiles for all of the structures attached to the floor. They are connected together starting at the bench seat behind the driver's seat to the refrigerator, to the sink area, then bed, and finally to the stove area across from the refrigerator. It is like a continuous structure; it is overkill for sure. There was a small weight penalty for this design decision, but I am extremely happy with the result. I used .75" extruded profiles (
59" 2020 extruded alum) for the wall-attached cabinets. This kept the weight to a minimum while delivering a very strong cabinet. When assembling the frames, for both 1.5" and .75" profiles, I used the manufacturer 90 degree brackets (
2020 Corner Connectors,
2020 Roll-in spring nuts ).These are strong and their consistency makes the assembly fast. For the 1.5" profiles, they are expensive
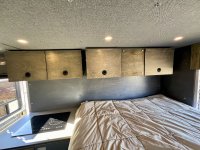
I used 3/4" plywood sparingly (floor, furring strips, and two counter tops). I used 1/2" birch and baltic birch for the walls and drawers. Panels and overhead cabinets used 1/8" subflooring. Nearly everything was stained and had three coats of poly applied (this was very time consuming). Slam latches hold everything shut. I wanted to make sure that there would be ample storage. All of the drawers are oversized and deep. I still have to paint the inside of some, but that's a summer project.
The design goal was to be able to access every component with simple tools. Therefore, this is bolted, not screwed, together. You can remove panels, walls, ceiling with ease. The ceiling and walls are attached with M6x20 bolts, finishing washers (
Finishing washers), and M6 wood inserts (
Wood inserts). The remaining panels are attached with aluminum L brackets cut from 1 1/2" and 3/4" right-angle aluminum stock. I drilled holes to match the profiles and then pressed aluminum rivnuts (
Rivnuts) to create a simple way to attach side and front panels (shown below).
The attached thumbnails will lead to pics showing some of the cabinet build process, tools, and products used. If you are going to build your own brackets, make a jig to drop your bracket into and drill the holes consistently. I did a few by hand and that was slower and less precise. Keep one copy of a finished bracket to make aligning the jig to the drill press easier when you need to make more.
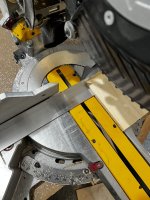
add a stop block to make all cuts consistent when making brackets
I used an Astro 1442 from Amazon to do the nutserts
Some cabinet frame assembly detail
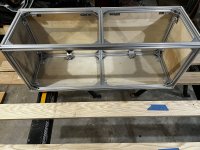
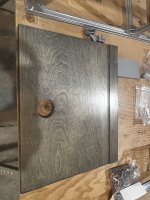
Test fitting a door
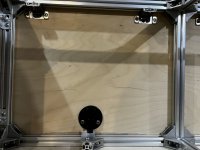
Sand, sand some more, stain, poly, poly, poly and viola!
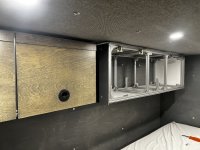
Attaching to the walls
Next up some pics of the nearly finished interior!


