dtruzinski
4 Season Traveller
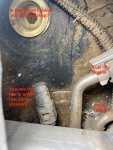
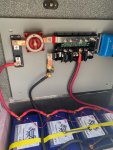
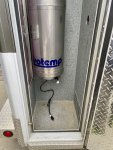
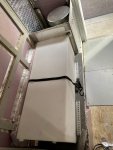
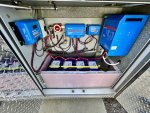
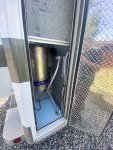
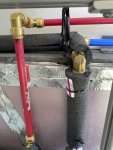
Well I have officially started installing the parts. I am using the lower left side outer compartment for my batteries and major electrical components (inverter, mppt solar charge controller, DC2DC controller, and my distribution bus). Note the 2" insulation for everything below the frame. Above the frame is in the interior and that is all insulated as well
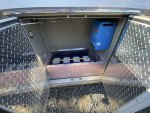
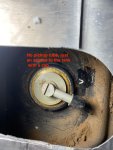
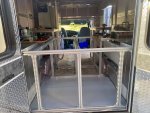
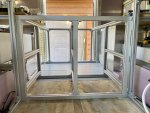
Next up was the left side buildout on the interior which starts with a frame over the battery box you see above (I am leaving that access hole to move airflow to the batteries (especially in the winter).
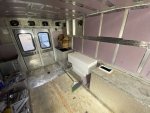
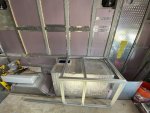
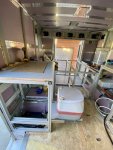
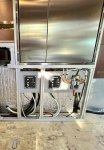
Notice in the pic below an air gap at the bottom of the refrigerator. There is a gap all around to keep it from overheating.

Ah the Isotherm Cruise 200 fits nicely in its new home
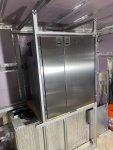
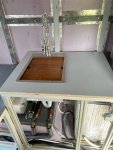
A nice piece of stainless trim attaches to the bottom of the refrigerator hiding the plywood base. Next up will be the framing of the kitchen counter and then the bed.

Next up was the left side buildout on the interior which starts with a frame over the battery box you see above (I am leaving that access hole to move airflow to the batteries (especially in the winter).


Notice in the pic below an air gap at the bottom of the refrigerator. There is a gap all around to keep it from overheating.

Ah the Isotherm Cruise 200 fits nicely in its new home

A nice piece of stainless trim attaches to the bottom of the refrigerator hiding the plywood base. Next up will be the framing of the kitchen counter and then the bed.

