Fergie
Expedition Leader
Bad heater core.Why'd you pull the dash? Are you a glutton for punishment?
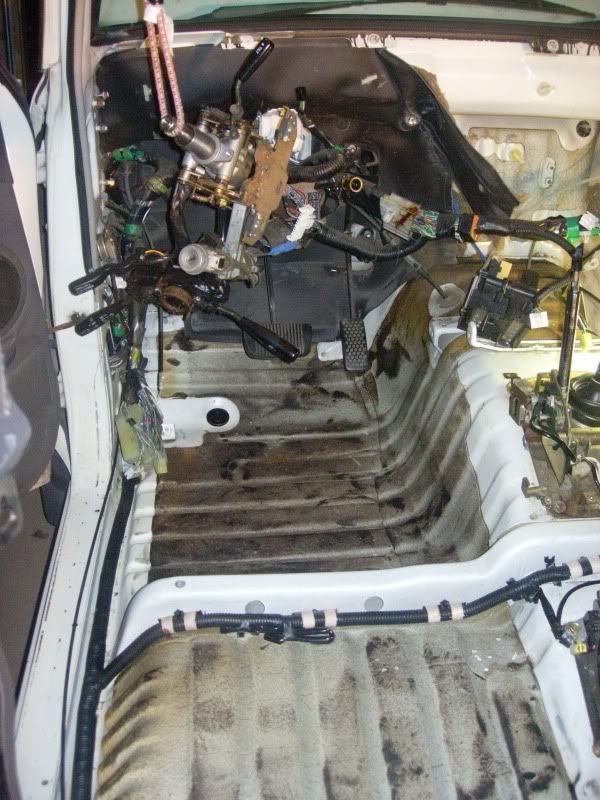
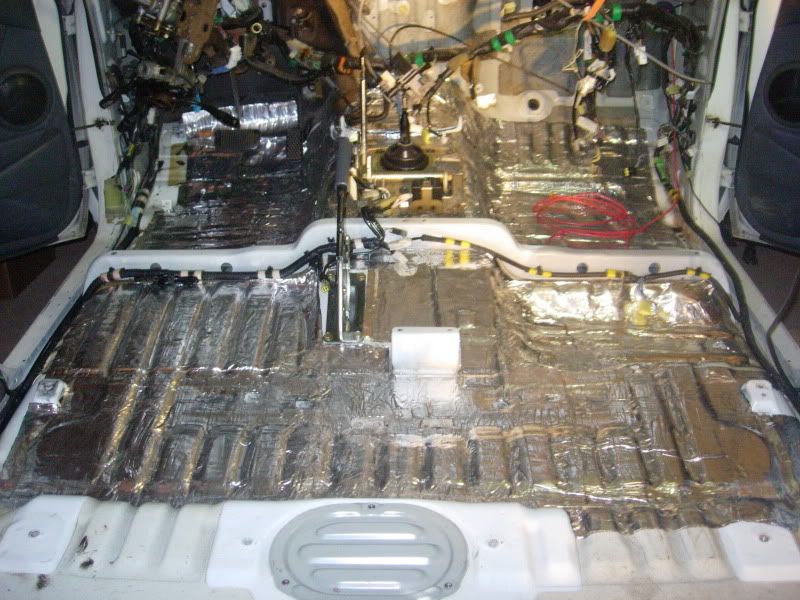
Entire dash comes out.
Bad heater core.Why'd you pull the dash? Are you a glutton for punishment?
That was the dealer doing the evaporator for the AC.I thought you had already put that back in...? like over a month ago.
How long did it take to pull the dash apart?
4 hours isn't bad..... the problem i usually have is the dash stuff never goes back in the way it came out.
Just looking at the dash pulled apart makes my brain hurt :smilies27. I don't know if I could attempt that because it would never go back together right.


Especially after reading Stone's thread on MUD.1st step to a diesel conversion!


