Spur
Adventurer
On a happier note, a lot of other work has been completed.
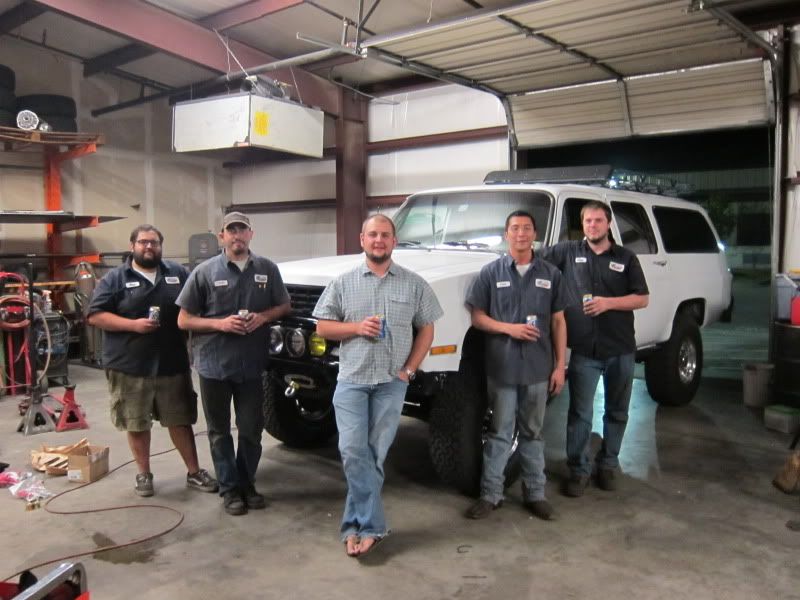
I think of the build in stages. Stage one was all the major mechanical and was completed in May 2010. Stage two was the last 6 months that included testing, upgrading, and additional modifications. I'm happy to report that Stage two was completed last week. I picked up the truck from Krawltex for the last time. We celebrated and had a few beers. From left to right: Rico, Ted, Me, Cam, and Chris. Thanks guys! I don't know what I'm going to do with myself now that I won't be visiting the shop twice a week :sombrero:
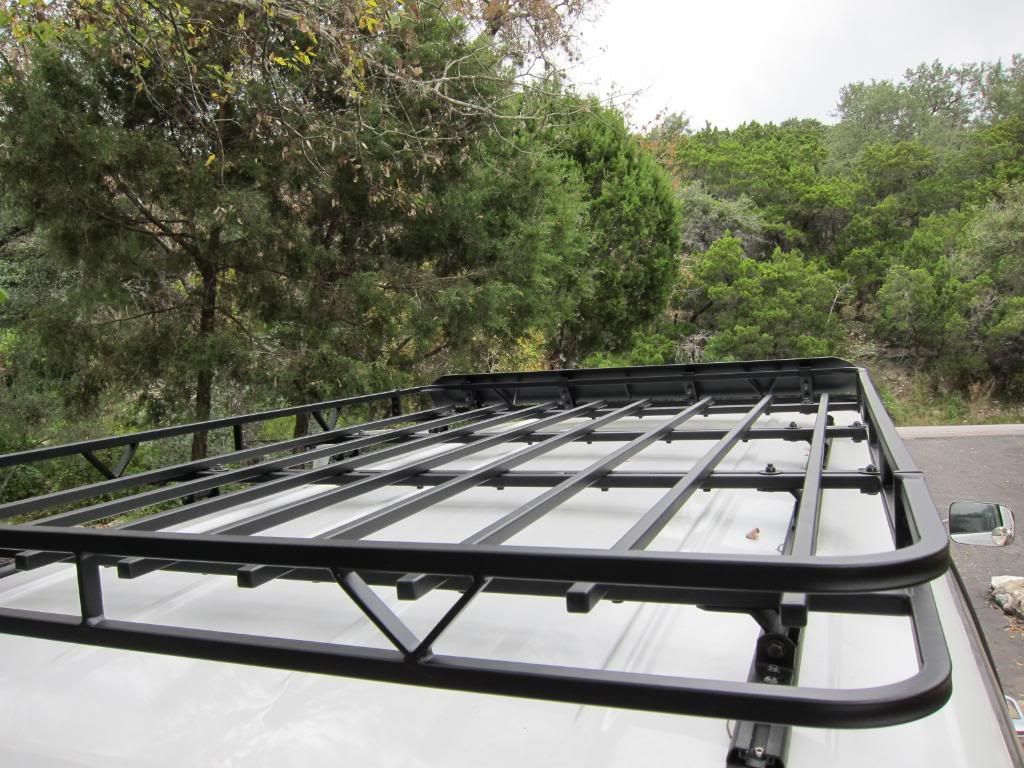
I installed the roof rack. Still need to install the accessories (spare tire carrier, yakima crossbar adapter, hi-lift mount, and awnings). Most everything about the Garvin rack is great, except for the mounting tabs that slide into the track. They looked like they were rough cut on a plasma table and thrown into the box. Of the 16 tabs, 15 of them didn't fit and required a turn on the grinder. I wasn't expecting the install to be so involved. There must have been 500 pieces of hardware in the box. I estimate that it took me about 8 hours to assemble and install, but it looks good and I'm happy with it.

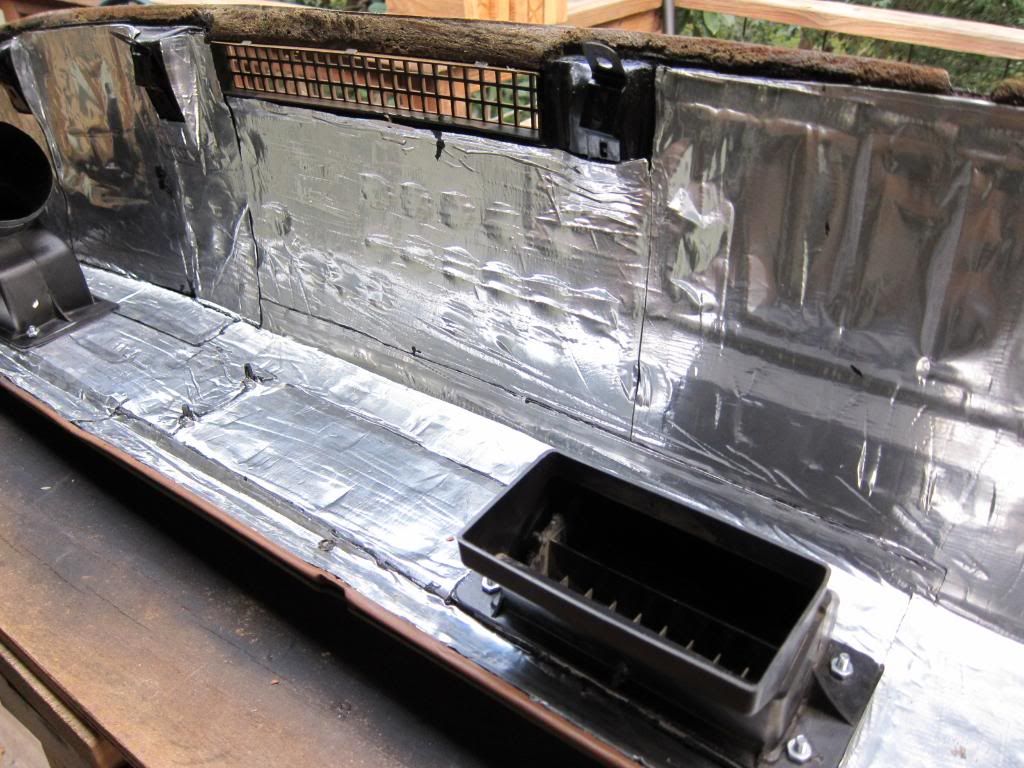
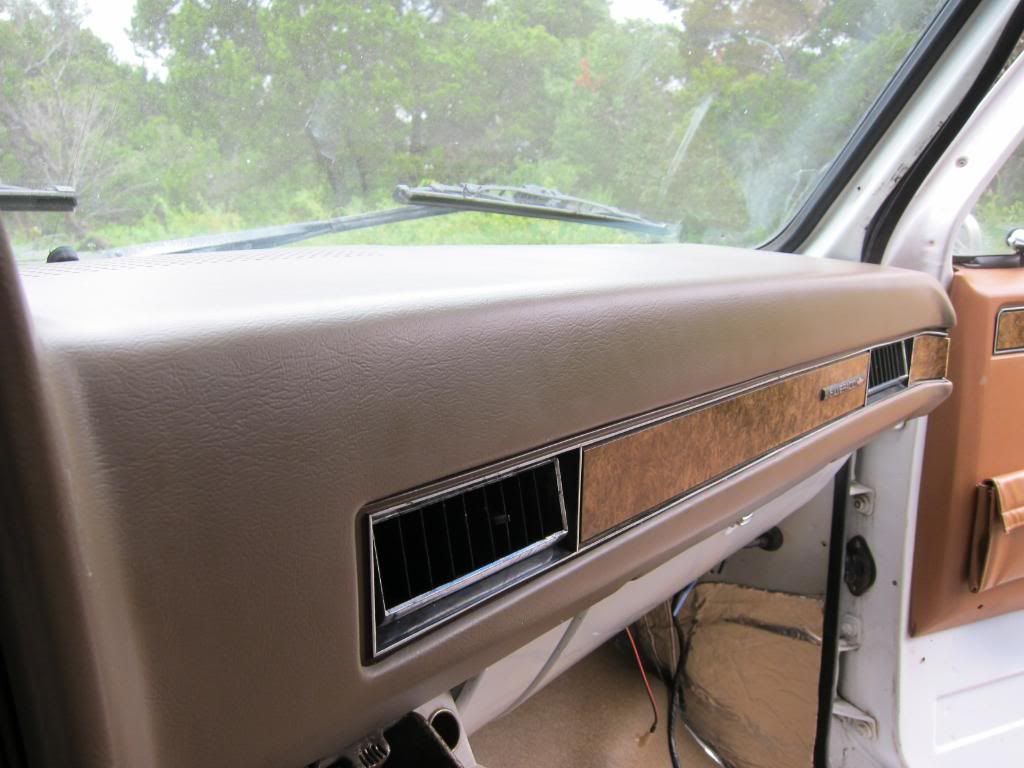
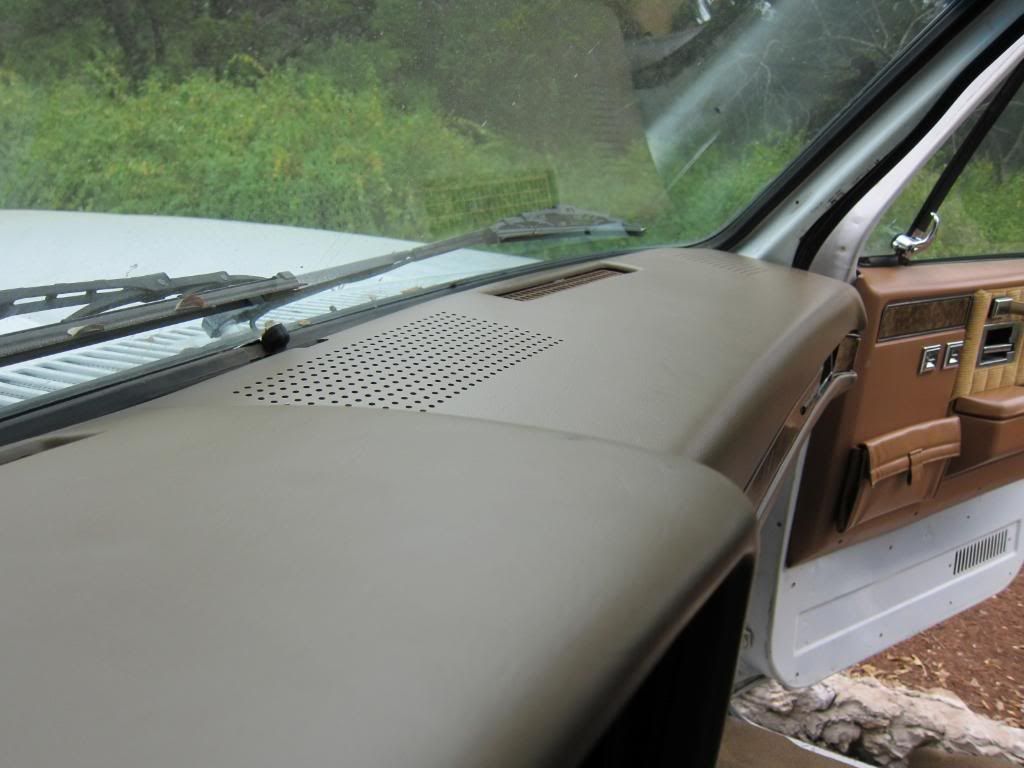
I completely restored the dash. It was UV damaged and cracked. I ordered a pad from LMC. The underside was covered in spray foam that was really UV damaged. I scraped and wire-wheeled it off to get down to the sheet metal frame. I then painted it with Rustoleum and covered it in sound deadener. The plastic tabs on the vents were broken off so I epoxied some small bolts to act as anchors. I replaced one of the broken vents and finally glued the new pad on with silicone adhesive. The replacement dash pads will never look as good as a brand new dash, but it's good enough.
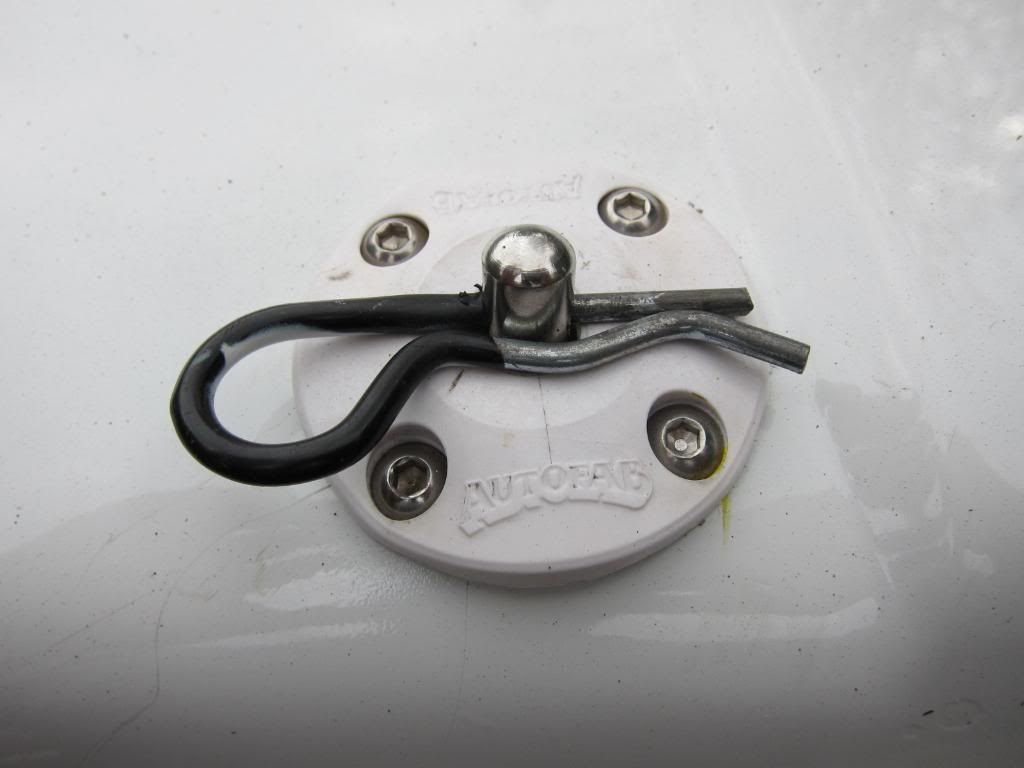
Installed new Autofab hood pins. They didn't work so well. The posts weren't long enough and so I had to use the original posts that came from LMC. The holes for the pins were too small so the nice pins from Autofab won't fit. It can't be drilled out because the posts are too small. It would probably crack. So I have the nice white bases on the hood with the old crappy pins. I'm going to look for some nicer pins when I have time. I really want to be able to use the lanyards.
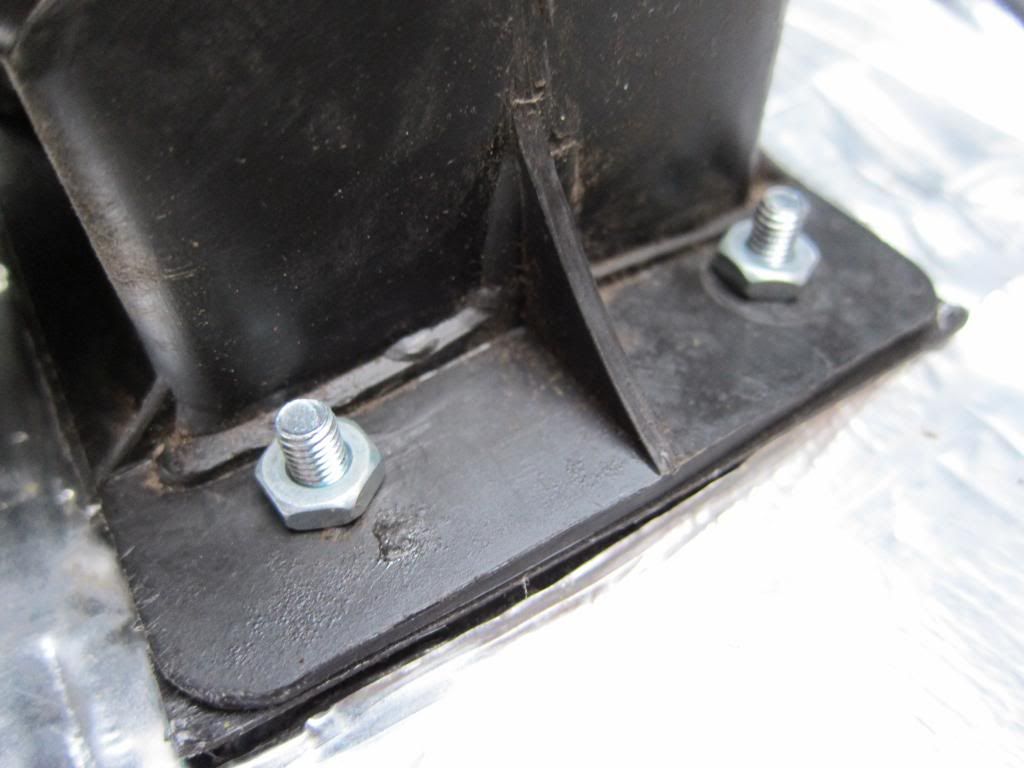
New shock mount tabs to accommodate the added height of the National springs.

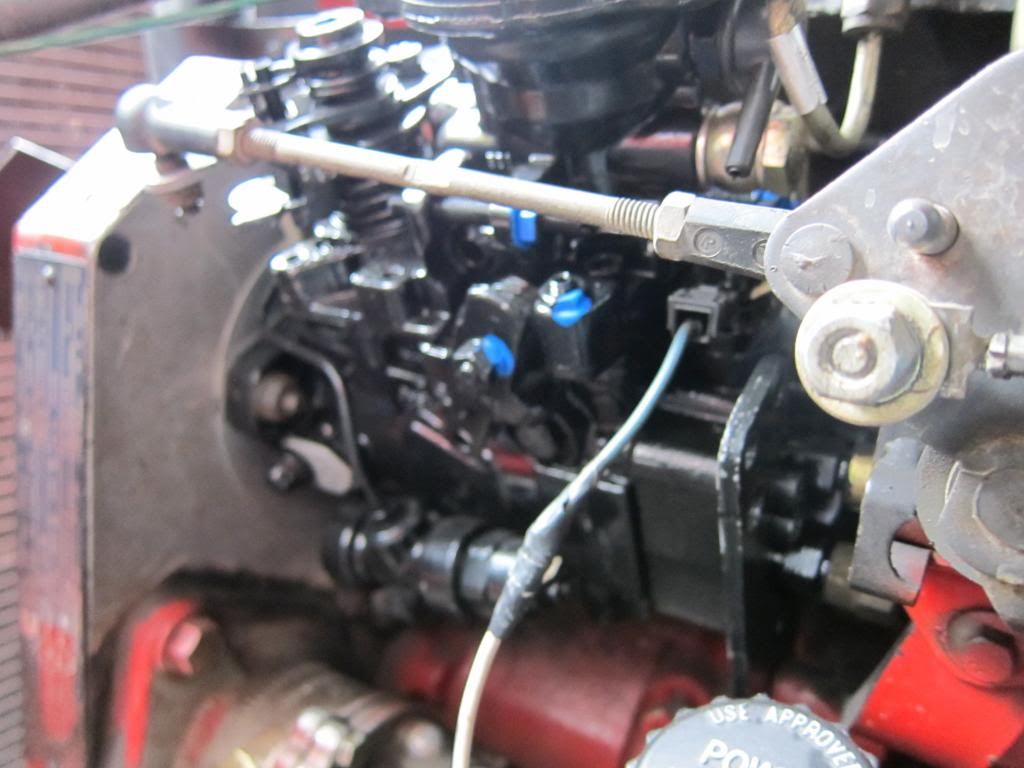
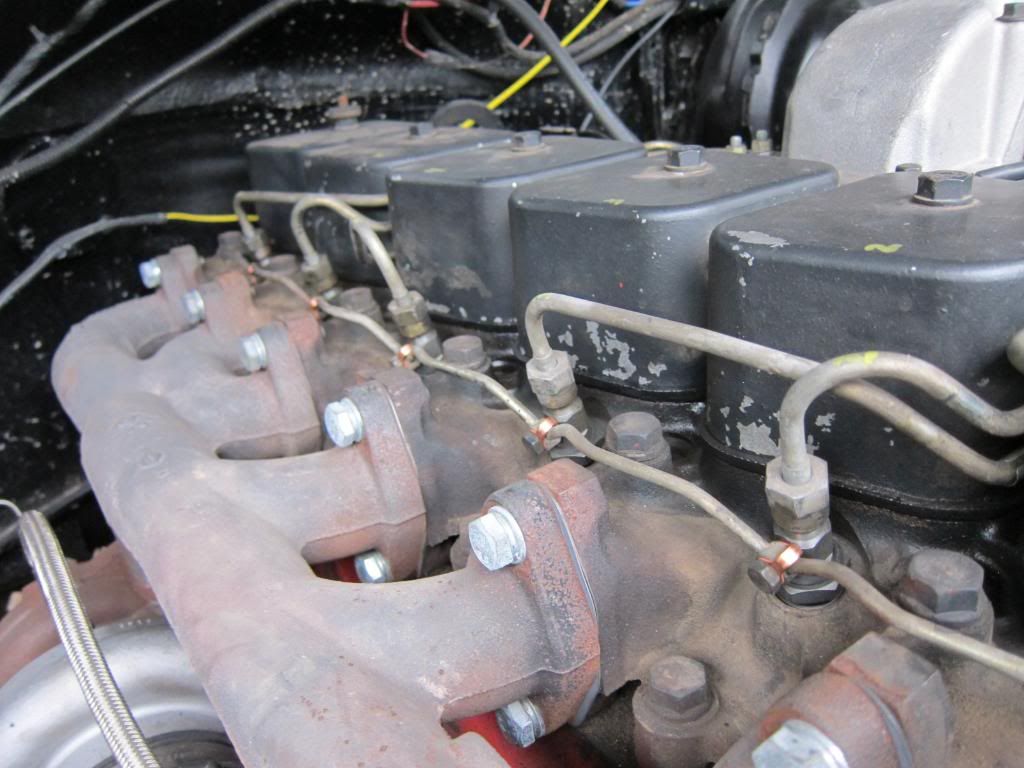
New Injector Pump with 3200 gov spring and slightly more aggressive fuel pin from PDR. ( Ewww. Bad pic. I'll get a better one soon.)
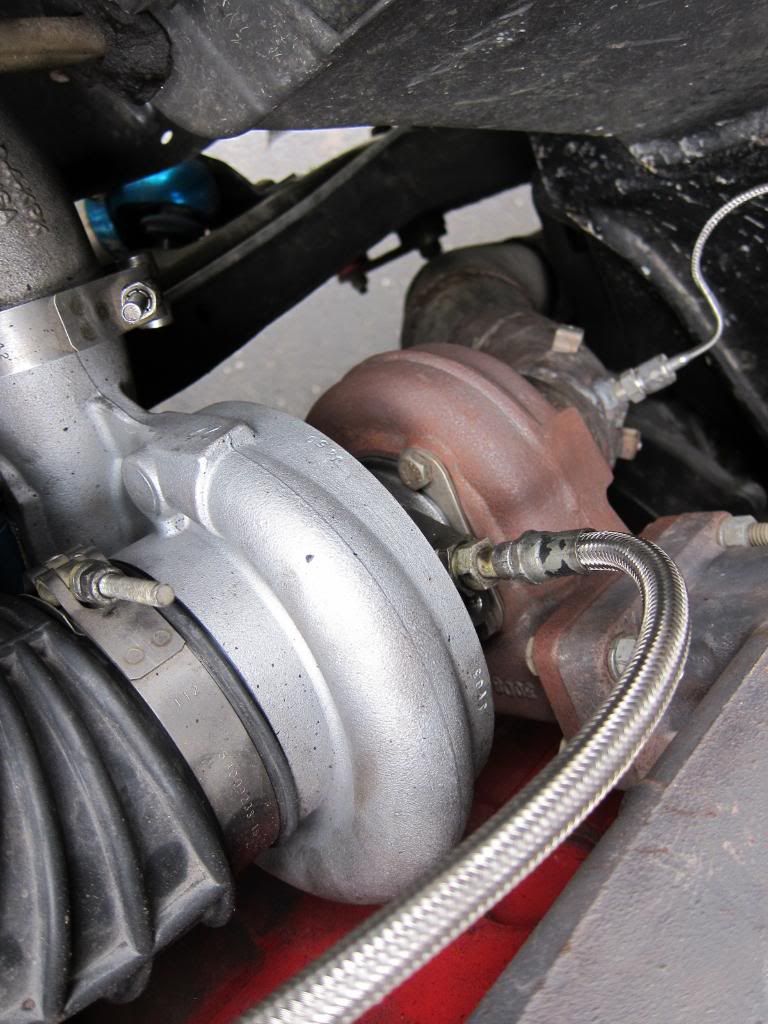
New HX35 Turbo
New Bosch 190 injectors
The engine upgrades have made a significant difference. It drives like a completely different truck. I'm really happy with the added power. I'd love to get it on a dyno sometime and see what it's putting out. There's no smoke in normal driving, but I can make it smoke if I really punch it. Exactly what I was hoping for. If I really want to, I can straight up roll coal if I put it into fourth gear at low speed and punch it. Nice to have a secret spy hunter weapon for the tailgaters :sombrero:
I think of the build in stages. Stage one was all the major mechanical and was completed in May 2010. Stage two was the last 6 months that included testing, upgrading, and additional modifications. I'm happy to report that Stage two was completed last week. I picked up the truck from Krawltex for the last time. We celebrated and had a few beers. From left to right: Rico, Ted, Me, Cam, and Chris. Thanks guys! I don't know what I'm going to do with myself now that I won't be visiting the shop twice a week :sombrero:
I installed the roof rack. Still need to install the accessories (spare tire carrier, yakima crossbar adapter, hi-lift mount, and awnings). Most everything about the Garvin rack is great, except for the mounting tabs that slide into the track. They looked like they were rough cut on a plasma table and thrown into the box. Of the 16 tabs, 15 of them didn't fit and required a turn on the grinder. I wasn't expecting the install to be so involved. There must have been 500 pieces of hardware in the box. I estimate that it took me about 8 hours to assemble and install, but it looks good and I'm happy with it.
I completely restored the dash. It was UV damaged and cracked. I ordered a pad from LMC. The underside was covered in spray foam that was really UV damaged. I scraped and wire-wheeled it off to get down to the sheet metal frame. I then painted it with Rustoleum and covered it in sound deadener. The plastic tabs on the vents were broken off so I epoxied some small bolts to act as anchors. I replaced one of the broken vents and finally glued the new pad on with silicone adhesive. The replacement dash pads will never look as good as a brand new dash, but it's good enough.
Installed new Autofab hood pins. They didn't work so well. The posts weren't long enough and so I had to use the original posts that came from LMC. The holes for the pins were too small so the nice pins from Autofab won't fit. It can't be drilled out because the posts are too small. It would probably crack. So I have the nice white bases on the hood with the old crappy pins. I'm going to look for some nicer pins when I have time. I really want to be able to use the lanyards.
New shock mount tabs to accommodate the added height of the National springs.
New Injector Pump with 3200 gov spring and slightly more aggressive fuel pin from PDR. ( Ewww. Bad pic. I'll get a better one soon.)
New HX35 Turbo
New Bosch 190 injectors
The engine upgrades have made a significant difference. It drives like a completely different truck. I'm really happy with the added power. I'd love to get it on a dyno sometime and see what it's putting out. There's no smoke in normal driving, but I can make it smoke if I really punch it. Exactly what I was hoping for. If I really want to, I can straight up roll coal if I put it into fourth gear at low speed and punch it. Nice to have a secret spy hunter weapon for the tailgaters :sombrero:
Last edited:
 but i do like the idea of being able to hold more than 2 people
