1991 Cummins Suburban

Spur

Adventurer
Here are some photos I've been meaning to post. It's kind of a random collection of stuff, but some of them will hopefully help to answer some of the questions people have had recently.


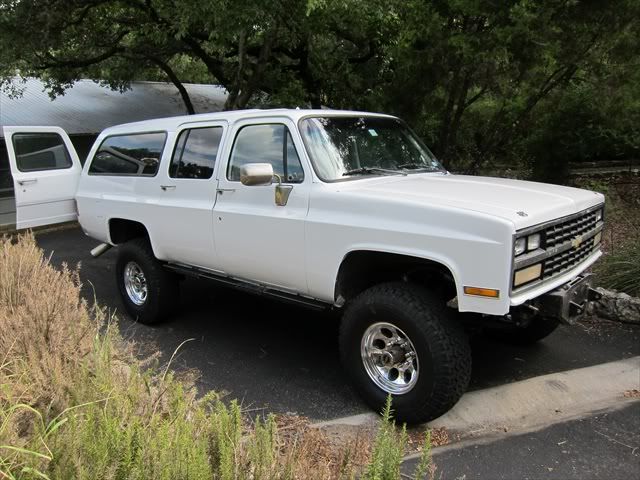
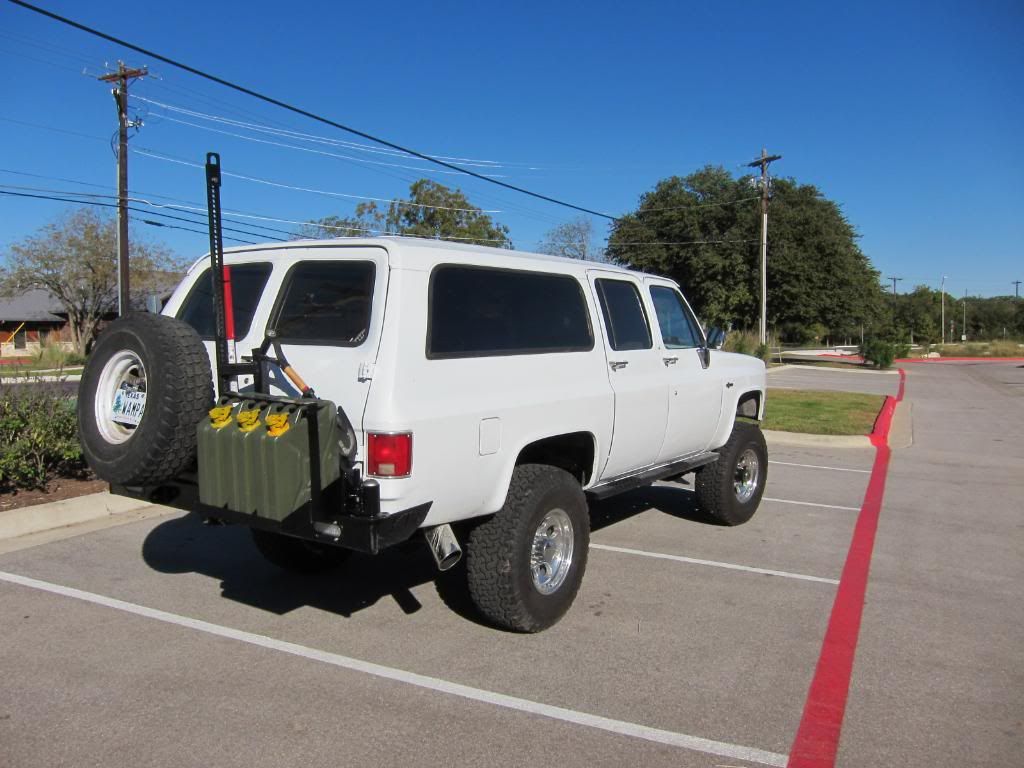
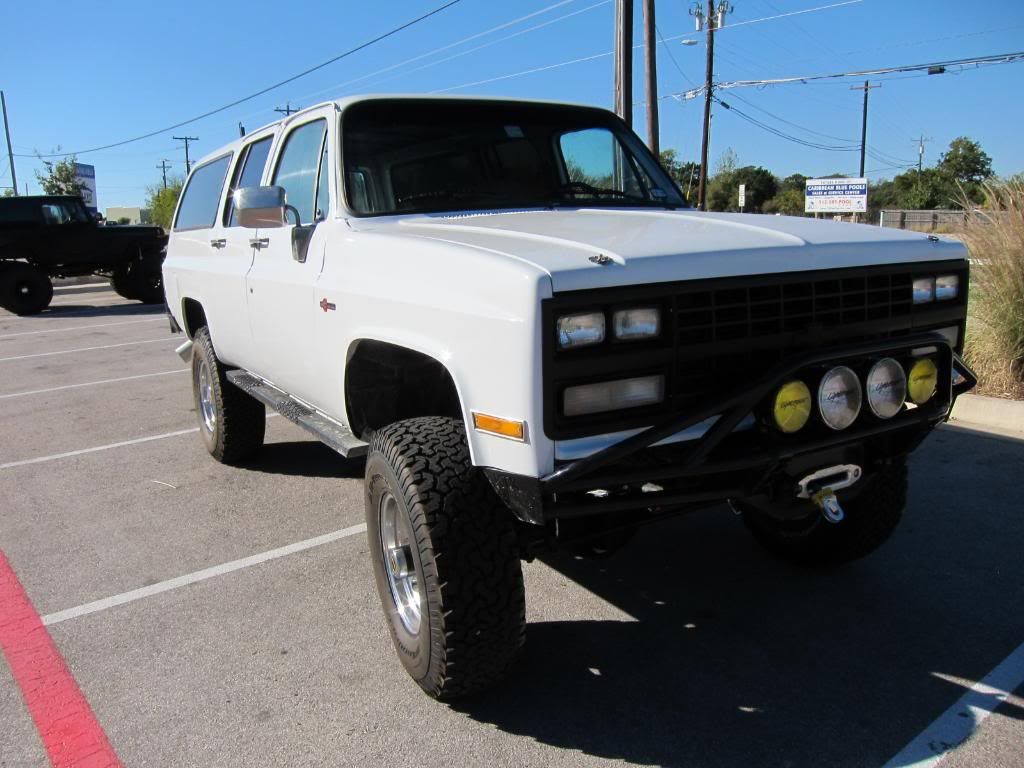
Here are a few after the new paint, tires, and wheels. I'm really happy with the paint job. It was only $450 and it's a true 2-stage base and clearcoat. For that kind of price Maaco would have given me a cheap enamel one stage and probably messed a bunch of stuff up. The guys at Econo paint removed all the surface rust on the roof, de-trimmed everything, and sanded the whole truck. I don't know how they can afford to charge that little, but I'll take it. There is orange peel of course, a couple of runs, and a tiny bit of overspray on the sliders. It's so minor that I didn't notice it until a week later. I'm going to give it a polish and a coat of Collinite's Insulator wax before the winter.

Suburbanresize_016.jpg


Suburbanresize_019.jpg


Suburbanresize_017.jpg


Suburban121.jpg


Suburban125.jpg


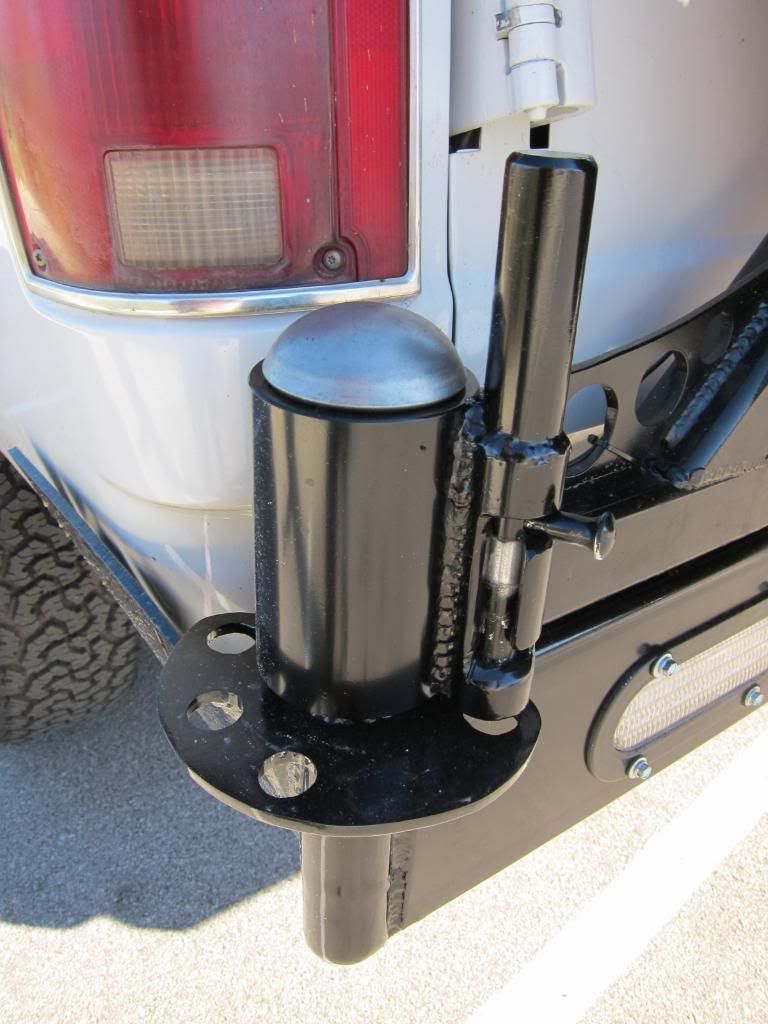
Here is a closeup of the new spindles and locking mechanism. The original spindles were 2000 lb trailer spindles that broke as a result of me letting the jerry can side swing free while I was parked uphill. It hit the apex of the swing and I heard a groan. New spindles are from 4x4labs. The latch was based off of ColoradoRon's tire carrier on his Suburban. It's solid and hopefully will last a long time. I can open the swingouts and lock them into one of four positions.
Suburban124.jpg


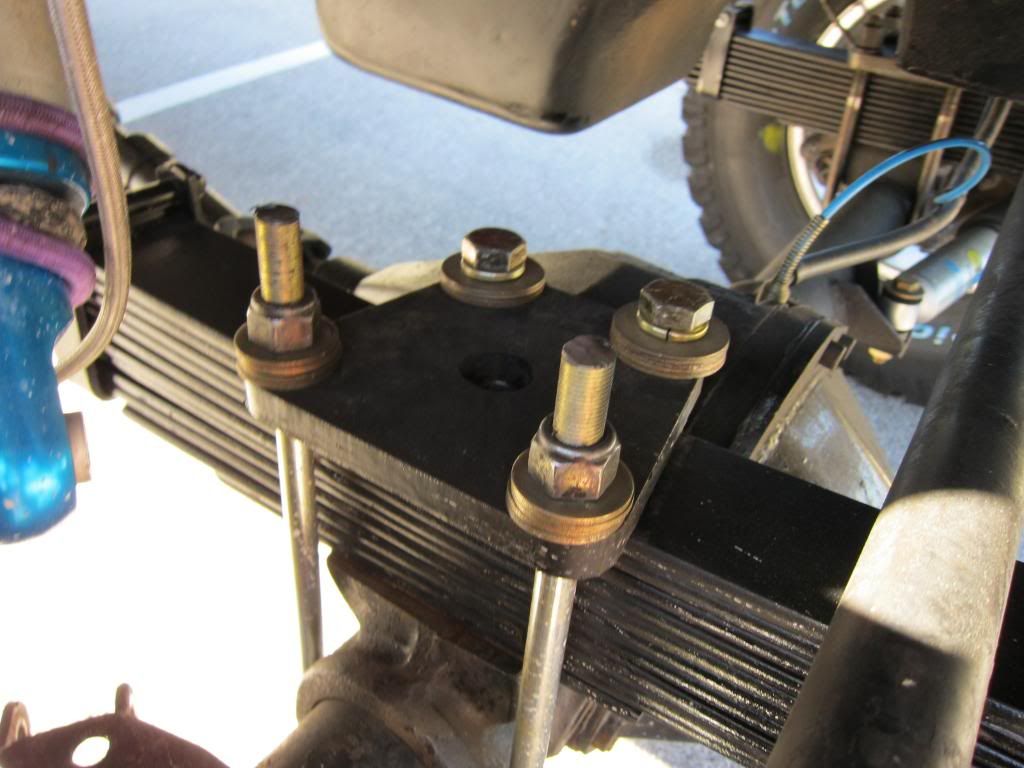
Here are the new springs from National. It was a hassle from start to finish. They completely misled me on the ship time and they showed up 2 weeks later than was expected. I told them I had a Dana 60 but they sent me hardware for a 10 bolt. They seem to be about an inch too tall. I asked for 4" springs but these seem more like 5". I'm hoping they settle a little, because it's got a little too much rake for me. The shock mount is going to have to be moved because of the increased height, so for now the shocks are strapped down. I'm waiting as long as possible, hoping it will come down a little. U bolts weren't long enough and the clip interfered with the steering so it had to be moved. And finally the steering is going to have to be readjusted because the angle has changed. Now, all that being said, they drive great. Bump steer is almost completely gone. Much more solid feeling in the steering, even without shocks.

Suburban128.jpg


Suburban130.jpg


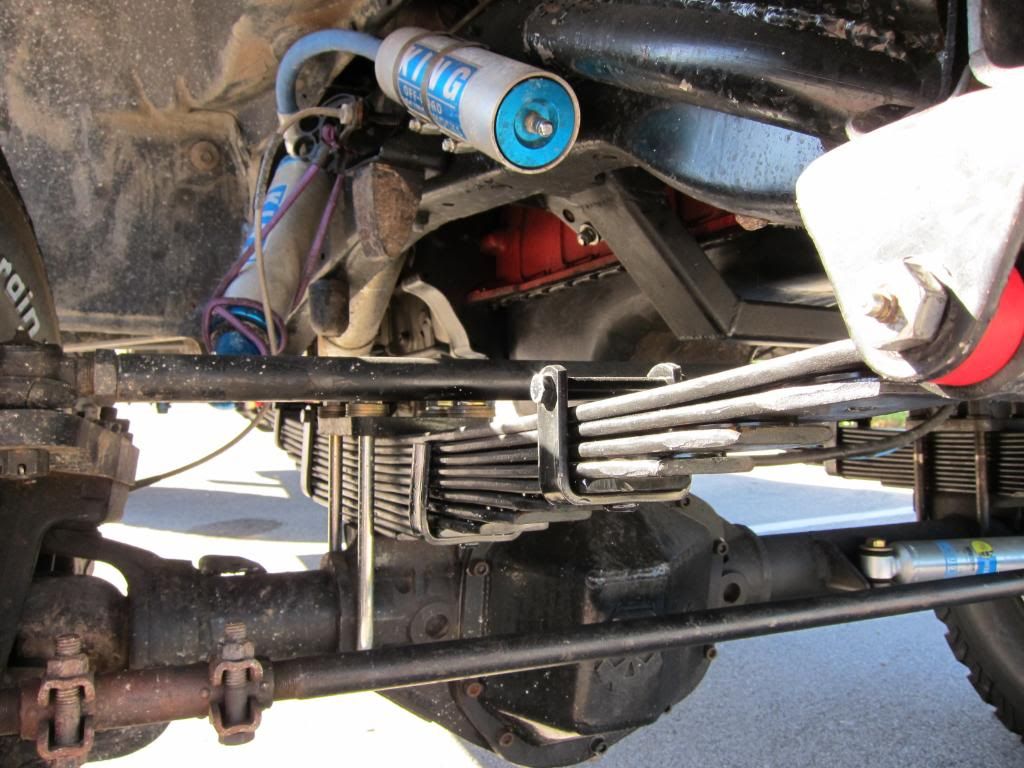
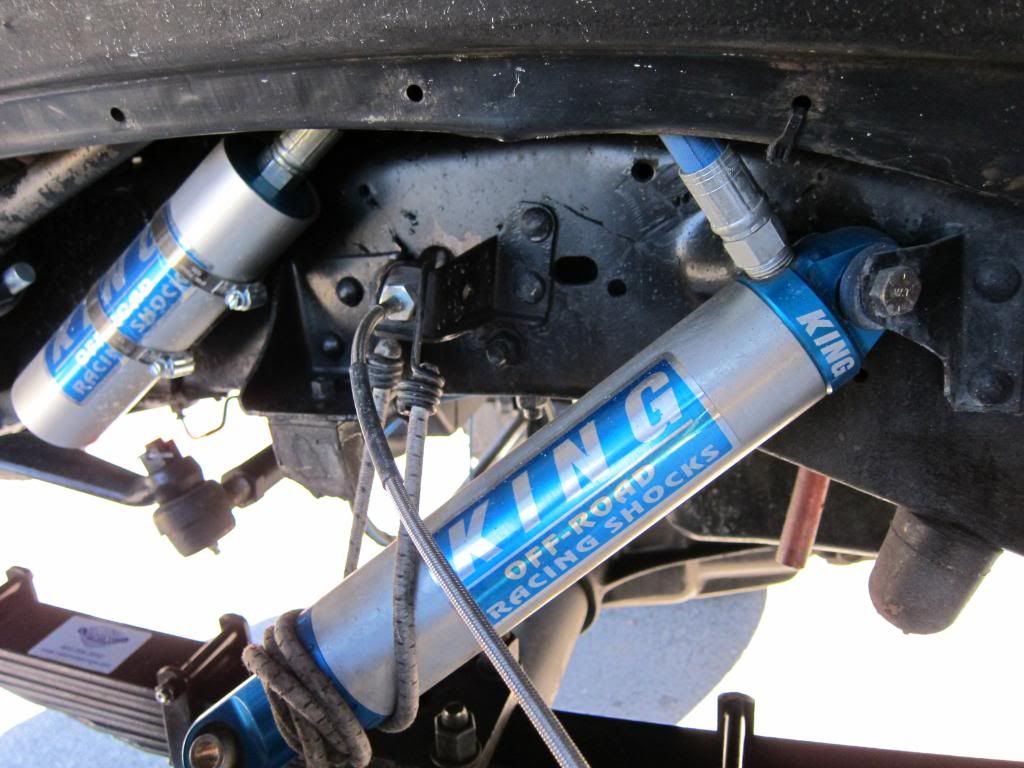
Here is a closeup of the new shocks. 2.5" King Remote Reservoir, valved by Downsouth Motorsports.

Suburban132.jpg


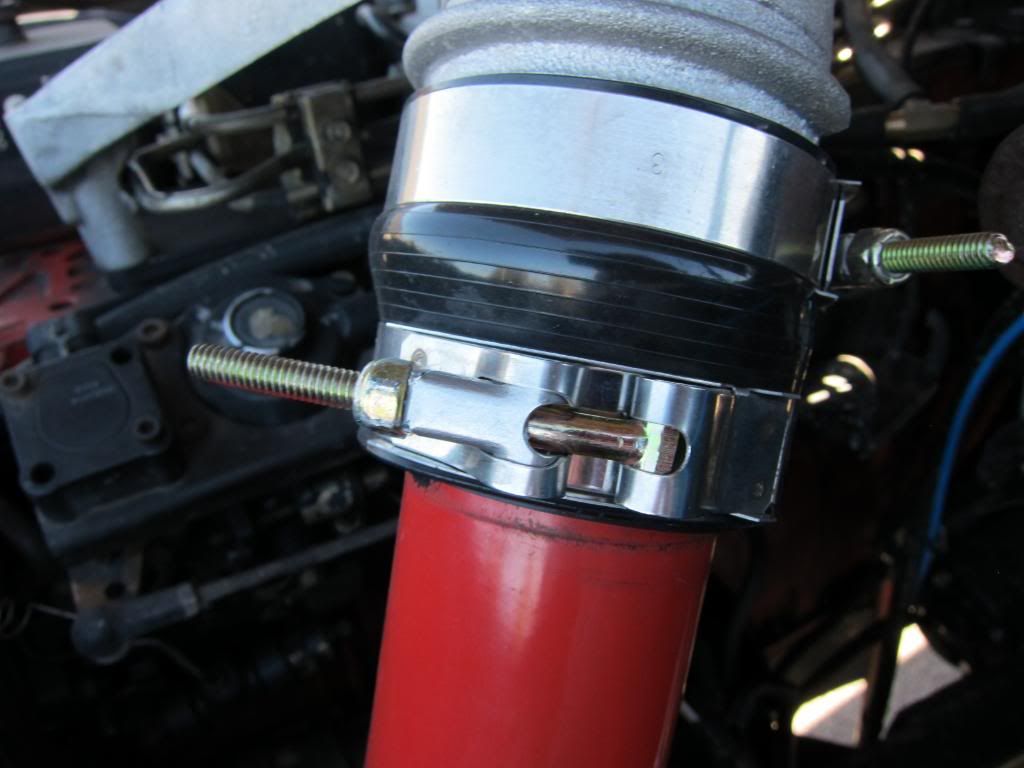
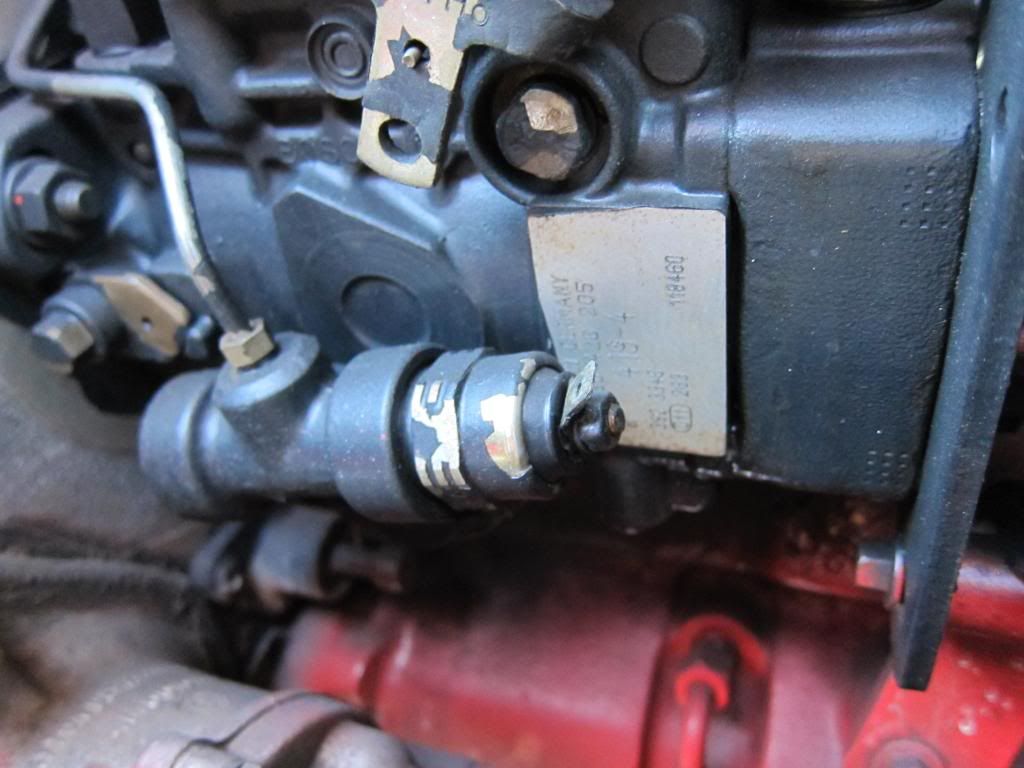
Intercooler tube fitting keeps coming loose. Installed these really good hose clamps and it helped a little. There is a stepdown spacer in the flexible fitting, and when the engine gets warm, it gets pliable and slips off the tube. I need to just find a fitting that is the exact right size and it should fix it.
Suburban135.jpg


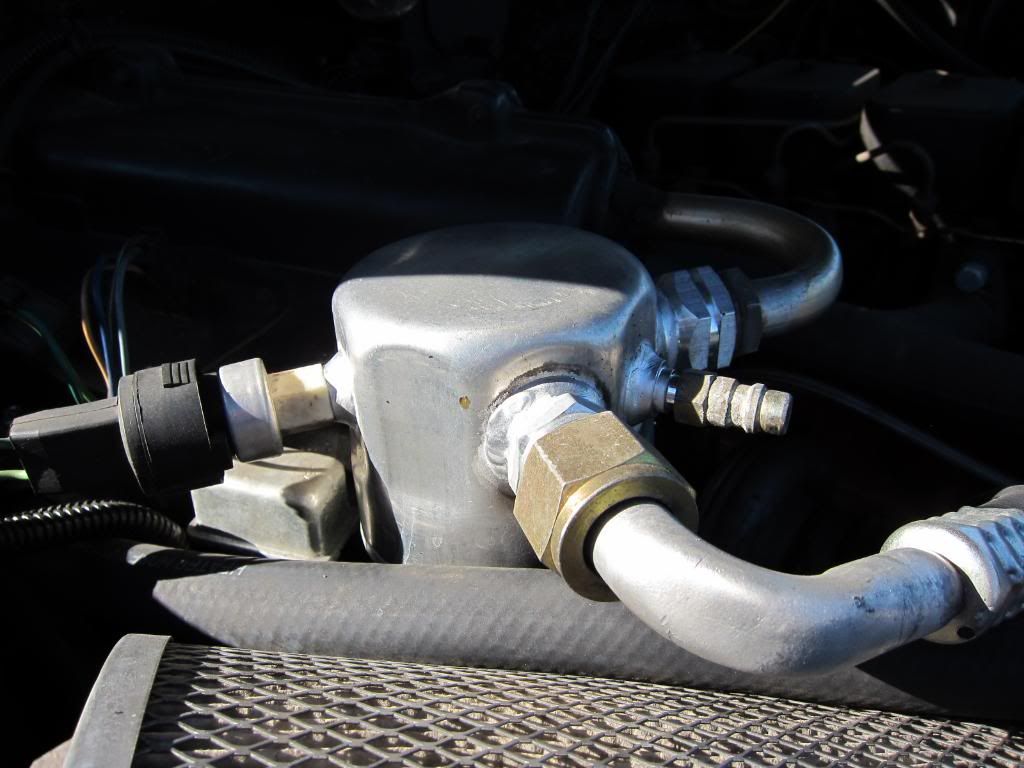
The AC system is a hybrid. The compressor is from the 92 Dodge and everything else is GM. A local AC shop made the custom lines to connect everything. The stock compressor combined with the custom alternator bracket allows the use of a stock 92 Dodge fan belt, which is a nice bonus.

Suburban136.jpg


It's hard to see but there is a pool of diesel underneath the injection pump. I got a bad tank of biodiesel a few months ago that I'm fairly sure is the culprit. It clogged up two fuel filters and the leak started soon after that. The place where I buy it changed suppliers to some no-name outfit without notifying their customers. I've heard of a few people with ruined injection pumps after using this fuel. I'm tempted to seek damages from these guys, but it would be hard to prove. Besides, rebuilding the IP was on the list of things to do next year anyway. So, I might as well upgrade everything, right? I placed an order with PDR this week for a new IP with 3200 gov spring and slightly more aggressive fuel pin. Plus new Bosch 190 injectors and an HX35 Turbo. It's all fairly mild, but added together I'm hoping to get a 75-100 HP bump with little to no smoke. :sombrero:
Suburban138.jpg


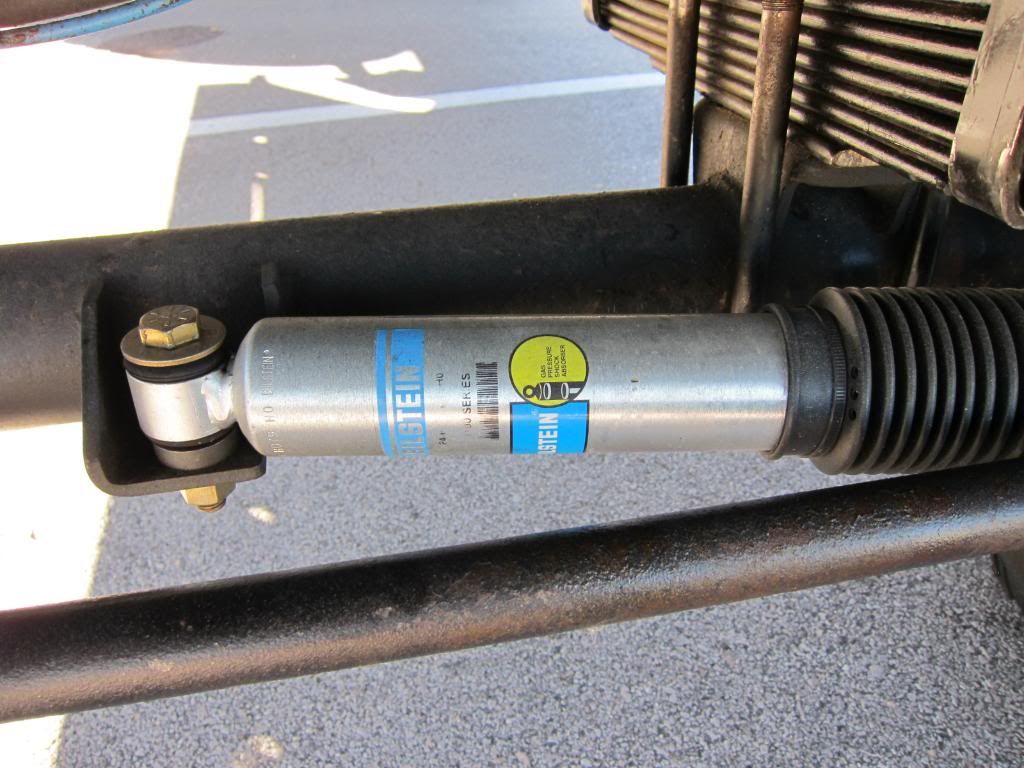
Bilstein Steering Stabilizer.

Suburban140.jpg


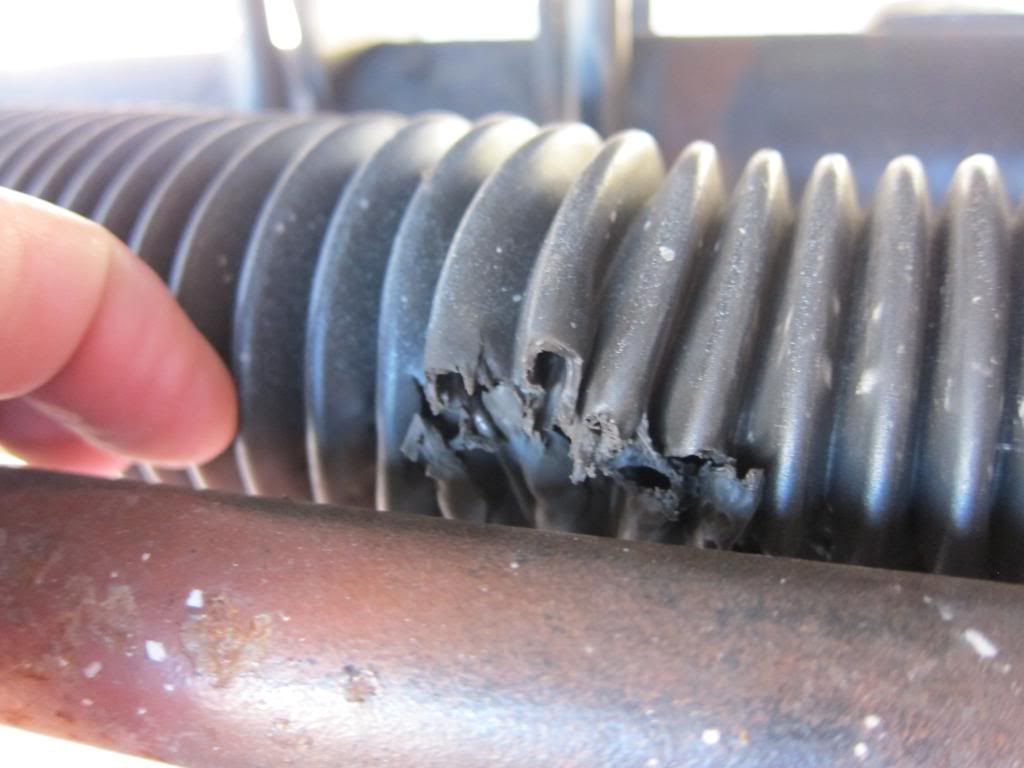
The boot on the steering stabilizer is rubbing, so I'll have to come up with a fix for that. Maybe a thicker, more durable boot. It will fill up quick with dirt and moisture.
Suburban141.jpg


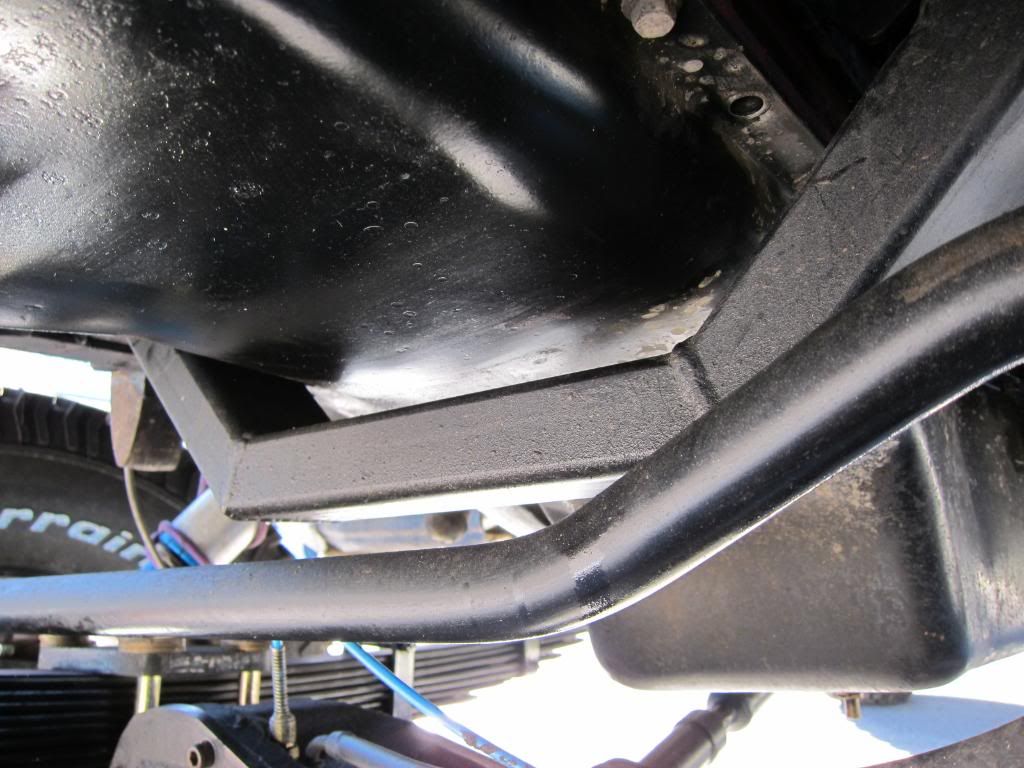
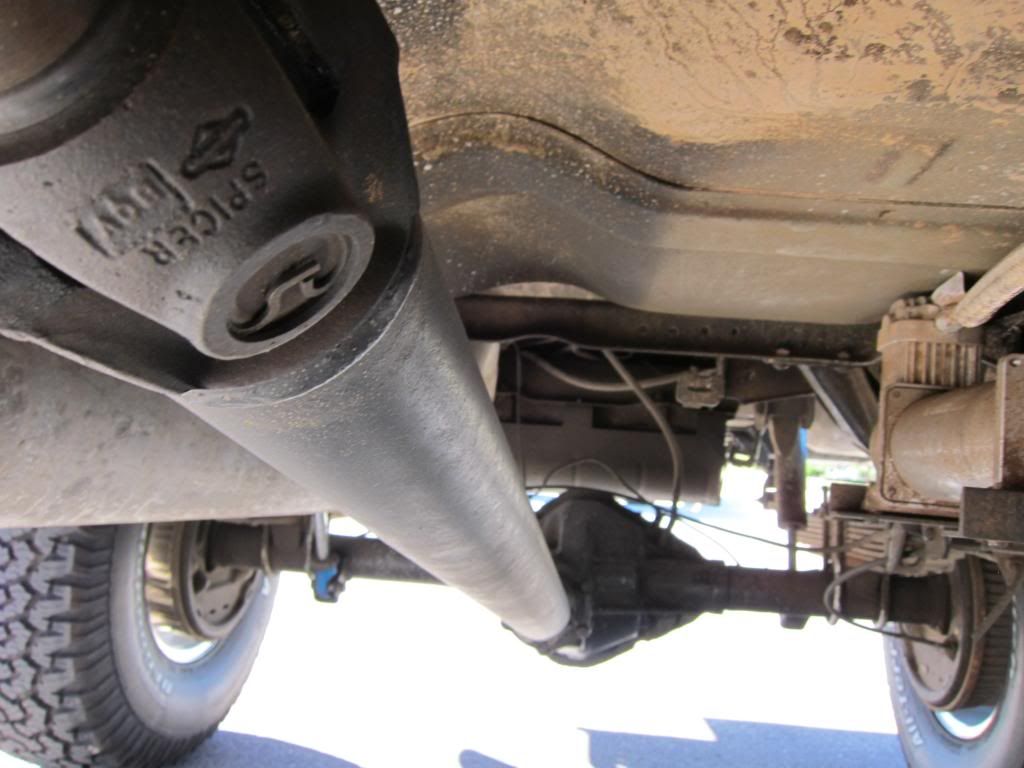
Closeup of crossmember made by TN Diesel and then modified by Krawltex
Suburban143.jpg


Driveshafts were custom made by a local shop.
Suburban147.jpg


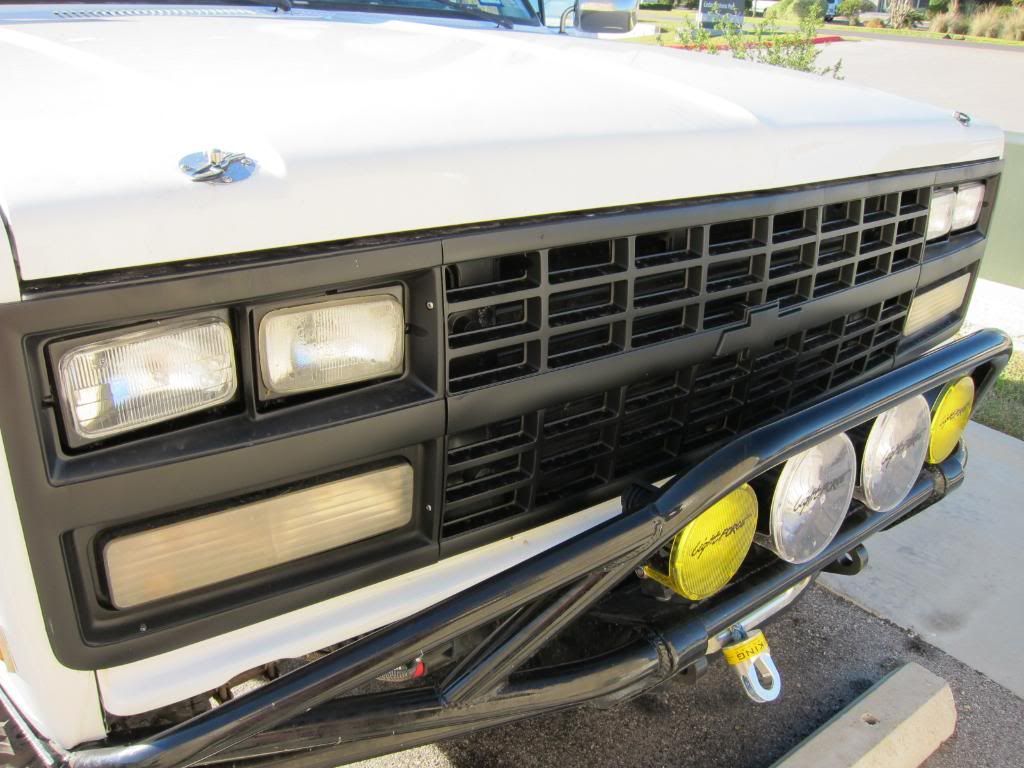
Blacked out the front bezels with VHT trim paint.
Suburban160.jpg


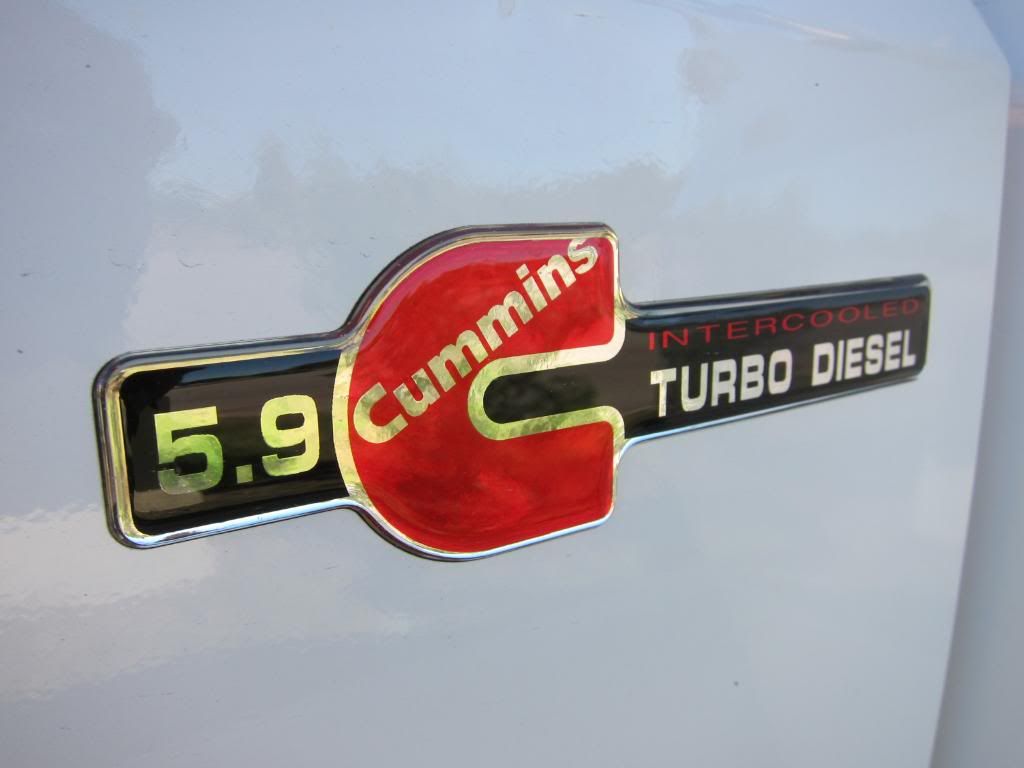
The proper badges are of course the most important mod :sombrero:
Suburban156.jpg


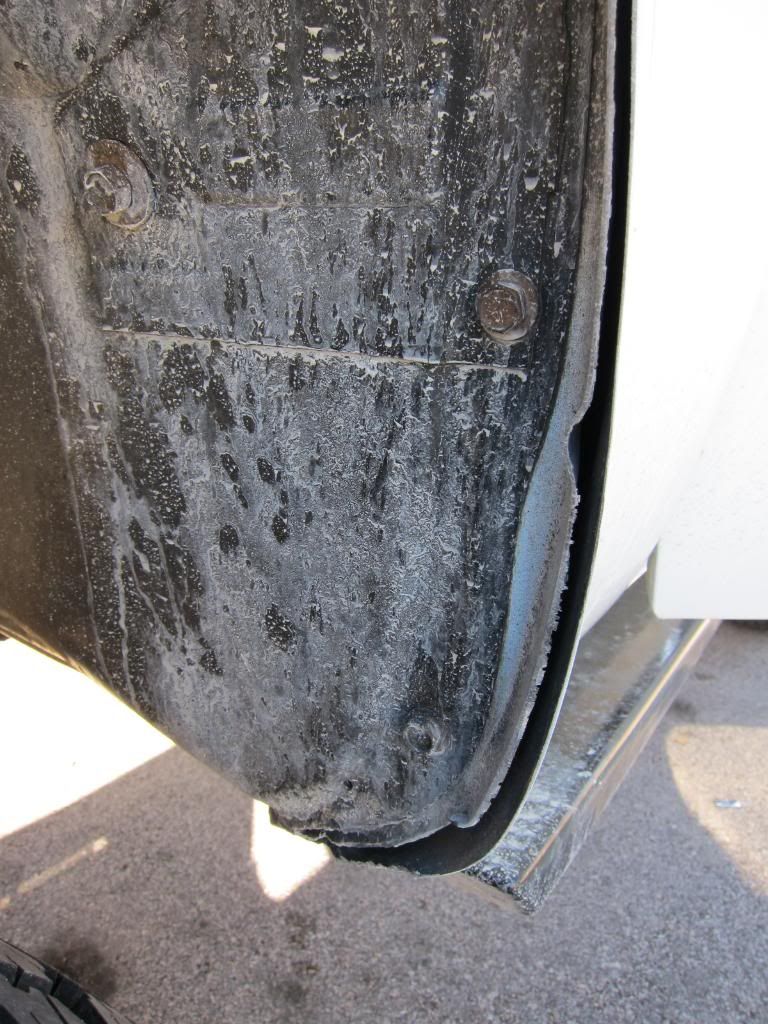
Closeup of the front driver's side fender trimming. As you can see it's very minimal. I thought we were going to have to cut the wheel-well but since the new springs are a little too tall, everything clears with plenty of room.
Suburban157.jpg


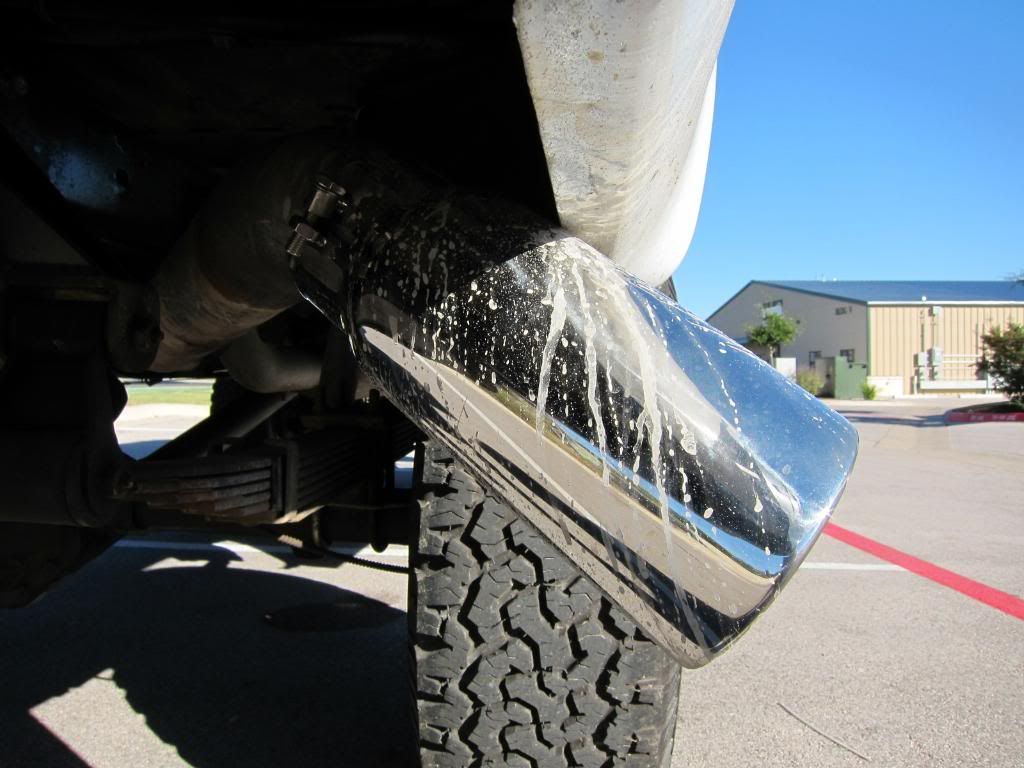
And finally an exhaust tip from MBRP complete with lots of dirt. Cheap but it does the job.
Suburban154.jpg
 
Last edited:

Spur

Adventurer
By the way, thanks for the tire chain info. I was looking at the adjusters and it seems
that a resourceful person might be able to make a nice set with the double springs for the old screen door close. I just love new ideas!

Maybe. Give it a shot, but the springs on the tensioners are quite stiff. I would think a lot stiffer than a screen door close. I imagine they engineered them that way for a reason. You wouldn't want them flying off.
 

poriggity

Explorer
Very nice build.. Although, I am partial to the 5.9 a bit, given my choice in expedition vehicles ;) Very cool!
Scott
 

bftank

Explorer
loving the new paint spur!

those were my fav kind of tensioners for the ice biter chains we used in the gas field out here when i was driving truck. i found it easiest to put the side springs on first, then the top, and put all my weight on the bottoms spring to put it on. the tighter you get em the less they chewed the tire up.
 

jdinevens

Adventurer
hey, couple of quick questions as this is almost exactly what i'm looking to build hopefully in the near future

1) i read through the 21 or so pages but didnt see what you ended up with for MPG

2) what is your final weight all loaded up?
 

Spur

Adventurer
Got the badges off eBay.

Don't know what the mpg is. The speedo isn't calibrated for the new tires. I'm hoping for 15-18.

Weight was 6500 with 3600 on the front axle. That's totally gutted with only a driver's seat. I'm guessing it will be about 8000 once the interior is put together.
 

Metcalf

Expedition Leader
Good to see all the updates. Your making me look bad!

Unless the biodiesel was total crap, it most likely just got all the junk/deposits moving around again. That is what usually clogs filters and makes things leak. My truck actually stops leaking with biodiesel since it swells one of the seals on the injector pump. I do think biodiesel is a little hard on the diaphragm lift pump. Its on my short list for replacement.
 

Spur

Adventurer
I would agree with you Metcalf except that I have a brand new fuel tank and lines. That and I've heard of two other people getting ruined IPs from this fuel during the same time frame.

We're going to flush the tank and lines before the IP goes in just to make sure all that crap bio is gone.
 

Metcalf

Expedition Leader
That must have been some really bad stuff!

The injector pump itself can also be pretty caked in areas with deposits.

I have had good luck with my homebrew experiments and the stuff I get in Moab.

The diaphragm style injector pump does make me a bit nervous with B100 however.
 

Spur

Adventurer
Been working on the interior for the last few weeks. Since I'm moving to CO soon, I'm just trying to button it up. It's going to be my DD over the winter and I'll be working on the interior systems (electrical, water, cabinets, etc) so that they'll be ready by spring.

I went round and round on what I was going to do for the floor. I got quotes that ranged from $1500-2500 to bedline the interior. I can't justify that. Just way too much money. I thought about DIY, but it's a ton of labor and there's a much higher chance that I wouldn't be happy with the finished product.

Also, I wanted to add some sound deadening for sound and thermal. I had most of what I needed from another project that I didn't do. I've heard it's a bad idea to bedline over sound deadening. Even though it's aluminum backed, it's just flexible enough to cause cracking and peeling. So, that left me with either carpet or vinyl. I chose vinyl so that I can hose it out. I bought a kit from a website called Automotive Interiors. It was cheap and I got what I paid for. The "custom" molding is almost non existent. It fits very poorly and I screwed up cutting a hole for a seat bracket because I couldn't tell where the creases lined up.

I'm going to take it by an upholstery shop that I've used and trust - see what they say. Maybe it can be made to work. If not, I'll have to figure something out. Maybe find a better kit.

Here are some pictures of the sound deadening. All the products are from Second Skin Audio. Damplifier Pro over entire floor. Jute backing sucks, so I ditched the stuff that came with the vinyl kit and used products from Second Skin. Overkill 1/4" foam over rear cargo area. Luxury Liner 1/2" foam over front seat area and interior firewall. The sun was going down by the time the foam was in, so I'll take some pics tomorrow. I also took apart the dash and refurbished it. I'll post up some pics of that tomorrow as well.


Damplifier Pro over the entire floor. Easy to do, but it took about 16 hours. The front part was really tedious.
WampaInterior004.jpg


The front. Sorry for the crappy pic.
WampaInterior005.jpg
 

Forum statistics

Threads
186,703
Messages
2,889,121
Members
226,872
Latest member
Supreet.dhaliwal
Top