1999 4Runner SR5-Baby Beast 2

AxleIke

Adventurer
Baby Beast was a Silver and black 1987 4Runner SR5, which is now gone.

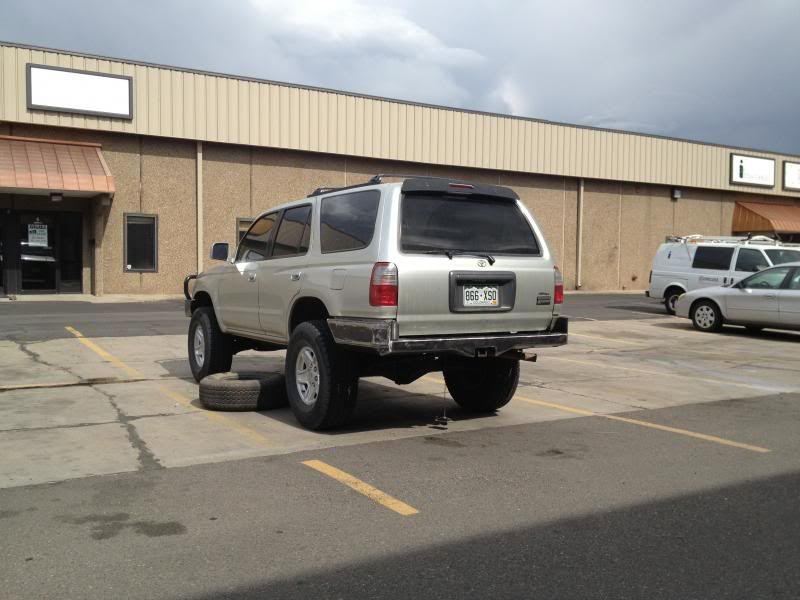
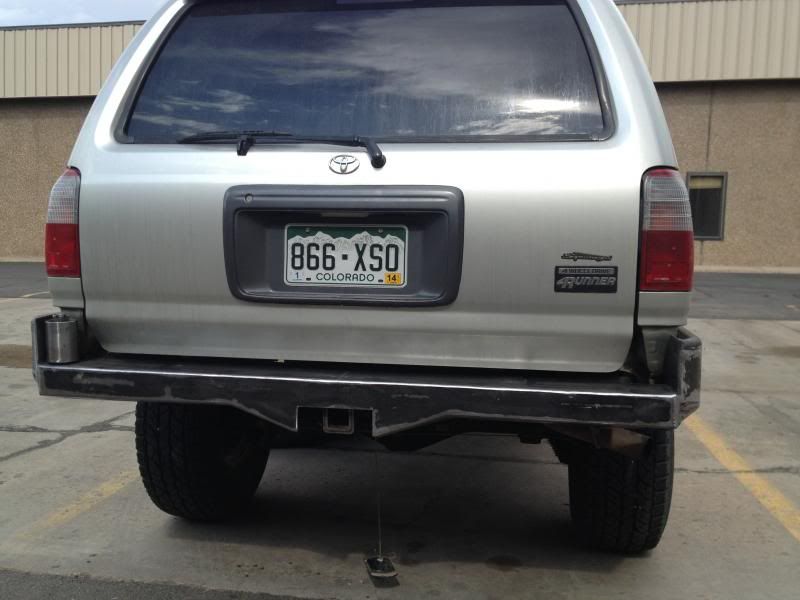
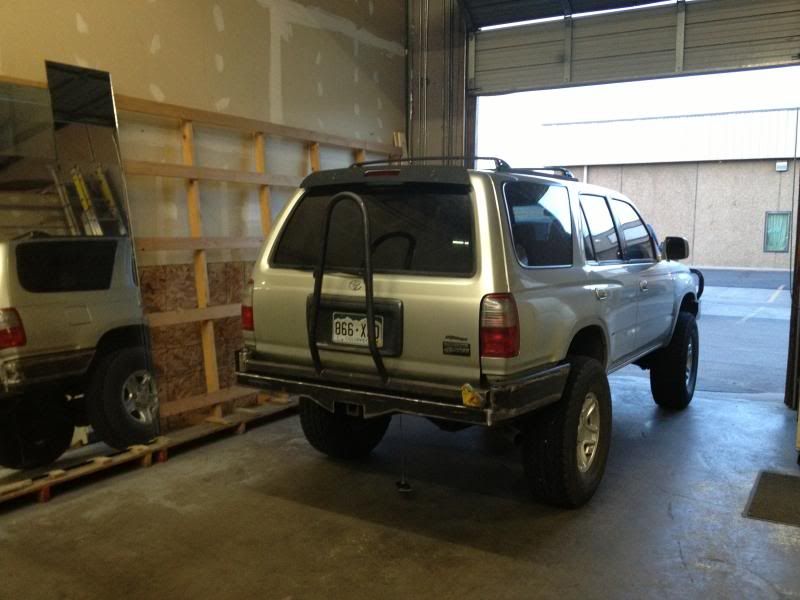
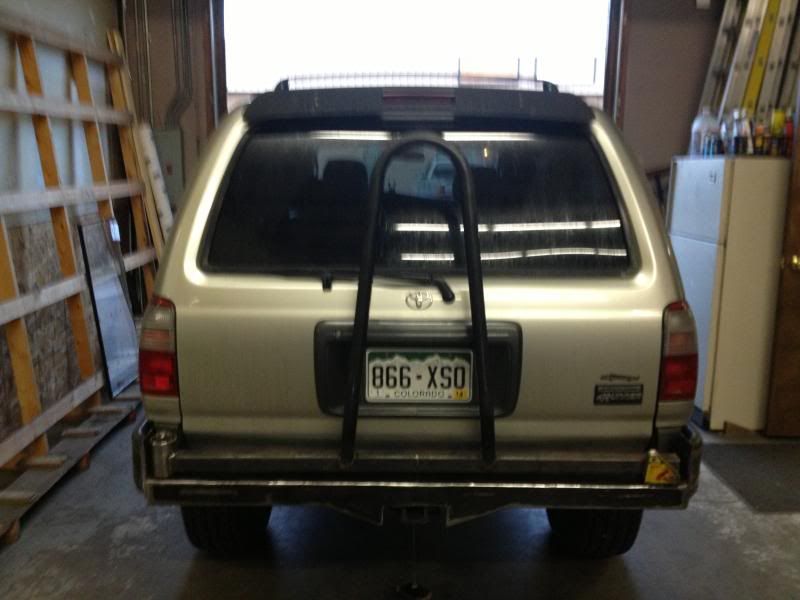
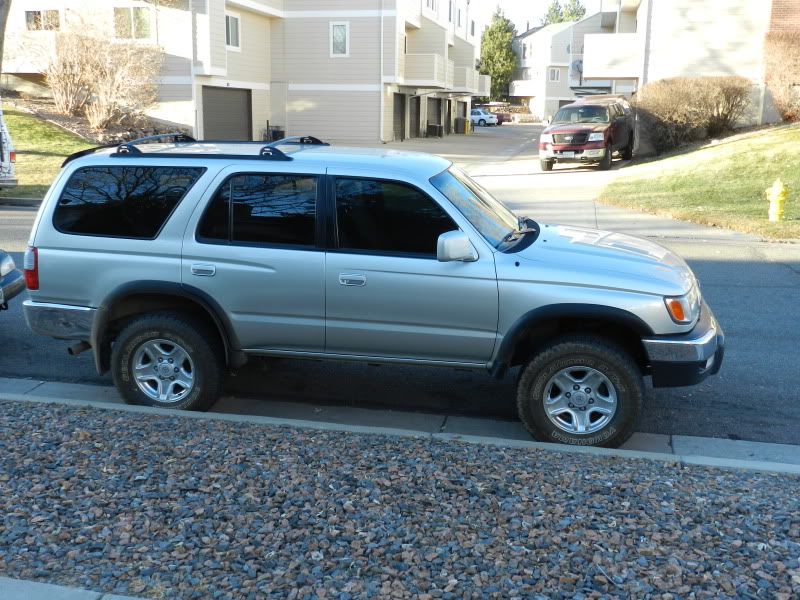
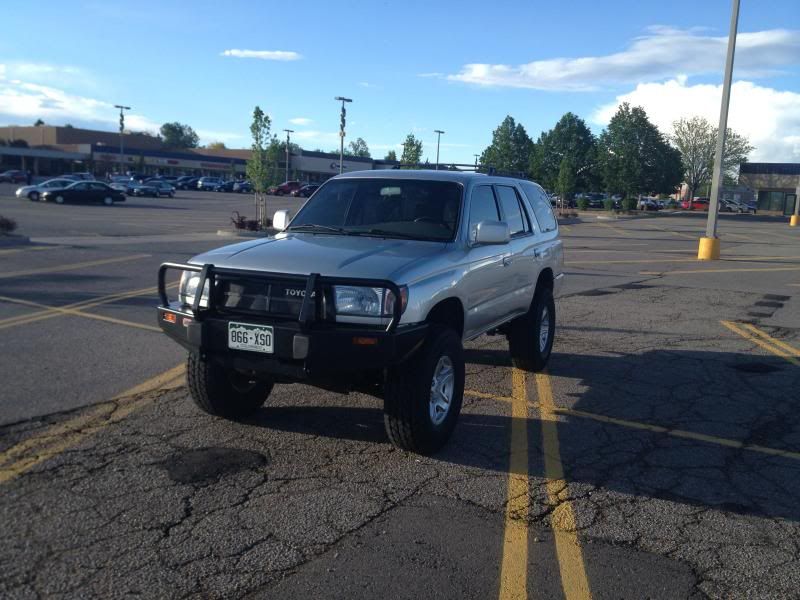
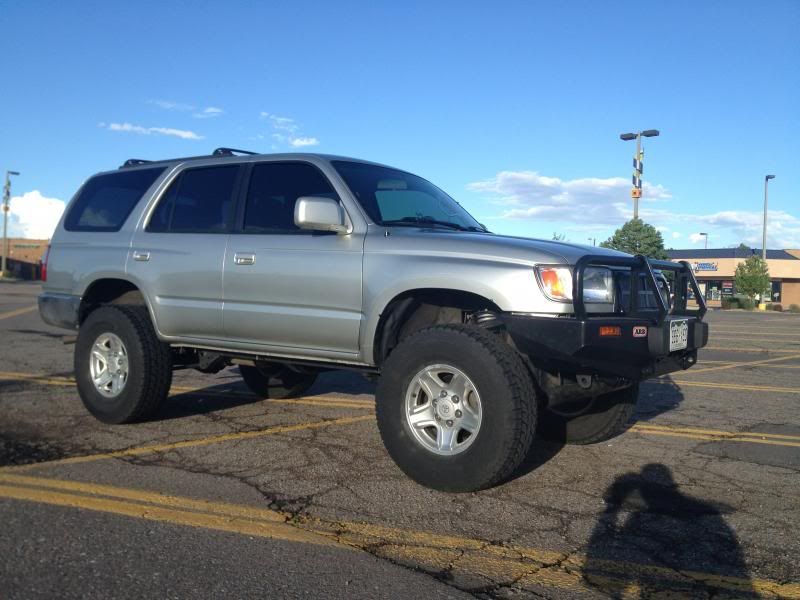
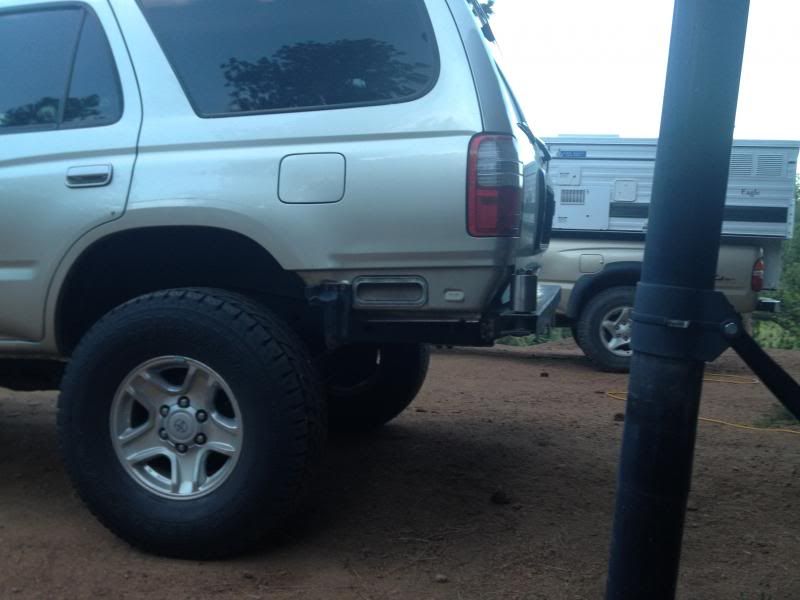
This is Baby Beast 2. This build is much slower, and more geared to the camping life, not so much the rock crawling.

It is a 5 speed, with a rear locker, and has no sunroof, which I prefer.

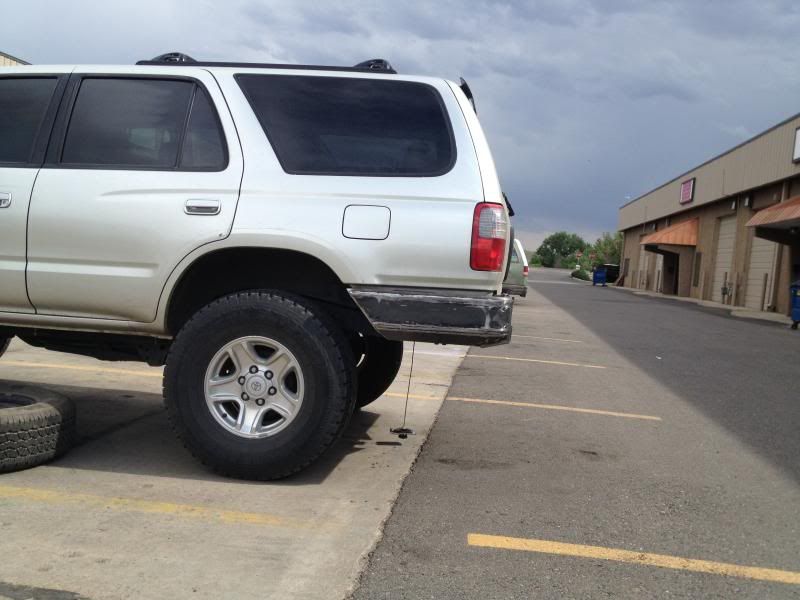
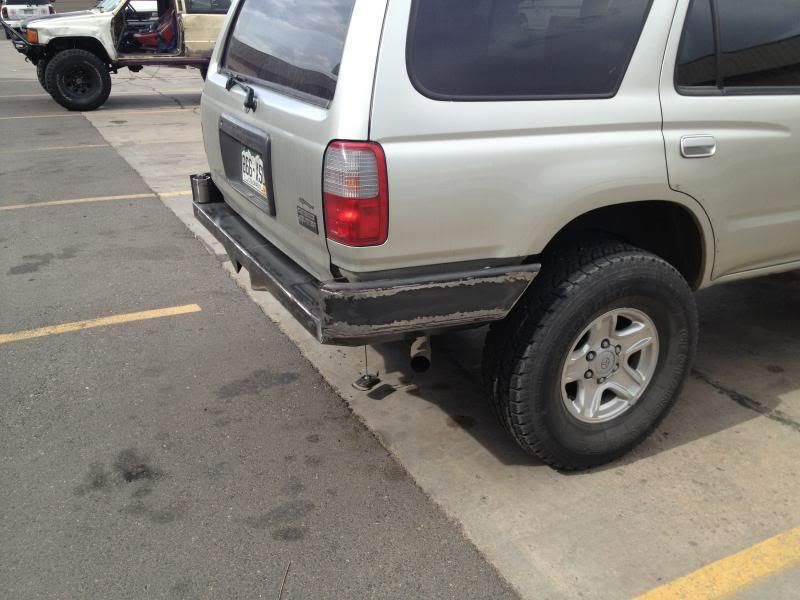
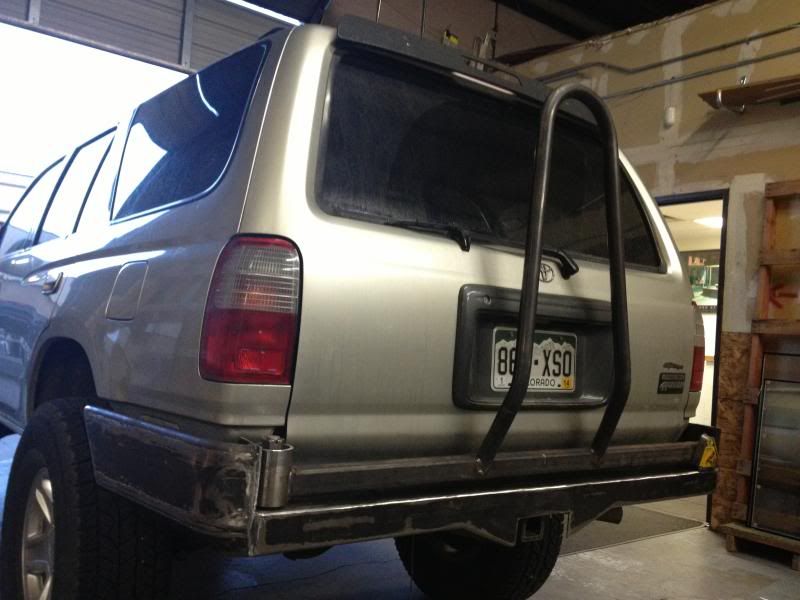
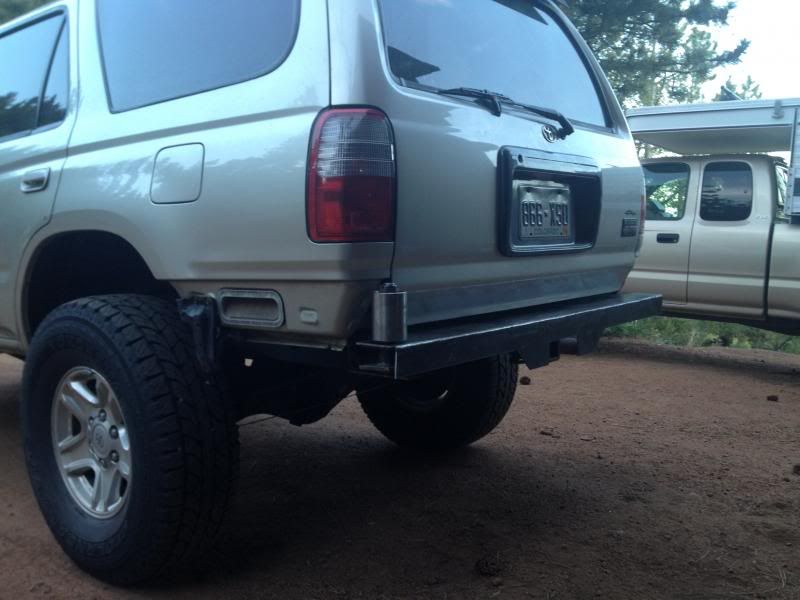
I picked it up and stripped off the running boards, and ran it around stock for a while

DSCN1574.jpg


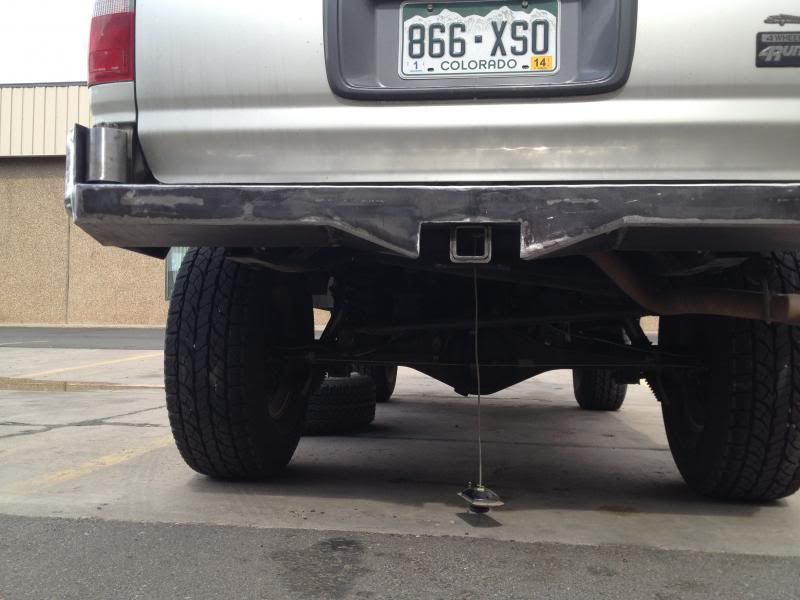
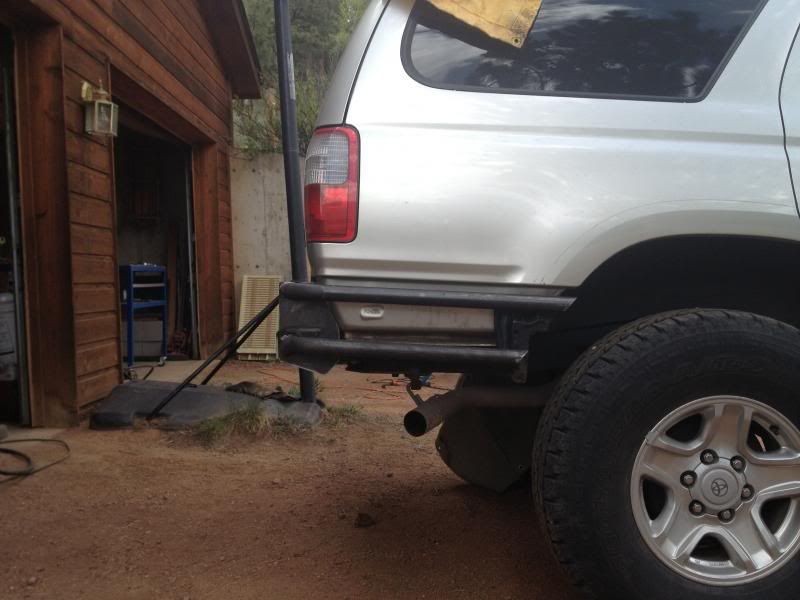
After I finished selling of my 87 and my 89 and the parts contained in my garage, I purchased a 2" Toytec lift for the front, and OME for the rear, with Bilstiens all around, and a diff drop. I also purchased a set of Goodyear MT/R's in a 265/75R16 size, and drove around the southwest for a bit with it. I also pulled the flares off of it.

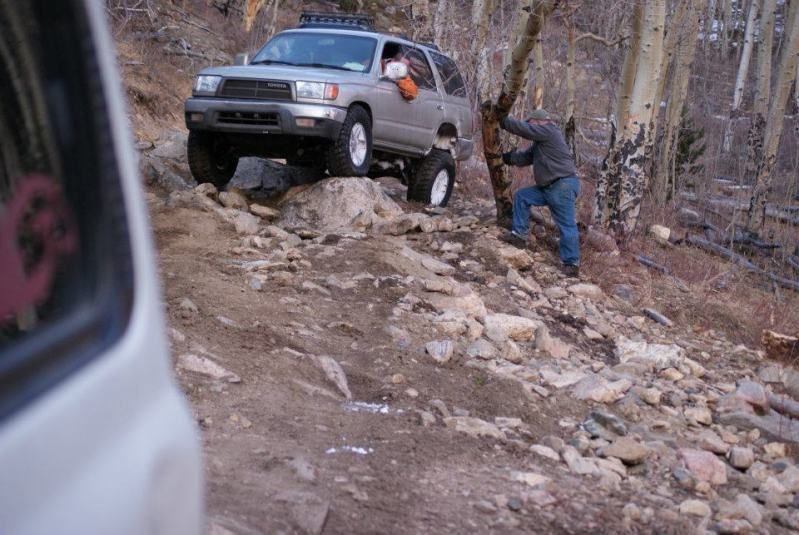
Its maiden Voyage was New Years 2012. Half way through the trail, I fell on a steep slope and broke my leg, so another person had to drive my truck off the trail, as I could not operate the clutch. It was a miserable 7 hour ride to the ER.

Jan12011snowrun.jpg


Next up was a TRD supercharger, which I picked up rebuilt for 700 bucks, though I had to source a tensioner, and a few other parts, I've been pretty happy with it.

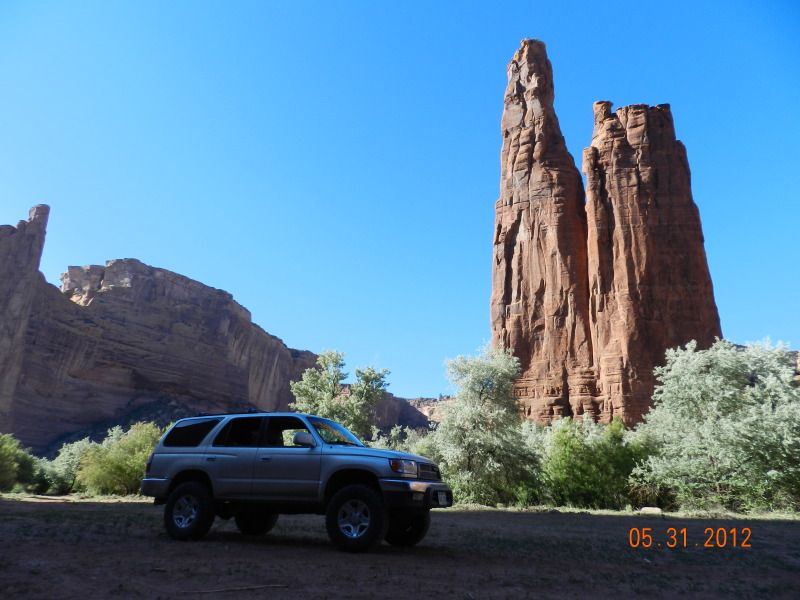
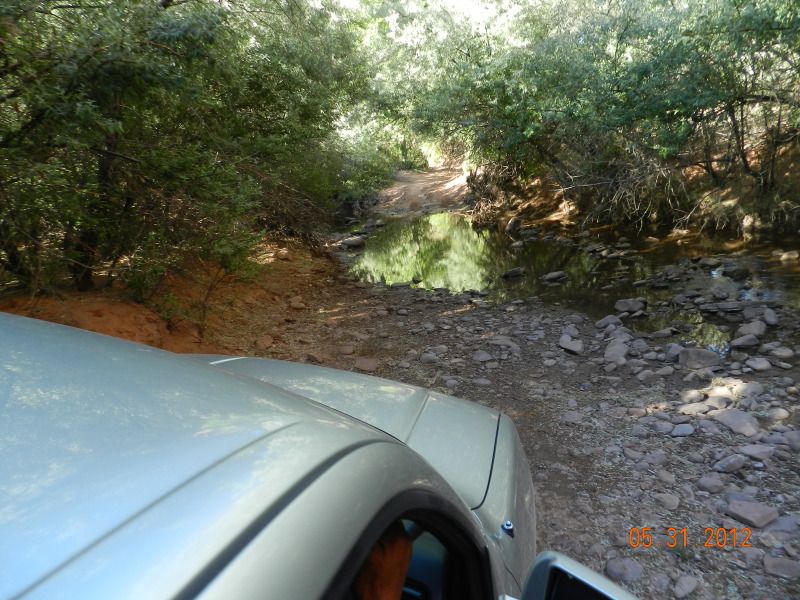
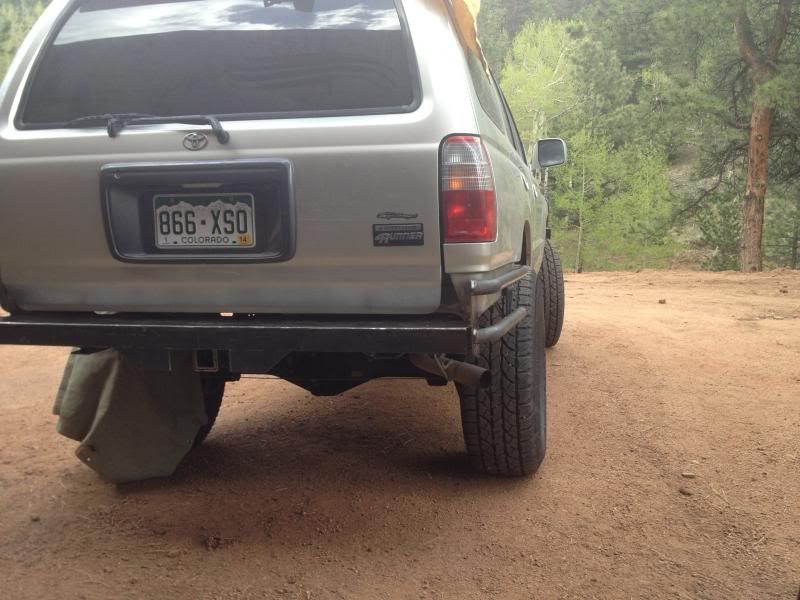
I then took it through CO, NM, AZ, and UT on a week long camping trip.

DSCN1728.jpg


DSCN1753.jpg


DSCN1762.jpg


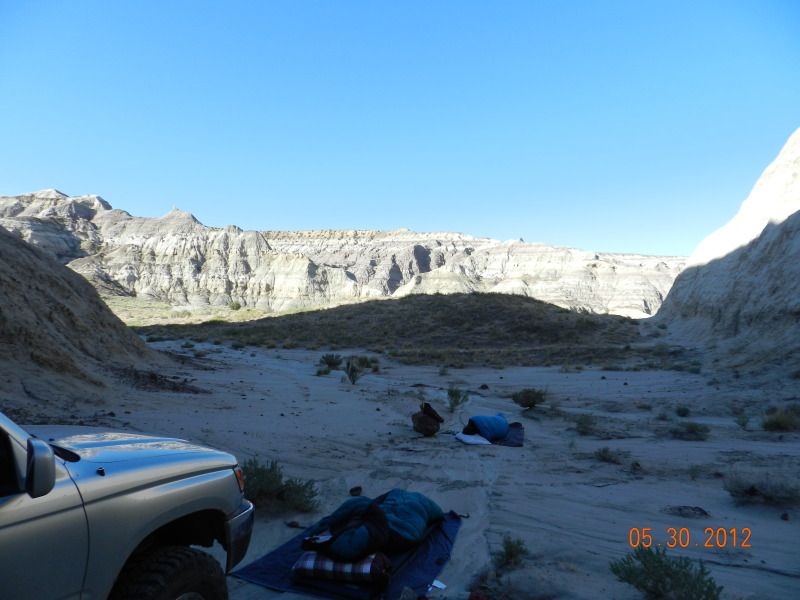
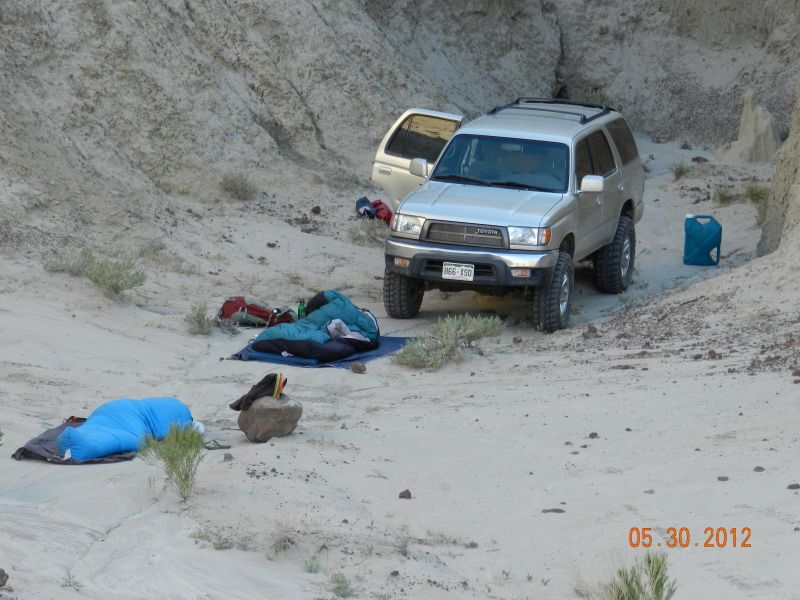
Through Canyon de Chelly on a guided tour

DSCN2133.jpg


DSCN2141.jpg


And through Grand Staircase

DSCN2276.jpg


After that, I did some more camping with it through the rockies, but left it alone as I was unsure whether I would sell it to fund another rock crawler.
 

AxleIke

Adventurer
THis spring, I decided I would keep it around for now, and build it a bit more. I must admit, much of it is for looks. I am DDing it, so it is not going to see anything rougher than the occasional 4wd trail in UT, CO, NM, etc... However, I was not a fan of the factory look, and it will help the performance a little. These things are kinda big and boaty compared to my old 87, and have everything and their sister hanging below the frame, so a high clearance wheeler this is not. But it does great on the roads I want to take it down.

I first added a set of 285/75 R16 Yokohama's, with MT Classic MT's with a 3 5/8" back spacing. However, I did not like the look of the tires that far out, so I swapped back to my factory alloys. However, to do that, I needed to add 1/2" spacers up front to keep the tires off the upper A-arms.

Through this site, I found a lead to a way to do this, with some help from my buddy at Boulder Toyota. Turns out that an early 2003 Toyota matrix (built within the first 3 months of production) had wheel studs with the same thread pitch, but with a 1/2" longer shoulder on them. I drove out my stock studs with an air hammer (highly recommended tool in general), and installed 12 new matrix studs, and 1/2" aluminum spacers. The longer studs allow for adequate thread engagement with the spacers.

I also picked up a set of diffs from a Limited with an Auto, in 4.3 ratio, to get my gearing back close to stock, without the need for super high RPM's on the highway. The SC gives the truck lots of pep, so a 4.1 to 4.3 was just what the doctor ordered. Swapped those in.

I then stuck on an ARB bull bar because I'm lazy. I wanted to fab my own, but my time is limited, and I'd rather be out camping or exploring right now that in the garage.

IMG_0408.jpg


IMG_0409.jpg


Next up, I began my rear bumper fabrication. I first took the factory reciever out of the hitch, and made up a new set up.

IMG_0399.jpg


IMG_0400.jpg


IMG_0403.jpg


I then cut the frame off at the rear body mounts, and replaced it with 1/4" steel wrapped under and on the inside

IMG_0430.jpg


Next, I stuck a top and side plate on, and then build a structure to house the spindle for the swing out carrier and cargo holder

IMG_0425.jpg


IMG_0426.jpg


IMG_0427.jpg


Next, I thought long and hard, and I had to admit that Scotty at Addicted Offroad in Windsor CO had a great way of doing the wings on these. I bent up some 1.5" tube to see how it looked, and began putting it all together.

IMG_0429.jpg


IMG_0428.jpg


That is as far as things go at this point.

After the rear bumper, I will make a set of lowish profile sliders, more for accidental slippage into rocks, and keeping access to the truck easy, than for tons of protection.

I also have a couple gear drive cases and an MC09 in the garage, waiting for a tranny adapter, so I can get a lower low range when needed. I got spoiled by my old truck, and I don't like rough sections with the stock transfercase.

More updates to come.
 

AxleIke

Adventurer
Thanks! Its actually further along now, but I don't have pictures. I still need to plate in the wings, and build the swing out.
 

AxleIke

Adventurer
One other thing I wanted to add was with the front bumper. After I decided to buy and not build the front end, I first went to outdoor logic, as I really like their set up. However, I was informed by Jared that they were not producing them right now. Too bad, because I would have really liked that bumper.
 

AxleIke

Adventurer
Thanks! I saw your post about the new truck and the seats. Was the first gen just getting to be too much of a project?
 

JasonRedwood

Explorer
Thanks! I saw your post about the new truck and the seats. Was the first gen just getting to be too much of a project?

Not at all. I have a kid on the horizon and a 3rd gen just seemed to be the right route.
How do you like the Toytec lift? I have been thinking about the "Ultimate kit". I know its a bit different than yours but do you like the Toytec product?
 

AxleIke

Adventurer
I dunno about the Ultimate. To be honest, I'm not that happy with mine. It is stiffer than the OME set up, and the coils hit the upper a-arms at full droop. I would probably have gone with the Sonoran Steel set up had I known better. In addition, the way the rear shocks hook up is really poor. They provide a bracket for the upper attachment, which seems like a big improvement at first, but in reality binds the shock up really bad during articulation. There are no instructions, and the bolts loosen up after time. I plan on replacing the suspension down the road with something else. Perhaps the ultimate kit is a better option, and doesn't have these issues.
 

AxleIke

Adventurer
Making more progress. Took time to go out camping on Fathers day and had some other work to do, but I've moved down to a shop in town, so I'm able to work after work some nights, and on weekends too.

Here is last week and Sunday's progress.

IMG_0440.jpg


IMG_0441.jpg


IMG_0442.jpg


It sticks out a hair farther on the sides than I'd like, but its not horrible. Nice and even side to side, so that works for me. I'll just have to add a cap to the top of the wings.

IMG_0443.jpg


IMG_0444.jpg


Sorta can kind of see how the bottom is capped.

IMG_0445.jpg


Still a lot of finish work to do. I'm honestly considering fiberglass on the outside of the wings. It takes a TON of wire and gas to fill the gaps and sides in so everything is smooth and pretty. Not sure its worth it. That would eliminate powder coating, so I'm not totally sold, so we'll see.
 

AxleIke

Adventurer
Got a couple more hours in this evening and some tubing bent. Starting to mock in the tire carrier. Needs to be braced up, but this is where it will end up I think.

IMG_0447.jpg


IMG_0446.jpg


IMG_0448.jpg
 

McFly2003

Adventurer
I loved my ultimate, at least compared to stock. I had the heavy setup with a Shrockworks front and CBI rear (warn 9.5xp as well) the damping felt great and it definetely rode better than my 5th gen on OME
 

Forum statistics

Threads
188,447
Messages
2,905,085
Members
230,360
Latest member
TNielson-18
Top