Tabbing Interior Composite Carbon Fiber Cabinets & Shelves - Continued....
It's a build thread, keep the carbon fiber PUNISHMENT and pics coming ???

?!
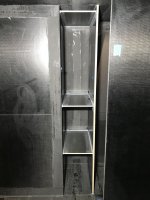
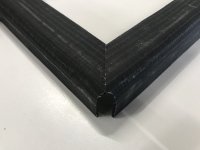
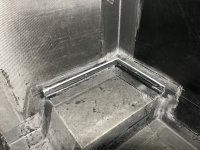
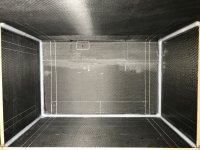
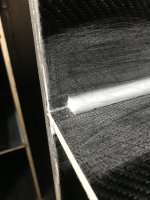
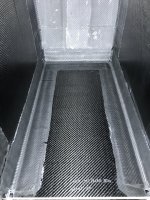
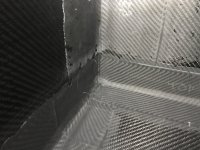
First layer down and wet out (Wet out cabinet, lay cloth and wet out cloth with a brush). Corner butt joints laid nice and even
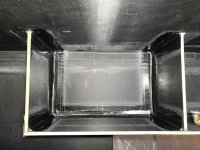
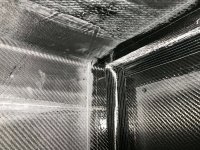
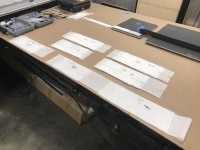
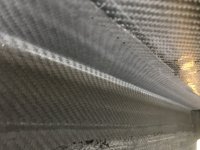
Second layer in place (pre-wet out on plastic). Corner butt joints still looking good
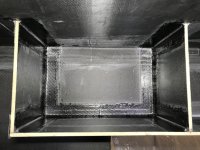
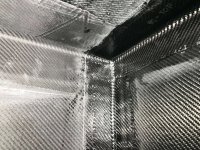
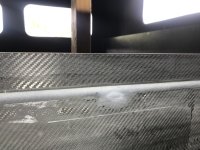
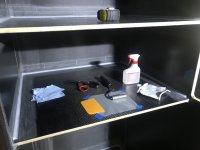
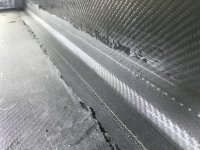
Peel ply down and final wet out complete
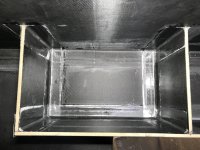
Just a hundred more miles of this to go. No BIG DEAL, who's counting anyway.
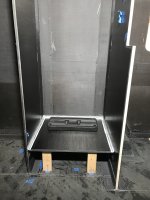
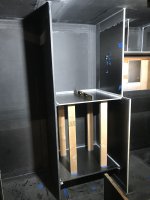
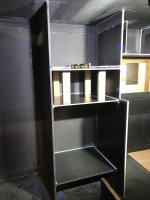
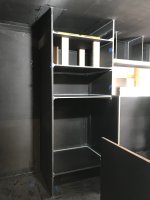
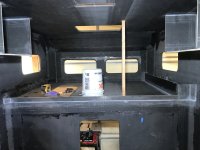
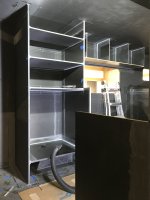
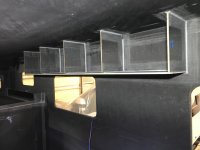
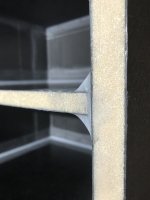
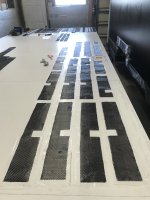
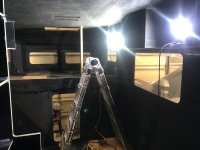
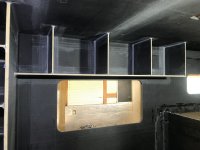
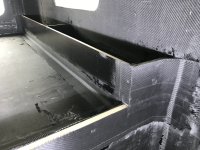
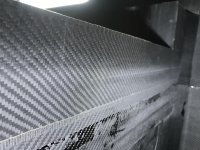
All areas tabbed and peel plied
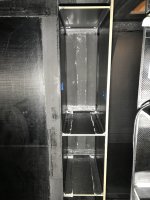
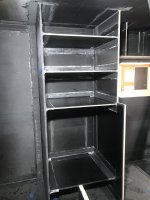
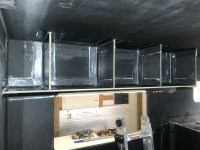
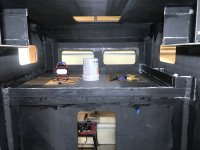
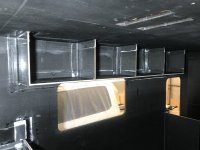
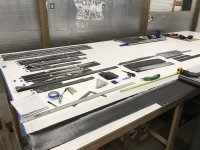
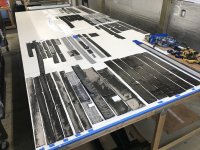
Somebody shoot me please. Six to six and a half days to lay all of this. This was round one, as round two will be the remaining top and rear blank offs to create needed ceiling and back wall chases.
Tabbing layup schedule for those that are interested:
All cabinet frames and shelves.
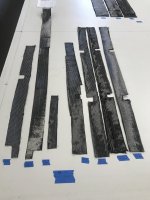
- First layer: 8.85 biaxial 2-1/2"s wide
- Second layer: 5.7oz 2x2 twill 4-1/2"s wide
Because all of my overhead cabinets are structural, for the roof, I didn't want to go with just one layer of CF for the tabbing. I also have no outside storage beyond the gear locker, so I wanted to make sure that all of my interior shelves were super solid and could support a lot of weight-for tools, recovery gear, adventure gear, etc. Basically all of my shelves are pretty bomber. I've already done the pull up test on the overhead cabinets.
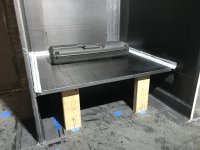
Bottom shelf of the frig stack (supports the frig).
- First layer: 24oz plain weave 4"s wide
- Second layer: 8.85oz biaxial 6"s wide
Bed area (Cabinets and bed catch rail)
- One layer: 5.7oz 2x2 twill, various widths
The blank off shelves that will be inserted/completed during round two, will only get one layer of tabbing (5.7oz 2x2 twill 2-1/2"s wide) since their primary purpose is not structural.

