2022 Ford F550 - DIY - Adventure Expedition Vehicle Build Thread

Vance Vanz

Well-known member
Vance,

I agree with routing the Air Head vent out the wall, rear wall in my case. I did not like the idea of running it up to the ceiling. A version of what you did.
OH and by the way there is really no odor from the fan exit.
I used a marine vent cover and installed a fine stainless steel bug bug screen inside the marine vent. They sell the vent it a few different sizes.

View attachment 779819


View attachment 779820


NICE WORK on your rig! ONWARD!!

CHEERS!!

Craig
Thanks for the input and pics Craig; I appreciate it. I saw the outside vent on your build and assumed it was for the composting toilet.

Nice to know that there is no odor. I will chew on it a bit and decide if I want to keep it coming out the side wall, or have it terminate out the back wall. Options are always good ?.
 

Vance Vanz

Well-known member
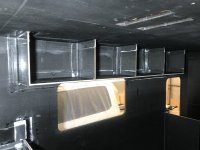
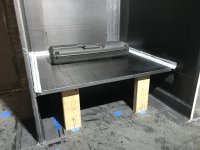
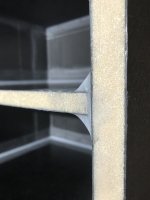
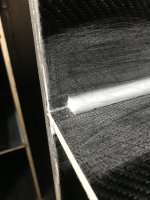
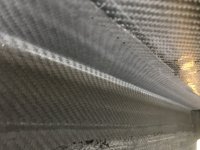
The cabinet and bed catch rail is much shinier than the walls. Did you use a different material for them or is it just picture magic.
Hey ITTOG.

During the resin infusion process, the side that is face down on the layup table (bottom side of the layup) comes out smoother and shinier. The top side of the layup gets peel ply on it and I chose the type of peel ply that leaves the surface slightly rough/textured. This type of peel ply (slightly rough/textured) is used when you are going to be bonding other composite items/panels to it (This helps cut down on the amount of sanding needed). They do make a smoother peel ply that leaves the surface not as rough.

The other side of the cabinet and bed catch rail (that you can't see in the pics) are rough/textured. Both sides have the same carbon fiber layup schedule/skins are the same thickness. Basically, every panel I resin infused has a shiny side and a rough side. As far as the interior panels, I just try and orient/bond the smoother/shinier side of any panel facing out, or in the direction it will be most visible.
 

Vance Vanz

Well-known member
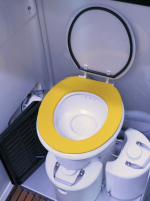
Although not directly related to installation, this hack will be handy if you intend to do any sub-zero camping ;-)

View attachment 779880
Sorry for the belated reply. I have been head down nose to the grind.

No cold butt cheeks or pee pop cycles for me on this trip, as I'll hopefully be having a two year endless summer :cool:!

I do like the yellow though; it brightens things up ?.
 

Vance Vanz

Well-known member
Composite Carbon Fiber Bonding - Vertical Closet & Frig. Stack

So this next round of posts represents 20 days of work. It always amazes me how long this stuff takes. I guess that is the story of the build I should be used to by now :confused:.

When someone asks me how the build is going, I pretty much always say "Progress is being made, but if you where to look at that progress, it would appear nothing is getting done!" ?

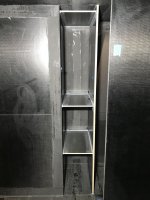
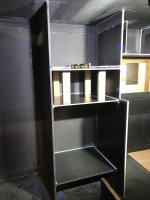
The last shelf in the vertical closet bonded-the top blank off to create a ceiling chase.
IMG_9178.jpeg

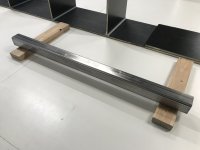
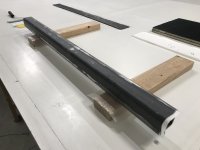
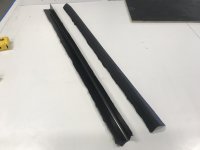
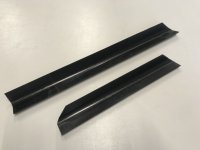
The bottom shelf of the frig stack was only 1-1/2" above the top of the wheel well, so there was no way I was going to be able to tab the back bottom corner of it after the shelf was bonded. So.........., I decided to pre make some composite L bracket and bond it to the wall before bonding the shelf. I also made some additional L bracket to aid in bonding the back blank off pieces needed in the frig stack-to create the back vertical chase.

A ton of cleaning, grinding, cleaning some more and wax
IMG_9138.jpeg

Layup and rough finished product
IMG_9141.jpegIMG_9166.jpeg

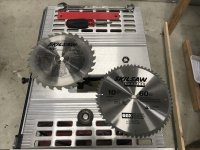
Table saw getting a new carbide blade. This is the first time I have had to use the table saw for any composite work on the entire build so far. A little surprising, but the track guide for the circular saw has been doing wonders-money well spent!
IMG_9168.jpeg

Ripped and all cleaned up
IMG_9169.jpeg

Cut to size and the corners notched to account for the pre-existing corner fillet
IMG_9170.jpegIMG_9171.jpeg

Bonded
IMG_9176.jpeg
 
Last edited:

Vance Vanz

Well-known member
Composite Carbon Fiber Cabinet Bonding - Frig. Stack
If you scroll through them fast, you may get a video ?.

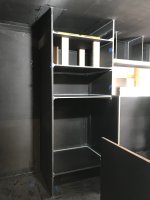
Bonding Shelves. Elevator going Up!

IMG_9179.jpegIMG_9182.jpegIMG_9183.jpegIMG_9189.jpeg

There is one additional top shelf going in, to create the top of the upper overhead cubby cabinet/ceiling chase, and a few back blank off's, to create a chase down down the entire backside of the frig stack, but they will be bonded after all of these shelves are tabbed. These shelves are the structural shelves, so I wanted to ensure they were fully tabbed to the back and side walls.

Note: All of the overhead cabinet frames and shelves in the interior are 1/2" core composite, except for the bottom shelf of the frig stack. This shelf is 3/4" core, like the vertical interior walls, because the frig will be sitting on it. I also wrapped/overlapped the front edge with CF during the infusion process, to add some additional strength to the front edge of the shelf.
IMG_9180.jpeg
 

Vance Vanz

Well-known member
Prepping Interior Cabinets & Shelves for Tabbing

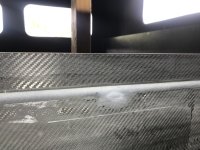
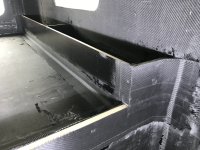
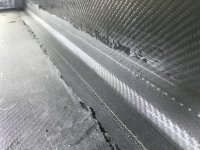
The bed catch rail needed some additional structural fairing, after bonding it. The pass through wall to bed platform corner was rounded off and the bottom of the catch rail squared off, so there was a bit of a gap to fill and I knew it wouldn't all happen in one shot during the bond of the catch rail. This is also when I found my first air pocket on the build so far, in the tabbing. It just so happened to be right above the the pass through, probably on one of the most visible locations on the entire build ?! I have no idea how I did not see this/missed it when rolling out the tabbing during the prior layup. Lucky for me, it was only in the top layer of CF and easily fixed. There is also another 5.7oz layer of CF going over the top of the fix/repair, so no problema!
IMG_9195.jpegIMG_9200.jpeg

Marking and sanding everything for tabbing. I also had to do some re-filleting in certain areas to ensure everything would come out super smooth. Most of the re-filleting was in the corners of the cabinets/shelves-making sure there were no irregularities that would create air pockets.
IMG_9165.jpegIMG_9197.jpegIMG_9199.jpeg

The devil is in the details-what a PITA. Sanding all of the fillets nice and flush with the cabinet frames/shelves/walls, on those that get covered with a finished piece of cabinetry/wood, or grinding the remaining fillets back 3/4", on those that get a finished piece of cabinetry/wood that is inset into the front of the cabinet/shelf to act as a cabinet catch.
IMG_9203.jpegIMG_9204.jpeg
 

Vance Vanz

Well-known member
Tabbing Interior Composite Carbon Fiber Cabinets & Shelves

Oh no!

Not tabbing again? And miles of it! Come on build, give a guy a break.

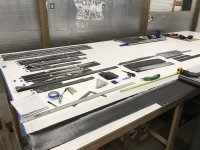
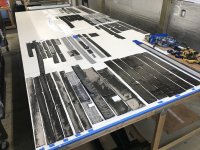
Six and a half (12-14 hour) days cutting the CF cloth, peel ply and plastic for this first round of tabbing. I'm not kidding, SIX AND A HALF DAYS :devilish:?.

"No sense in crying any more than you need to. No one is going to do it for you, so get to work and get it done."

In the grind
IMG_9205.jpeg

Done, stacks and stacks of material
IMG_9209.jpeg

Here is the staging required when tabbing each area, the driver's side overhead cabinet in this case:

First layer marked and in order
IMG_9215.jpeg

Second layer in order and on plastic-wet out station
IMG_9217.jpeg

Peel ply as close to the layup as possible, next to entry door of camper
IMG_9218.jpeg

Epoxy mixing and cleanup station, "CHECK"
IMG_9220.jpeg

Interior cleanup and rolling station, "10-4, GOOD BUDDY"
IMG_9221.jpeg

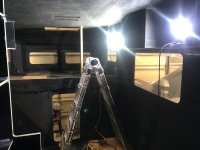
Lights and ladder in place (to see what I'm doing in the carbon fiber black hole), "ROGER, ROGER"
IMG_9223.jpeg

Cabinet surfaces clean, "ALL SYSTEMS GO. READY FOR TAKE OFF."
IMG_9222.jpeg
 
Last edited:

Vance Vanz

Well-known member
Tabbing Interior Composite Carbon Fiber Cabinets & Shelves - Continued....

It's a build thread, keep the carbon fiber PUNISHMENT and pics coming ???;)?!

First layer down and wet out (Wet out cabinet, lay cloth and wet out cloth with a brush). Corner butt joints laid nice and even
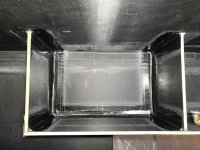
IMG_9224.jpegIMG_9225.jpeg

Second layer in place (pre-wet out on plastic). Corner butt joints still looking good
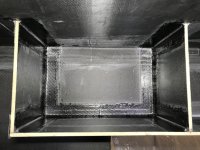
IMG_9226.jpegIMG_9227.jpeg

Peel ply down and final wet out complete
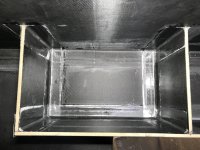
IMG_9228.jpeg

Just a hundred more miles of this to go. No BIG DEAL, who's counting anyway.

All areas tabbed and peel plied
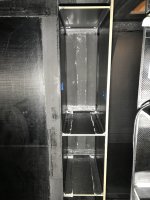
IMG_9212.jpegIMG_9232.jpegIMG_9235.jpegIMG_9238.jpegIMG_9239.jpeg

Somebody shoot me please. Six to six and a half days to lay all of this. This was round one, as round two will be the remaining top and rear blank offs to create needed ceiling and back wall chases.

Tabbing layup schedule for those that are interested:

All cabinet frames and shelves.
  • First layer: 8.85 biaxial 2-1/2"s wide
  • Second layer: 5.7oz 2x2 twill 4-1/2"s wide
Because all of my overhead cabinets are structural, for the roof, I didn't want to go with just one layer of CF for the tabbing. I also have no outside storage beyond the gear locker, so I wanted to make sure that all of my interior shelves were super solid and could support a lot of weight-for tools, recovery gear, adventure gear, etc. Basically all of my shelves are pretty bomber. I've already done the pull up test on the overhead cabinets.

Bottom shelf of the frig stack (supports the frig).
  • First layer: 24oz plain weave 4"s wide
  • Second layer: 8.85oz biaxial 6"s wide
Bed area (Cabinets and bed catch rail)
  • One layer: 5.7oz 2x2 twill, various widths
The blank off shelves that will be inserted/completed during round two, will only get one layer of tabbing (5.7oz 2x2 twill 2-1/2"s wide) since their primary purpose is not structural.
 
Last edited:

Vance Vanz

Well-known member
Tabbing Interior Composite Carbon Fiber Cabinets & Shelves - Continued....
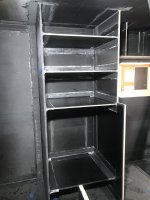
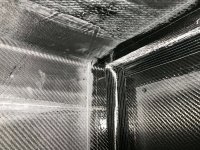
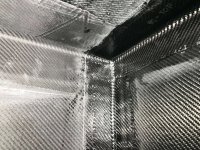
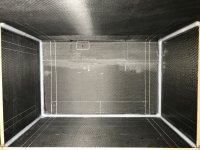
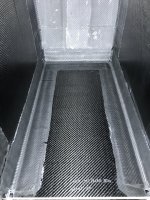
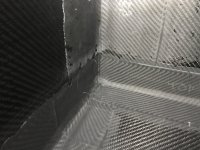
It all looks a bit rough because of the lighting, peel ply marks and different shades of black, but everything came out smooth after pulling all of the peel ply. A light skim of fairing material to blend/fade the edges of the tabbing should be all that is needed before primer and paint does the rest.

I took some pics of various/random areas:

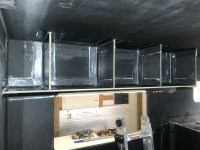
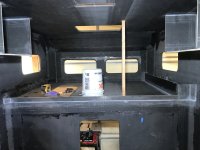
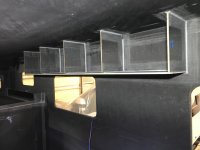
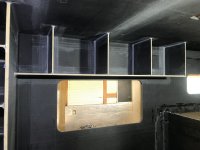
Overhead cabinet: Inside and underside
IMG_9241.jpegIMG_9251.jpeg

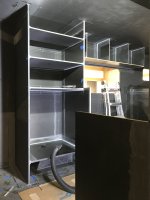
Vertical Closet: shelf and corner
IMG_9242.jpegIMG_9245.jpeg

Bed Area: the last pic is the catch rail where the fix/repair was made
IMG_9246.jpegIMG_9249.jpegIMG_9247.jpeg

See you on the next go around!
 
Last edited:

StenchRV

Well-known member
Vance,

The amount of work you are doing is AMAZING! Makes me feel like I am getting off easy!
I can not wait to see this work of art in person someday. The devil is in the details!
I know the long days are getting "old". I TOTALLY understand, but you are crushing it!

CHEERS!!
 

ITTOG

Well-known member
Yes it looks amazing.

Just dream about using the camper to help with these long and many days. I am almost done with mine and motivation to finish has been lacking.
 

Vance Vanz

Well-known member
Vance,

The amount of work you are doing is AMAZING! Makes me feel like I am getting off easy!
I can not wait to see this work of art in person someday. The devil is in the details!
I know the long days are getting "old". I TOTALLY understand, but you are crushing it!

CHEERS!!
Thanks Craig!! Every now and then a guy needs to hear some words of encouragement (y).

"AMAZING" is one word for it. I call it an ABSOLUTE AZZ KICKING amount of work. If it wasn't for having hundreds of thousands of dollars into the project, I probably would have already pulled the plug.

In some ways it is becoming a little work of art. I just hope I have the energy and motivation towards the end of the project to keep the finish work on point and top notch. I want to be excited about dialing in the finish work and completing some of the cool details I have planned, as opposed to just wanting the F-ING project to be done.

If I can just get through the composite work, I think I will get a little renewed energy by working on projects that are smaller and more manageable. Something taking a week to complete, as opposed to many months, will be refreshing. Seeing the camper on the truck for the first time and getting it back from paint should also be a couple of milestones that shoot a little GUSTO in me.

Also, thanks for continuing to post to your build thread and for sharing info along the way. This is a motivator for me, knowing there are others out there working just as hard, or I should say getting their AZZ handed to them at times as well ;)?!

It has been great to see your project come together. Keep up the good work!
 

Vance Vanz

Well-known member
Yes it looks amazing.

Just dream about using the camper to help with these long and many days. I am almost done with mine and motivation to finish has been lacking.
Thanks so much ITTOG ?.

I do have to think about traveling internationally to remind myself what I'm doing all of this work for. It's about the only thing that helps. Although, these long days that turn into weeks and then weeks into months, in the blink of an eye, can easily put me in the weeds.

I would have never imagined it would take this long to build the shell/interior out of composite/CF. I guess that's what I get for doing it by hand, as opposed to having molds made.

Yah, it will be super cool when it is done and I don't think there are many/any campers/habitat boxes that have a CF shell, as well as roughly 60 percent of the interior made out of CF, but OH MAN this is A TON of WORK.

I'm sorry the motivation to reach the finish line has escaped you. I got faith in you brotha, you'll get back on the horse and get it done. But........, I do get it and feel your struggle.

I know it sounds a little cheesy, and I'm not trying to be your life coach or therapist, but I often have to tell myself "Just keep moving", "pick one small simple task" and "just keep moving". I literally had to tell myself this yesterday and today, because I'm fresh off the recent non-stop 20 day push, without a day off.

Just give me a shout when you need a cheer leader ;)?!
 

Forum statistics

Threads
188,357
Messages
2,905,864
Members
230,117
Latest member
greatwhite24
Top