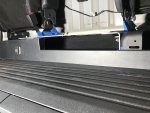
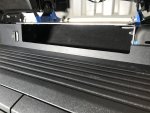
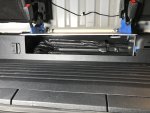
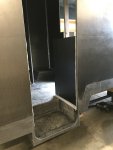
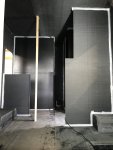
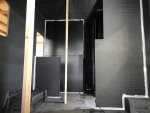
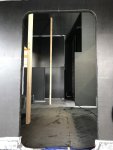
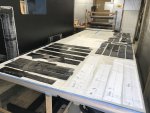
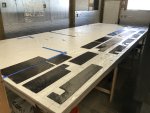
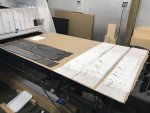
Awning Dry Fit:
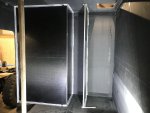
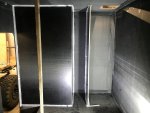
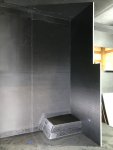
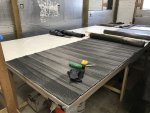
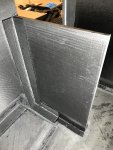
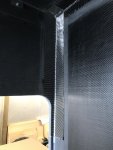
So I bounced around to the dinette booth and then the kitchen counter area to account for anything that would affect any vertical composite walls. Nothing on the dinette booth (as the refrigerator stack accounted for/set this) and the kitchen only had one composite wall on the end near the main entry door.
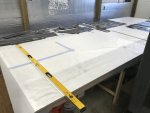
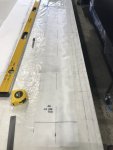
I had to make sure this composite end cabinet wall for the kitchen was cut/mounted to the appropriate depth and height. No biggy on the depth, but the height required me to account for the countertop height and subfloor height, which required me to finalize my decision(s) on a countertop material and flooring material. Another rabbit hole and squirrel brain project, two actually, that are still in progress. I did dial in the MFG, material and associated/needed measurements I will use for the countertop and floor, but have not decided on the final colors. Kitchen counter/area good to go for now related to getting the composite wall bonded.
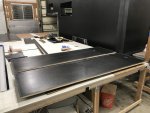
Next up, upper cabinets, which will also be composite. This one required me to account for everything that will need to be mounted in/to the ceiling area or installed in the 2" ceiling chase. Pretty much all of this is complete, except for dry fitting the awning. I technically could not find specific specs for the mounting hardware on the awning, prior to buying it, and several phone calls/inquiries about this info were never returned.
All of the detailed measurements and cross referencing placement on everything, so nothing is missed or SCREWED UP.
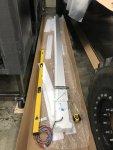
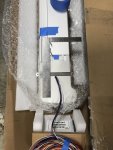
Drilling several hole in the shell always provokes some anxiety ? and the measuring 100 times and drilling/cutting once philosophy applies.
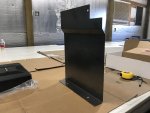
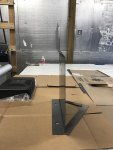
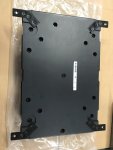
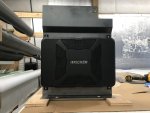
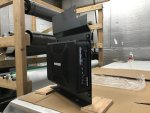
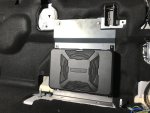
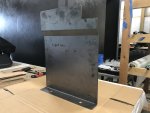
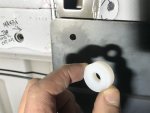
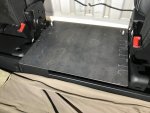
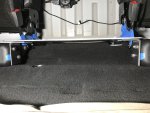
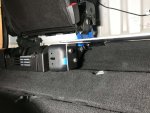
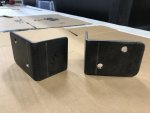
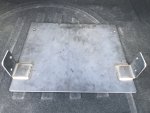
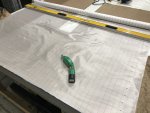
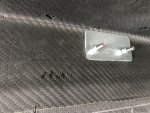
Fiamma has bolt throughs only on the ends of their mounting bracket and the field is screwed into the shell. Since I did not imbed a solid surface to screw into, in the layup, I decided to ditch the screws and just add a few more bolt throughs with backing plates. Not a big deal, actually less holes overall into the camper shell, but I did have to make three more galvanized backing plates to match the factory ones. I kept them large enough to prevent point loading on the shell.
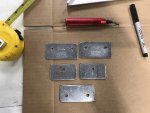
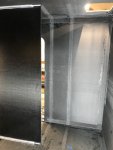
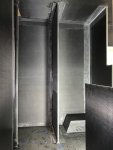
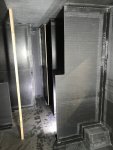
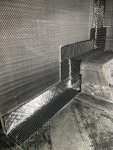
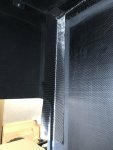
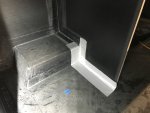
Lucky for me, the mounting bracket, which mounts to the outside wall of the camper and the associated location of the internal backing plates, just sit within my 2" ceiling chase, inside the camper. I don't have to drop the ceiling chase/headliner any lower than originally planned ?. They are snug towards the top of the inside wall, but also sit just under where the composite fillet begins in the corner of the wall.
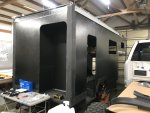
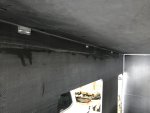
FYI: I'm running the Fiamma F45 Eagle 400 (Side Wall Mounted)
I thought about a recessed roof mounted awning, like ER has, but I decided against it for two reasons.
#1. I'm going to have a three panel solar rack that slides out from underneath another three panel solar rack on the passenger side. If I had a recessed awning, I would have had to build a frame that extended out over the awning to account for mounting the solar panels. The solar panels will need to be mounted right to the edge of the roof foot print given everything I have going up on the roof. I need every inch of width I have on the roof. A custom rack extended over the awning was another custom project I didn't want to try and tackle given the slide out is already going to be a project in itself.
#2. I did not want to give up the internal overhead cabinet space that a recessed awning would have taken up.


