2022 Ford F550 - DIY - Adventure Expedition Vehicle Build Thread

Vance Vanz

Well-known member
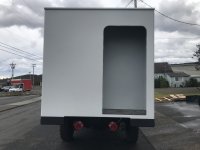
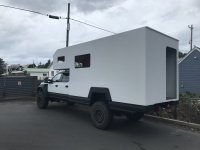
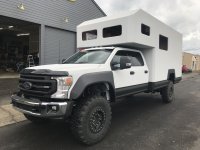
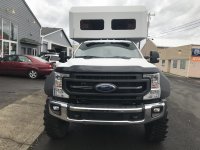
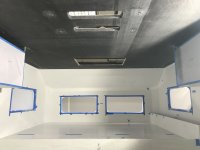
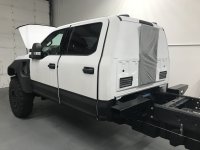
LINEX - Exterior of Truck & Camper - Complete

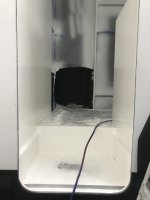
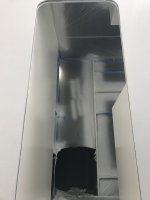
I snapped some quick pics. The lighting is not the greatest and we were in a hurry to beat an incoming rain storm (2 hour drive from the LINEX shop to the interior paint shop). Rigging the camper and transporting the steel-camper-stand around on a car trailer is getting old, but you just gotta get it done.

1.jpeg
2.jpeg3.jpeg4.jpeg5.jpeg
6.jpeg

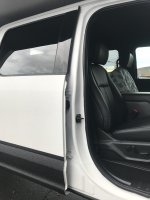
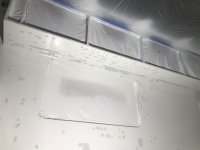
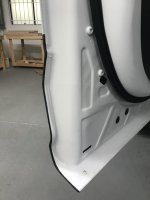
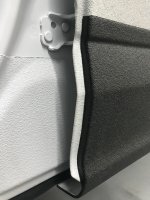
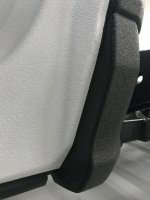
Here are the door jambs, color matched and the cut line from LINEX to paint.
7.jpeg

LINE-X of Clatsop County
Address: 781 Avenue A, Seaside, OR 97138
Phone: (503) 739-7556
CeeCee is the owner and she ROCKS!
 
Last edited:

Vance Vanz

Well-known member
Interior Paint - Carbon Fiber Composite Camper

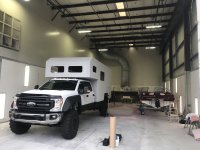
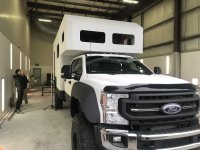
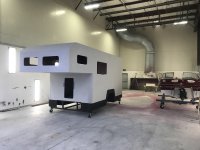
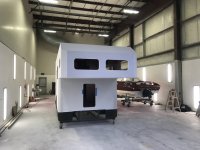
Straight from rigging the camper at the LINEX shop and into the paint booth for the interior paint.

When I first visited their site, they had a huge yacht in the booth. It's hilarious to see my dinky little camper and a small ski boat in there 😆.

IMG_1900.jpeg
IMG_1901.jpeg
IMG_1902.jpegIMG_1903.jpeg

Did I mention that rigging the camper and trailering that stand around is getting old? 🤪.

I won't go into much detail, as I've already expressed the point of how hard it was to find and lock down a shop for the exterior coating, but know that the process to find a shop to paint the interior of the camper was even more of a pain. Maybe a PITA x 4, as opposed to a PITA x 2.

I ended up going with a paint shop in the marine industry, one that paints boats/yachts. No, it's not because I'm loaded and just love to spend more money on things than I need to. They are one of the few shops that met the 1. Capable, 2. Confident and 3. Wanted to criteria, as previously discussed. In the end, they were actually cheaper than other shops in other industries.

Many of the automotive, commercial, semi truck, trailer, etc. shops wanted nothing to do with the project (in general and/or because it was composite). The few that were (somewhat) willing to take the project on wanted way too much money. The "we normally don't do projects like this, but we're willing to give it a shot", combined with the high price tag, was not comforting.

I'm not saying this will always be the case if you have a composite camper/interior, but I wished I would have listened to Wild's advice earlier on in the process, to just stick with finding a shop in the marine industry for painting the interior. This would have saved me so much time.

The other benefits beyond the chosen shop being: capable, confident, wanting to and more reasonably priced is, the primer/paint will also be super durable, epoxy based and what they use as a top coat on boat/yachts. Between LINEX on the outside and a marine top coat paint on the inside, I don't know how I can get any more of a rugged and refined set up.

Just don't ask me how much all of this is costing 🙄............, because I won't tell you :LOL:. It'a good thing I don't have a wife or kids yet. If I did, I would be in BIG trouble!!!!
 
Last edited:

Vance Vanz

Well-known member
Interior Paint - Carbon Fiber Composite Camper - Continued......

Well, I think I need to crank the PITA x 4 up to a PITA x 5 for the interior paint. The saga continues..... 🤯.

About 3 or 4 days after dropping the camper off at the paint shop, I got an email. They basically wanted just under double the price they originally quoted me. Mind you, we already had a signed contract!

W😳T🤨F🤬? should have initially run through my head, but all I could do was laugh. This build is apparently testing the limits of my resolve and somehow teaching me a lesson that I just can’t quite comprehend yet. I’ll let you know when it all finally makes sense one day. Until then, I’ll keep mucking up the crap 💩!

After sitting with this reality for a few minutes, half of my brain wanted to go down the pissed off route “This is a bait and switch tactic and illegal as hell! I’ll show them they’re not dealing with an idiot……….," I took a deep breath.

The rational side of my brain: "I don’t think it was malicious. Obviously, somebody in their office dropped the ball pretty big. The price is still somewhat in line with other shops………., Somehow, I just need to deal with it and keep moving forward."

Paying their new asking price was simply not an option. I don't have any more tens-of-thousands-of-piggies in the bank to be spending on items that are over budget.

Since this shop was one of the few that I felt could actually do a good job, I started thinking 🤔 about creative options that could still keep the price at the original quote. I ran my ideas by Wild’s to see whether I was being unrealistic, or missing anything, and to also get his thoughts/ideas.

Luckily the paint shop was open to my/Wild's ideas and agreed to stick to the original amount. But 🥺, the cost was me doing work that I had not planned on doing and work that I had ABSOLUTELY NO interest in doing!

The Plan: The paint shop is going to prime it. I get to do all of the sanding/pit filling and coat all of the interiors of the cabinets. The paint shop will shoot the paint.

Oh Boy! Back to the Gritty Grind!

Erin and I rigged the camper back on the truck, got it back to my shop and I got to work.

Primed
IMG_2002.jpegIMG_2003.jpegIMG_2006.jpeg
The primer is not tan/yellow; I promise. The lighting just sucks 😁​

IMG_2010.jpeg

Filling pits; round one of two
IMG_2011.jpegIMG_2012.jpegIMG_2013.jpegIMG_2015.jpeg
IMG_2014.jpeg

Thousands of pits, about 2,300 to be exact. How do I know this?........, because I had no choice but to count them. It was either count them while filling them, to occupy my brain, or deal with the insanity of the reality of what I was doing. So far on the build, filling pits has been the worst task, followed by sanding the interior of the camper (IMHO) 😊.

Filling the pits is not the hard and insane part. Mixing the two-part filler material in a tiny batch, applying said tiny batch before it dries and cleaning off all of the mixing and application tools after each tiny batch (to get 25-35 pits filled per batch/round) is the insane part. 2,300/30 = 76.67 batches/rounds. Somebody please put a bullet in my head!

Moving on..............
 
Last edited:

Vance Vanz

Well-known member
Interior Paint - Carbon Fiber Composite Camper - Continued......

Homemade camper sanding booth:

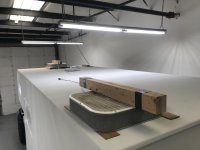
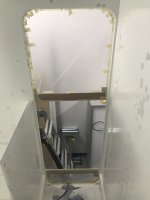
I taped off all the windows and pushed air in through the skylight and sucked it out through the vent fan cutout in the bathroom ceiling/roof.
IMG_2028.jpeg

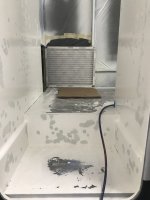
I installed double filters on the outlet air, one at the inlet of the bathroom and one at the cutout in the roof for the vent fan.
IMG_2018.jpeg

Time to get the door sorted, last item on the DIY sanding booth punch list.
IMG_2023.jpeg

Recycling CF composite scraps to strengthen my removable door
IMG_2025.jpegIMG_2024.jpeg

I know they make zipper doors, but I needed the door up and running ASAP.

Not too shabby for my new sanding home. It's definitely brighter than the last time I had to spend 3-4 months sanding the interior of the deep-dark-black-box. The sanding booth worked perfect for the duration, not a spec of epoxy dust in the shop 😁(y).

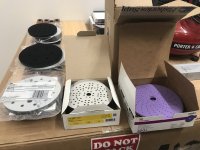
More expensive consumables
IMG_2041.jpeg
IMG_2032.jpeg

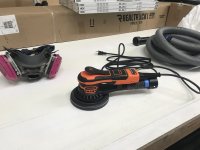
I broke down and bought a new toy for the sanding. It comes with a 4 and 5" pad. For the price point (on sale), it's options/accessories and how well it works, it's hard to beat for an electric DIY sander.
IMG_2029.jpeg
 

Vance Vanz

Well-known member
Interior Paint - Carbon Fiber Composite Camper - Continued......

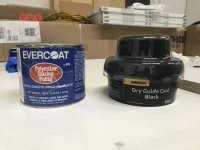
Since I'm a Pre-fessional, I used guide coat for the 320 and 400 grit sand. This is prior to the 320 pass.
IMG_2035.jpeg

I wanted to make sure that I didn't over sand anything. I was surprised at how much I actually needed to sand, in order to get the orange peel/guide coat out for the 320 pass. If I hadn't used the guide coat, I would not have had a clue on how much to actually sand. For the 400 pass, it helped me stop, as soon as I needed to, to prevent blowing through the primer.

Rookies need training wheels and I'm glad I had a set 🤓!

I got a new shop partner for the day, Bikkie, Erin's puppers. (Only allowed to come to the shop after the sanding was complete!)
IMG_2048.jpegIMG_2051.jpeg

Wilds sent me a quick sample of an option for coating the interior of the cabinets. "Yes, it has a few lint specs in the sample. I said it was a quick sample, didn't I." 😜. Thanks again Wilds 🤙!
IMG_1967.jpeg

A Sneak Peek at some of the additional exterior finished painted/coated items
IMG_2056.jpeg
IMG_2057.jpeg

I had the back mounting bracket for the awning color matched to the light grey of the LINE-X on the exterior of the camper. The Fiamma awning was also LINE-X'd in black. It looks super sweet.

I can't wait for the day that I can actually start mounting some SH(😃🥳😎)IT to the build and not have to take it back off. Some day........., Some day.............,

Night, night, an early build morning around the corner 🥱😴.
 
Last edited:

ITTOG

Well-known member
Filling the pits is not the hard and insane part. Mixing the two-part filler material in a tiny batch, applying said tiny batch before it dries and cleaning off all of the mixing and application tools after each tiny batch (to get 25-35 pits filled per batch/round) is the insane part. 2,300/30 = 76.67 batches/rounds. Somebody please put a bullet in my head!
This cannot be overstated even if you said it 1,000 times. By far, the worst! Goodness I hate it. I thought I would hate the sanding, and I did, but this was 100 orders of magnitude worse. Even more when it hardened before you were done.

Good work and congrats on staying with the madness even though the shop let you down. Hopefully they bore some of the error in their quote as well.
 

Vance Vanz

Well-known member
Sorry you went through some similar pain ITTOG.

The effort and patience required for good paint prep is no joke. My hat goes off to all of those who do it for a living.

Thanks! "Just keep moving forward" is still my mantra on this beast of a project.
 

Vance Vanz

Well-known member
Interior Coating - Carbon Fiber Composite Camper

Sanding complete!

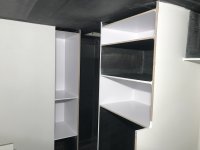
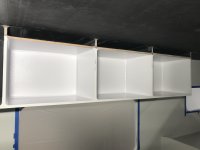
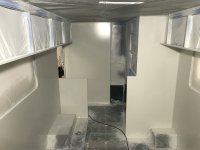
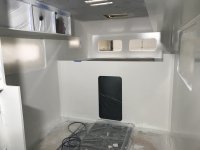
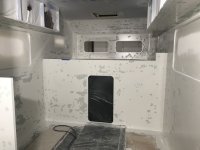
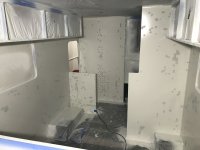
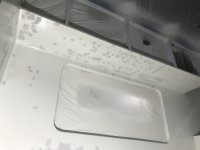
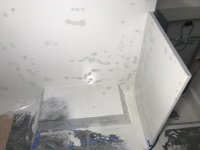
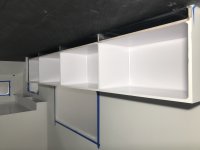
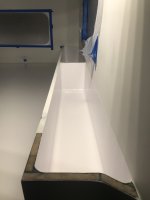
Vacuumed everything, blew it out, vacuumed again and then gave everything several thorough wipe downs. A little masking here, some taping there and finally it was time to get some coating down. A two-part epoxy based marine coating was used, color matched to the final interior wall color (Awlgrip, Cloud White).

Of course, I got this process started a little later in the day than I would have liked, so it was another long night 🥱. The camper-stand was left at the paint shop, as my new shop has limited space. Yes, I moved shops again (#3) 🤯, because I’m now located in the PNW, just outside of Portland. Maybe we’ll get to those details in the next Humanness Check-In. Back to the regularly schedule program.

So, with the camper on the truck, the difficulty was the cabover side windows being about 10’-6” off the ground and the front cabover windows being inaccessible. This made for an interesting process of pulling the tape (cut-line tape) in the cabover section before the coating started to set up/dry.

I started pulling the tape from inside the camper (at the passthrough wall). I then handed Erin the end/ball of tape (she was on a tall ladder leaning through the side cabover window). She had to make sure NOT to drop anything in the wet headboard cabinets right below her, or on the bed platform 😧. I then had to exit the camper, climb the same ladder she was on (around and over her 🐒) to get on top of the roof. From the roof, I had to hang through the skylight as she passed me the end/ball of tape. I then had to do a one-handed-stomach slide along the length of the skylight opening, one hand holding the ball of tape and one hand supporting me as to not fall into the camper and onto the wet bed platform. Oh! and don’t forget, all while making sure that the condensation in my full-face respirator did not drip on the wet coating while hanging upside down. Did I mention that we were in full-tactical-PPE-gear during this process?

I then had to hand Erin the ball of tape as she was now leaning through the opposite side window on the tall ladder (tall ladder that she had to awkwardly move around the truck/camper in the tight/dinky shop, all while making sure NOT to scratch the new LINE-X’d truck/camper along the way). I then had to monkey-crawl over her and around her, again, to get down the ladder/off the roof and back into the camper to make the final tape pull. It was a laughable sh:)poop:)it show at 2am in the morning.

How on earth Erin and I did that without dropping anything in the wet coating, or accidentally bumping a body part into the coating, is beyond me………….? Who cares; it’s done and we’ll check that one off the list .

Without further ado, here are some pics,
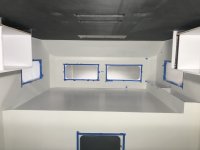
IMG_2060.jpegIMG_2062.jpegIMG_2061.jpegIMG_2064.jpegIMG_2065.jpegIMG_2063.jpeg

The color in some/many of the pics looks like a cloud-eggplant, as opposed to a cloud-white. This initially freaked me out 😲😬, but after getting the final paint on, everything matched up 🥴🫠, relief........... The shop-light I use inside the camper always throws the color-shade out of wack. The last pic is closer to what the actual color looks like.

Back to the paint shop for a few primer touch ups and then they will shoot the paint.
 

Vance Vanz

Well-known member
Added Composite Structural Support - Roof
Not a huge deal, but I thought I would mention it because of a few encounters I had.

My roof is technically solid, no structural/load issues with my current design and what will be going on the roof. But…….., I had a little itch (what I might call a whisper when I’m working with my clients as a therapist).

The gap between the skylight and the rooftop A/C has the composite overhead cabinets that come out a bit and help support this area, but there is no stringer/support across the entire width of the roof. The area right behind the skylight, where you would push on/weight the most when bouncing off of the bed to get onto the roof, also has no additional support.
IMG_2066.jpeg

After getting the A/C unit on the roof, the double stack solar panel racks that will end in this general area and two full size adults on the roof in this area (this will be a small sitting area on the roof of my build), I started to ponder whether it would be a good idea to get some additional structural support across the roof. I sat with this for 6-9 months, as I was tired of composite work and was also working on what people might call “perfectionism”. Or, should I say, My Perfectionism 😁 (letting the "little" things go and moving on with my life)!
I finally said “Screw it, follow your intuition an inner wisdom, and just get a structural support bonded to the roof. If you don’t, it will eat at you and you will regret it. Finish the build with no regrets. Leave it ALL on the field!” Sometime you just gotta have a good-old-fashioned talking with yourself! 🫡.

So, I begrudgingly just got it done.
IMG_2524.jpeg
IMG_2528.jpeg

I think you can park a car on my roof now 😆!

Now to the point of this whole story.

Literally about two weeks after getting this done and getting the camper back to the paint shop, I ran into a fellow with a well know kit box. We started chatting about camper structural materials, etc. and he showed me the sag in his roof just behind the skylight and in front of his rooftop A/C (very similar setup to mine). He was disappointed in the lack of structural support and sag in his roof, for many reasons.

About three weeks after that encounter, the van builder/upfitter next door to my new shop had an older-ish model of probably the most well know U.S. overland/expedition builder in their shop. The owner came over and asked me to look at something composite related. "And who would have guessed it" a structural sag right behind the skylight in the cabover area. I just started laughing (not at him or about the situation of course). This sag was even worse than the last one I saw on the kit box and this rig only had 40K miles on it. I just shook my head and couldn't believe it.

Moral of the story, always follow your gut and those whispers, even if it costs you time and $$.
 

Forum statistics

Threads
189,414
Messages
2,916,584
Members
232,261
Latest member
ilciclista
Top