Well, since the owner found it necessary to take yet ANOTHER vacation during this project, I figured it would be a good time to add a little color to the story from the guy in the trenches here (he's not here to protest and once he gets back, maybe he'll fire me!!). Several pics were posted that didn't really come out too clear, so I'll add some that are a bit easier to look at. Anyways, lets take a quick look at some of the behind the scenes action taking place on this janke hooptie.
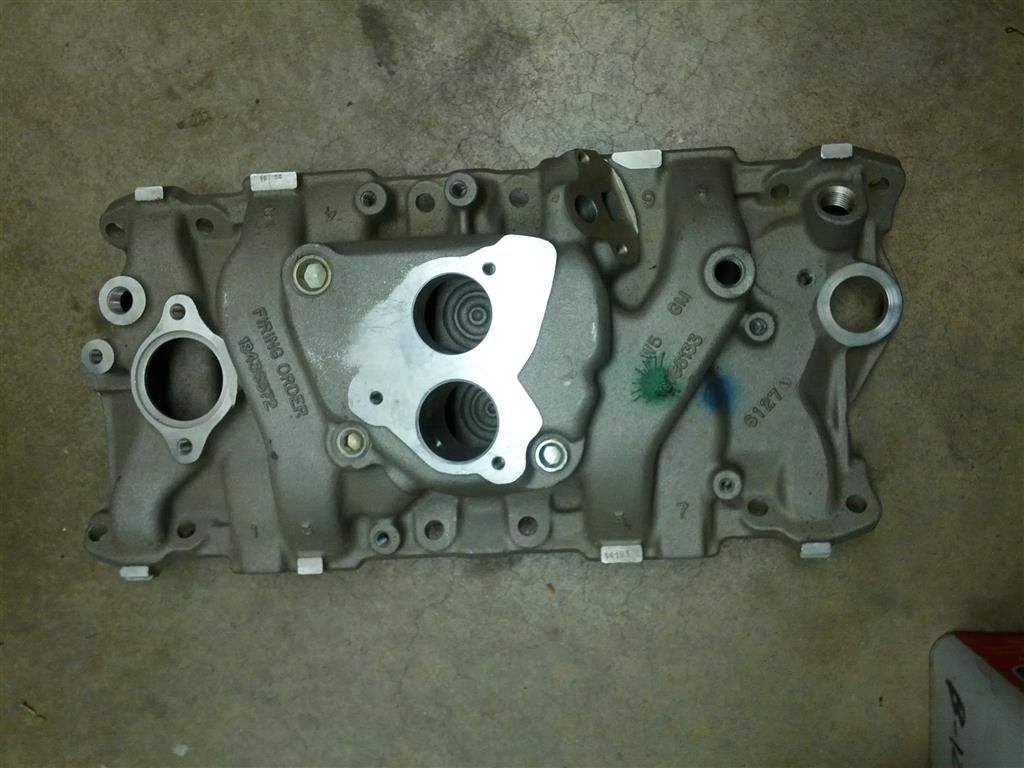
We started with a NOS TBI intake manifold from my inventory:
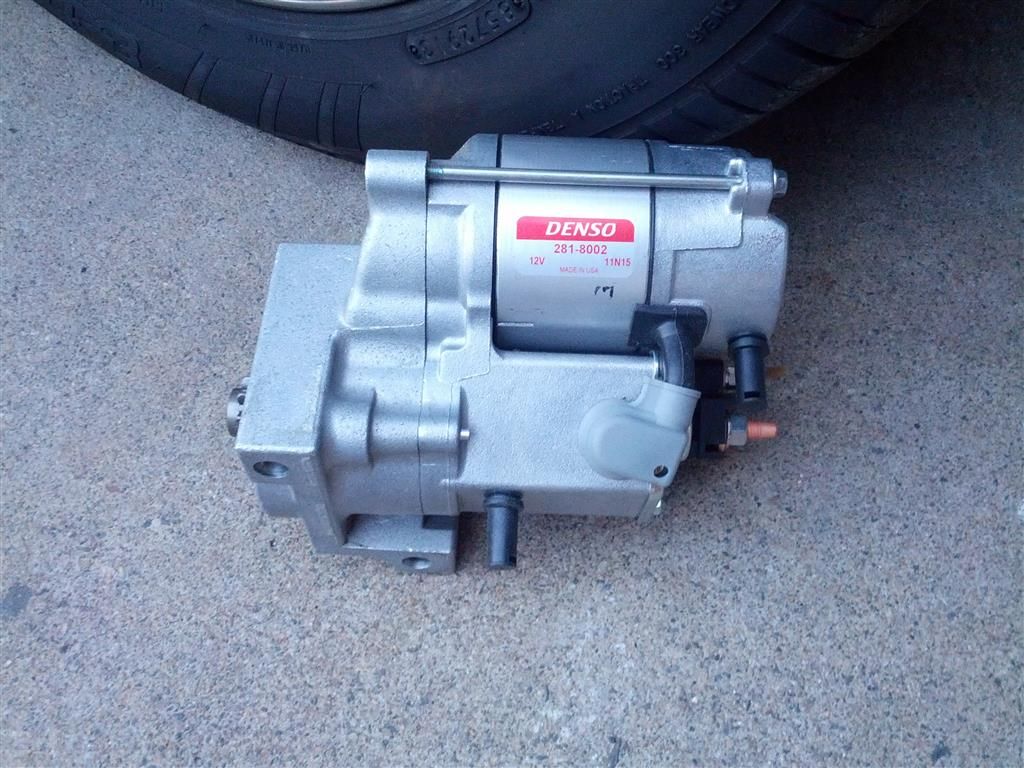
This truck also got a Denso H/D starter:
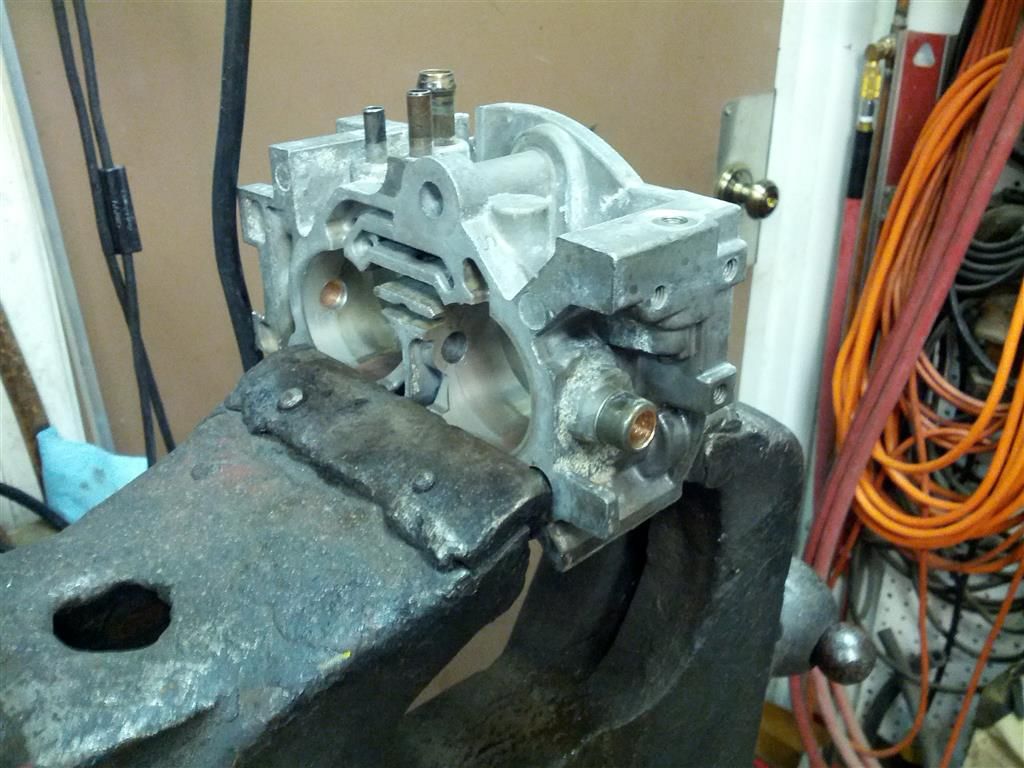
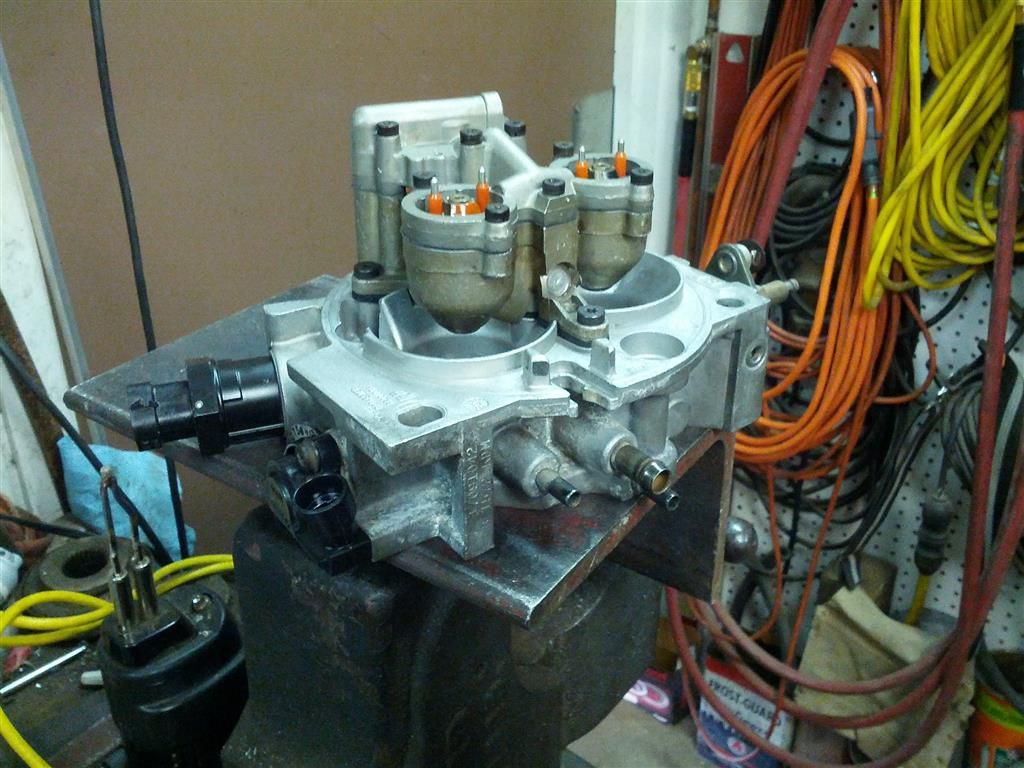
We scrounged our parts out of some local wrecking yards and I proceeded to go through all of them before installation. Here is the throttle body when I was installing new shaft bushings:
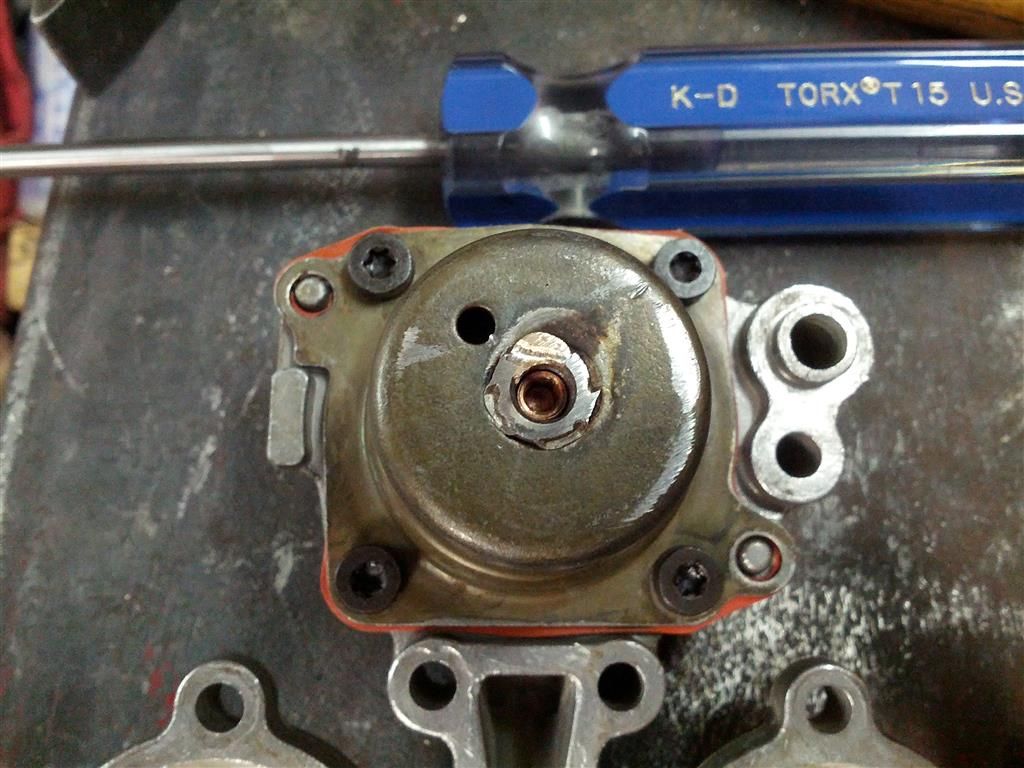
I also modified the original pressure regulator so it is adjustable now:
Here it is with its new Delco IAC and TPS on it:
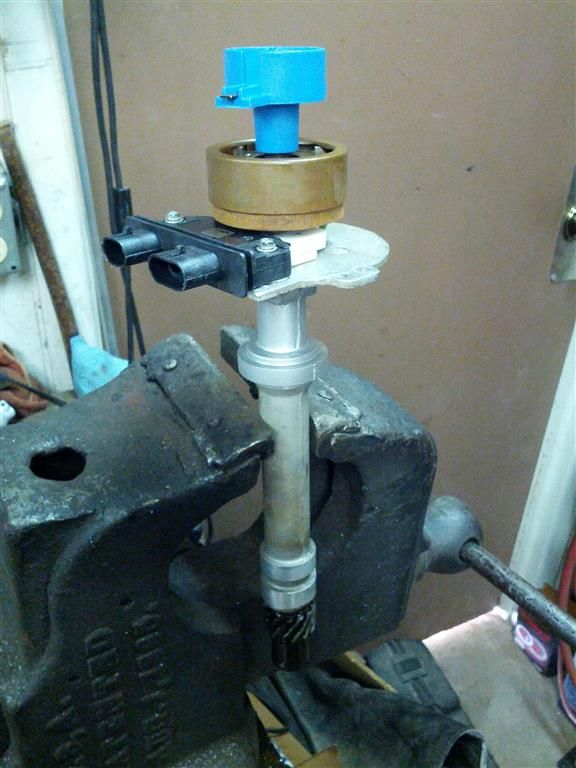
I went through the distributor using all new Delco components (except for the Blue Streak cap and rotor):
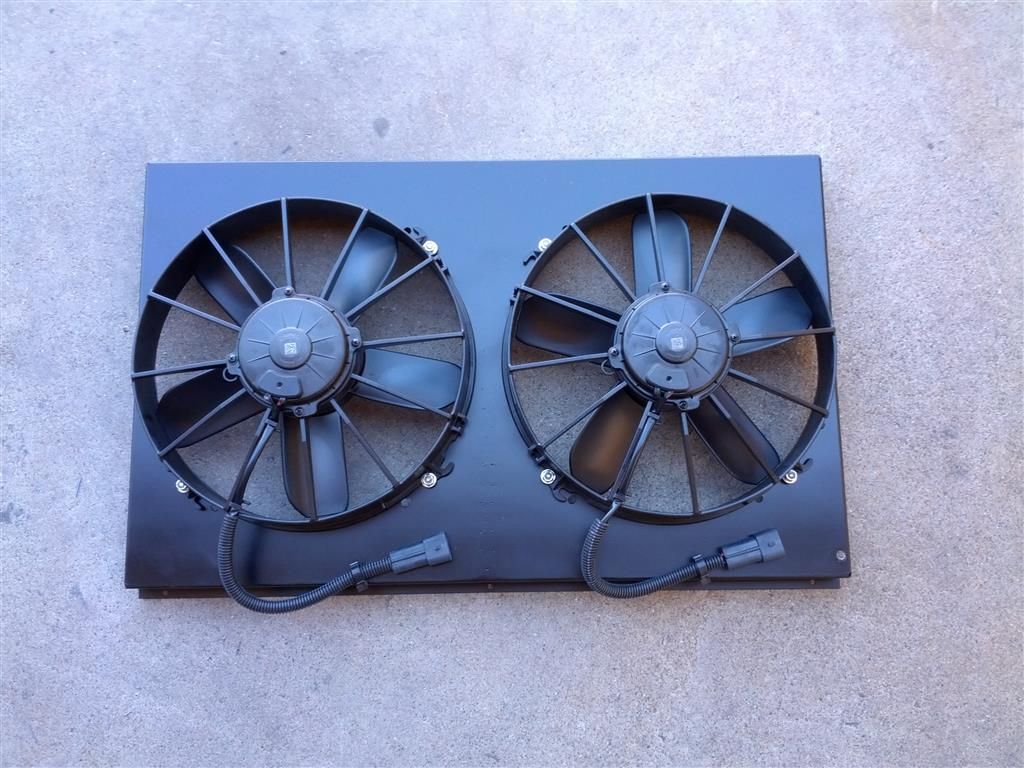
Shot of the dual electric fan setup that got installed. He bought the shroud from somewhere and it is set up for some other brand of 12" fans. These Spal hurricane machines I found which are also 12" require a larger hole in the shroud, so I plasma cut a 3/8" ring out of the inside diameter of the fan holes in the shroud. I got those mounted up then I converted the connectors on the fans over to a MetriPack 630 setup so the connectors will be the same as a factory electric fan setup and weatherproof as well.
The radiator was found to be junk, so it was replaced also.
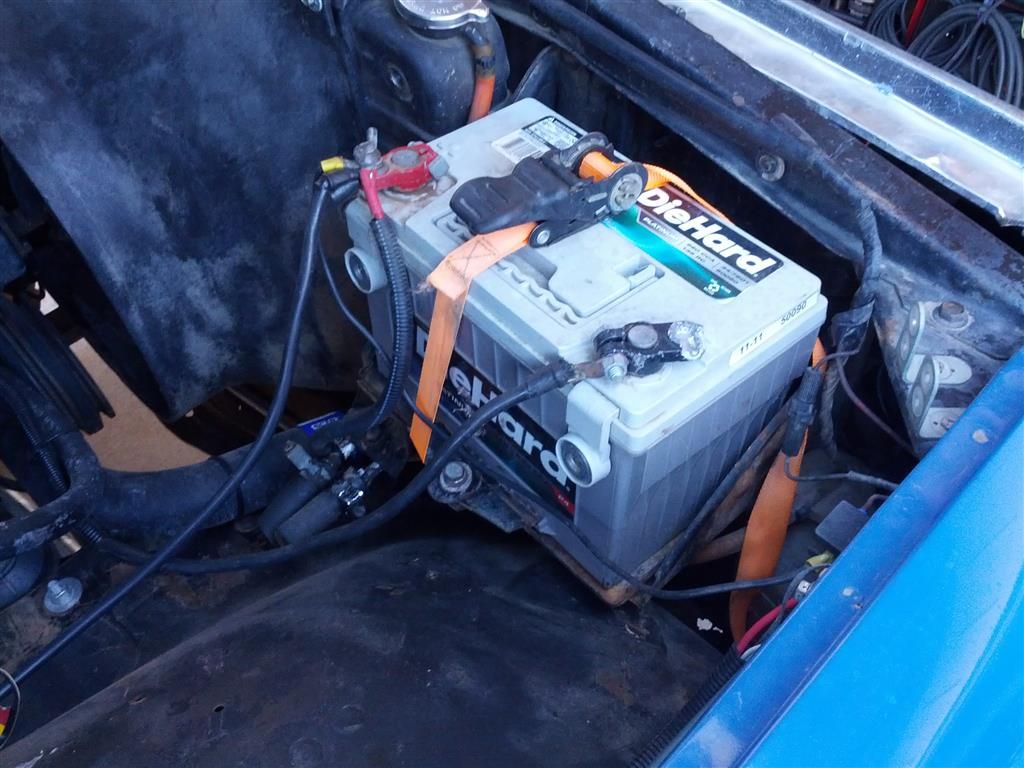
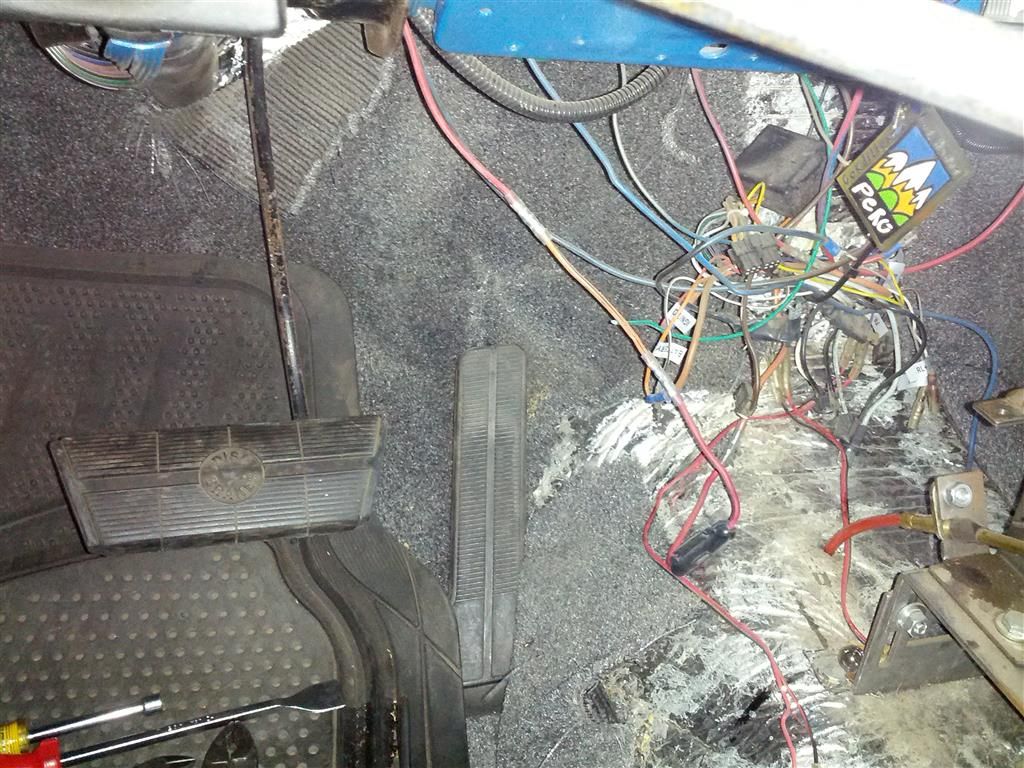
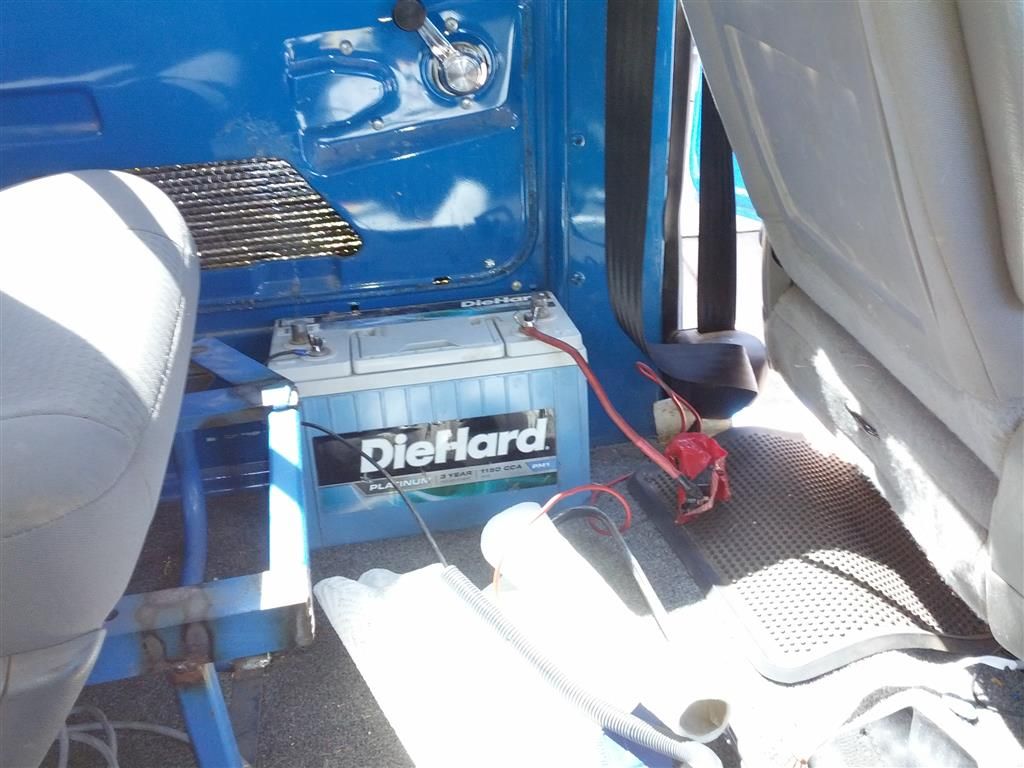
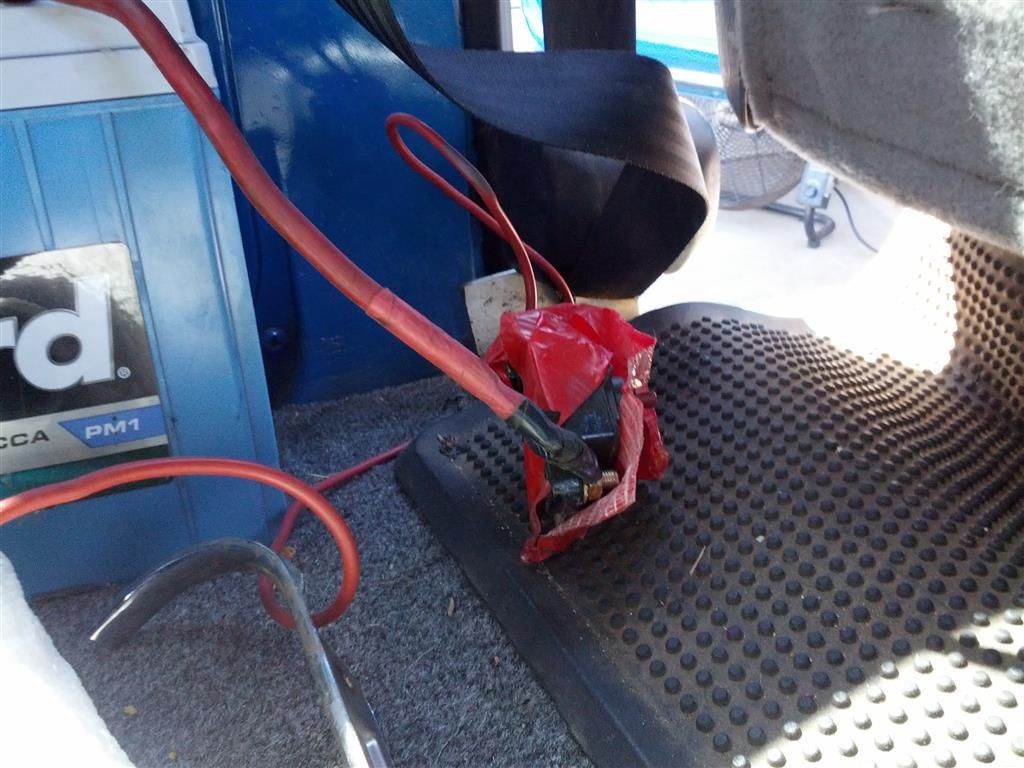
In order to convey how nice this is turning out, one must understand what the raw material consisted of. The following pics are some of what was removed to try to de-janke this thing:
High-speed, light weight battery hold-down:
Uh, <facepalm>: (The brake pedal was his birthday present from me last year. Having an aftermarket left leg makes hitting the tiny stock brake pedal very difficult, so I figured this would be a good addition to the truck)
Dual battery setup: Safety third!!
Nothing but the best:
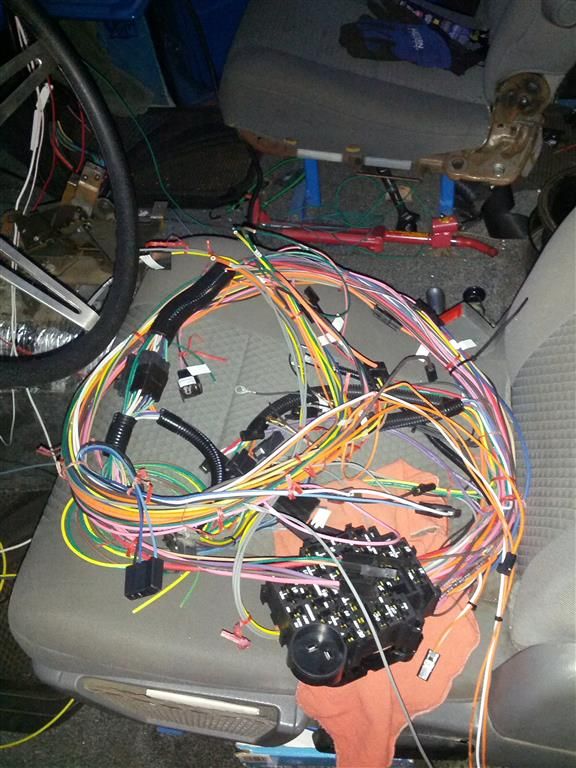
Now the wiring was a challenge as there are so many accessories in this particular truck that many modifications had to be made before a harness could be installed. We started with an American Autowire setup that we got from tkorinek. It is a real nice setup, it uses high quality GXL wire, but I had to put a bunch of hours into modification to make what we needed to run all of the electrical crap in this truck. Just a note, if you don't have a bunch of weird stuff in your rig, the harness goes in very easily--I highly recommend them. So anyways, I put a bunch of time into the harness and the end result looked like this:
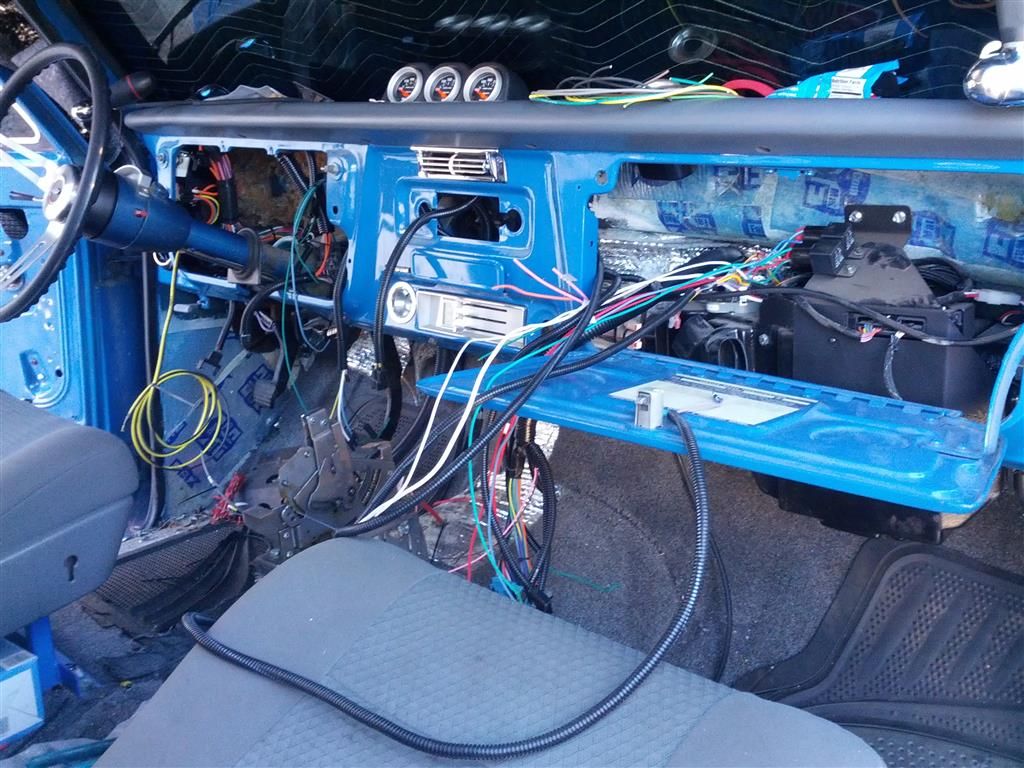
Getting a bit closer:
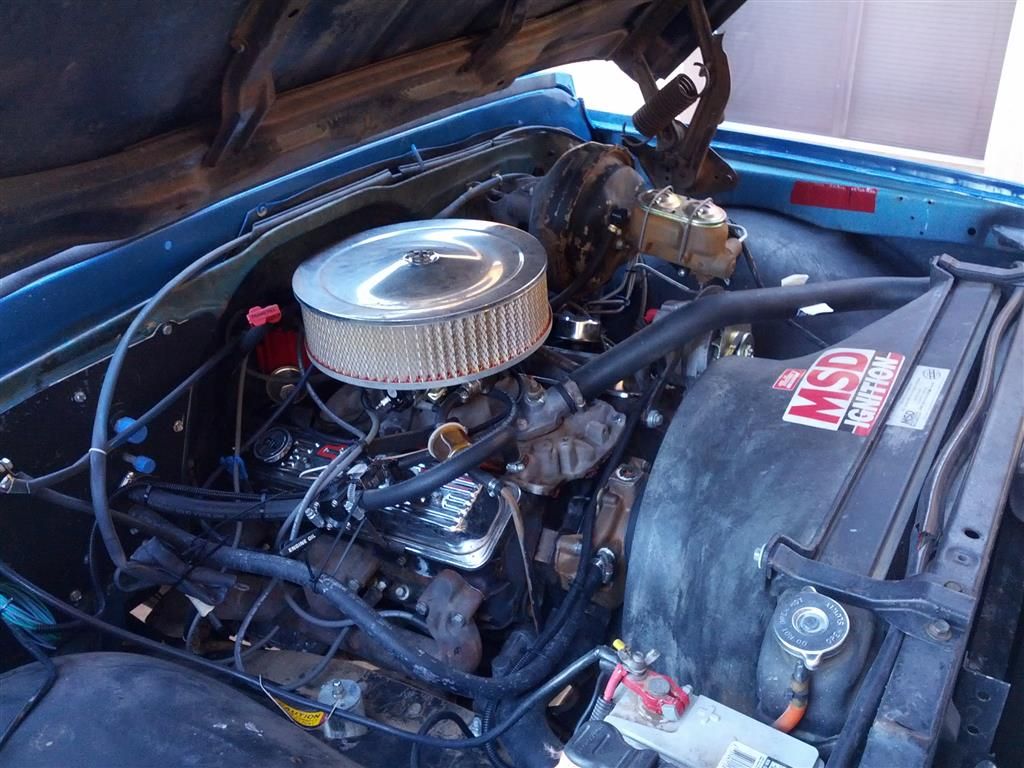
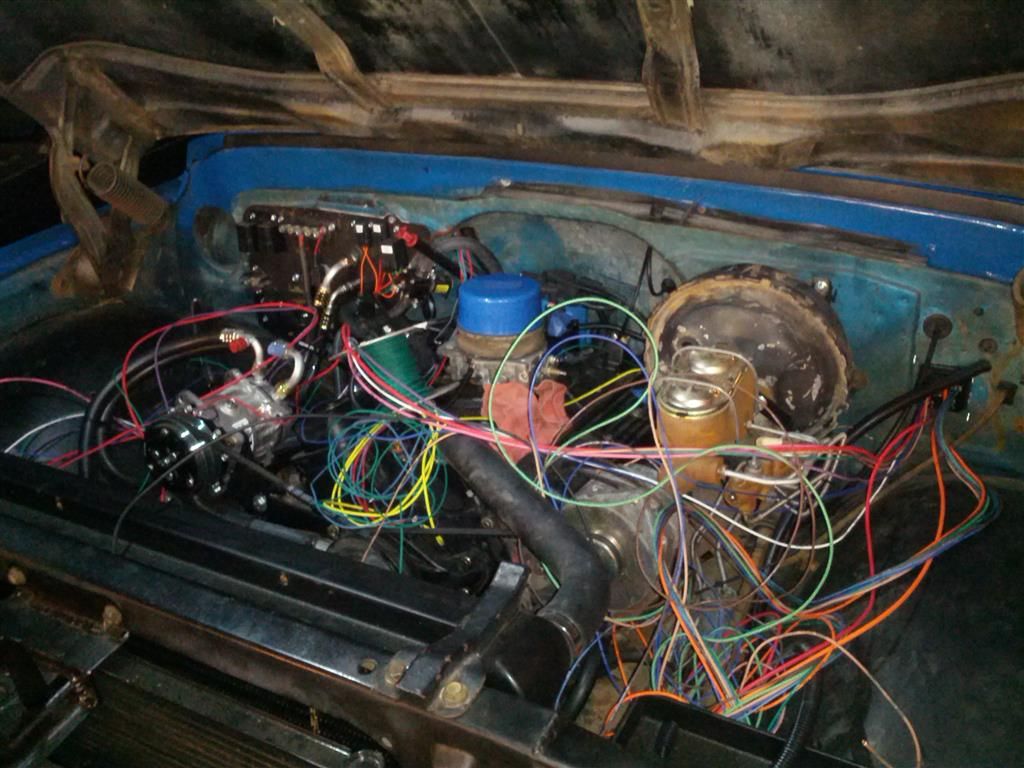
Underhood rough-in:
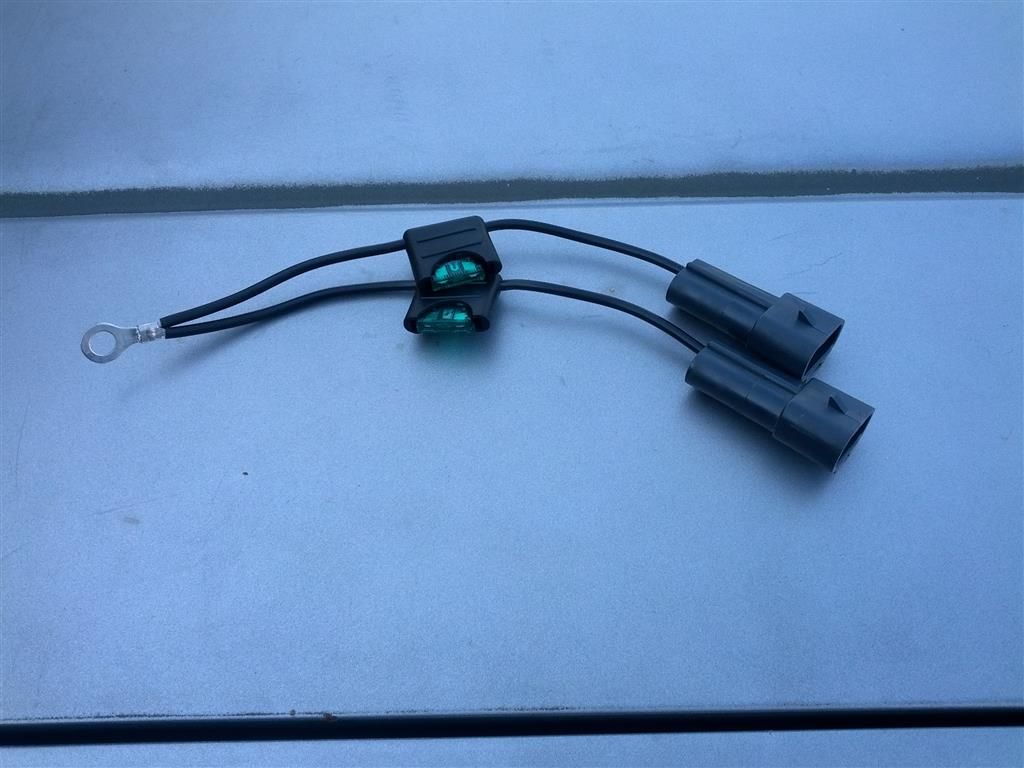
We used a really neat Dakota Digital fan controller to control the electric fans, but with where this hooptie is going to be taken, I figured an emergency bypass of everything fancy in the fan circuit would be a good idea. The fuses get pulled out of the Weatherpack fuse holders and those connectors get installed in these female connectors. The ring terminal gets connected to the main power distribution bus bar with a wing nut and the fans are on, period. No switches, no relays, nothing. If the fan motors work and the truck has 12 volts, the fans will be on.
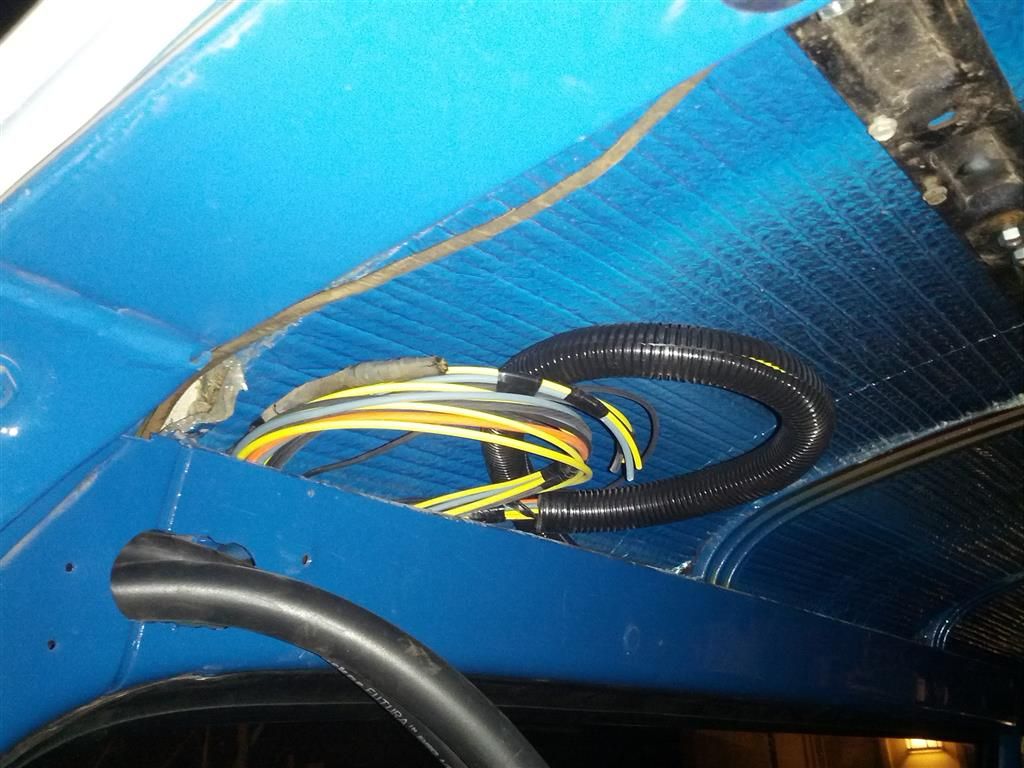
All of the wiring for rear ac, roof rack lights and solar panel. All run in appropriate size and color codes using the OE thermal cross linked polyethylene jacketed wire: (the remnants of the stock lamp harness has been removed since the pic was taken...)
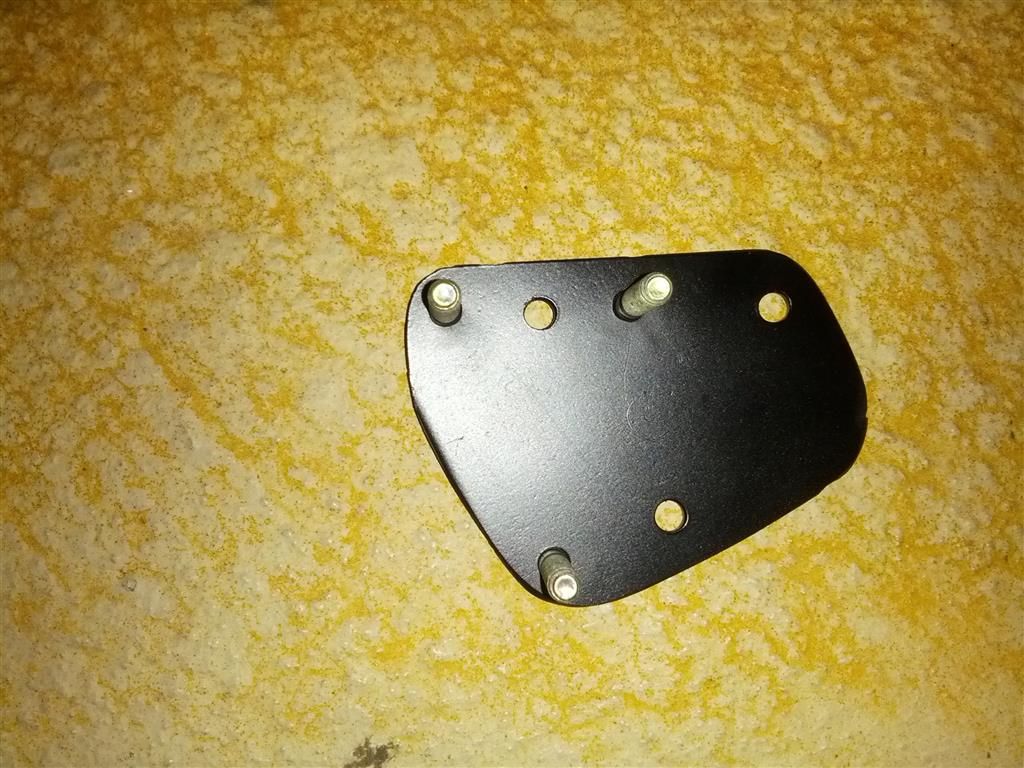
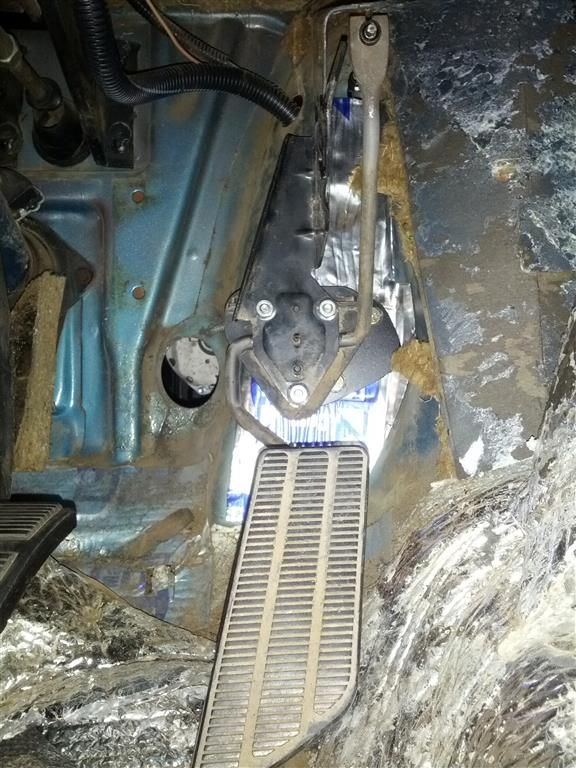
The fuel injection setup needed a cable style gas pedal setup, so I made and adapter to run the cable setup mounted to the mechanical pedal mounts in the firewall:
Installed:
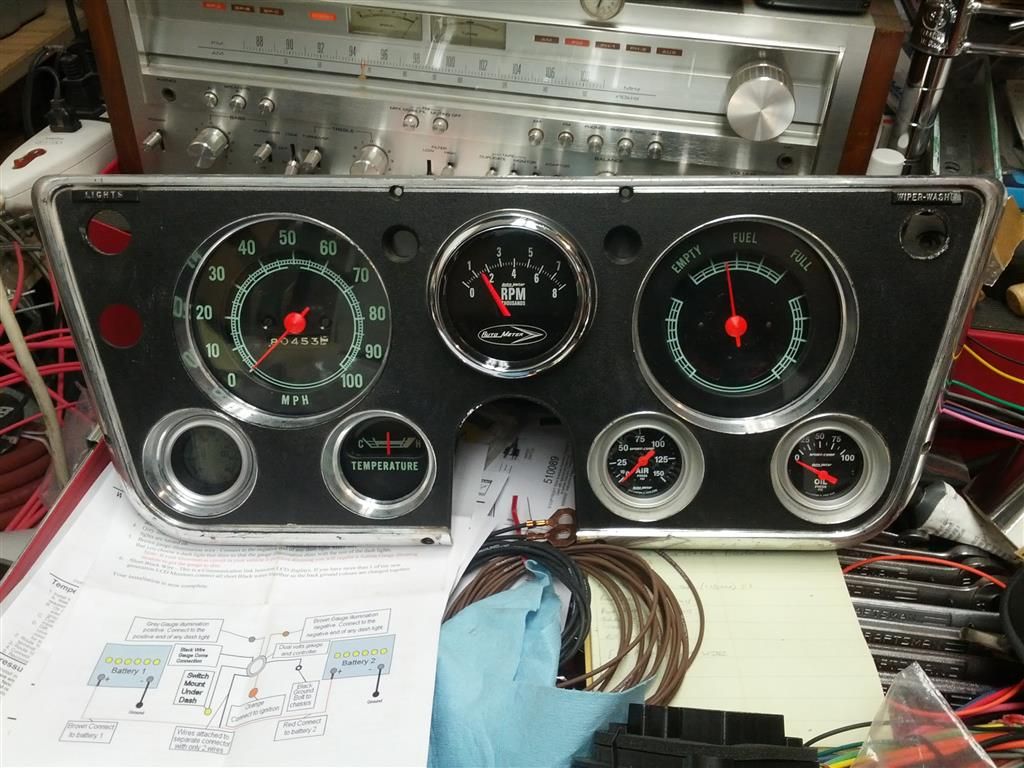
Here is a little clearer photo of the cluster I built for this thing. Lance wanted the tach hose clamped to the column.....Ugh. I couldn't do that, so I mounted it in the dash. It is one of those Autometer retro series pieces. Looks kind of neat in there:
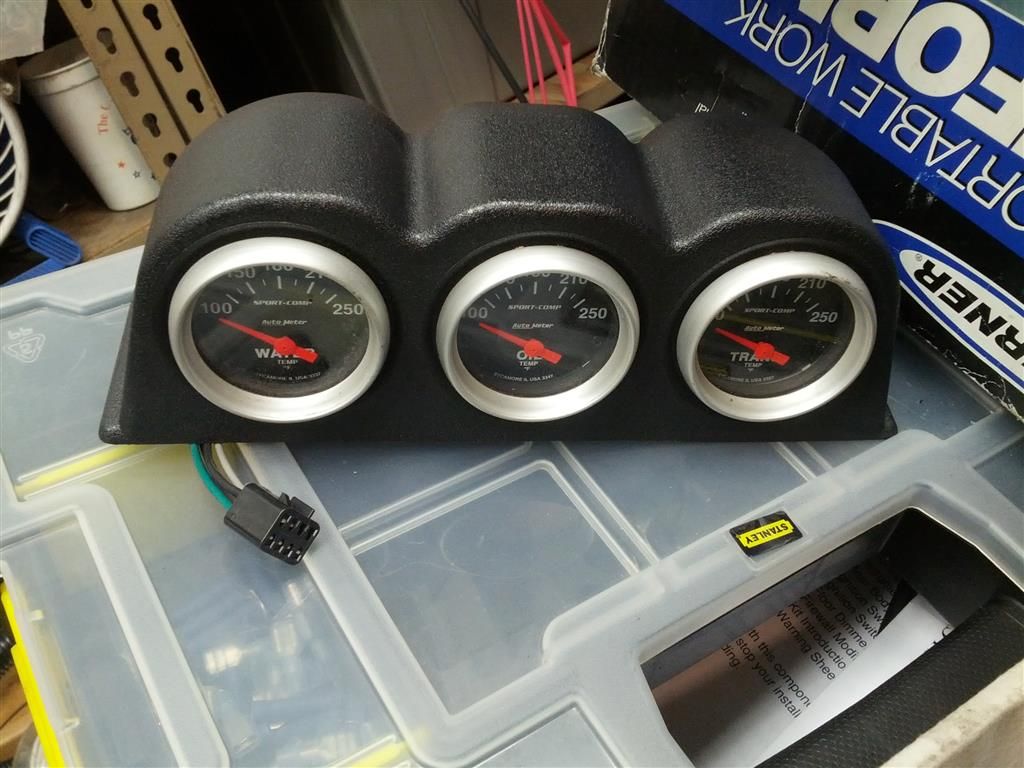
A three gauge dash-top cluster:
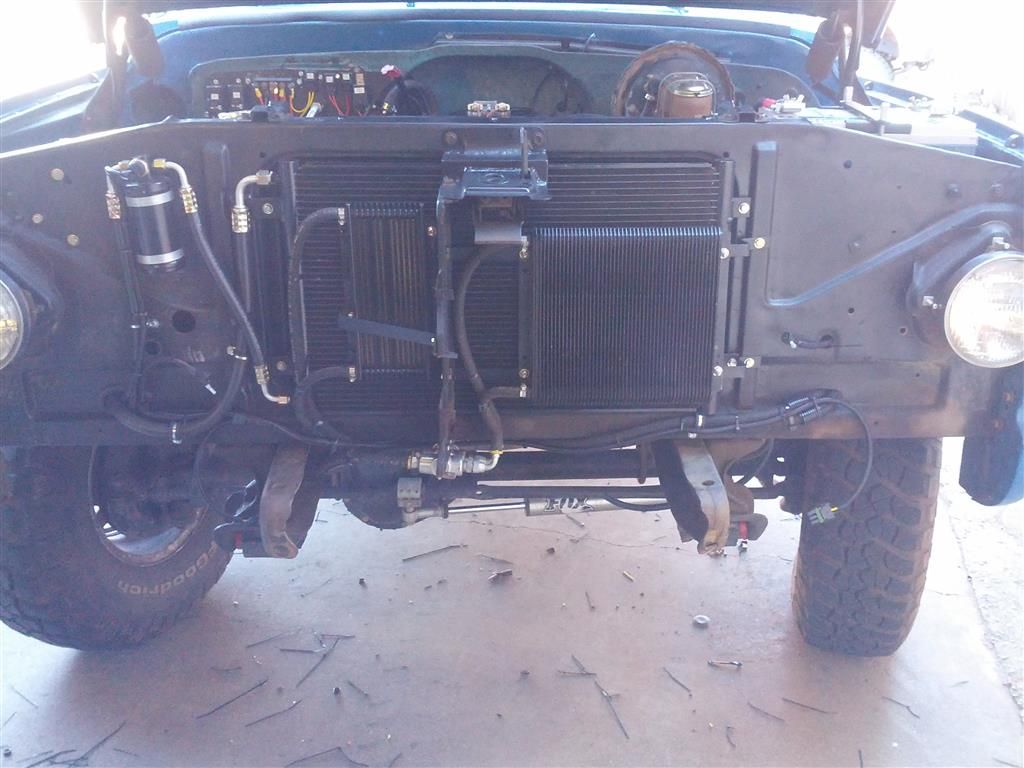
A slightly clearer pic of the cool pack I built for the truck. It consists of a full-height condenser. I had to modify the hood latch for clearance of the condenser. The large heat exchanger on the driver side is the 10 x 11 x 1-1/2" thick trans cooler with a thermostat visible at the bottom of the center grille support. The heat exchanger on the passenger side is for the power steering fluid. Here in the desert, power steering fluid gets insanely hot, so a cooler is a good addition to prolong the life of o-rings in the pump and box. I made all of the ac lines to fit the specific areas where they could fit into.:
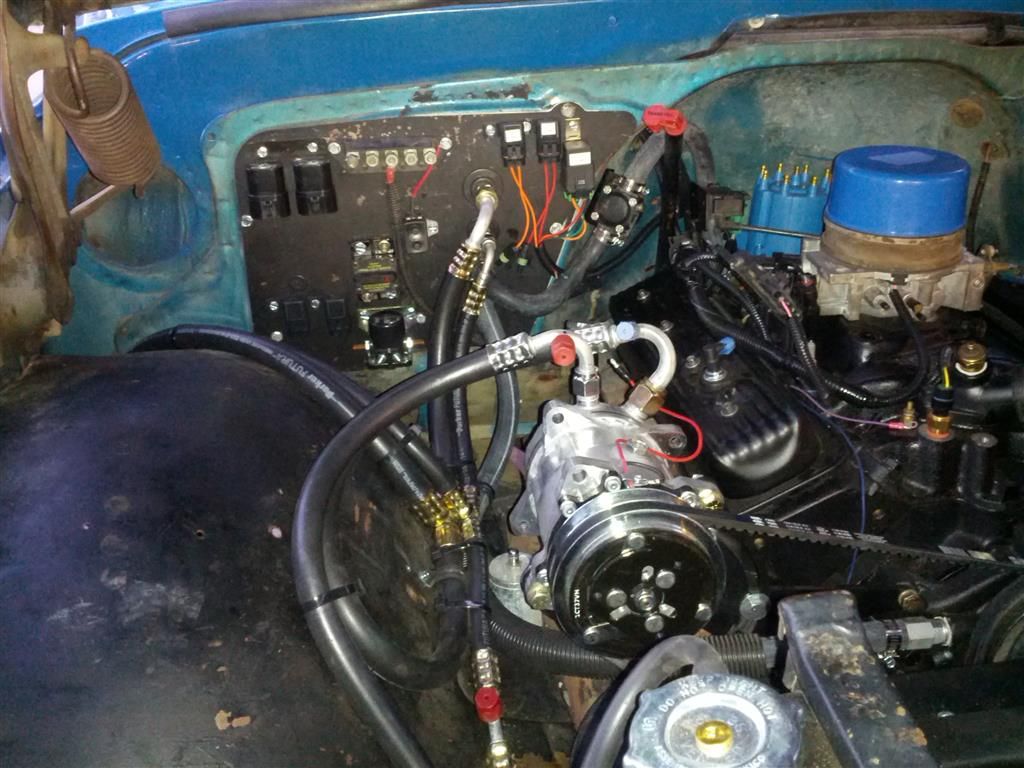
Speaking of ac hoses, here are the underhood hoses complete with tees for the rear ac lines:
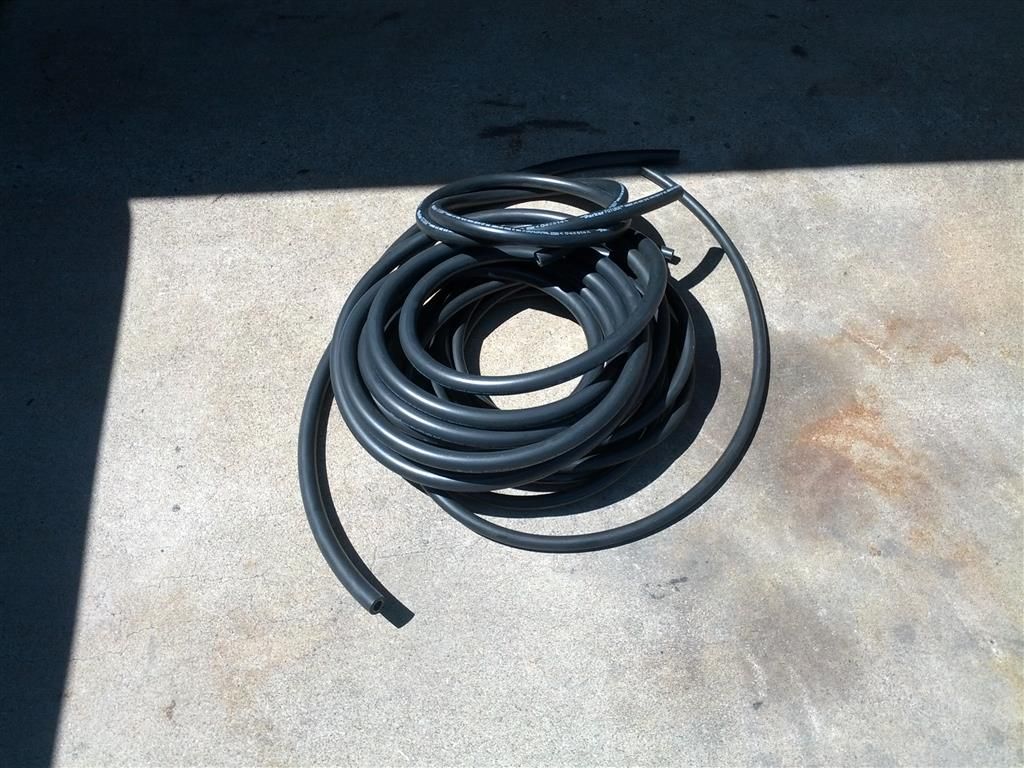
This is what they looked like when I brought them home:
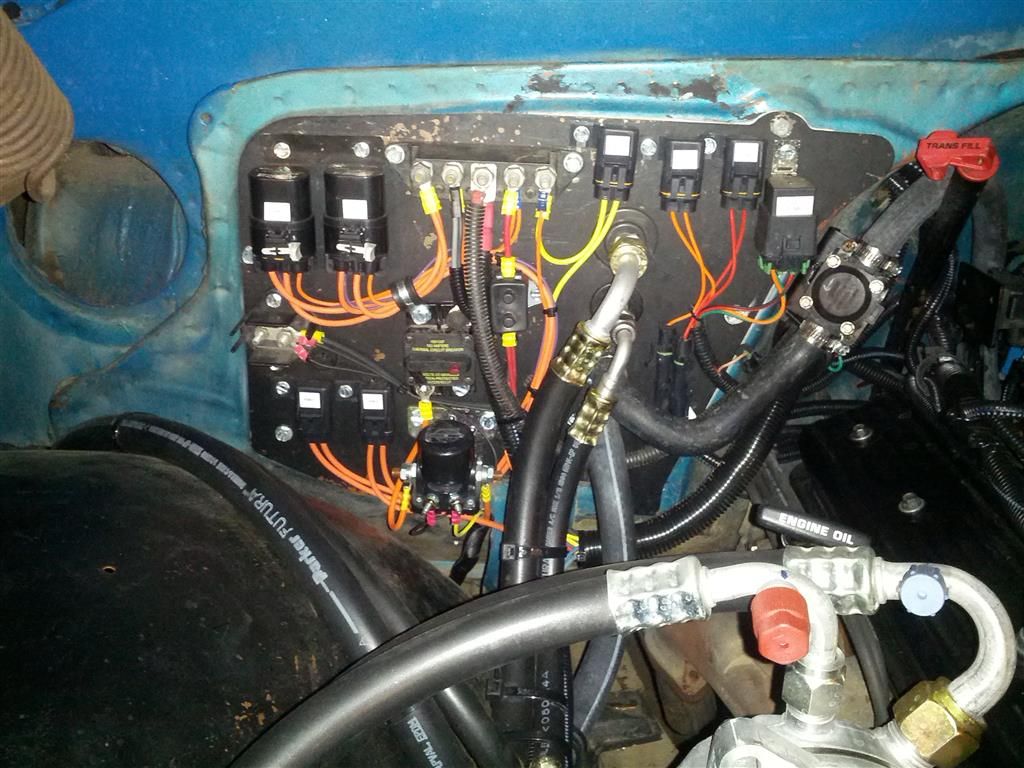
Here is a better pic of the electrical "sub-panel" on the passenger side of the firewall:
So I think I have caught up to where Lance has posted without getting ahead of him on it. Maybe if I do he'll fire me!! Woohoo!!


