All-Purpose Scout 80 build

MotoDave

Explorer
I thought about using exhaust studs, but it would increase the clearance needed to remove the headers and I'm trying to minimize intrusion into the footwell area since there's already limited foot room in these old trucks.

The bolts that came on the motor were rusty enough I'm surprised they came out as easily as they did. I bought some fancy ARP bolts to replace them (ARP 134-1102, black oxide coated steel). For what its worth, they have the smaller 10mm hex size (to discourage over-torquing I guess).
 

superbuickguy

Explorer
what would you rather - pop a bolt head off occasionally or pull the threads out of the head? the bolts tend to snap right at the head, so weld a nut to the bolt and it comes right out - presuming, of course, you use standard, steel bolts. Use anti-seize on the threads and simply make a note that when you change oil check for broken bolts. I had to fix them, once, on my H3 - and I can tell you that it's a MF'er to get direct access, but it took less than 4 hours total for me to replace 4 bolts (3 on one side, 1 on the other). It hasn't happened since. 124,000 miles so far on my rig. You're welcome to ask Nitro gear for verification - but I routinely beat the mall out of my H3...

The issue is cast iron flexes a lot further then aluminum and puts the heads under strain. The fix is to put headers on, but not a fix on my H3 because there's simply no room.

Of course, there was a tech bulletin on the bolt heads - their advice is to simply replace the bolts with the newer design....

anyway... my 2cents. good luck.
 

MotoDave

Explorer
Whoa there tiger, no need to get argumentative :)

I'm using a fabricated header and the ARP bolts. I'm going to make the cut in the flange to split the flange, seems like a good idea seeing that's how the stock cast iron manifolds were split. I'm confident if I don't overtorque things the ARP bolts will be fine, they do have a nice wide flange, just a small 10mm hex.

In theory I agree with ntsqd, stainless into aluminum will have some galvanic corrosion. In most engine swap applications I doubt it'll ever see enough use to be an issue.
 

justcuz

Explorer
I kept the 10 mm bolt heads with a 5/16 lock washer under the flanges and stock exhaust manifolds on my Suburban. The lock washers make loose bolts easy to spot and hopefully help prevent loosening. Factory spec is only 15 ft lbs on the exhaust manifold bolts. (I feel like I am repeating myself here).:wings: I think with the headers you can easily get away with a diagonal cut in the header flange between the 2 bolts in the middle of the head.

Not only do the little ones take a lot of time, they are usually more fun than working on your vehicle. It's a good investment, you'll have him out wrenching with you sooner than you think.
 
Last edited:

MotoDave

Explorer
Another lame update, whatever. I've been sneaking in time when I can find it, sure doesn't feel like much progress though.

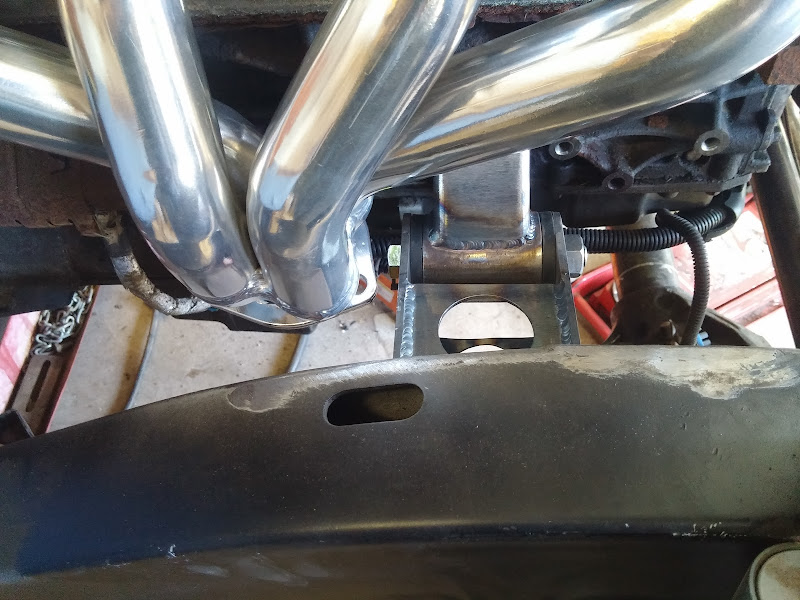
Moved the passenger side motor mount to clear the header.
0927151138f.jpg


Made clearance for the headers in the firewall. The pictures make it look like its closer than it really is, I was aiming for 1"+ of air space around the headers. The firewall will get the same sound + thermal coating as the underside of the truck, plus a layer of heat shielding (Aluminum w/ fiberglass backing stuff from DEI).

0927151138a.jpg


0927151137d.jpg


Checked for clearance at full bump with the new motor - turns out the LS series engines use a larger diameter crank pulley than a TBI 350, but I still have clearance. Also looks like the front driveshaft will clear the oil pan and starter just fine, and the deep truck oil pan clears the front diff too. It hangs down more than I'd prefer but I can swap it out for a lower profile pan later on if it bugs me or becomes an issue.
1011151653f.jpg


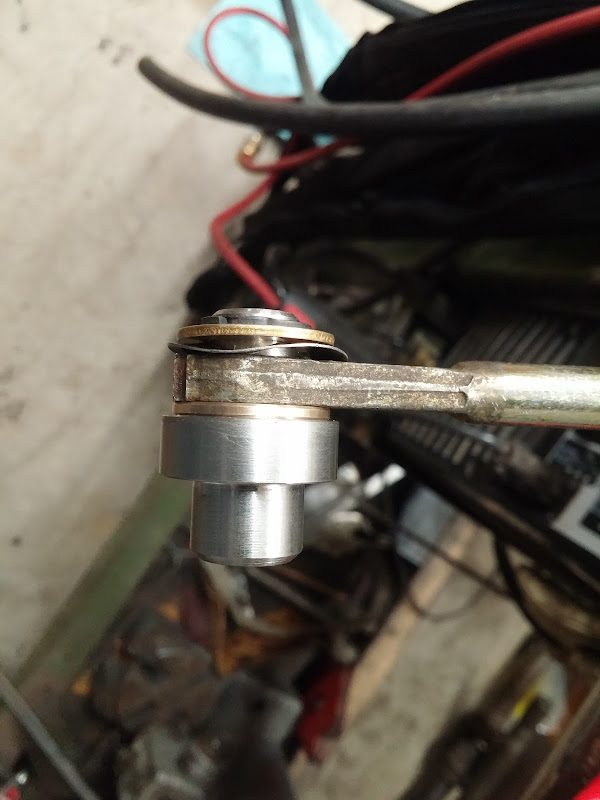
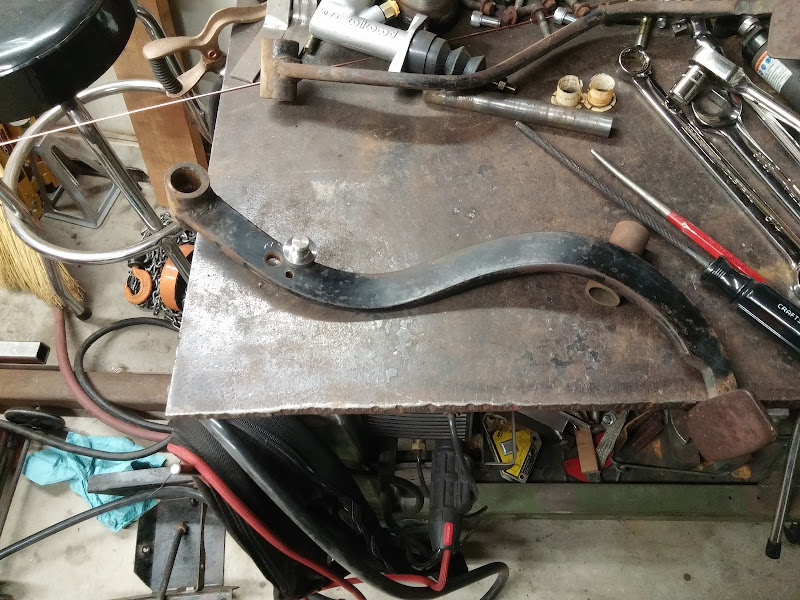
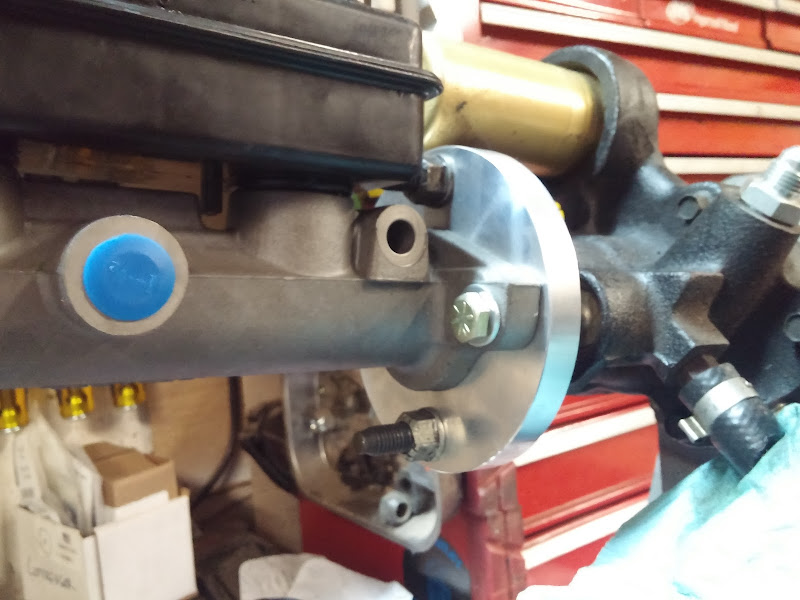
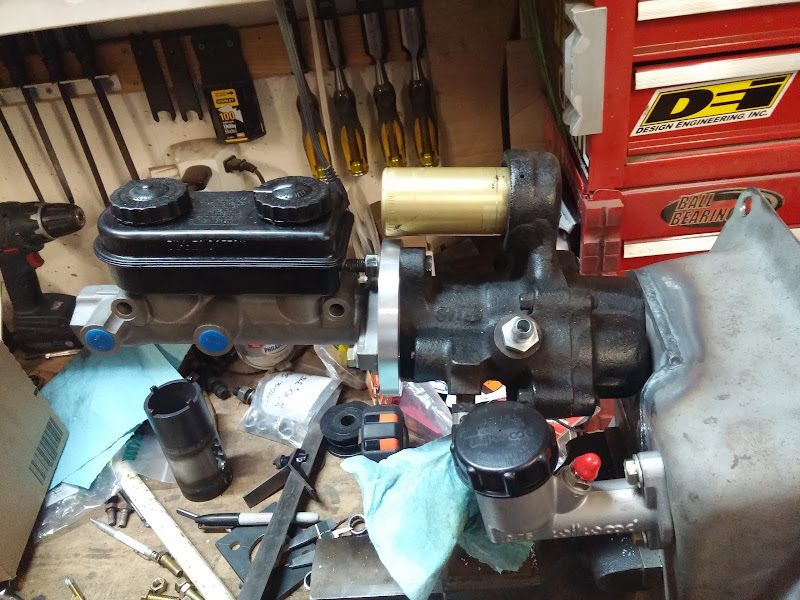
I finished up the master cylinder mount, and machined a post for the hydroboost clevis to attach to. Trying to preemptively cut out any sources of rattles so I designed it to have a wave spring to preload the parts together.
1013152101.jpg


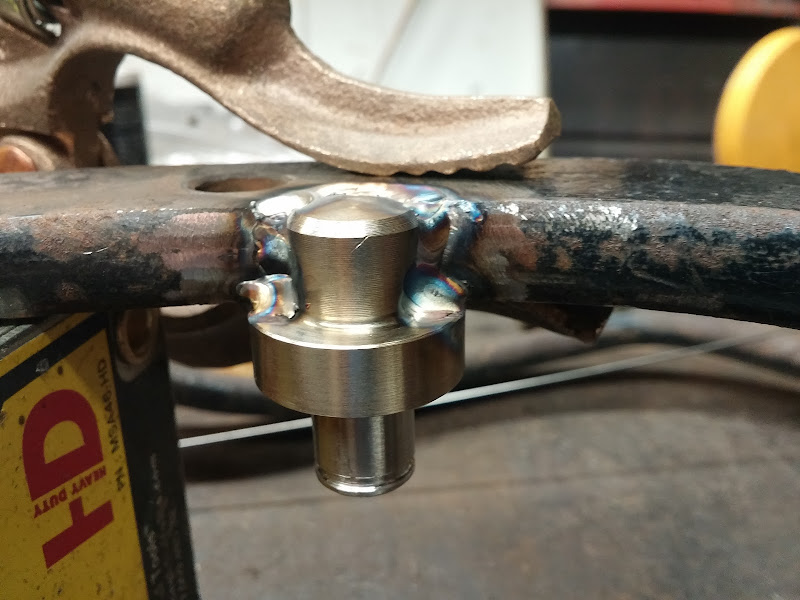
Where the post gets welded into the brake pedal:
1013152144a.jpg


Not entering the pretty welds post just yet :) First time welding stainless to mild steel, turned out OK.
1101151735a.jpg


In case anyone's wondering, McMaster P/N 1281N24 is a dead ringer for the brake and clutch pedal bushings.

I machined an adapter for the master cylinder to the hydroboost unit, only need this because the HB unit is clocked up so the accumulator clears the inner fender and steering column.
1104150606.jpg


1104150606d.jpg


I have an idea of how I want to build the steering column mounts, which will be the next project. It'll be nice to be able to steer the truck if only to move it around the garage.

I'll be tackling the Engine wiring & plumbing soon, and sending the ECU out to get VATS and emissions removed and get it set up to run stand alone. I have some plans for the engine harness that should be simple and clean, will share that soon hopefully.
 

trust

Adventurer
wow, what afabulous Scout, who thinks to build a Scout anymore?! Kudos to you sir! My eldest daughter has a 70 800B, 304, 4 spd with Alcans and 32s that I'd like to buy from her and replace my 82 Scrambler with.... Its a sweet ride but nothing like yours!
 

MamboSA

Observer
I have not read all of this thread, although I intend to, this looks like a great build with plenty of passion built in.


Sent from my iPad using Tapatalk
 

MotoDave

Explorer
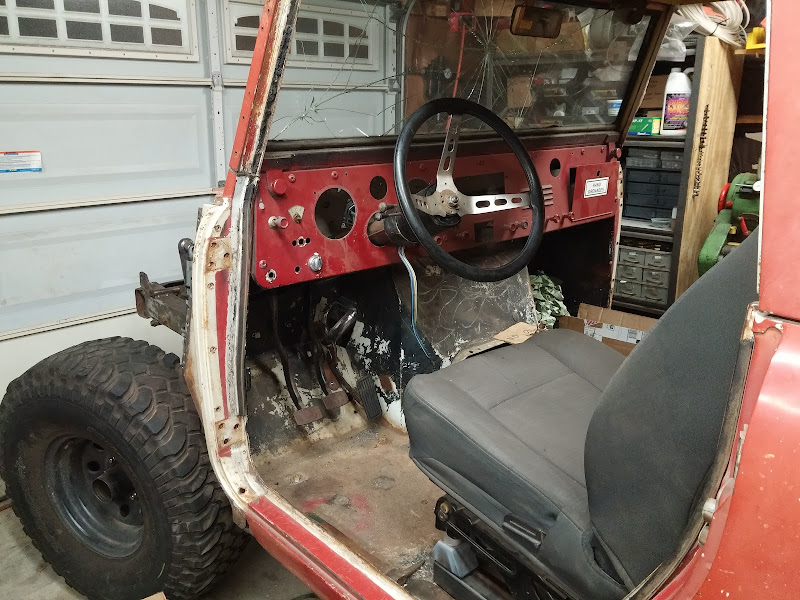
I got the brake pedal mods finished up, rebuilt the main pedal pivot with the above mentioned flanged bushings from McMaster, and got it all bolted into the truck. This let me figure out where the gas pedal wanted to be, and modify the Silverado Drive by Wire pedal to work. I used measurements off my DD Tundra to figure out where the pedal should be in relation to the brake, and it worked out pretty well. The brake and clutch pedals are in the stock location, adn there's still room for a dead pedal space to rest your foot - depending on how I build the cage this may get compromised a bit).

1115152120.jpg


1115152120b.jpg


I bent up a bracket that adapts the GM (Suburban?) tilt steering column I have to the stock scout mounts. I think I will reinforce this by tying into the brake pedal mount, but it works for now.

1114150950.jpg


1114150958.jpg


Cut the Borgeson steering shaft to length and got it instsalled, its nice to be able to steer the truck around, even just for moving it around the garage. Also, I may have sat in the seat and made Vroom noises for a while.

1114152034a.jpg


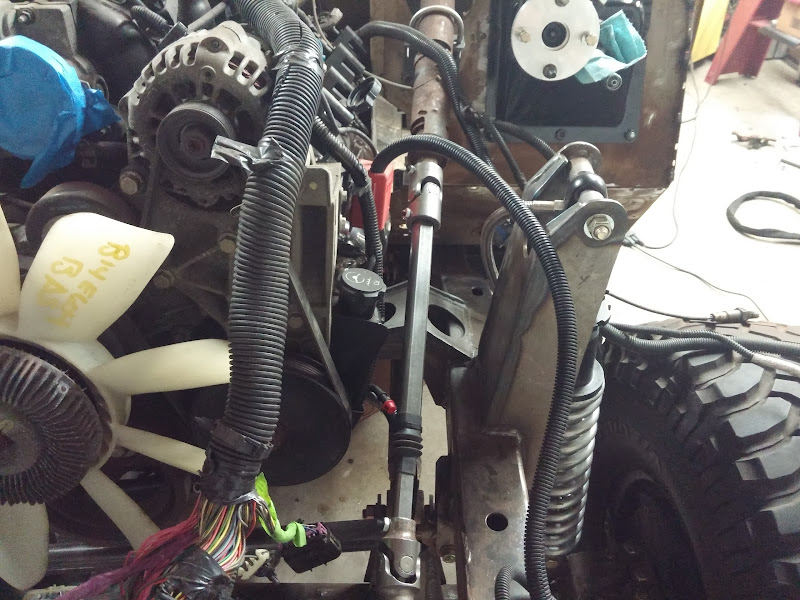
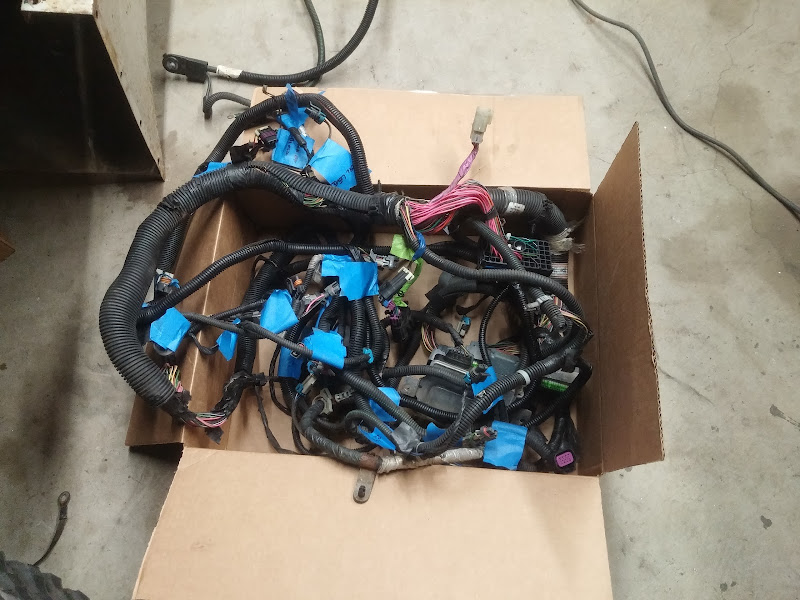
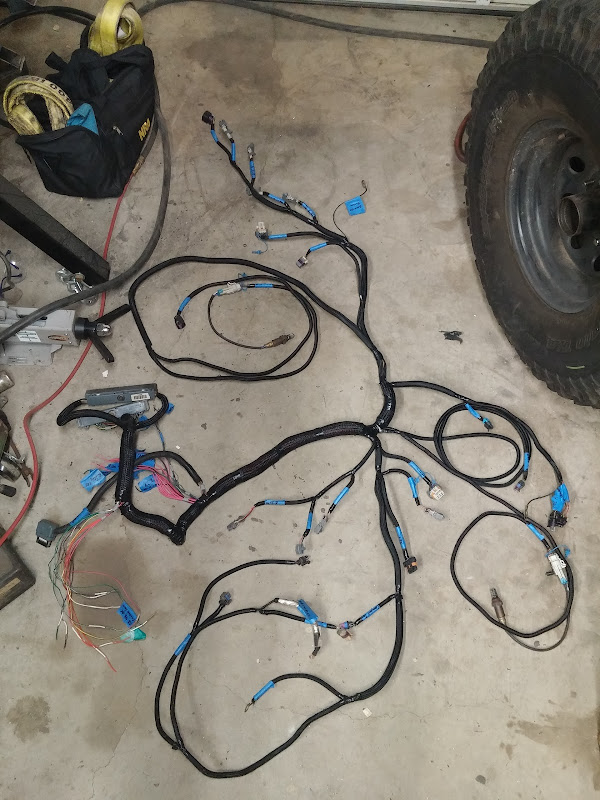
Next up was tackling the engine wiring harness. I went back and forth about sending it out or buying a pre-made harness, but in the end just decided to tackle it myself.

A few nights in the garage after the kiddo went to sleep got me from this

1114152142.jpg


to this

1120151552.jpg


to this

1202152030d.jpg


I used split braided loom (LINK), with self-fusing tape (LINK) to tie up the branches (the gray stuff - doesn't stick to the wires).
1130152158.jpg


I'm happy enough with how it came out, and glad I did it myself - I have a much better understanding of what everything is and where it goes on the motor.

I used a lot of info on Brendan's website to sort out the loom, and had him program the ECU to remove VATS & emissions stuff, so I'll leave him a plug here: LT1 Swap

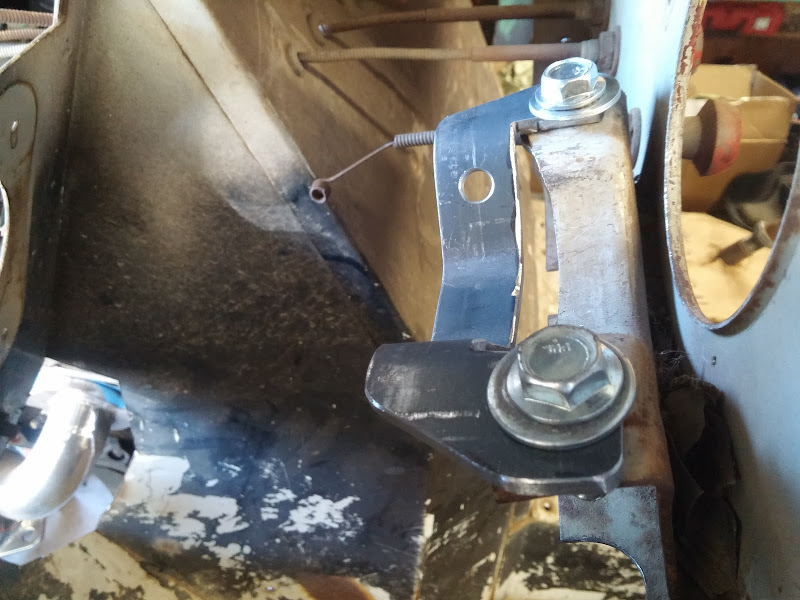
I think the easiest place to mount the ECU, engine fuse block and body fuse blocks will be the tops of the fenders, so I worked on making the inner fenders that I cut off able to be bolted back on :) I tacked weld nuts to the back side of the relevant flanges on the firewall & inner fender, and used button head cap screws to bolt it back in place, since they'll be visible in the cab of the truck.

1205151123.jpg


1205151124a.jpg


1205151124b.jpg


Got the main parts of the fuel system sorted out. Bosch 044 fuel pump, with a 100 micron pre-filter and a 10 micron Aeromotive filter after the pump.
1128152052a%25257E2.jpg


Adapters for the push-on connectors at the fuel rail to AN fitting ends. I'm going to try using color coding to dummy proof the fuel lines - Blue/Red = Pressure, Black = Return.
1128152058.jpg


I'm just going to run off of 1 of the saddle tanks for now, with eventual plans to use the saddle tanks as reserve fuel capacity and run off a main tank between the frame rails.

I'm pushing to fire the motor up before the end of the year, so I'll be working on building the engine fuse block next up.
 

Forum statistics

Threads
188,398
Messages
2,904,178
Members
230,274
Latest member
mbauerus1
Top