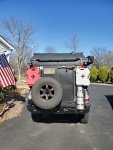
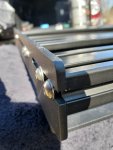
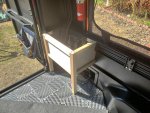
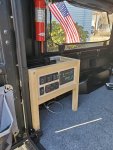
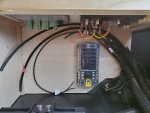
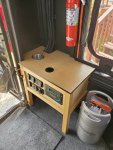
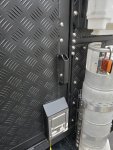
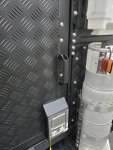
So the last of the detail work on the electrical cabinet was done after a couple coats of satin poly were applied and I edged any exposed plywood edges in laminate.
View attachment 610482
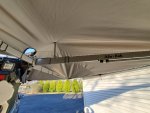
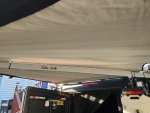
Next was adding LED lights to the awning bars – I’ve done red and white on past awnings and decided I wanted to move to true RGB+W for this build. I picked up these
https://www.flexfireleds.com/rgb-color-changing-strip-light/outdoor-ip65-RGBW-LED-strip-light from FlexFire LED and was very pleased. Each of the three arms now have RGB+W strips on the top side aimed up at the fabric which gives a give diffused glow. Wiring was again routed through a gland fitting to the controller inside and everything is controlled by a small remote.
View attachment 610483View attachment 610484
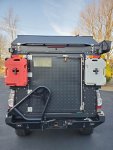
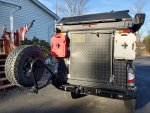
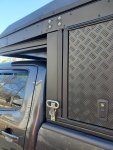
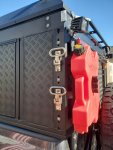
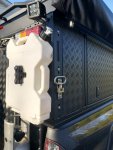
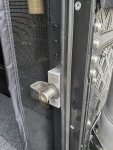
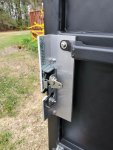
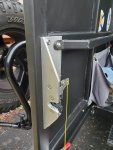
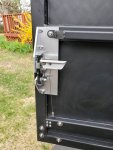
The biggest change to the AluCab design on my build is I hated the shipping container latch. I found it to be a clunky solution that while super secure for holding the door shut with a spare tire on it just wasn’t an elegant solution for inside and outside access, especially after flipping the door swing around. Since I’m not mounting a wheel and tire to my door, I had a lot of options available. Eventually I went with the K.I.S.S. principle and went with a proven design that Jeep uses for their tailgates. I tracked down a good stainless sliding bolt paddle latch, aircraft cable and a striker and latch and started rummaging through the scrap bin and drilling holes in my camper!
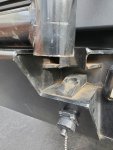
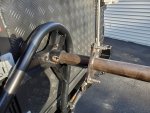
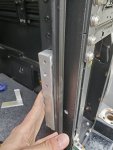
After getting things mocked up I knew I needed to space out the strike bolt away from the frame and give it a sturdy place to mount as it’s going to be the only thing retaining the door. I had some 1” solid aluminum bar that’d work perfect. Here the bar is drilled and tapped for the strike bolt and I’m marking and drilling for the two bolts through the AluCab frame that will secure the 1” bar.
View attachment 610485
Here is a view of the strike bolt and how it protrudes into the opening.
View attachment 610490
Next was working on the door-side latch – I started with some ¼” thick angle aluminum from another project and did some quick trimming and fastening to make sure everything was lined up.
View attachment 610486
After everything was confirmed to fit and work I trimmed up and cleaned up the bracket and drilled a few more holes through the door to securely anchor the latch bracket to the door.
View attachment 610487
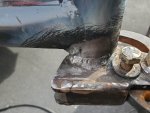
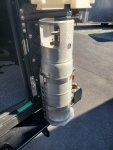
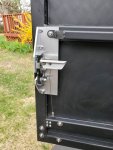
Next was to secure the paddle latch on the outside of the door. Paddle latches are not 100% weather tight and I did not want to cut a big hole through the door and door structure so I decided to build a “box” to hold the paddle latch on the outside of the door. Some old steel angle scraps and 14ga steel did the trick.
View attachment 610488
Last up was to connect the paddle latch to the striker latch and make an interior “handle”. I drilled and tapped the slide bolt on the paddle latch and installed a threaded stud that moves down when the paddle is pulled, to unlatch the interior strike latch. The only through hole in the door with this setup is a small slotted hole from the paddle latch mount to the camper interior (about 3/8” x 3/4”) that this threaded stud travels in. The stud is connected to the interior strike latch via stainless aircraft cable and I made a small handle for the inside latch with some scrap angle aluminum.
View attachment 610491View attachment 610489
After adding a handle on the outside as well, this project could be crossed off the list. Overall, I could not be more pleased!

