You are using an out of date browser. It may not display this or other websites correctly.
You should upgrade or use an alternative browser.
You should upgrade or use an alternative browser.
AND YET AGAIN: Paul and Mike Try to Build a Hard-Sided Do-It-All ADV Trailer
- Thread starter mhiscox
- Start date
westyss
Explorer
Ummm . . . really light?
I moved them around pre-paint when I was up at Paul's and was surprised at how light they felt, especially given their rigidity. If I did the math right, the 1/2" Gatorboard weighs a bit over 0.6 pounds per square foot, meaning the Gatorboard part of the sidewalls would be about ten pounds. It didn't seem like they weighed as much as 20 pounds glassed up, though they'll weigh more once the glazing goes in the windows.
Maybe Paul has a scale.
BTW, I stumbled on a good summary of the Gatorboard technical data here: http://tri-dee.com/Gatorfoam Technical Bulletin.htm
Thanks Mike, I did read it and it actually states the weights on that technical data, for a 1/2" sheet that is 4'x8' is 10 pounds, pretty good and sounds like a product I will try using, so thanks for the info!
PaulJensen
Custom Builder
scuppers cut into the floor?
They are already built into the floor of the utility body...
PaulJensen
Custom Builder
Thanks Mike, I did read it and it actually states the weights on that technical data, for a 1/2" sheet that is 4'x8' is 10 pounds, pretty good and sounds like a product I will try using, so thanks for the info!
Not that it makes a big difference, we are using 3/4"... Tomorrow, I'll weight the panels after the last batch of paint dries...
PaulJensen
Custom Builder
17
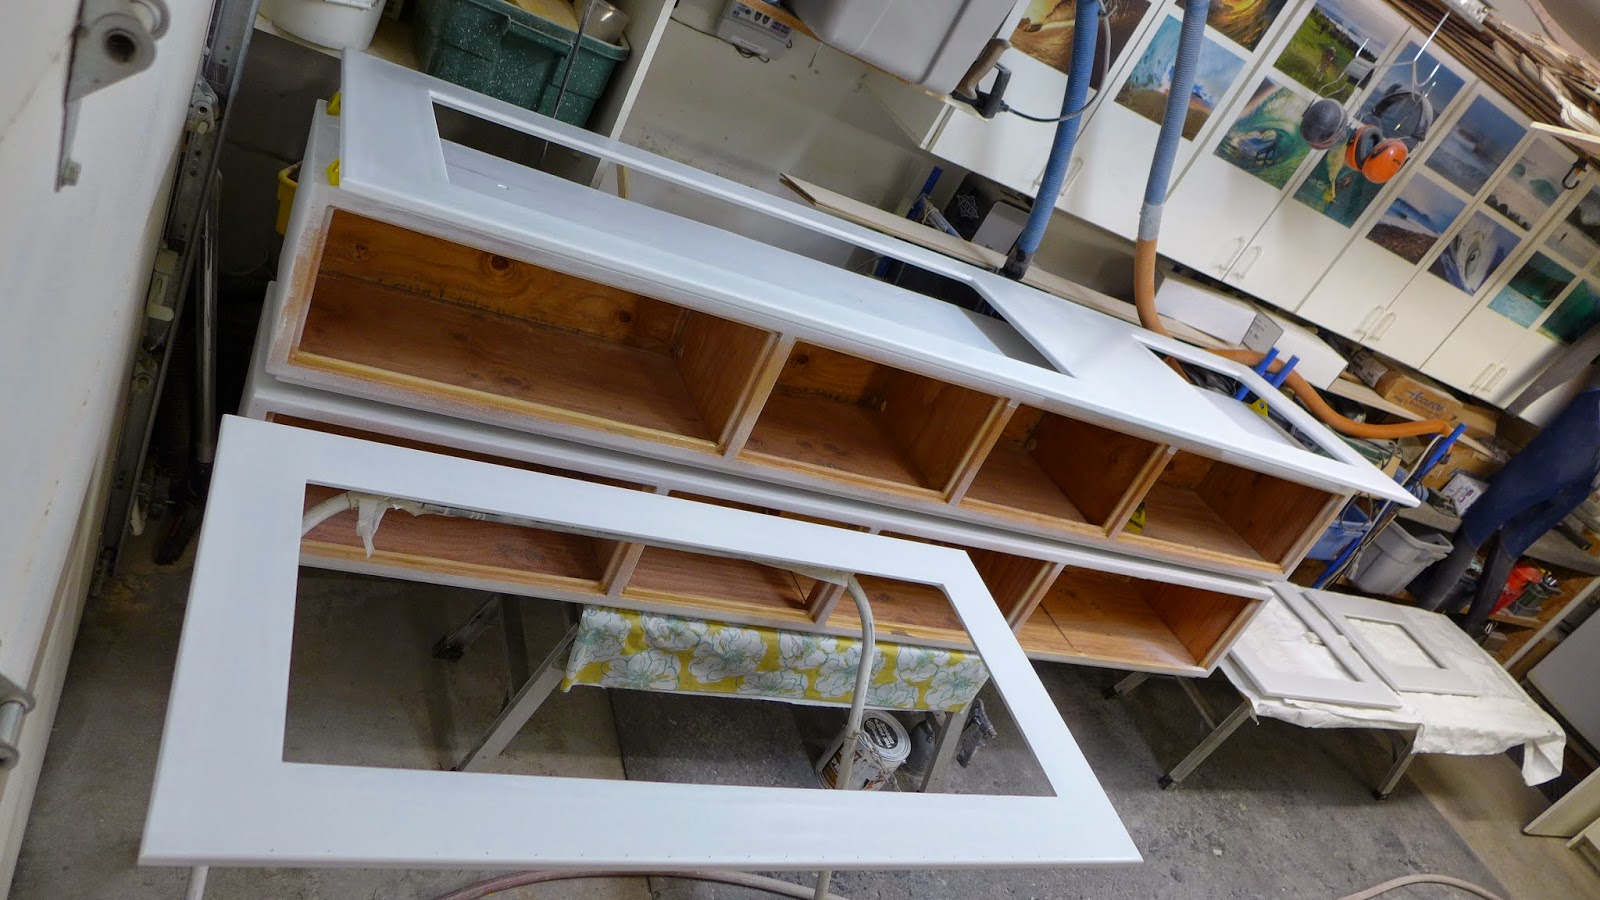
(above) The rotation of primed panels continues...
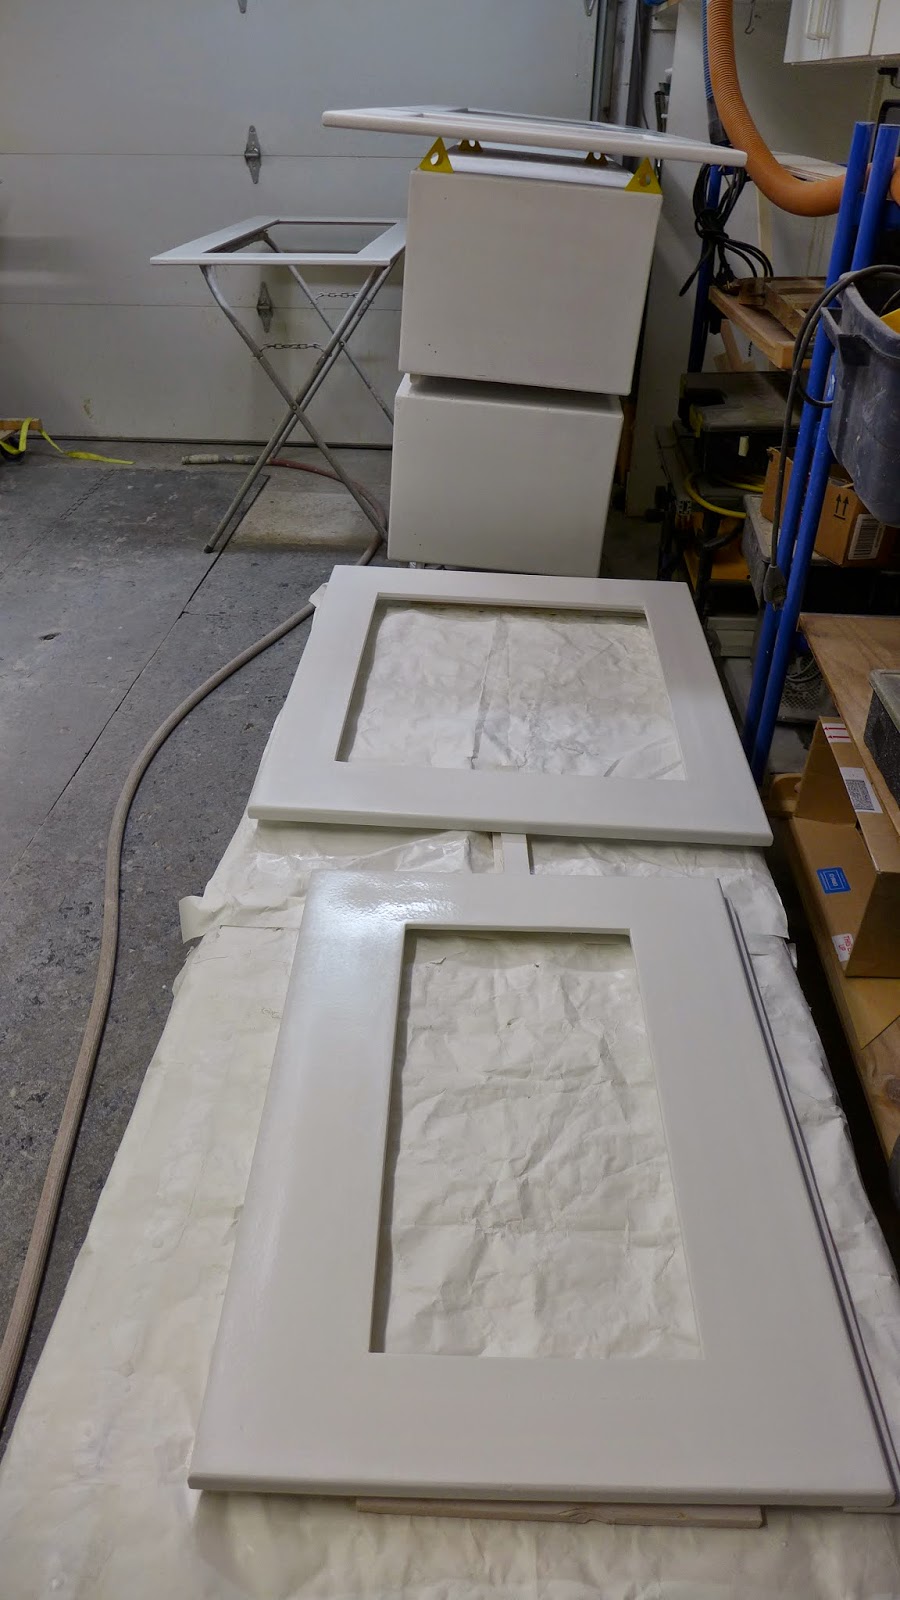
(above) Final coat of primer...
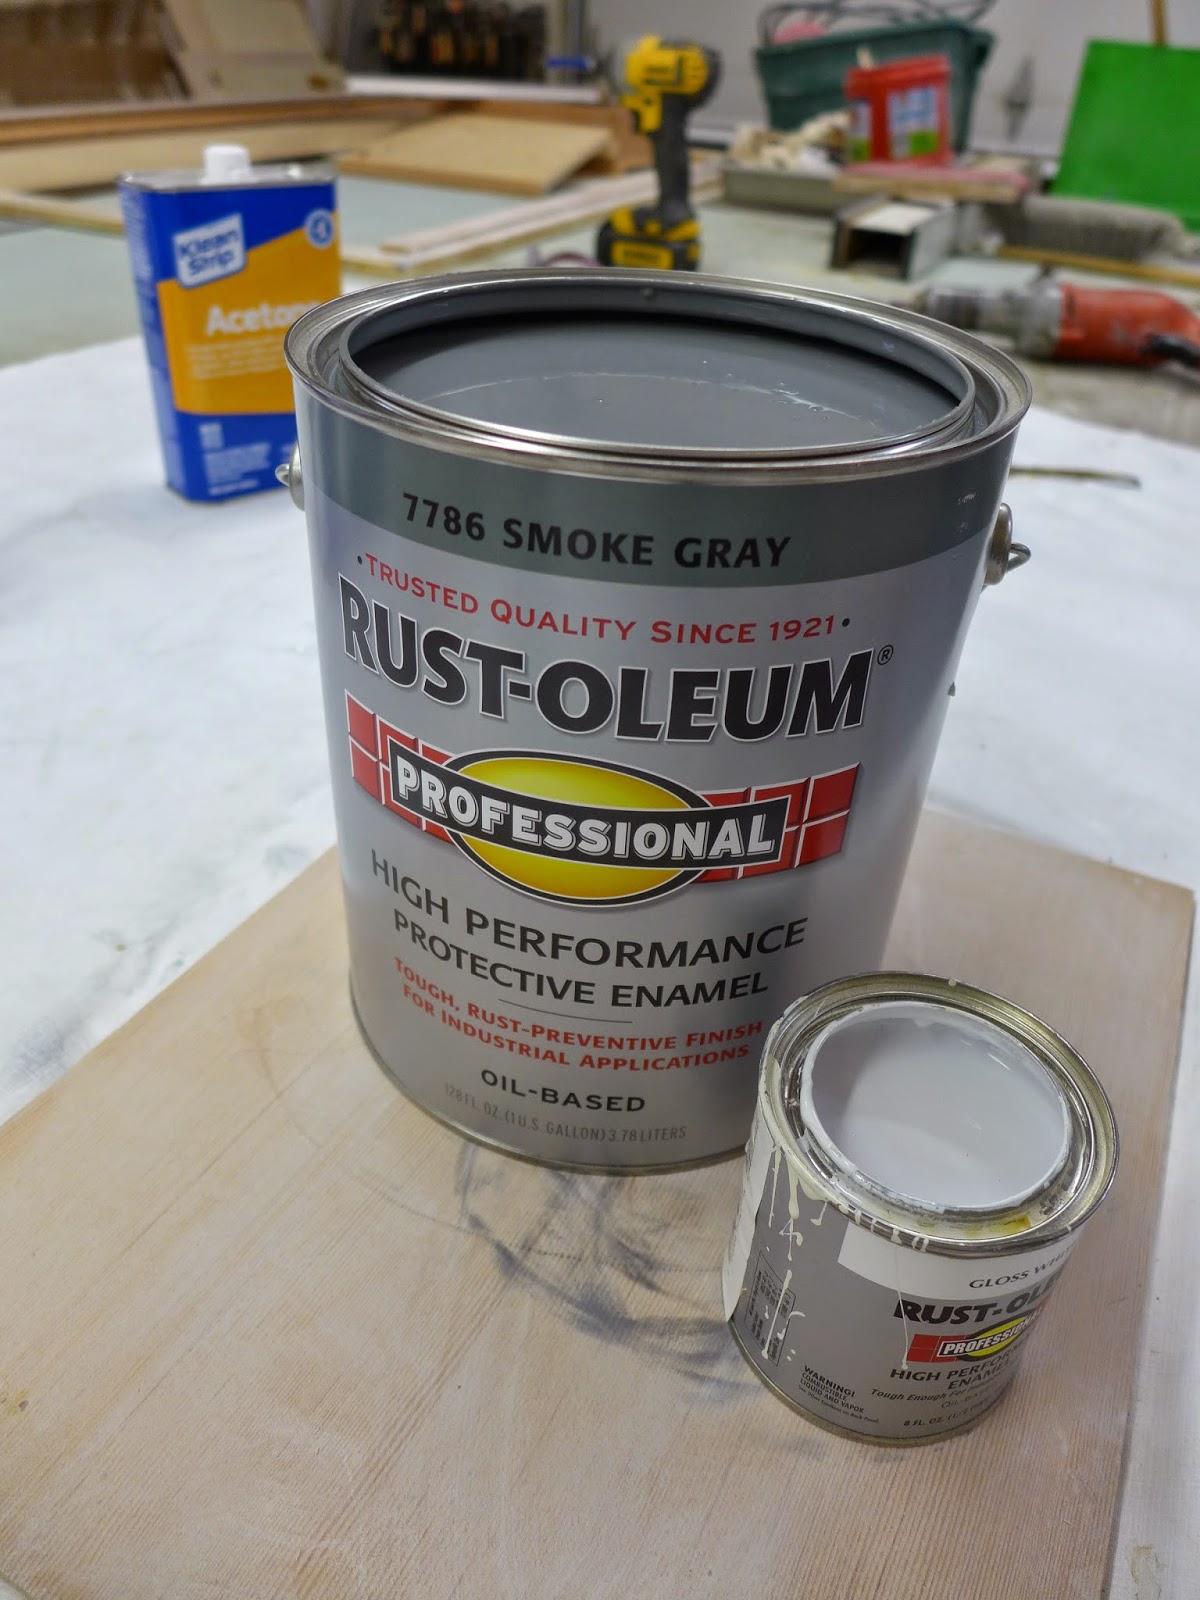
(above) The plan to paint with marine grade polyurethane paint changed to this... PolyU costs close to $200 a gallon, this is well under $50...

(above) ... and stir...
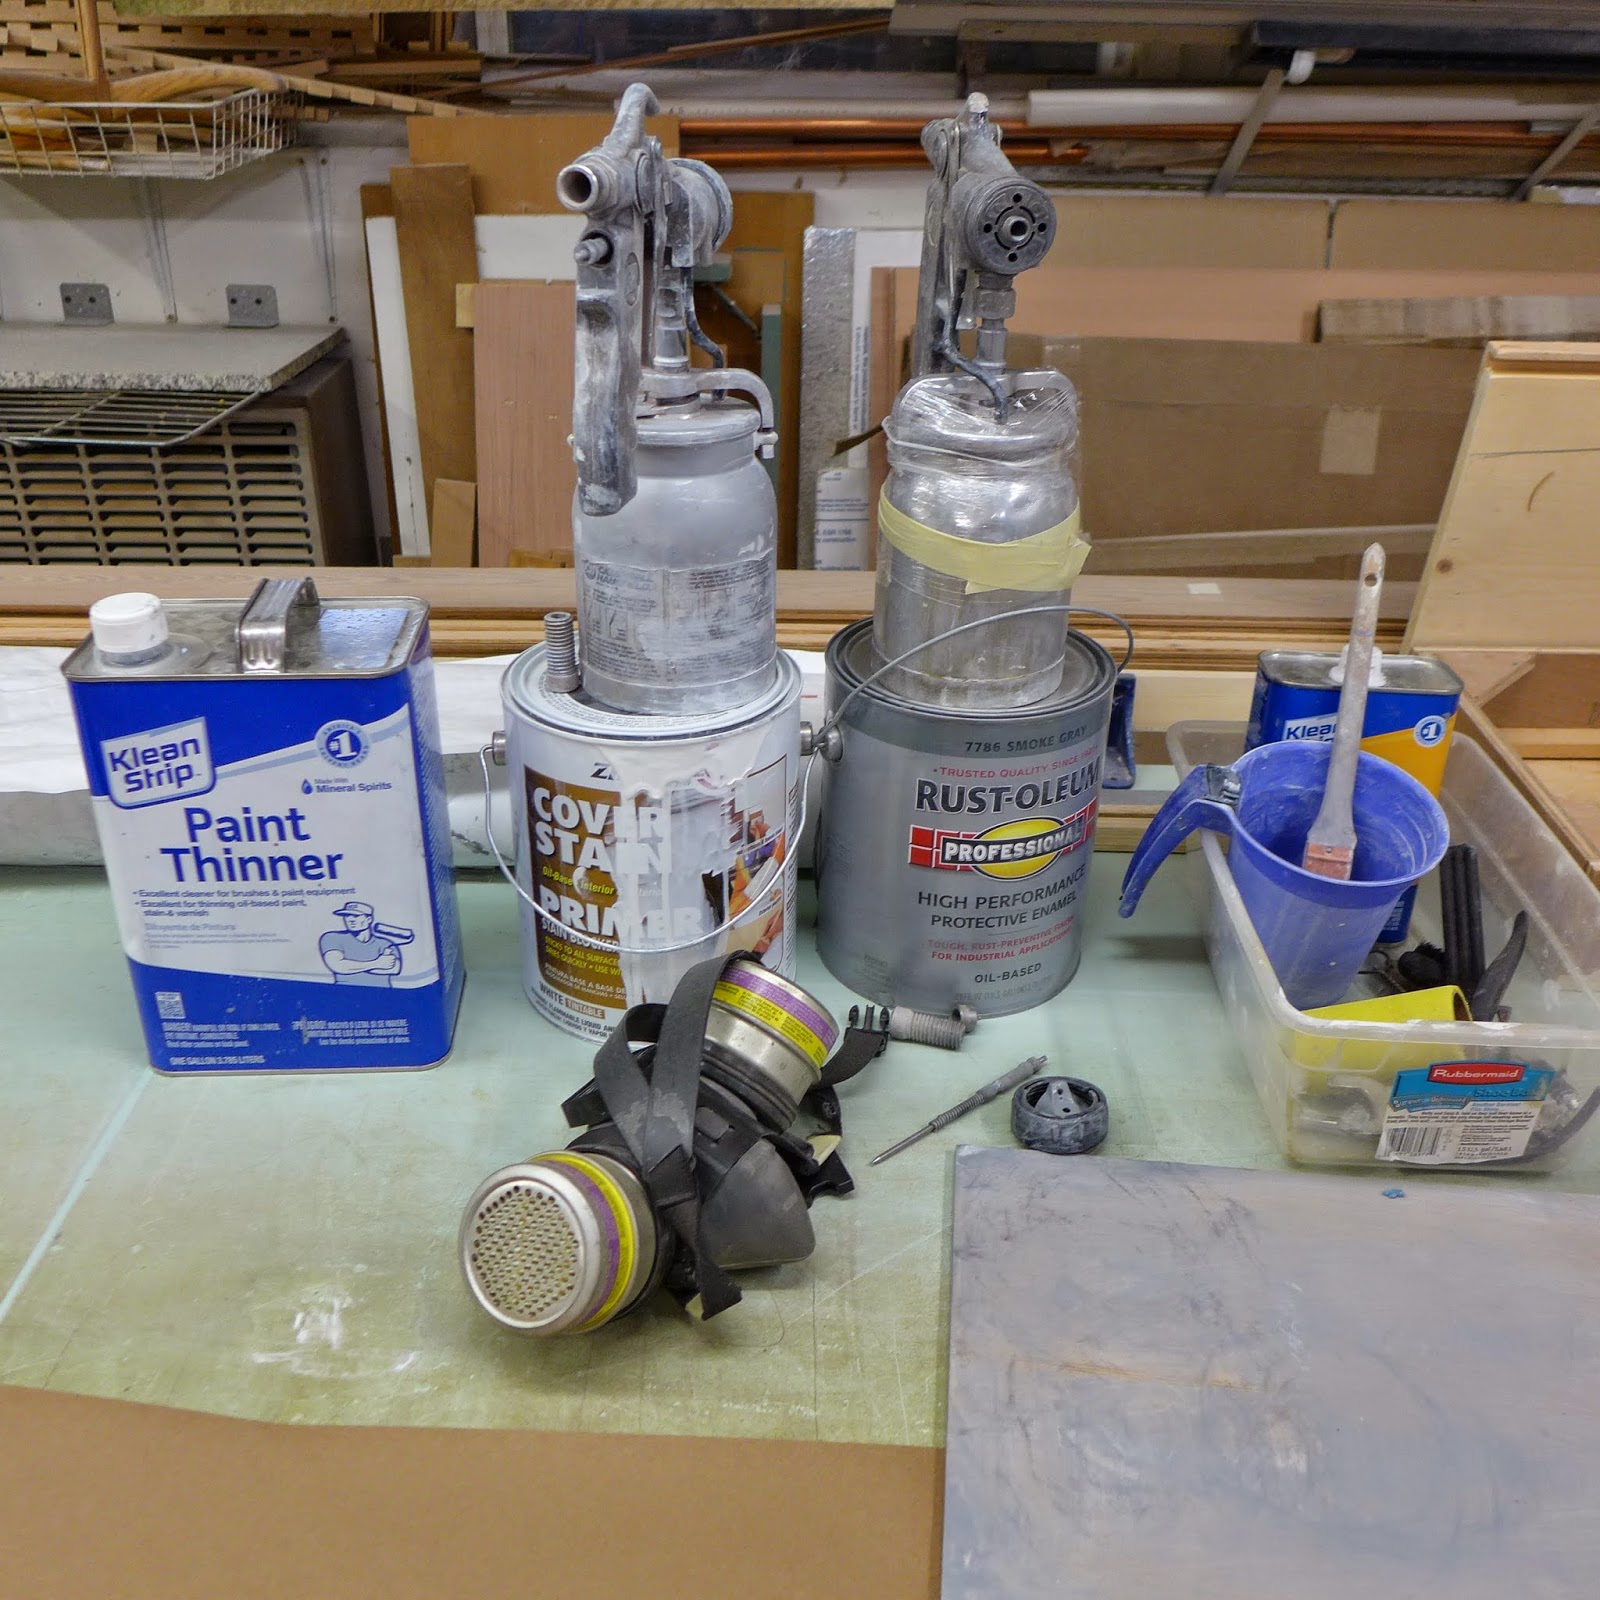
(above) Twin guns sure are nice...
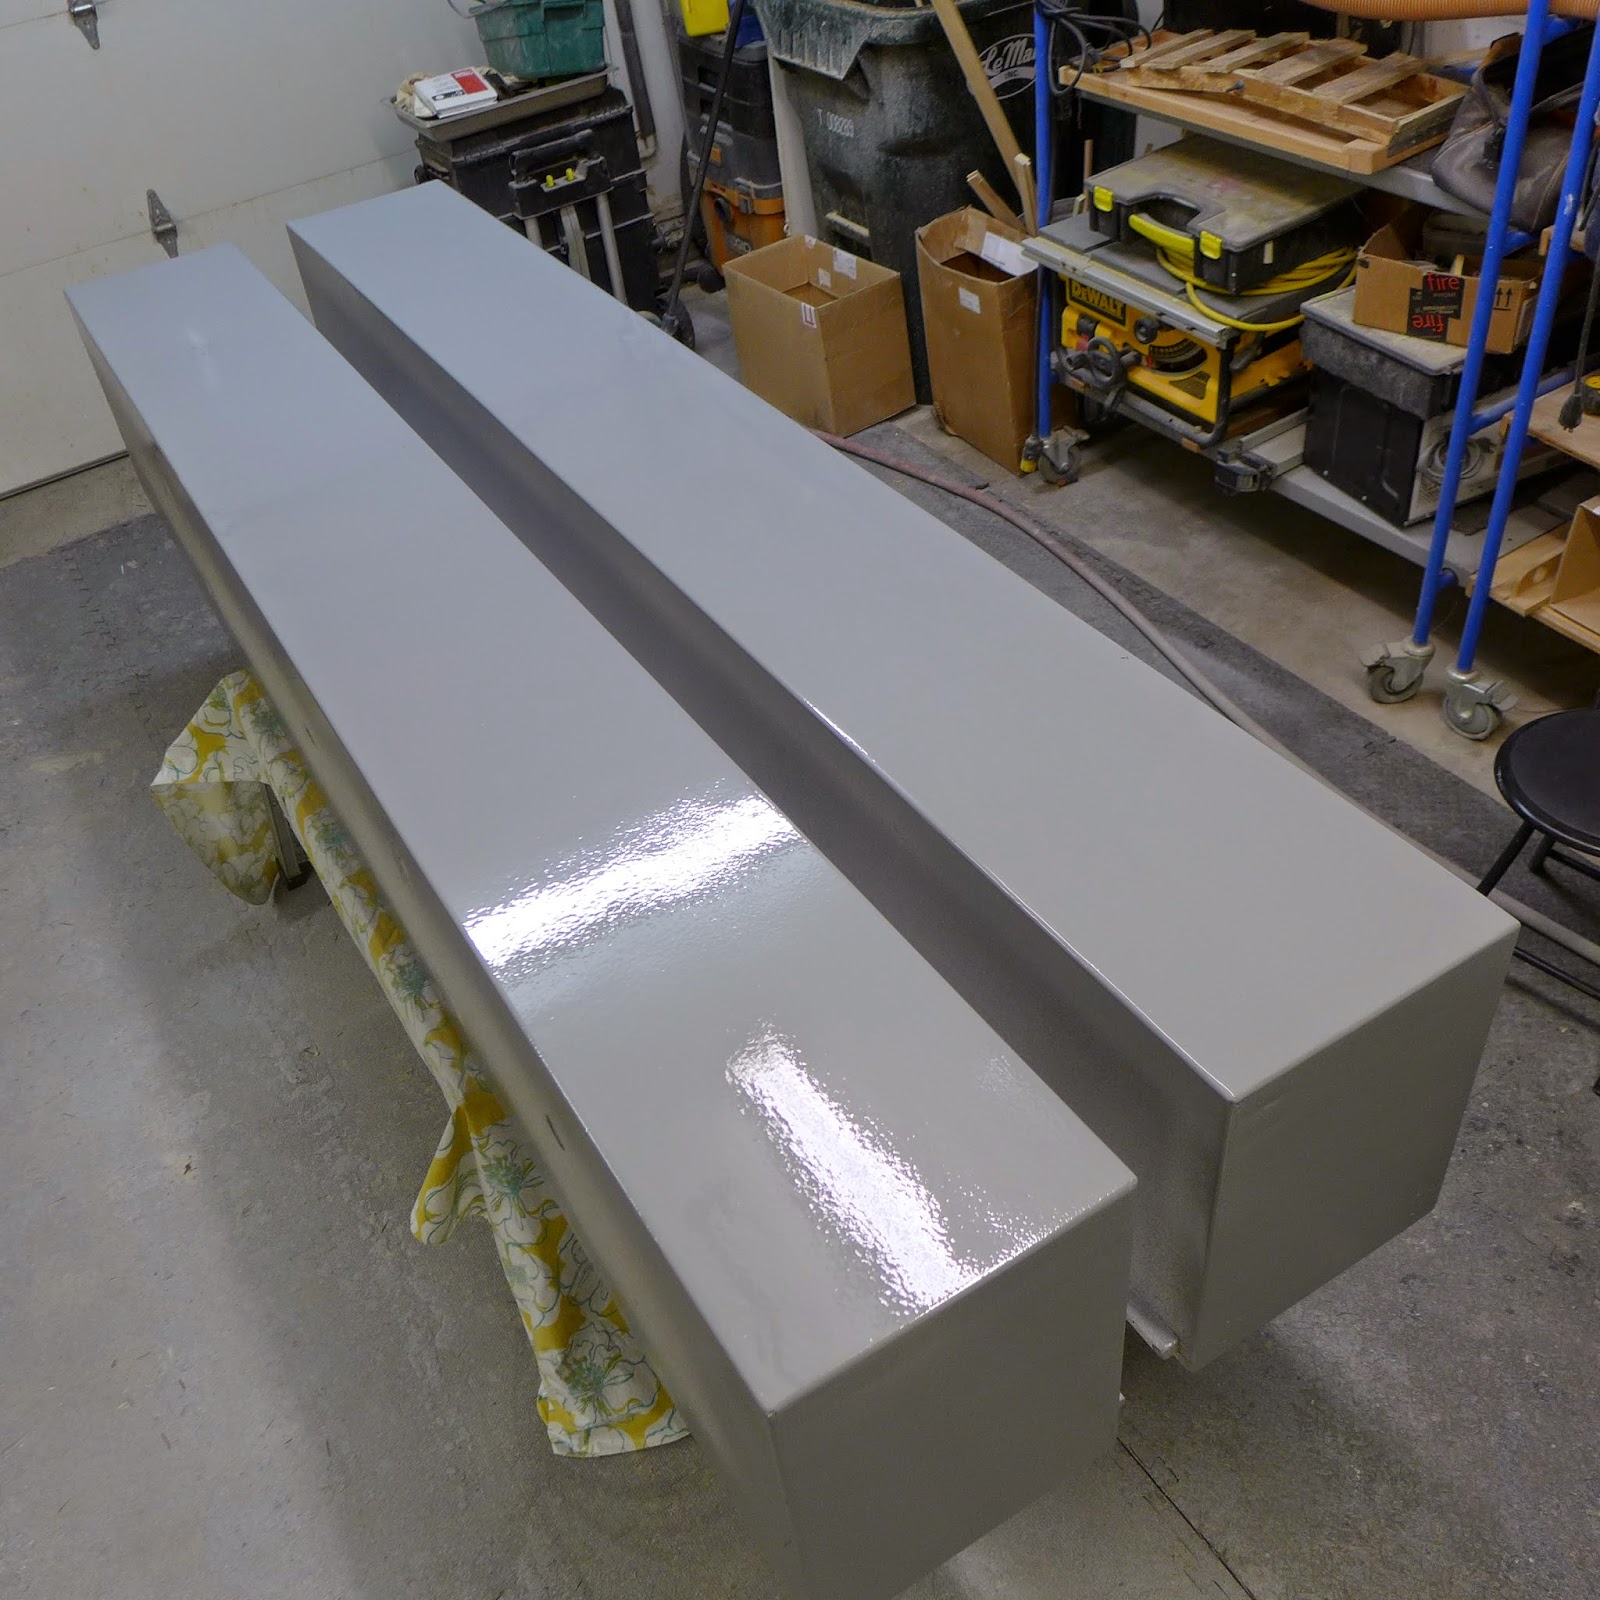
(above) Just shot... It leveled out nicely as it cured...More rotation to follow... Still a ton of painting to do...
Glad to be close to the end of this phase... Ear bone surgery tomorrow so I might not have much to post for a few days... The price to pay for over forty years of cold water surfing... Wear your earplugs and hoods... Don't be like Paul...
(above) The rotation of primed panels continues...
(above) Final coat of primer...
(above) The plan to paint with marine grade polyurethane paint changed to this... PolyU costs close to $200 a gallon, this is well under $50...
(above) ... and stir...
(above) Twin guns sure are nice...
(above) Just shot... It leveled out nicely as it cured...More rotation to follow... Still a ton of painting to do...
Glad to be close to the end of this phase... Ear bone surgery tomorrow so I might not have much to post for a few days... The price to pay for over forty years of cold water surfing... Wear your earplugs and hoods... Don't be like Paul...
PaulJensen
Custom Builder
I thought of a name for the trailer.. It will be obvious when its done.... The Rubics Cube...
MOAR!
mhiscox
Exp. Leader Emeritus
That was supposed to be a secret until we unveiled it at Overland Expo.
Seriously, where'd you find that? Good thing my budget wasn't bigger.
GR8ADV
Explorer
That was supposed to be a secret until we unveiled it at Overland Expo.
Seriously, where'd you find that? Good thing my budget wasn't bigger.
Well I actually do not know its origin as it was posted in an unrelated forum to the picture. So I can't help at the moment, but with your unlimited research skills I am sure you will find it! Assuming symmetry, I think we are looking at 5 pop outs and one pop up assuming one off the rear. Curious as to what it looks like all closed up, never mind interior shots. I will do some research on my end as well to find the origin. Let me know if you track it down.
I wonder where they store the table...
Last edited:
Ford Prefect
Expedition Leader
There was actually a show that featured this rig. It is amazing, fantastic inside, and it seems they sleep a very large family in there. It requires a vehicle to follow along with the fam... Lol
PaulJensen
Custom Builder
18
Now that the painting is mostly done, it's time to do a final fitting...
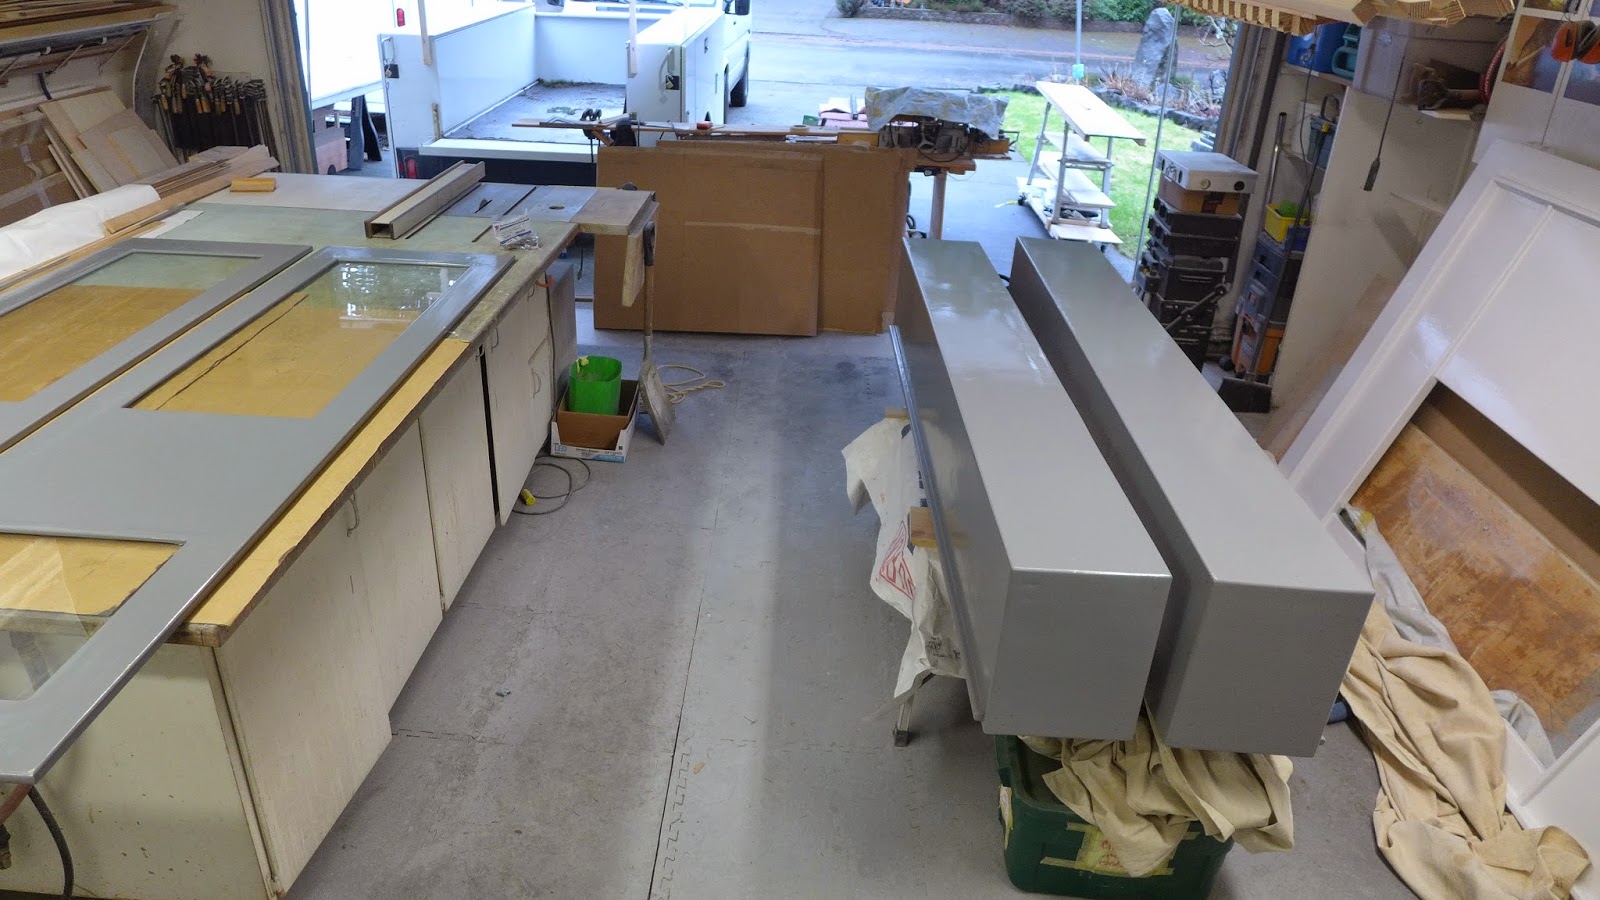
(Above) Glad that the bulk of the painting is done...
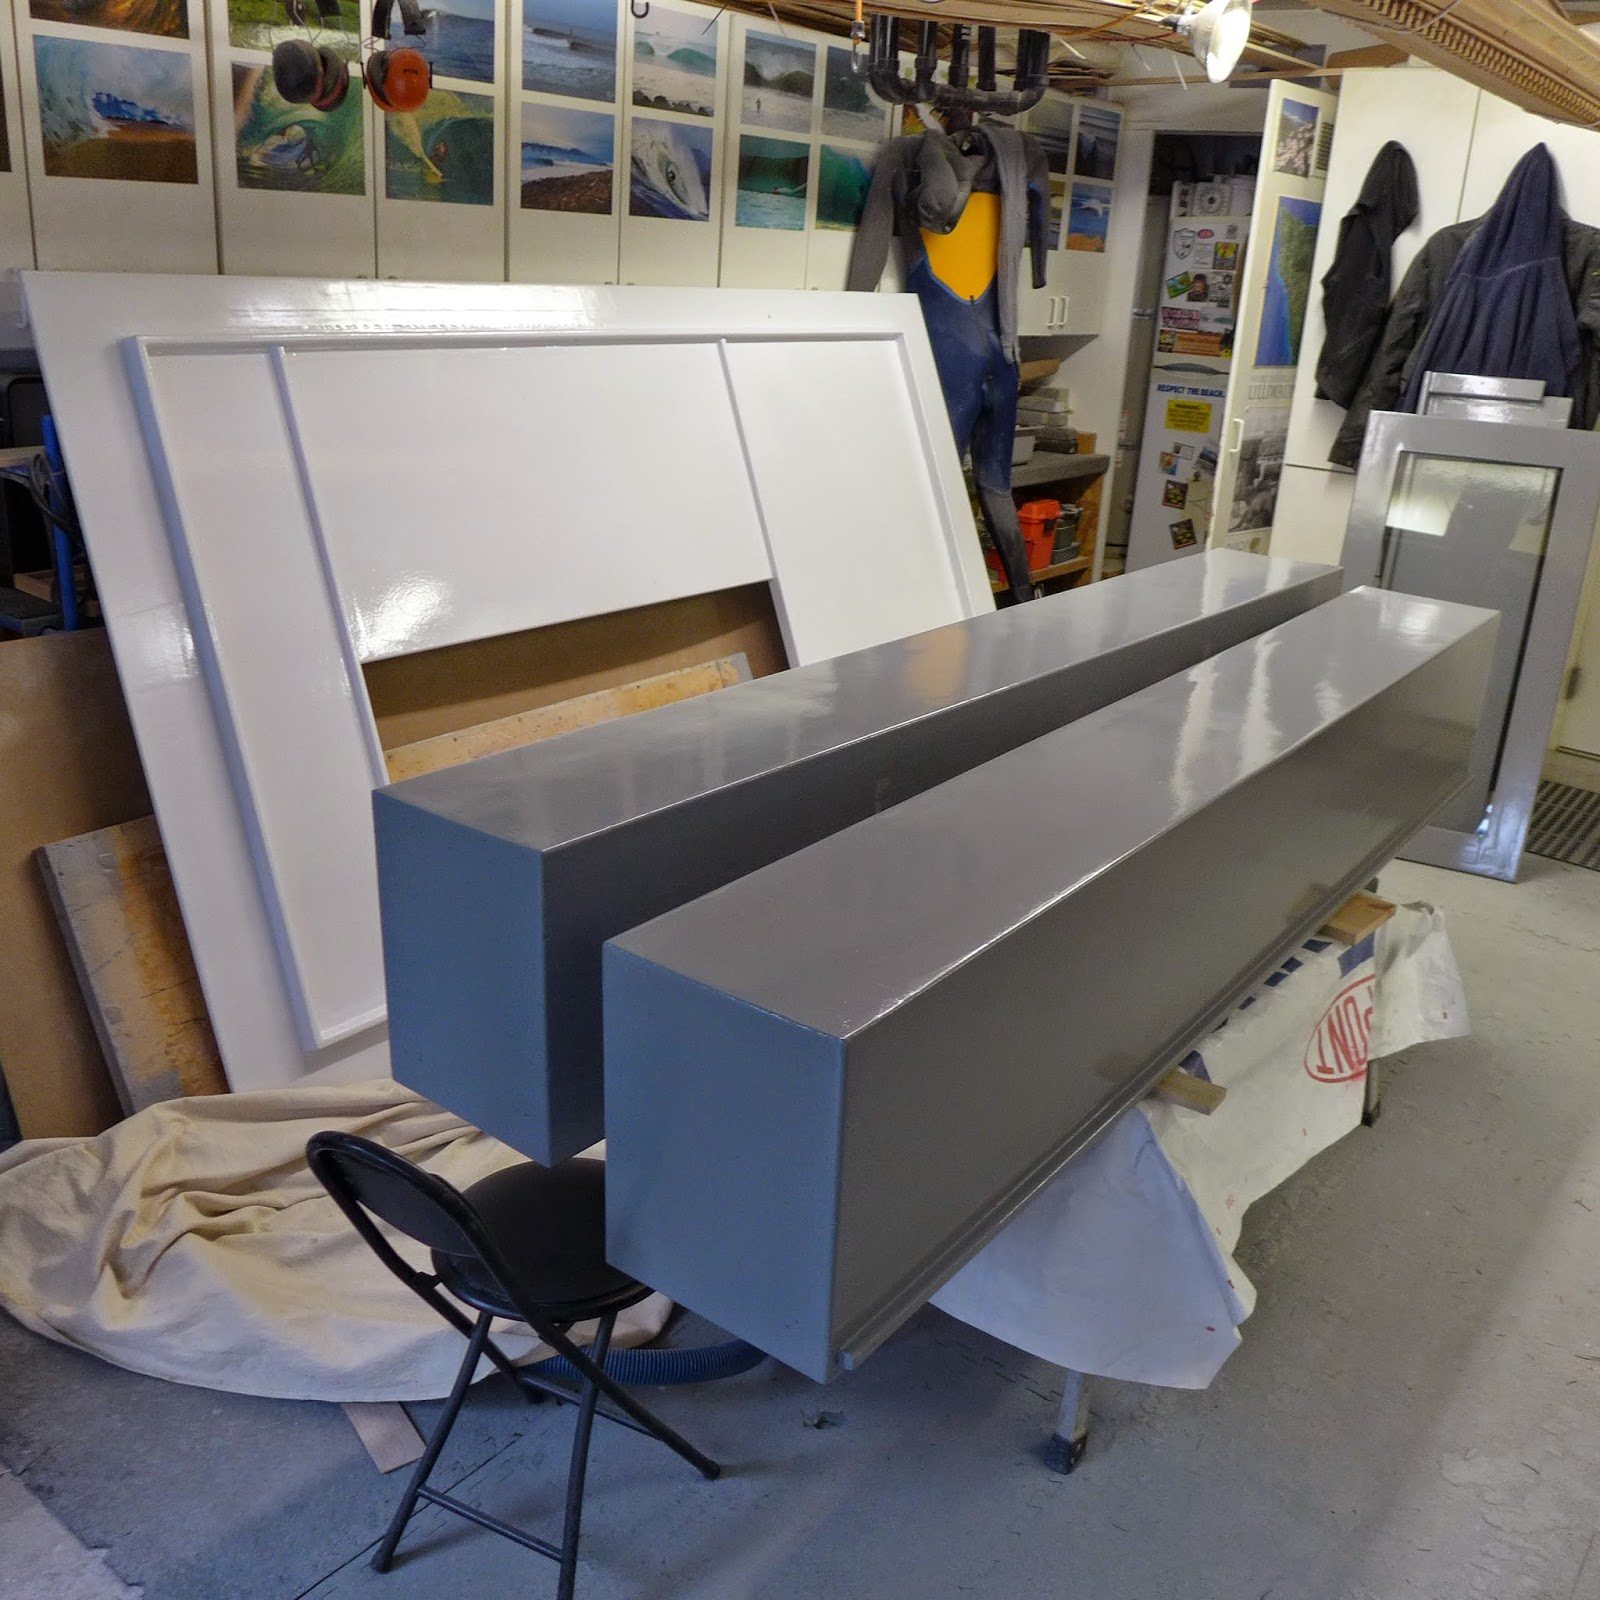
(Above) Everything has been, sanded, fiberglassed, sanded, epoxy fill coated, sanded, primered, sanded, painted, sanded and painted...
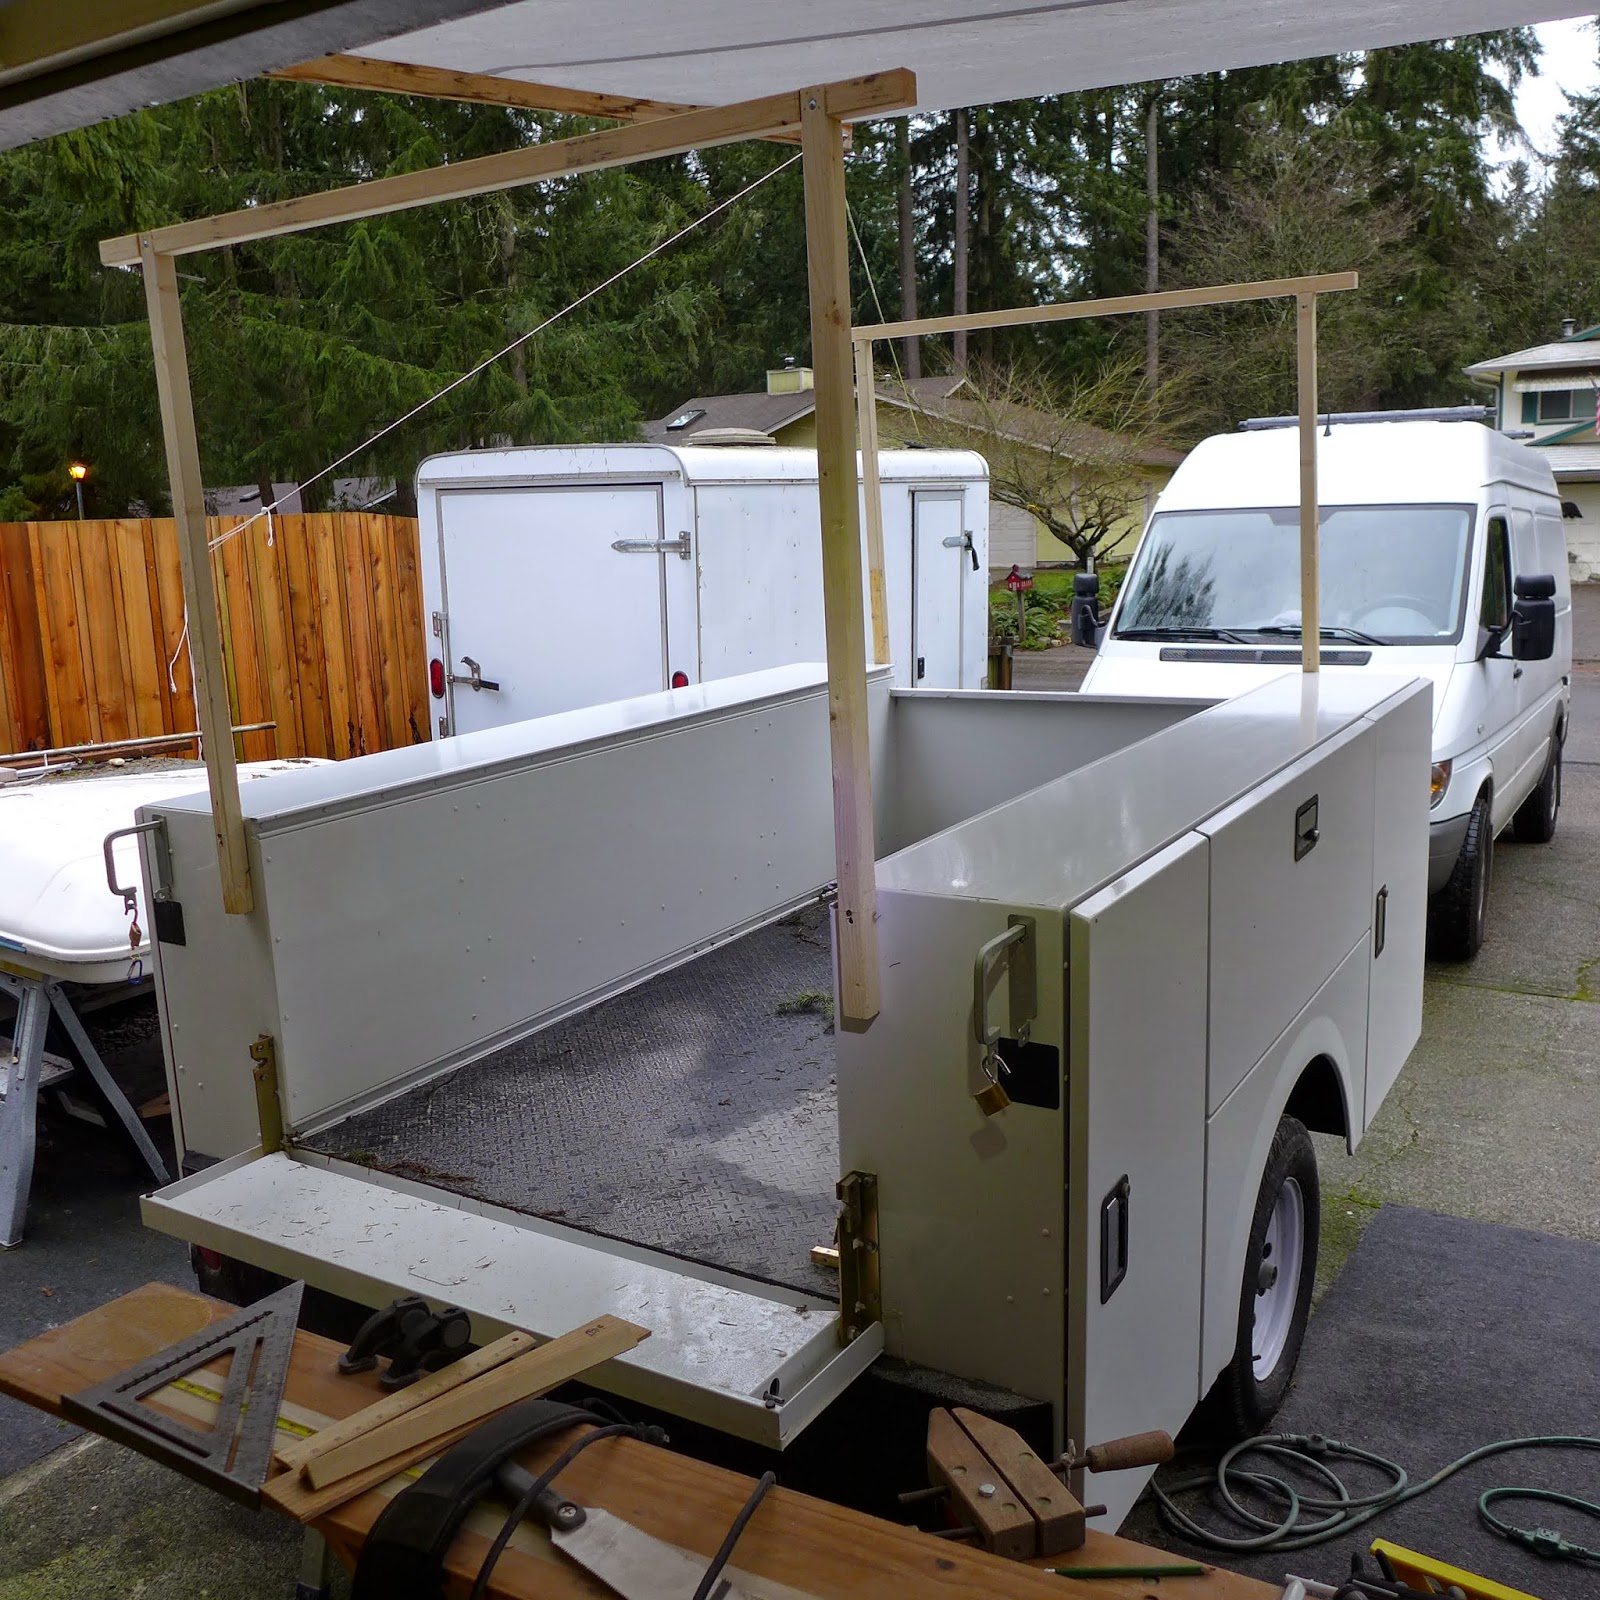
(Above) The empty canvas...
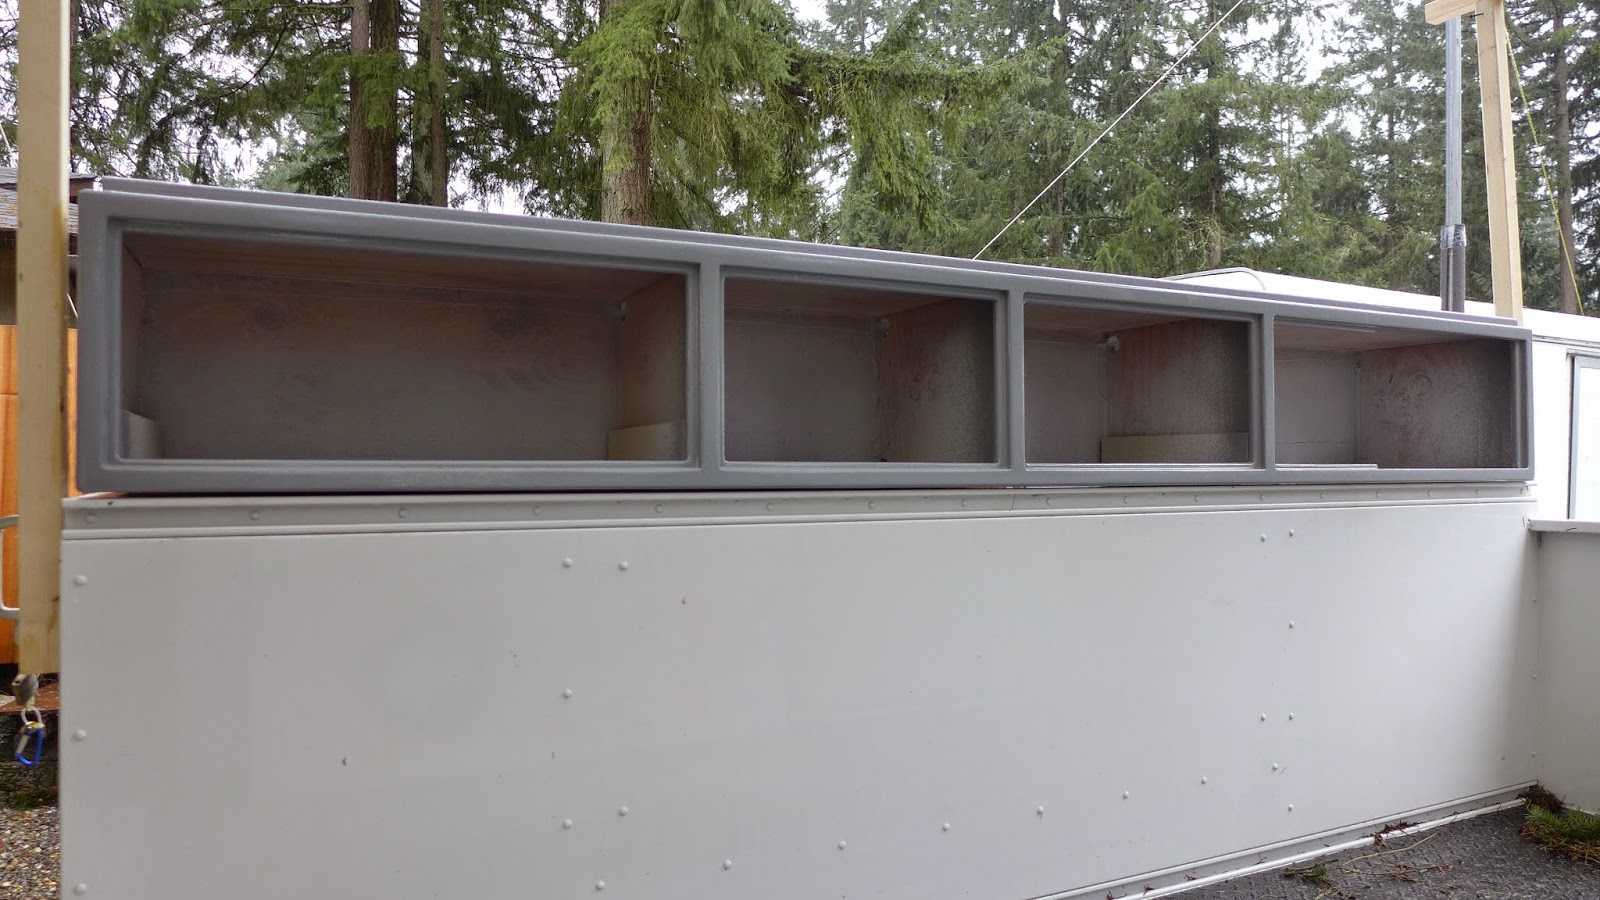
(Above) Driver side pod, in place...
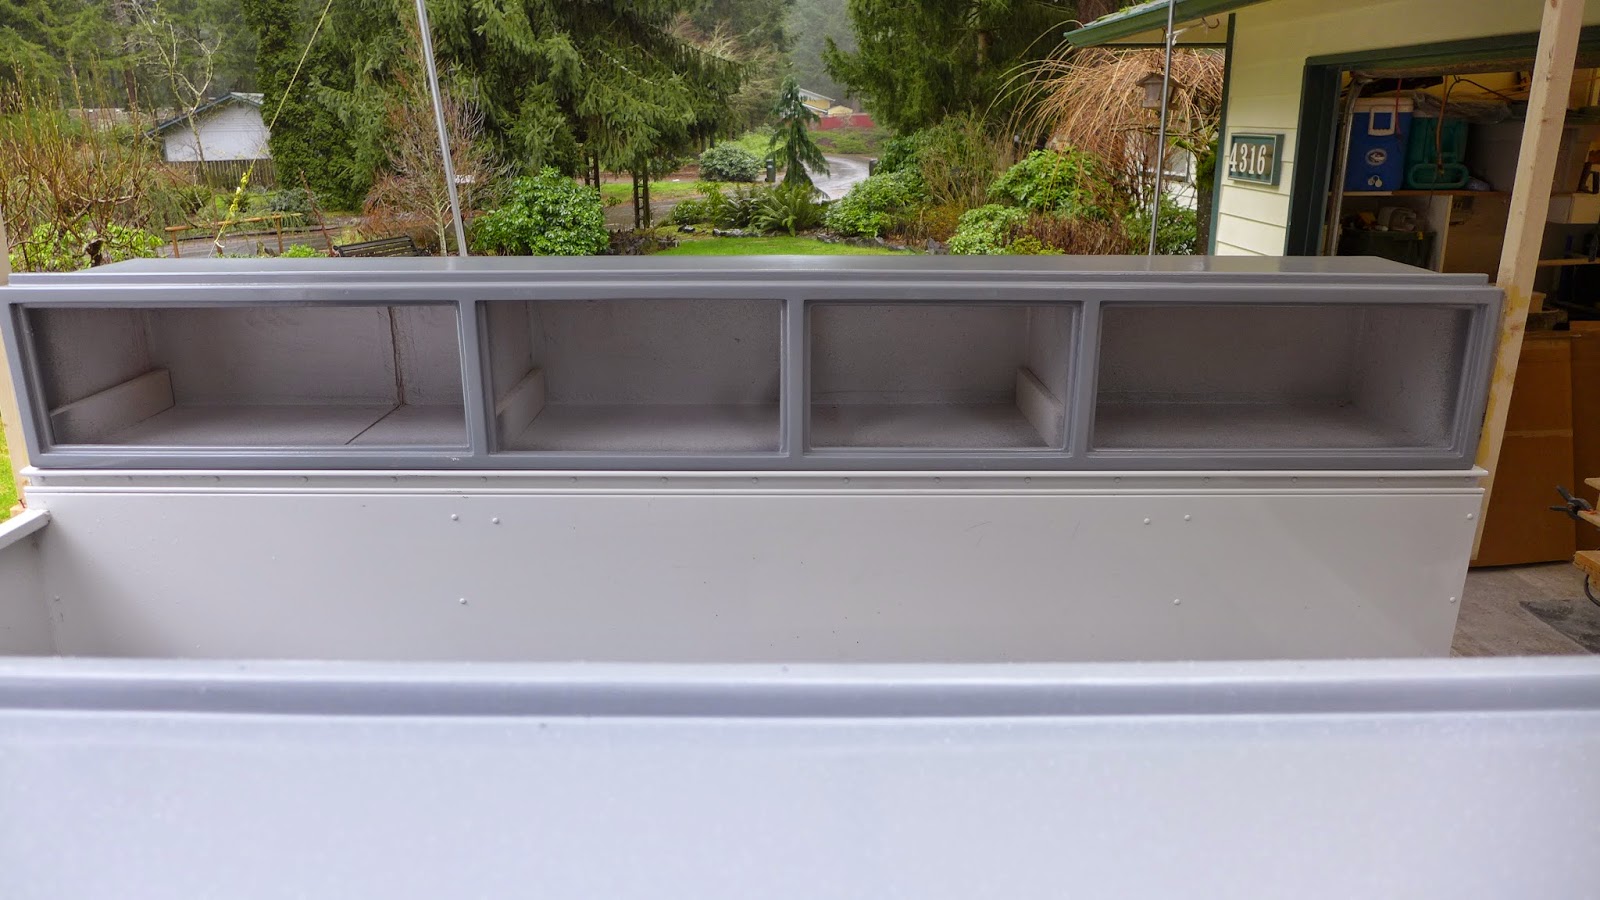
(Above) ..and the curb side...
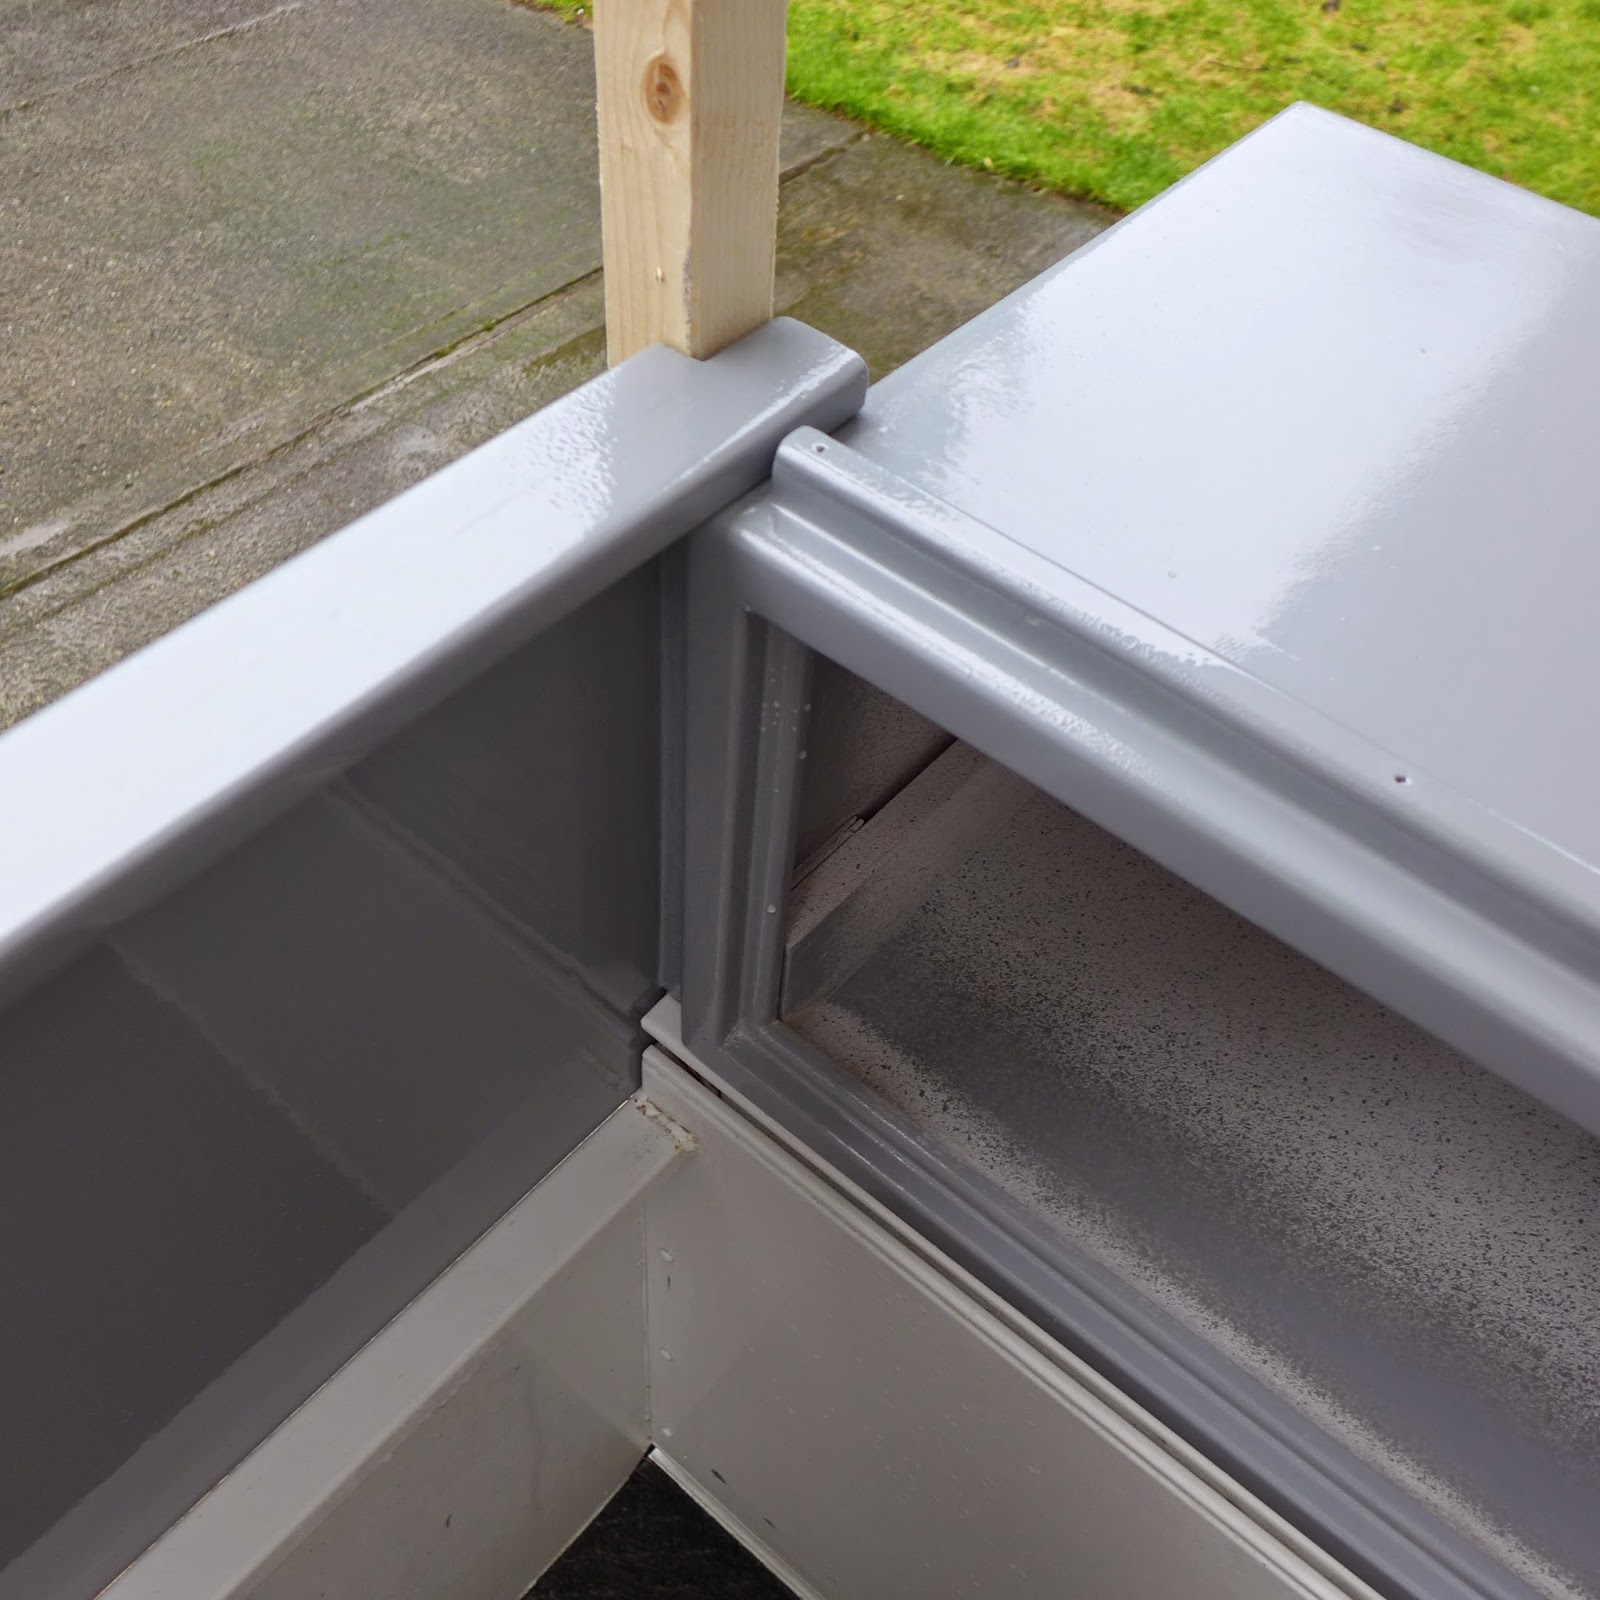
(Above) Hitch end panel in place...
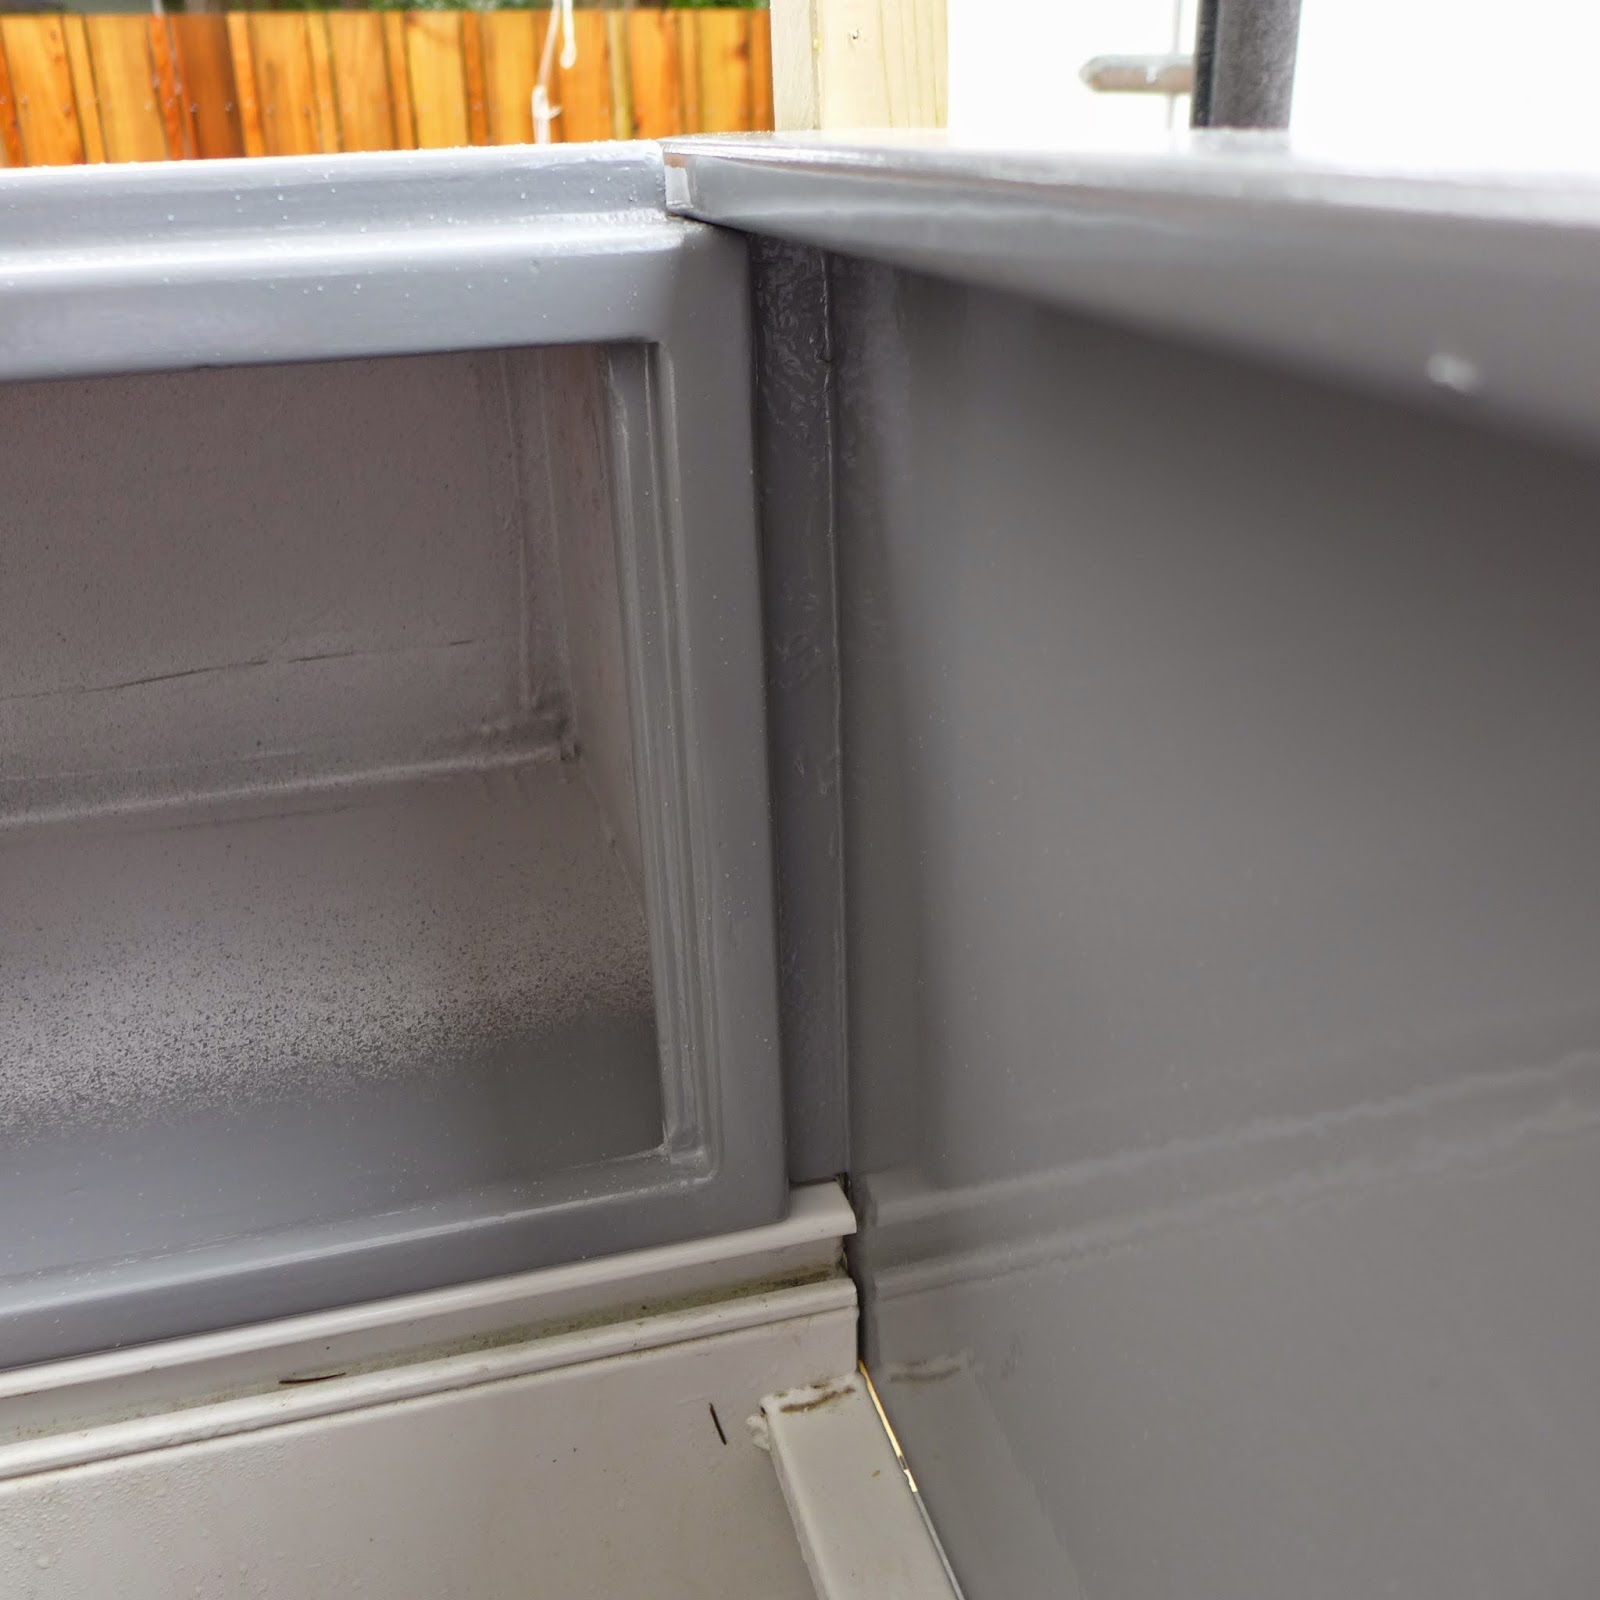
(Above) Where it meets the driver side pod...
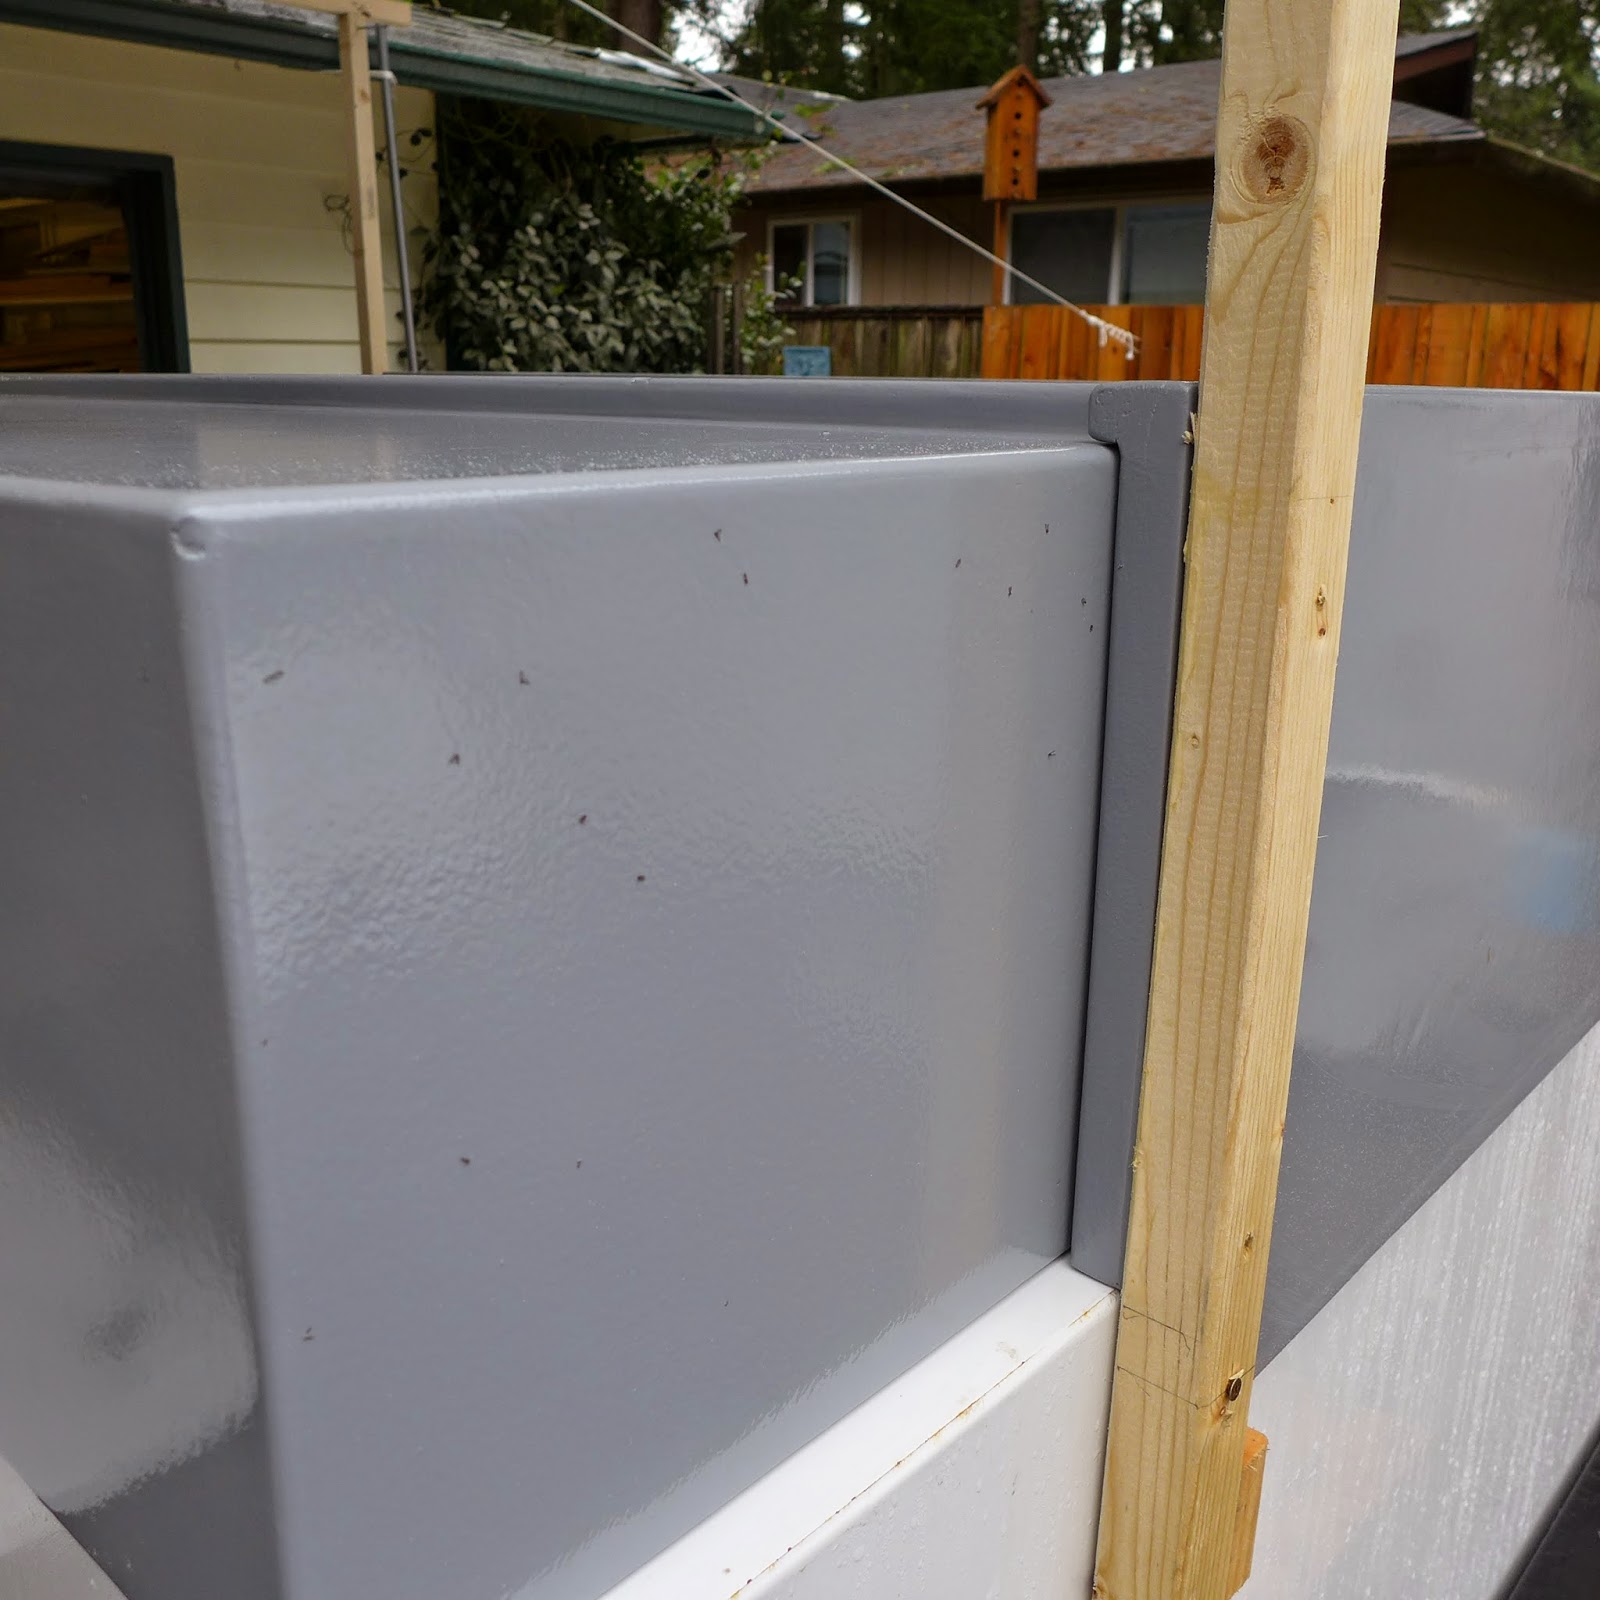
(Above) Outside, curbside, with the mock-up roof rack in place...
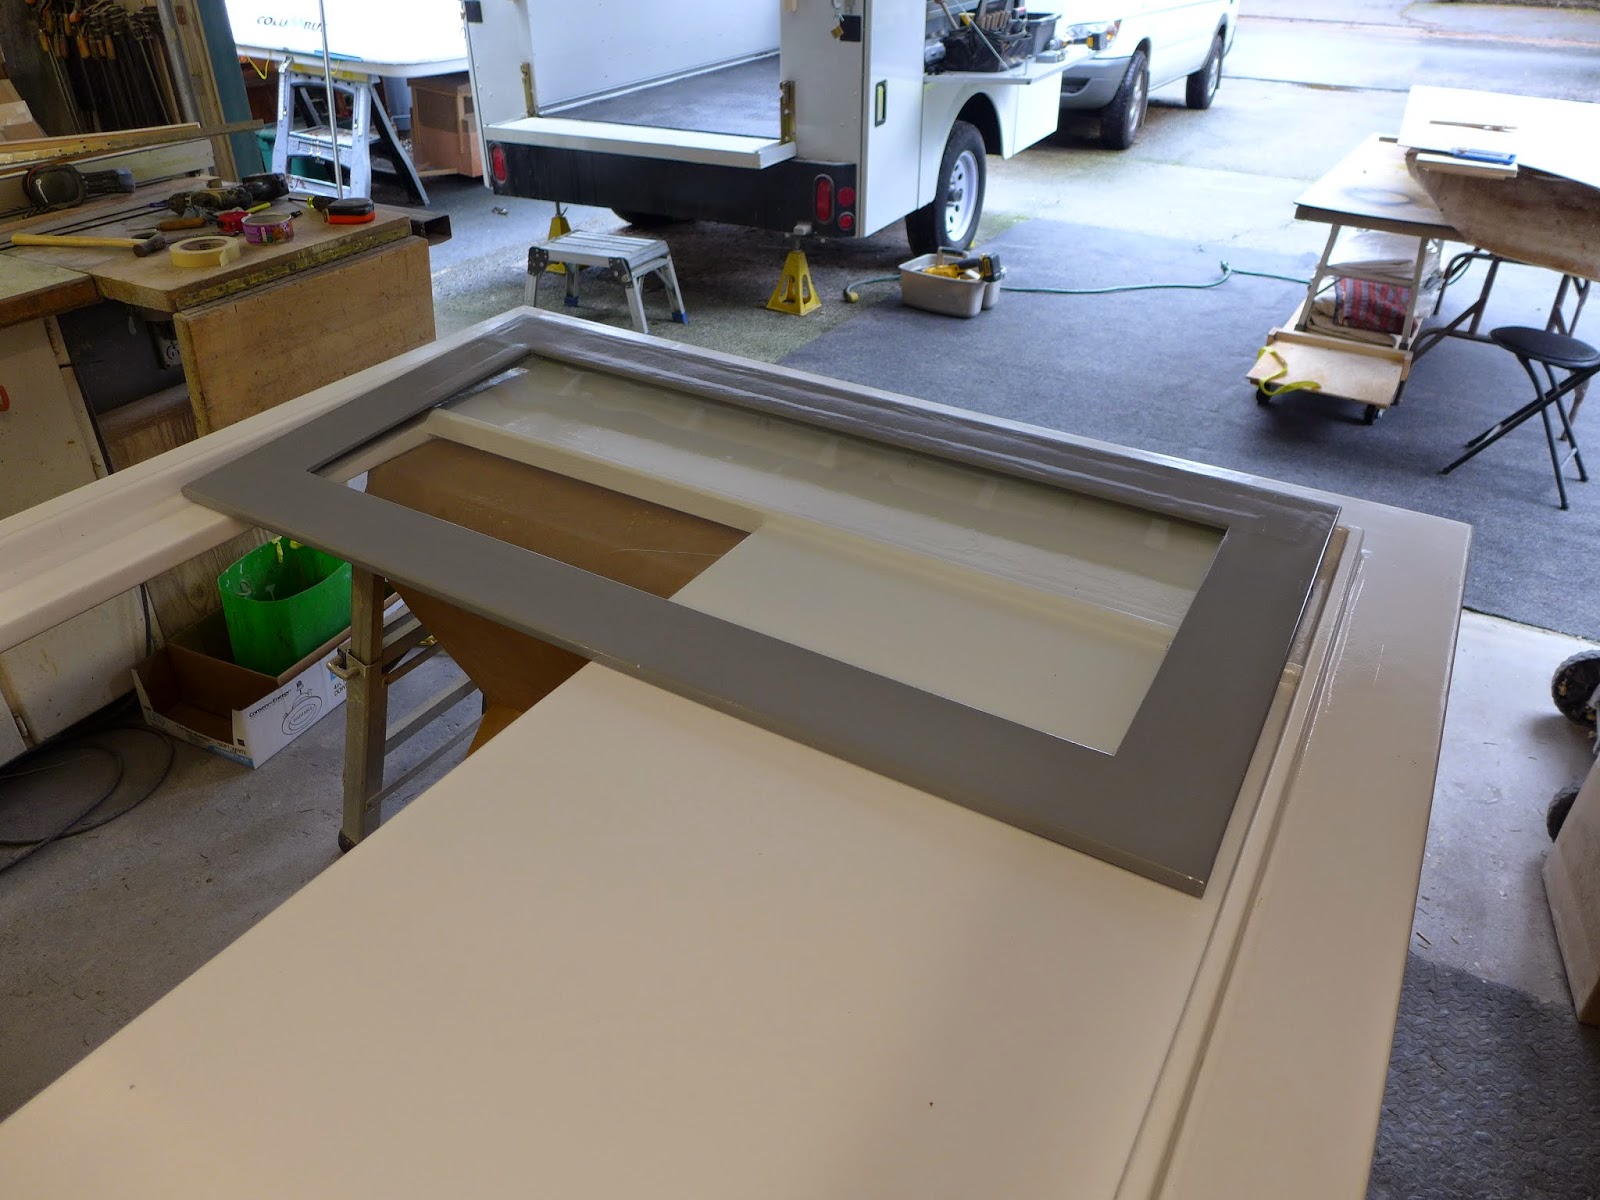
(Above) Onto the ceiling plywood, the lift-up window is piano hinged into place... Remember this will flip over and fit onto the roof rack...
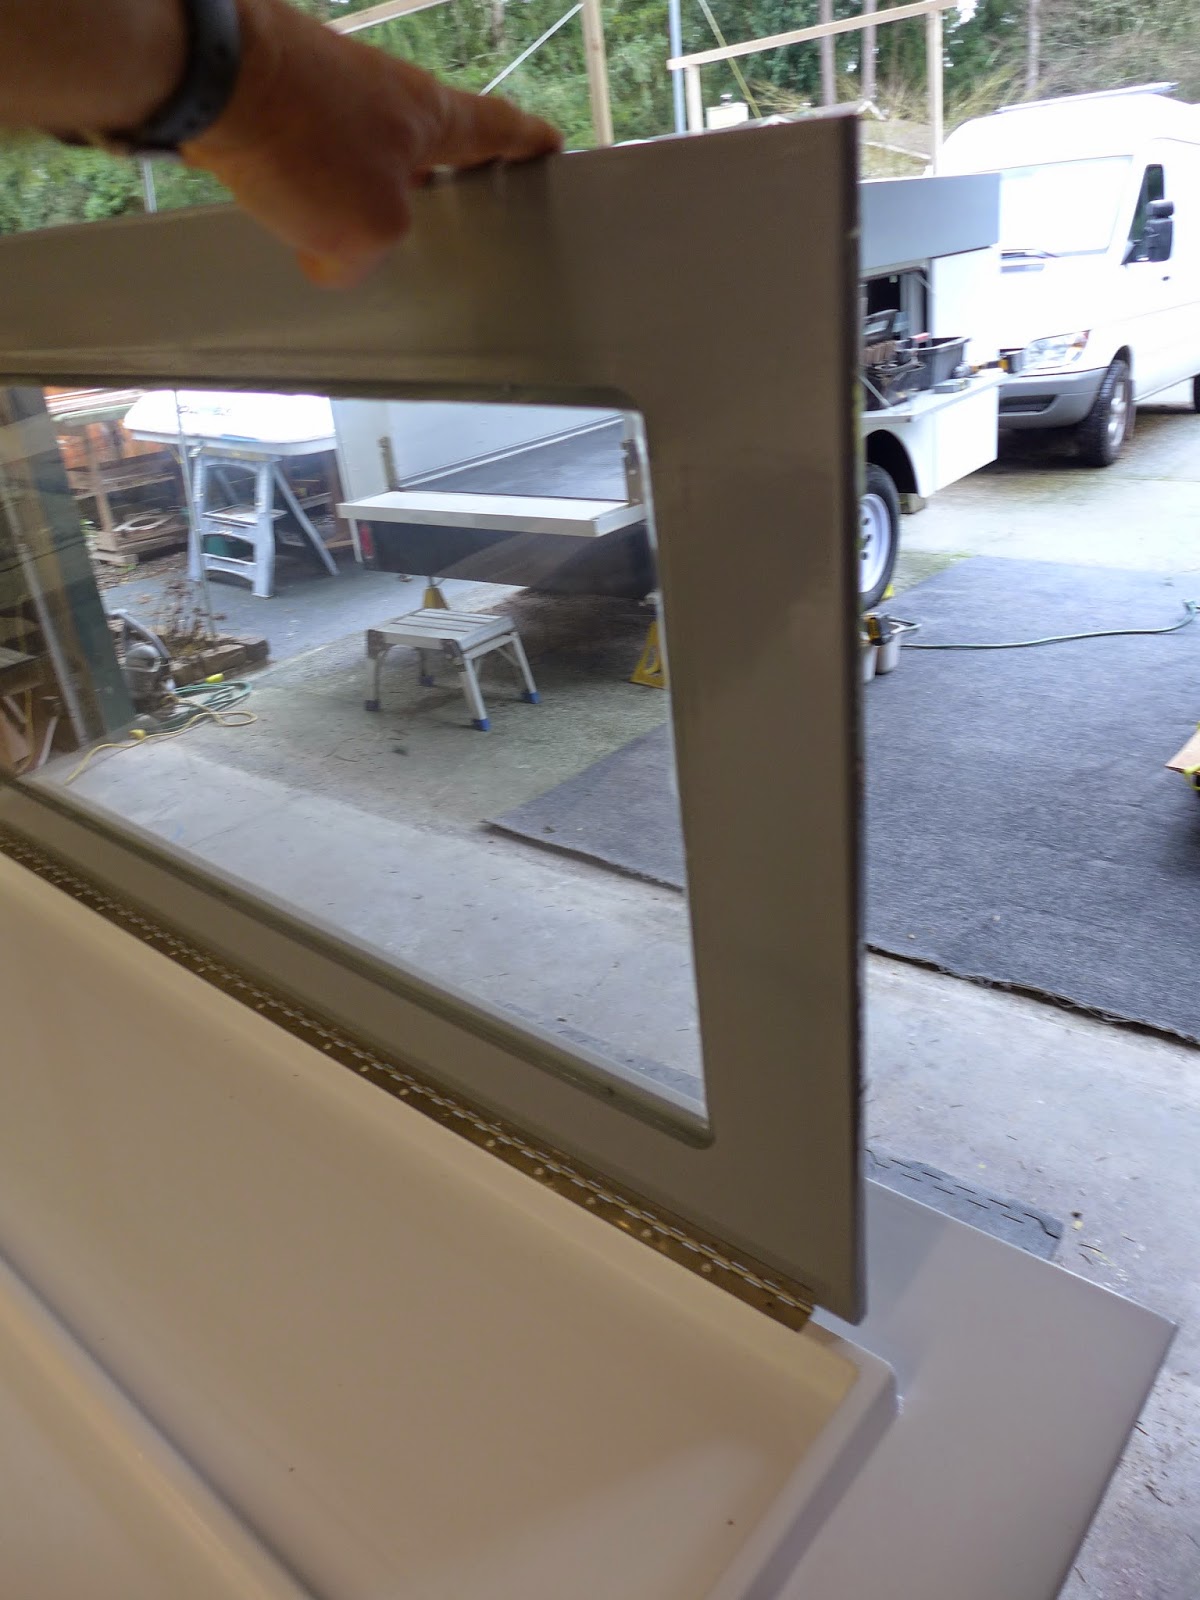
(Above) Window in folded down position...
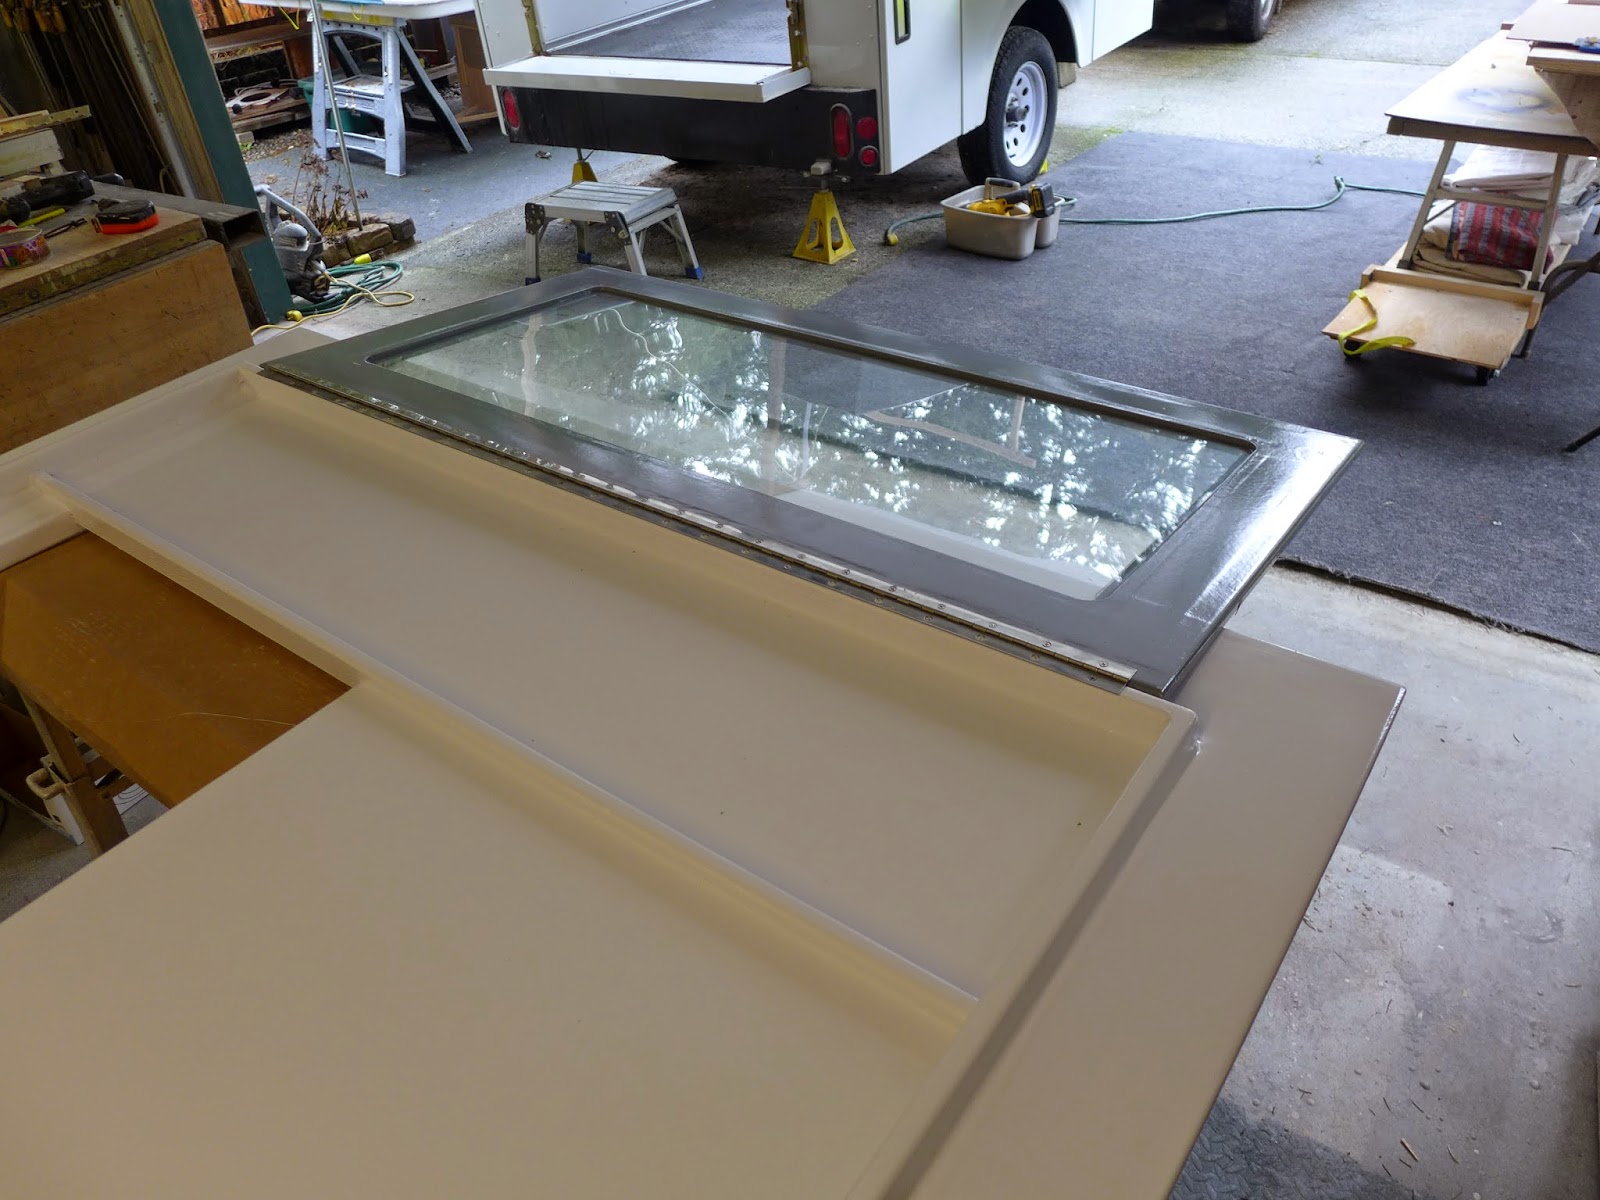
(Above) ...and folded up, awning style...
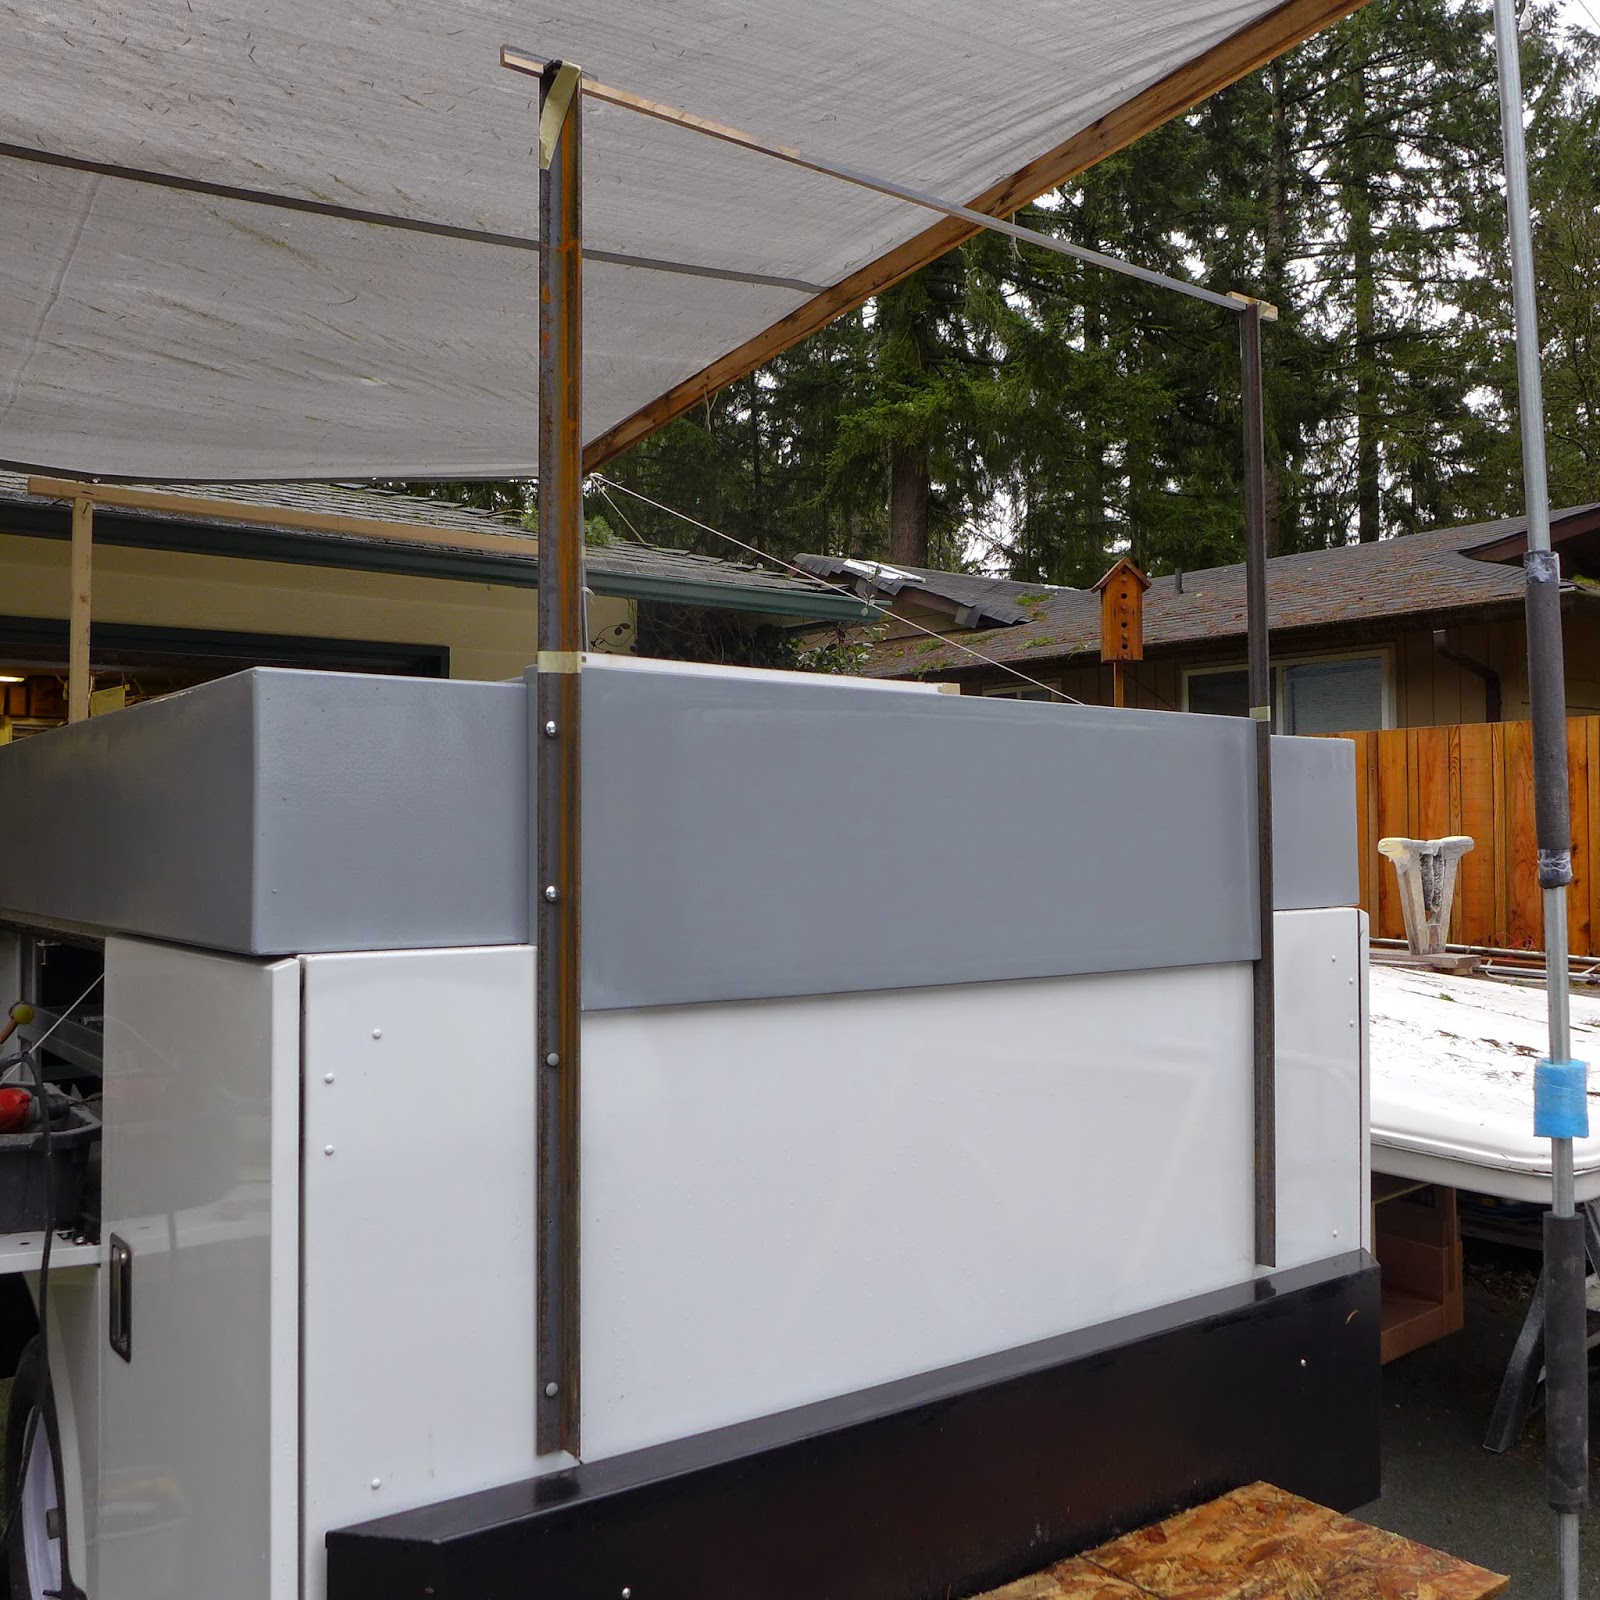
(Above) The roof top tent will mount to the plywood base... To support the tent and plywood base, 1/4" x 1.5" steel angle metal, with an end plate welded on, and drilled for a bolt, was fab'ed at the local welding shop... Those get through bolted to the utility body and the composite plywood pods...
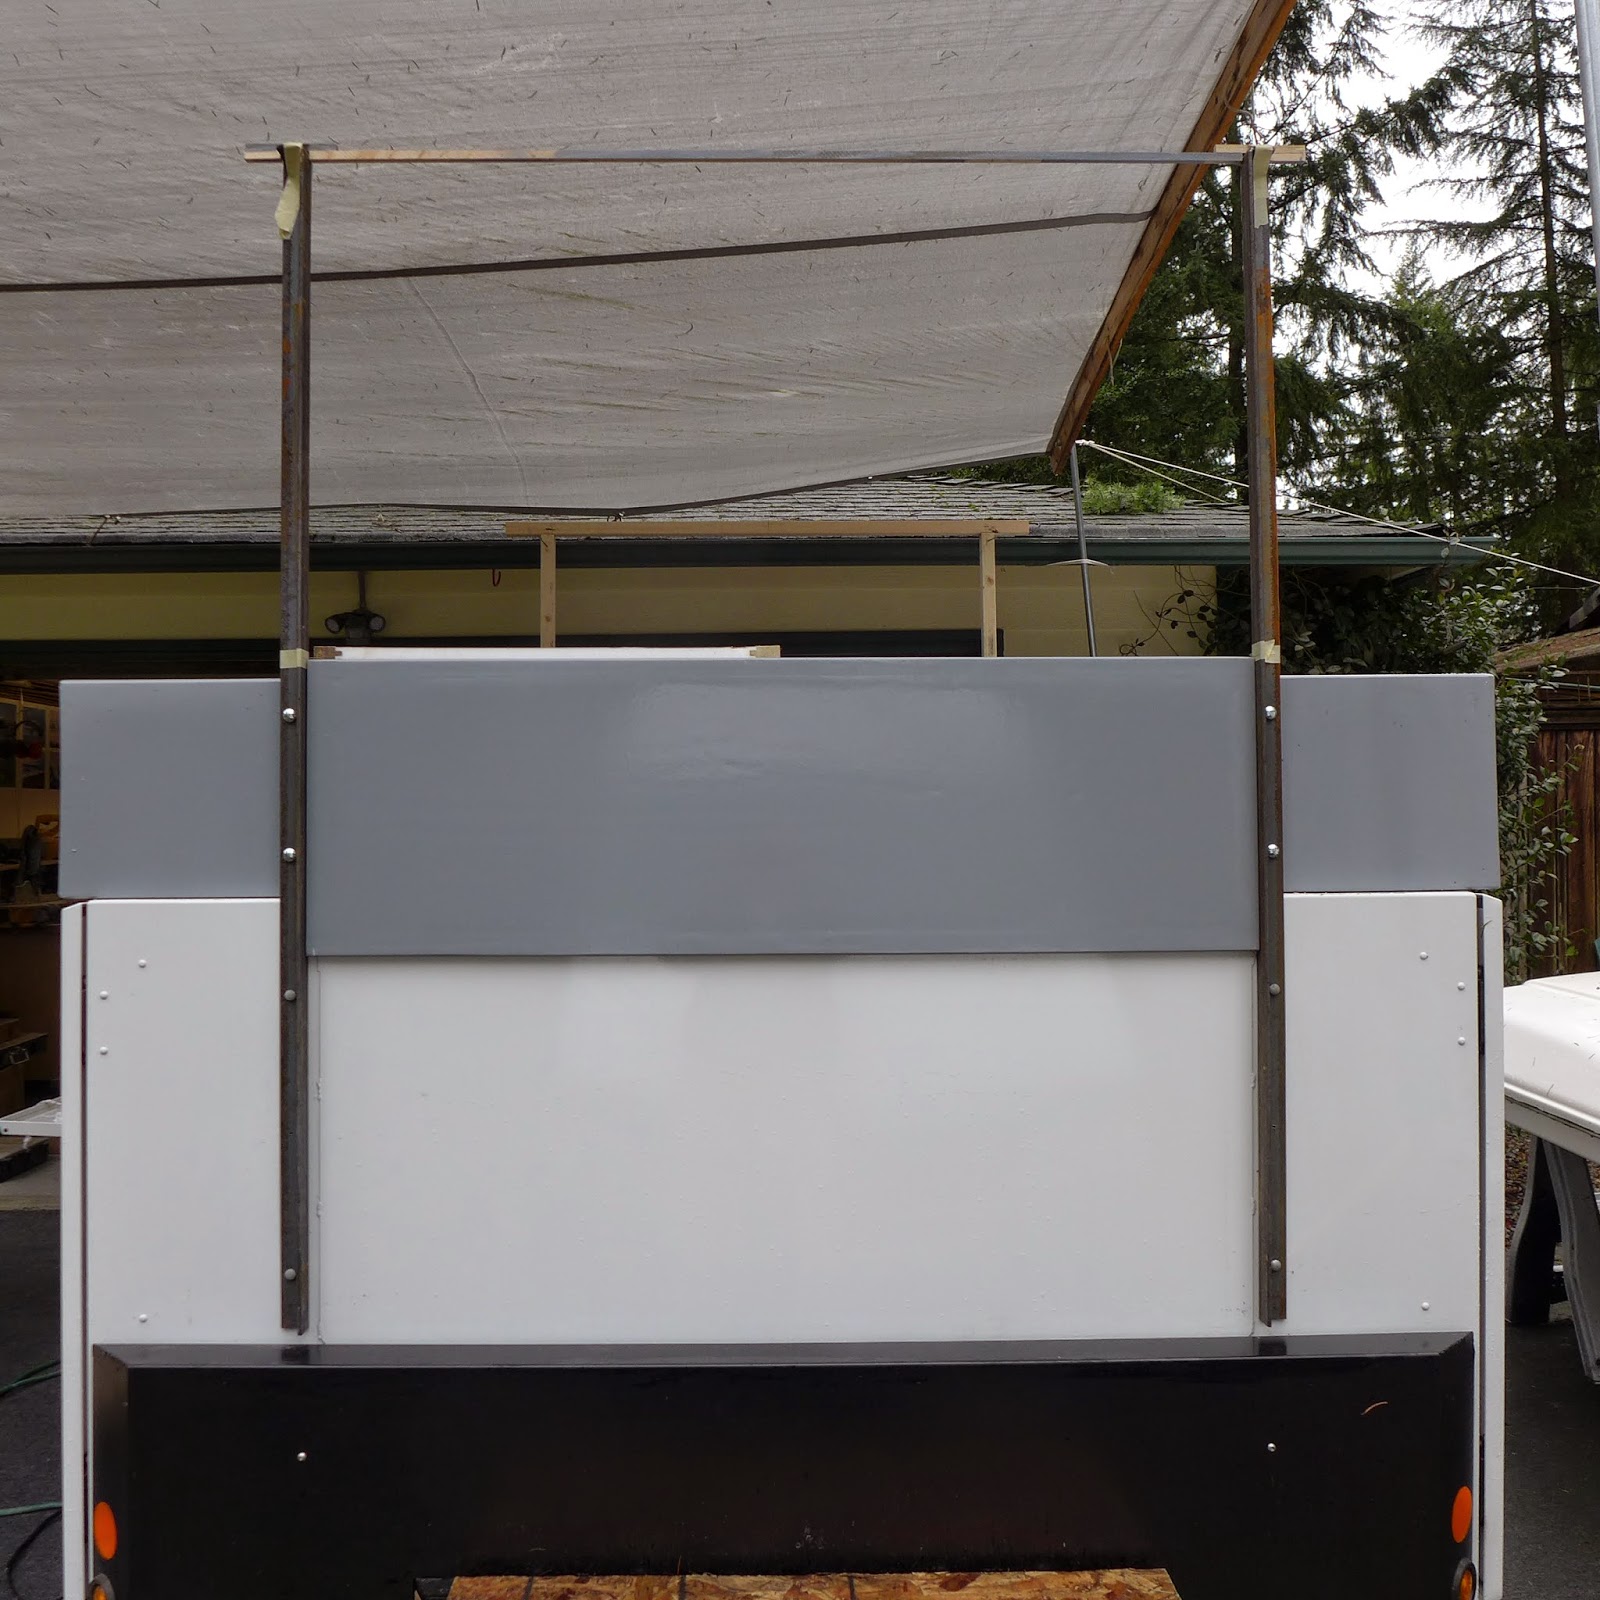
(Above) ...and from the very front...
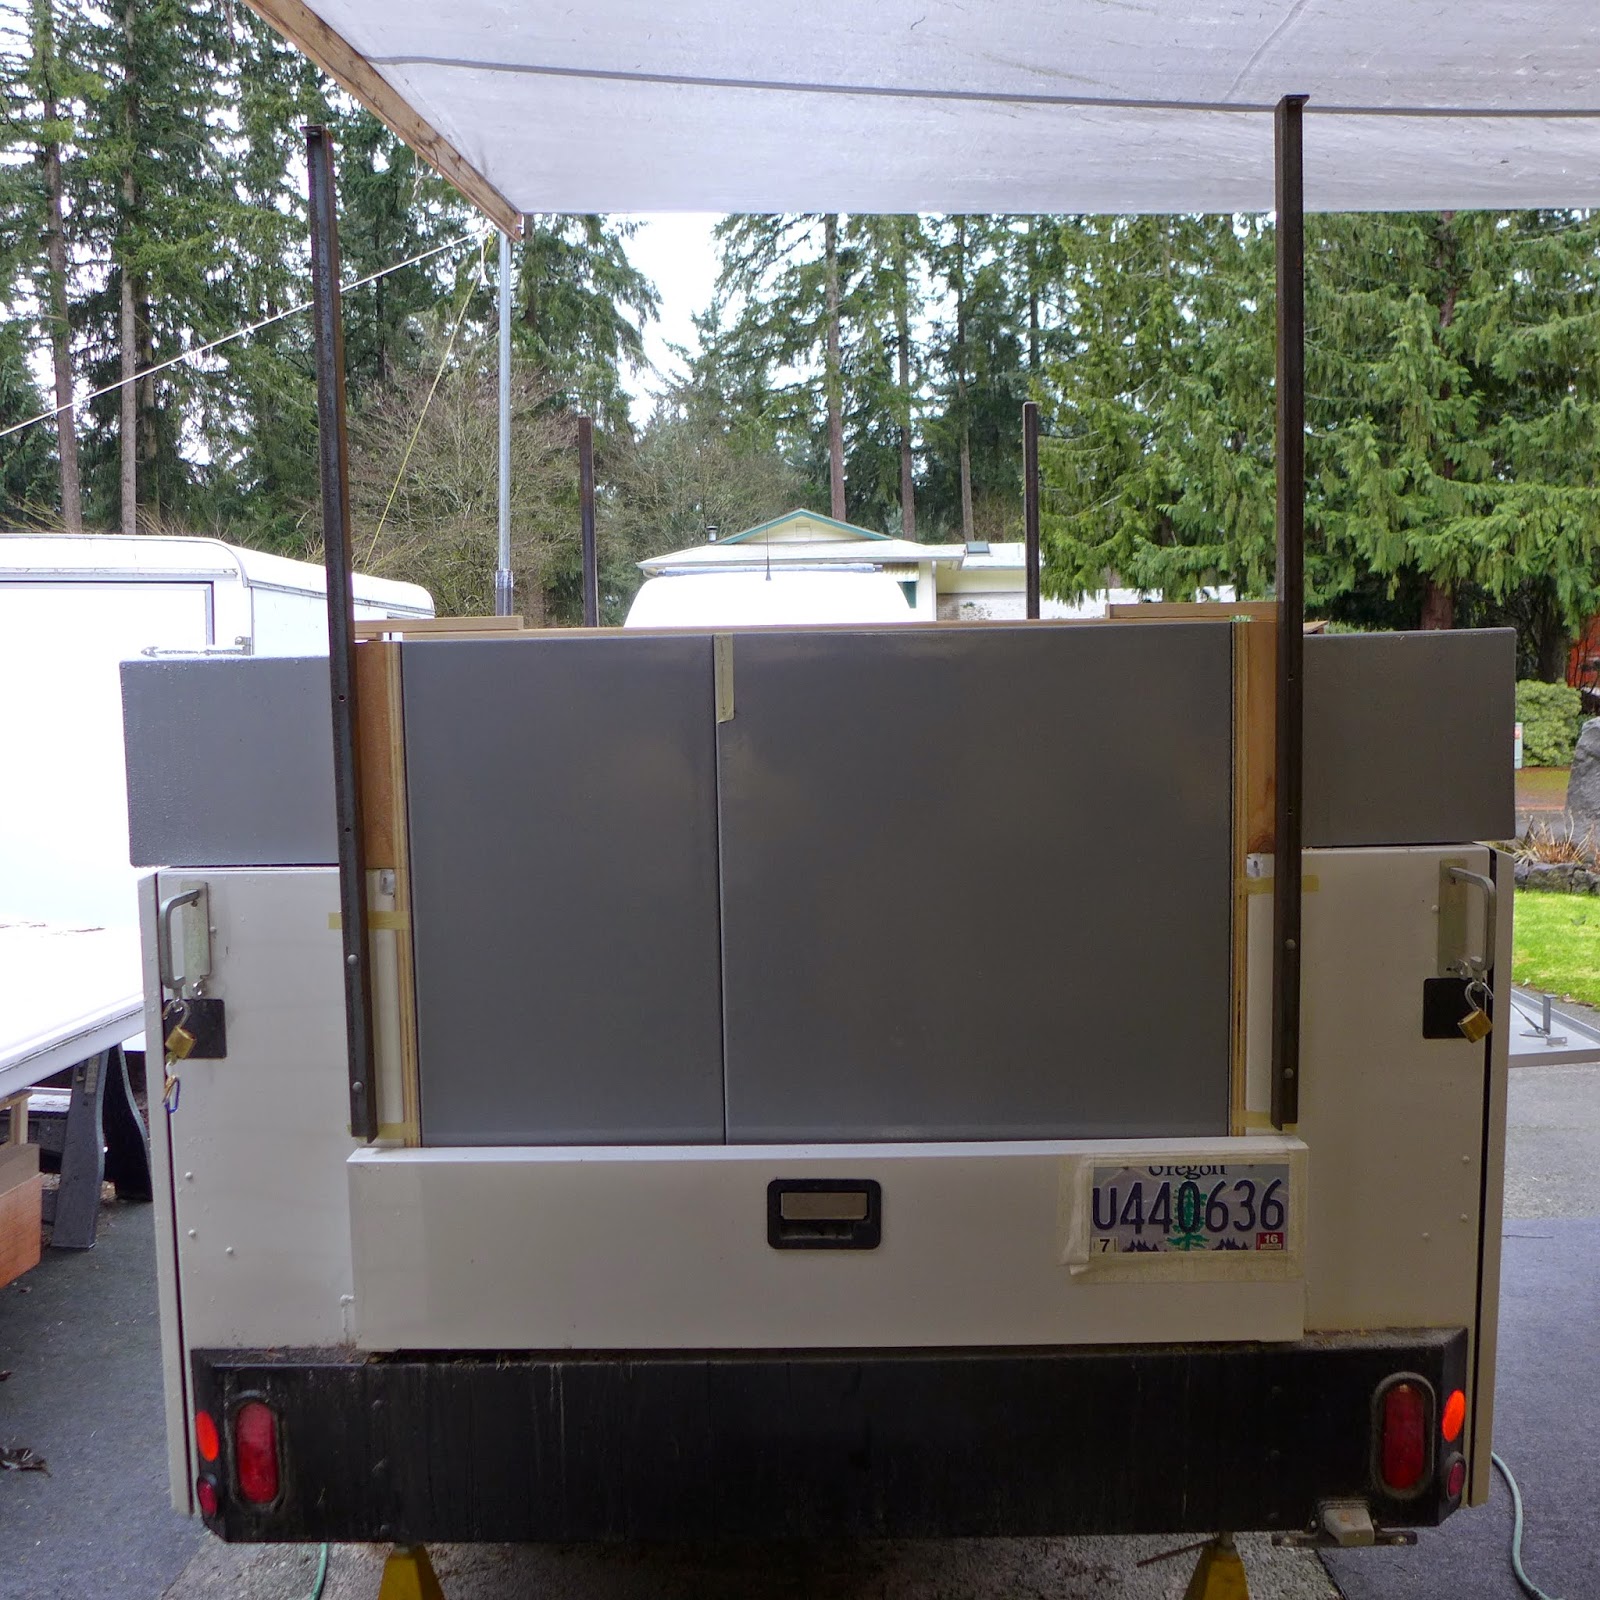
(Above) Same thing on the rear... The lower rear doors are in place, but far from final fitted... The steel utility body is ever so slightly out of square and that affects everything back here...
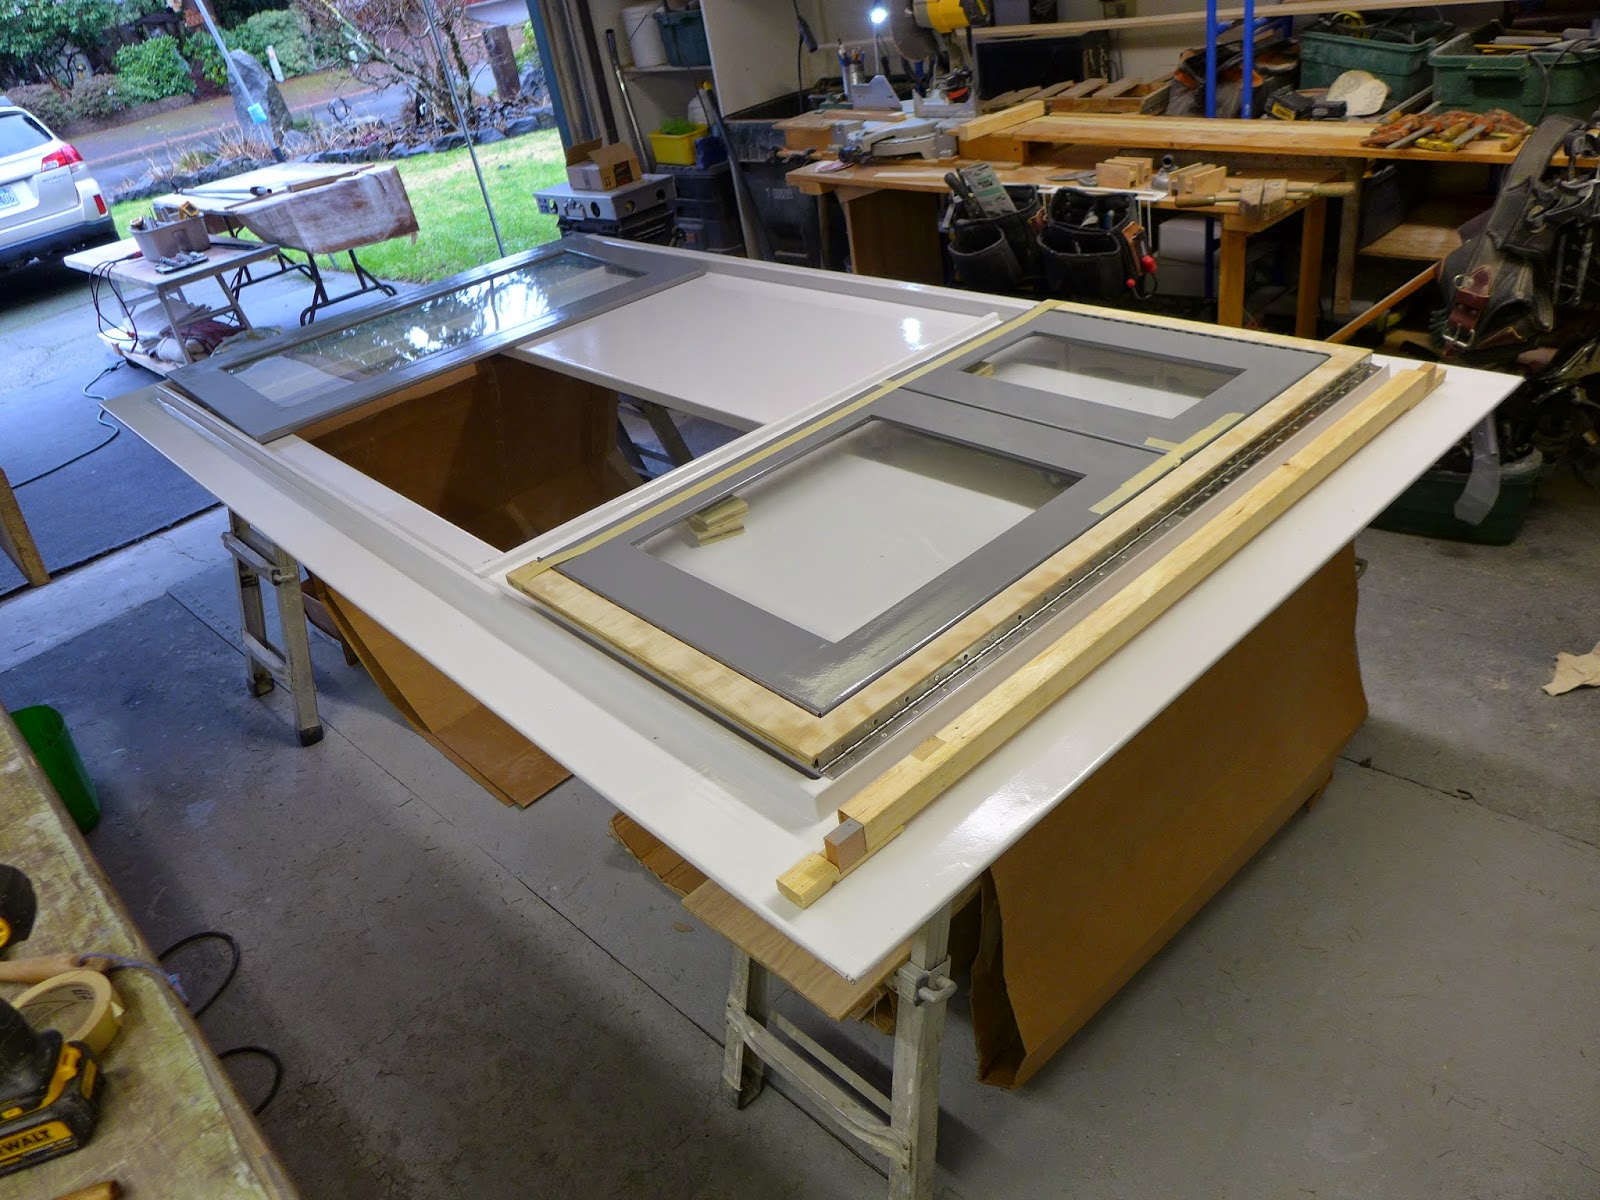
(Above) The upper doors are fitted to the ceiling plywood...
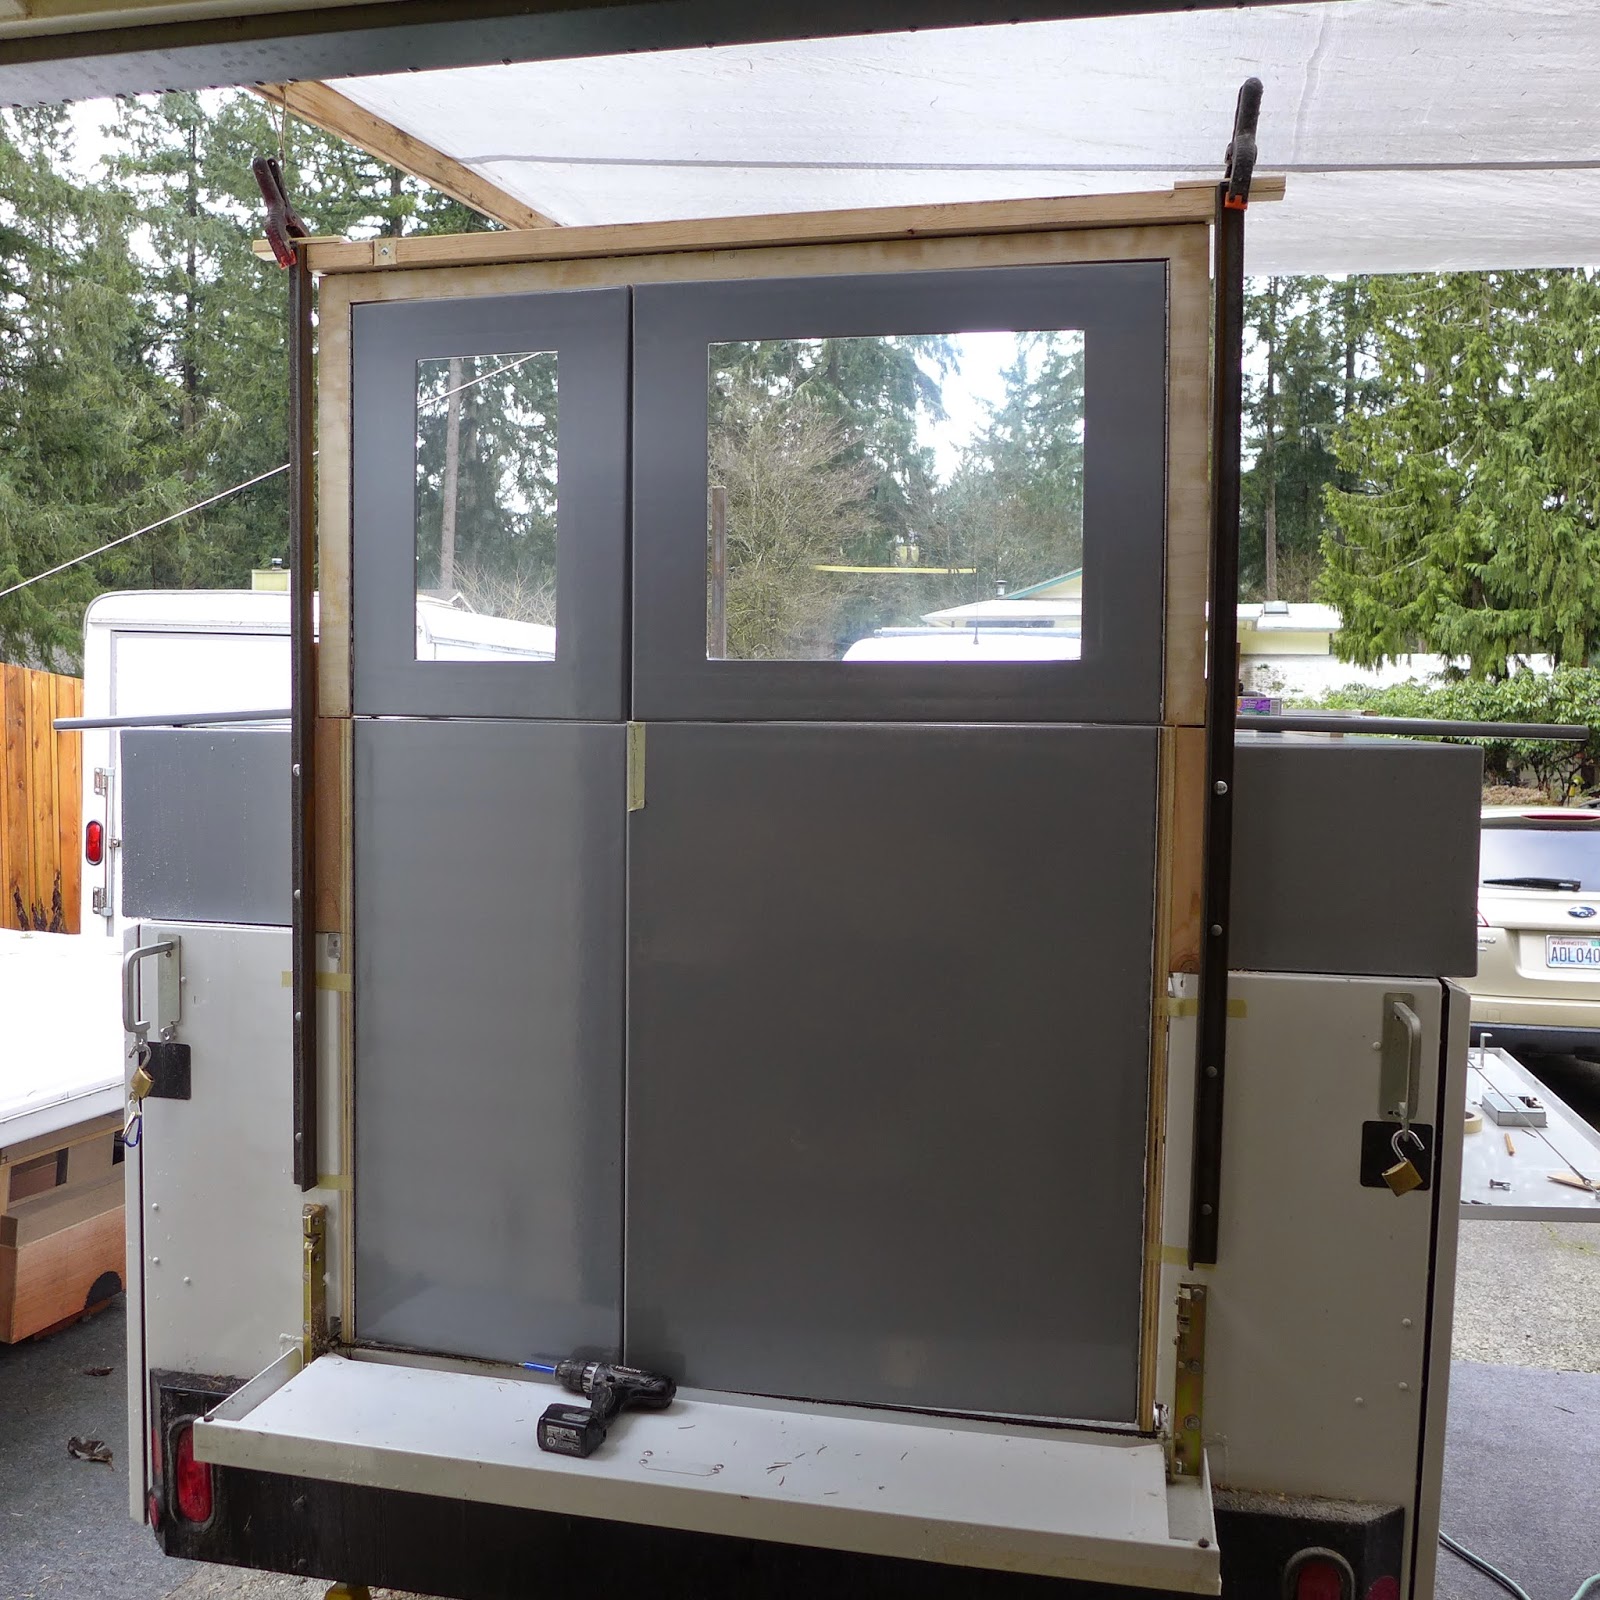
(Above) The extent of the out of squareness is enough to test fit it onto the rear rack... Close enough f,or now, but the final fitting can only happen when the roof plywood is in place and everything is bolted hard...
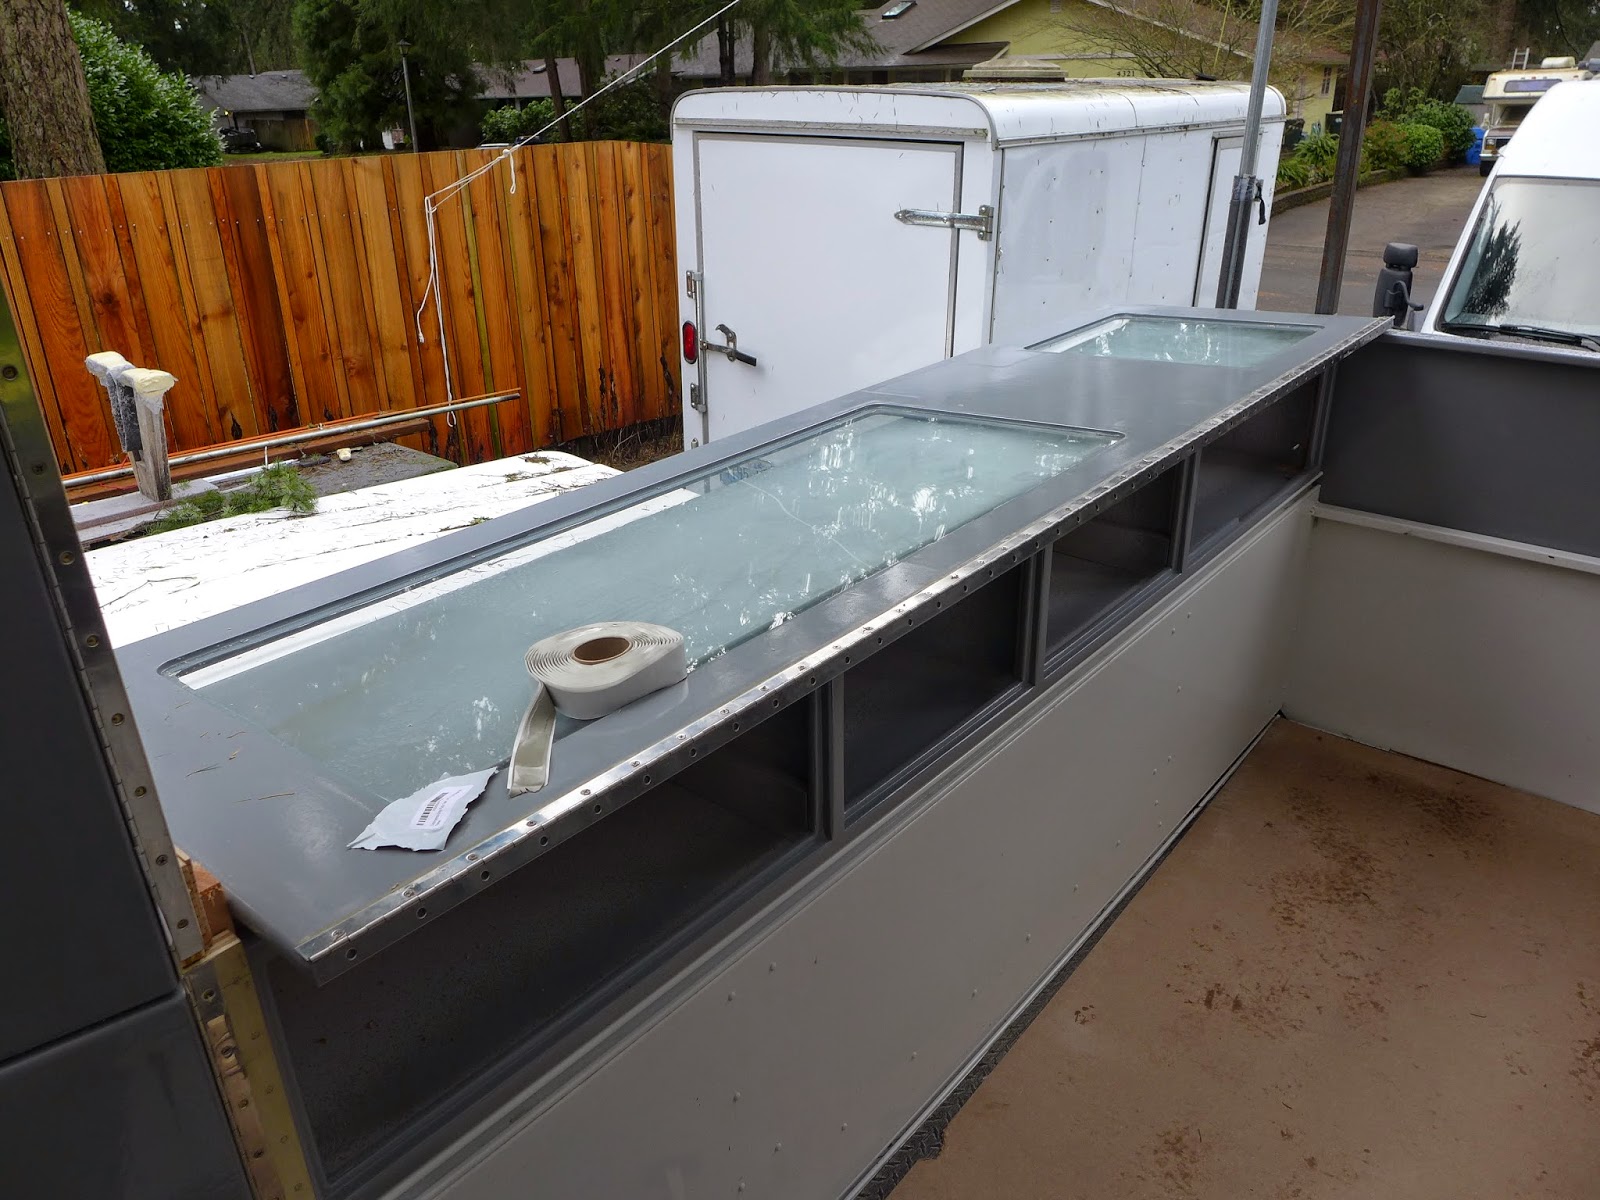
(Above) Next the side walls are brought in...
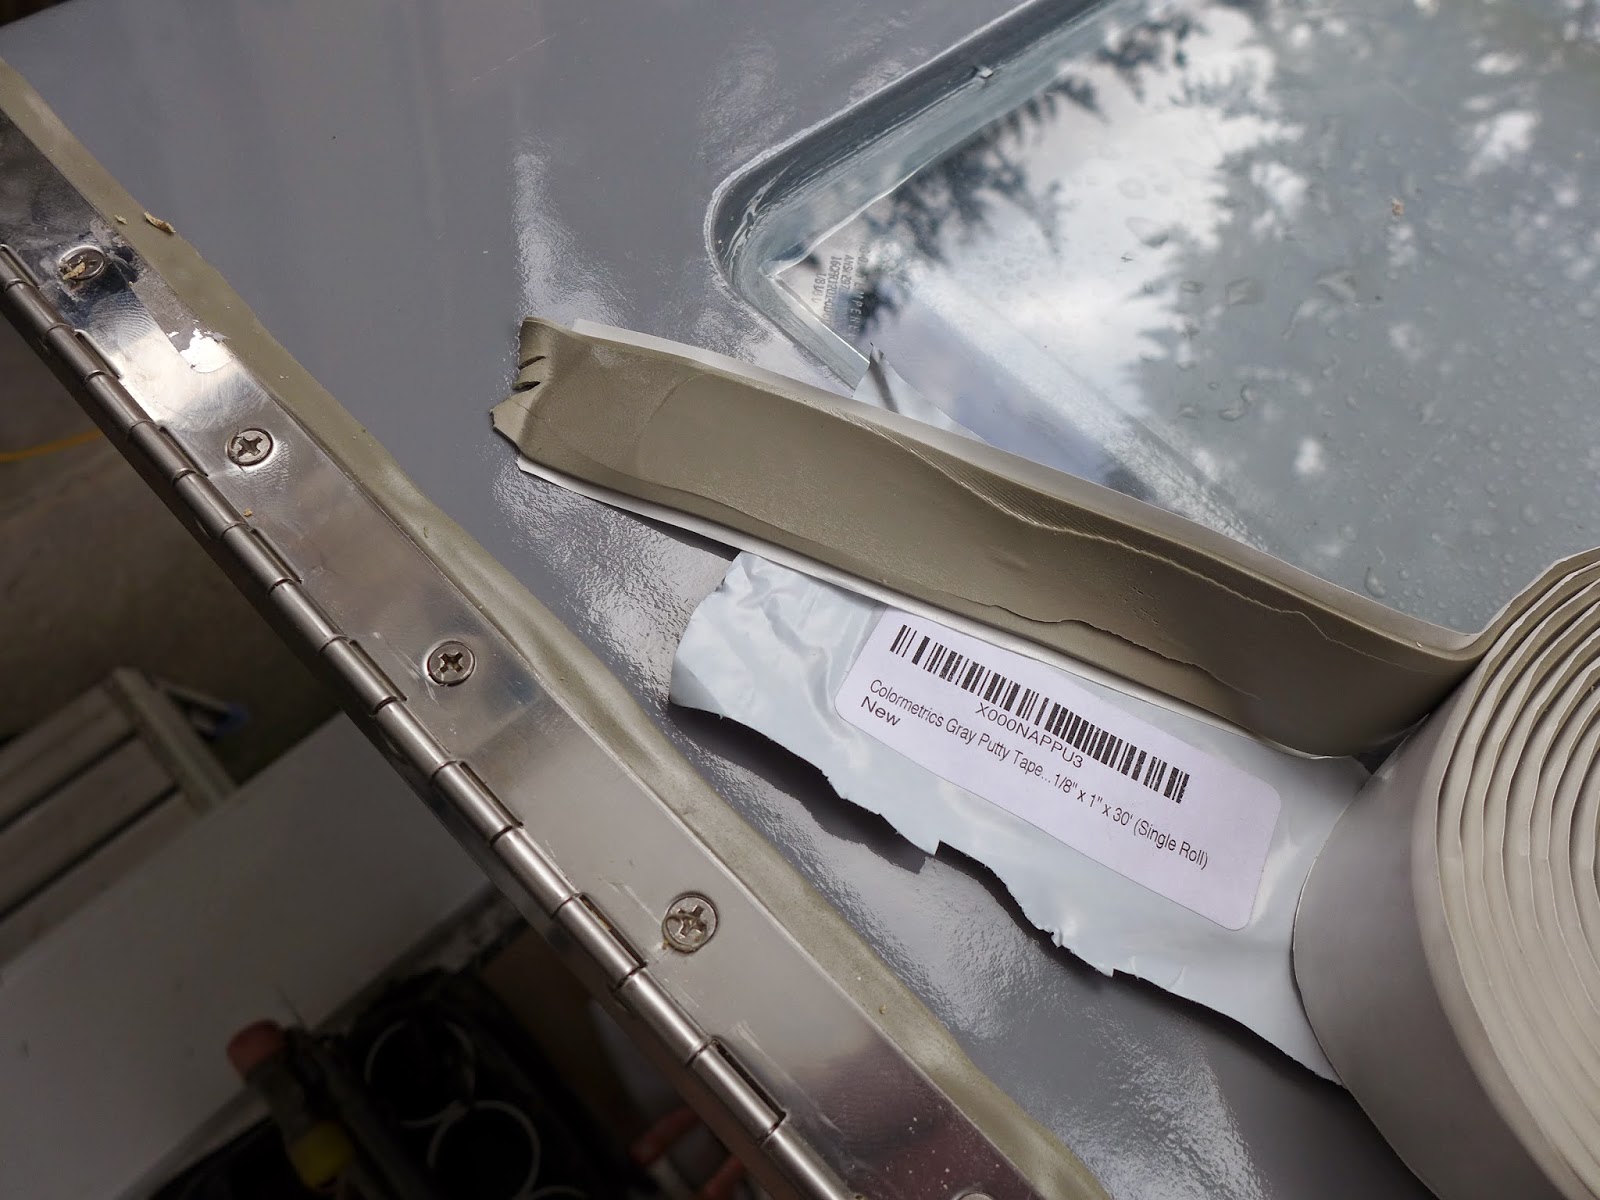
(Above) Butyl tape goes between the hinges and the frame / wall...
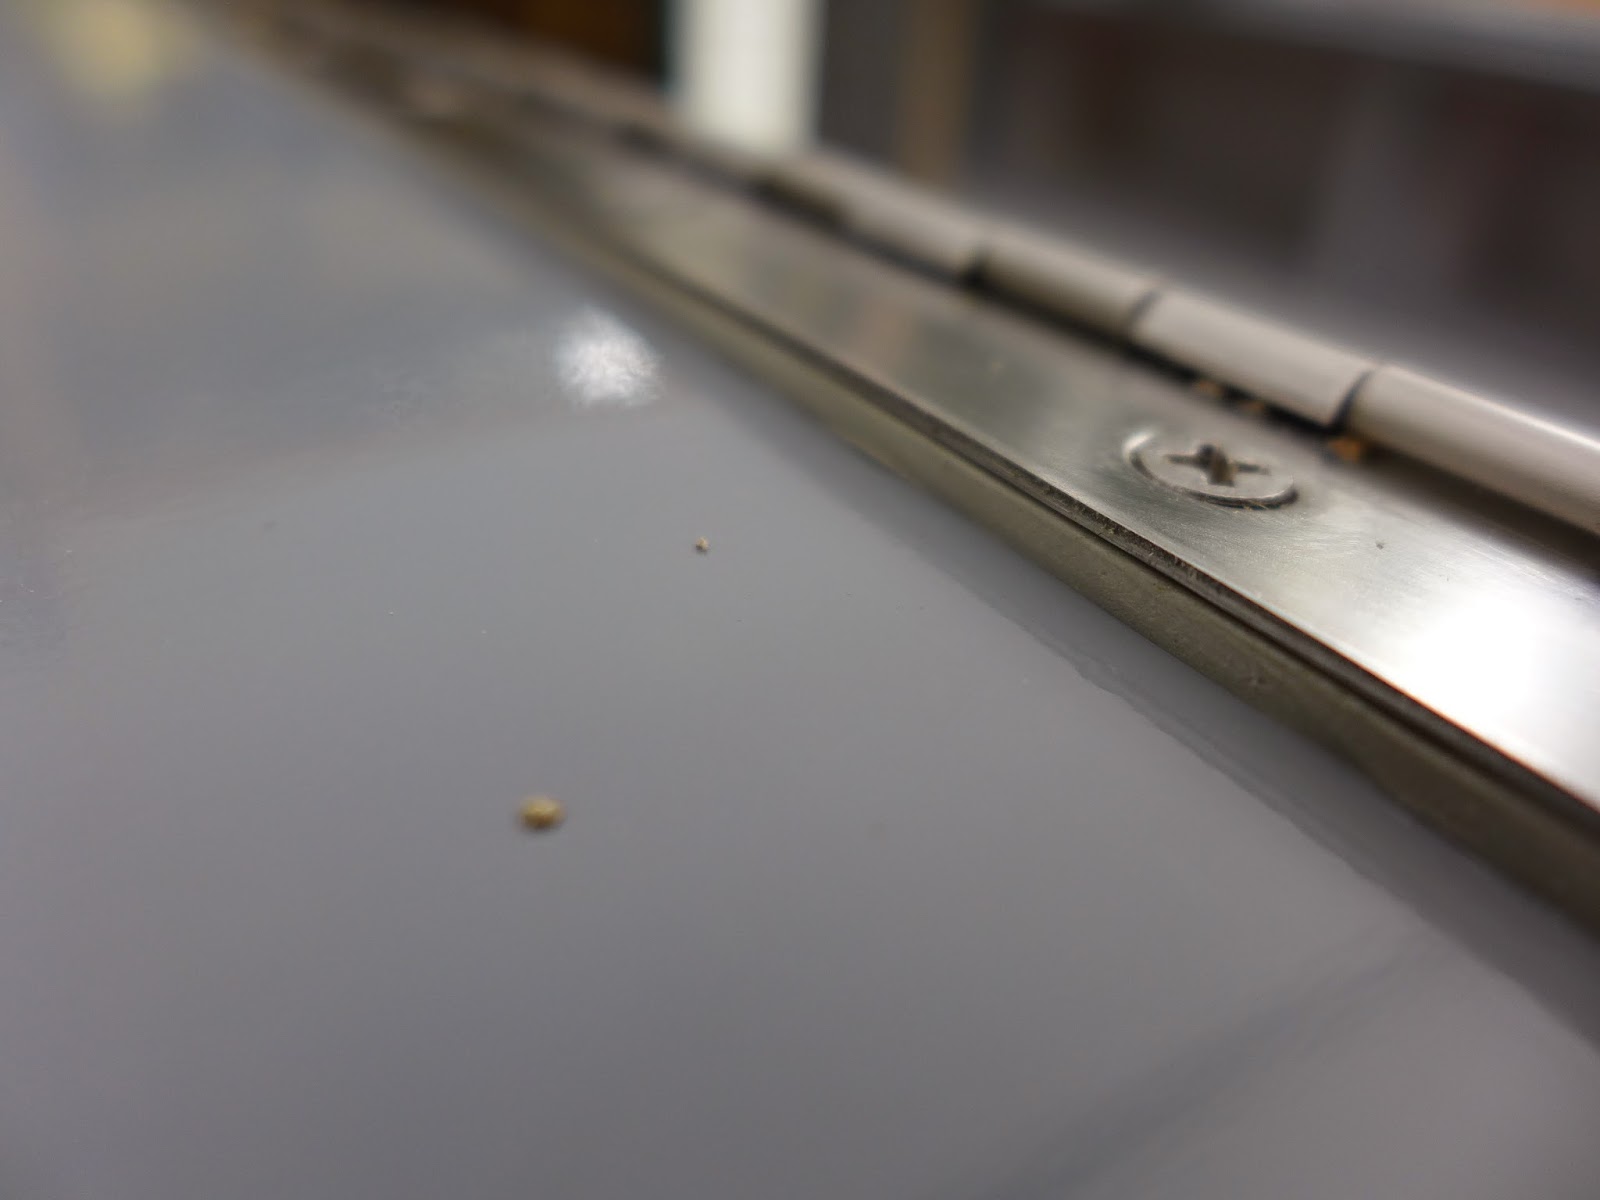
(Above) The 1/8" thick tape is a combination adhesive and a self sealing gasket material... Not perfect but it can't hurt...The excess tape is trimmed with a knife... The screws are 3/4" stainless...
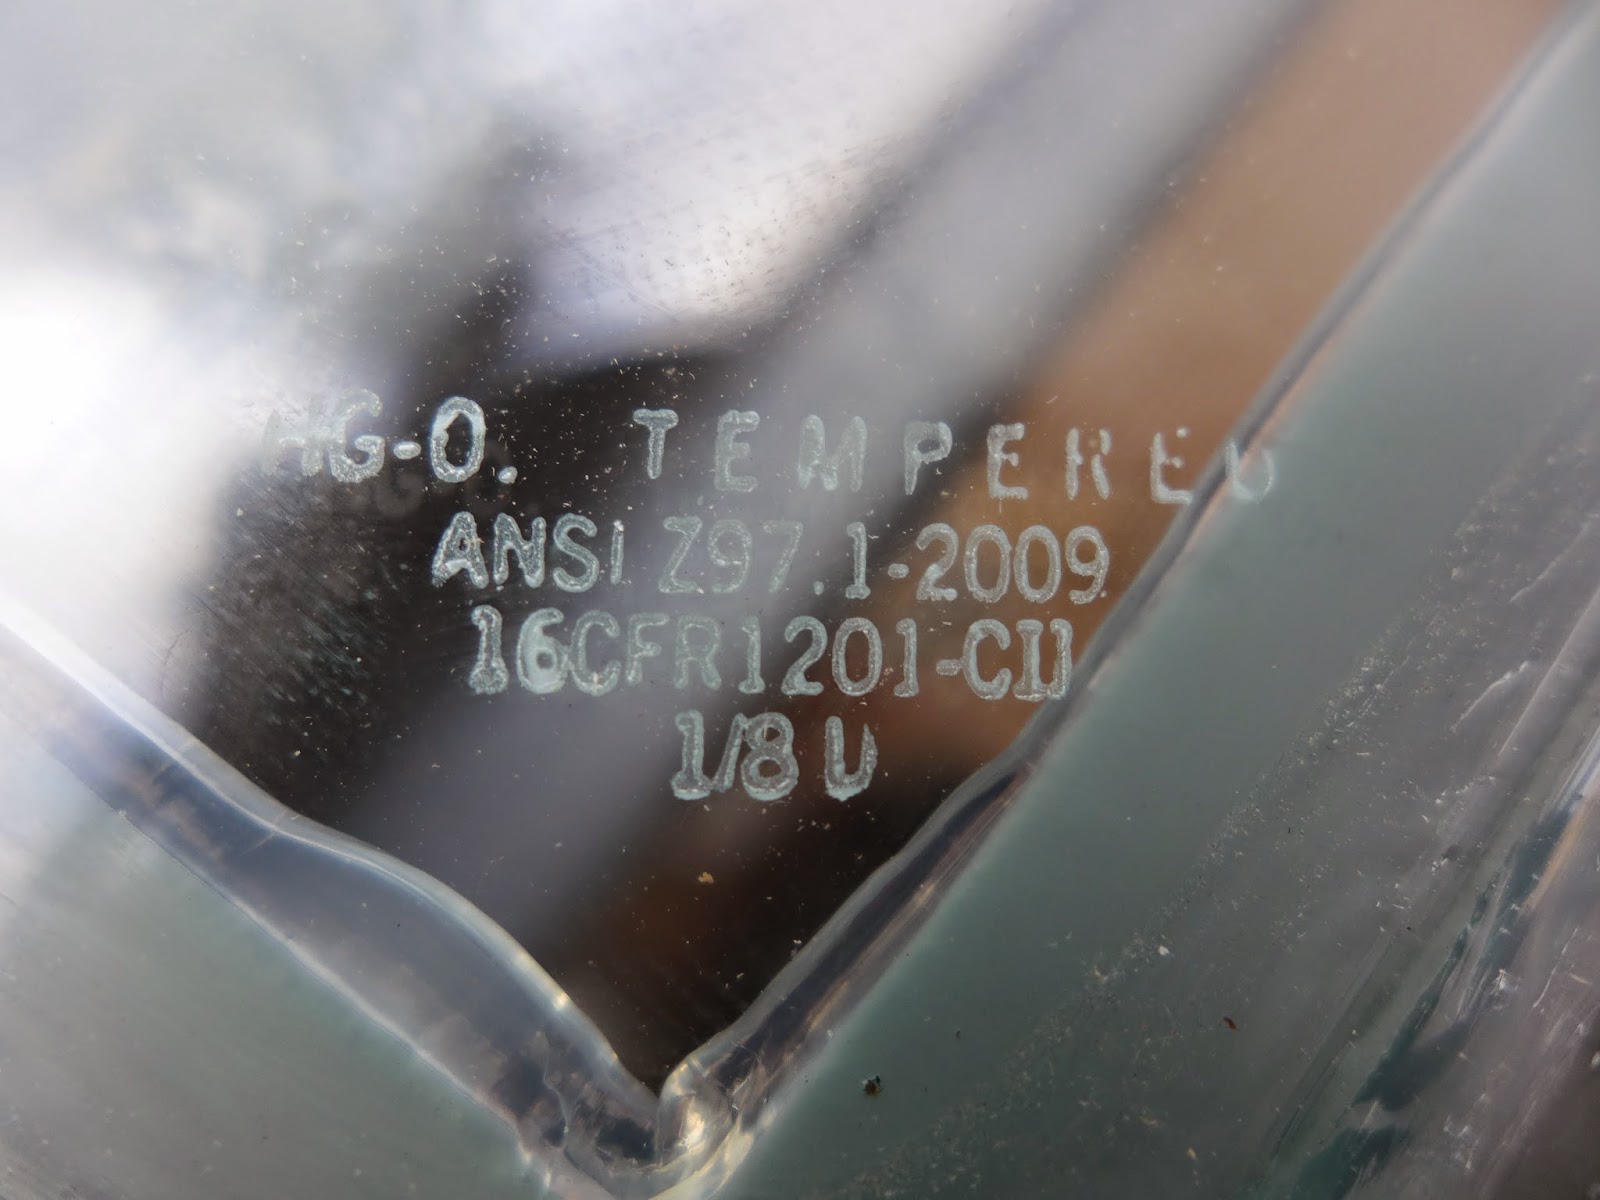
(Above) The windows are 1/8" thick tempered glass... Plexiglass was considered and rejected for cost, durability, weight, and the ability to seal as good as glass with silicone...
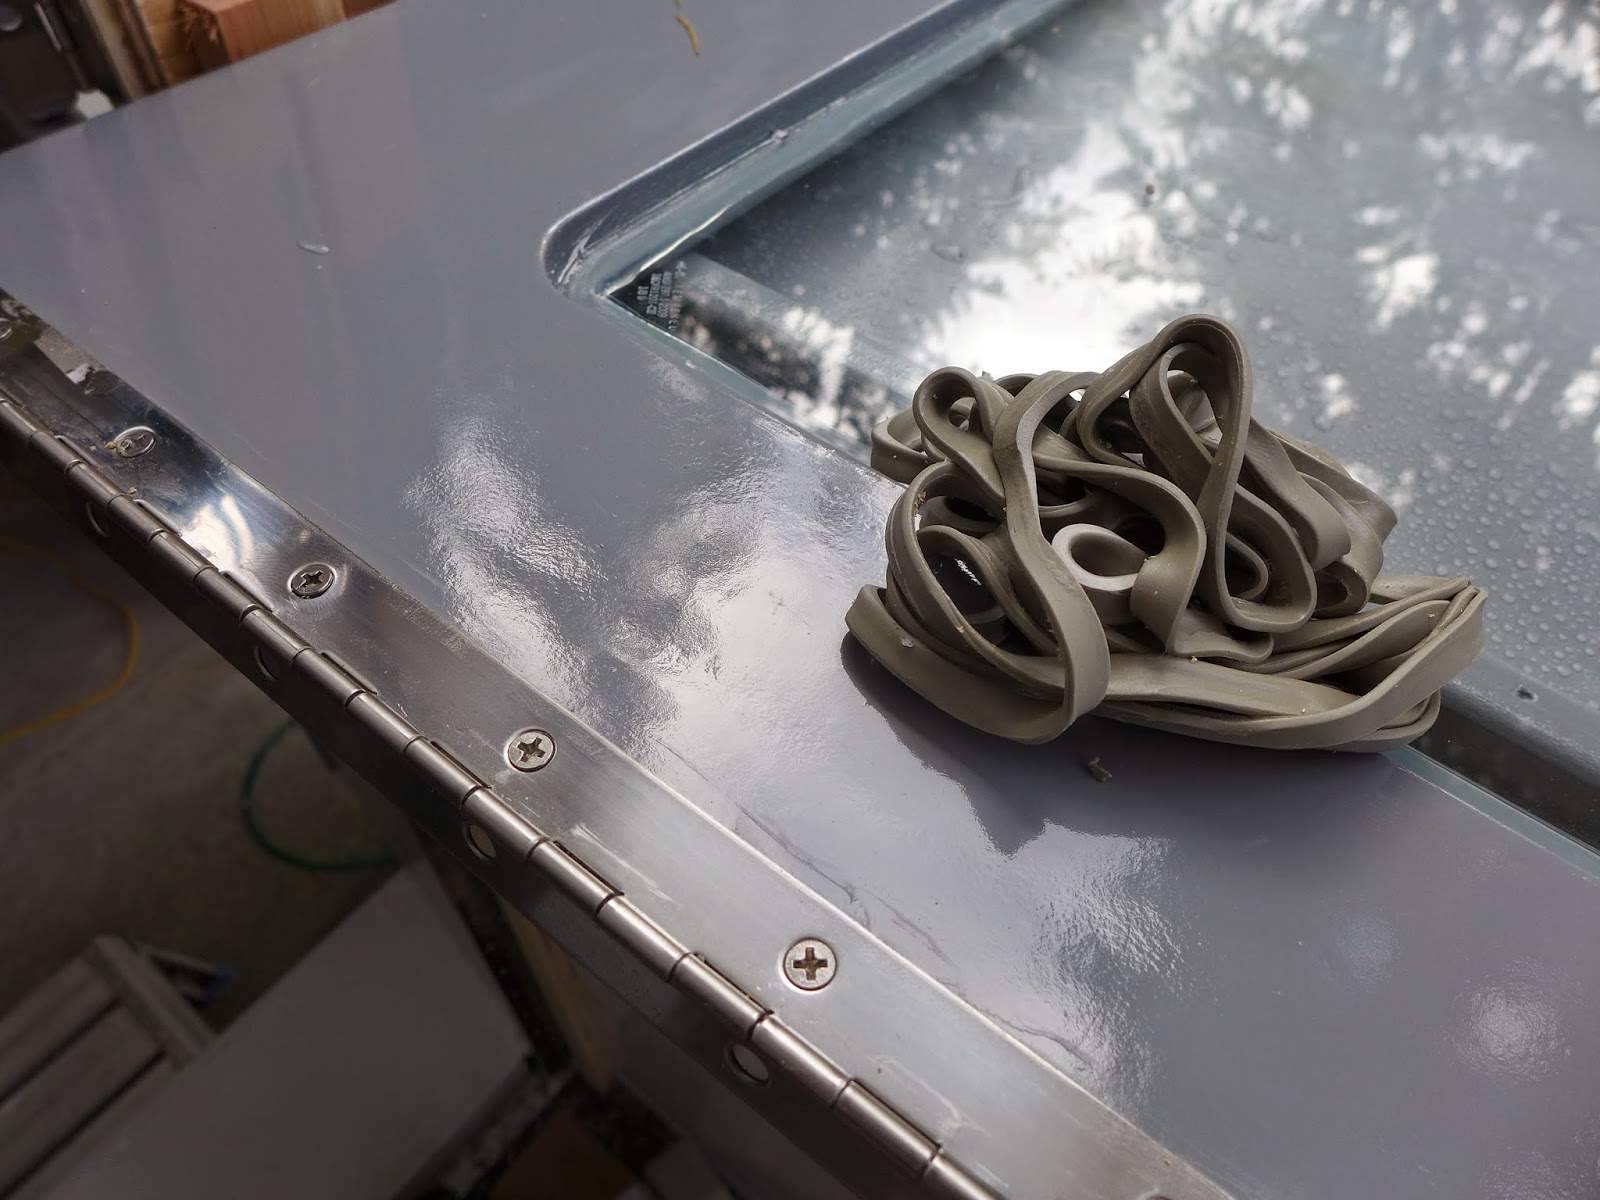
(Above) The tapeworm of excess butyl...
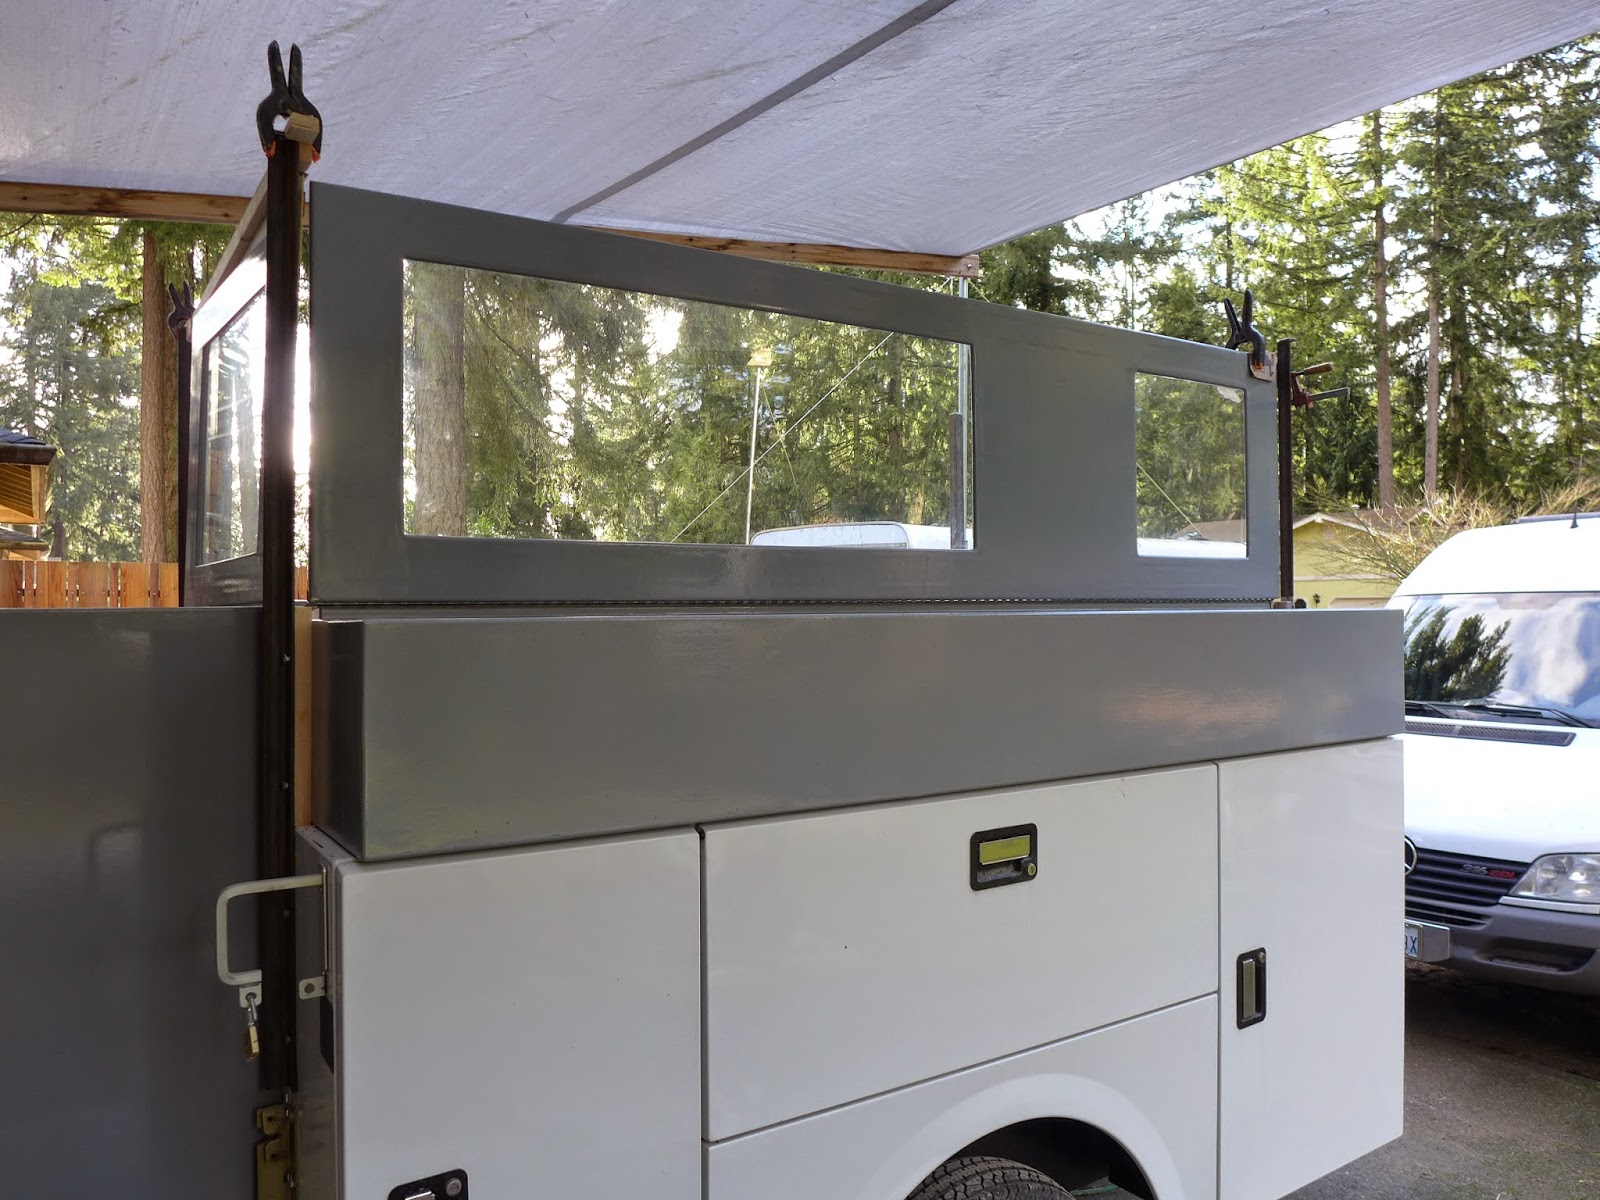
(Above) Curbside wall up...
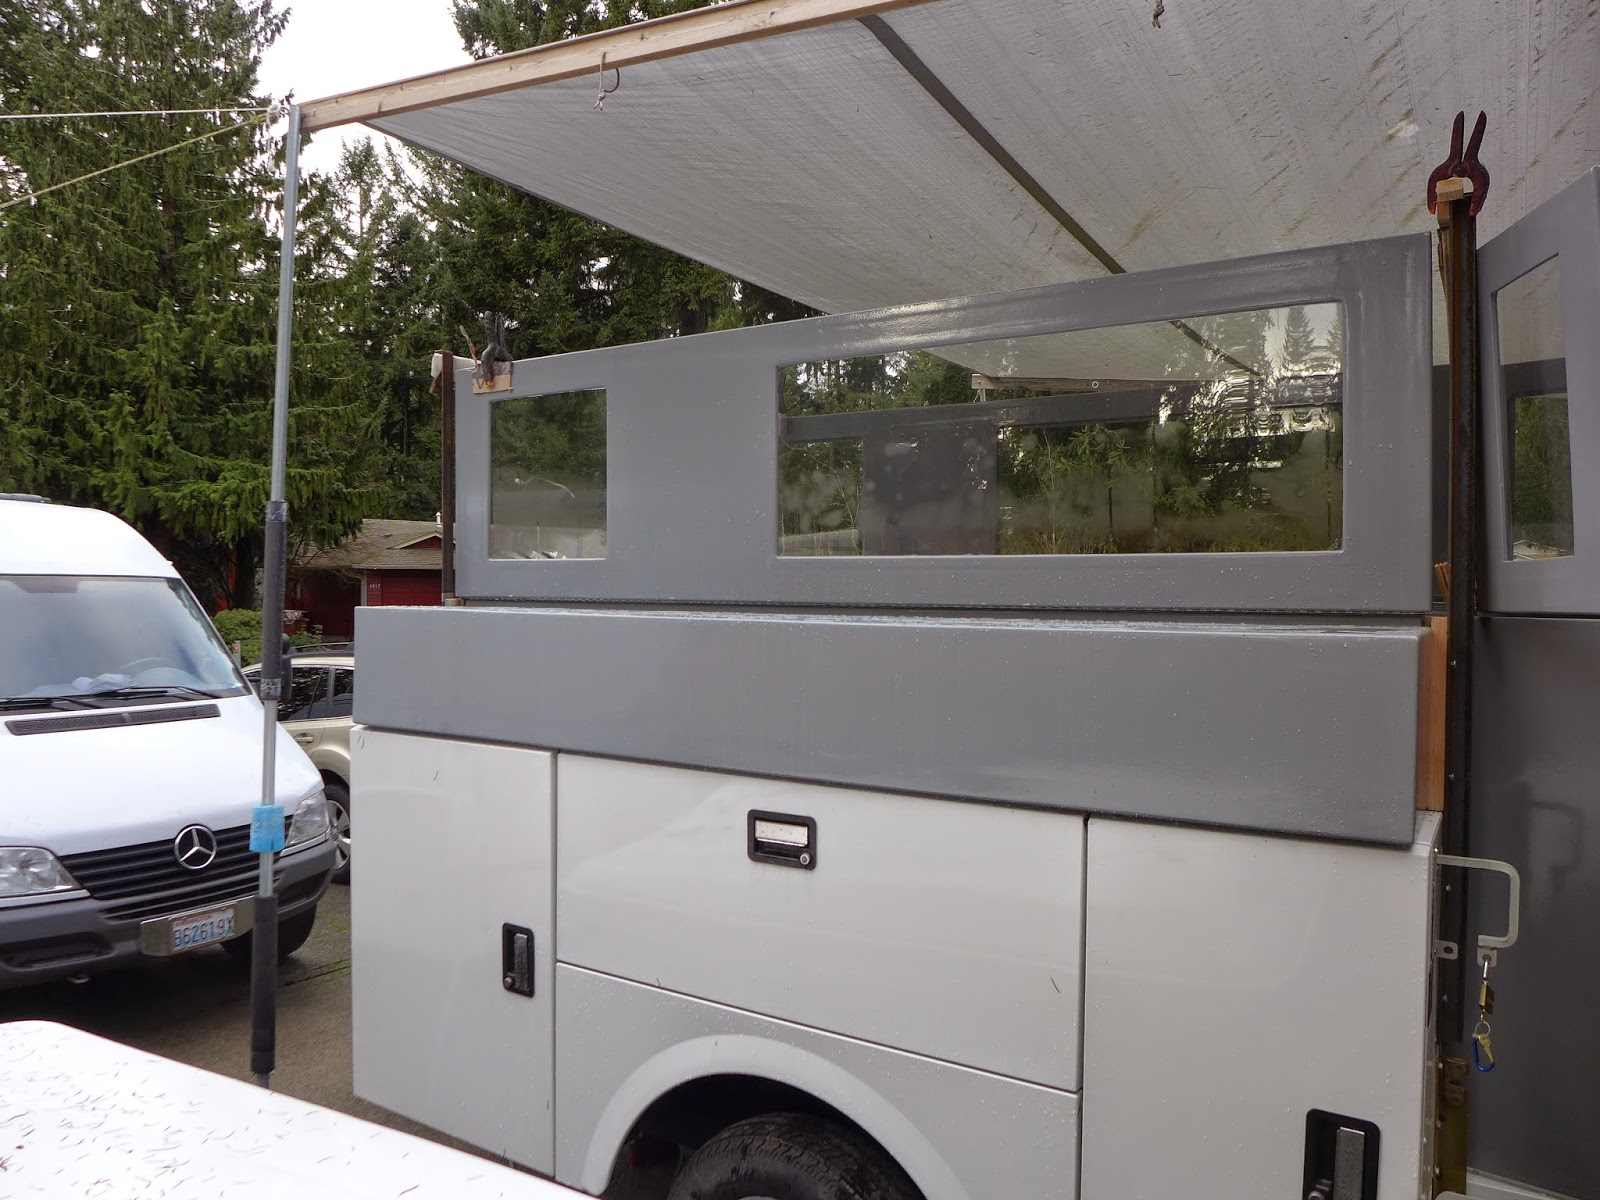
(Above) ...and the driver side ...
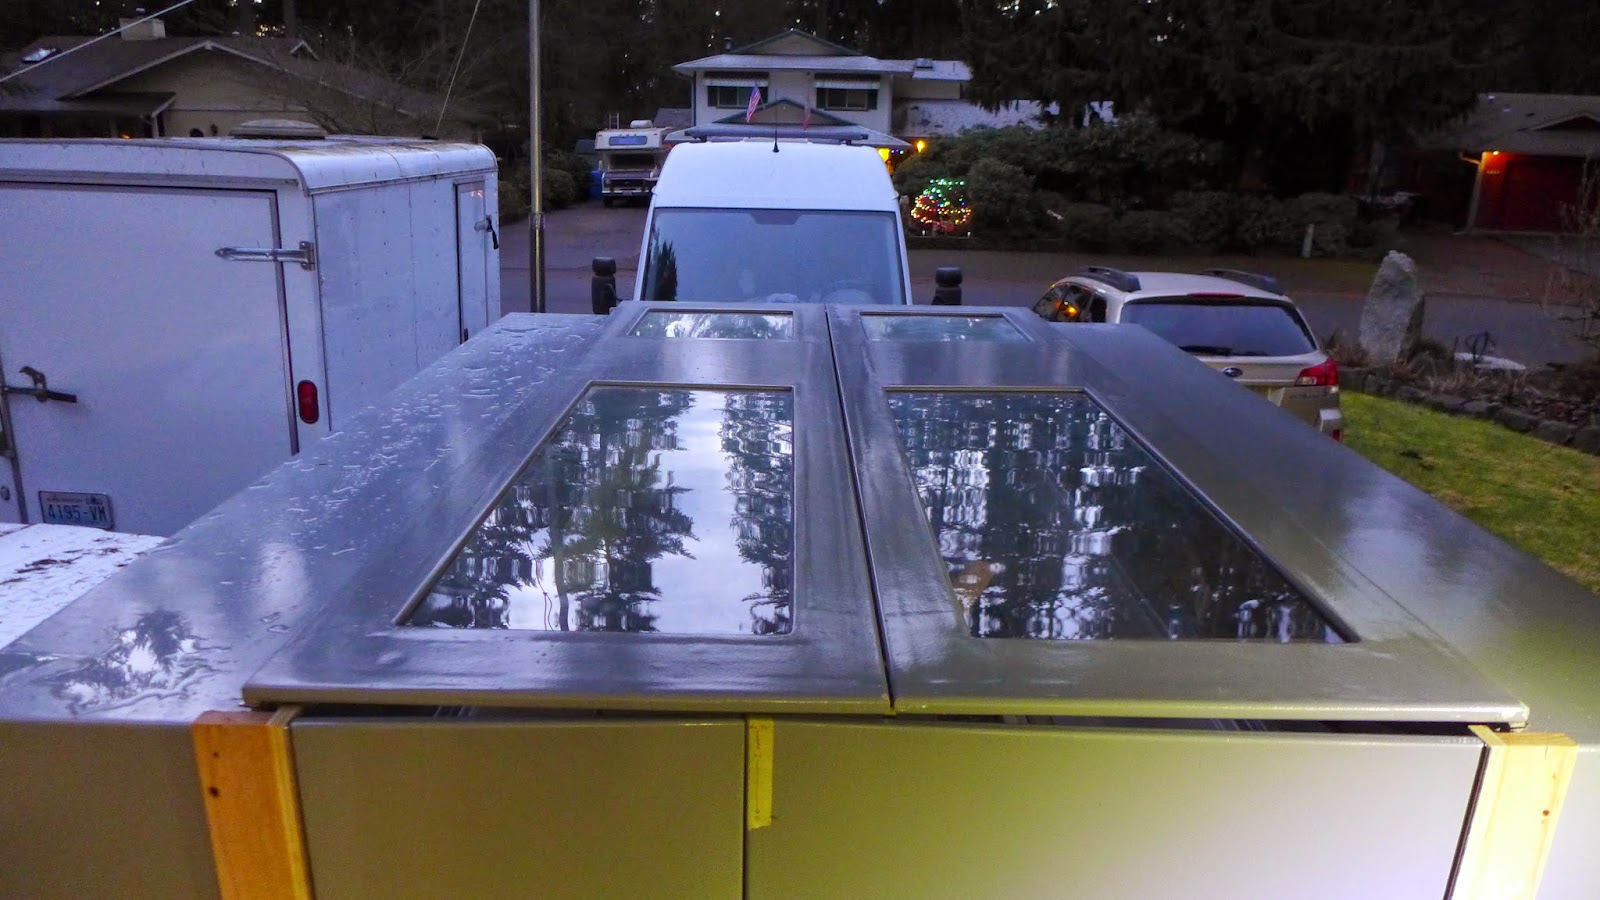
(Above) When the walls fold down they form the cover for the lower rear cabin... There is a narrow gap between the folded down walls, primarily to allow some flexing of the frame and service body in transit... This will be detailed out for better water resistance later... Note: I did not say waterproof...
It really feels great to assemble this thing and have it fit together pretty much as planned... That and be being done with the bulk of the sanding and painting... uggggh...
Now that the painting is mostly done, it's time to do a final fitting...
(Above) Glad that the bulk of the painting is done...
(Above) Everything has been, sanded, fiberglassed, sanded, epoxy fill coated, sanded, primered, sanded, painted, sanded and painted...
(Above) The empty canvas...
(Above) Driver side pod, in place...
(Above) ..and the curb side...
(Above) Hitch end panel in place...
(Above) Where it meets the driver side pod...
(Above) Outside, curbside, with the mock-up roof rack in place...
(Above) Onto the ceiling plywood, the lift-up window is piano hinged into place... Remember this will flip over and fit onto the roof rack...
(Above) Window in folded down position...
(Above) ...and folded up, awning style...
(Above) The roof top tent will mount to the plywood base... To support the tent and plywood base, 1/4" x 1.5" steel angle metal, with an end plate welded on, and drilled for a bolt, was fab'ed at the local welding shop... Those get through bolted to the utility body and the composite plywood pods...
(Above) ...and from the very front...
(Above) Same thing on the rear... The lower rear doors are in place, but far from final fitted... The steel utility body is ever so slightly out of square and that affects everything back here...
(Above) The upper doors are fitted to the ceiling plywood...
(Above) The extent of the out of squareness is enough to test fit it onto the rear rack... Close enough f,or now, but the final fitting can only happen when the roof plywood is in place and everything is bolted hard...
(Above) Next the side walls are brought in...
(Above) Butyl tape goes between the hinges and the frame / wall...
(Above) The 1/8" thick tape is a combination adhesive and a self sealing gasket material... Not perfect but it can't hurt...The excess tape is trimmed with a knife... The screws are 3/4" stainless...
(Above) The windows are 1/8" thick tempered glass... Plexiglass was considered and rejected for cost, durability, weight, and the ability to seal as good as glass with silicone...
(Above) The tapeworm of excess butyl...
(Above) Curbside wall up...
(Above) ...and the driver side ...
(Above) When the walls fold down they form the cover for the lower rear cabin... There is a narrow gap between the folded down walls, primarily to allow some flexing of the frame and service body in transit... This will be detailed out for better water resistance later... Note: I did not say waterproof...
It really feels great to assemble this thing and have it fit together pretty much as planned... That and be being done with the bulk of the sanding and painting... uggggh...
Last edited:
Similar threads
- Replies
- 31
- Views
- 5K
- Replies
- 20
- Views
- 3K
- Replies
- 40
- Views
- 7K
- Replies
- 1
- Views
- 692

