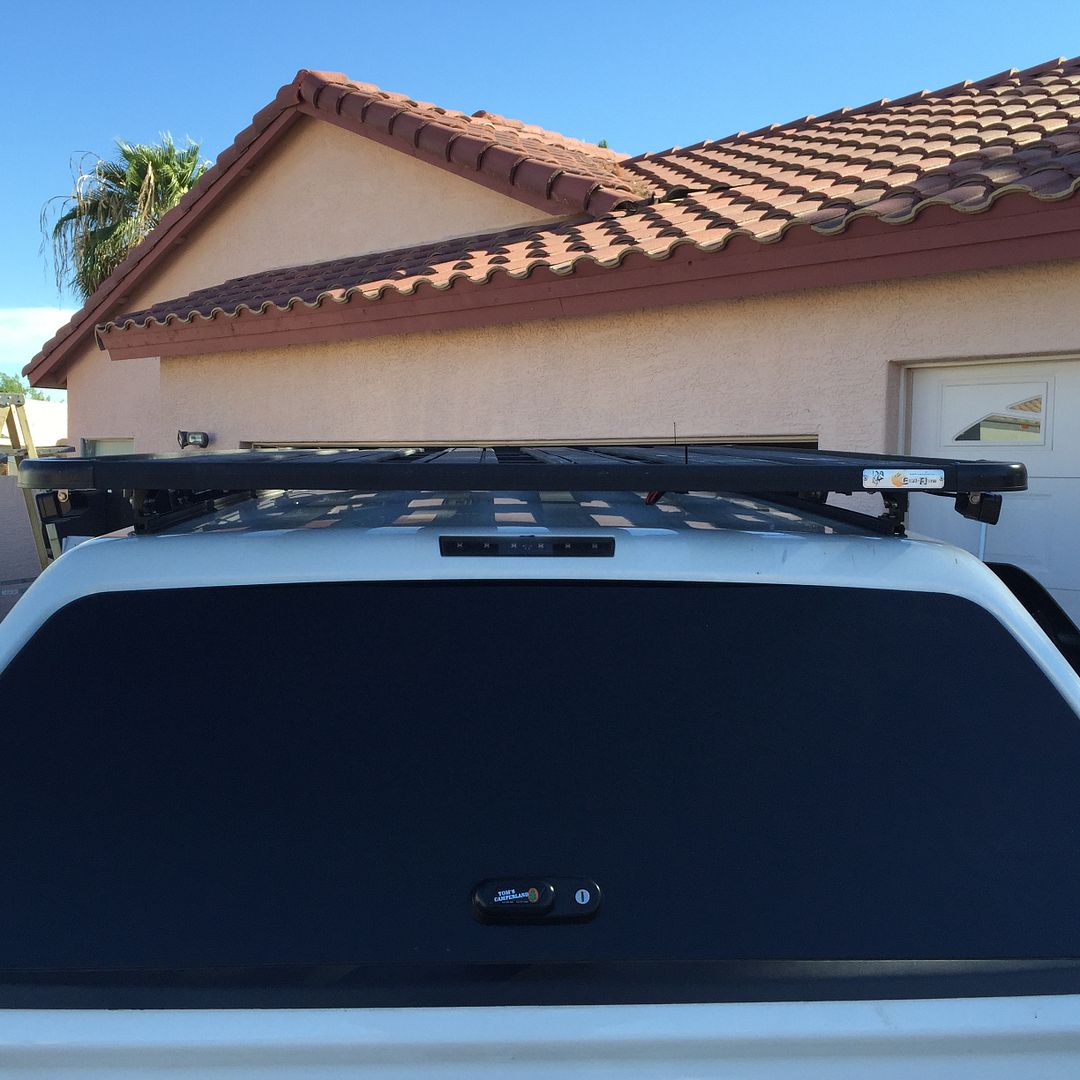
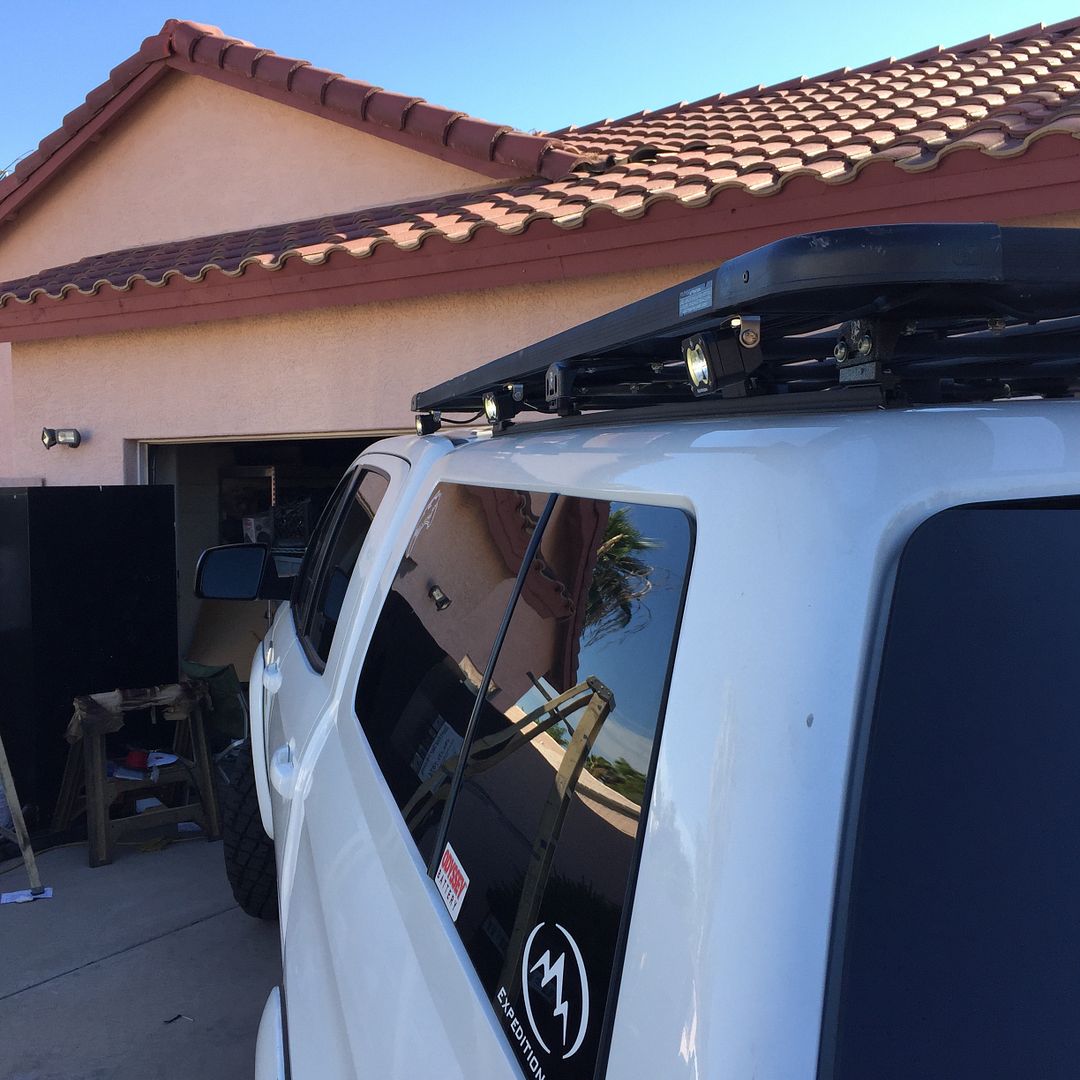
"Arctica" 2015 Crewmax Platinum Tundra Build

wikid

Adventurer
I'll be curious to see if the new backspacing keeps the tires off of the resevoirs while not increasing your scrub radius enough to interfere with the fenders. That would certainly be another unpleasant surprise.

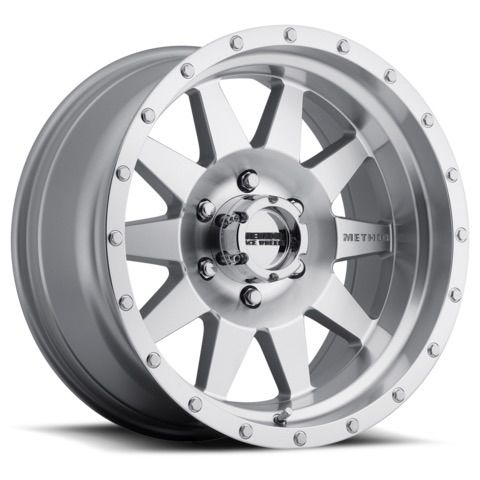
I thought about that as well. I will deal with one problem at a time. I know they are making good progress on the install, so I may even get it back this evening. I thought I was going to get the Method Mesh wheels, but decided on the standards in a machine finish.


wikid

Adventurer
I got it back late
So far I can't get it to rub , anywhere. Tomorrow maybe a little dirt test

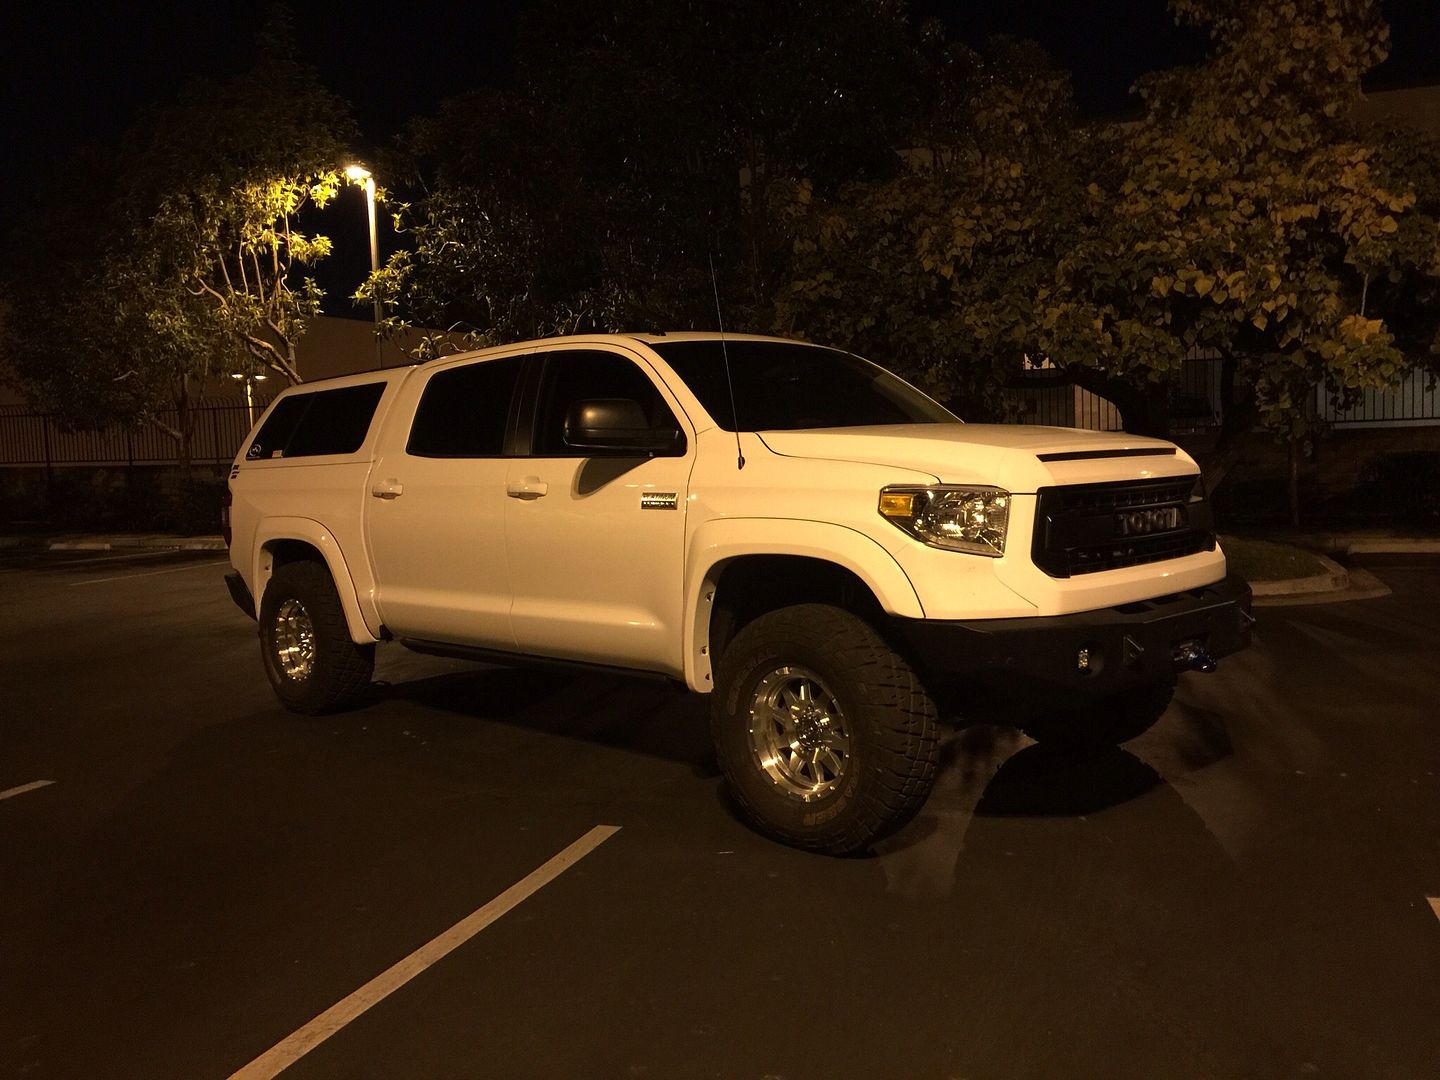
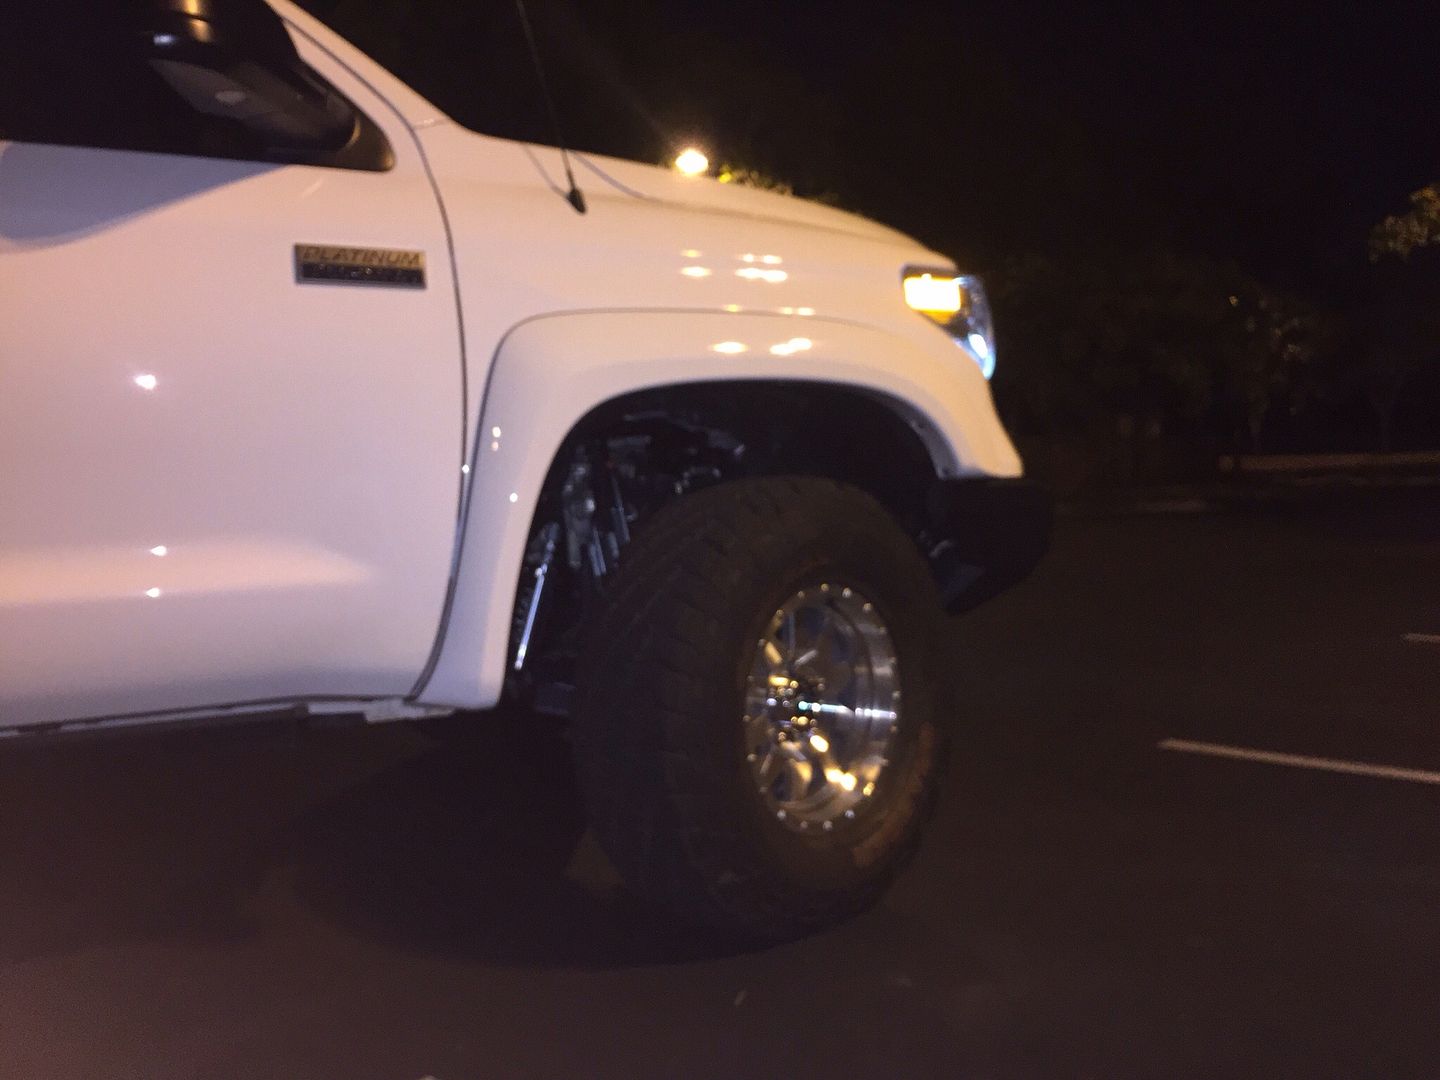
Here are a few sneak peeks at what's going on
It was way dark, but I tried to get it under some light


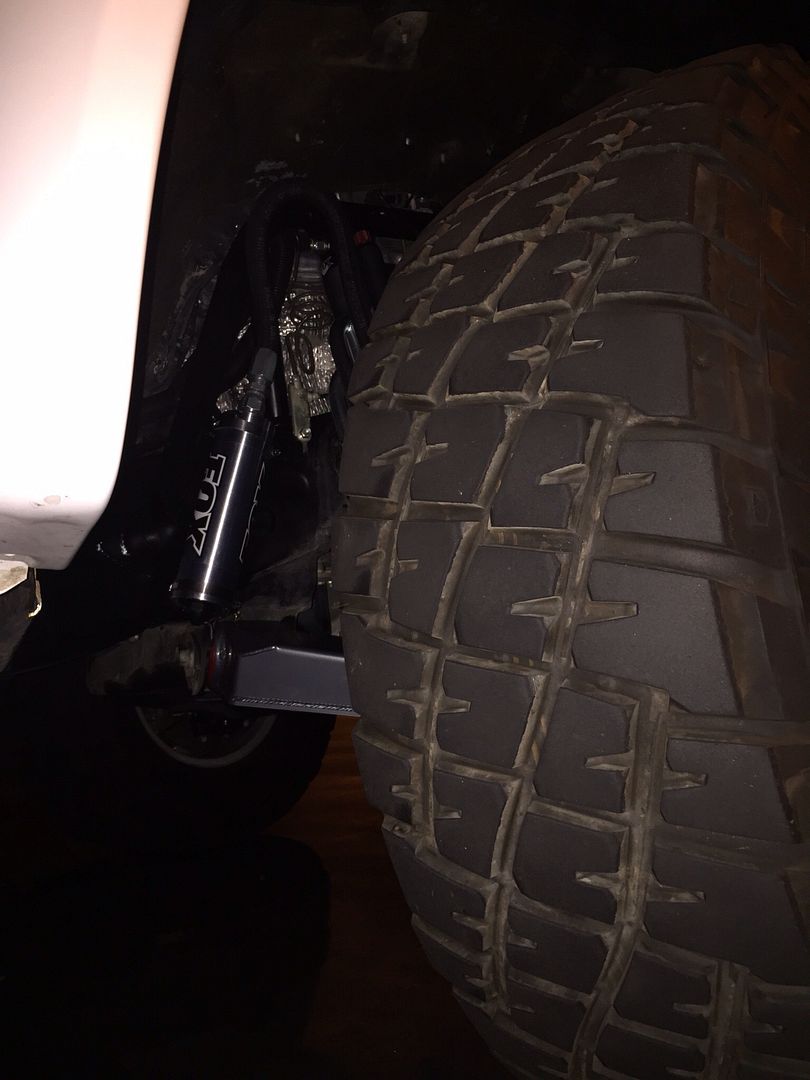
Here's a little shot of the shiny stuff , with a little something extra. One of the reasons, it took longer than expected to do this install was because of the R&D , to get it made for production


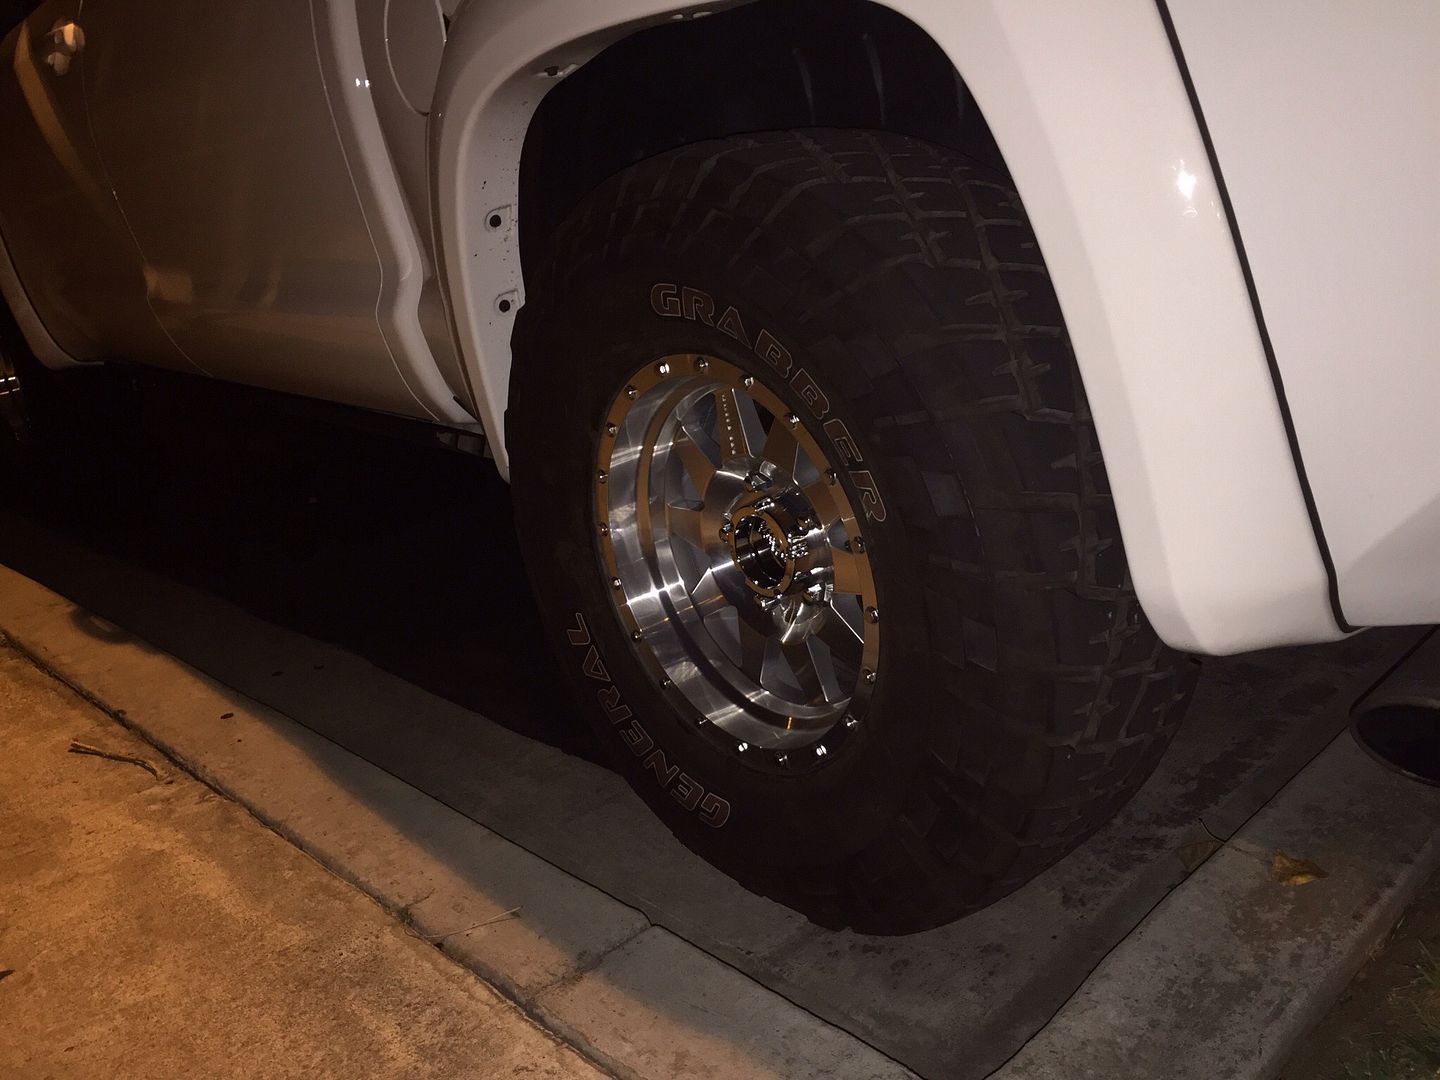
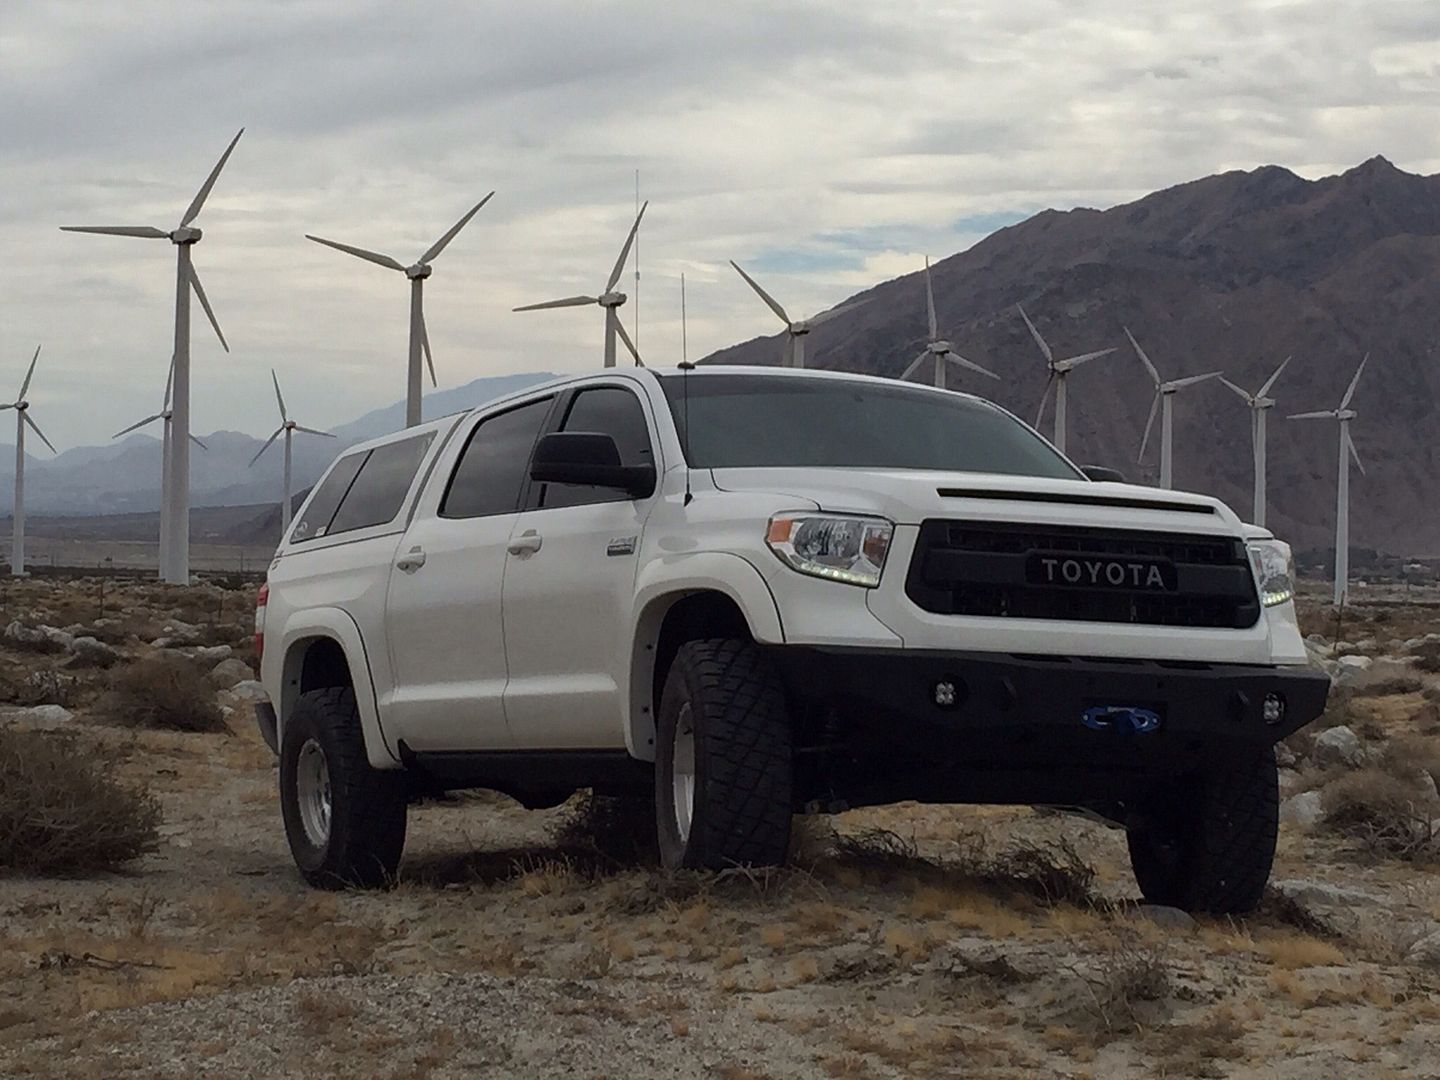
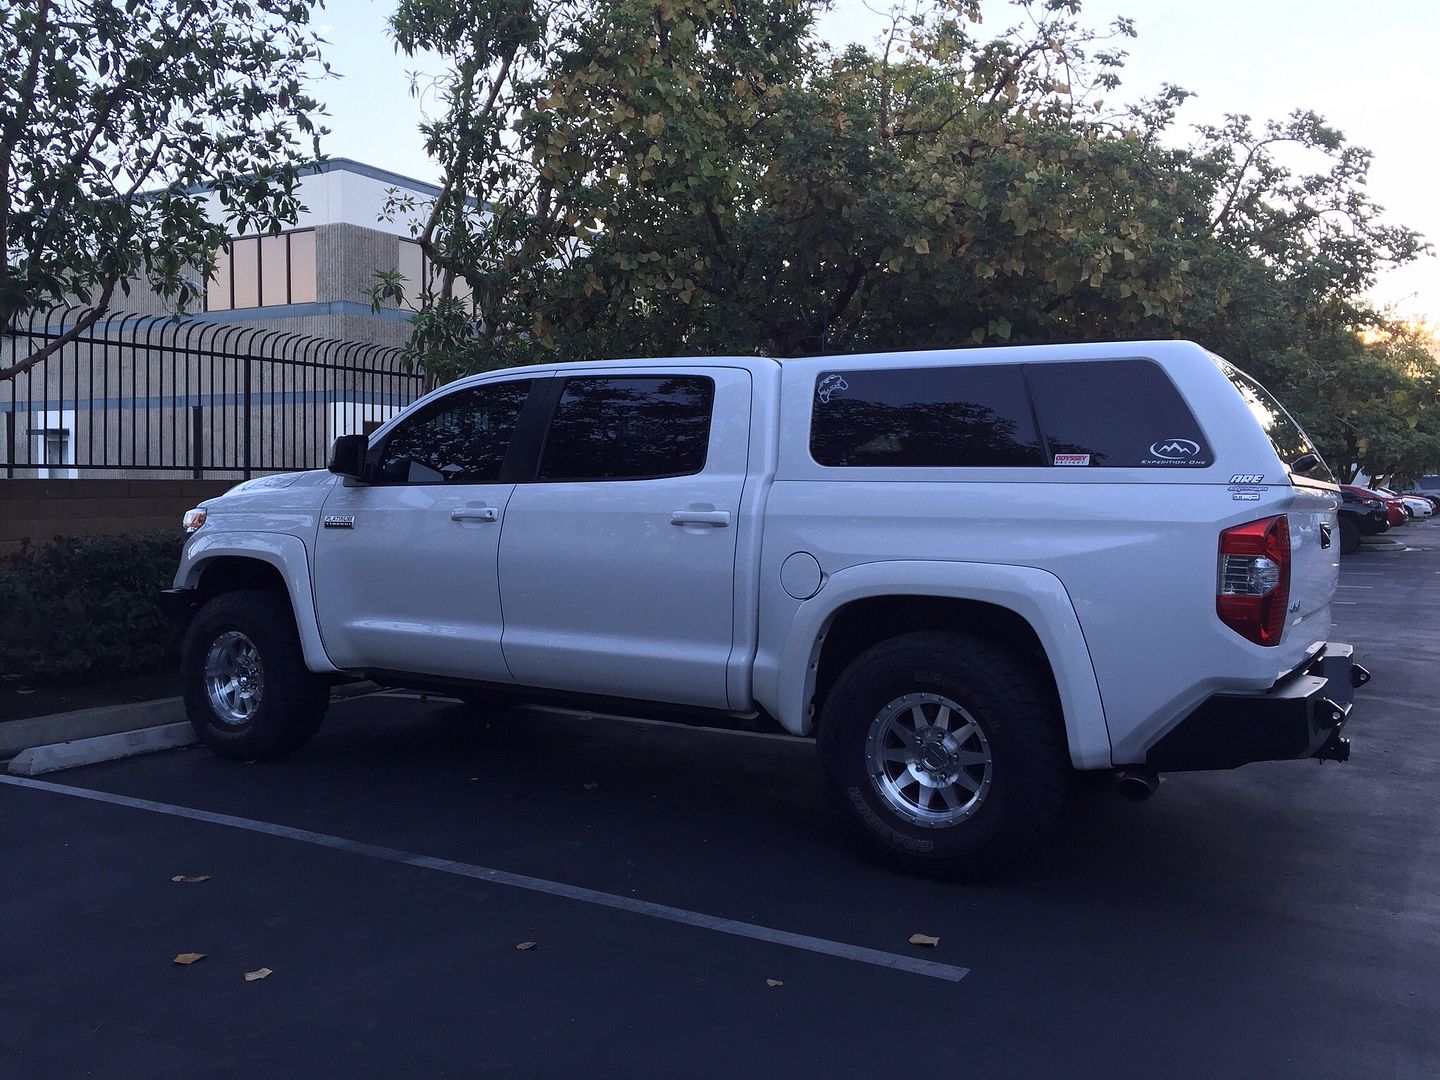
I think I'm liking the look of these wheels. They also have the correct width for the fender flares


cwvandy

Adventurer
Beautiful wheels! Did you keep the spacers or just get a different offset to avoid the rubbing. I am planning to put on 35's and waiting to see how your solution works out. Looks great!
 

wikid

Adventurer
Beautiful wheels! Did you keep the spacers or just get a different offset to avoid the rubbing. I am planning to put on 35's and waiting to see how your solution works out. Looks great!

thanks
I didn't need the spacers. It looks correct without them. The stance looks good, with this set up
here are some poser pics from Yesterday

After the suspension install I could immediately tell the difference, on the road. Only problem was, I was carrying all the stock parts, that weighed the truck down in the back. that night, I took the hotel cart and unloaded all the parts , into my room :) Saturday morning we followed Nicole from Total Chaos out to Indio and a few other places, to take a few shots.
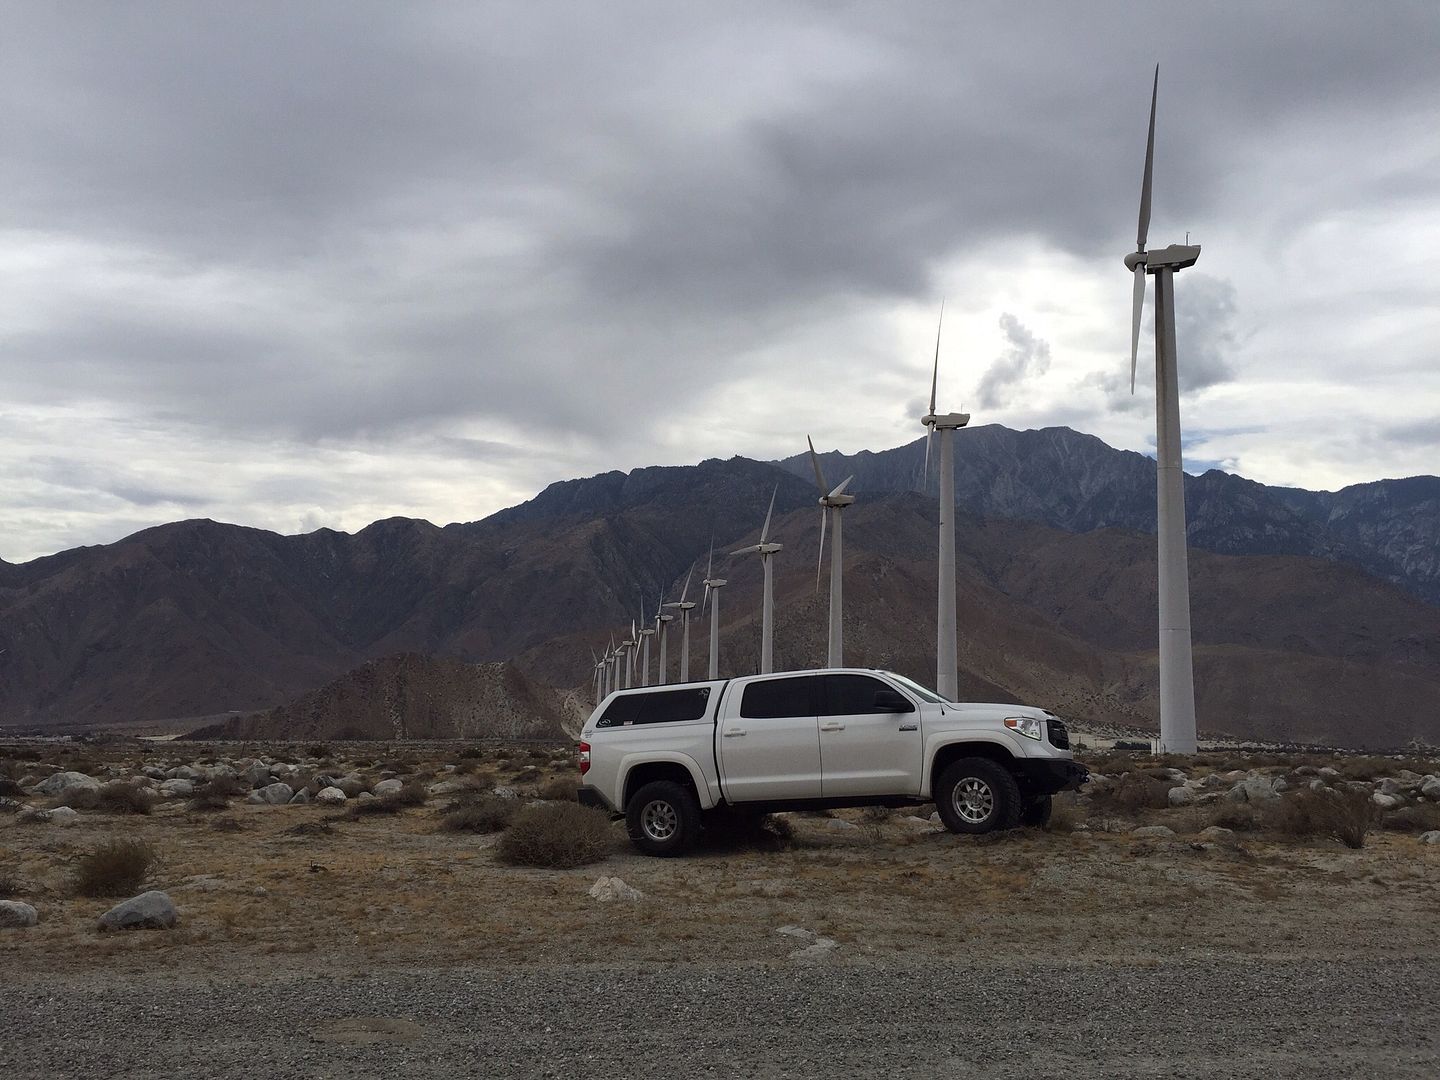


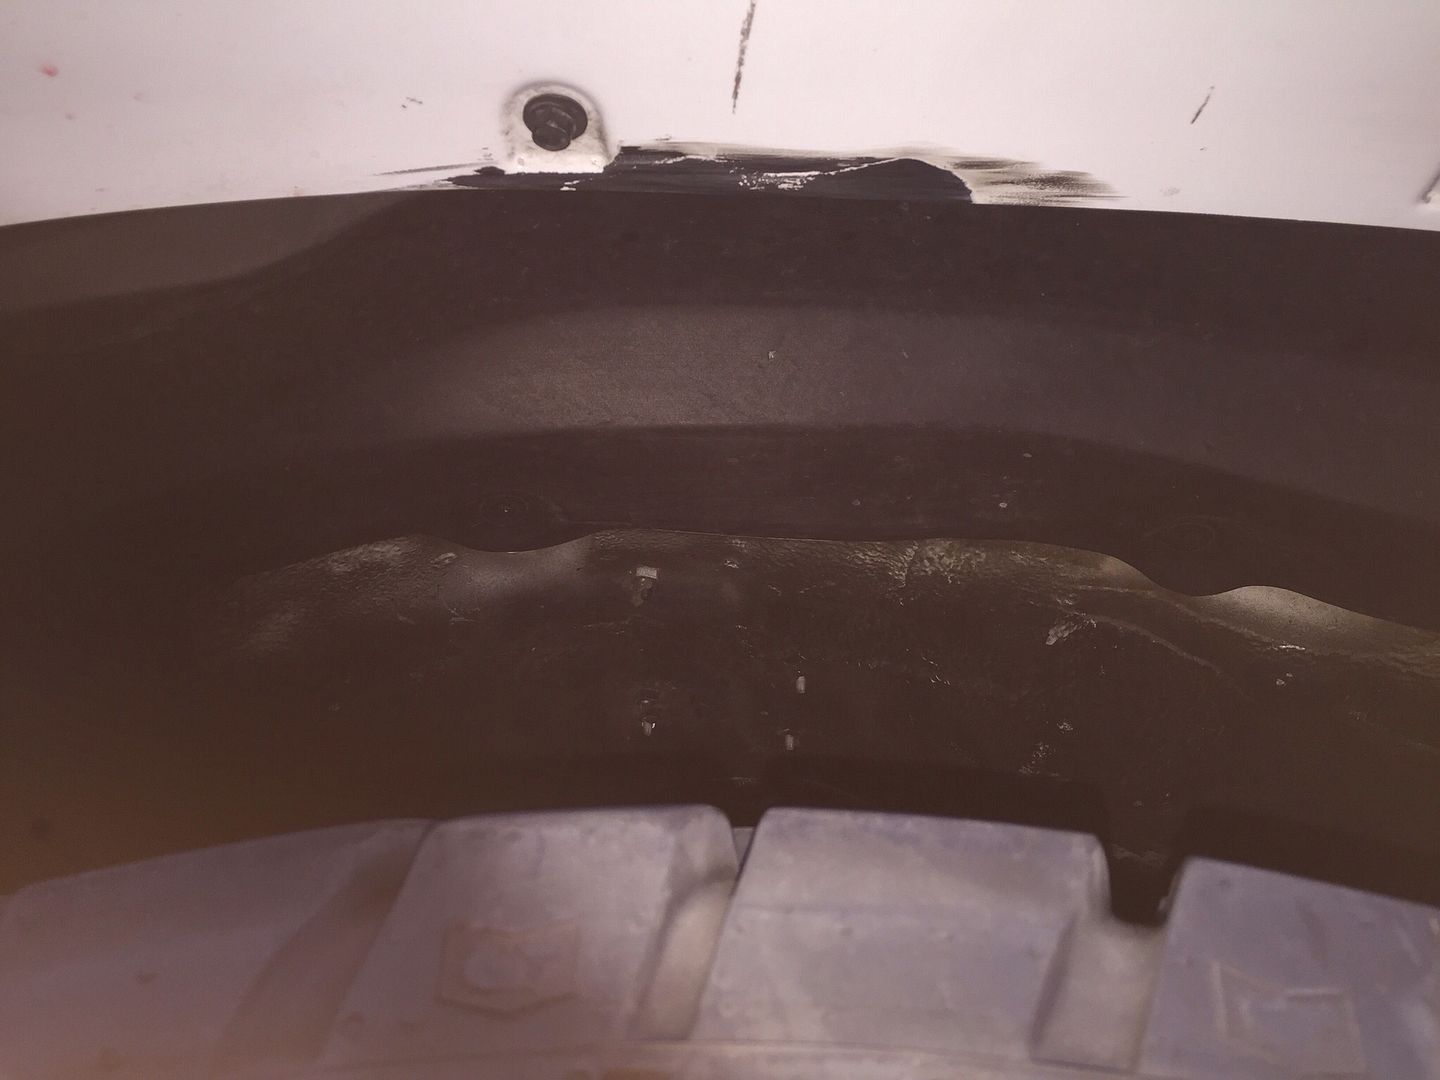
We found a little trail with a few whoopydoos. It was about 1/2 mile or so... just enough for me to stretch everything out. Here's what my fender flare looks like, after getting just a bit of air. I can obviously set the bypass more firm, but it sure landed nice.
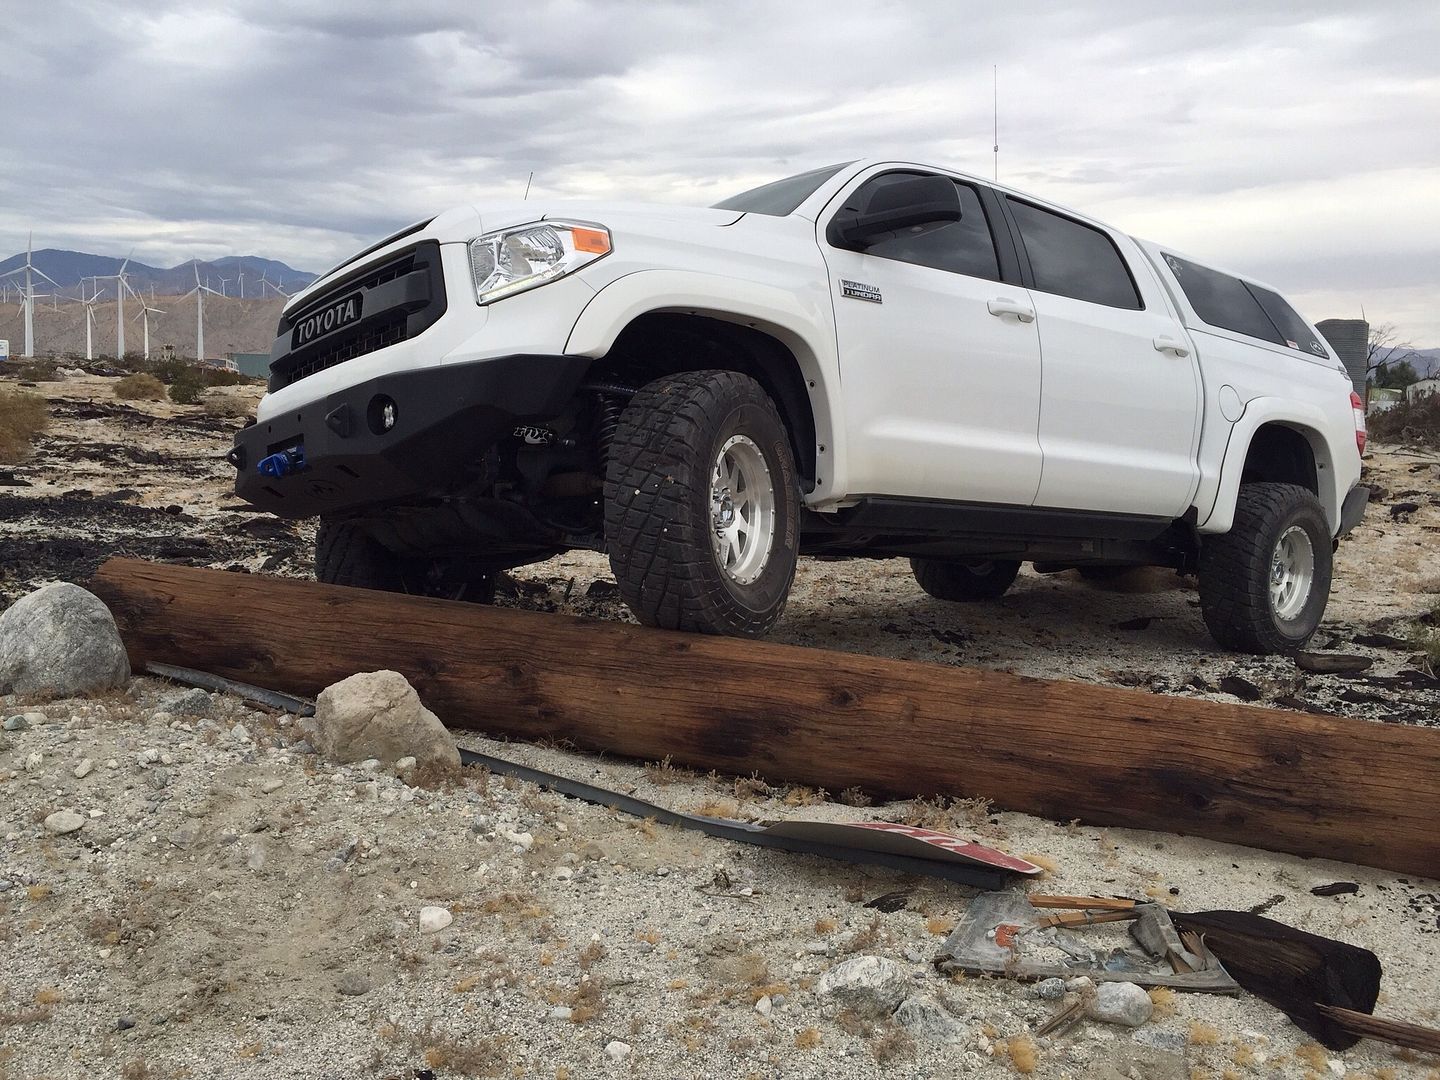


Next was "King of the Hammers", area. We actually went across the desert, to a sand dunes, where we took some video. There was also a GoPro in fender well. No of that footage will be available, until it's all worked out and edited. Nicole took most of the photo's and will get me some of them as she gets them processed. The wife just got a few shots that you see here . All in all the suspension works well. the boxed lowers, were what held up the installed, since they were still in development. Truck was way dirty, when we got back to the hotel. I was out early, looking for a car wash.
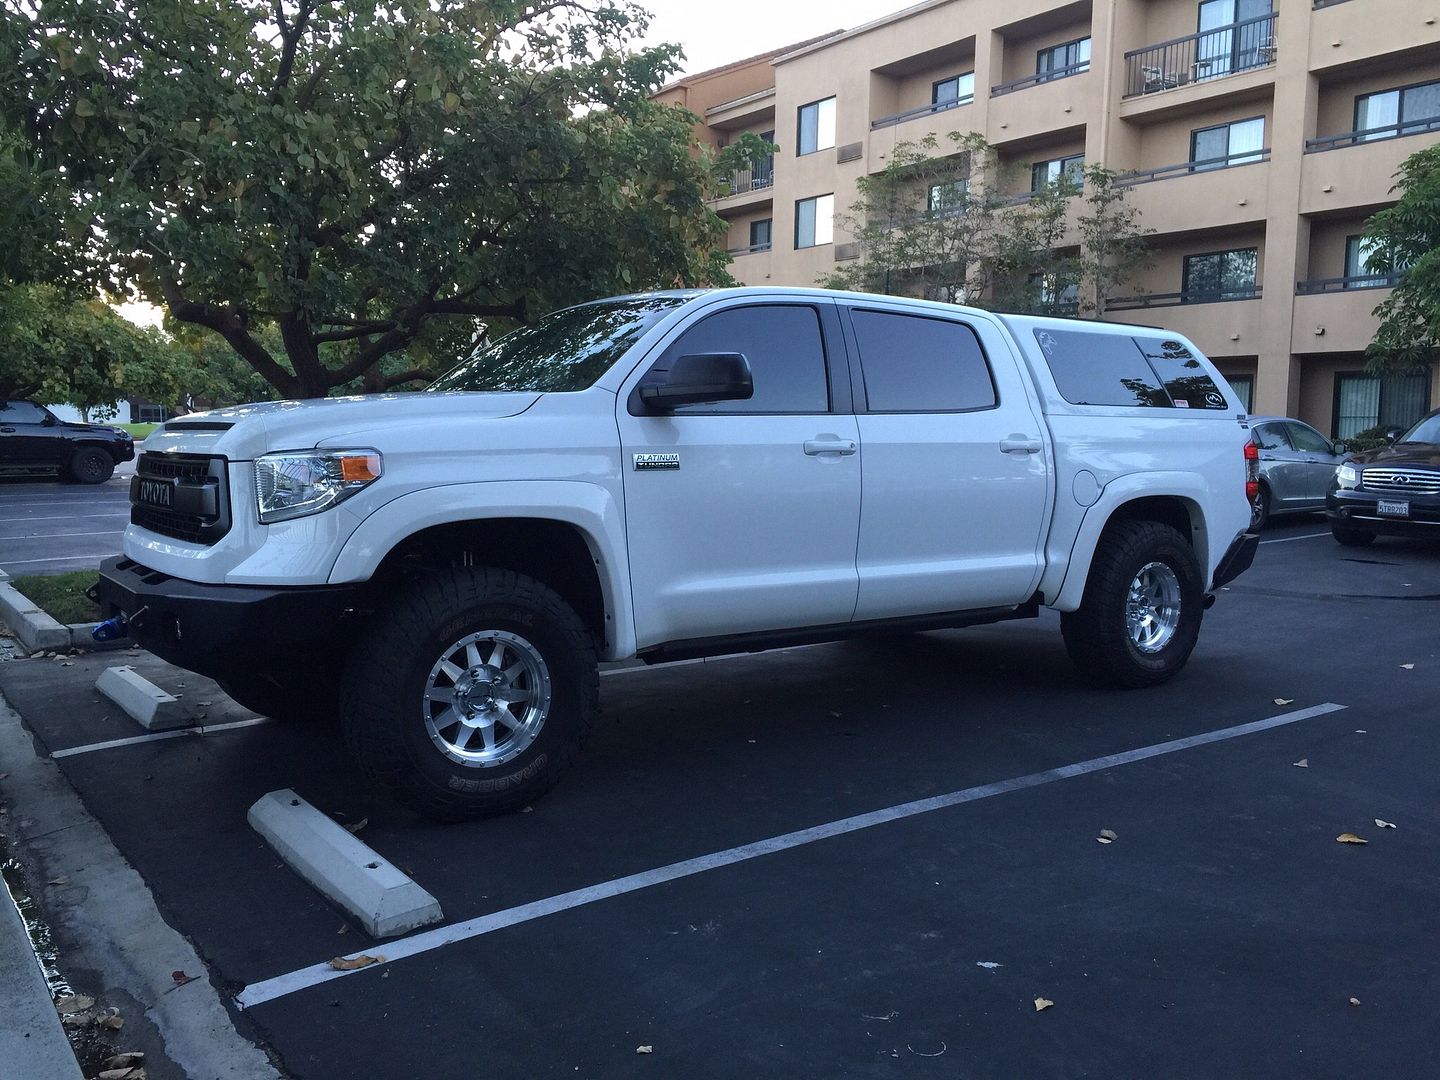
Early am shots

I think I may need to raise the back a bit . it seems like it could use a little lift.
What do you guys think?
 

Mako1114

Adventurer
Your Tundra is coming along nicely and besides all the awesome electrics, I really dig the extended travel fuel tank. I just refit my Jeep LJ with BD lights (squadrons and a stealth bar) and I can say that they are well worth the price of admission and great folks to deal with. Can't wait to see the finished lighting.

Cheers
 

wikid

Adventurer
Thanks

Love the wheels! And yes you need more lift in the rear, but I bet everyone in SoCal loves it....
I waivered on them, but ultimately decided they look great. Deaver is building a new set. nothing like working with a quality company :)

That is one ************ Tundra. I agree more lift in the back! :drool:

Thanks

Congratulations man, you have a really nice truck!!
Thanks

Your Tundra is coming along nicely and besides all the awesome electrics, I really dig the extended travel fuel tank. I just refit my Jeep LJ with BD lights (squadrons and a stealth bar) and I can say that they are well worth the price of admission and great folks to deal with. Can't wait to see the finished lighting.


Cheers

The fuel tank is a big win for me. The trip to California, is less about figuring out where the next fill up is. There IS a big difference between quality lights and the other

Thank you


I have been busy nursing a toothache, but have been doing little projects, to wrap certain things up. Mostly on the wiring end. Adding Delphi connectors, tubing some of the wiring, and just cleaning things up a bit.
I did want to touch on an important part of projects like this, that seem to get neglected
Baja Designs, also offers security hardware for all of their lights. I actually intentionally did not mount my roof rack, before my Total Chaos trip, because I didn't feel like worrying about someone just coming along with a Allan wrench and removing my S2 lights

I ordered these for all of my lights. These will actually attach the bracket to the light itself. The hardware that attaches the bracket to the roof rack will be very difficult to access, especially after I add a backing angle bracket. This would at least slow someone down from being able to take them off and run. Lights are an expensive investment. The hardware is just a little insurance .

Something to think about if you run any accessories that can easily come off with simple tools.


I decided not to post the hardware pics. If you want to see them pm me and I will send it to you
 

wikid

Adventurer
It's amazing how easily that truck swallows up the 35s. They almost look small on there...
I know. It's almost like it needs 37's

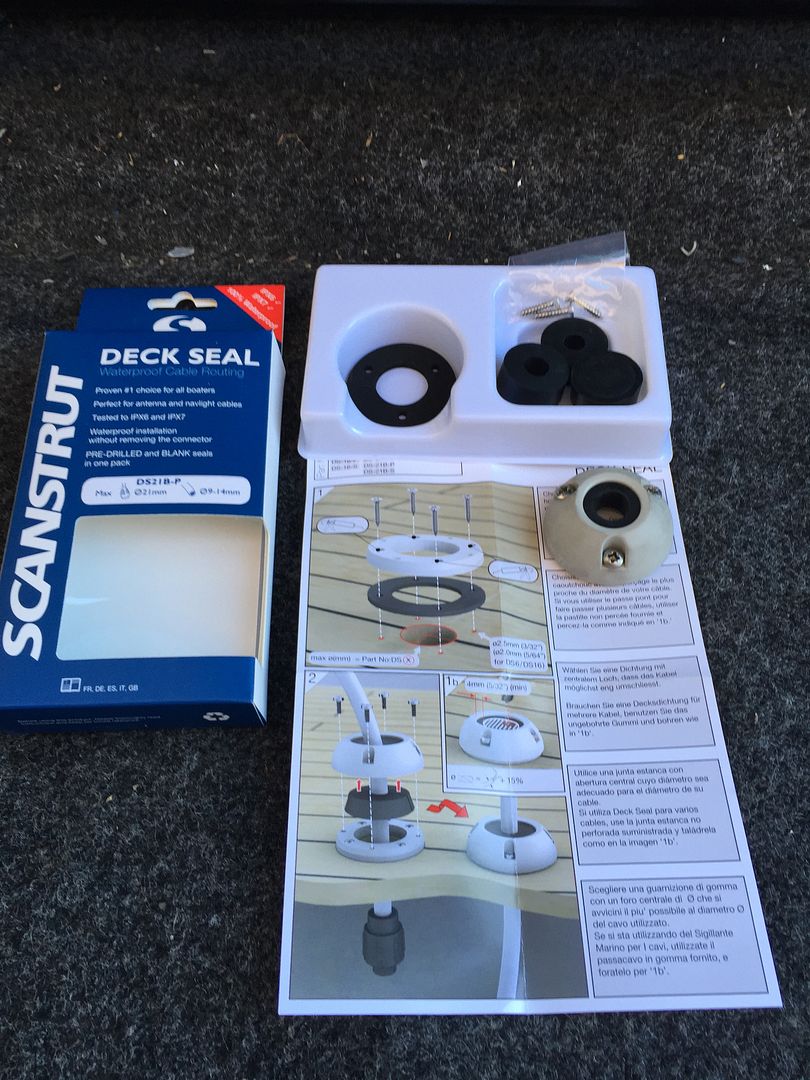
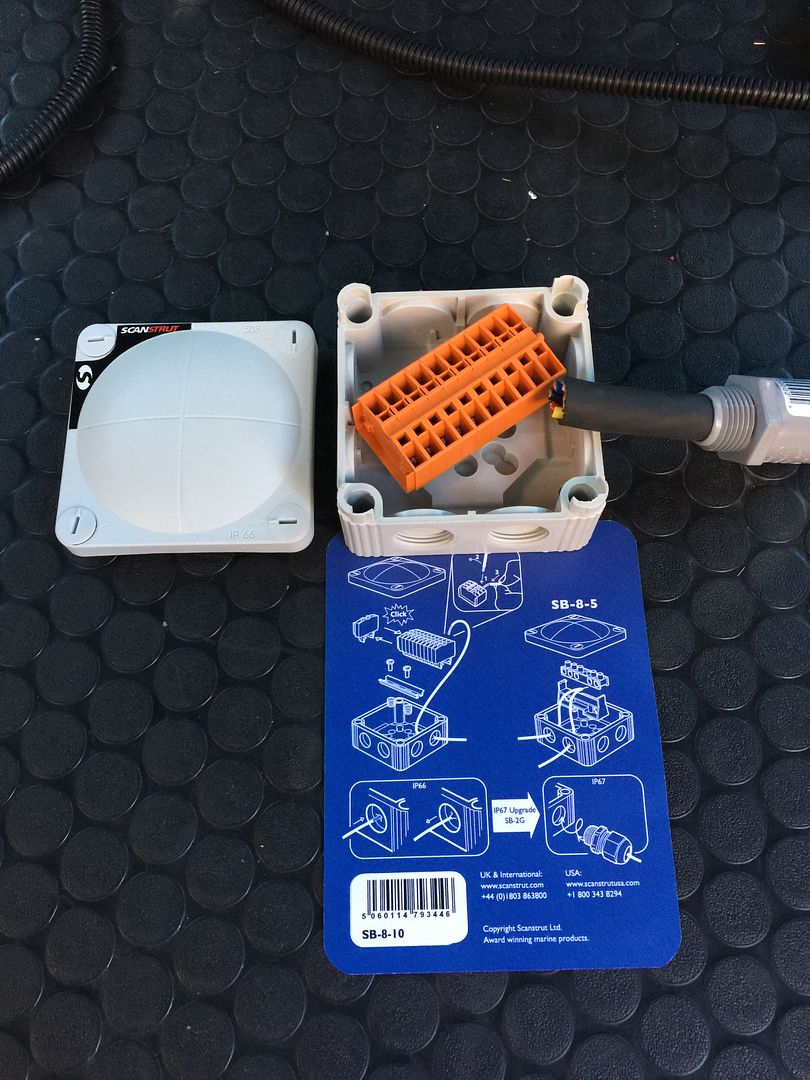
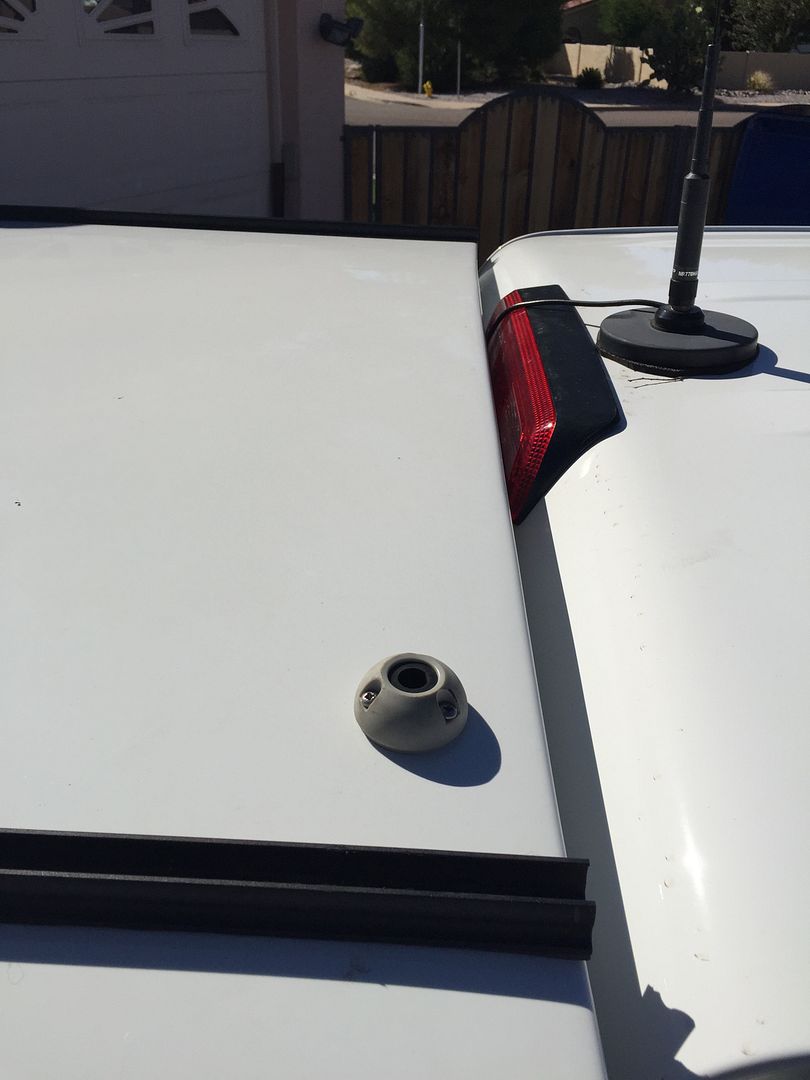
I received these today I will be running 2 of these through the roof of the shell, for my wire runs Along with these I got junction boxes. I like this idea, instead of several plugs that I need to mess with. Once I figure out mounting for the J boxes I will wire everything up and put the roof rack back on. If you need to make wire runs to the roof Deck seals are the ticket. If its the main product for boating, i will trust it here.
There are different sizes and rubber to fit in them, along with a solid plug I will save if I ever need to remove the rack


RAM5500 CAMPERTHING

OG Portal Member #183
Looking for information on how to wire the dual batteries here exactly..

My 2014 is different than most i have wired for this..

On one big cable going from the + battery terminal into the large fuse box cluster right next to it.

Anymore details on exactly how you wired yours?

Thanks
 

wikid

Adventurer
Looking for information on how to wire the dual batteries here exactly..

My 2014 is different than most i have wired for this..

On one big cable going from the + battery terminal into the large fuse box cluster right next to it.

Anymore details on exactly how you wired yours?

Thanks

Here is a PDF on how this dual battery system is wired .
Most 12 volt dual battery systems that are negative ground will work similar.
http://www.nationalluna.com/Datasheets/Intel Solenoid Instructions.pdf

The basic instructions are this
I think national luna recommends 4 gauge, but I use (1) gauge
(1) gauge wire from negative terminal on battery, to 2nd battery negative terminal
(1) gauge wire from positive terminal on battery or one side of the solenoid, or isolator
(1) gauge battery cable from other side of solenoid, or isolator, to the second battery. When the solenoid is given the signal to open, it allows the second battery to be charged

I hope this helps
 

wikid

Adventurer
One Switch-Pro panel is officially alive.

I have been working on rack pre wire . Also running all the cables through the roof.
All roof lights are now pre wired . When they come on, it will be mount and plug in
The (6) S2's are actually working. Those are actually the only roof lights I have currently.
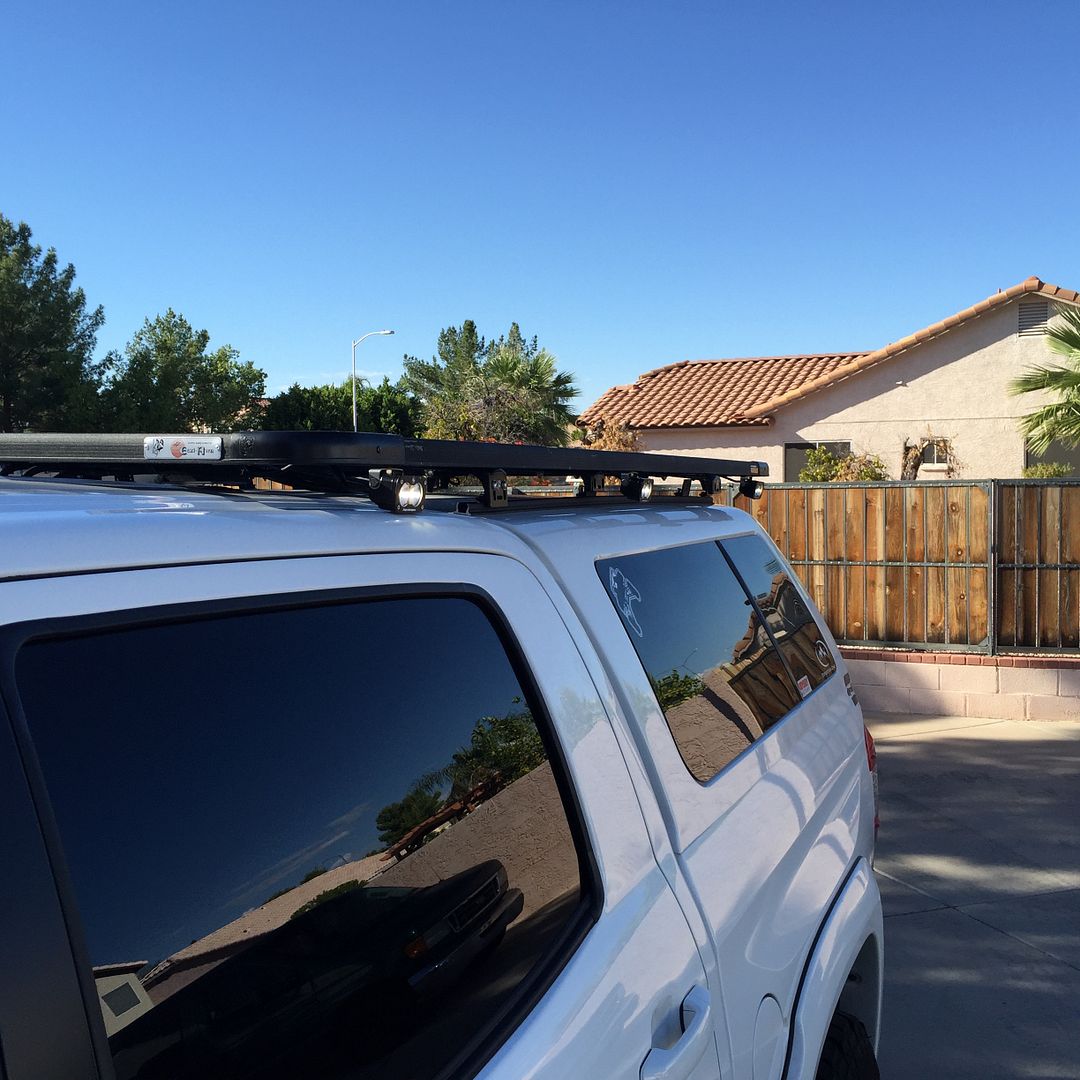
I used a single junction box on the roof to run 2 cable in 2 cables out. The rack is actually lower than it was.
It was very exciting, knowing that the lights actually work, after all the intense figuring and wiring :D


Forum statistics

Threads
188,304
Messages
2,905,206
Members
229,959
Latest member
bdpkauai

Members online

Top