"Arctica" 2015 Crewmax Platinum Tundra Build

RAM5500 CAMPERTHING

OG Portal Member #183
Here is a PDF on how this dual battery system is wired .
Most 12 volt dual battery systems that are negative ground will work similar.
http://www.nationalluna.com/Datasheets/Intel Solenoid Instructions.pdf

The basic instructions are this
I think national luna recommends 4 gauge, but I use (1) gauge
(1) gauge wire from negative terminal on battery, to 2nd battery negative terminal
(1) gauge wire from positive terminal on battery or one side of the solenoid, or isolator
(1) gauge battery cable from other side of solenoid, or isolator, to the second battery. When the solenoid is given the signal to open, it allows the second battery to be charged

I hope this helps

Thanks Don!

Yeah, i got it all squared away and completed today. I knew this was the right way, but i had a friend over that kept adding his .02 and made my second guess myself! Hahaha!

All good to go now!

Pics Soon!
 

wikid

Adventurer
Before the suspension , I opened up the body mount, to make sure I had clearance. Today, I went ahead and closed it up. Wheels/tires clear just fine .

I have a hard time understanding, why plates are sold to fill the gap, when its really pretty easy to cut them with an angle grinder, then form them to the body mount. It seems you need to use a grinder, one way or the other. Different strokes for different folks

Before, drivers side


After


Passenger before


After


It however was a one step forward, 2 steps back sort of day.
I was negotiating getting back out of the garage, because it was tight and at an angle I just completely came to close to the passenger side. Not thinking, I caught the side mirror on the garage opening and broke it. I stopped but it was too late . Since it has all the bells and whistles, I was quoted $618 bucks, to replace it. OUCH That is suppose to be a good guy price. If you all know of a wrecked 15 with blind spot monitors etc, that has a good passenger side mirror, let me know :(
 

amo292

Adventurer
A tundra Mirror does not cost $618. Maybe the quote was for the set? If you are going to spend that kind of money upgrade to the power fold tow mirrors. They are an excellent upgrade but are pretty wide if you have limited garage space. You can also look at mirrors from 2007 to current. As far as I know they are all the same. If you are interested I have a set of 2008 limited mirrors sitting around. They have power fold, power adjust, and directionals but no puddle lights or blindspot monitors.
 

utroda

Observer
We just put new towing mirrors on my dads 2014 got the set from toyota for like $200-$250, that power and heat with blind spot.
 

wikid

Adventurer
A tundra Mirror does not cost $618. Maybe the quote was for the set? If you are going to spend that kind of money upgrade to the power fold tow mirrors. They are an excellent upgrade but are pretty wide if you have limited garage space. You can also look at mirrors from 2007 to current. As far as I know they are all the same. If you are interested I have a set of 2008 limited mirrors sitting around. They have power fold, power adjust, and directionals but no puddle lights or blindspot monitors.

We just put new towing mirrors on my dads 2014 got the set from toyota for like $200-$250, that power and heat with blind spot.

I tell you what. I can pm you my vin number, then call Toyota and ask for a price quote for the passenger side mirror for that truck. The list price is north of $950
I called a few aftermarket companies including CarID and they don't have the mirror for this yet.

I was misquoted yesterday and 618 bucks I ordered it and paid $744 tax included
I would have loved to hold out for a better deal, but my truck will be on show at the Off Road Expo in Pomona in a few weeks and I could not have a broken mirror on it.
Lesson learned . I will be really careful with my mirrors from now on . It was my fault. I just have to swallow it and not let it happen again

FYI My mirrors are power, power folding, blind spot monitors and heated . It's on a Platinum, so it has all the bells and whistles
 

RAM5500 CAMPERTHING

OG Portal Member #183
Hey Don

Question.. Is this a TRD edition?

I noticed in your pics you had the Rock Warrior wheels on it.

I am looking to get those but heard the TRD edition had bigger brakes and they may not fit.

Any input?

Thanks
 

wikid

Adventurer
No This was a platinum edition with Rock Warrior wheels . Big brakes will only work with 20" wheels Since I won't do 20's , I won't do big brakes

A pictured released to me by Total Chaos


All my lights from Baja Designs, have been shipped . This next week should be interesting

Someone asked me about how much lift I have
Not sure what the setting is but here is the amount they cranked down on the coil over
it can't be more than 3 inches for sure
 

wikid

Adventurer
Since I received a big box of lights from Baja Designs, I figured I may as well begin installing them
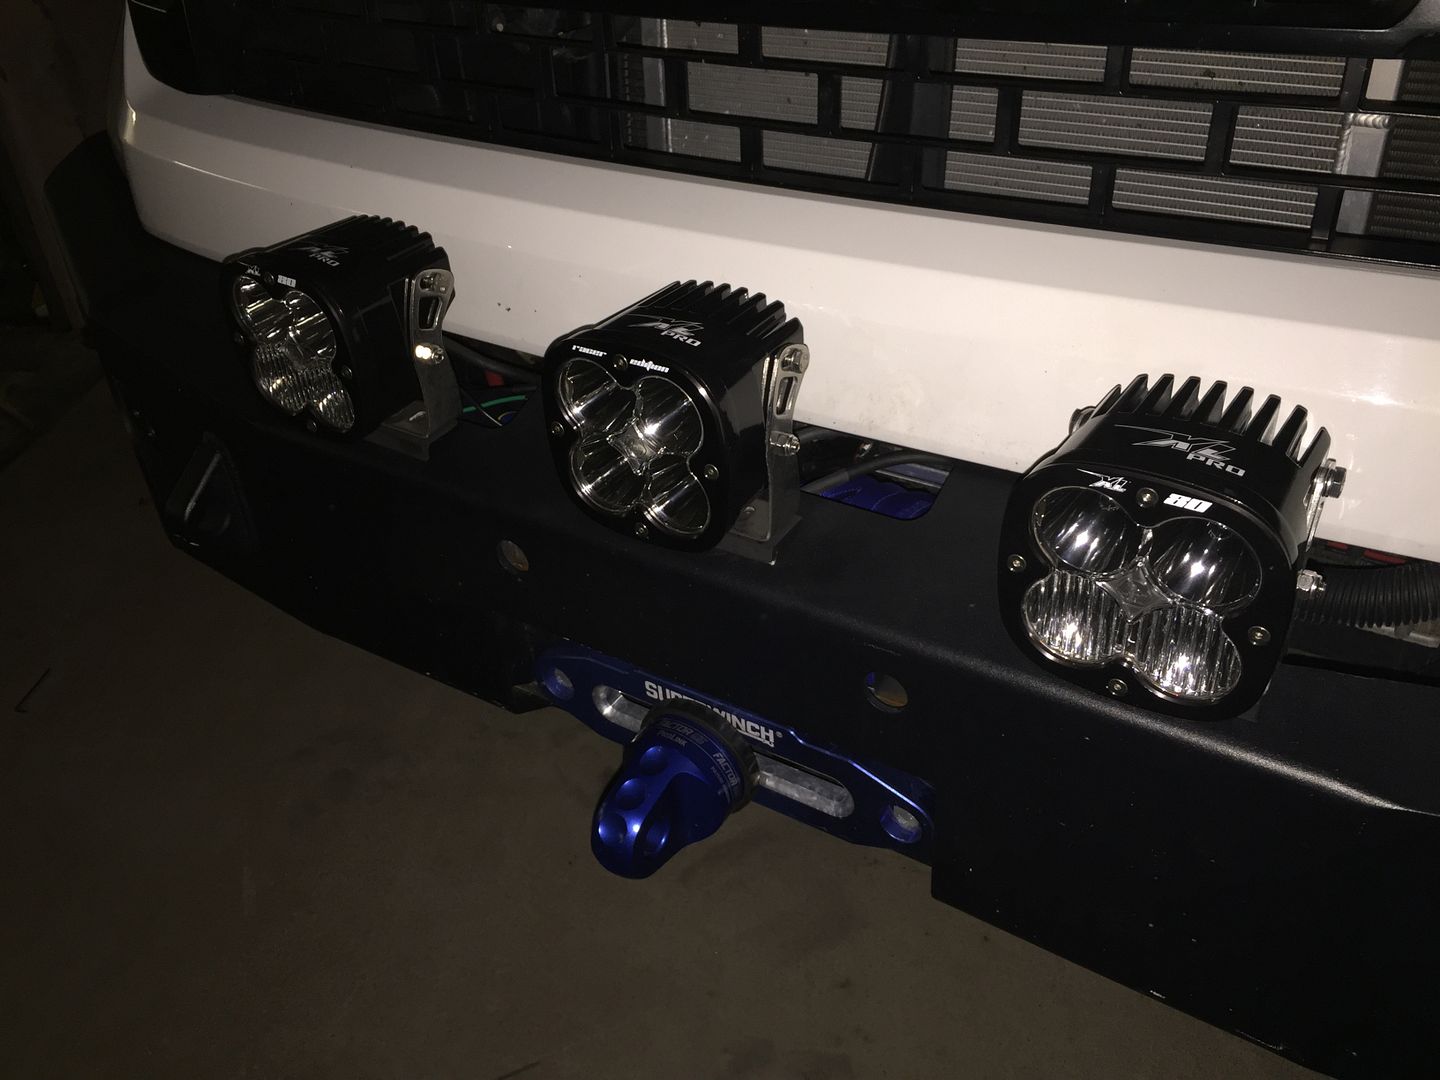
First up 3 lights for the front bumper. You know its never as easy as just bolting them on and plugging them in.
I bolted the first one, and realized that the angle of the bumper didn't allow the light to level out. I took some channele I had laying around and made an offset bracket for each light. It did the trick, all level now.


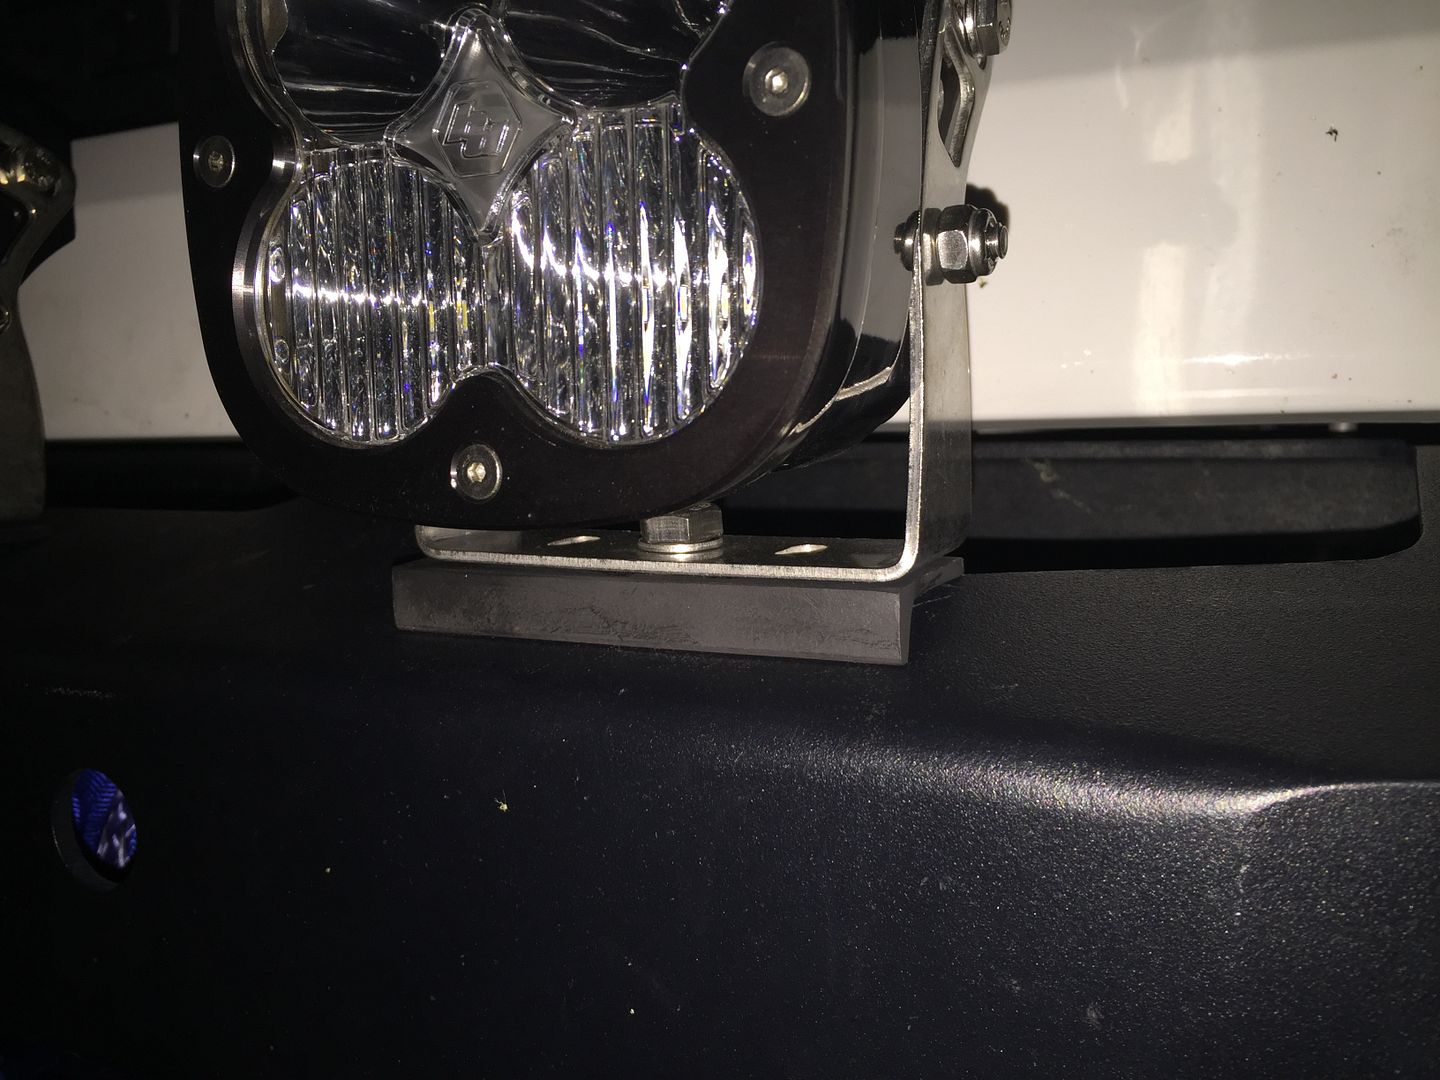
I still need to make one plug, but 2 of em actually work

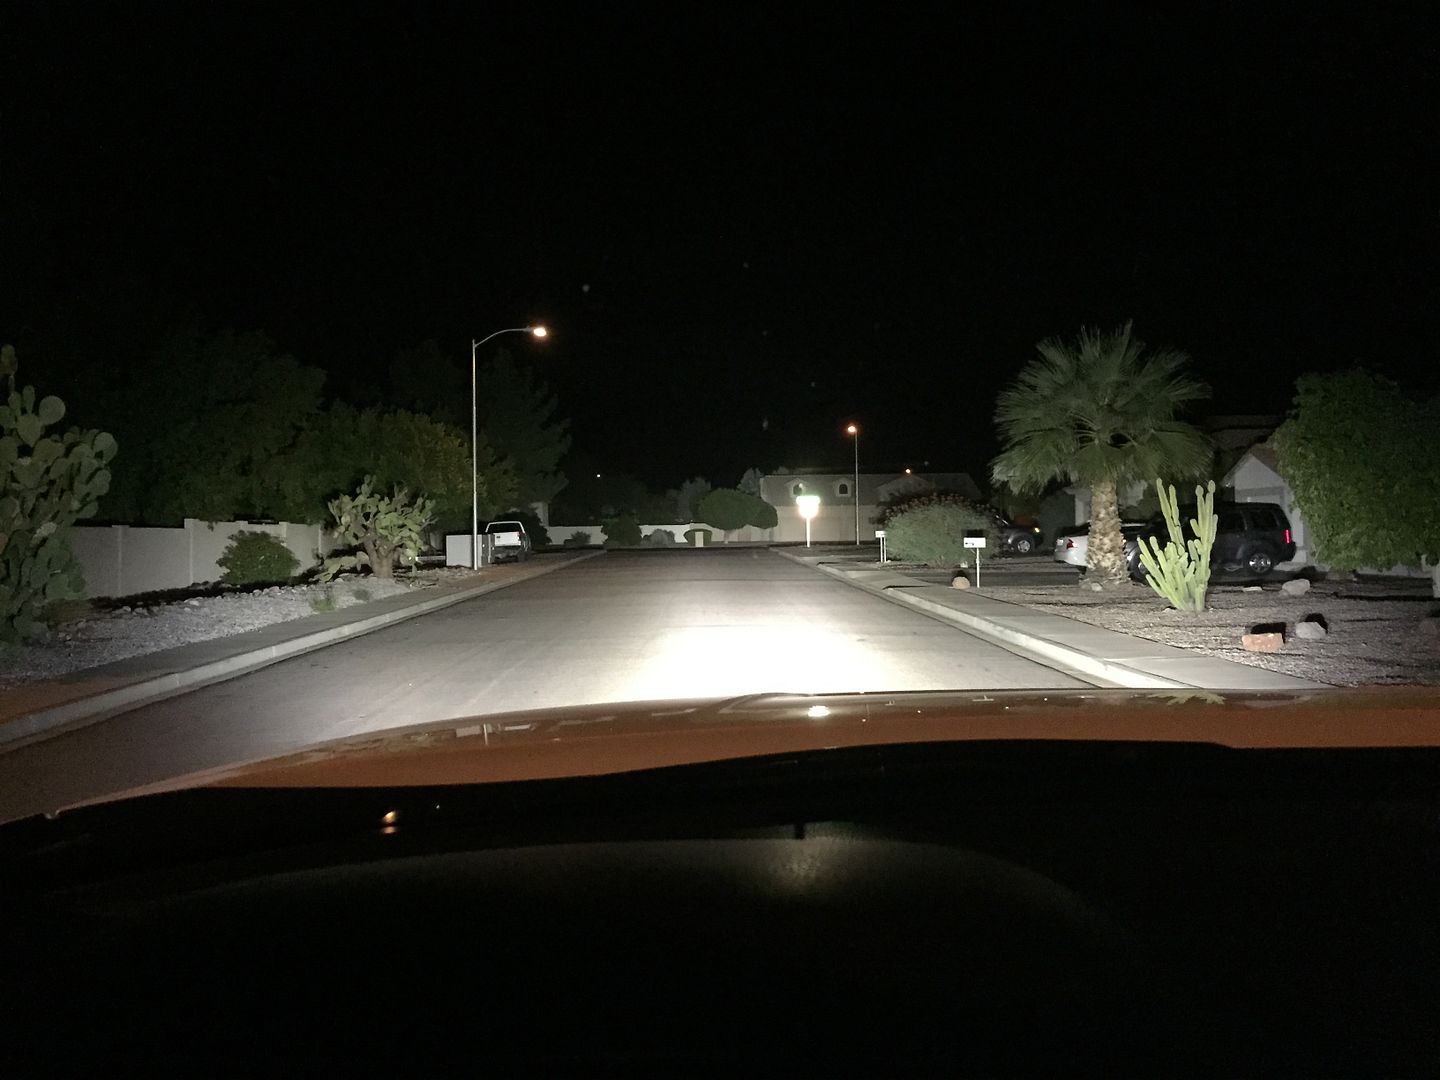
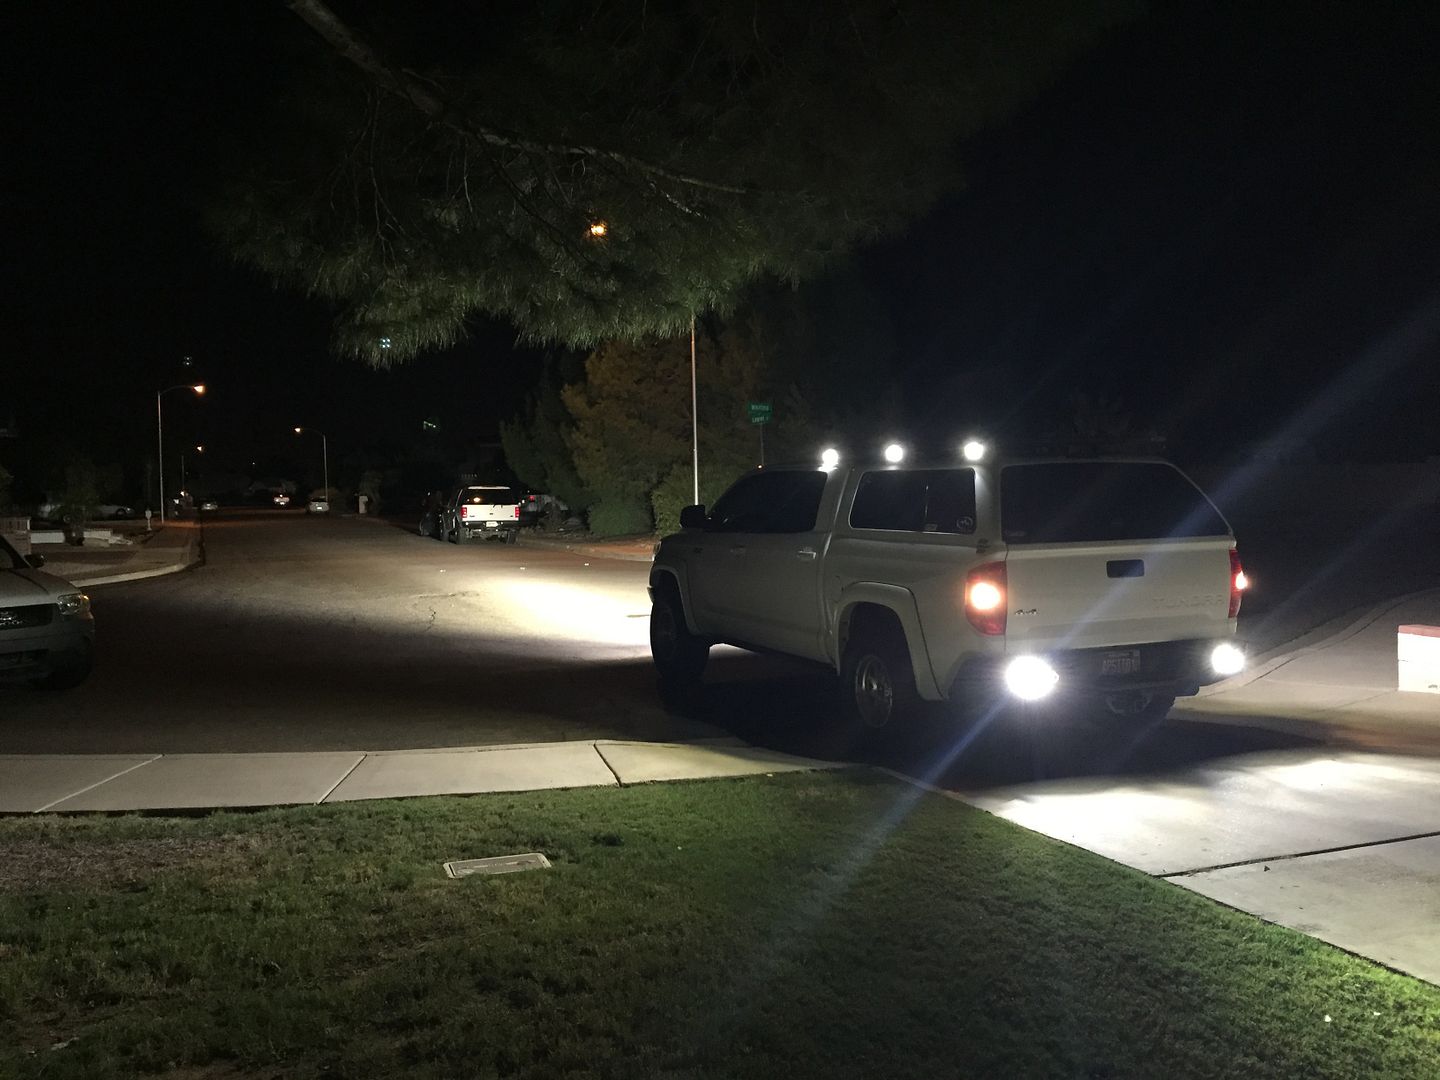
I took it out and did some down the road testing

DRLS with engine running


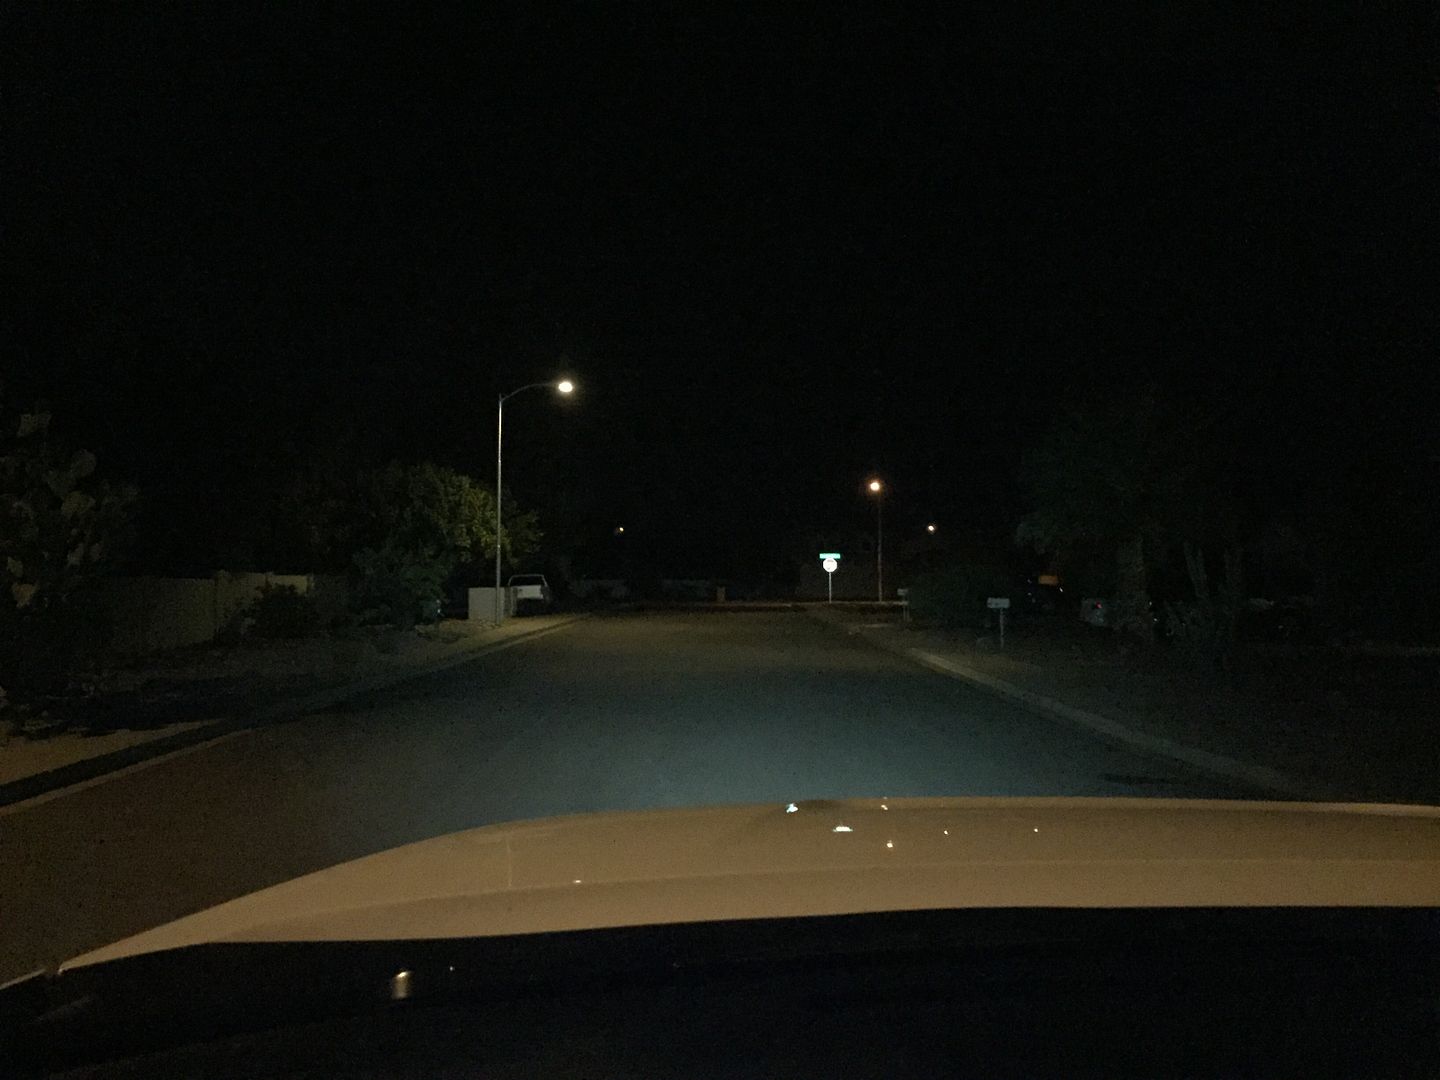
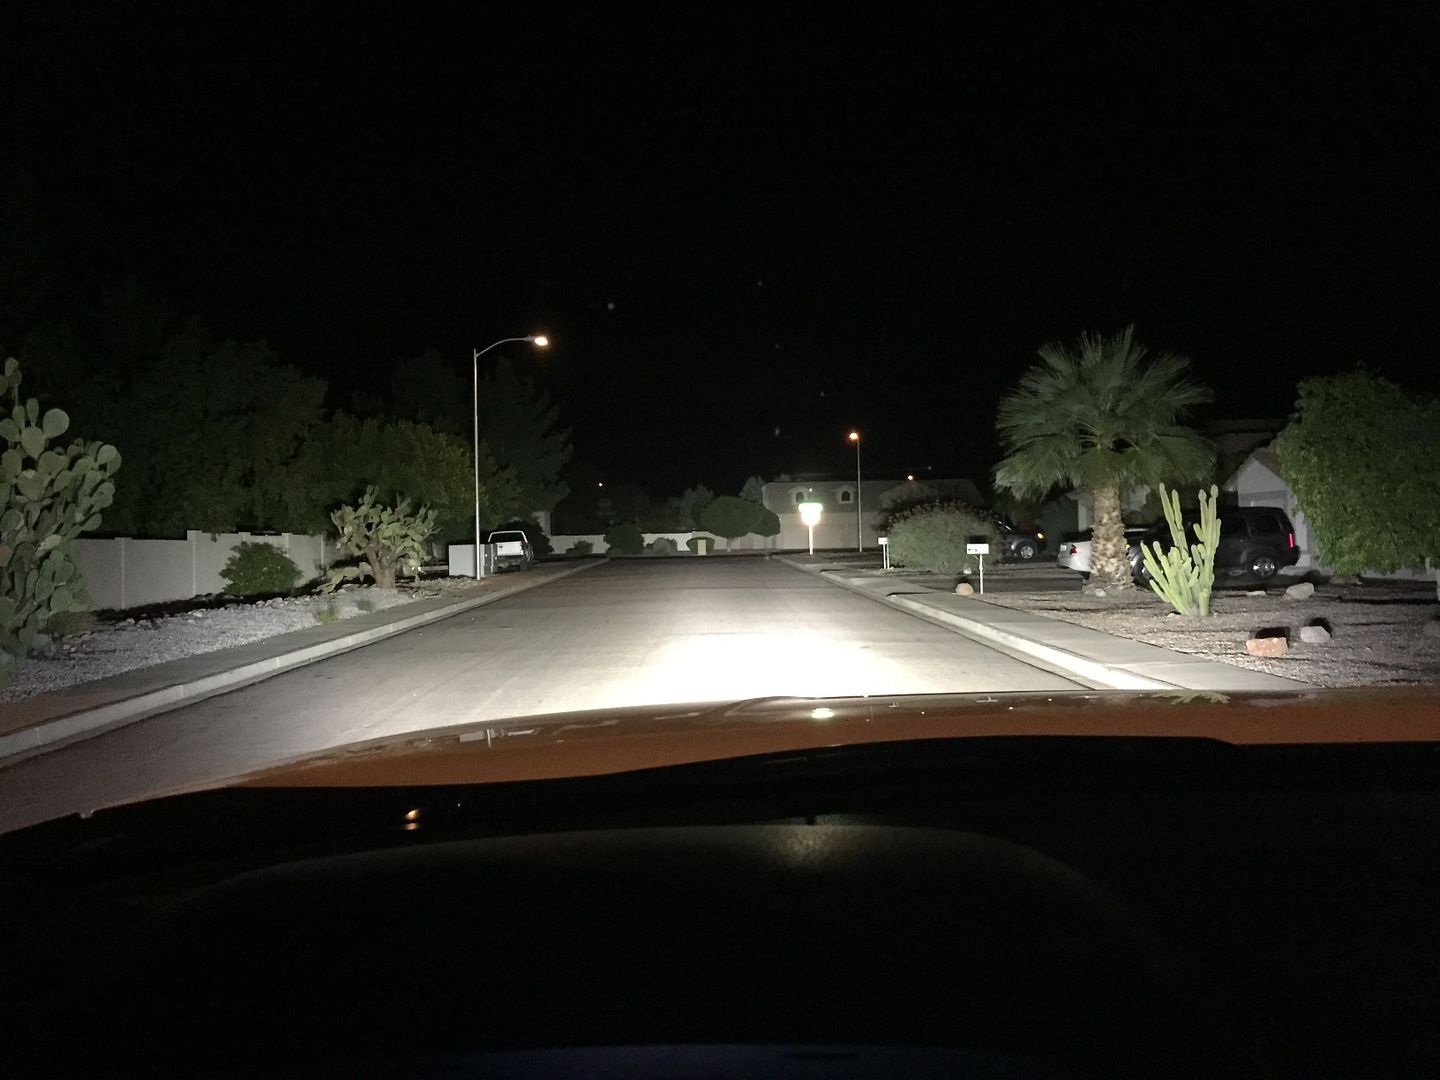
These are the Squadron driving lights only


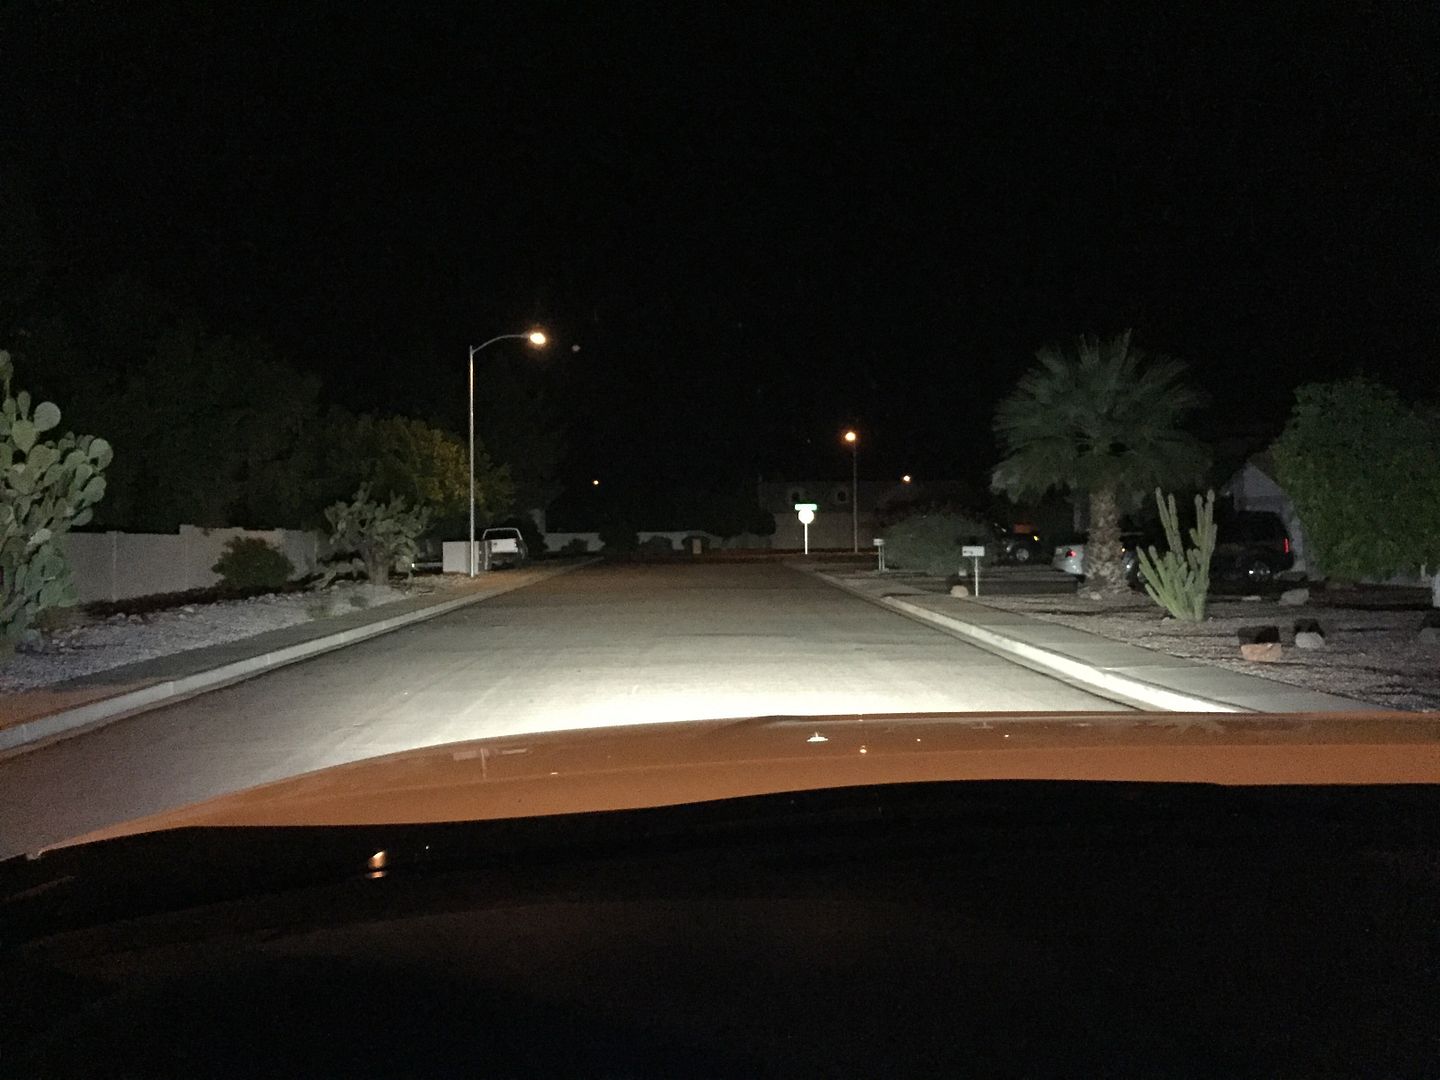
These are the 2 XL 80's on the bumper They could use a little aim up, but you get the idea


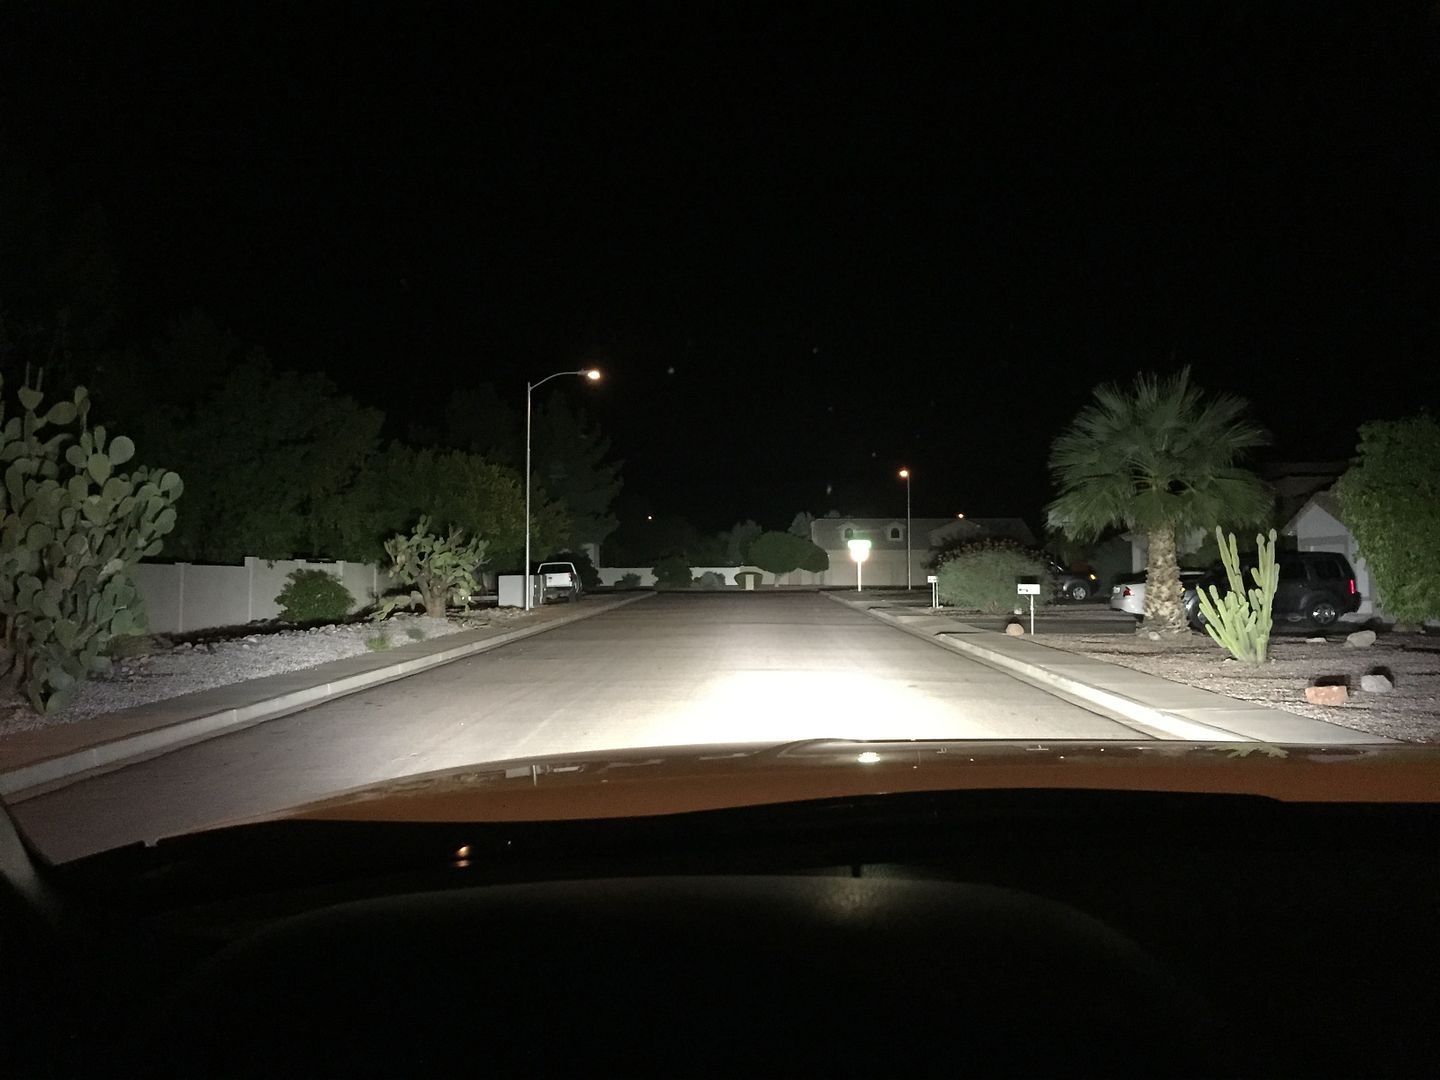
XL80's and Squdrons. Because the 80's need to be aimed, they are drowning out the Squadrons, except yu can see it fill to the sides. Correct aiming of your lights will give you the best fill for the entire pattern. In this case, adjusting the 80's , would get much more distance, yet keep the wide pattern close in


The joke here is that I turned on the headlights, but could barely see them come on :D


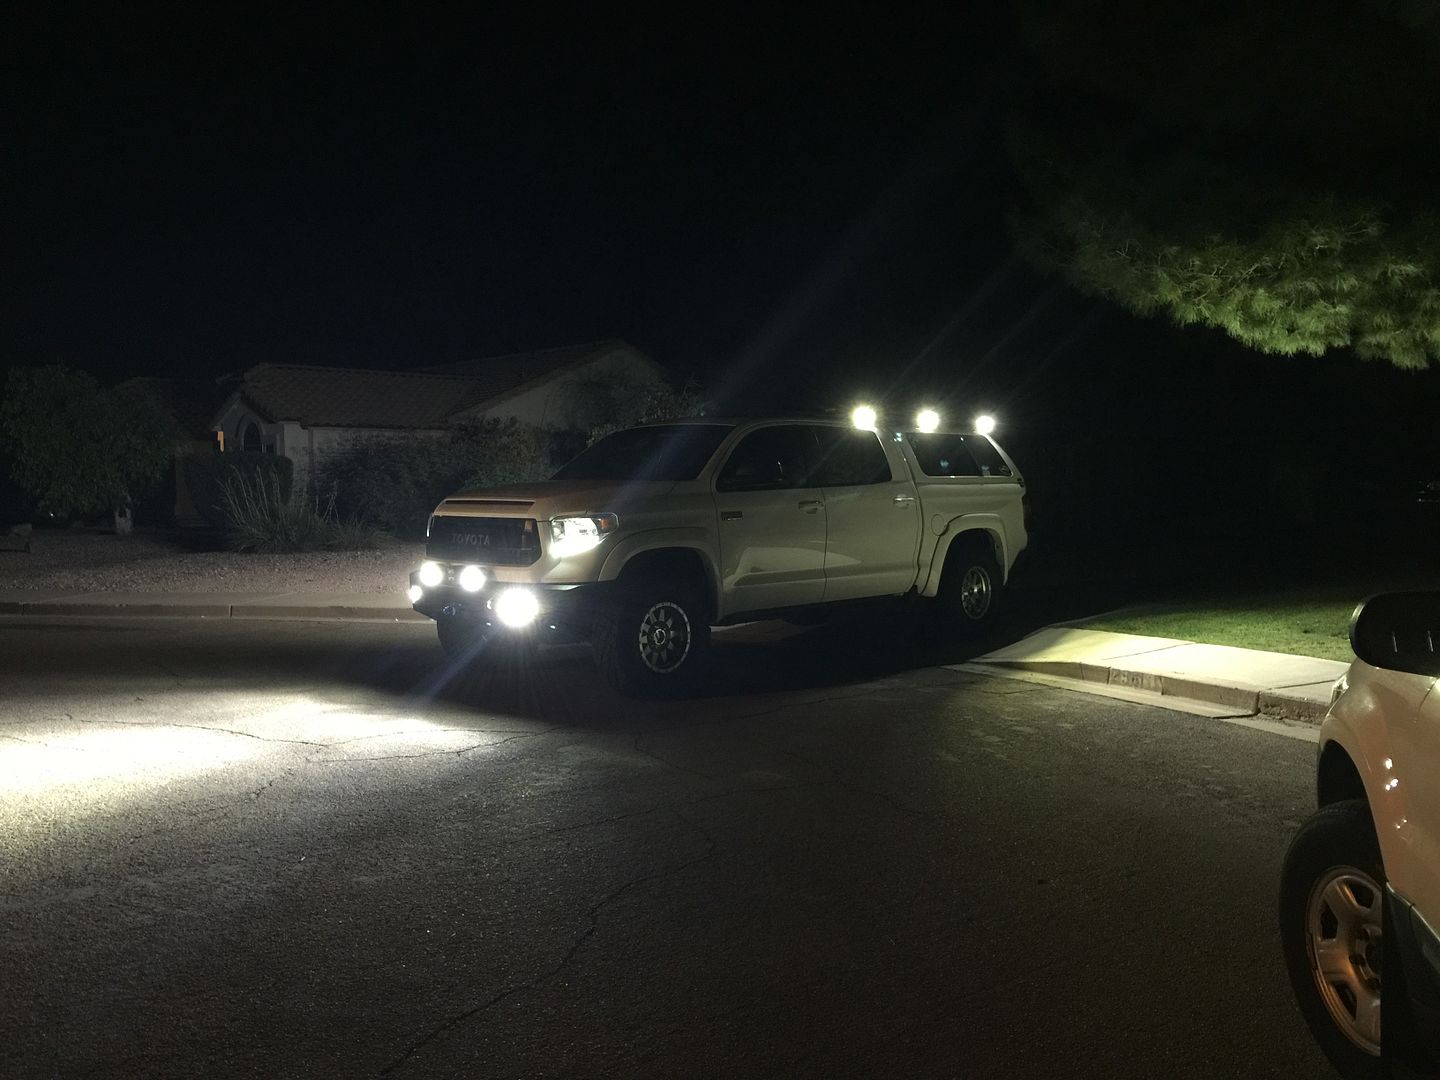
I went ahead and threw it in reverse


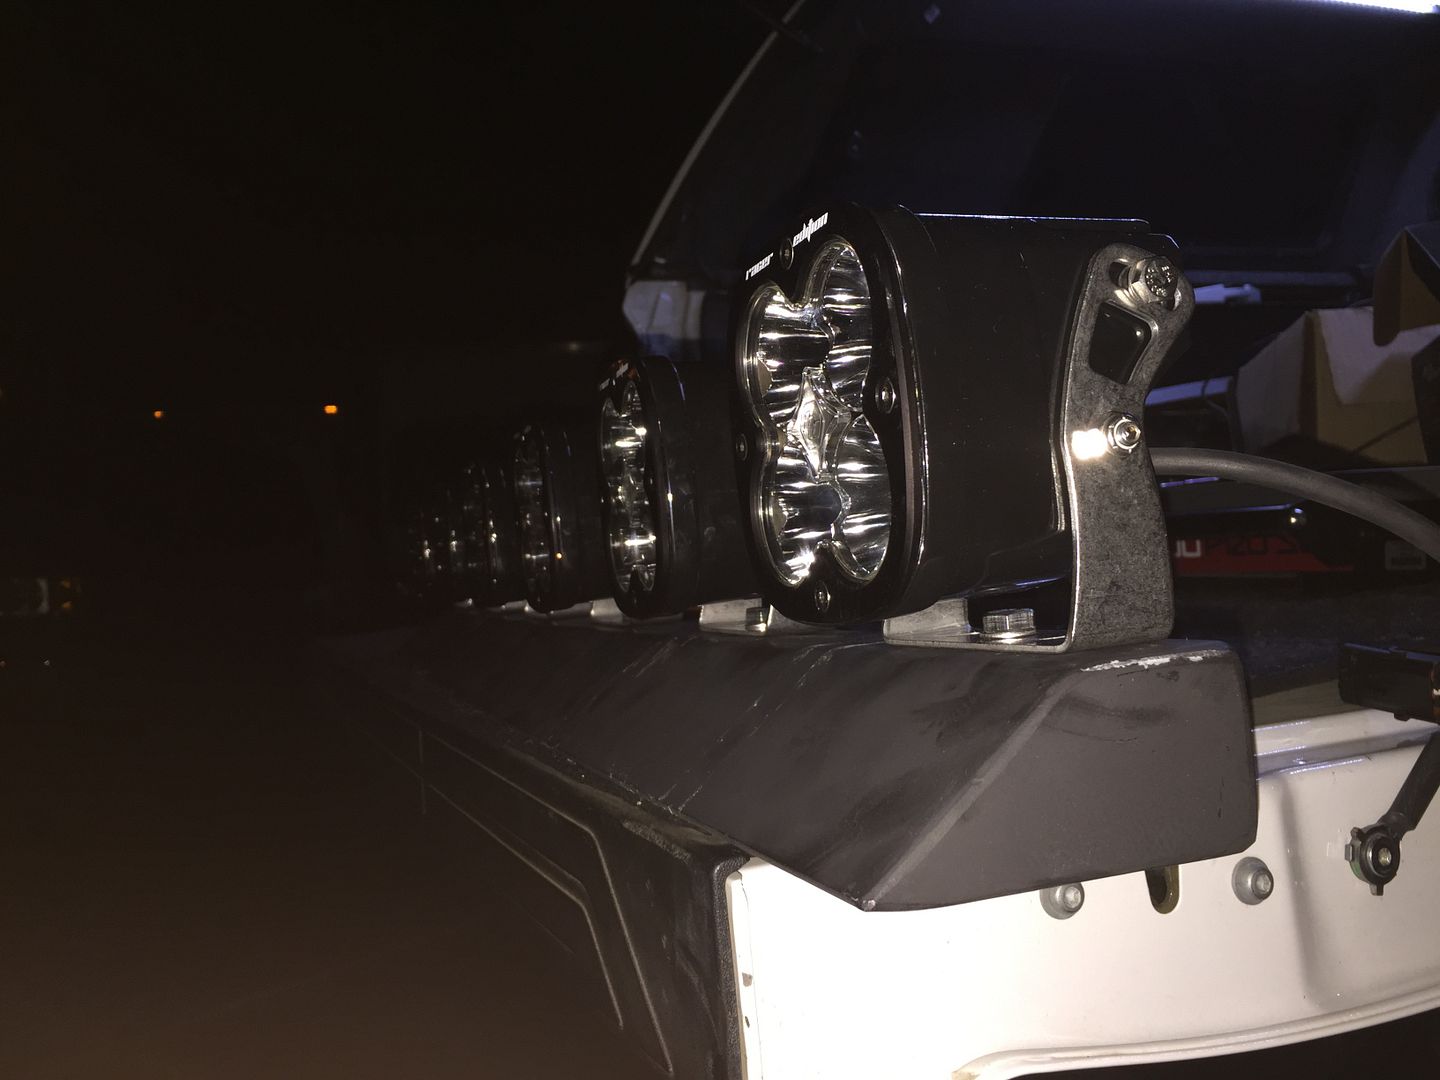
Here is the next step.
I wanted to mount the lights, but not directly to the rack I figured if I had a mount made that was simple, but designed well, it would accomplish making everything look right withpout wires showing

So here is what fit that thought. 2x2" 1/8th Square tube. beveled in front so it doesn't look like just a box. So I had 1/8th inch plate added at about a 45 degree angle. The 2 inches gives it a little more height, off the rack. Then I had the back opened up , so all the wires could be stored there. The only wires that you will see are the wires coming off the light into a notched hole , then the main cable coming in from the bottom, but the rack hides lots of that


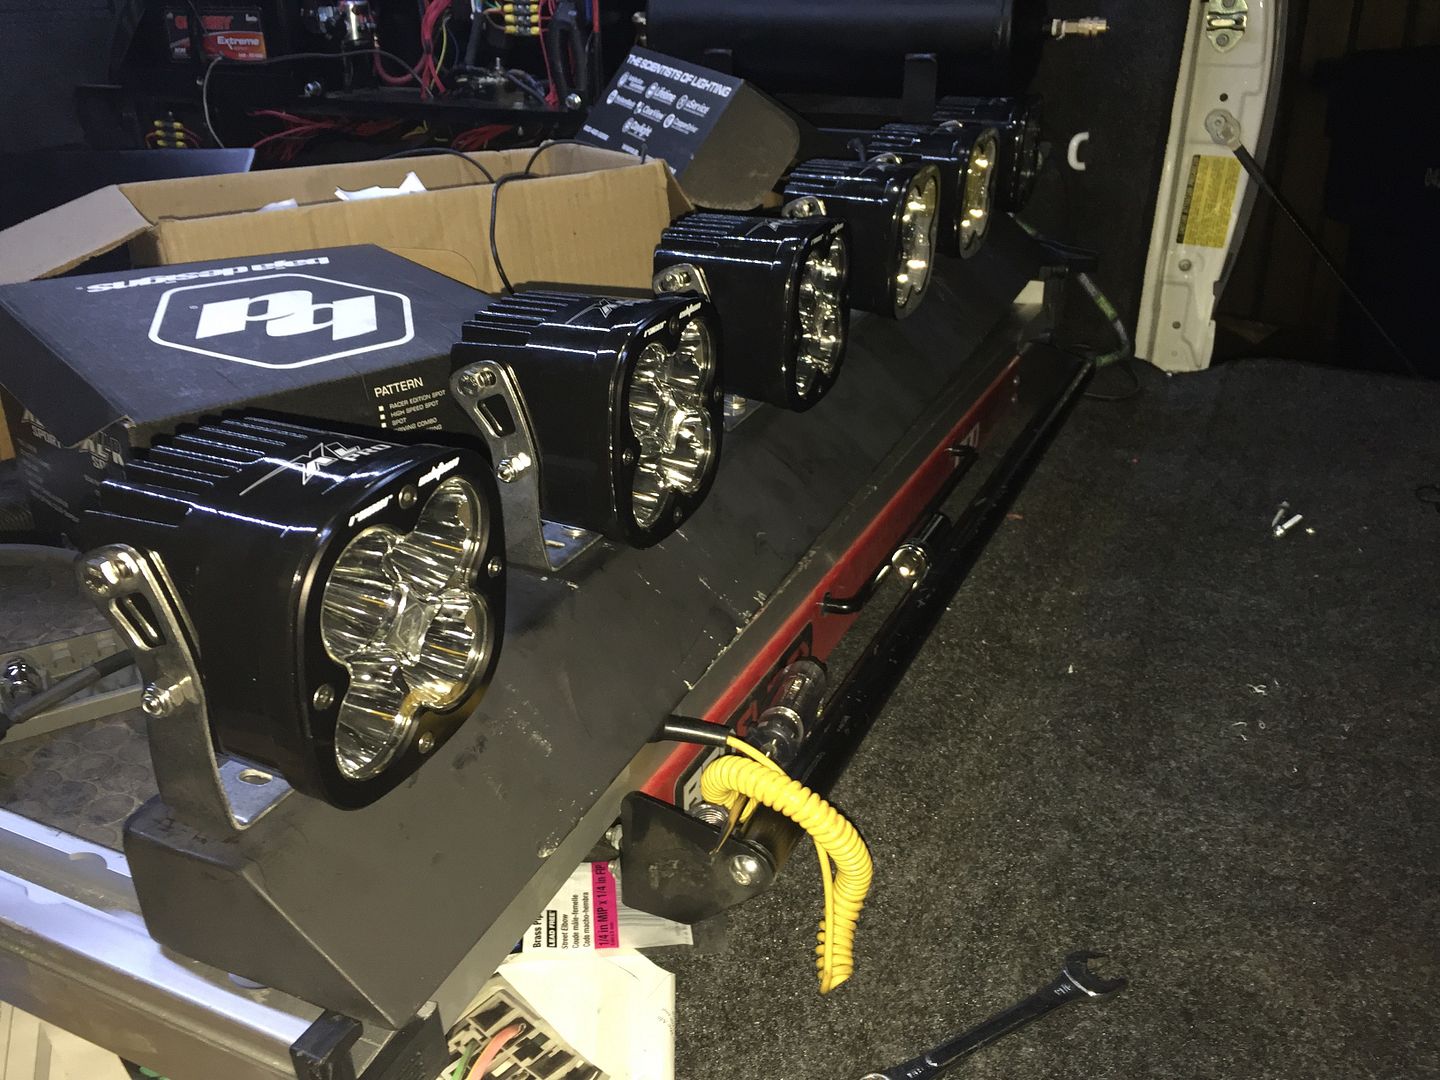
My only fear is that the space will not hold all f the connections . We shall see tomorrow

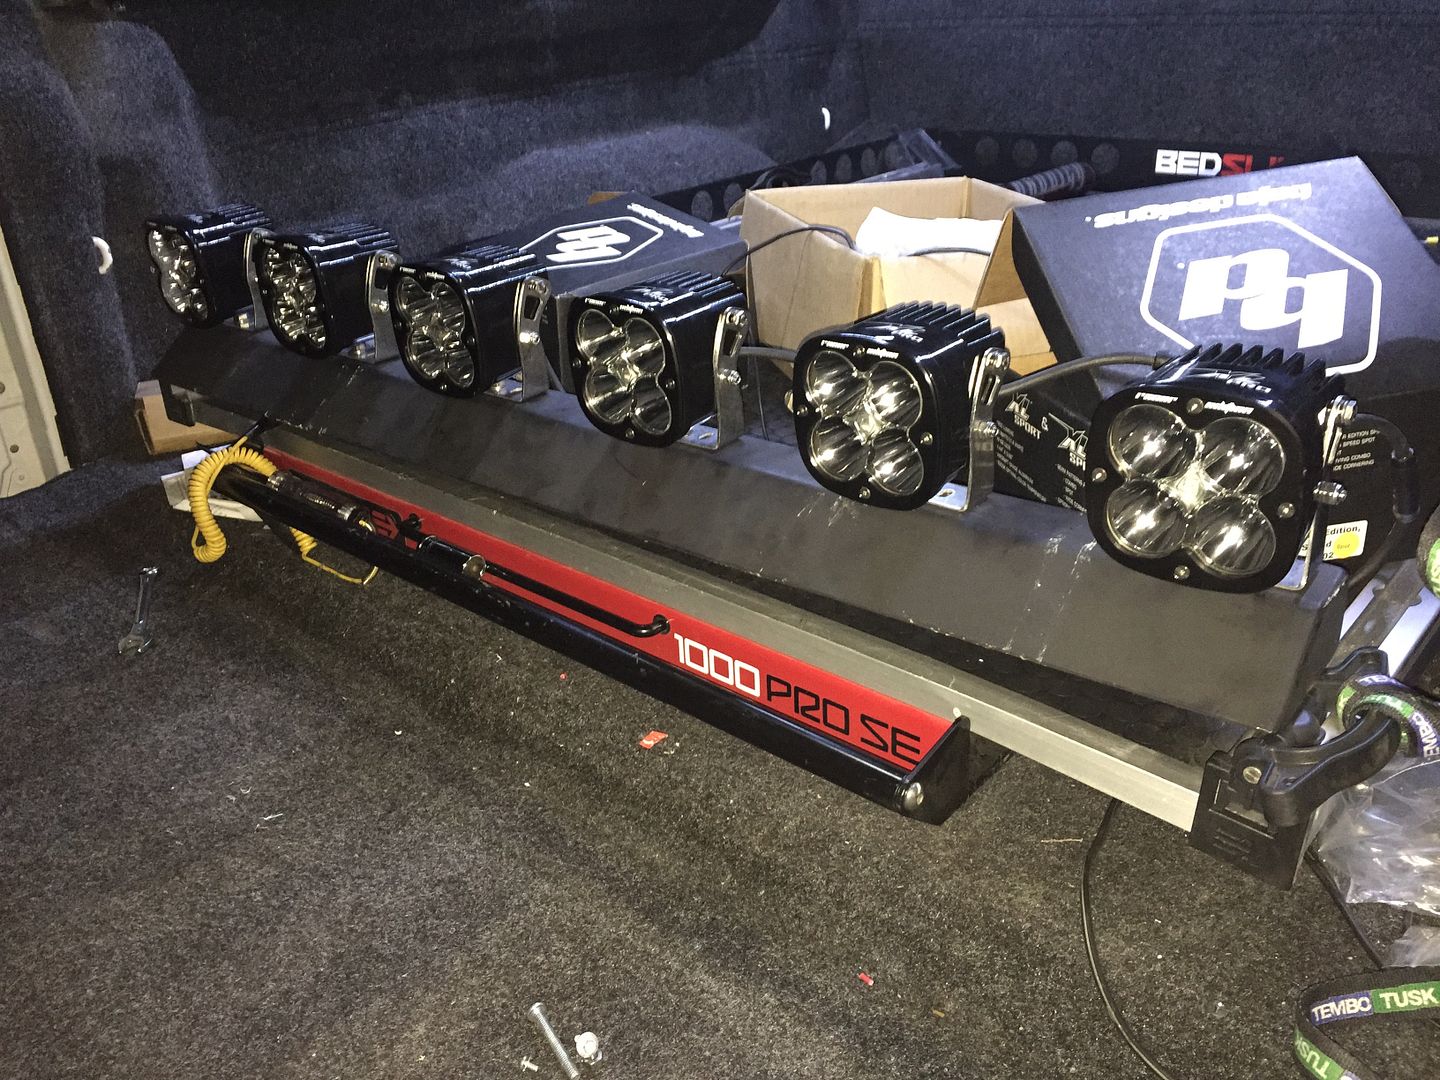
The entire device gets mounted to the roof rack, through the cool track system it has. I pre drilled the holes in the bottom of the mount to just fit the screws and put bolts on the inside of the box. The box has a back plate to close it all off purdy Poof Should be no wires
Tomorrow , all these lights should be blazing
 

wikid

Adventurer
I'm a bit concerned after reading your last post that you may not have enough lights. Are there more on the way? ;)

Yes I still have some specifics to cover. There ere (3) ten inch lights that will be installed in the hood bulge They are new technology and have a backlit feature. They are called the S8. These will be amber
(1) 20 inch S8
Under hood lights will be simple and rock lights

Why not one curved light bar vs. (6) singles? Not a critique, just curious.
More than a few reasons. .

Great question
(1) Everyone seems to have a bar across their windshield. Problem is, the glare off the hood. It really isn't the best place for a bar.
(2) I have more control of these lights. I can change the beam patterns, or adjust a few of them high or low. They also have much deeper and larger reflectors, that will put the lumens, way out there. You want to use a long rifle, to hit 300 yards or better. Same concept. This is also the reason to buy good quality lights. I see all kinds of 50" bars that look bright as all get up, when you are looking at them, but they scatter light everywhere. Baja Designs use specific beam patterns, to completely fill the view, plus hit the long target
(3) I wanted a little different from the typical set up these days.
(4) Last but not least, I wanted the front area of the roof clean of any gadgets. The sun roof is not affected, I like the lines of the top of the truck , so I wanted to keep it clean
 

racemedic

Observer
I looked at your truck at the Off-Road Expo today. Very nice job on everything. Also thanks for posting the pics of the lights showing how the pattern looks. I'm putting a couple XL80's and S2 Pro's on my list when I update the lighting on my Tacoma.
 

wikid

Adventurer
I looked at your truck at the Off-Road Expo today. Very nice job on everything. Also thanks for posting the pics of the lights showing how the pattern looks. I'm putting a couple XL80's and S2 Pro's on my list when I update the lighting on my Tacoma.

Thank you
The lights you are talking about should give you lots of coverage.

Back from Off-Road Expo . It was actually kind of exhausting , getting ready as I could be, then actually getting there. I left Thursday morning at 3:45 AM , first stop was to Deaver, to fix the springs. They rebuilt them and had me out of their shop by 12:30 PM, then i found a place to do hand wash and detail. Of course the hold up after that was them actually allowing vehicles in their show places.

Here are a couple of shots. You will see that the truck is really close to level now. It made it ride drastically better, even though with the springs not right, it was much better than it ever was.

One correction I will do with all of the XL lighting is, I requested the round bezels from Baja Designs. I was shooting for a little throw back old school with round lights, so I think that will complete the look


Last edited:

wikid

Adventurer
I have been busy with work stuff since Expo, but today I made a little progress.
I was always going for more of an old school look, on the lights, with new technology, of course, so my next thought was to get the round bezels for the lights. This makes the light look bigger in size, which more matches the lighting output, plus it fills the area between the lights and rounds everything out

Here is old look


New look

Old look

new look
 
Last edited:

Forum statistics

Threads
188,699
Messages
2,909,210
Members
230,892
Latest member
jesus m anderson
Top