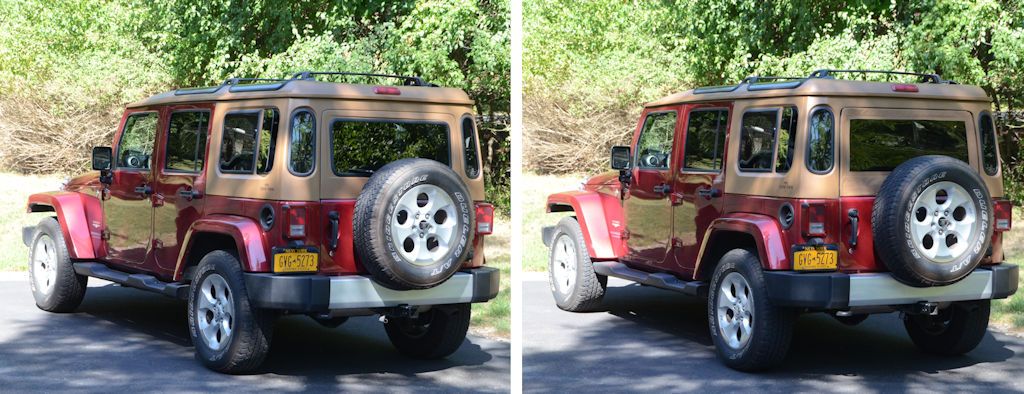
Barn Door for JK factory hardtops

Comanche Scott

Expedition Leader
I remember you posting the info on your sewing machine. Which is what prompted me to start looking for one. :)

I've not yet "successfully" used a sewing machine. Fortunately I have good friends willing to suffer through teaching me... lol
Looking forward to a good "winter project".

Thanks for the info on the how you made your original mold for the Barn Door. I'm going to tackle making an frp console for another build, to get some experience, and may tackle this project next spring.
Would really like to get rid of the back soft top window, and the glass hatch for the hardtop.
 

jscherb

Expedition Leader
I remember you posting the info on your sewing machine. Which is what prompted me to start looking for one. :)

I've not yet "successfully" used a sewing machine. Fortunately I have good friends willing to suffer through teaching me... lol
Looking forward to a good "winter project".
Sewing is simpler than most of the other fabrication I do, it isn't too hard to learn and unlike fiberglass, bodywork, metalwork, woodwork, it rarely is a messy job :)

Would really like to get rid of the back soft top window, and the glass hatch for the hardtop.
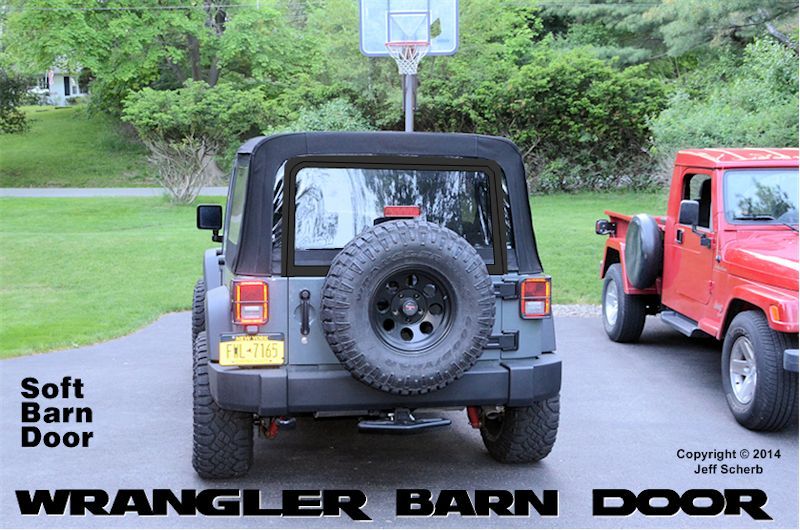
Getting rid of the soft top back window has been part of the design of this project from the beginning - I drew this concept drawing way back at the beginning, it shows a soft barn door with the factory soft top:

SoftBarnDoorSoftTop_zps5d10c16c.jpg


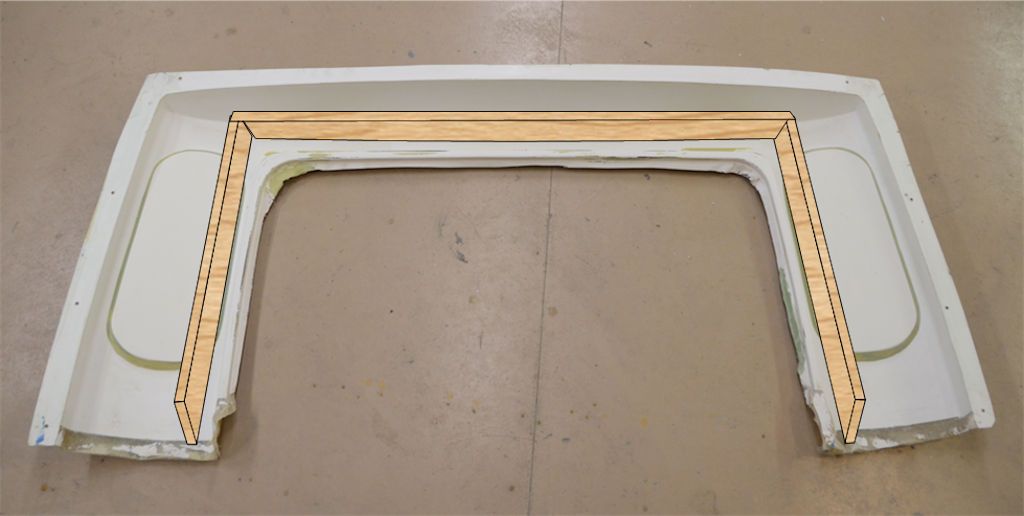
To support both the barn door with the factory soft top my plan is to make a "zip-in door surround"; it'll be made from fiberglass and will use part of a factory soft top rear window to zip into place. Making a "surround" out of fiberglass is pretty easy, I'll just put dams in the Safari Cab rear panel mold, something like this:

BarnDoorJambMold_zpshekocazc.jpg


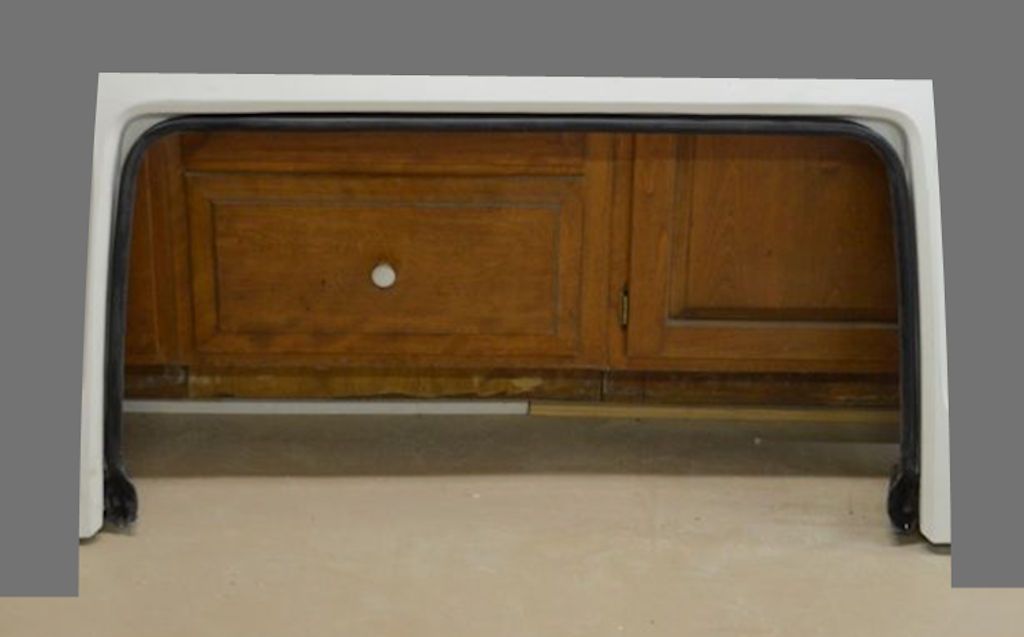
The result will be a fiberglass surround that accepts the standard weatherstrip and has the perfect curves to seal properly. I've grayed out the parts of this picture that wouldn't be part of the new part:

BarnDoorJamb_zps1iaqdqxy.jpg


The center of the factory soft top rear window will cut out and the remainder will be modified to attach to the fiberglass surround so that when it zips in it holds the surround in place. The surround will also need to attach to the top bow of the soft top to provide enough rigidity for the door to seal against it, I'll do that with quick disconnects like I did in the LJ version.

Having already made the soft and hard barn doors for the JK, and having successfully done this project for the LJ soft top, it should be pretty straightforward to do this for the JK soft top.
 

jscherb

Expedition Leader
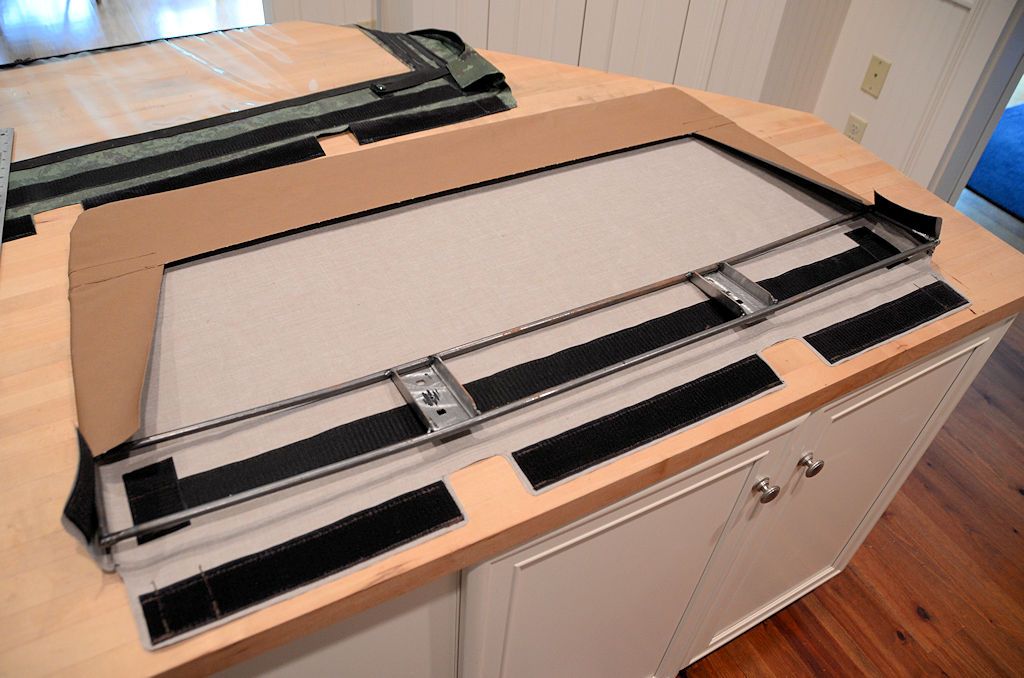
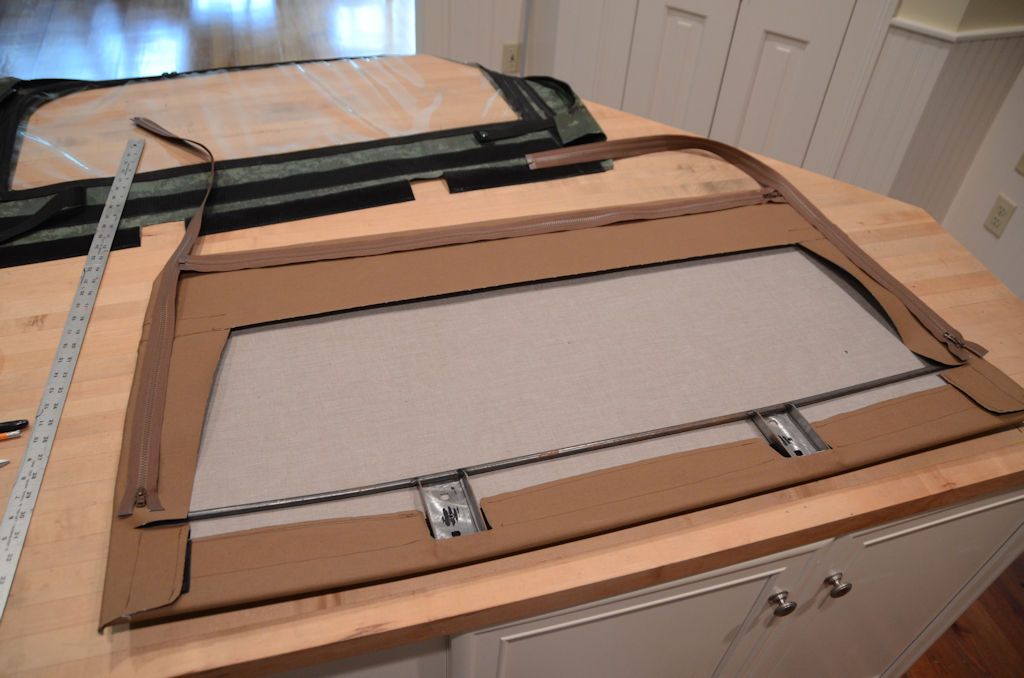
The next step was to attach Velcro and zippers to secure it to the frame. I used 2"-wide Velcro along the bottom, and I did the Velcro first so the Velcro can hold the skin tightly in place for fitting the zippers.

SoftBarnDoorSkin4_zps2lov7t0j.jpg


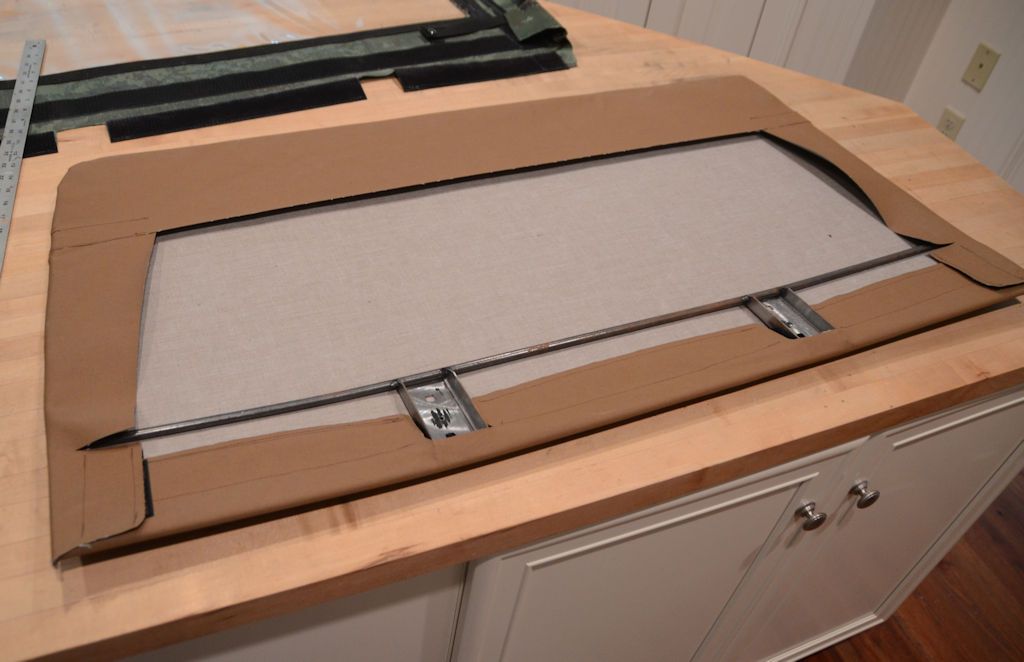
Closed up:

SoftBarnDoorSkin5_zpsxrnykva2.jpg


Next I'll finish up the closures on the top and sides with zippers, the zippers are setting in place in this photo:

SoftBarnDoorSkin6_zpsqrpireg7.jpg
 

jscherb

Expedition Leader
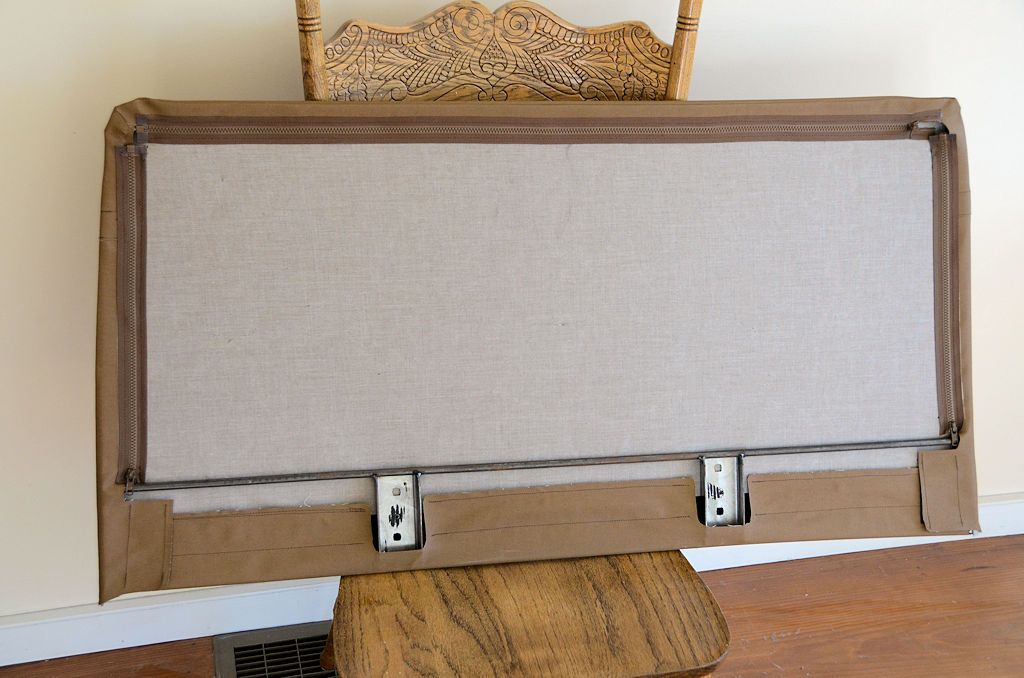
I used Velcro on the bottom of the barn door because I've got plenty of room there to use 2" wide Velcro - 2" will fasten very securely. Around the top of the barn door I want to reserve as much of the space for the window, so 2" Velcro will be too wide - zippers will provide a very secure closure and use a minimum of space.

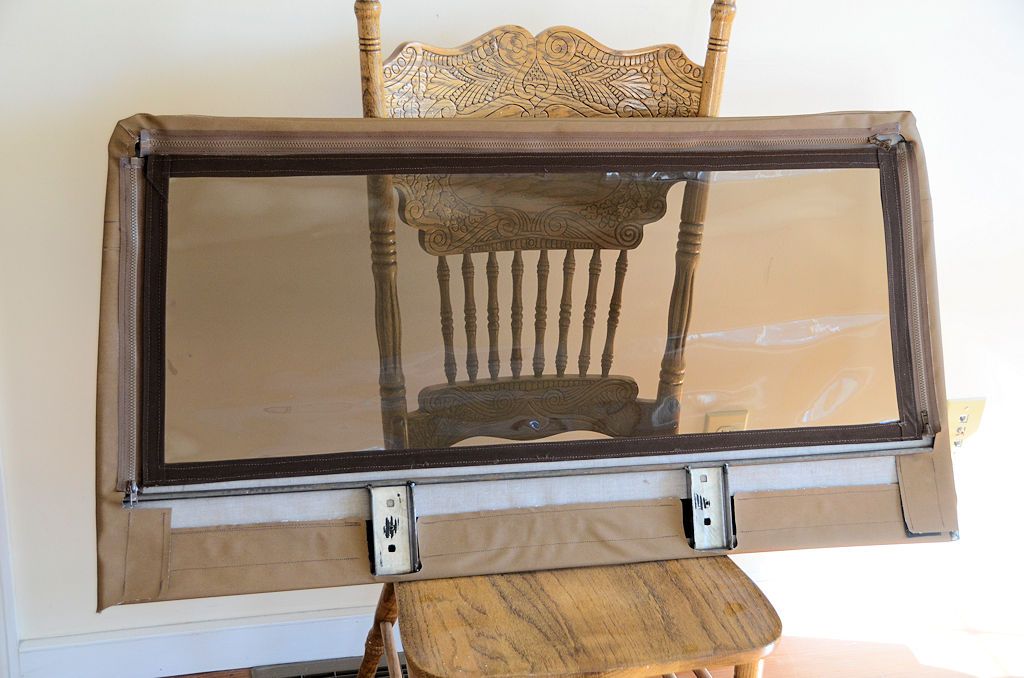
The inside top and side flaps hadn't been trimmed up to this point in the project; they get trimmed to just wider than the width of one side of the zipper. The zipper is sewn to the flap, then the flap is pulled tight and the other side of the zipper gets sewn to the inside of the main panel. The results:

SoftBarnDoorSkin7_zpsnvf2vihz.jpg


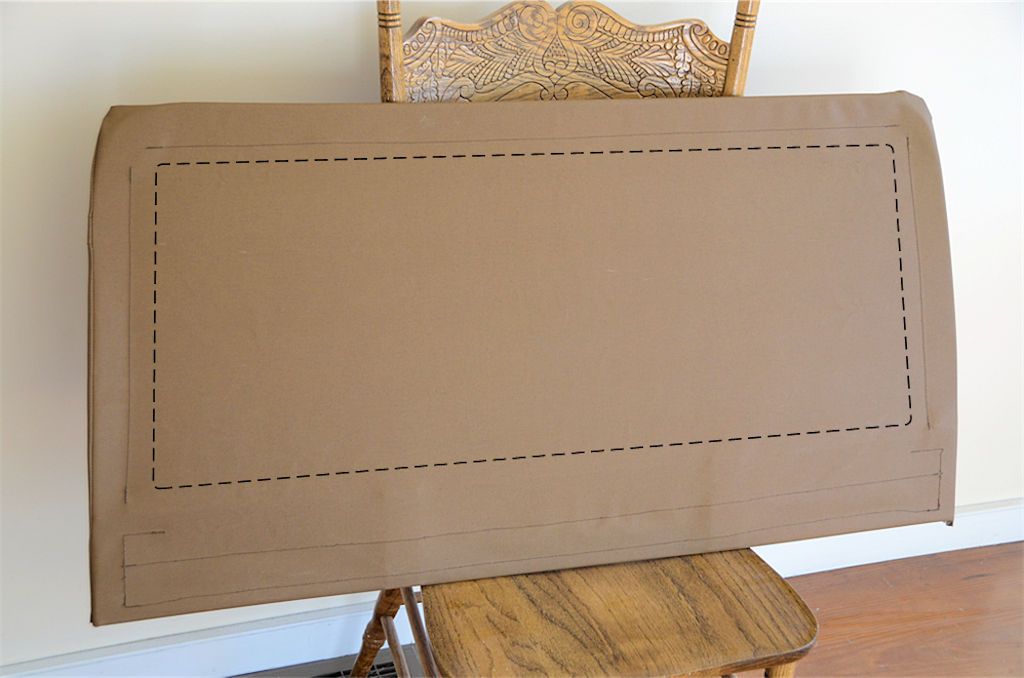
One thing left to do is to stuff the upper corners with foam - as I mentioned a few days ago the corners are sharper than the radius of the weatherstrip, so they stick out a bit. Stuffing them will smooth out the wrinkles in the corners, smooth the curves and help with sealing.

The way the zippers are installed there's room for a pretty large window, the dashed line shows how big the window could be.

SoftBarnDoorSkin8_zpsvzyhdacv.jpg


Installing the window is next.
 

jscherb

Expedition Leader
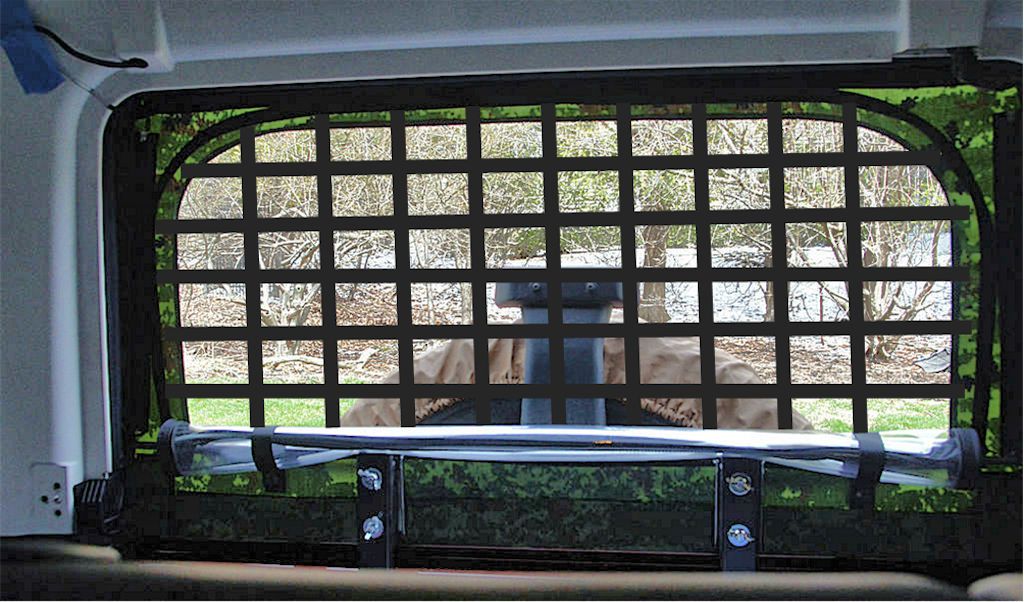
Someone suggested a cargo strap mesh with a roll-down window so they could provide lots of air for the dogs, so I drew this for them on a photo of the prototype soft barn door skin. The mesh could be permanently sewed in place, or it could be done so it snaps in place and is removable for when the dogs aren't on board.

K9Straps_zpskgzi1ptu.jpg


My plan for the Spice soft barn door skin is a tinted vinyl window, I won't be doing a mesh like the one above but I thought it was a good idea for dogs so I drew it.
 

jscherb

Expedition Leader
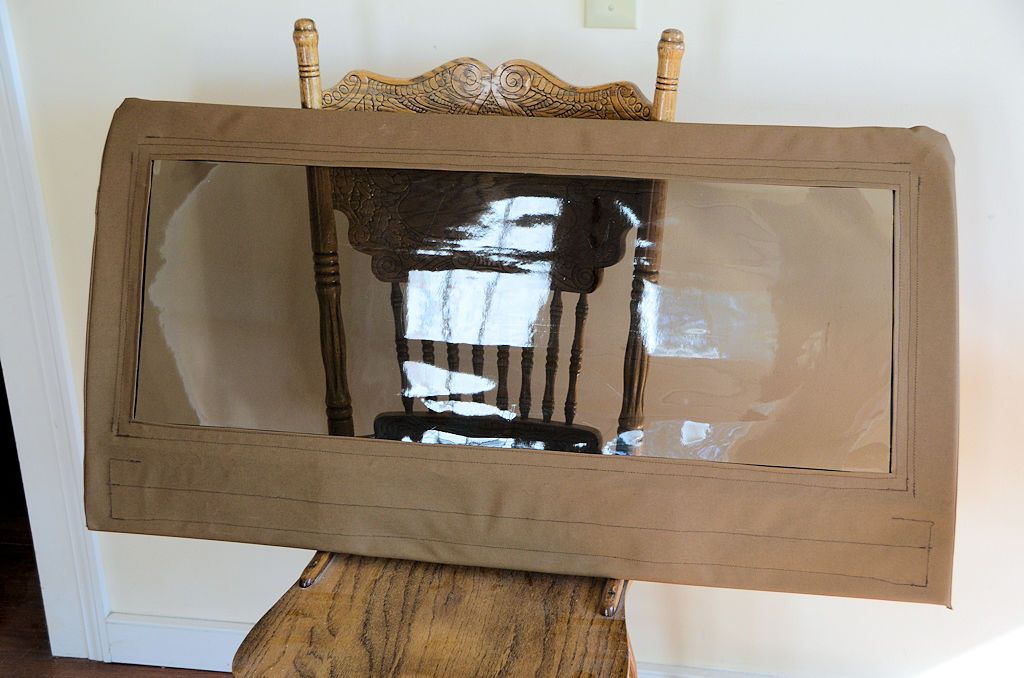
In the prototype soft barn door skin I installed the window with a zipper so the window could be opened/rolled down for airflow. For this barn door skin I've decided to do a fixed window - since it's so easy to remove the barn door upper and store it above the roll bars in the Safari Cab, I'll just do that rather than have the window roll down. Also as I've been driving with the Safari Cab for a while now, I find that the power vent windows provide plenty of flow-through ventilation and they open/close at the flick of a switch so they're a lot easier than getting out and unzipping/rolling the back window.

The technique I use for installing a vinyl window in a canvas panel is in this excellent video by Sailrite:


The window installed:

SoftBarnDoorSkin10_zpsy6q7naa7.jpg


SoftBarnDoorSkin11_zpslj6t0mgq.jpg


Now it's time to install the barn door on the Jeep.
 

jscherb

Expedition Leader
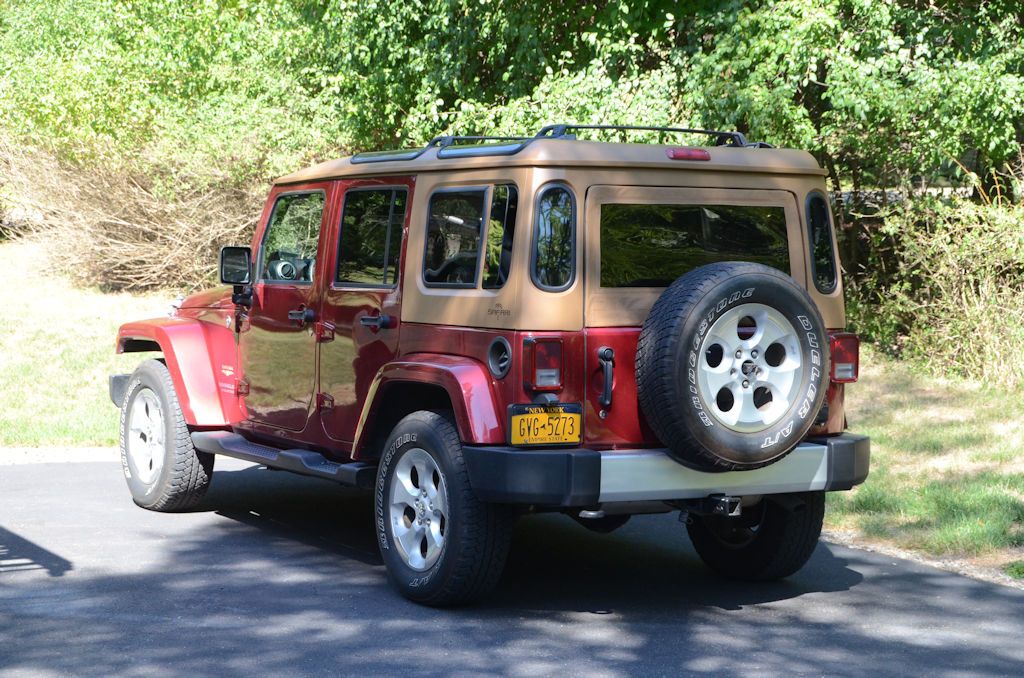
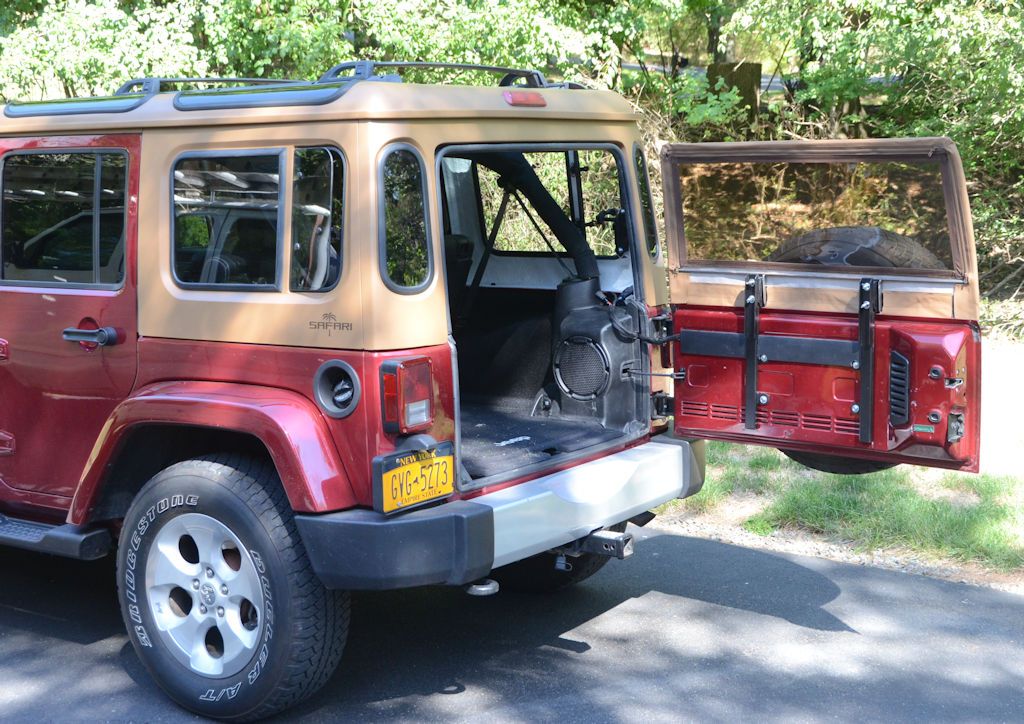
The soft barn door installed on the Jeep.

SoftBarnDoorDone11_zpsnv8mtwfl.jpg


SoftBarnDoorDoneOpen_zpsvm3d6nds.jpg


Compared to the hard barn door:

SoftBarnDoorDone10_zps8spdnfma.jpg


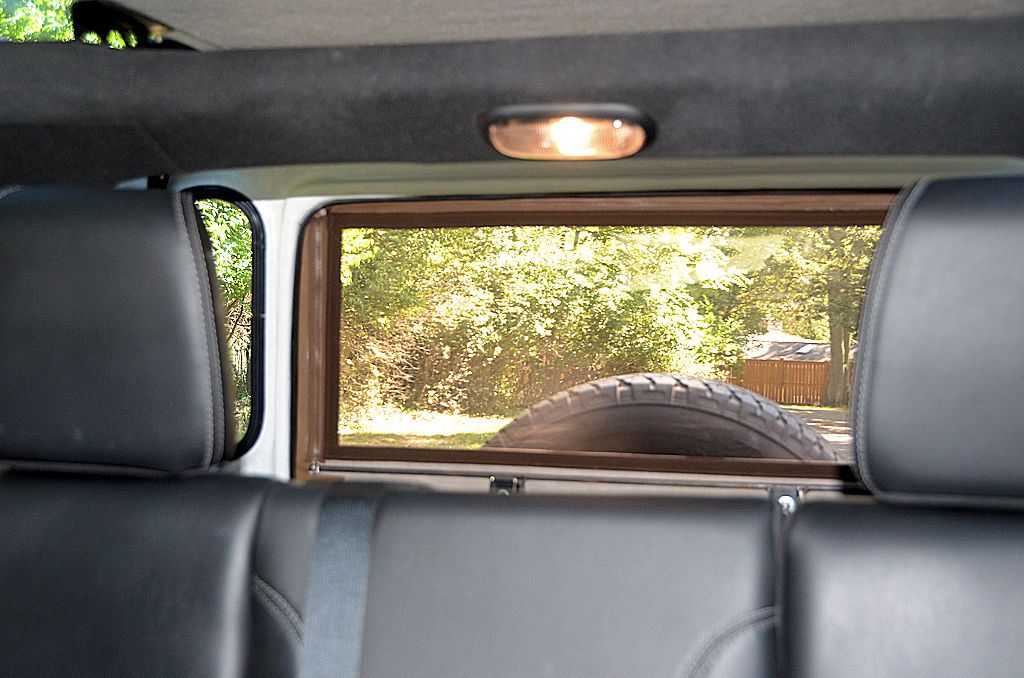
The view over the shoulder from the driver's seat:

SoftBarnDoorDoneInsideView_zpspwvhy7ka.jpg


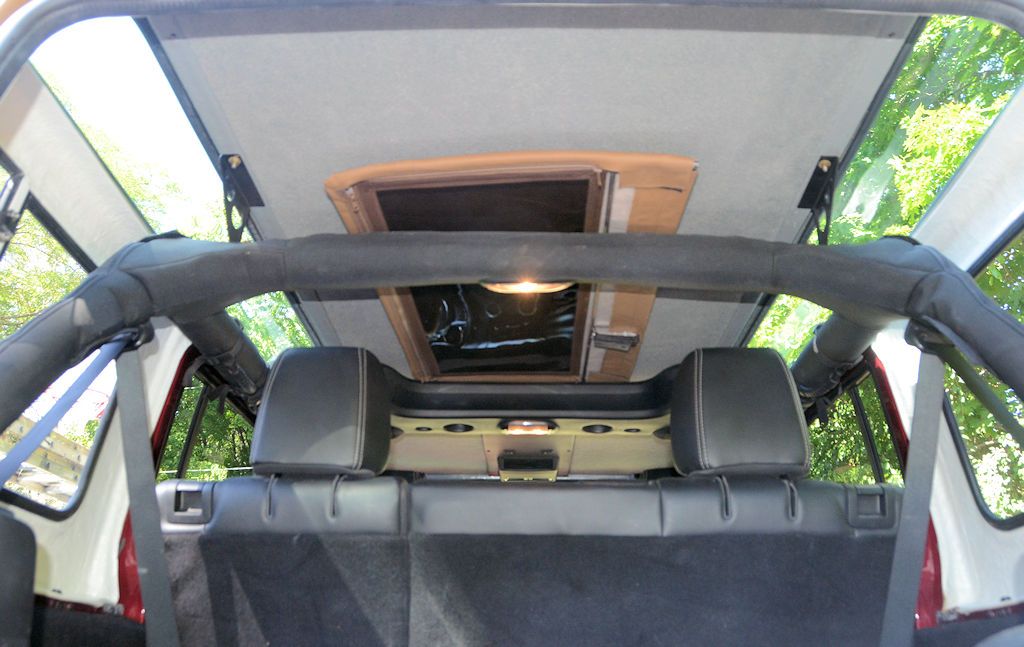
The barn door comes off in less than a minute, just 4 wing nuts to take it off and then it can be stored above the roll bars:

SoftBarnDoorDoneStored_zpslvfkkint.jpg


In action:


jscherb

Expedition Leader
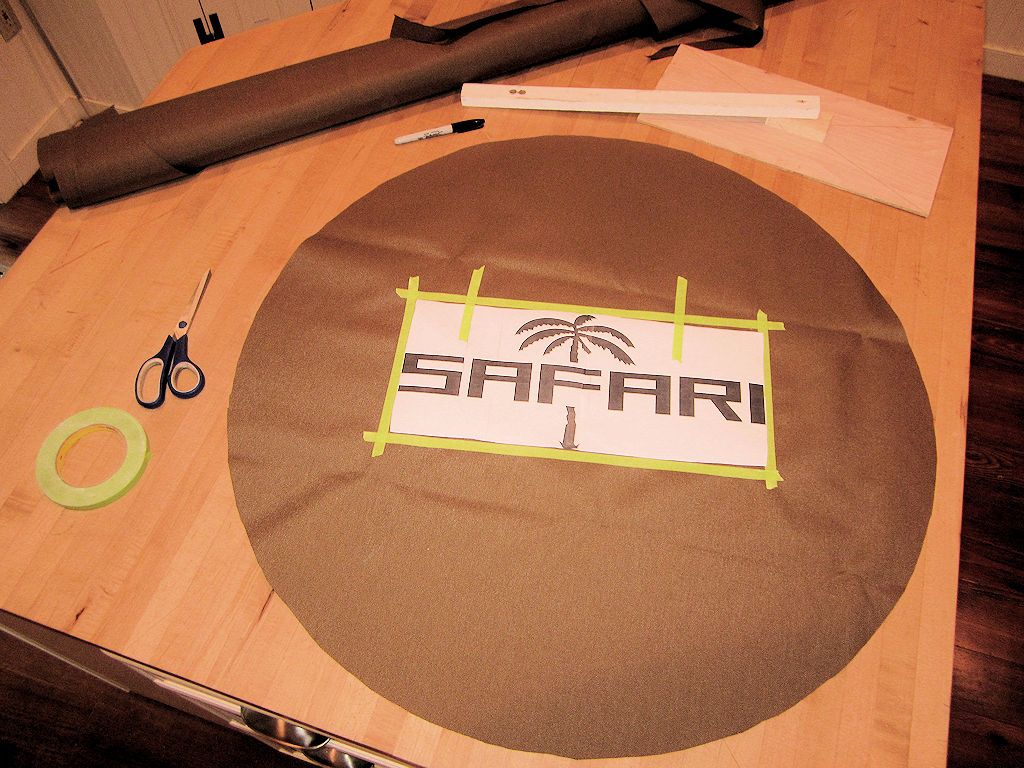
The next sewing project: the fabric for the new spare tire cover arrived today. The first thing I did was cut out the main circle; I marked the location of the logo and dropped it off at the sign shop to have them heat-press the logo in place. It'll be easier for them to press the logo on to a piece of fabric than onto the completed cover, so I'm having them do that before I do any sewing.

CoyoteSpareCover1_zpsixpjbujc.jpg


While I'm waiting for them I can sew the side band with the elastic, and when I get the circle back I'll sew the two pieces together.

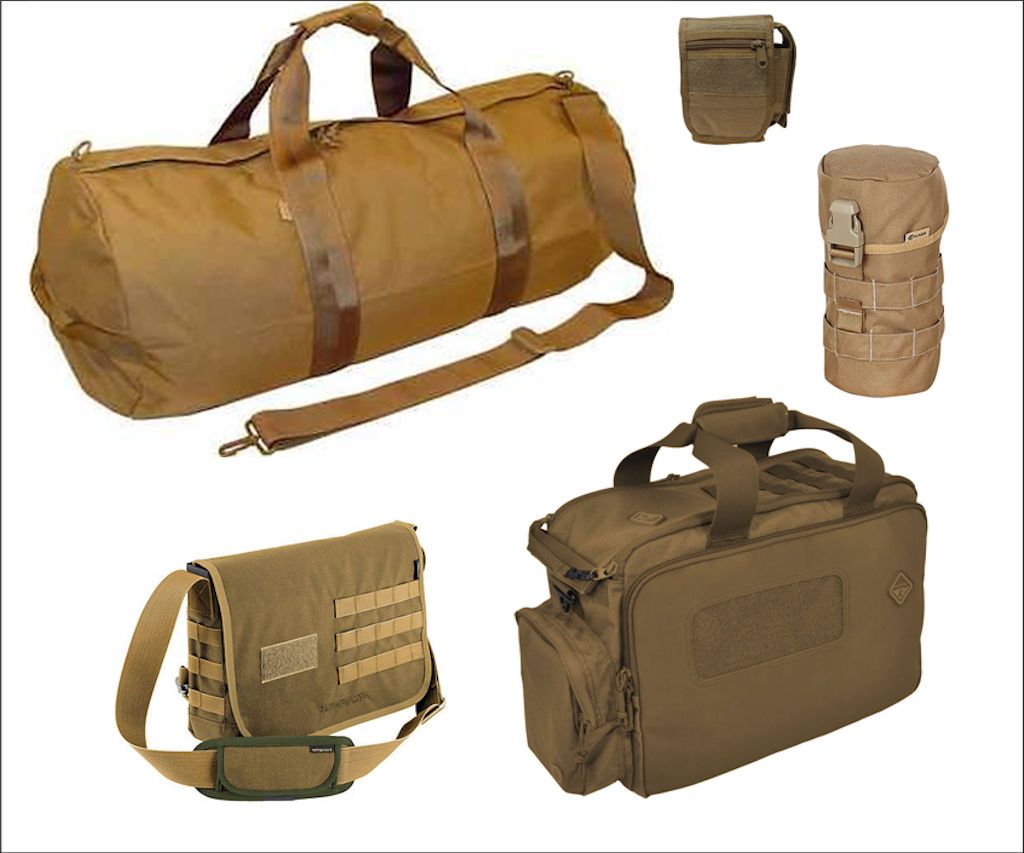
When I was searching for a source for the Coyote fabric I also discovered that there are lots of bags and Molle pouches available in the same fabric/same color, so if I decide to have color-matched bags for gear that I keep in the Jeep I'm sure I can find an appropriate bag for it. I grabbed these images from different eBay listings so the color varies, but they're all advertised to be made from Coyote Cordura fabric.

CoyoteCorduraBags_zpsfb0oeifb.jpg
 

jscherb

Expedition Leader
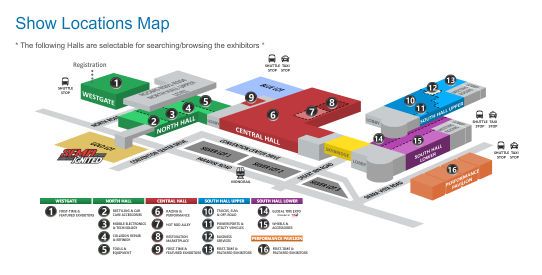
The SEMA Show in Las Vegas is about 6 weeks away and it looks like my JKU Safari will be playing a small role at the show this year. I'll write more about it when I can, things are still developing.

I go every year, and before I go I always explore the show online - it's such a huge show it helps to check out in advance which companies are going to be exhibiting where so I can make sure I don't miss anything I want to see. SEMA always provides an online floorplan in advance of the show, so if you want to cruise the aisles virtually to see who's exhibiting you can click on the image below you'll get a map of the South Hall upper floor which is where most of the Jeep stuff is.


jscherb

Expedition Leader
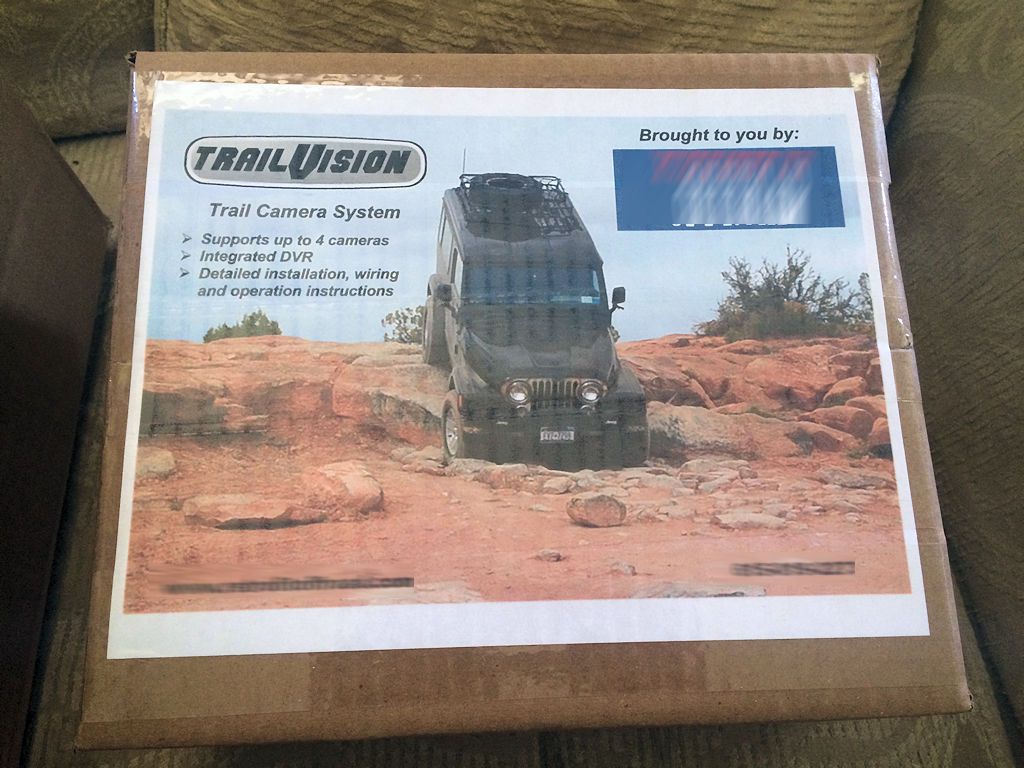
One of the reasons it took me a while to finish the JK Safari project is that I was always being "interrupted" by work on other design projects, like this one that hit the market two weeks ago. Just got this photo of the package from the company (I've blurred the company info on the box because this is a not a commercial thread). The next time one of my Jeeps ends up on a product box I'll have to make sure it's the JK Safari and not the LJ :).

TrailVisionBoxBlur_zpsndxmdqkb.jpg
 
Last edited:

jscherb

Expedition Leader
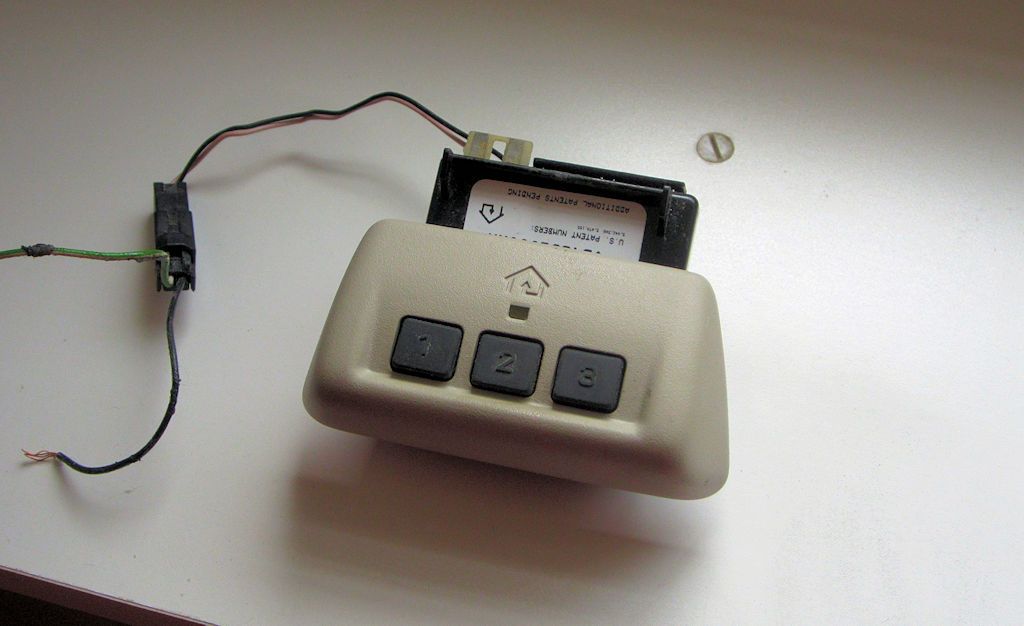
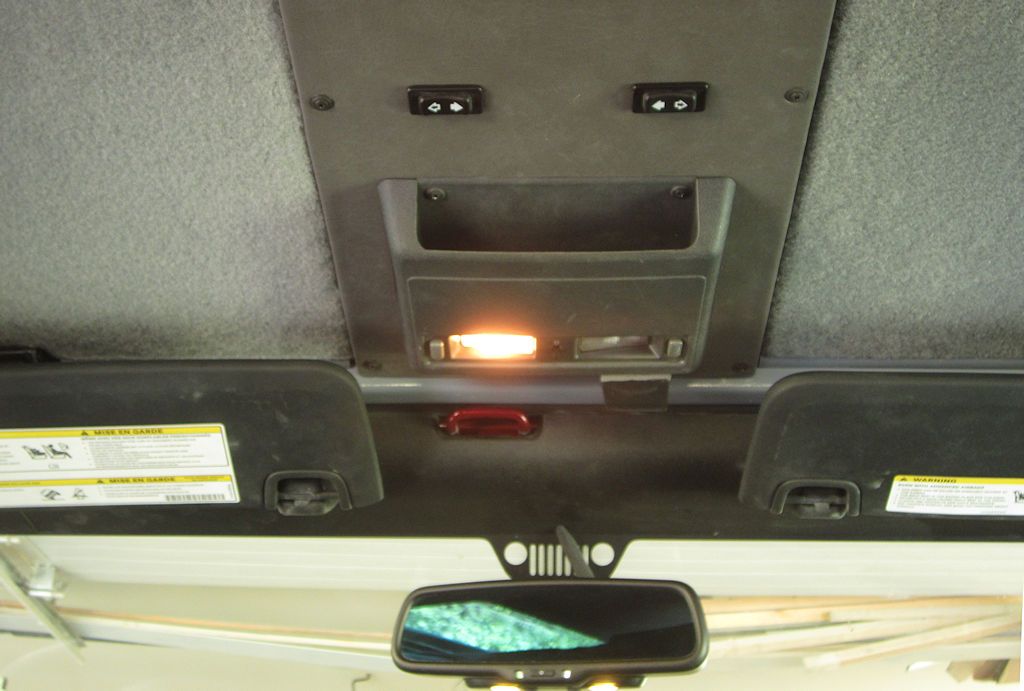
A while back I was in the u-pull junkyard and spotted a Homelink transmitter in the overhead console of a Land Rover Discovery. I pulled it and they only charged me a few bucks for it.

HomeLink1_zps8ffyhcue.jpg


It works fine and programmed easily to one of my garage doors. I've got a three car garage and it's got three buttons, so I'll be able to control all three doors with the one remote.

There's plenty of space left in the overhead panel for it and switched power connections are available up there so it'll install pretty easily. The housing is light tan and everything on the overhead panel ranges from light gray to black, so I'll probably paint it to match the medium gray of the console.

Overhead_zpsicznjjz5.jpg
 

jscherb

Expedition Leader
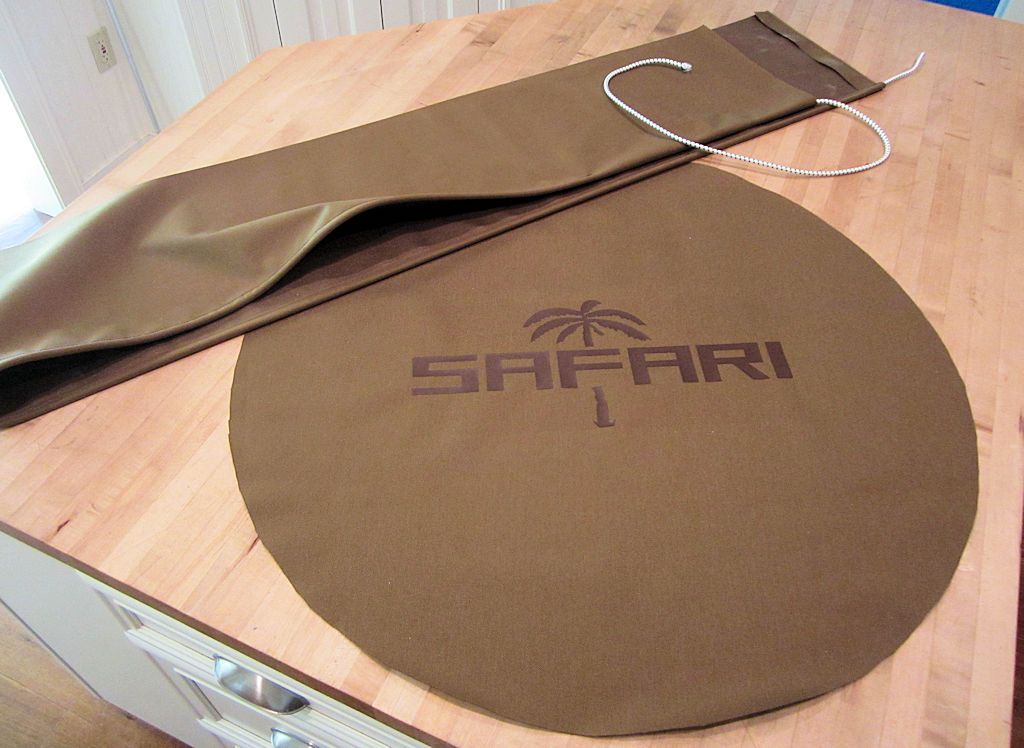
My spare tire cover "kit"... I got the circle back from the sign shop and the logo looks great; the other piece is the side band, I sewed the bungee cord into the hem yesterday and tomorrow I'll sew the two pieces together and then it'll be a spare cover.

CoyoteSpareCover2_zpswczgmvxb.jpg
 

jscherb

Expedition Leader
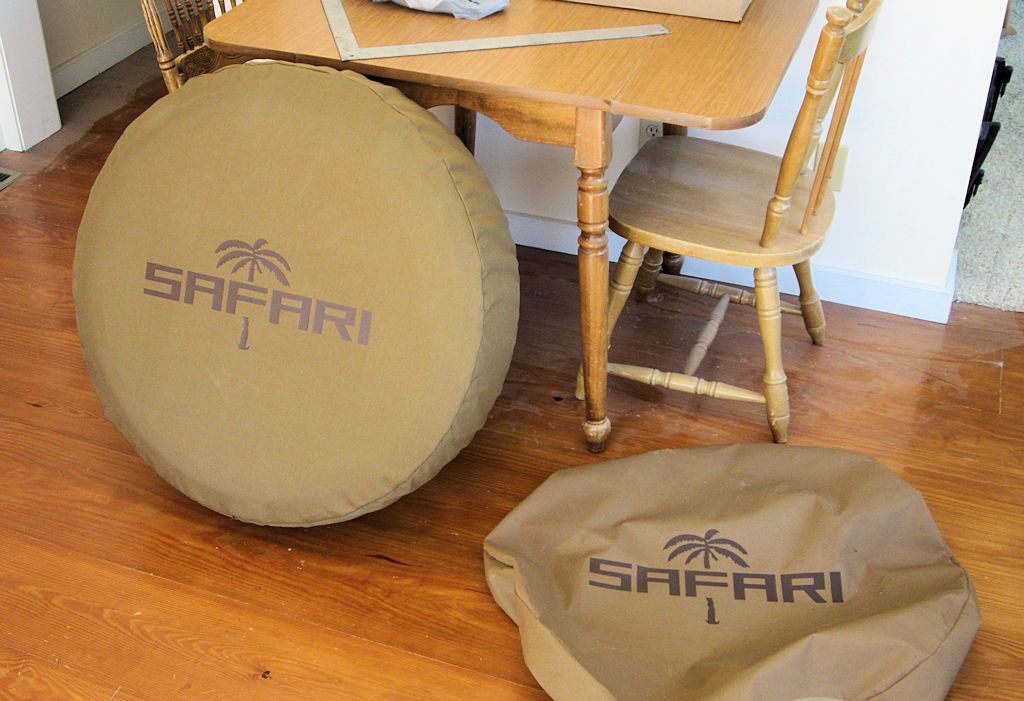
I just finished sewing the new spare cover but my wife is out in the JKU Safari this evening so I can't try it on the Jeep right now. I tried it on an extra spare I've got and it fits well, here it is in the sewing room; the original Rugged Ridge cover is on the floor. The new one fits a little nicer than the Rugged Ridge one - I fitted the circle more exactly to the tire then the generic-sized Rugged Ridge.

CoyoteSpareCover3_zpsjhl7tp49.jpg
 
Last edited:

Forum statistics

Threads
188,304
Messages
2,905,209
Members
229,959
Latest member
bdpkauai
Top