xcmountain80
Expedition Leader


I started at 615am and finished at 715am had no help these weigh a ton! I love it.
Aaron
DaveInDenver said:Cool belly pan. I noticed the exposed heads of the bolts. Not sure there's any better way, but seems like those could be beat up pretty bad. Knowing how mangled my diff drain plug ring and stock skid plate bolts get, wonder about them.
Willman said:Nice!!! Custom skids are on my mod list to!!!
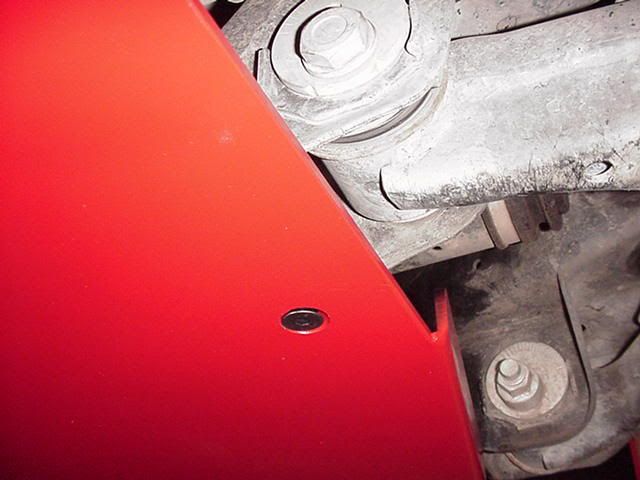
How thick of sheet steel are those skids?.....Guessing 3/16" or 1/4"???
Love the paint job!!!
:26_13_1:
xcmountain80 said:Yea they are 3/16 of heft and BudBuilt did a great job! $499 shipped. Its a 2 piece setup belly skid and IFS skid. As for the paint job Im not one for bling or flashy stuff but I like hidden details, the bottom of my roof tent has the same paint job.
Aaron
xcmountain80 said:I will need to either go back to the carriage style bolts with a smooth head or use something like what OMF uses on their beadlocks, which I have yet to find.
p1michaud said:Did your come with teh carriage style bolts? Mine did.
Dirty Harry said:Are you at all concerned about the bolt protection getting caught on obstacles on the trail or getting bent over so you cannot access the bolt at all?