You are using an out of date browser. It may not display this or other websites correctly.
You should upgrade or use an alternative browser.
You should upgrade or use an alternative browser.
Building the AlumEscape
- Thread starter 2012Taco
- Start date
2012Taco
AlumEscape
Can you talk a little bit more about what you did with your wiring and the lights you used?
Absolutely!
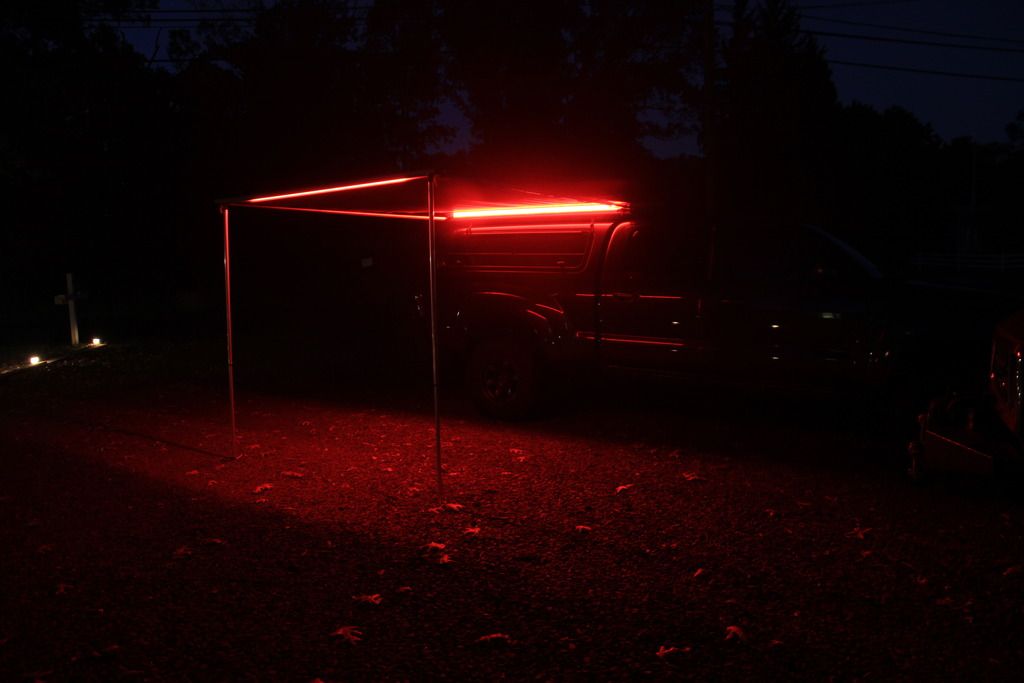
I'm using 5050SMD led strips purchased from another forum here that I've purchased to install in the topper of my Tacoma along with both ARB awnings. He sells a variety of kits, colors and options but I purchase the raw materials and assemble myself as I get a little better deal that way. He also uses 3M adhesive on the strips which holds up much better than the cheap stuff that usually comes on this type of product.
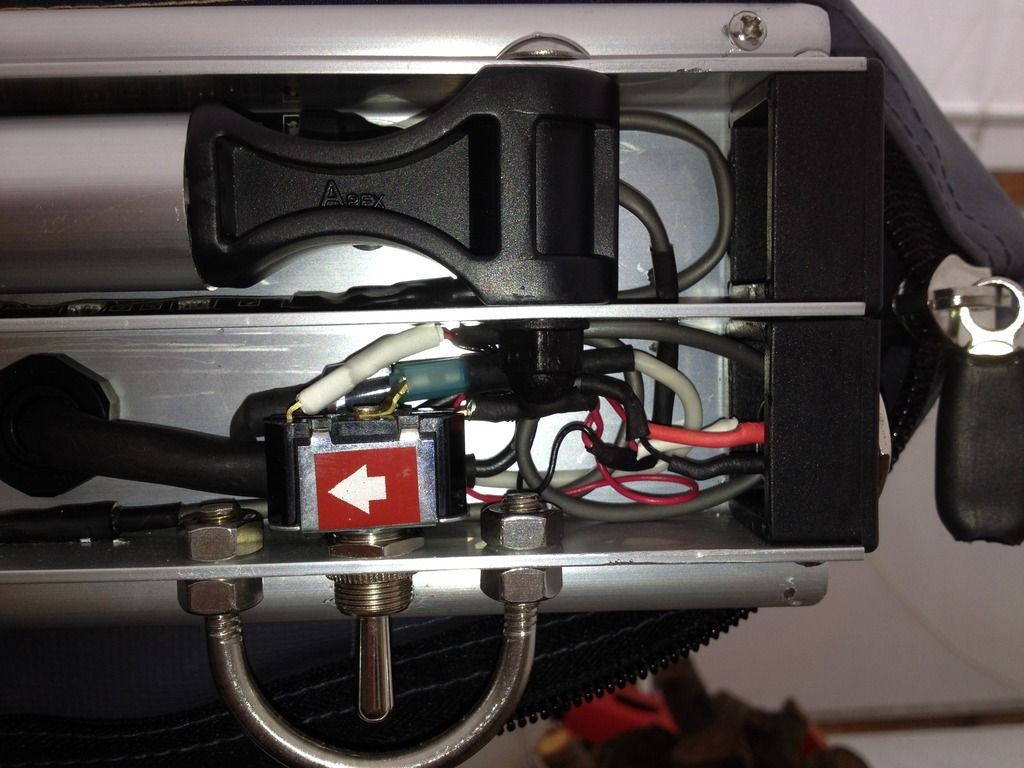
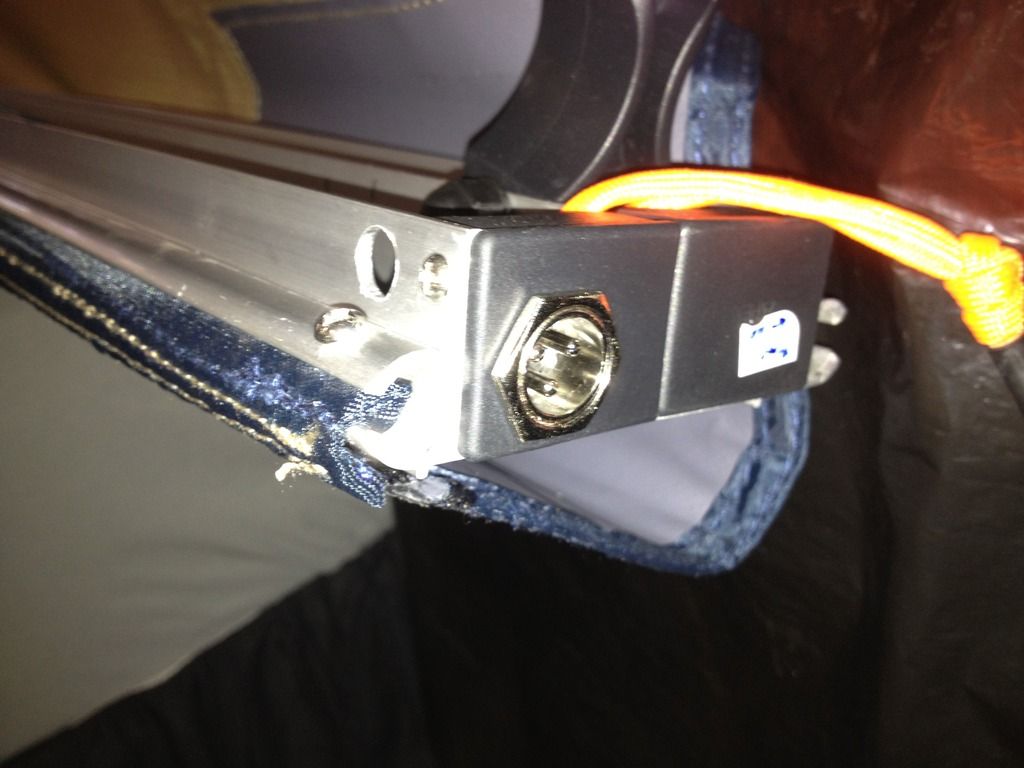
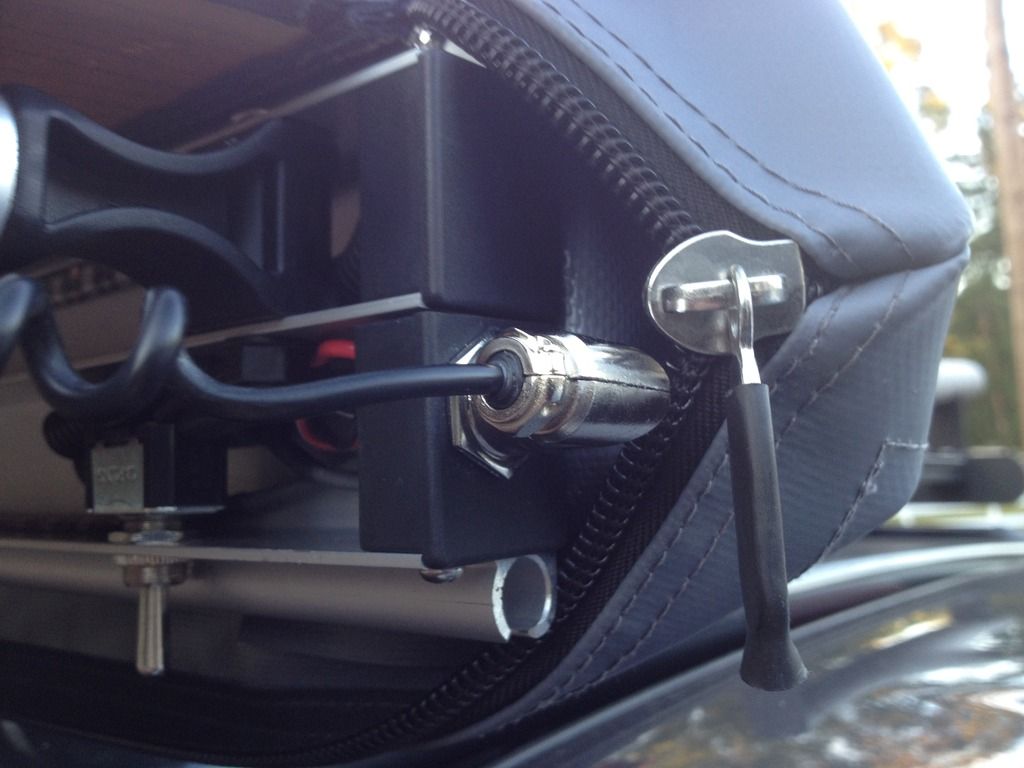
To get power up to the awning I used a 16/3 black extension cord. I only need two of the conductors but I prefer using this type of cord for these applications as they are well protected (two layers of insulation) at they are round which works better in the seal fittings. I use these punched through the extrusion to get the power into the awning bag and keep the elements out when everything is packed up. I also use a quick disconnects (these) on the leads so I can remove the awning without cutting wires if there is ever a need.
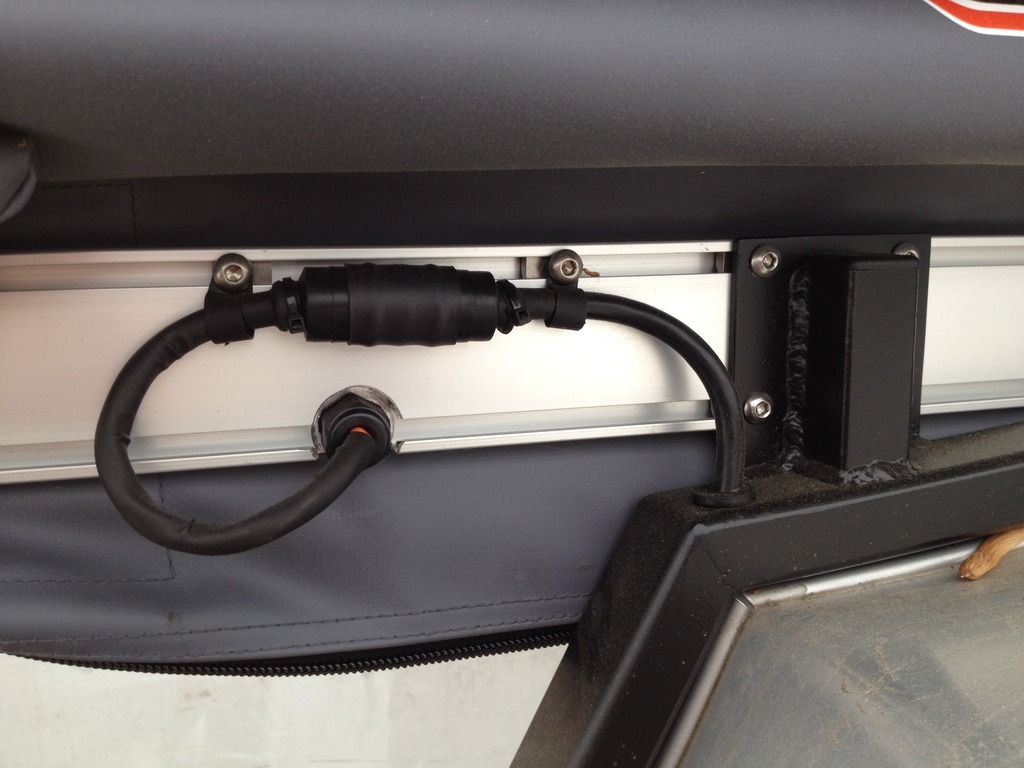
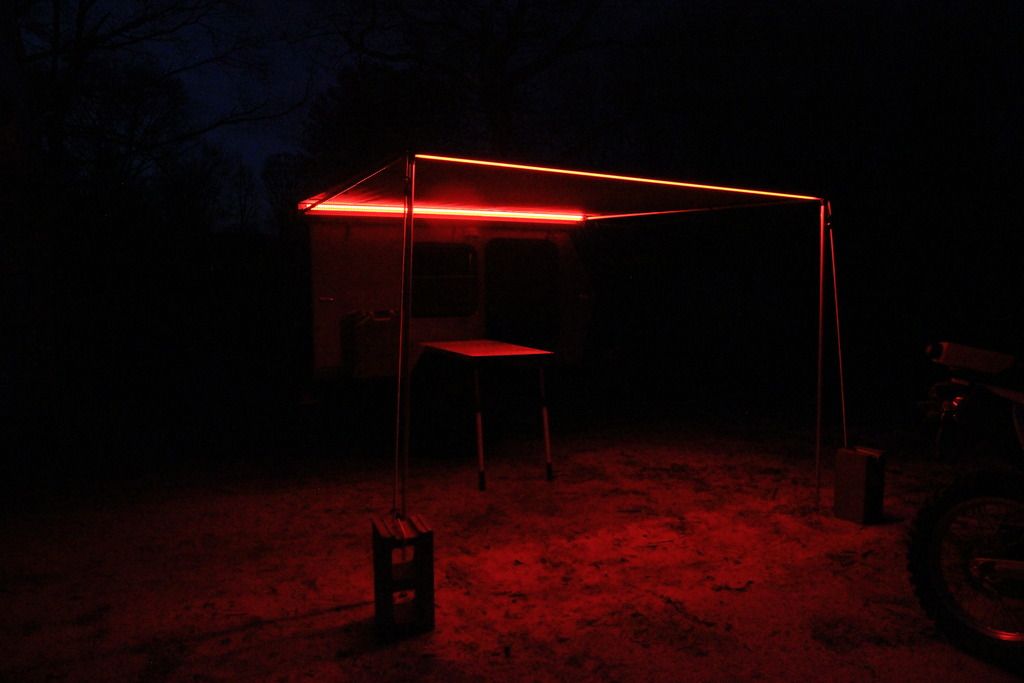
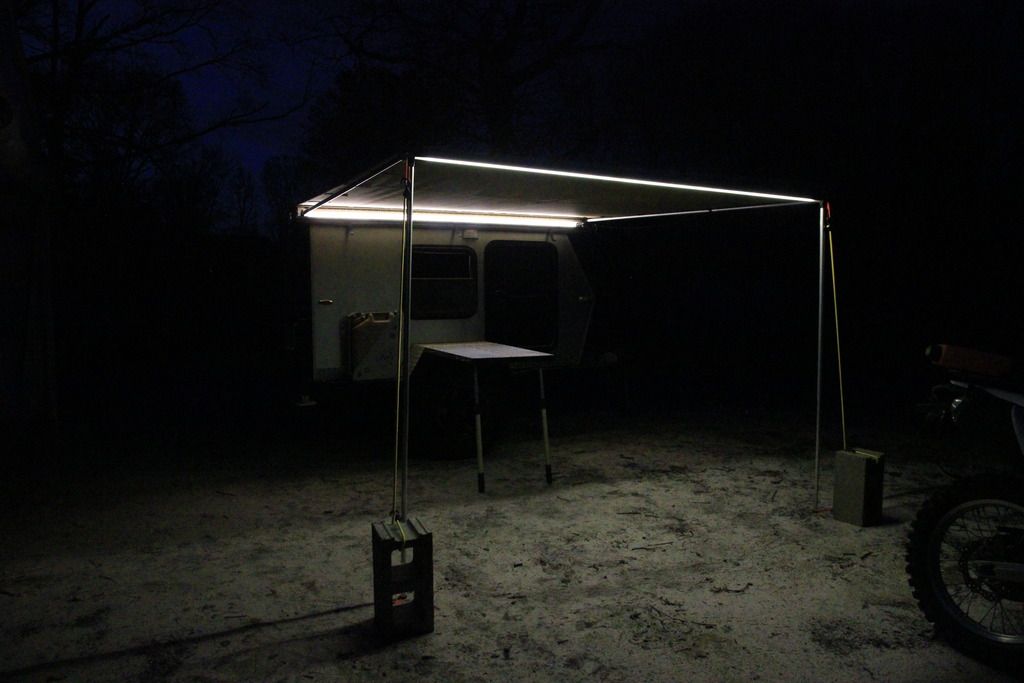
The maximum length of led strip on each spool is around 16' and they recommend that you don't run any more than that in series. For the 8' awning on the trailer I'm using two 7' strips of red and one 7' strip of white in the extrusion that mounts to the camper and the same on the far extrusion. You really need the extra red to get a nice light output to move around at night.
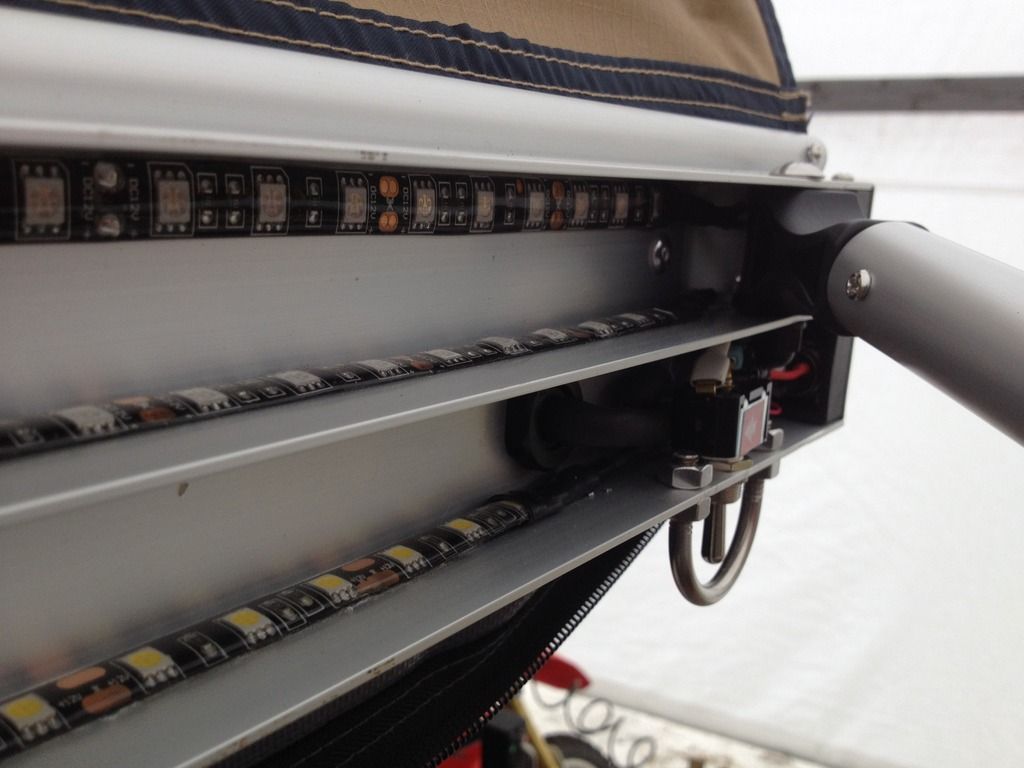
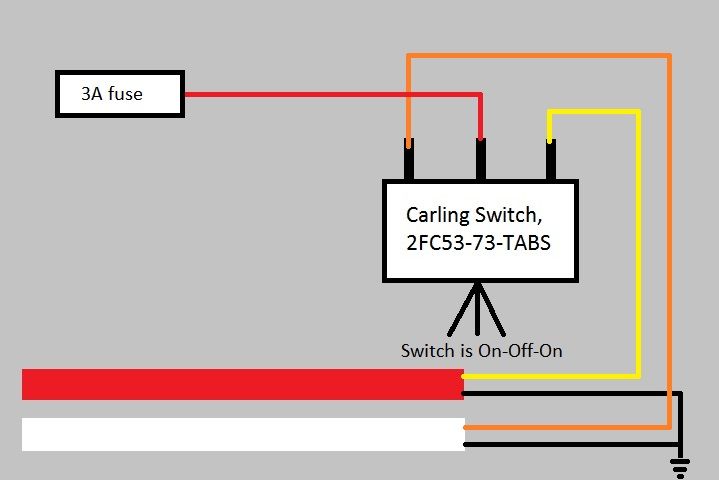
Each strip got leads soldered on for hot and a common ground which run back to a Carling switch which is On-Off-On (I used this one). This switch is three terminals, the center is a common hot in my case and the other two are the respective hot feeds for the white and red led's. This lets me use either white or red light with a flip of a switch which is convenient.
To get power from the extrusion that mounts to the camper to the far extrusion I made up a coil cord using this, these and these.
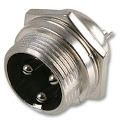
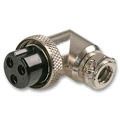
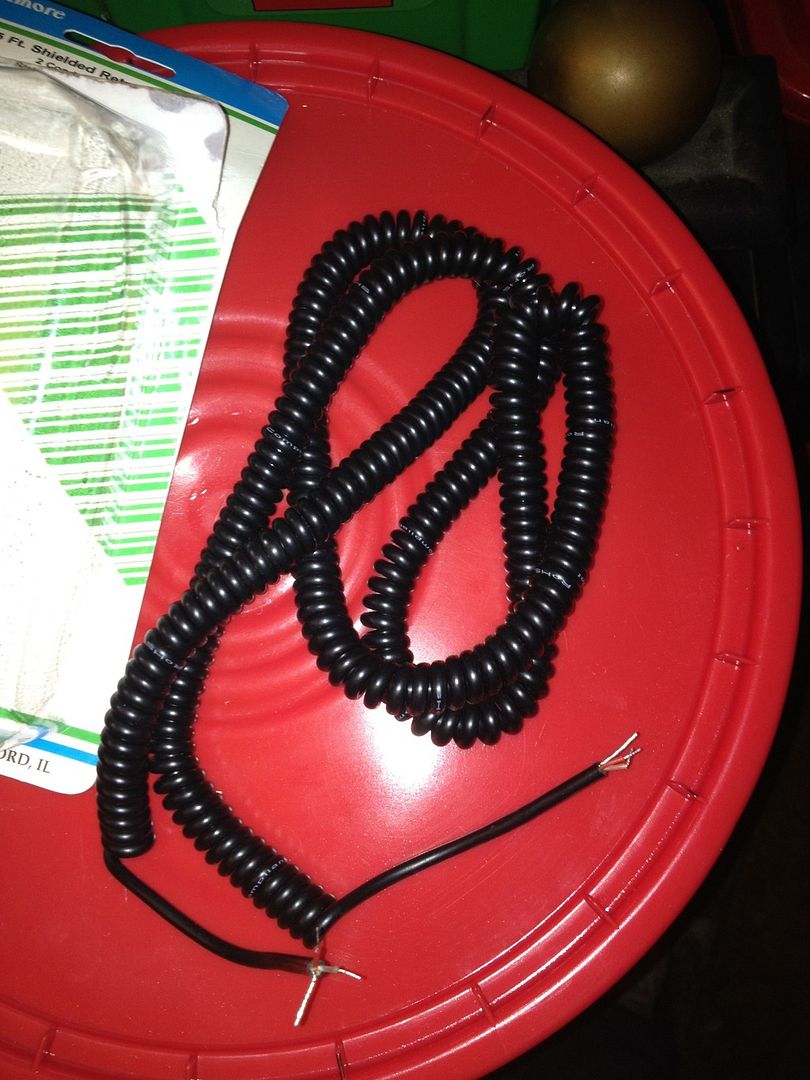
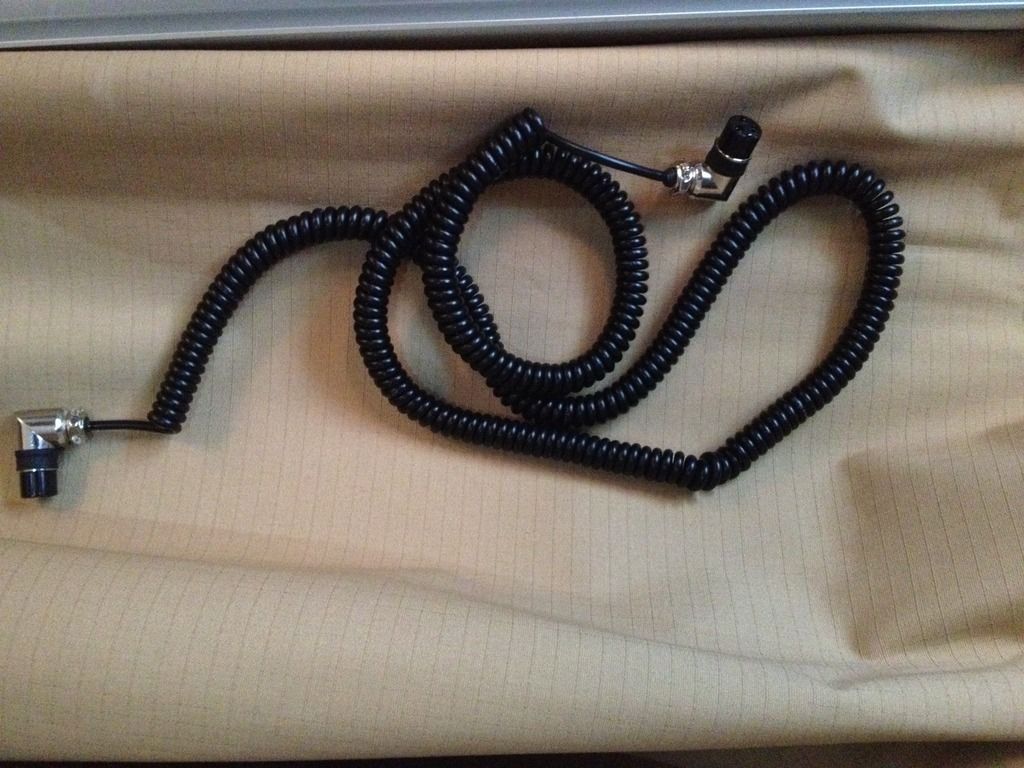
The jacks are installed in the plastic endcap of each extrusion so the cord can be completely removed so it's not dangling around when the lights aren't needed and it packs down nicely and fits in my interior cabinet. I can also skip this cord and use just the ones on the camper side in a pinch.
:beer:
2012Taco
AlumEscape
Looks great! I have actually been asking my wife if we could get a heavy duty sewing machine so I can learn how to do this. The Panels for my awning are 160 a pop! What model do you have?
I'm honestly not even sure? It's an older singer unit i think, 60's I'd say, that was made in Japan. It's not really heavy duty but it worked a treat on the sunshade stuff, even where I folded the top hem over the side hem and was going through 6 layers. The sunshade stuff is pretty open weave so it wasn't struggling, I had a harder time sewing neoprene material with just two layers before. I still need to figure how to sew that neoprene up for some kayak rack covers haha.
duvinclunk
Davin
This thing is amazing, thank you for sharing.
Kingsize24
Well-known member
Wow!!! Absolutely Wow!!!
Awesome trailer.
Awesome trailer.
teotwaki
Excelsior!
I am enjoying your build thread! Quite a while back I installed LED strips in my RTT yet I never carried through and mounted some on my awning. Thanks for the inspiration. :sombrero:
For your solar panels: If you have the need at a later date it might be good to have the panels hinged and able to tilt up to gain more efficiency. With better alignment to the sun you can come closer to the 32 watt specification and gain more charging current for days when the battery is low.
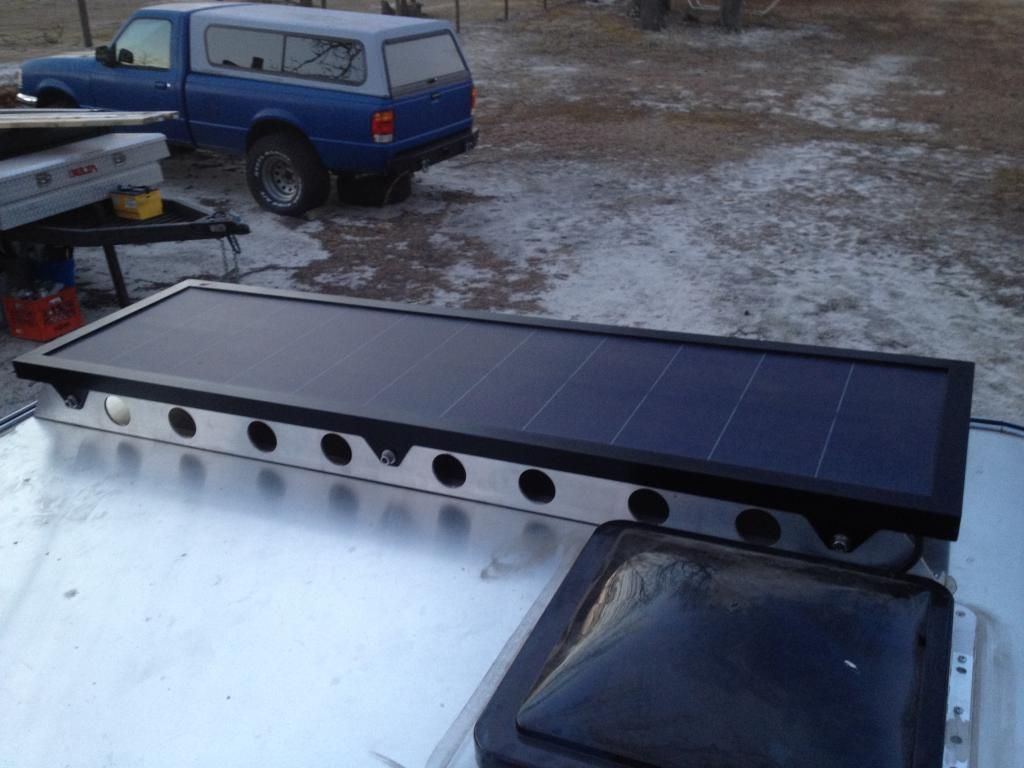
For your solar panels: If you have the need at a later date it might be good to have the panels hinged and able to tilt up to gain more efficiency. With better alignment to the sun you can come closer to the 32 watt specification and gain more charging current for days when the battery is low.

SWITAWI
Doesn't Get Out Enough
Any night pictures yet? Really nicely done.
teotwaki
Excelsior!
2012Taco
AlumEscape
This thing is amazing, thank you for sharing.
Wow!!! Absolutely Wow!!!
Awesome trailer.
I was inspired by your light setup to do my last year!
Thanks! It's always good to get positive feedback and contribute ideas to the forum!
2012Taco
AlumEscape
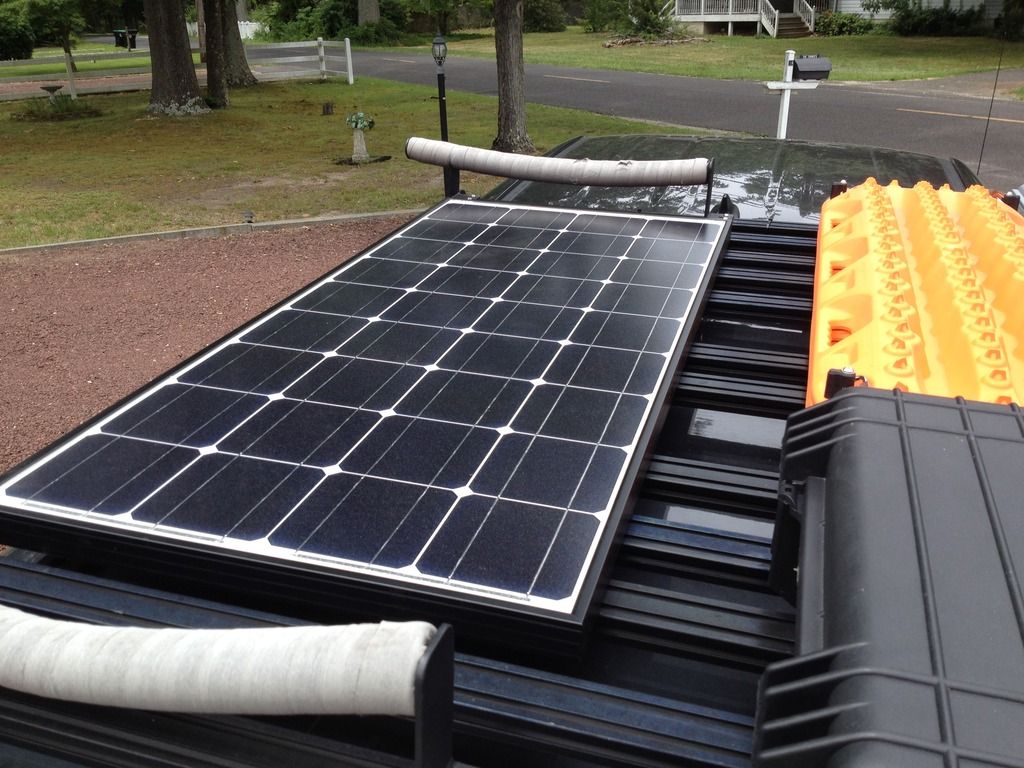
Quite right, I've notice the reduced output more on the Tacoma than the trailer so far - I'm fortunate that I don't have much in the way of draw in the trailer other than the occasional use of lights and recharging phones and camera gear. I did pick up a fixed 100w and folding 100w renogy setup last year to help fill in the gaps on both rigs. The 100w fixed panel now resides permanently on the roof rack of my Tacoma and does a great job of keeping the battery healthy when parked in the summer with the fridge running. I setup the folding 100w to use on either the truck or trailer if needed using some anderson quick-plugs.
:beer:

:beer:
Last edited:
2012Taco
AlumEscape
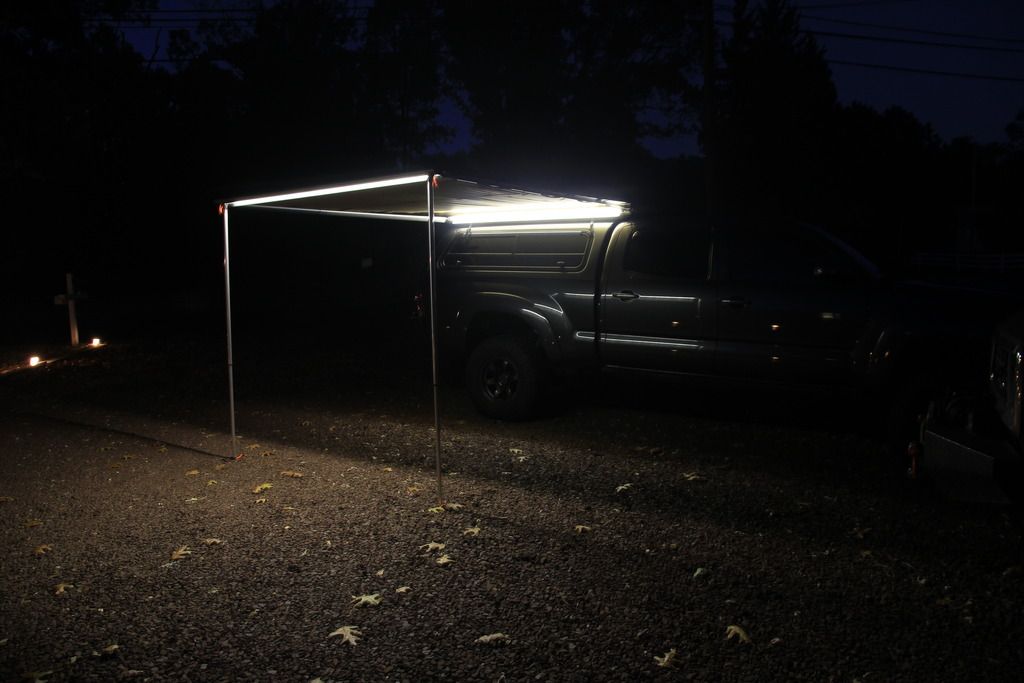
Any night pictures yet? Really nicely done.
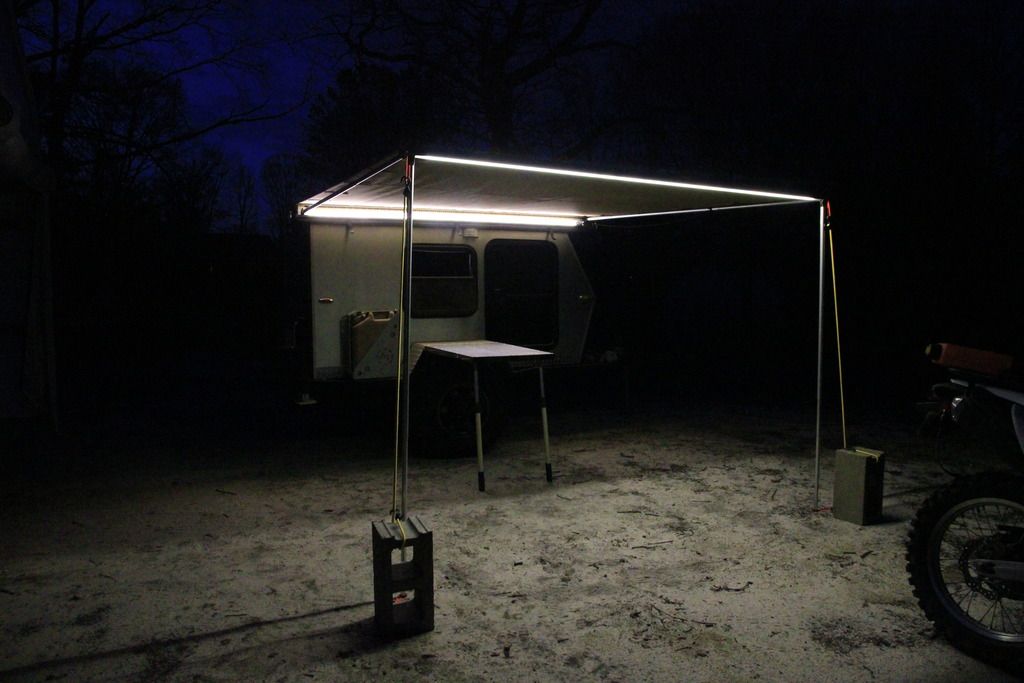
Certainly, here are a few from the truck and trailer:
:beer:
2012Taco
AlumEscape
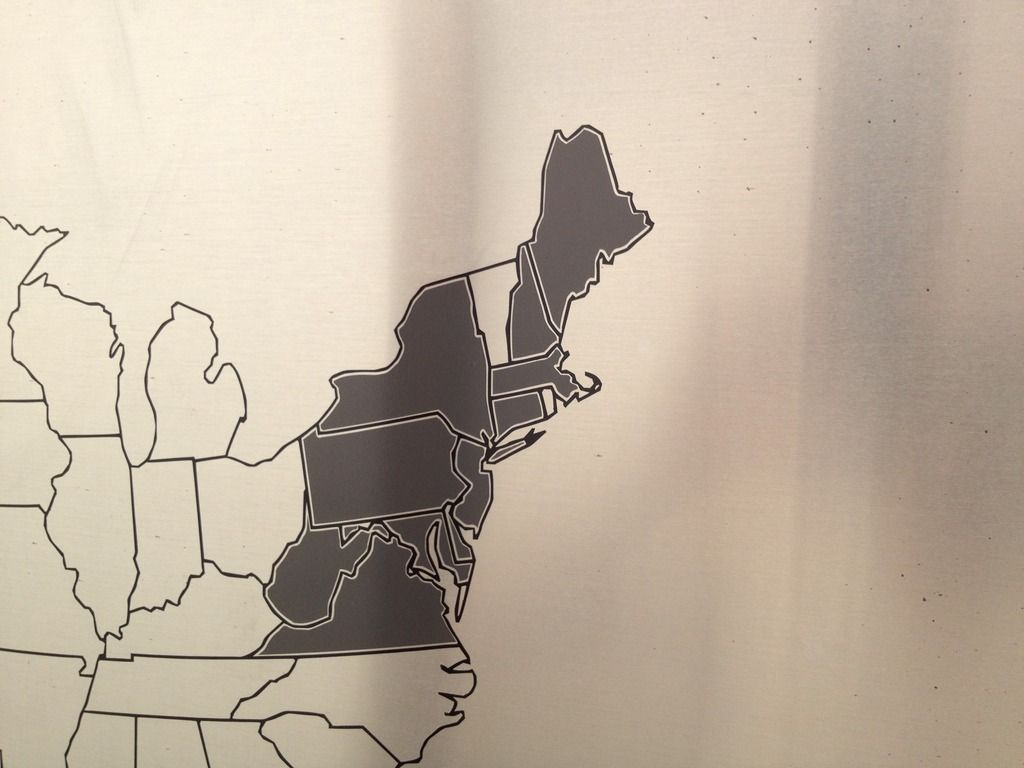
Well I hadn't realized how long it'd been since I put some updates on here so here goes! Trailer is still treating me great and it's still getting tweaks here and there. In the last year it's been primarily little things like adding stickers from destinations and a little map of states visited on the side and repainting the frame to fix all the chips, scratches and scrapes from use. Also, I'm still working out a final cushion setup but I hate sewing so I've really been putting that off.
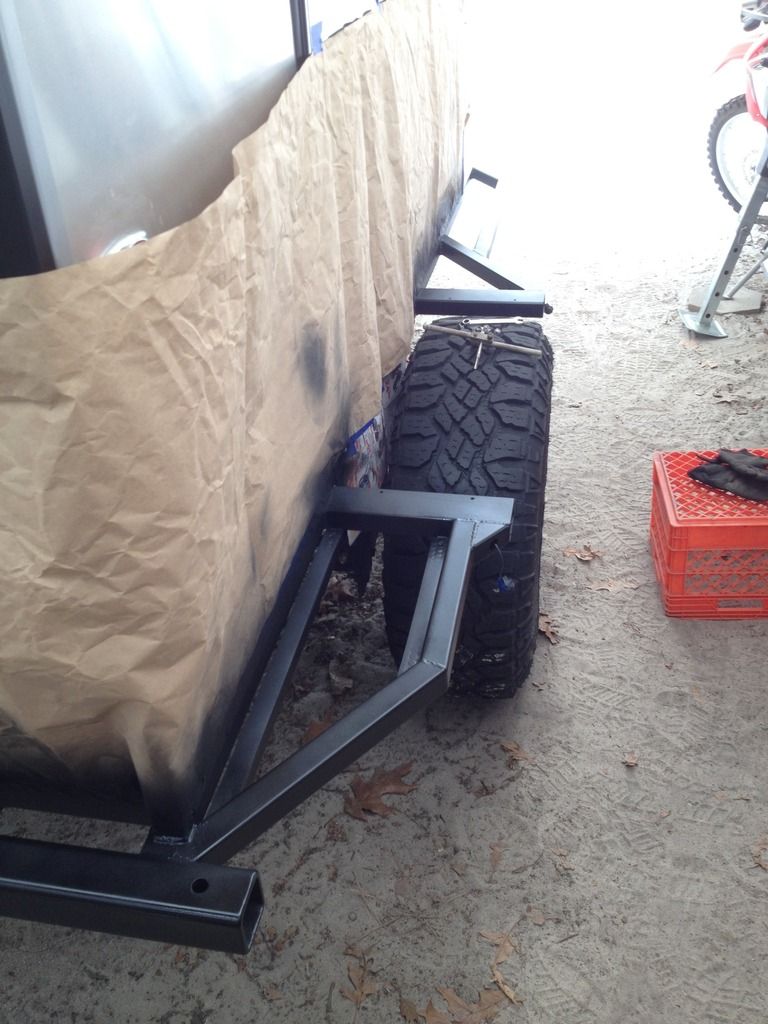
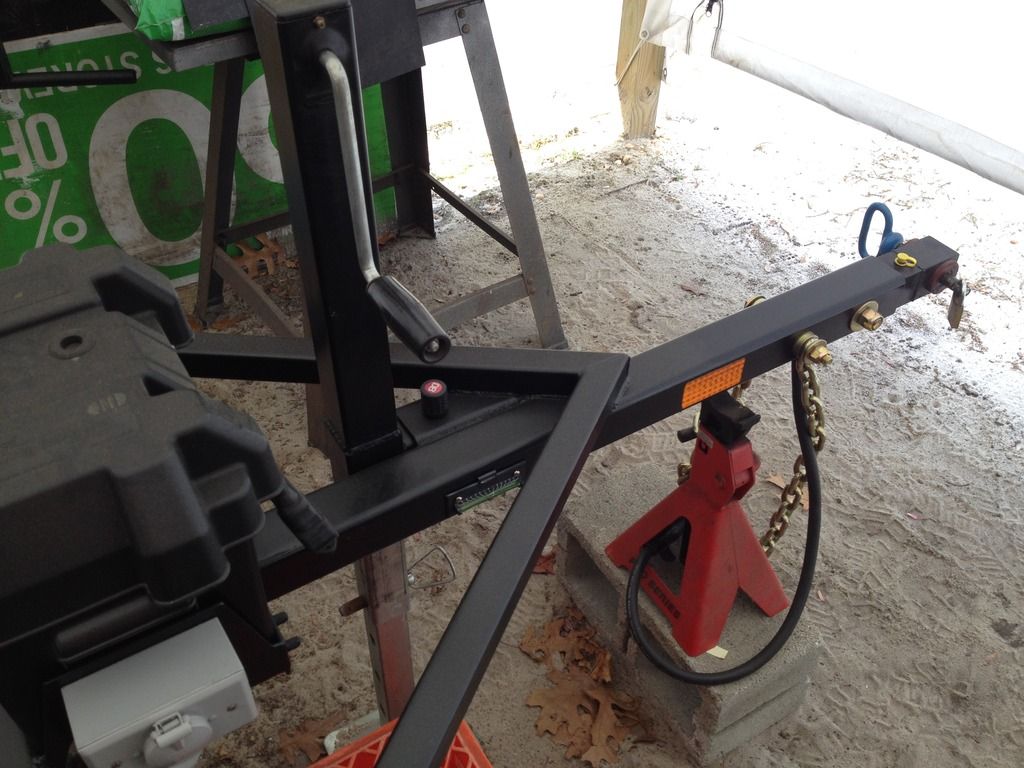
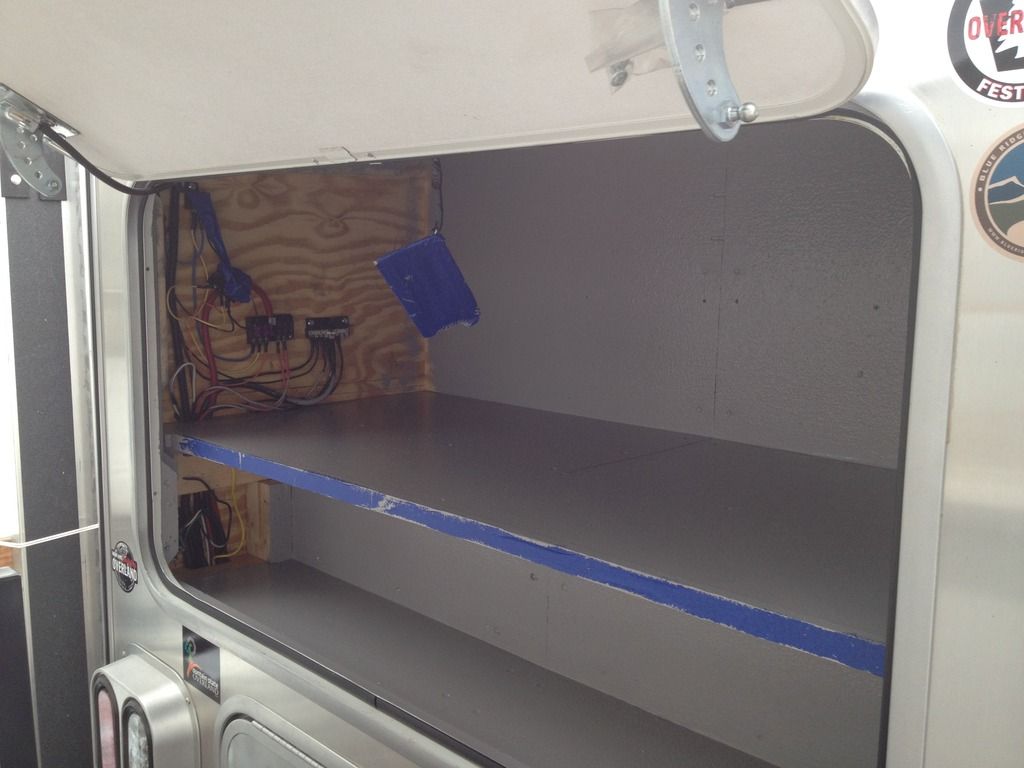
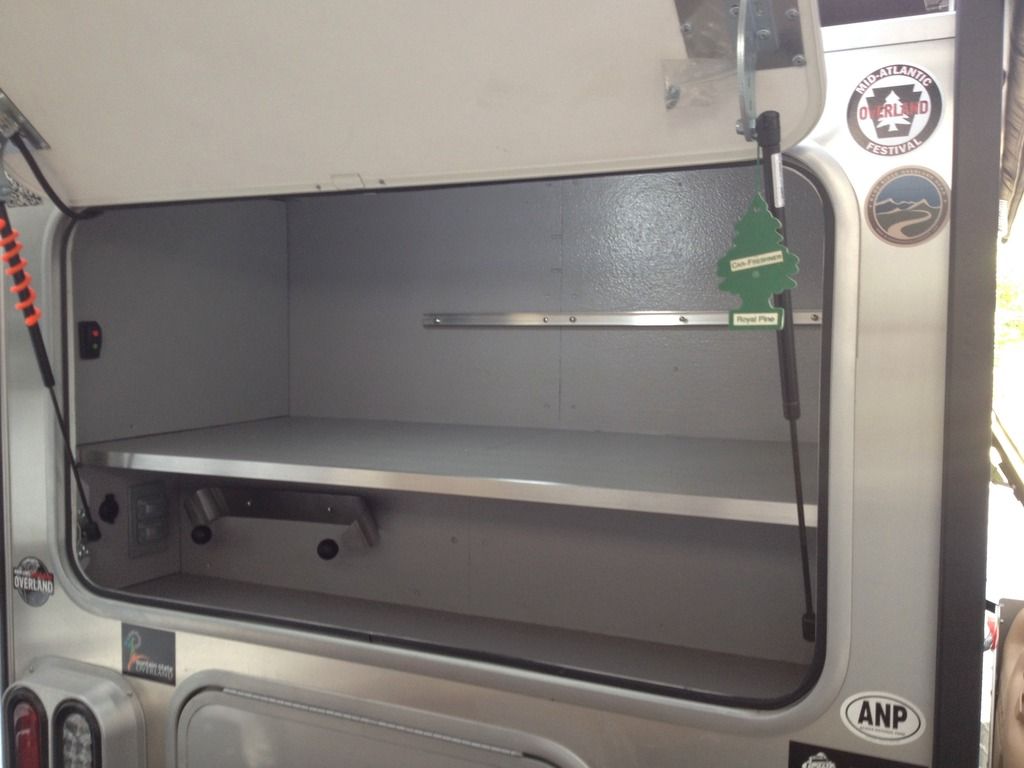
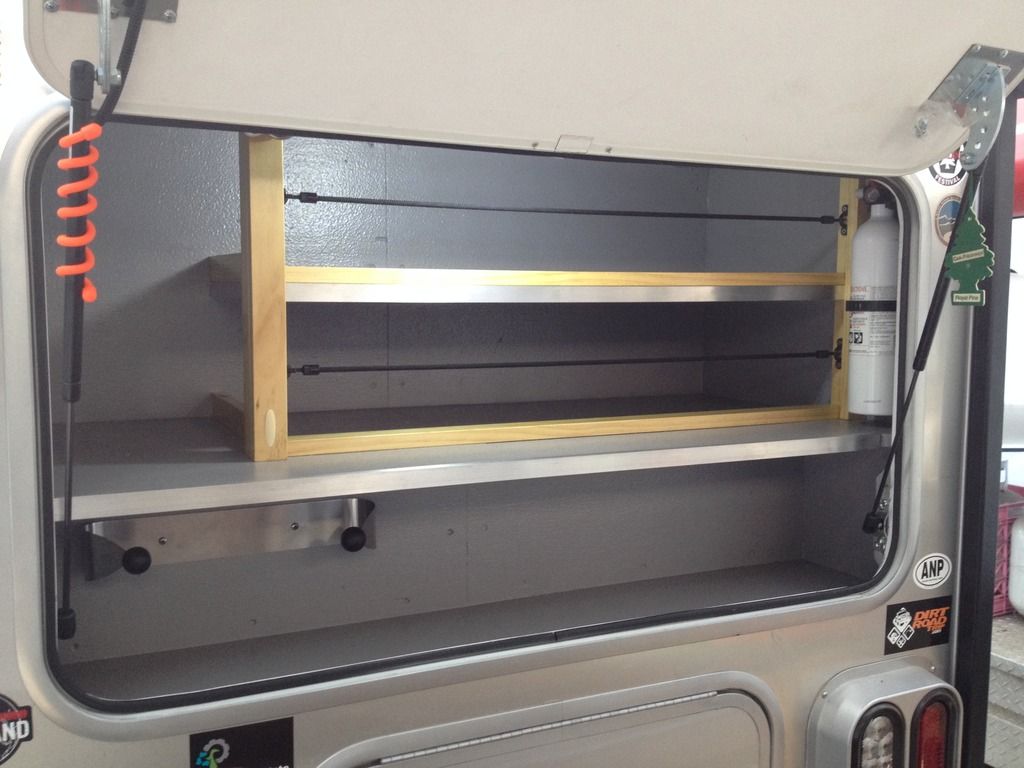
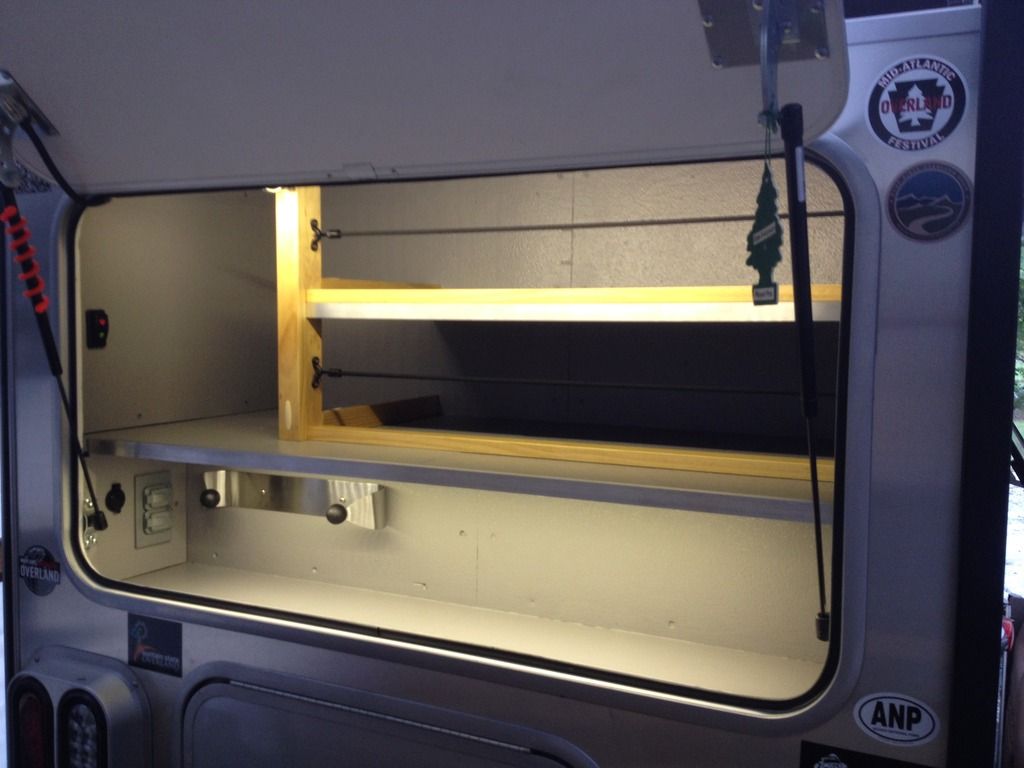
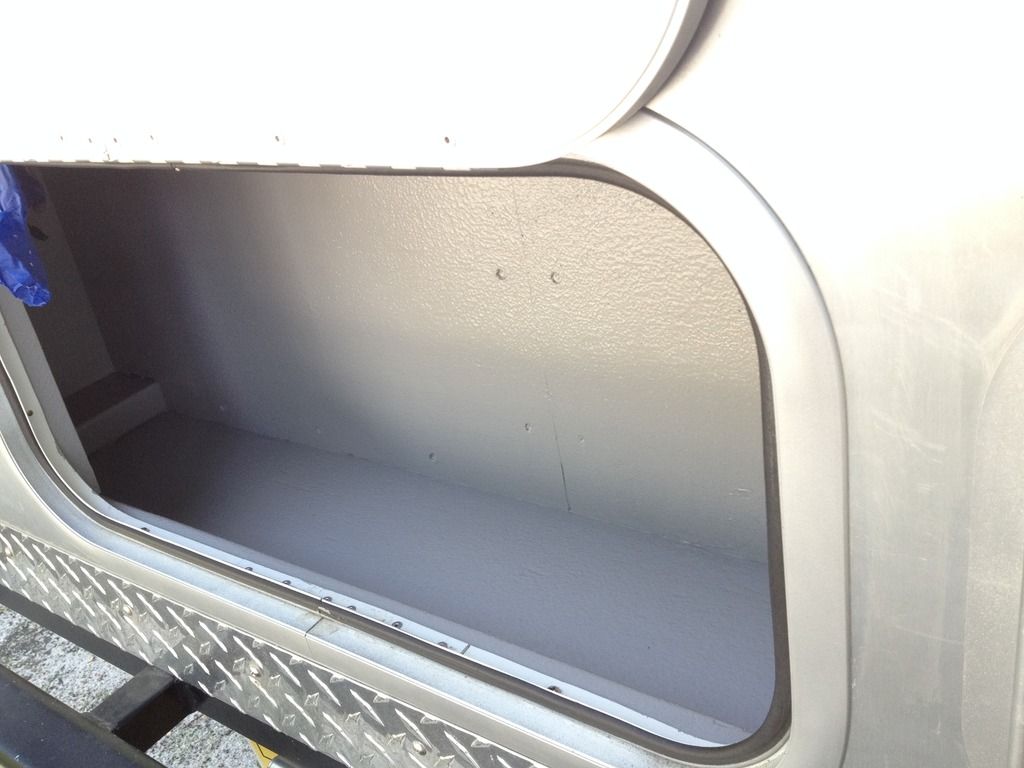
I also finished up the rear cargo areas with some gray monstaliner which is super durable and looks great compared to the sealed plywood!
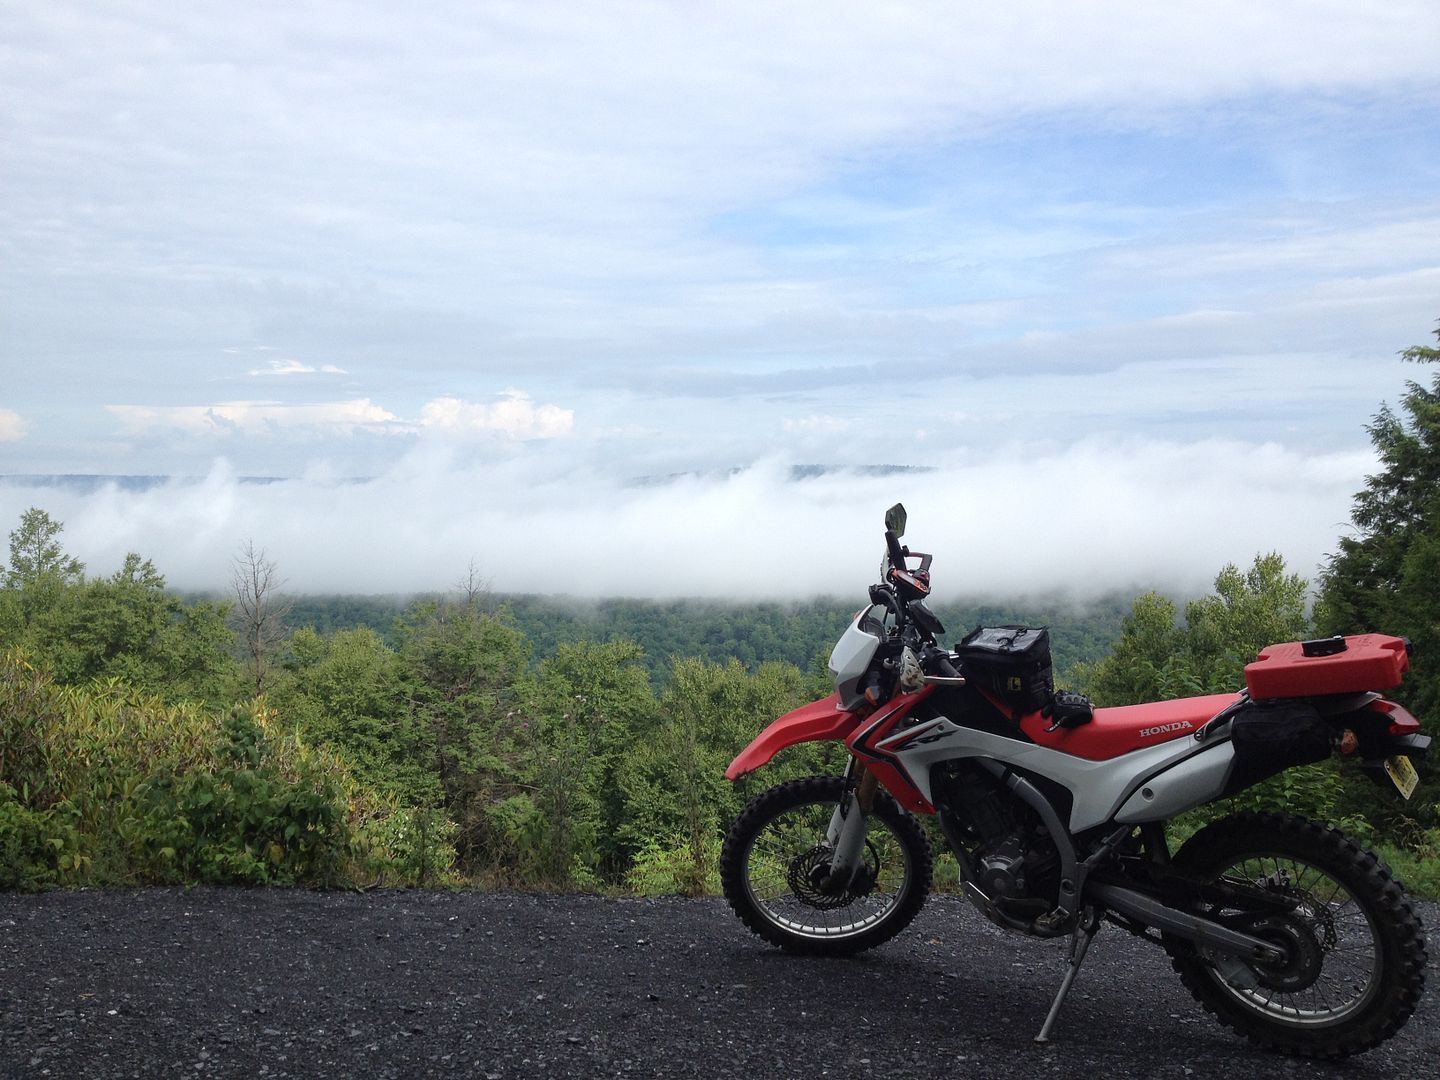
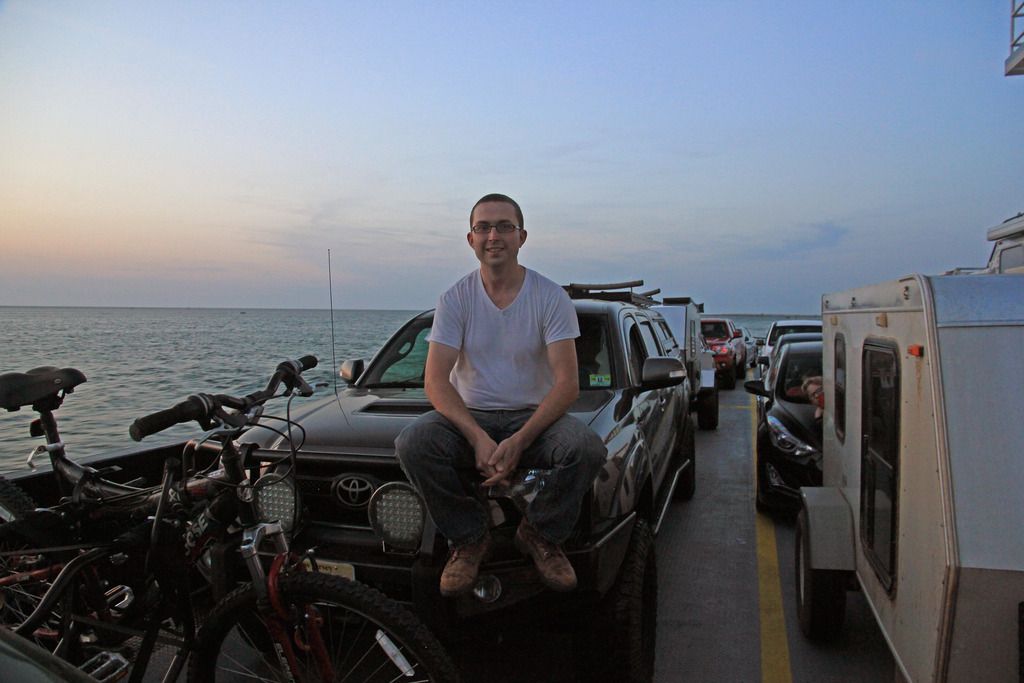
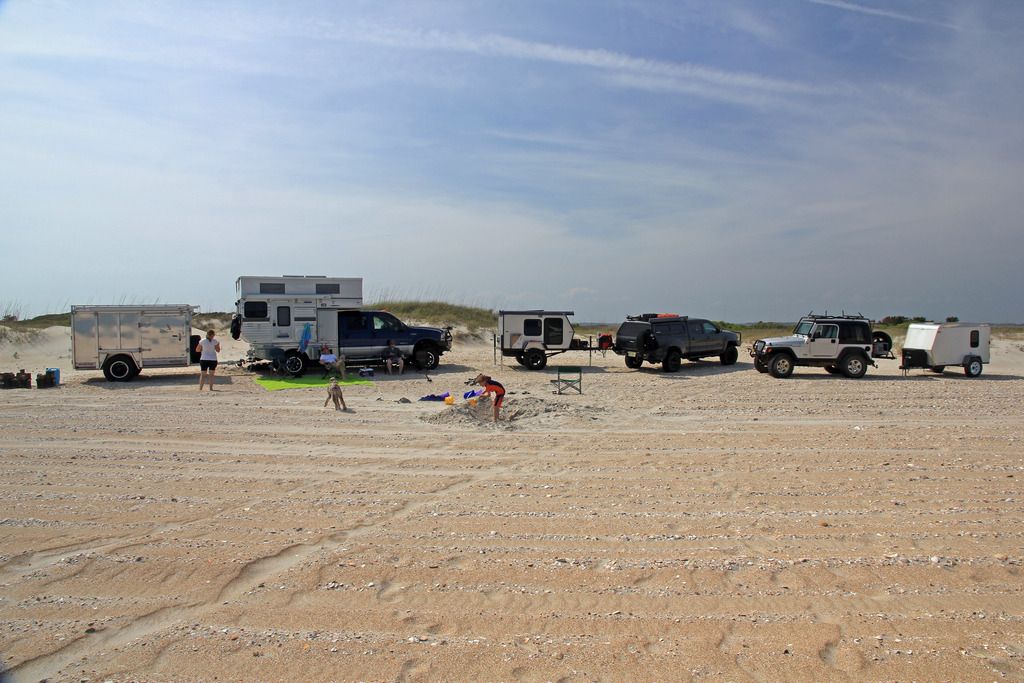
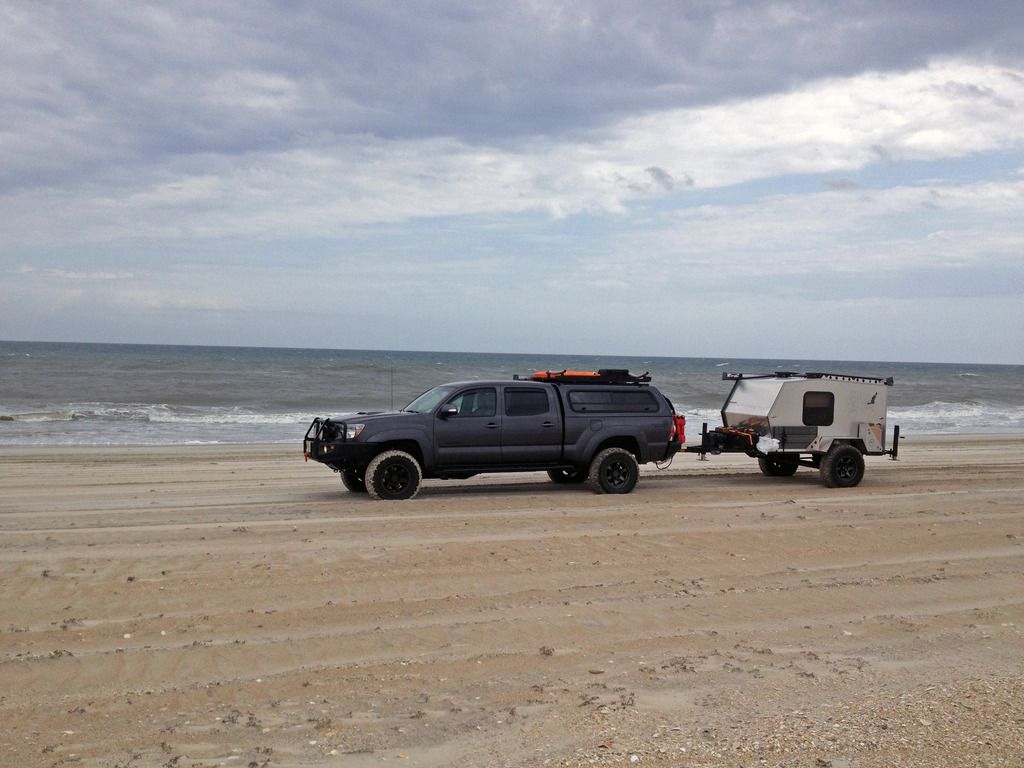
As far as trips go it's covered around 3,400 miles in the last year between short weekend trips around NJ and PA, Expo East 2016 and Cape Lookout NC a few weeks ago. Just some snippets:
Mid Atlantic Overland Festival 2016
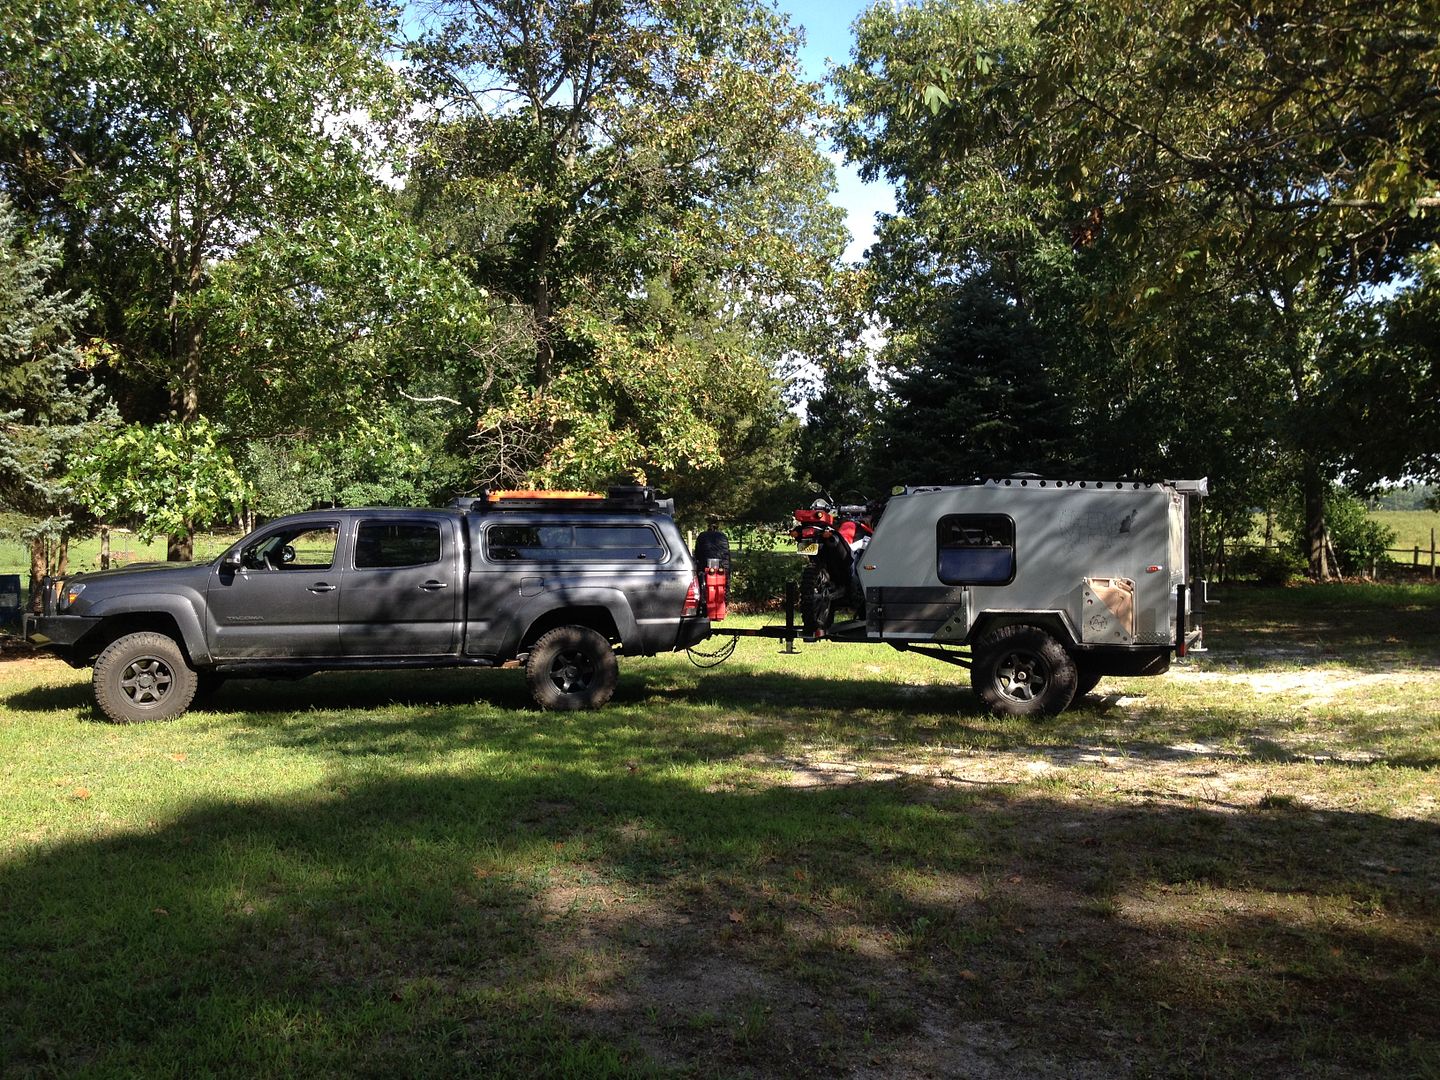
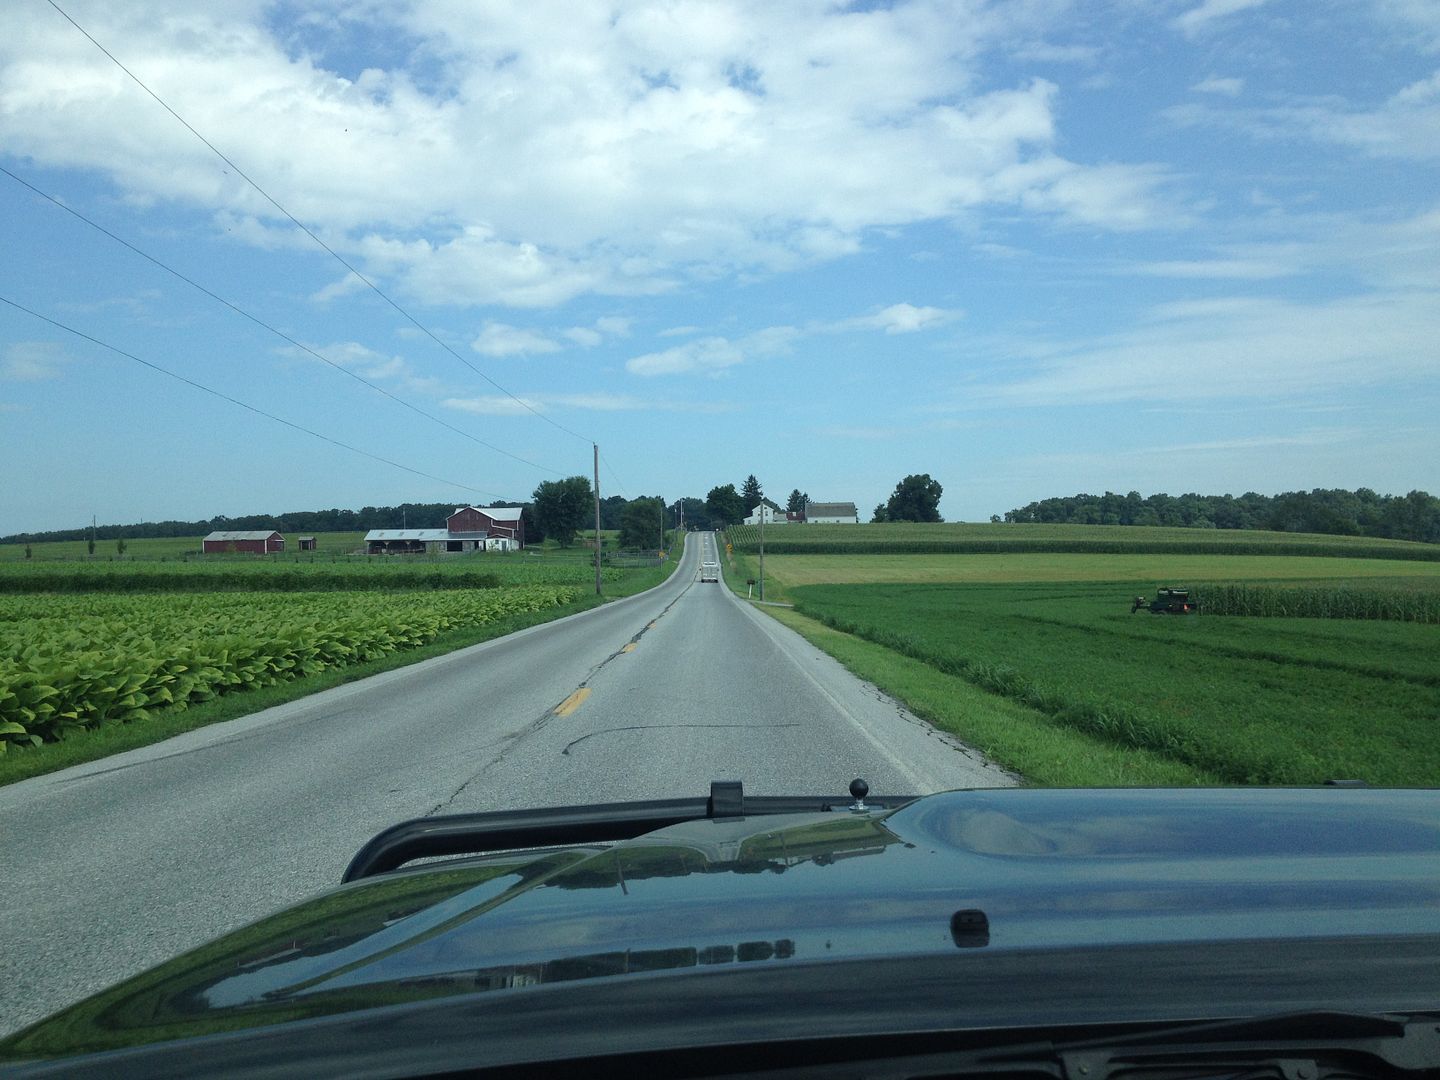
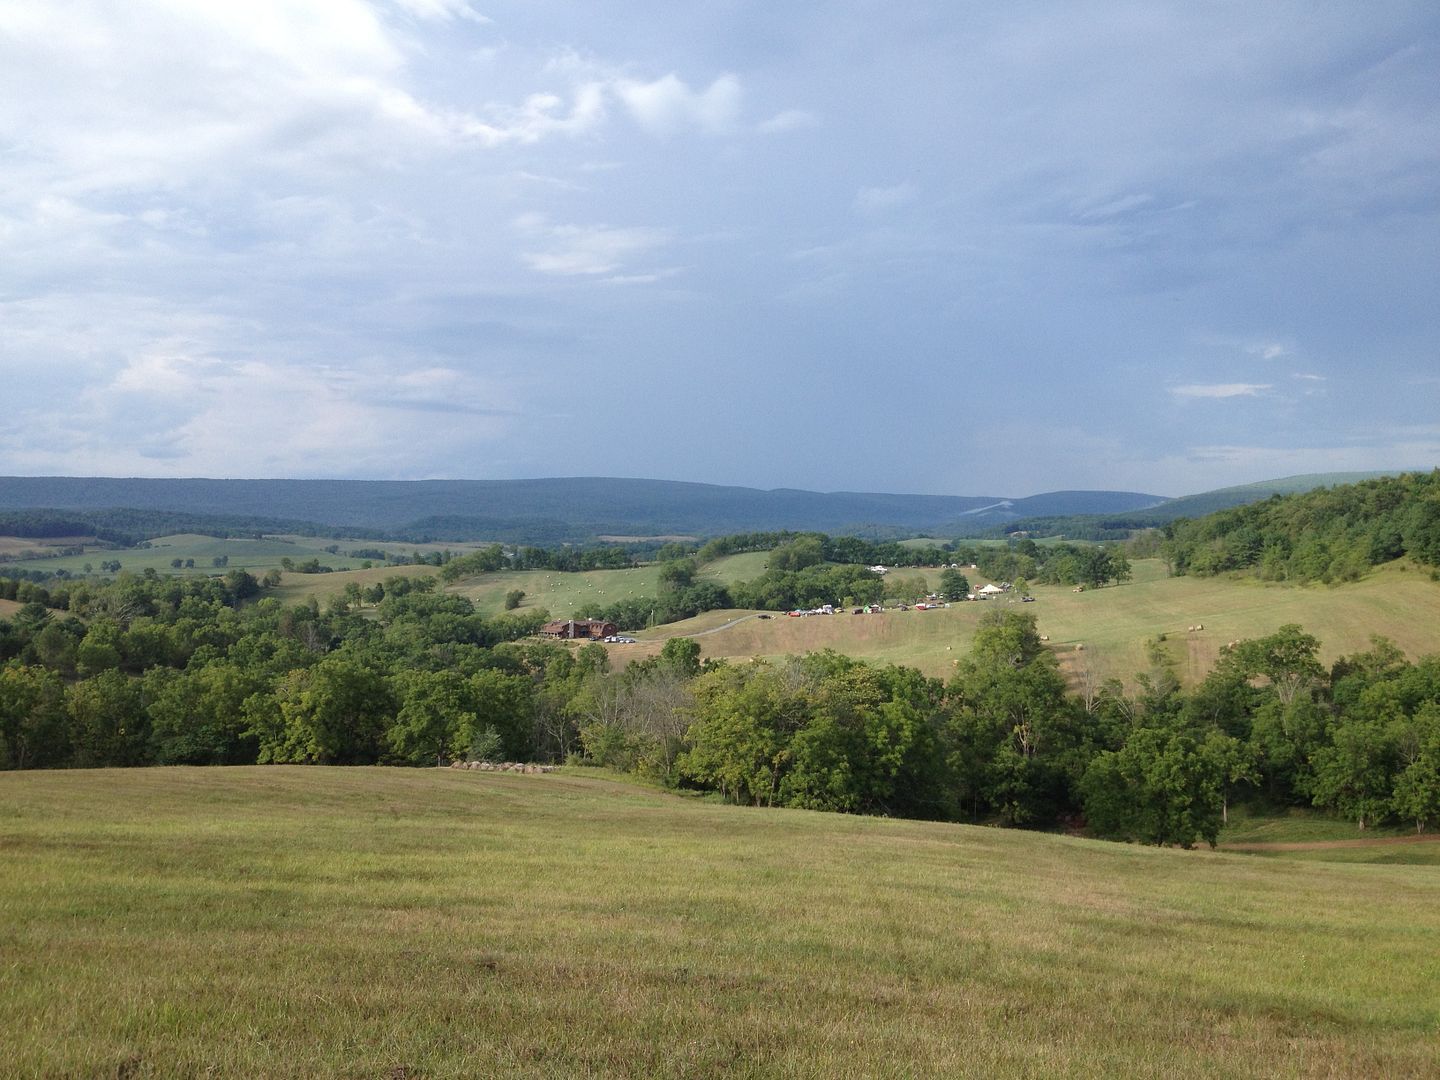
Cape Lookout NC 2017
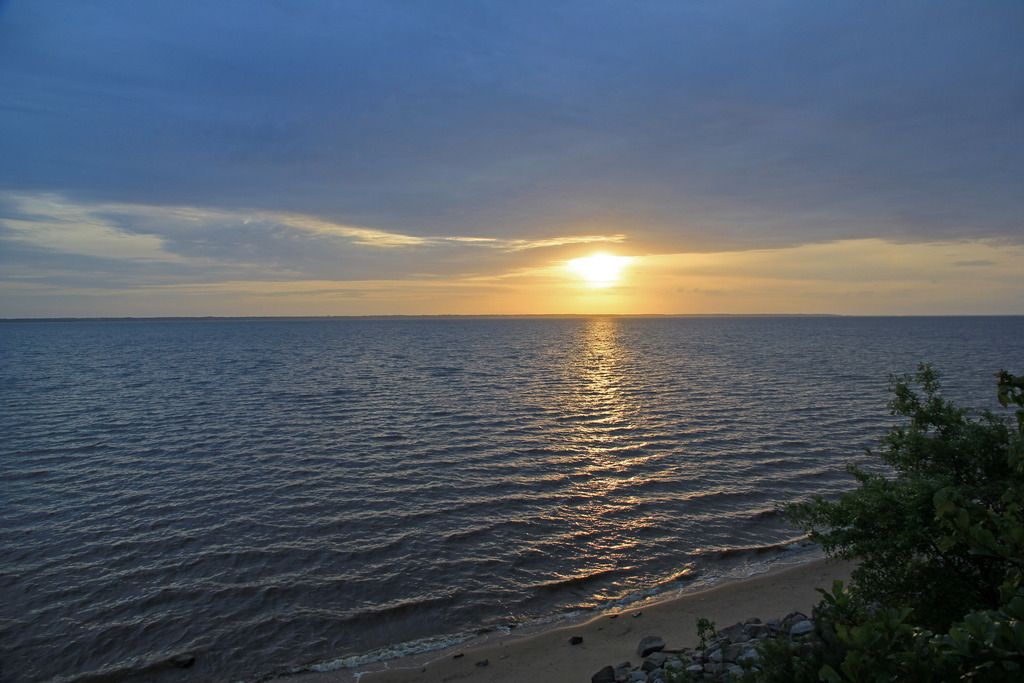
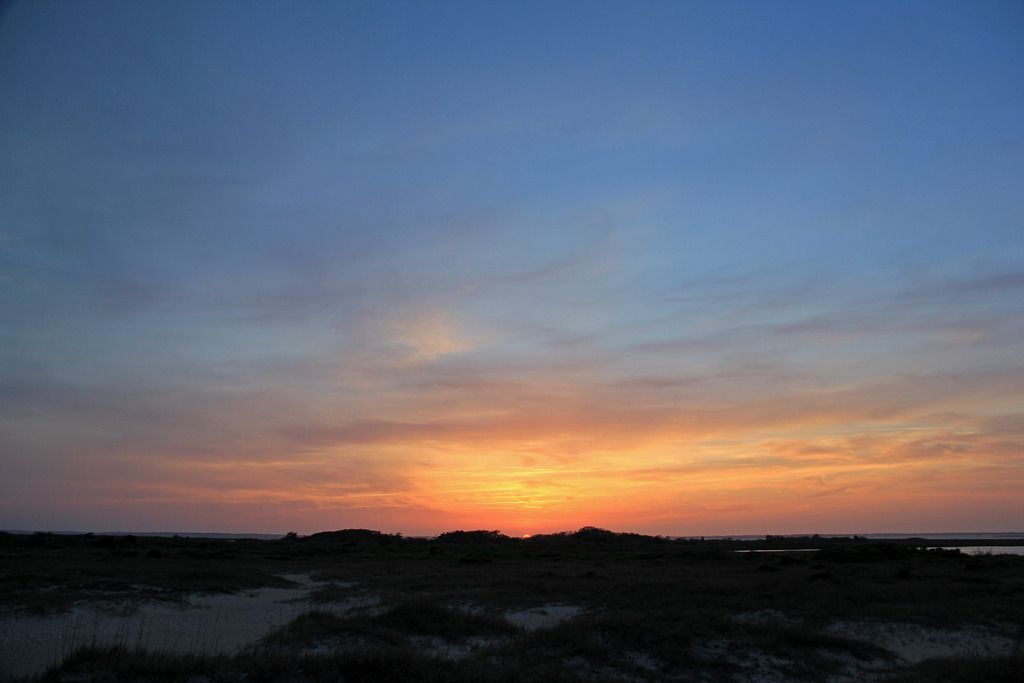
:beer:


I also finished up the rear cargo areas with some gray monstaliner which is super durable and looks great compared to the sealed plywood!


As far as trips go it's covered around 3,400 miles in the last year between short weekend trips around NJ and PA, Expo East 2016 and Cape Lookout NC a few weeks ago. Just some snippets:
Mid Atlantic Overland Festival 2016


Cape Lookout NC 2017


:beer:
Similar threads
- Replies
- 16
- Views
- 522
- Replies
- 3
- Views
- 682
- Replies
- 5
- Views
- 597
- Replies
- 0
- Views
- 232

