Doc's 05 Tacoma Build Thread

Dave Bennett

Adventurist
Baileys Cabin

Took a trip out to baileys cabin with some other folks from the Portal. What a great spot!

one009-Copy.jpg


one011-Copy.jpg


Kelty Car Tarp and Fiamma F35 awning deployed, enough shade for the whole group!
one024.jpg


one023.jpg
 
Last edited:

sierrahsky

Adventurer
Hey doc, trucks lookin great. How are those icon front shocks holding up for you? I am in the market for a suspension upgrade and am torn on the icons. How do they do for you when your doing slow crawling as compared to other shocks you have used? How do you like them for the highway?
 

Dave Bennett

Adventurist
90K Report

I just hit 90,000 miles (15MAY2011).

No major failures or issues so far (with the exception of the defective rear R&P that blew at 35K) just routine maintenance and fluids/brakes and tires. I did have a tail light bulb go out at 70k... ;)

6 years of ownership and it's been EXTREMELY dependable in all conditions and everything still works like day one.
 
Last edited:

Dave Bennett

Adventurist
Diff Drain Plug Carnage!

Well, seems as if I had that drain plug on a bit tight... I rounded the 24mm bolt head trying to remove it... Note to self: Use a torque wrench for the recommended 36 ft lbs next time Mongo! :Wow1:

Enter XJ Mike. After a few go 'rounds with an impact and several unsuccessful tries at welding a nut onto the stripped bolt head, we gave in and made a trip down to Harbor Freight to find a better option - we were almost out of ideas. Mike came up with a possible fix so I got a set of expendable wrenches...

After hammering a 7/8 wrench (just a tad smaller than 24mm) into the ring, Mike zaps it on there.
IMG_0097.jpg


It came of by hand once the welds were in place. Saved!
IMG_0098-1.jpg


Mc Taco was there as well getting some help mounting his new African Outback awning to his rack. Obviously, Mike is renowned for his mad fab skills.
IMG_0101-1.jpg


Big thanks to Mike for saving the day!!!
 
Last edited:

TangoBlue

American Adventurist
Gear oil, wrenches, grime, dirt, banged knuckles, welding smoke, trip to the hardware store, and more than likely an adult carbonated beverage or 2.

So, in other words it was a pretty good day. :)
 

ExpoMike

Well-known member
Well, seems as if I had that drain plug on a bit tight... I rounded the 24mm bolt head trying to remove it... Note to self: Use a torque wrench for the recommended 36 ft lbs next time Mongo! :Wow1:

Enter XJ Mike. After a few go 'rounds with an impact and several unsuccessful tries at welding a nut onto the stripped bolt head, we gave in and made a trip down to Harbor Freight to find a better option - we were almost out of ideas. Mike came up with a possible fix so I got a set of expendable wrenches...

After hammering a 7/8 wrench (just a tad smaller than 24mm) into the ring, Mike zaps it on there.

It came of by hand once the welds were in place. Saved!

Mc Taco was there as well getting some help mounting his new African Outback awning to his rack. Obviously, Mike is renowned for his mad fab skills.

Big thanks to Mike for saving the day!!!

No problem Dave. Glad we found a solution that worked great. Also glad I introduced to a torque wrench. :ylsmoke:

We did get Stuart's awning done a little before 7pm. Looks like it's going to work out nice. Interesting thing is the awning doesn't open like a rectangle like we were thinking. It opens wider at the outside edge, like this /__\ One thing we found is the fiberglass prop rod for the middle is WAY too long. Needs to be about 6" shorter.
 

Dave Bennett

Adventurist
I eat brakes...

I installed new OEM front brake pads and had the rotors machined @ dealer at 60k.

Today at 91.5k, I put new OEM pads on in my driveway after work since it was down to the wear tab on the passenger side and the occasional "squeak!" was driving me nuts. Lo and behold, much to my surprise, when I pulled the wheels off to inspect I saw that the OEM pads I had put on only 31.5k ago were down to nothing :Wow1:

The original brake pads lasted 60k. Must have something to do with added weight and towing my Jayco Baja up and down the 38 to Big Bear recently... LOL

I also noted what looks like an O-ring leaking on the shaft of my driver side coilover so I need to get those pulled and off to Icon for a rebuild (60k is damn good IMO for coilovers).

Maintenance is a never ending battle, but it pays to keep up on it. I'm driving this machine until the frame breaks in half ;)
 
Last edited:

SLOwag

Adventurer
? on the Kelty Car Tarp

I grabbed one of these for 1/2 price at Backcountry.com...too good of a deal to pass up. It appears that you've rigged/modifed yours in your pics from camp, where the poles are installed in the middle. I prefer that to the "hinged" setup shown on the Kelty website. How did you do it? Or, is it an option that i'll figure out once I open the box? Thanks
 

Dave Bennett

Adventurist
The configuration pictured at Baileys cabin was made possible by 550 cord to the tree on one side and 550 cord to the water tank on the other. I'm looking to add 2 more poles making this "flat roof" possible in any location.
 

antiheroxp

New member
Hey I noticed that you're now using action packers instead of those fantastic military storage box things, I was wondering if you still had them or would be interested in selling one or both of them? I can't find a single military crate/storage box bigger than 40mm grenade cans in our surplus stores down here and I NEED something bigger!!!
AMAZING Tacoma btw, i showed your thread to my friend who has a newer 4x4 taco and had never seen a dirt road or even been over a curb for that matter and he's now tagged along a couple times after school when we go find some little trails around the outskirts of the city, and now even plans for a lift and bumpers!!
Yours is definitely an inspiration to others(even to an xj guy like myself, I want a taco now)
 

Dave Bennett

Adventurist
The Wanigan Project

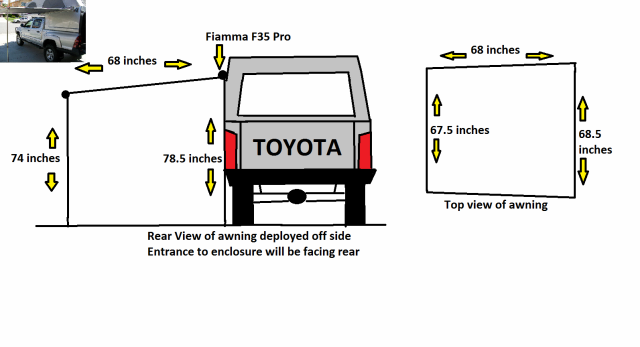
This is my original design sketch.
AwningEnclosure2.png


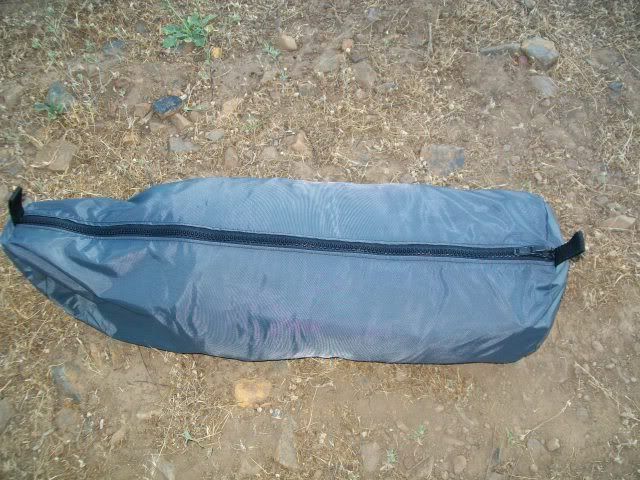
Here's the bag it came in, very well made with a big fat zipper. Enclosure made by: http://www.slosails.com/

100_3718.jpg


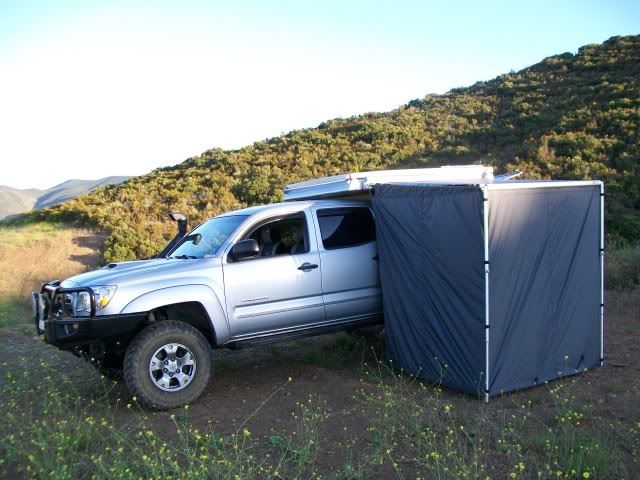
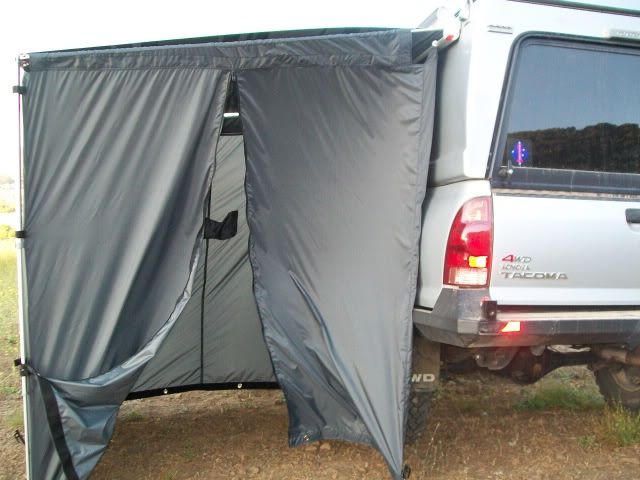
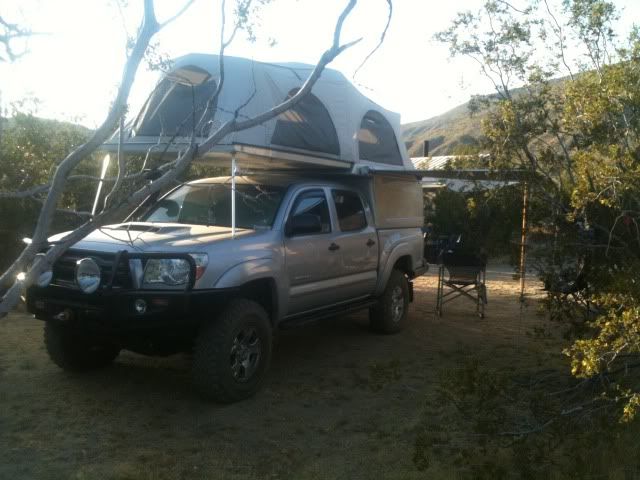
Deployed, 4 sided enclosure. Totally private.
This enclosure will be a multi-purpose room for showering, bathroom, or even sleeping kids.
100_3700.jpg


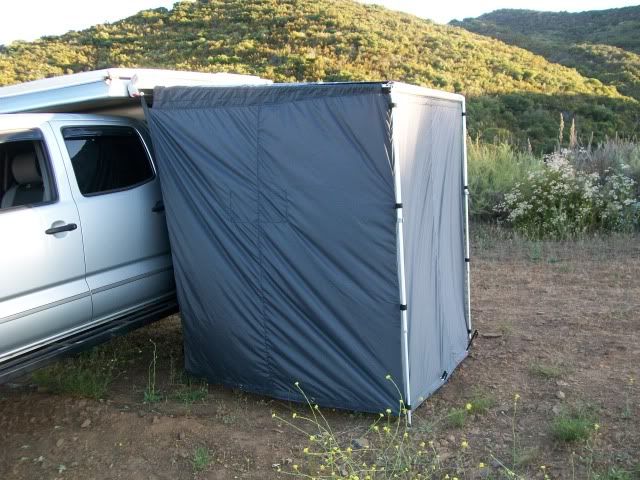
Front wall, note the big grommets all along the bottom that allow the use of the big Snow Peak stakes, this thing isn't going anywhere.
100_3701.jpg


Entrance, note the big fat zipper with pulls on both sides and the big pocket sewn on the far wall for items like soap, shampoo, iPod, etc.
100_3714.jpg


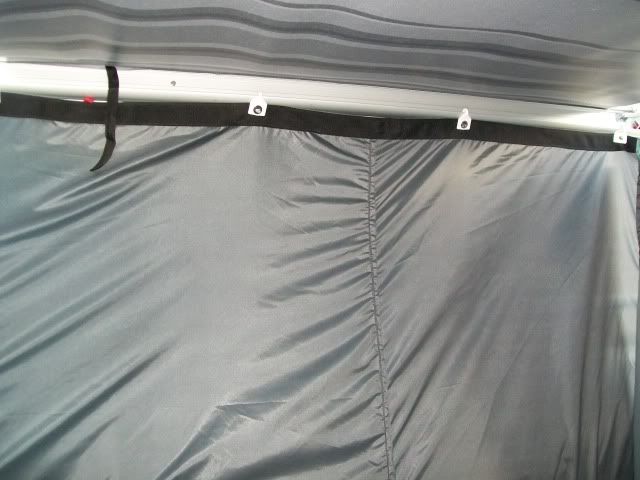
Hooks attach inside wall to Fiamma case, inside wall provides extra privacy as well wind protection.
Hooks have grommets which allow the mounting of lights or just about anything on that wall like a Thule RV wall organizer.
I'm also going to add some 550 cord along there threaded via the grommets for hanging towels.
100_3709.jpg


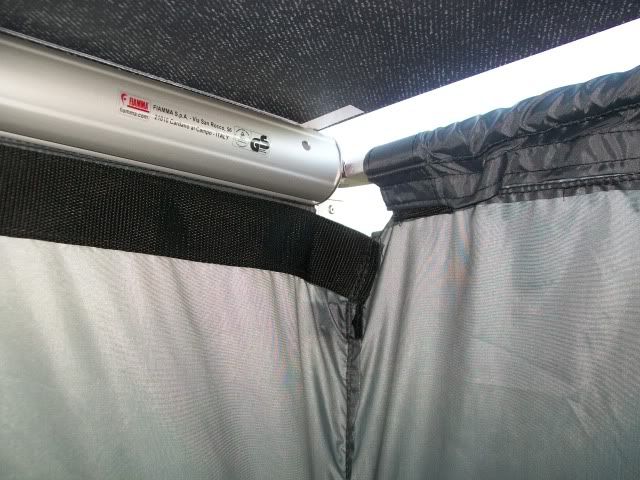
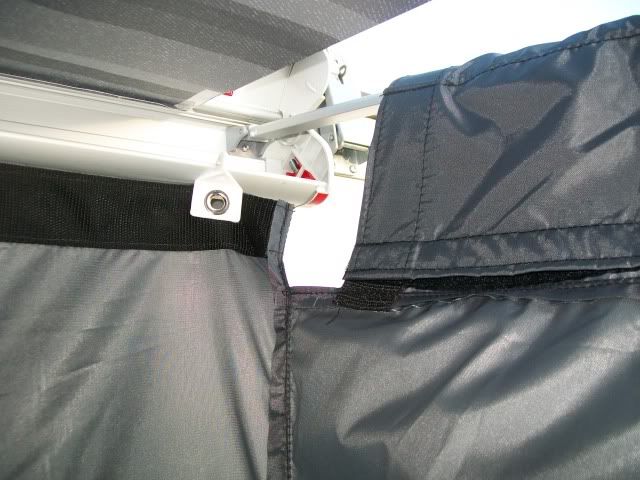
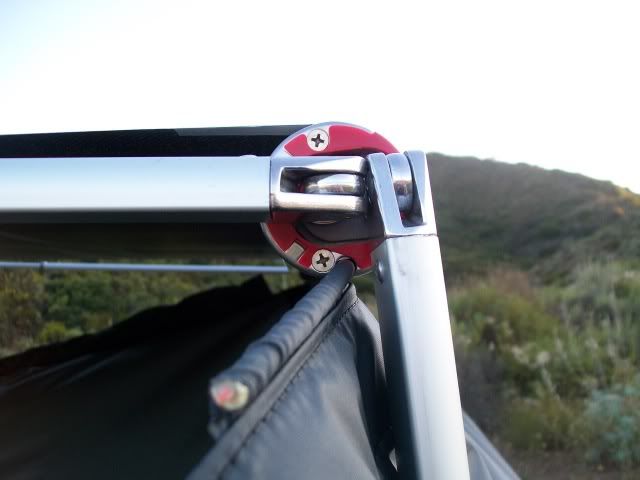
Inside corner mounting details. Note how the velcro wraps around the bars for max privacy and wind proofing.
100_3708.jpg


100_3707.jpg


Shown here during enclosure mounting, the 7mm channel in the Fiamma allows the use of this "rope" for mounting and a completely sealed front edge.
100_3716.jpg
 

Forum statistics

Threads
187,128
Messages
2,891,194
Members
227,790
Latest member
coast runner
Top