PaulJensen
Custom Builder
12 - Cabin Re-Set...
Last week was another busy one... Remodeling a waterfront residence, helping a "start-up" trailer company with design and process, back to remodeling and some surfboard work with my mentoree... Throw in our garage door opener replacement on multiple evenings, and my progress on the Jeep was in only clarity of design... But yesterday, it was shop time again...
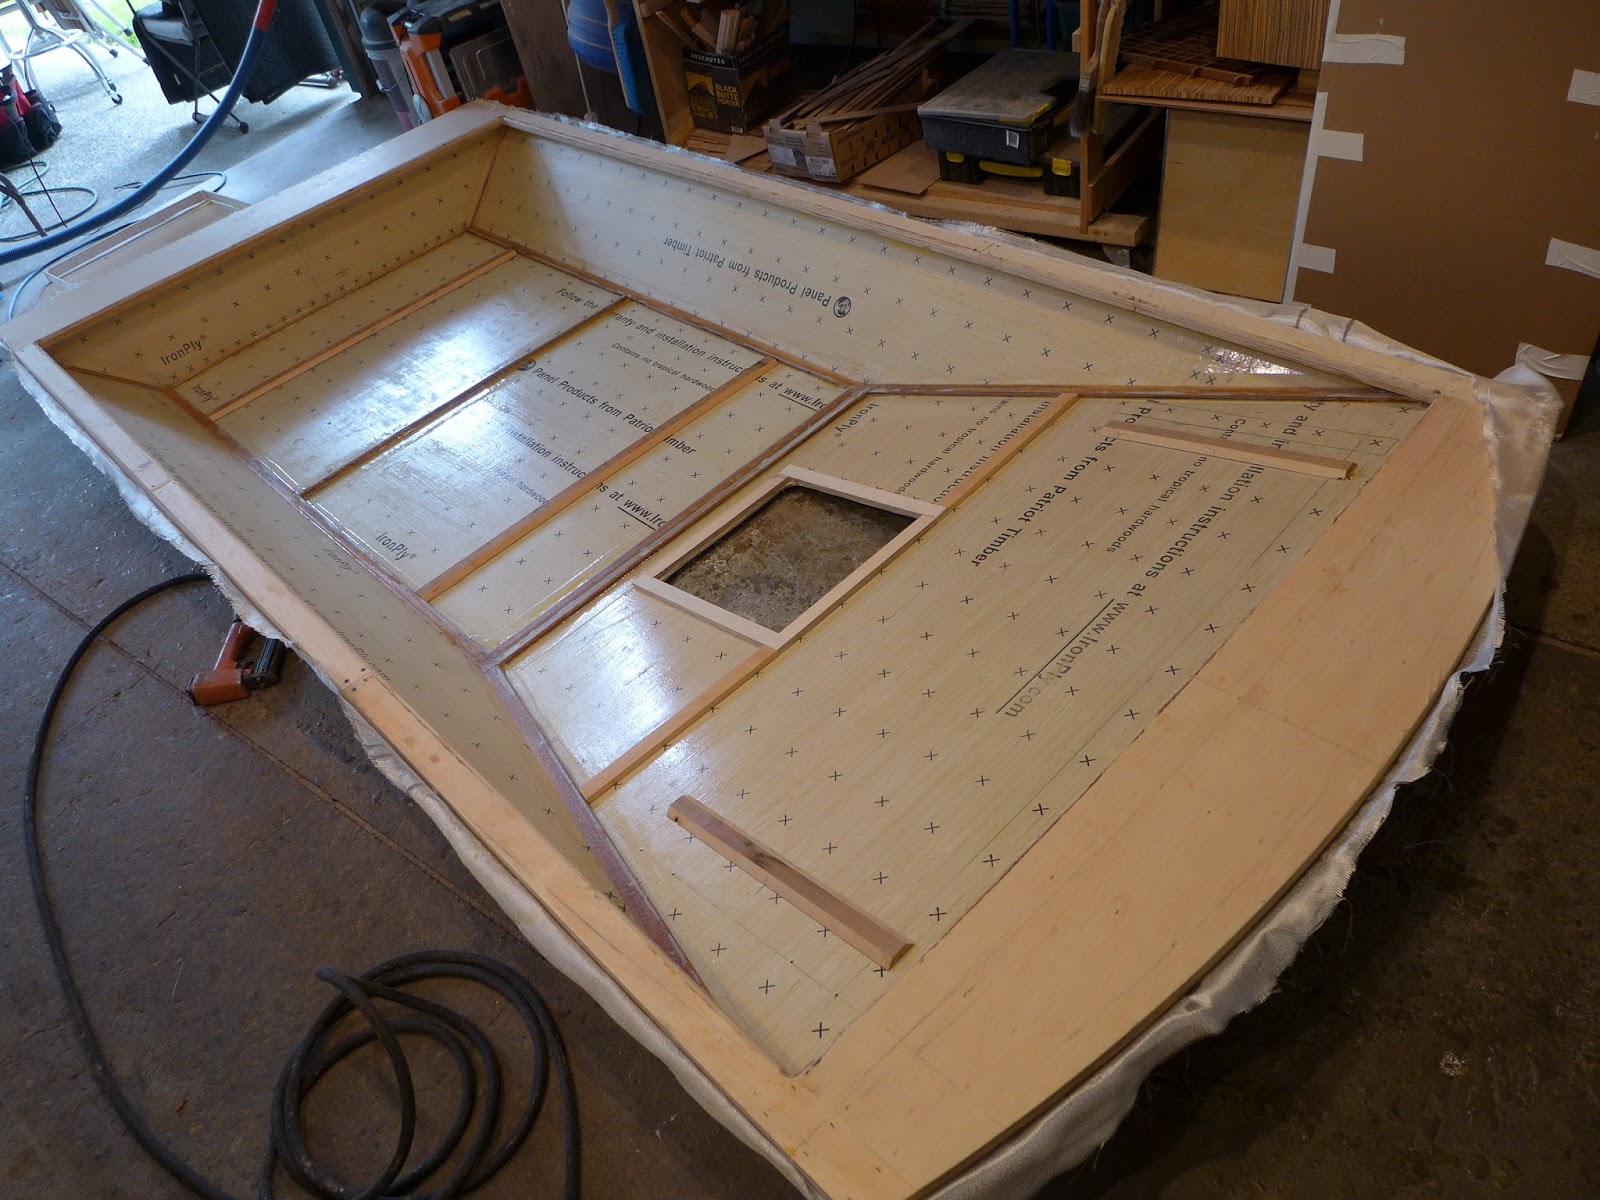
(above) Wood reinforcement were added to the points of contact for the rear roof rack, the fan, and the solar panel... Later they were all fiberglassed...
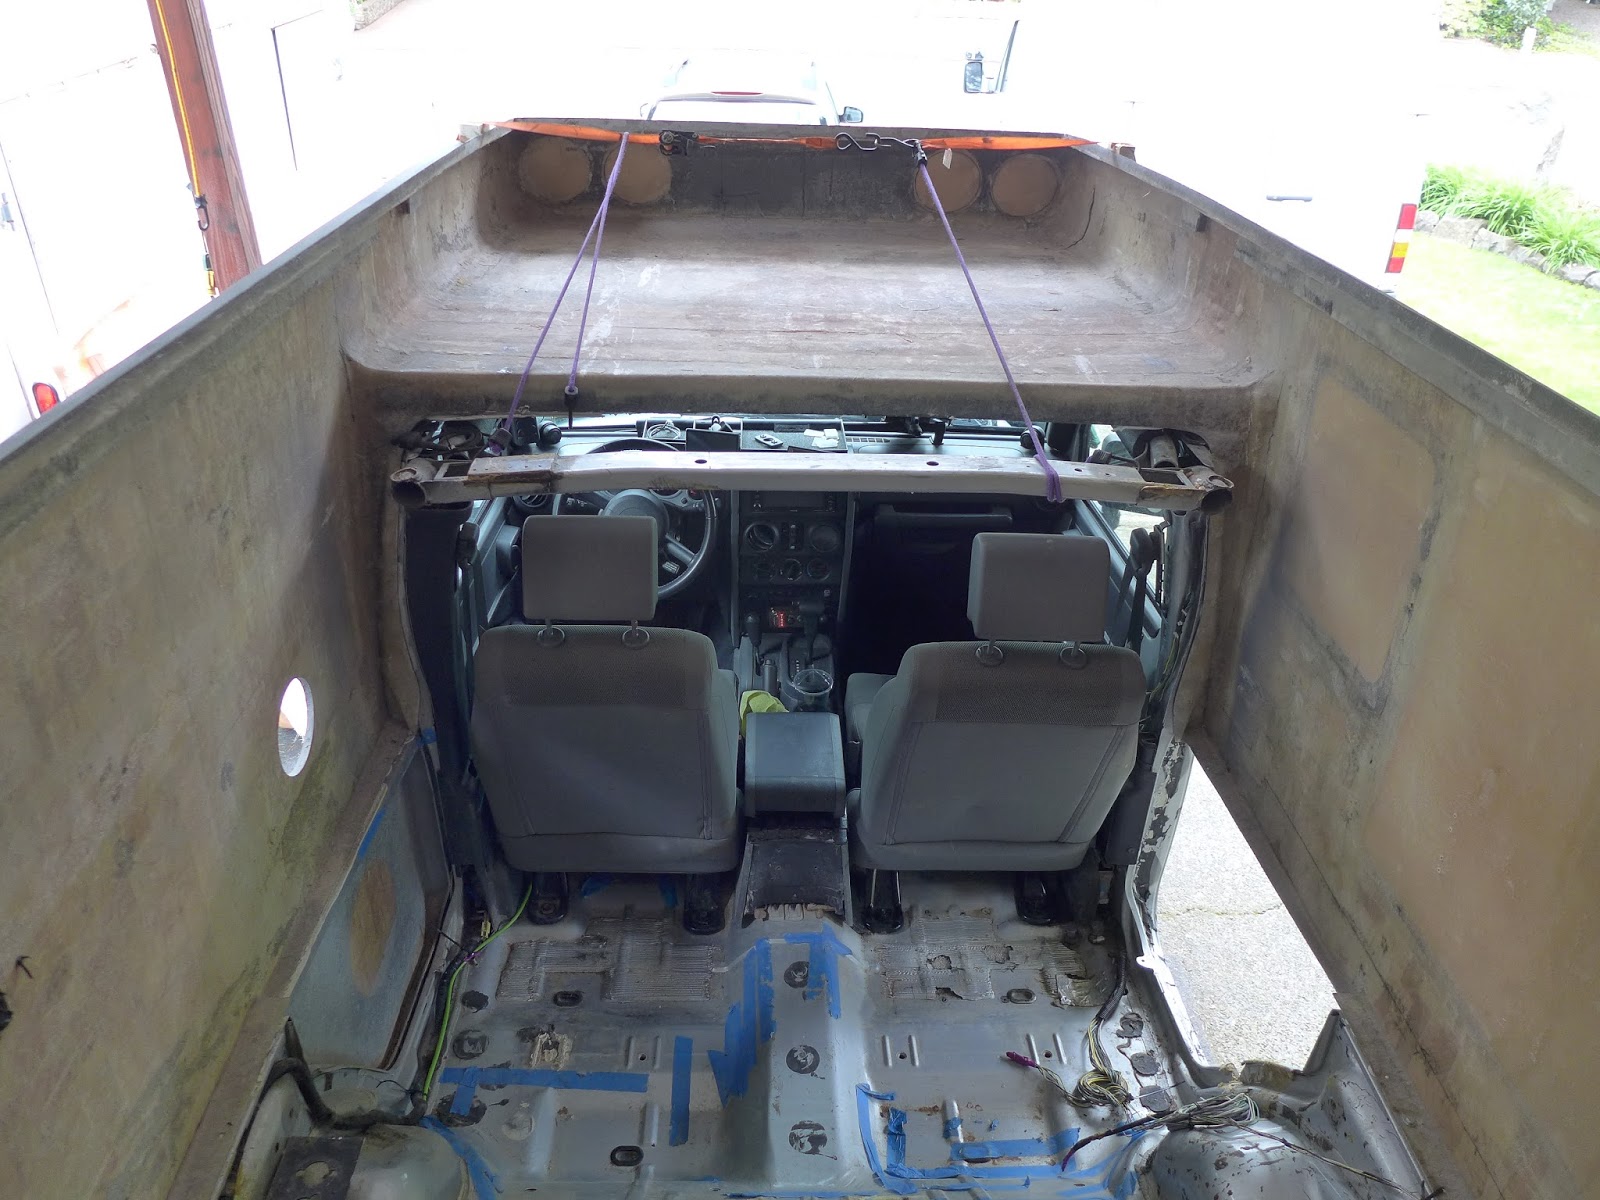
(above) The steel crossbar behind the seats has bugged me since day one... I always seem to be bumping into it, and it extends into an already small space, visually and physically...
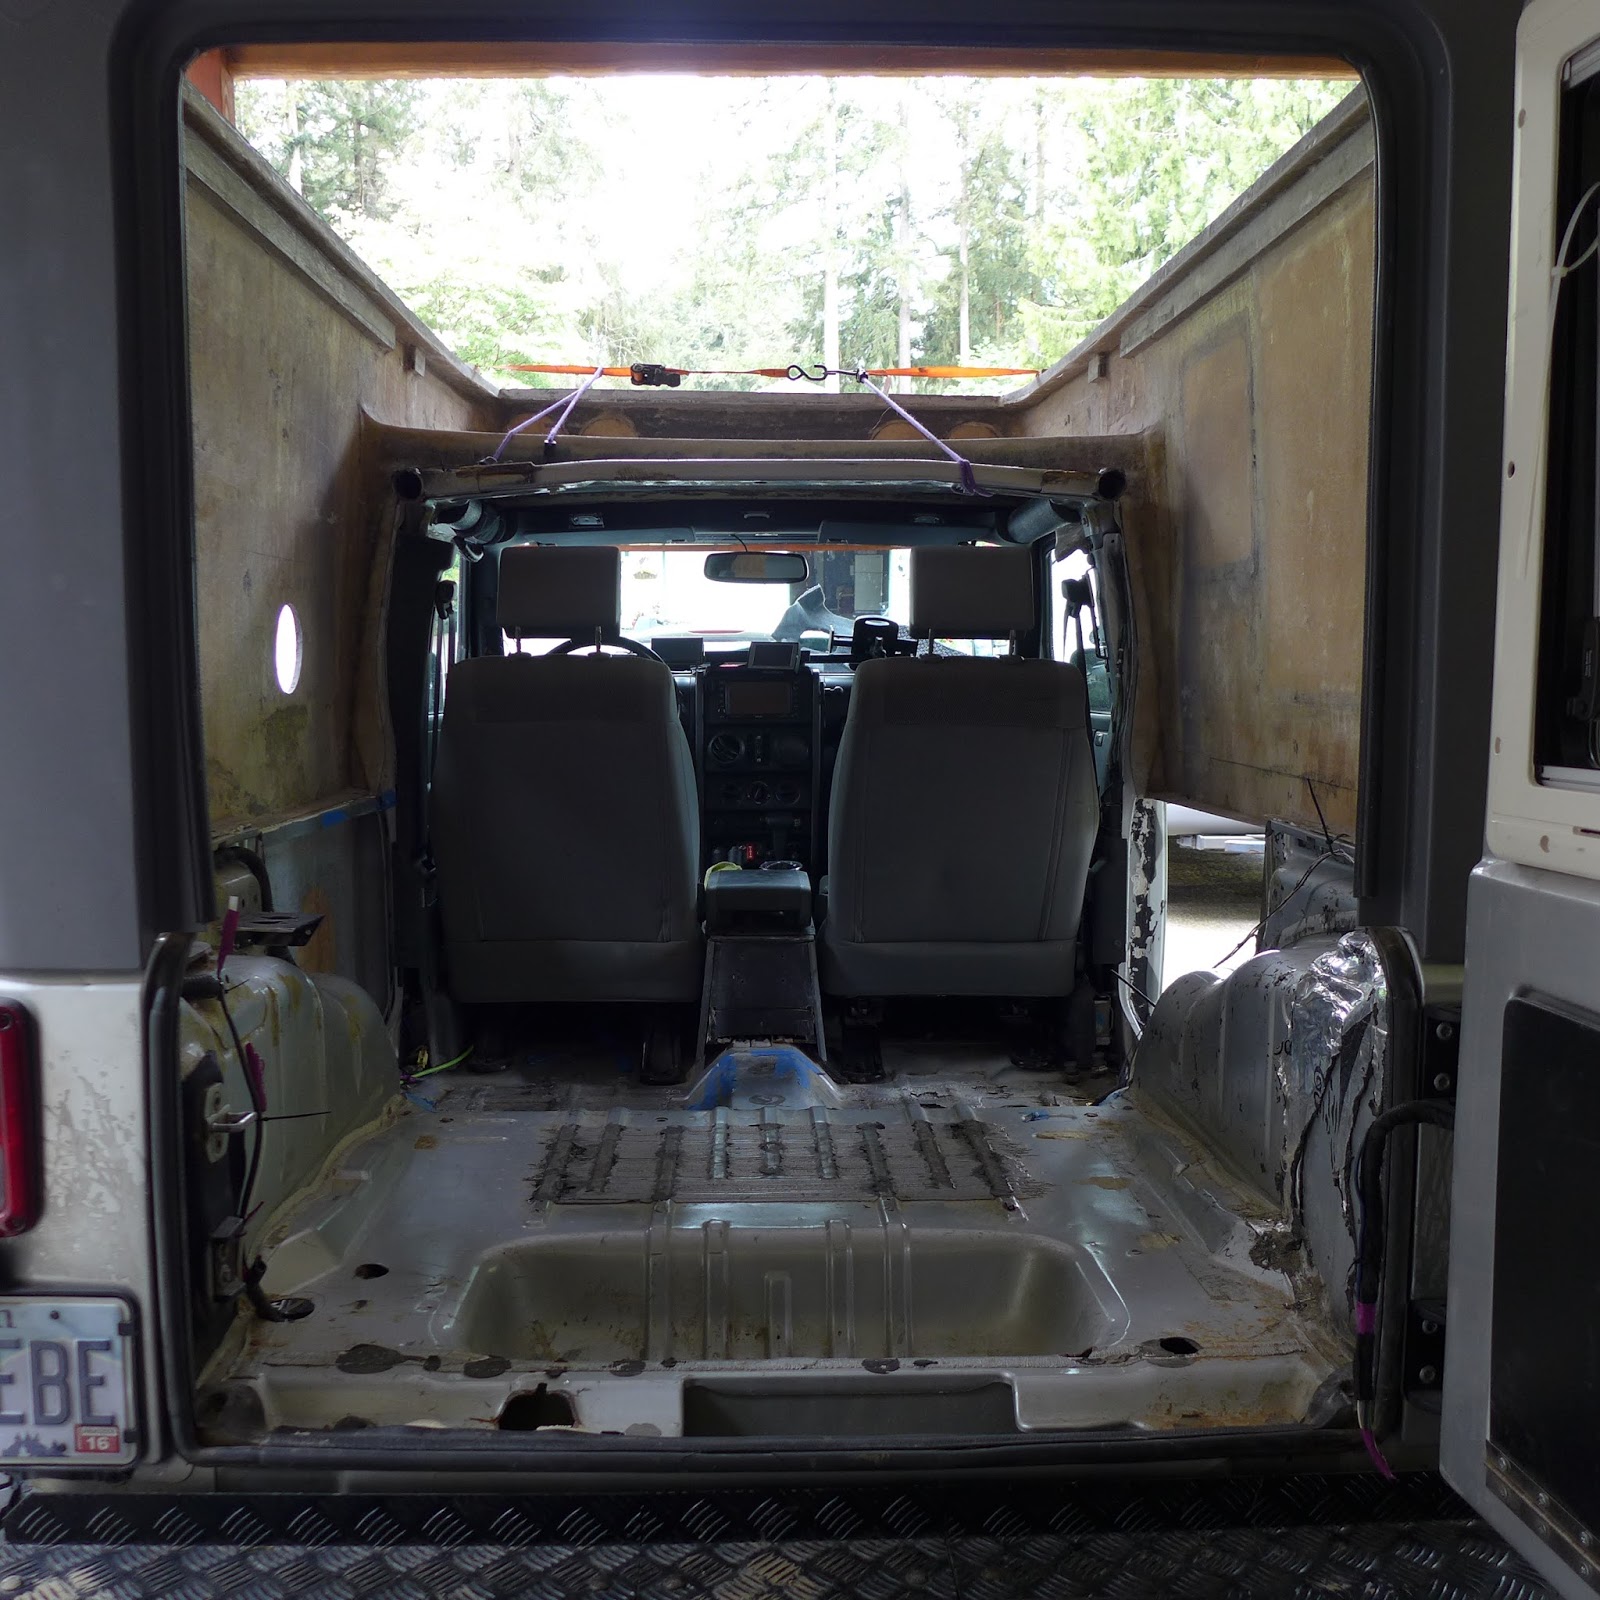
(above) ...as it is, it is too low at the pass through, considering the space available above...
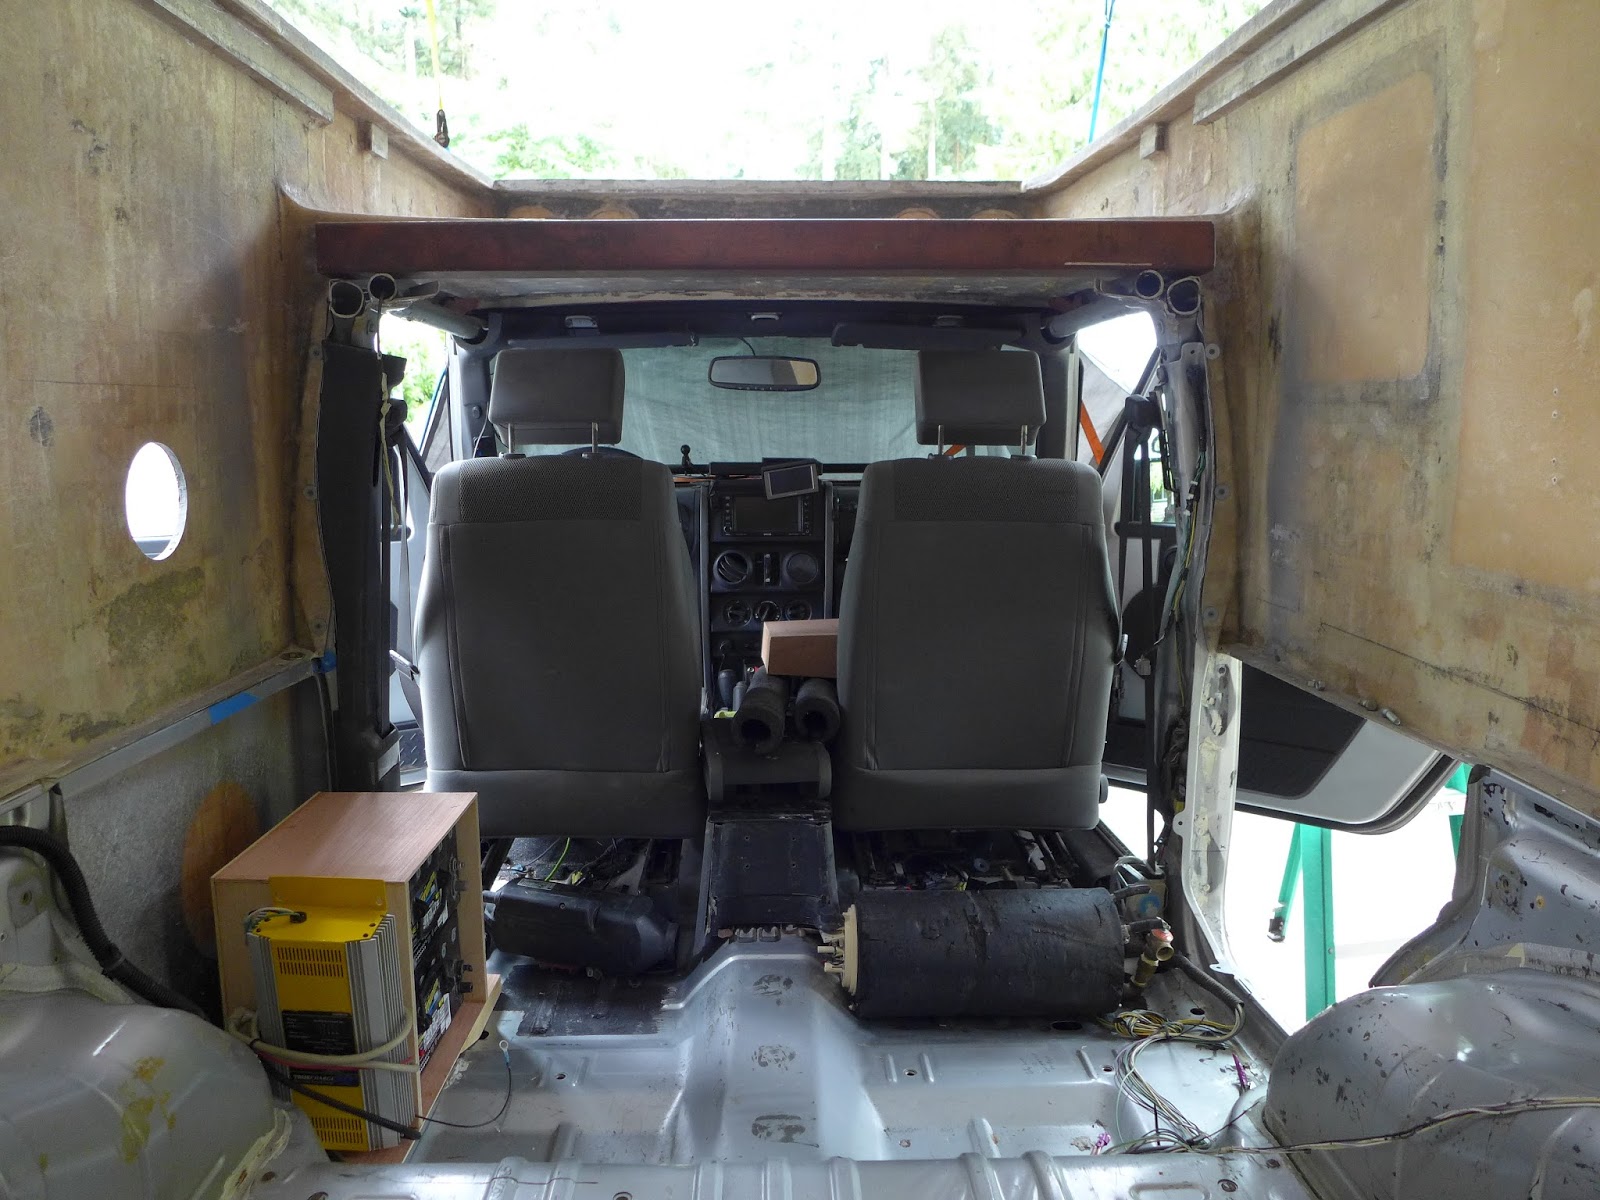
(above) Two cut-off wheels later it looked like this... I has the 3" square steel tubing in the stack of stuff forever... I still need to bolt and weld it in place, but the difference that simple change made in the way you move in the cabin is huge...!!!... Worth every spark into my scalp...
You can also see the battery box and power control box behind the driver seat and the rough location of where the air heater will be... Over on the other side, behind the passenger seat, is the water heater zone with the water pump just forward of that...
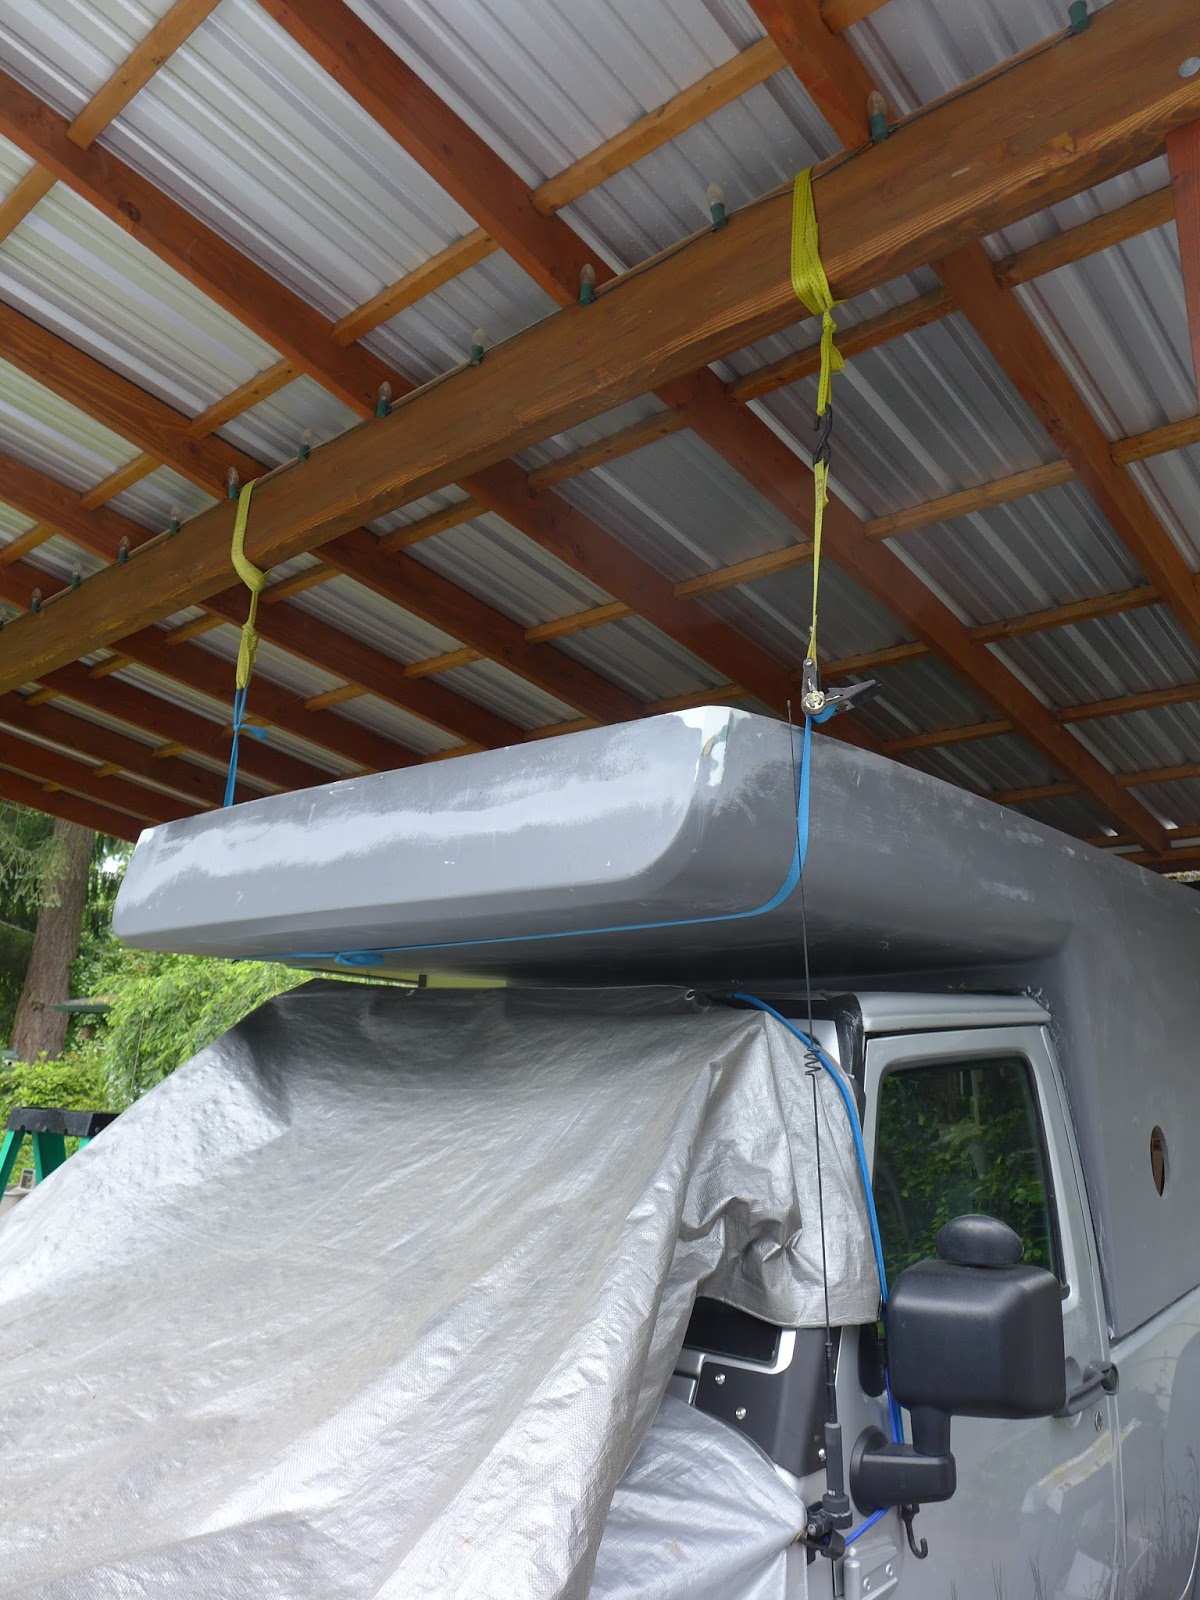
(above) At the top of things to get accomplished, and it is a big one, is to re-set the cabin on the truck... It came from Iowa with minimal bolting and improper adhesives, applied badly... Unsafe to drive without a big strap holding it on...
The cabin needed to be lifted a bit and this is how I did it...
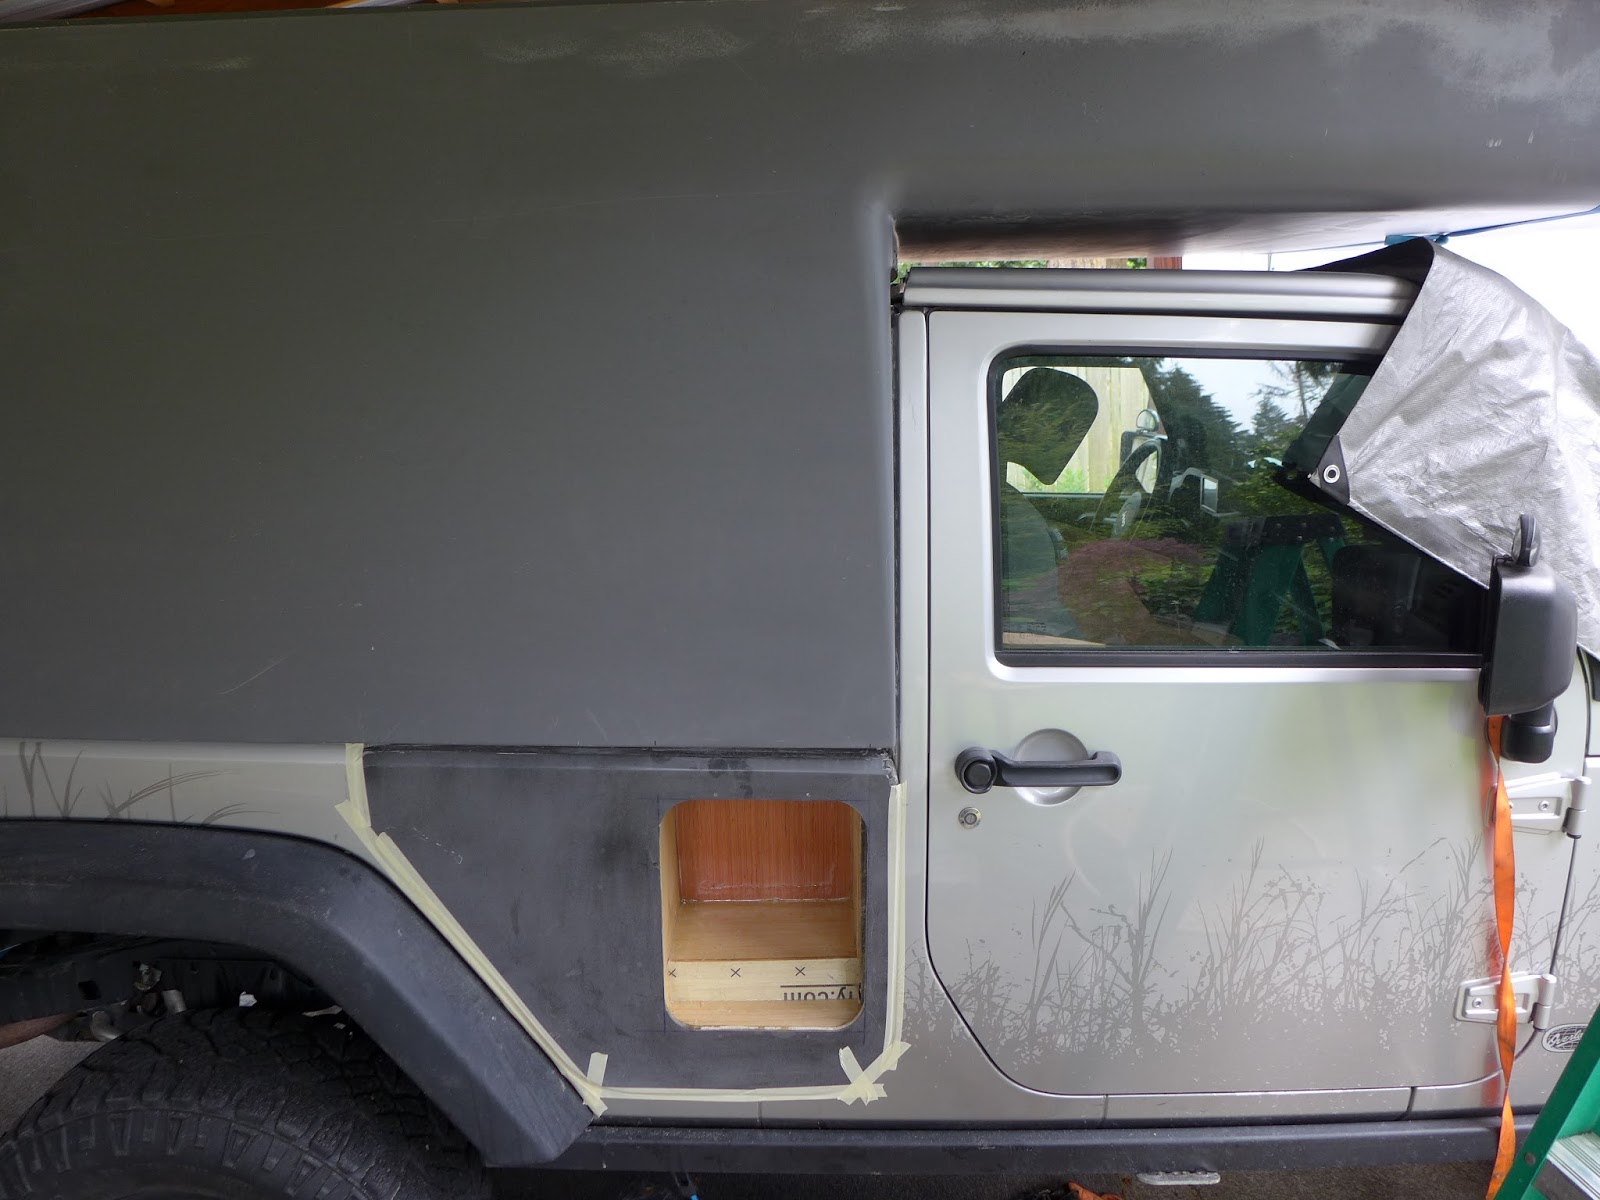
(above) Just enough to be able to scrape out the bad caulk job and realign the cabin to the body...
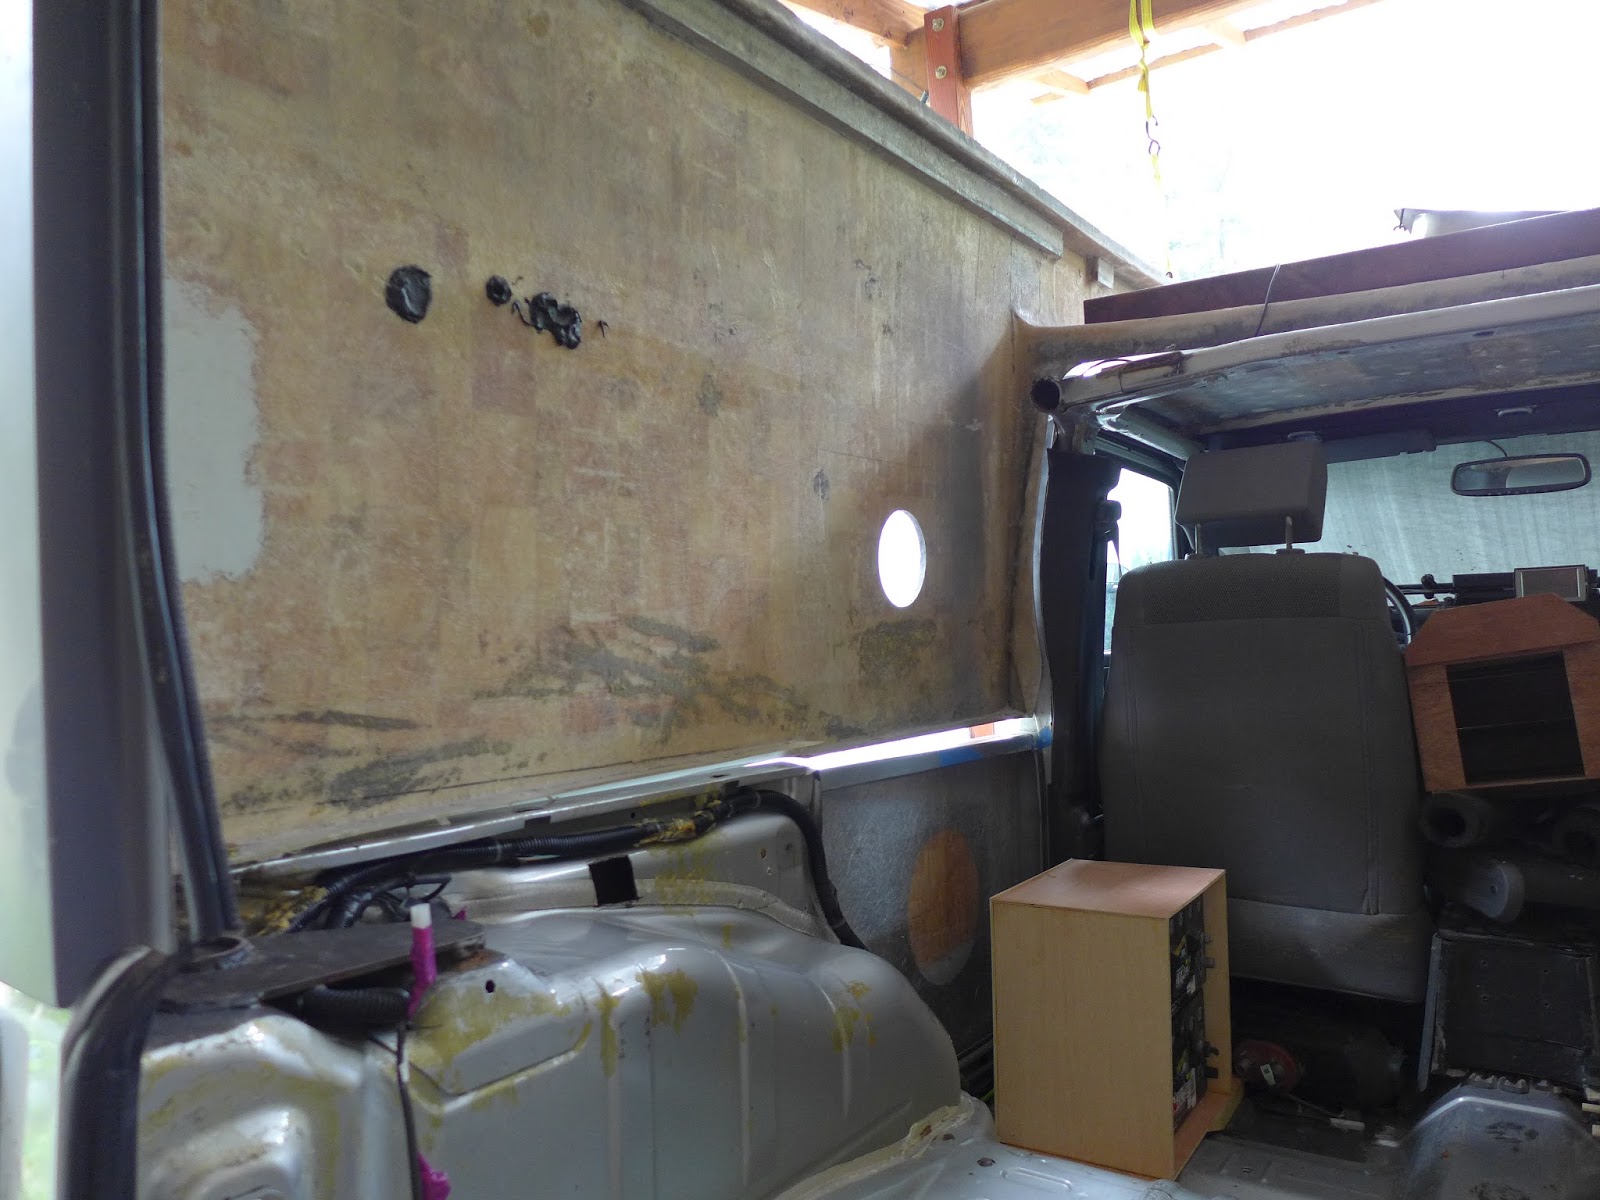
(above) Plenty of room to clean things out...
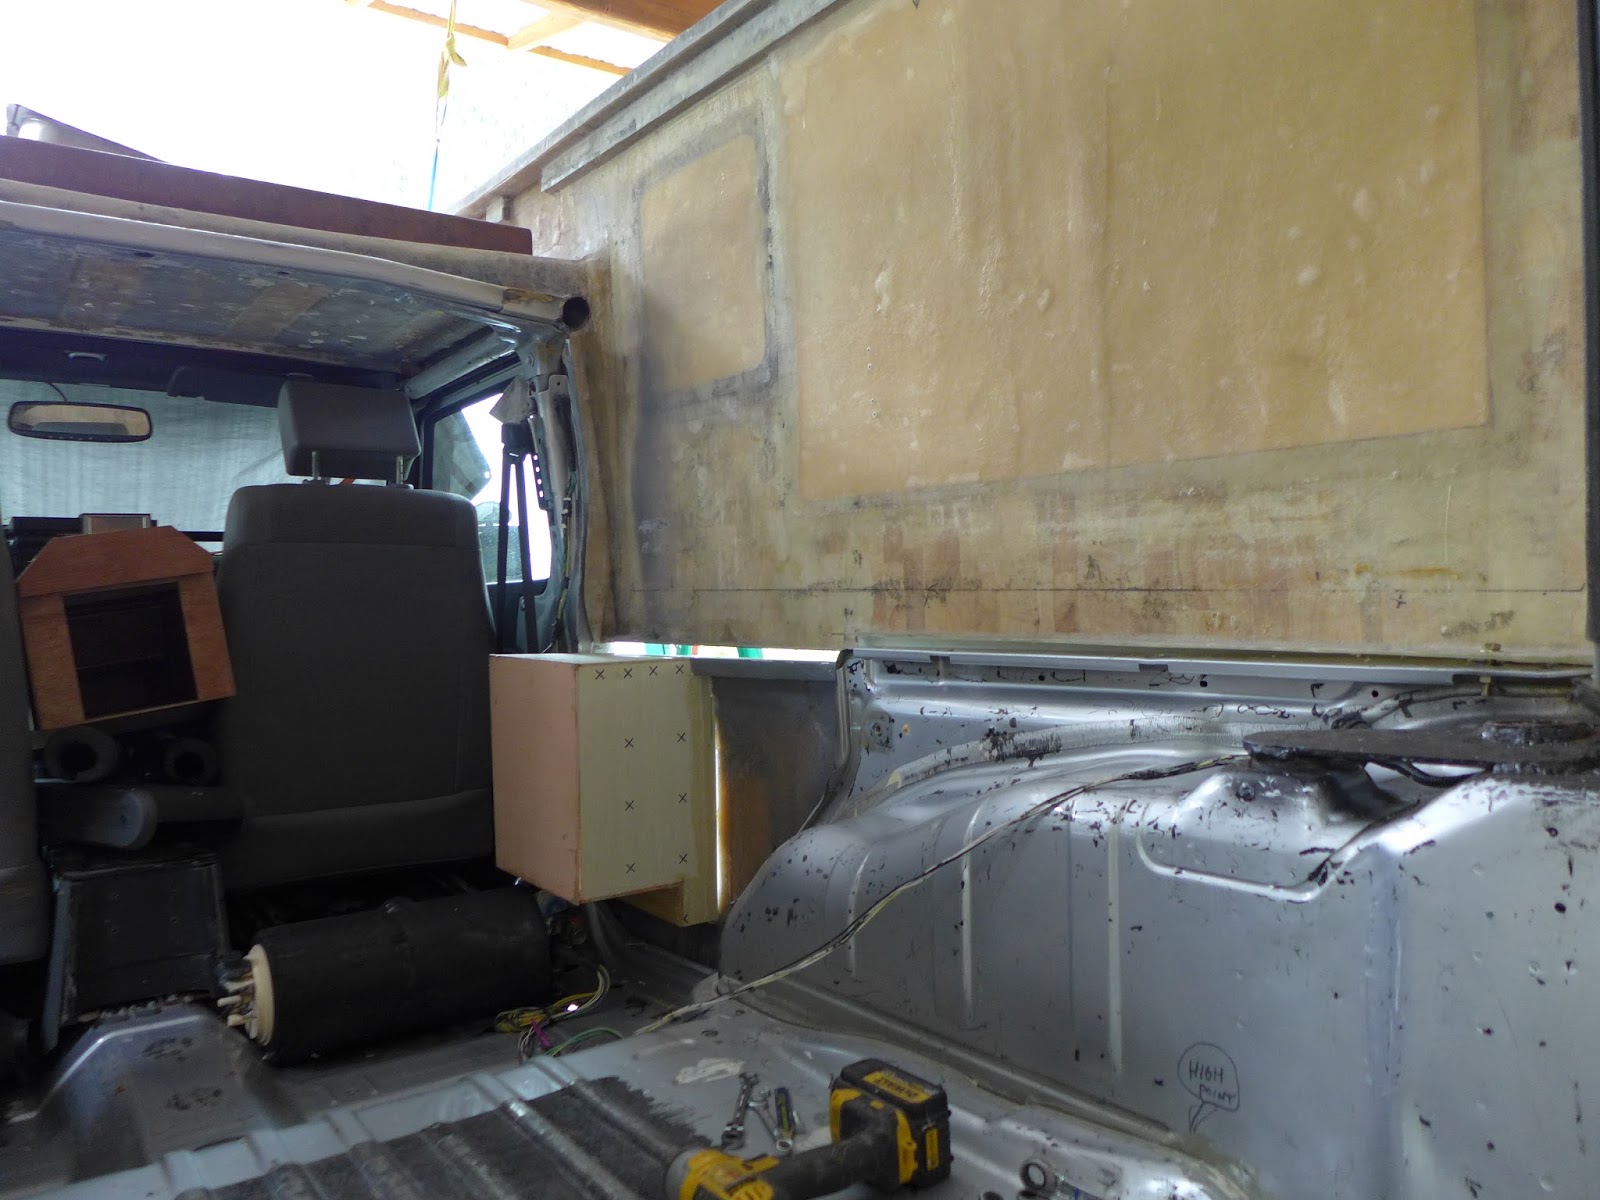
(above) Before, the loose panel would not fit... The cabin dipped forward there and no forcing could get it in...
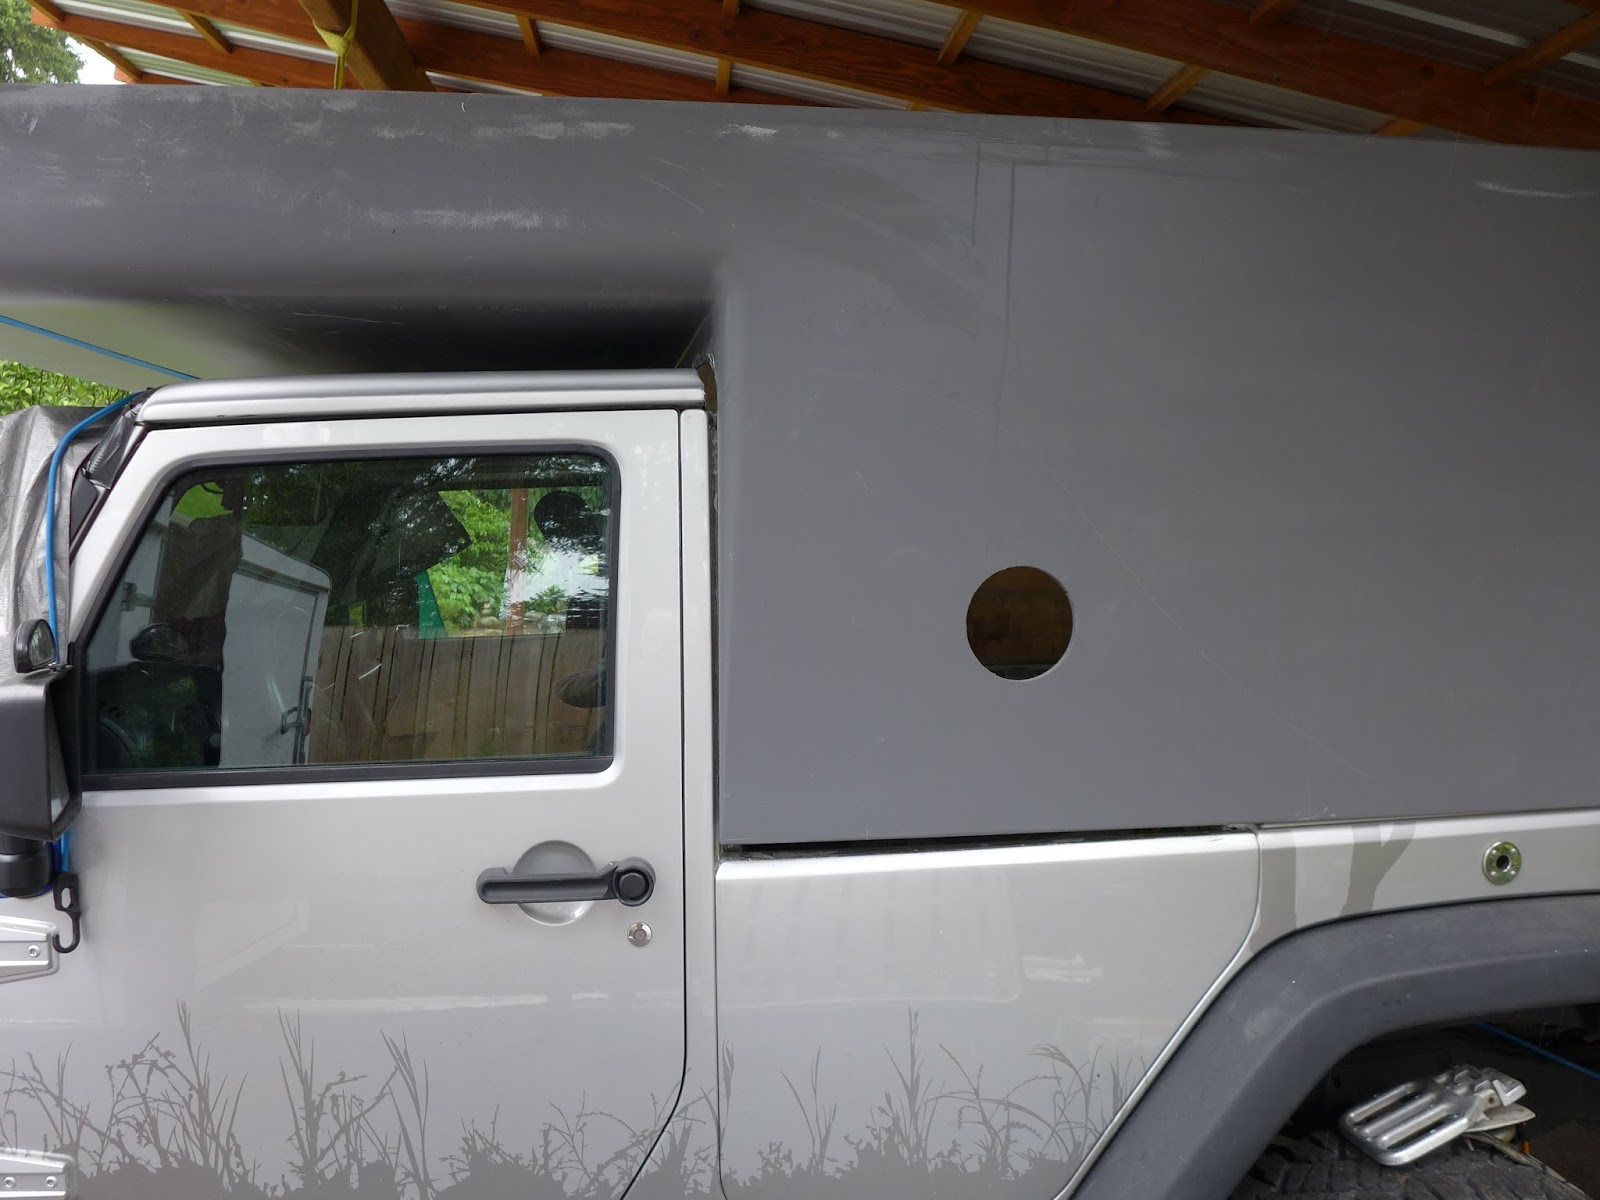
(above) The bulk of the bad caulking was on the vertical connections... To my knowledge, there never has been any mechanical bond between the vertical cabin and the body, only adhesives...Less than solid...
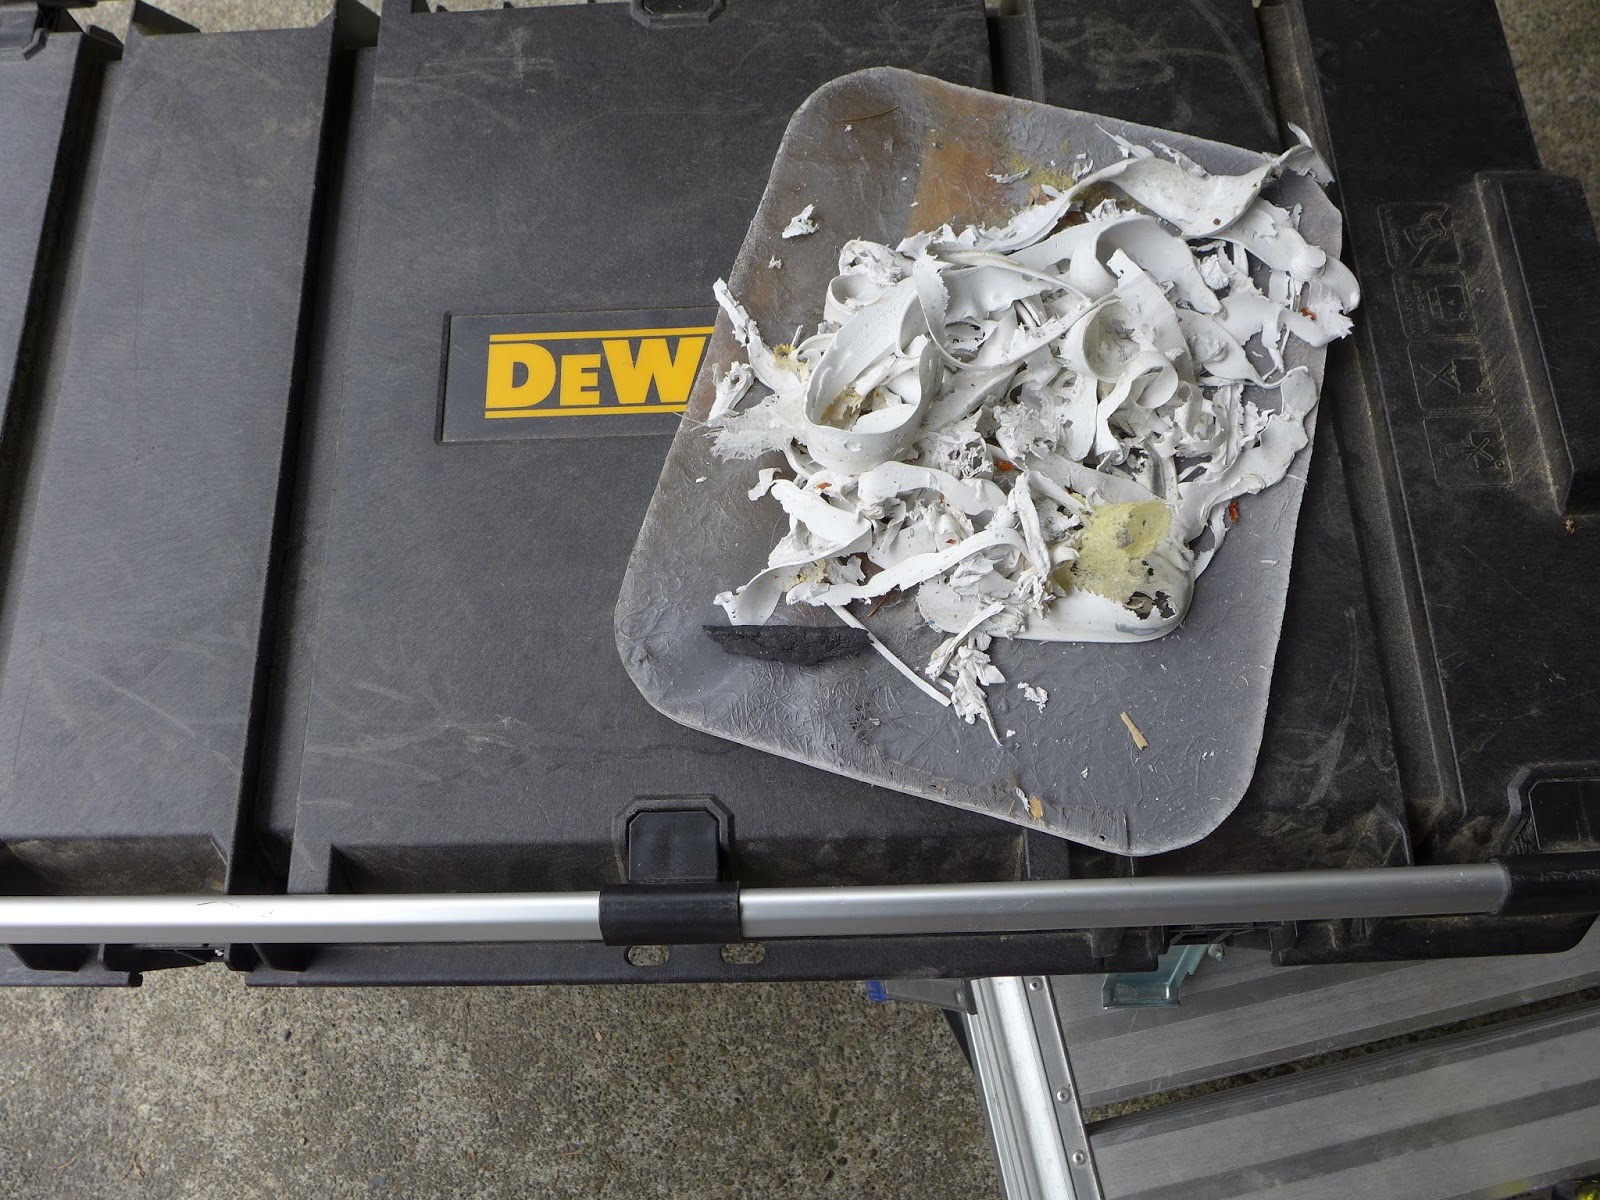
(above) Caulking scrapings...Some of this was still moist...
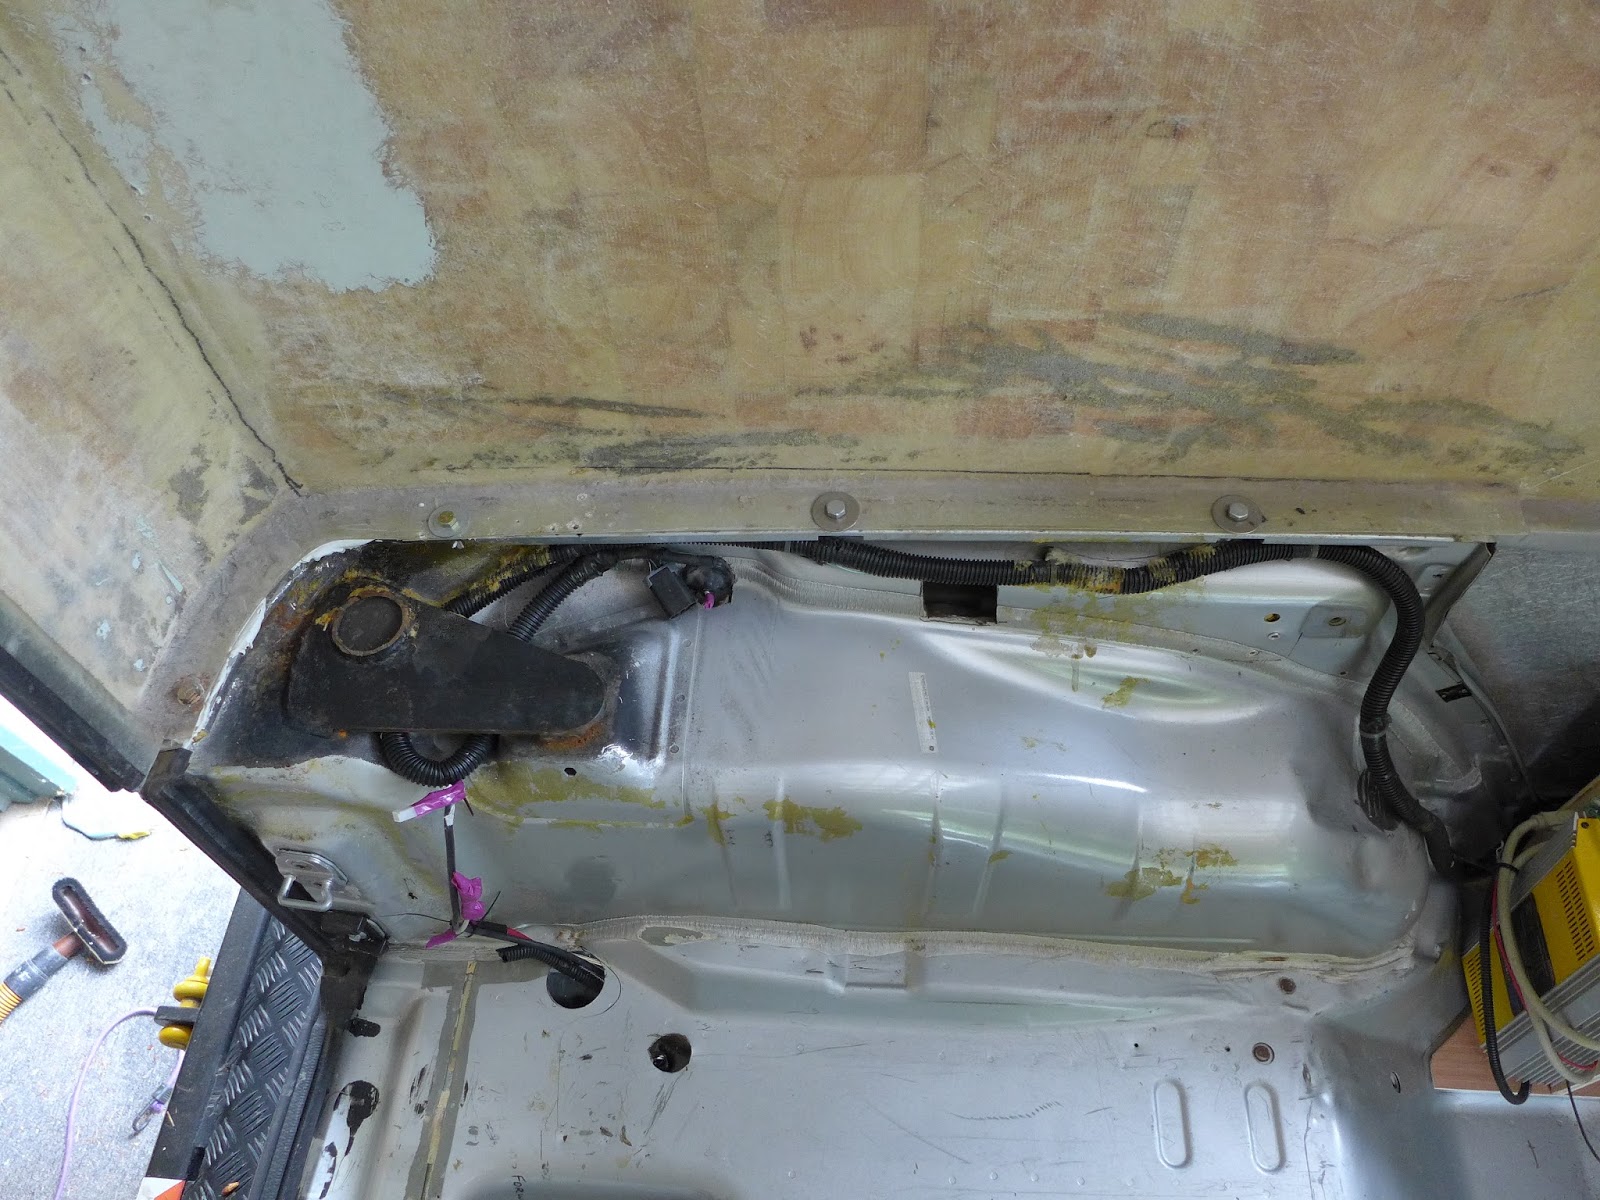
(above) Bolts, washers and nuts were replaced and new ones were added...
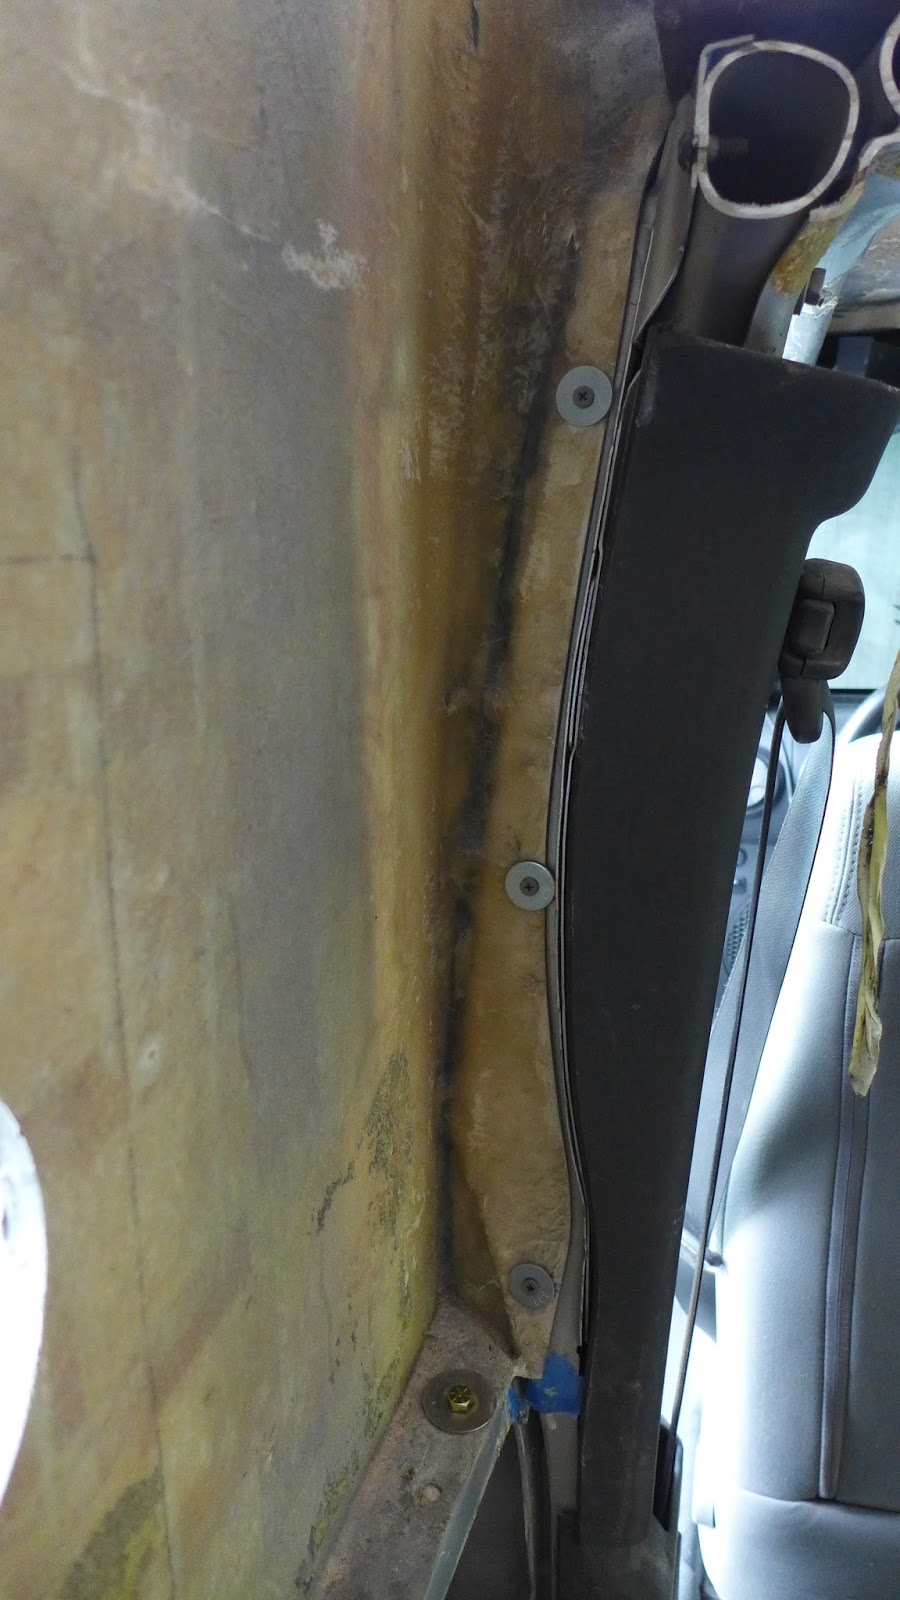
(above) On the verticals, self tapping screws with big washers were installed, pulling the body to the cabin and setting the height of the cabin to the body... Without those, the cabin would continue to dip forward, keeping the propane locker panel from fitting...
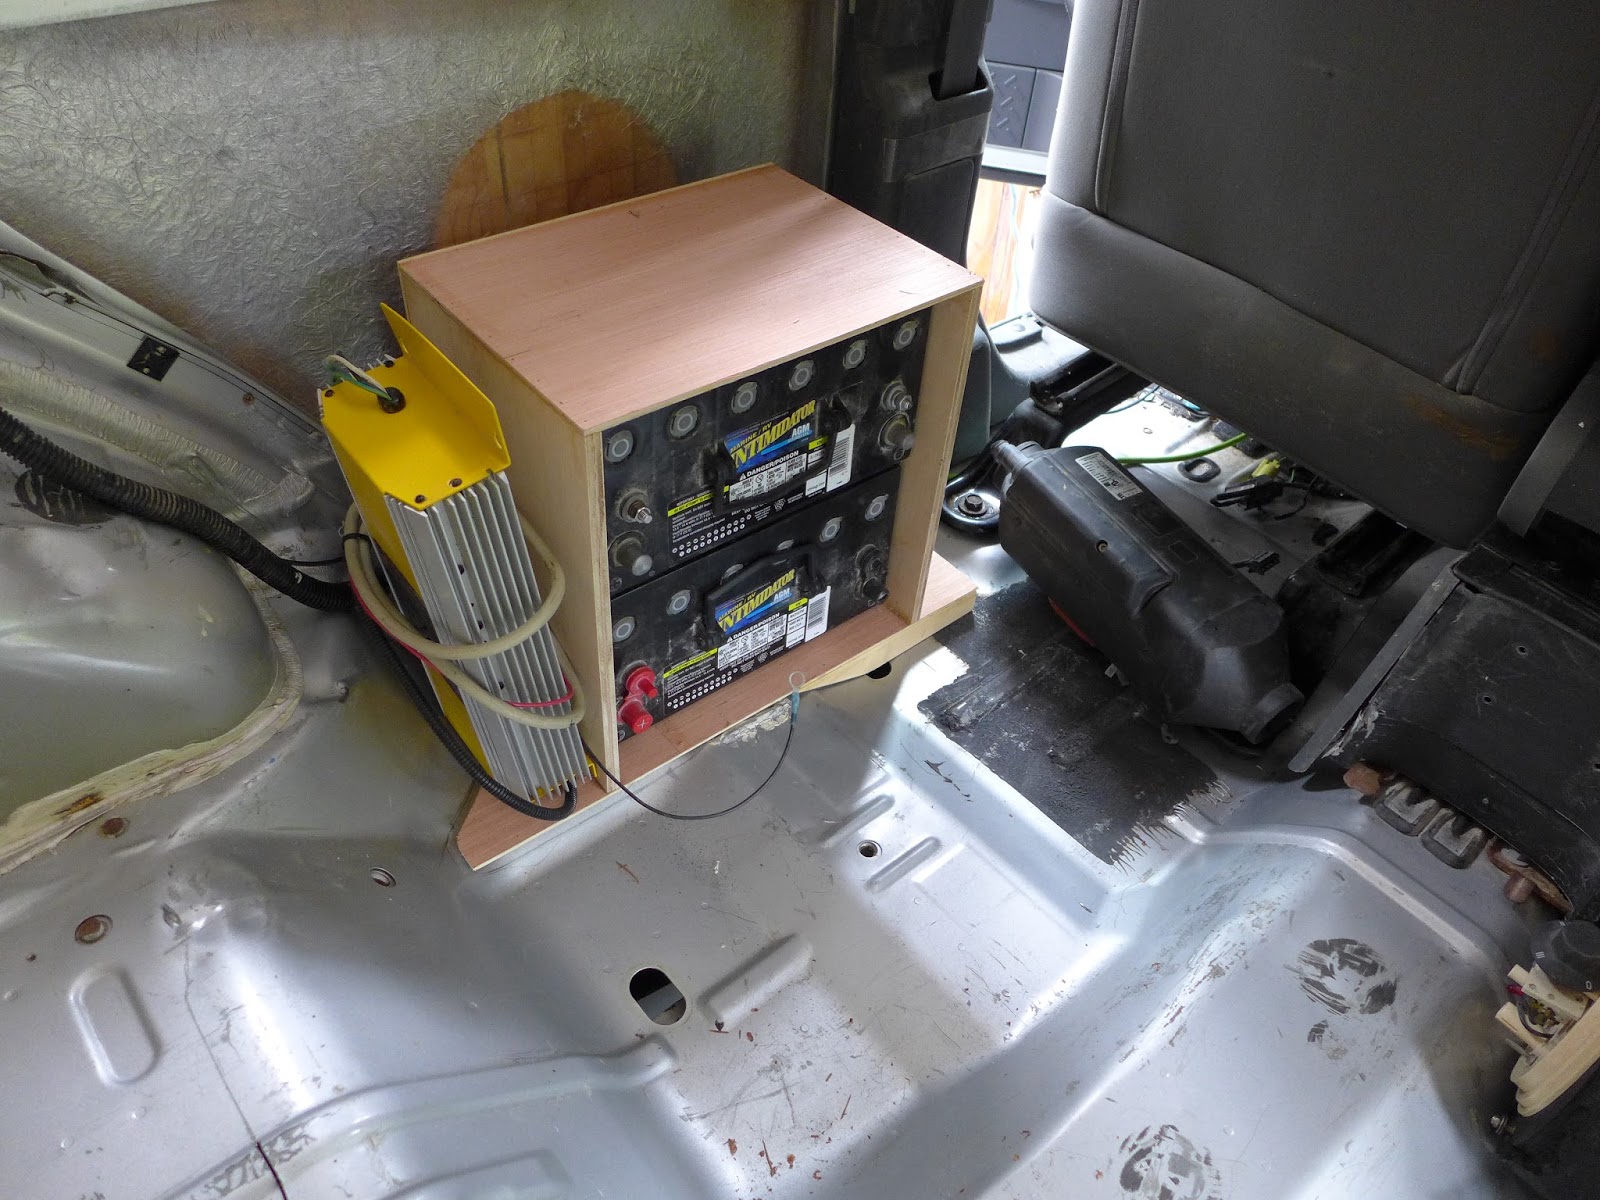
(above) Another look at the battery and air heater locations...
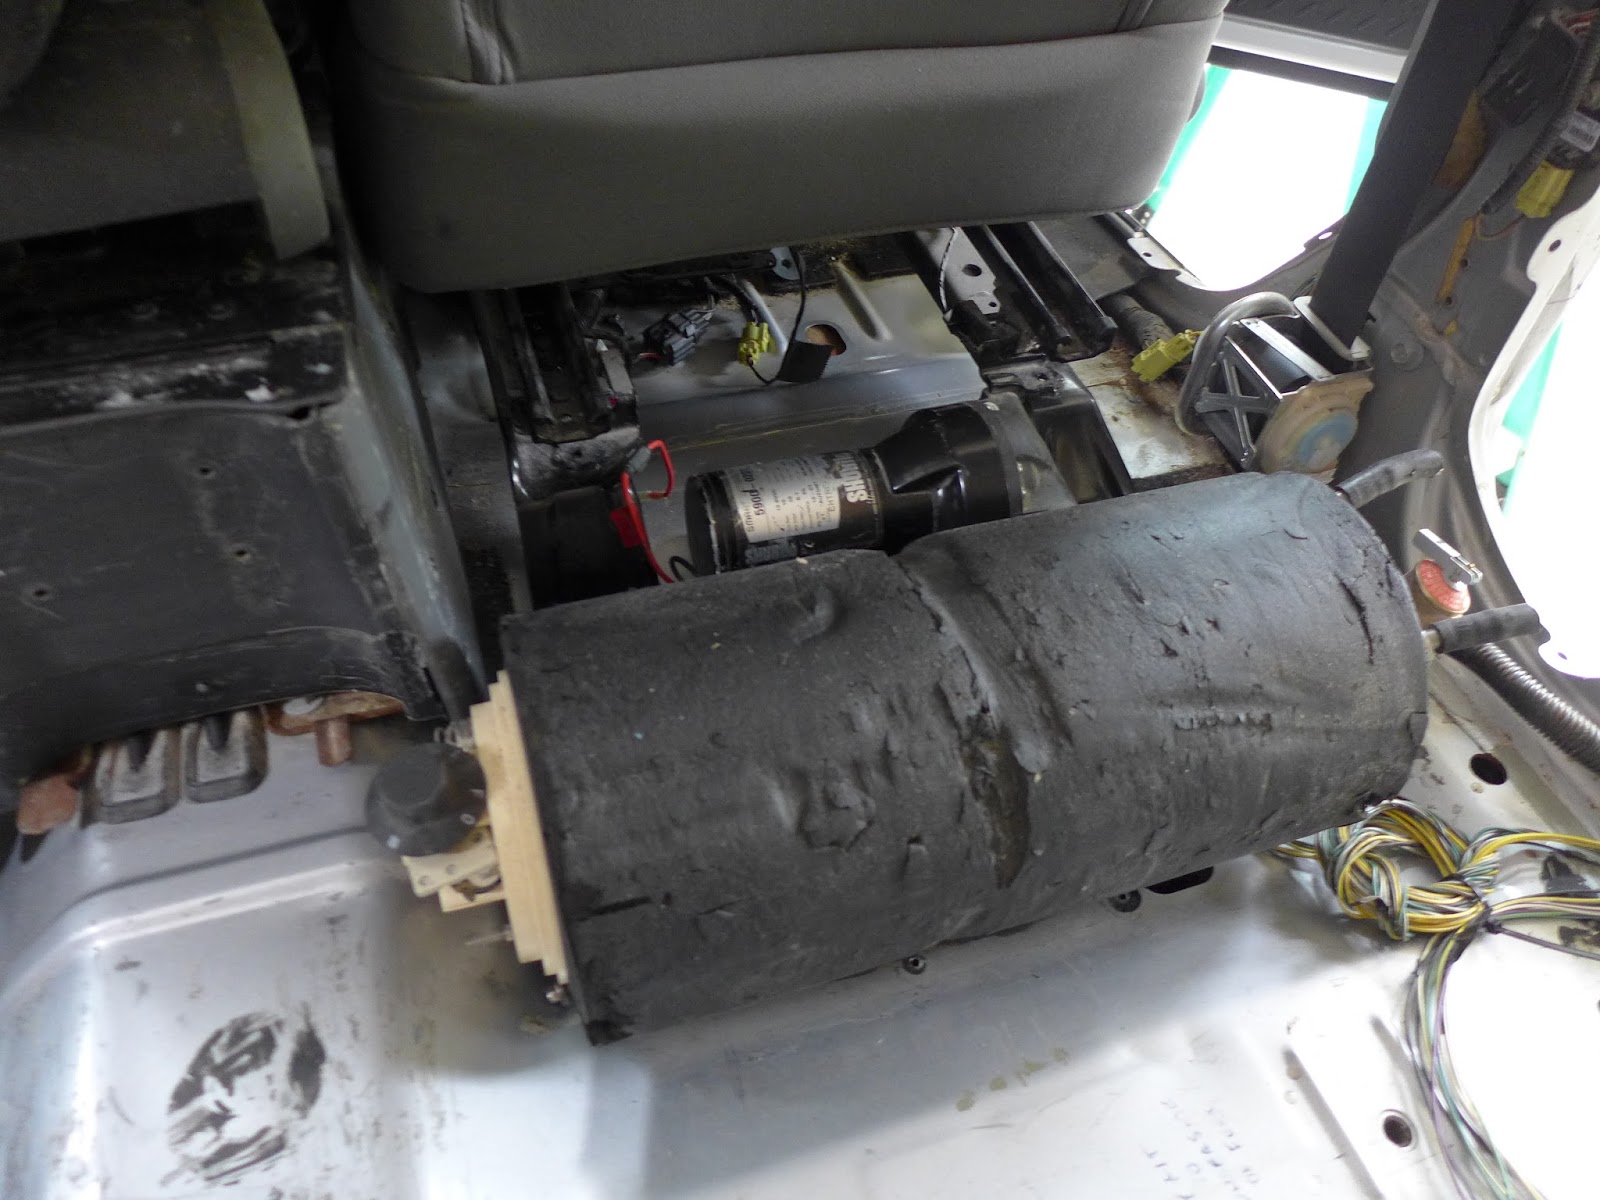
(above) ... and behind the passenger seat, the water pump and water heater...
Today felt like a huge accomplishment finally getting the cabin re-set onto the body... Almost safe to drive...
Next up, finishing the roof and installing it...
Last week was another busy one... Remodeling a waterfront residence, helping a "start-up" trailer company with design and process, back to remodeling and some surfboard work with my mentoree... Throw in our garage door opener replacement on multiple evenings, and my progress on the Jeep was in only clarity of design... But yesterday, it was shop time again...
(above) Wood reinforcement were added to the points of contact for the rear roof rack, the fan, and the solar panel... Later they were all fiberglassed...
(above) The steel crossbar behind the seats has bugged me since day one... I always seem to be bumping into it, and it extends into an already small space, visually and physically...
(above) ...as it is, it is too low at the pass through, considering the space available above...
(above) Two cut-off wheels later it looked like this... I has the 3" square steel tubing in the stack of stuff forever... I still need to bolt and weld it in place, but the difference that simple change made in the way you move in the cabin is huge...!!!... Worth every spark into my scalp...
You can also see the battery box and power control box behind the driver seat and the rough location of where the air heater will be... Over on the other side, behind the passenger seat, is the water heater zone with the water pump just forward of that...
(above) At the top of things to get accomplished, and it is a big one, is to re-set the cabin on the truck... It came from Iowa with minimal bolting and improper adhesives, applied badly... Unsafe to drive without a big strap holding it on...
The cabin needed to be lifted a bit and this is how I did it...
(above) Just enough to be able to scrape out the bad caulk job and realign the cabin to the body...
(above) Plenty of room to clean things out...
(above) Before, the loose panel would not fit... The cabin dipped forward there and no forcing could get it in...
(above) The bulk of the bad caulking was on the vertical connections... To my knowledge, there never has been any mechanical bond between the vertical cabin and the body, only adhesives...Less than solid...
(above) Caulking scrapings...Some of this was still moist...
(above) Bolts, washers and nuts were replaced and new ones were added...
(above) On the verticals, self tapping screws with big washers were installed, pulling the body to the cabin and setting the height of the cabin to the body... Without those, the cabin would continue to dip forward, keeping the propane locker panel from fitting...
(above) Another look at the battery and air heater locations...
(above) ... and behind the passenger seat, the water pump and water heater...
Today felt like a huge accomplishment finally getting the cabin re-set onto the body... Almost safe to drive...
Next up, finishing the roof and installing it...
