rossvtaylor
Adventurer
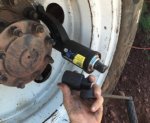
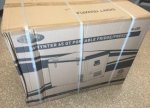
Pat, I'll do a bit of testing on that tomorrow. For today, I used it to tighten the lug nuts and I was cautious not to overtorque them. It seems to work quite well. But, tomorrow, I'll tighten a couple as much as I can with the 3/4-inch drive and a 5 foot pipe... then I'll see if Kara (strong, but all of 110 pounds) can undo them with the torque multiplier.
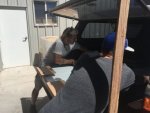
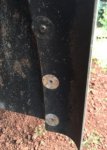
For today, our progress was limited to a couple hours of work. We removed the rear wheel aluminum fender flares. They were held on with about 50 stainless machine screws and fender washers. I saved all the fender washers, for the rubber fender flares.
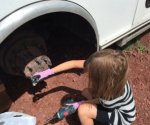
I had some help, too... my 8-year-old daughter Ruby is excited about this project too... she's going to get a hammock inside, like we had in our slide-in truck camper, and she loved it.
The fender flares were attached to aluminum strips, which were spot welded along the joint. They were firmly attached, but were easy to break free by bending one weld at a time with the water pump pliers. I'm impressed with how thick the box skin is. I'll get the calipers out tomorrow, but it looks thicker than 1/8th inch.
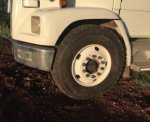
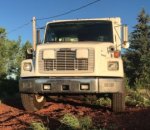
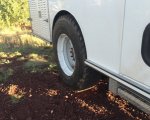
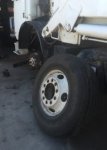
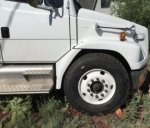
We got the front tires on and this is how it sits, on stock springs and without cutting or removing the bumper end sections. I'm sure we'll need to do a bit of trimming and the bumper is coming off (for now). But, we love how it looks. And, the tires and wheels give us an extra 5.25 inches of axle-to-ground clearance. With a few inches of lift, it's going to be perfect.
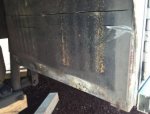
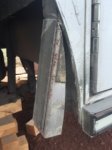
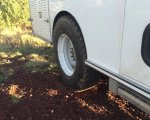
For the rear, here's what I marked to cut. The 1 7/8th inch mark at the top was determined by the interior top of the fender well. But, to get the 42-inch tires inside the well, I had to expand to 2.5 inches at the bottoms. That will give us enough width, I think, and it doesn't cut into the door frames. If needed, I can go another 1.5 inches across (total, 3/4 inches on each side.

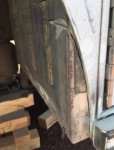
I cut the top of both rear wheel wheels, using a jig saw with a metal cutting blade. Because of the existing front and rear interior skirting, I wasn't able to take the cuts all the way to the bottom. I'll use a grinder and metal blade for that, tomorrow.
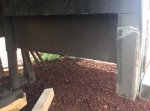
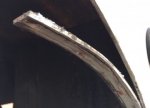
On both sides of our box, we've got an aluminum channel with a rubber bumper insert and a reflective strip. I cut those, in preparation for the final cuts tomorrow. I'll also use the grinder to chamfer the ends of the channel, like the original ends are done.

Tomorrow, we'll finish the cuts and put the tires in place on the back. It will be close and I have a plan for that... but, more on that later.
For today, our progress was limited to a couple hours of work. We removed the rear wheel aluminum fender flares. They were held on with about 50 stainless machine screws and fender washers. I saved all the fender washers, for the rubber fender flares.

I had some help, too... my 8-year-old daughter Ruby is excited about this project too... she's going to get a hammock inside, like we had in our slide-in truck camper, and she loved it.

The fender flares were attached to aluminum strips, which were spot welded along the joint. They were firmly attached, but were easy to break free by bending one weld at a time with the water pump pliers. I'm impressed with how thick the box skin is. I'll get the calipers out tomorrow, but it looks thicker than 1/8th inch.

We got the front tires on and this is how it sits, on stock springs and without cutting or removing the bumper end sections. I'm sure we'll need to do a bit of trimming and the bumper is coming off (for now). But, we love how it looks. And, the tires and wheels give us an extra 5.25 inches of axle-to-ground clearance. With a few inches of lift, it's going to be perfect.

For the rear, here's what I marked to cut. The 1 7/8th inch mark at the top was determined by the interior top of the fender well. But, to get the 42-inch tires inside the well, I had to expand to 2.5 inches at the bottoms. That will give us enough width, I think, and it doesn't cut into the door frames. If needed, I can go another 1.5 inches across (total, 3/4 inches on each side.

I cut the top of both rear wheel wheels, using a jig saw with a metal cutting blade. Because of the existing front and rear interior skirting, I wasn't able to take the cuts all the way to the bottom. I'll use a grinder and metal blade for that, tomorrow.
On both sides of our box, we've got an aluminum channel with a rubber bumper insert and a reflective strip. I cut those, in preparation for the final cuts tomorrow. I'll also use the grinder to chamfer the ends of the channel, like the original ends are done.

Tomorrow, we'll finish the cuts and put the tires in place on the back. It will be close and I have a plan for that... but, more on that later.


