Grumman the Backcountry Box Van____1997 Ford E450 7.3l Power Stroke diesel

Raul

Adventurer
Ouch. Sorry to hear that. Are you taking yourself to a dealer? If not you may want to do a DIY of the repair and post it on RecoveryPortal.com :p
 

Petrolburner

Explorer
Ouch. Sorry to hear that. Are you taking yourself to a dealer? If not you may want to do a DIY of the repair and post it on RecoveryPortal.com :p

I've enlisted the help of professionals. They chose the size and amount of titanium hardware to install. The installation was done on Tuesday afternoon. The goal is to move as little as possible for the next two weeks so the bones can get tacky and expedite the fusing process.
 

Petrolburner

Explorer
First layer plan. I wanted to avoid having the 4 corners lining up and making a weak spot.

First layer of flooring by Petrolburner, on Flickr

First layer of flooring by Petrolburner, on Flickr

Note the cat that I've trained to stay on the stack of moto tires. If she jumps down to wander around, she gets booted outside. As long as she stays right there I allow her to be inside.

First layer of flooring by Petrolburner, on Flickr

First layer of flooring by Petrolburner, on Flickr

I missed some steel beams in the front corners while measuring. Therefore the plywood doesn't fit. I cut them a little too tight as well. I cant move the wood around now obviously. I also bought a router off craigslist. I think I can use it on the edges to create some overlap. I don't know the terminology or philosophy.
 

Petrolburner

Explorer
This next hardware installation is indirectly related to the progress on the BoxVan, or lack thereof. The good news is that the fit up was great and everything was tight at the 2 week post-op inspection yesterday. There is evidence of recalcification along the fracture already and that's a great sign. I get to start using my left hand again in another month.

Titanium hardware by Petrolburner, on Flickr

Cut by Petrolburner, on Flickr
 

Mat Mobile

Adventurer
No worries man! In 6 weeks you should be fine! It happened to me 2 years ago. Just stay positive and use that time to do research and plan out your build.

BTW, here's my X-Ray. I gotta share just because I think it's cool that you can also see my pacemaker!

uc
 
  • Like
Reactions: WVI

Petrolburner

Explorer
Well, I'm still not exactly healed but I have some strength and range of motion back in my left arm. I went 3 wheelering in the snow with a buddy of mine and it was a blast.

Untitled by Petrolburner, on Flickr

Unfortunately I towed the Big Red behind my CR-V on an open trailer and it was covered in road slush and grit. Time to get back on the BoxVan floor. I must really suck at measuring because I had to cut a fair amount off in several places.

Untitled by Petrolburner, on Flickr


Everything fits pretty well now. Edges will get repainted and the gaps are nothing some polyurethane adhesive can't handle. Next steps include tapping the fuel tank for the Webasto heater, new fuel fill hoses, drain the tank sump, fuel filter and oil change, new tail lights and reverse light setup, trailer hitch, cut the rear step off and weld up a new one much higher...
 

Buddha.

Finally in expo white.
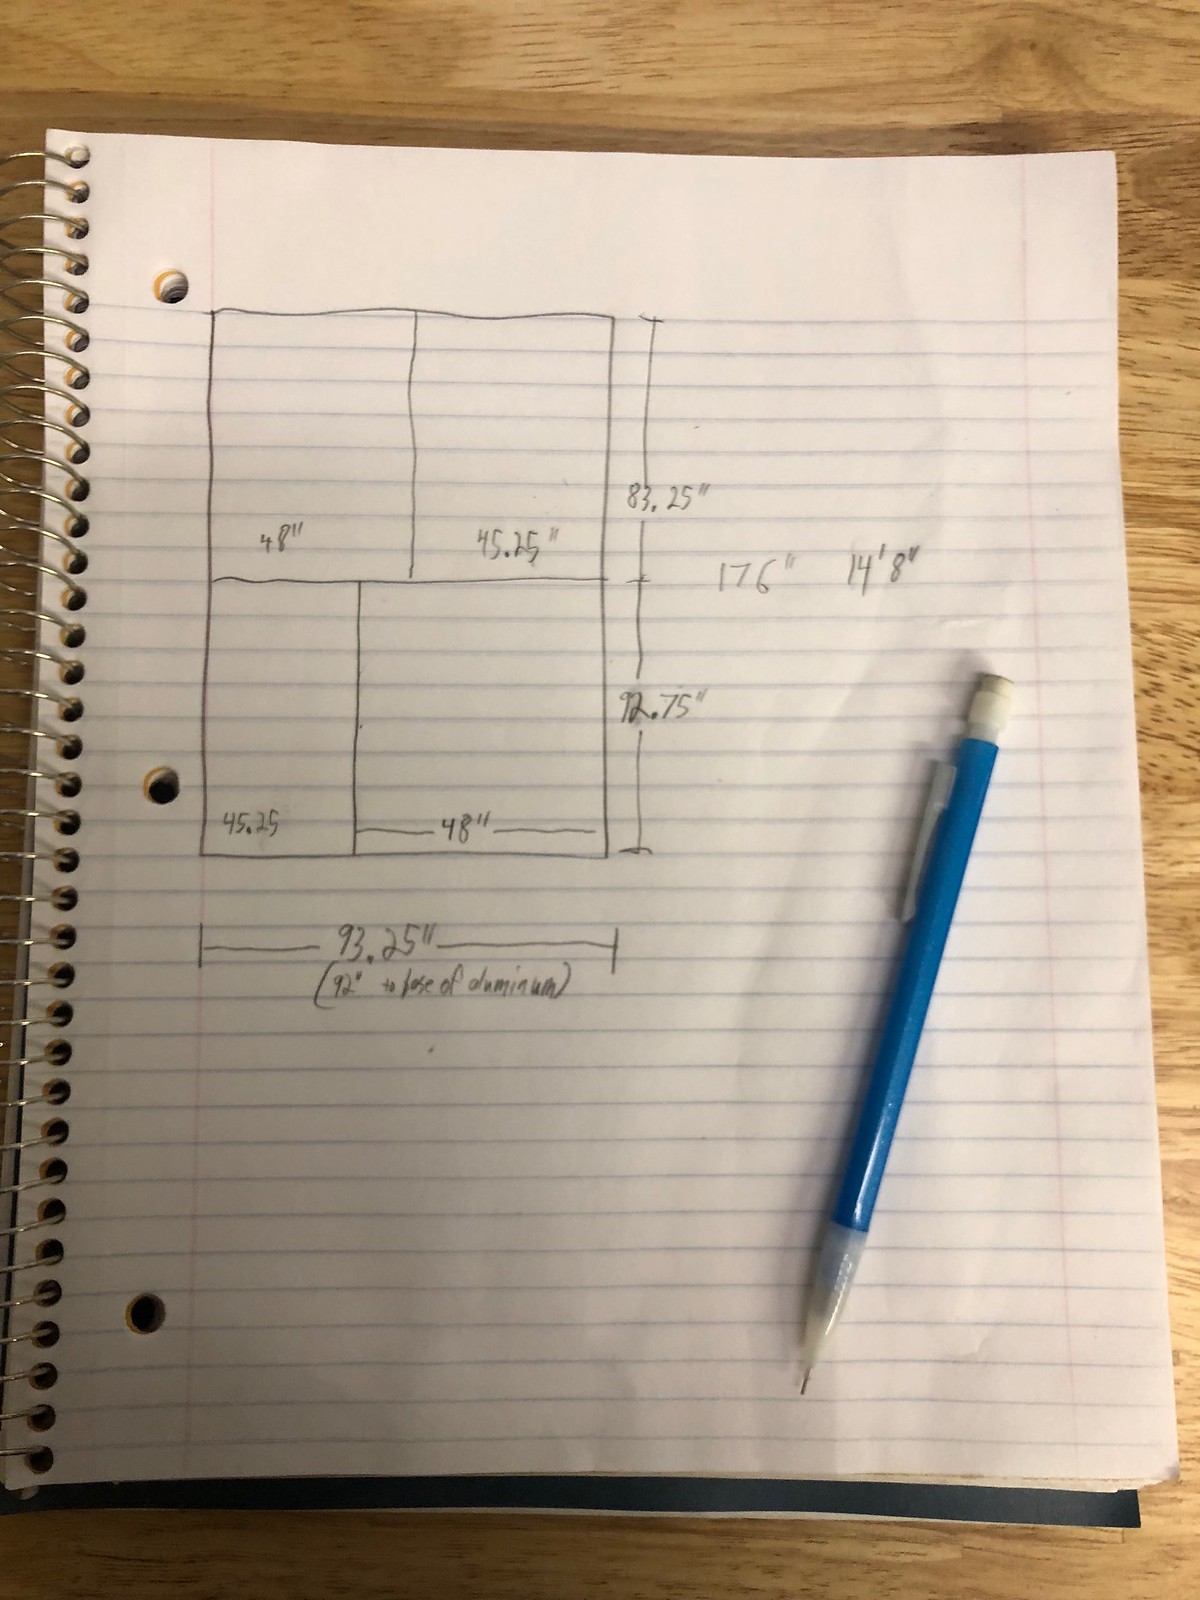
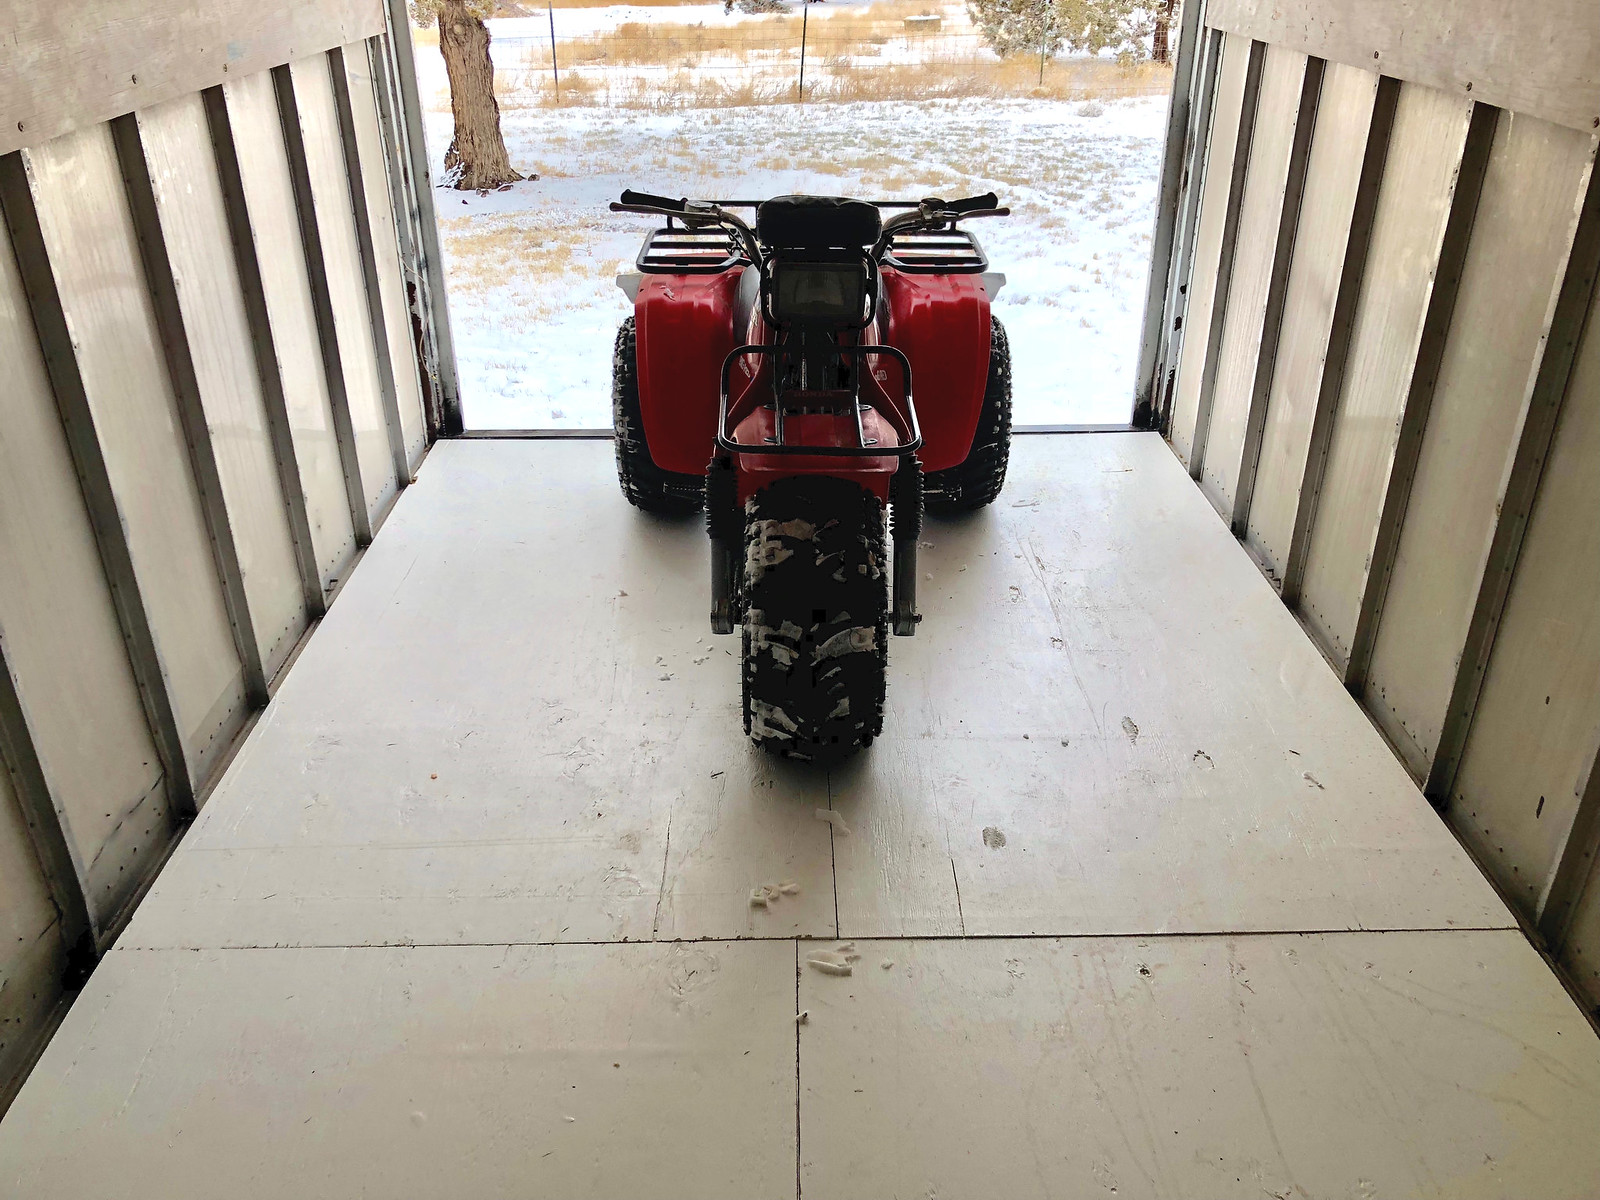
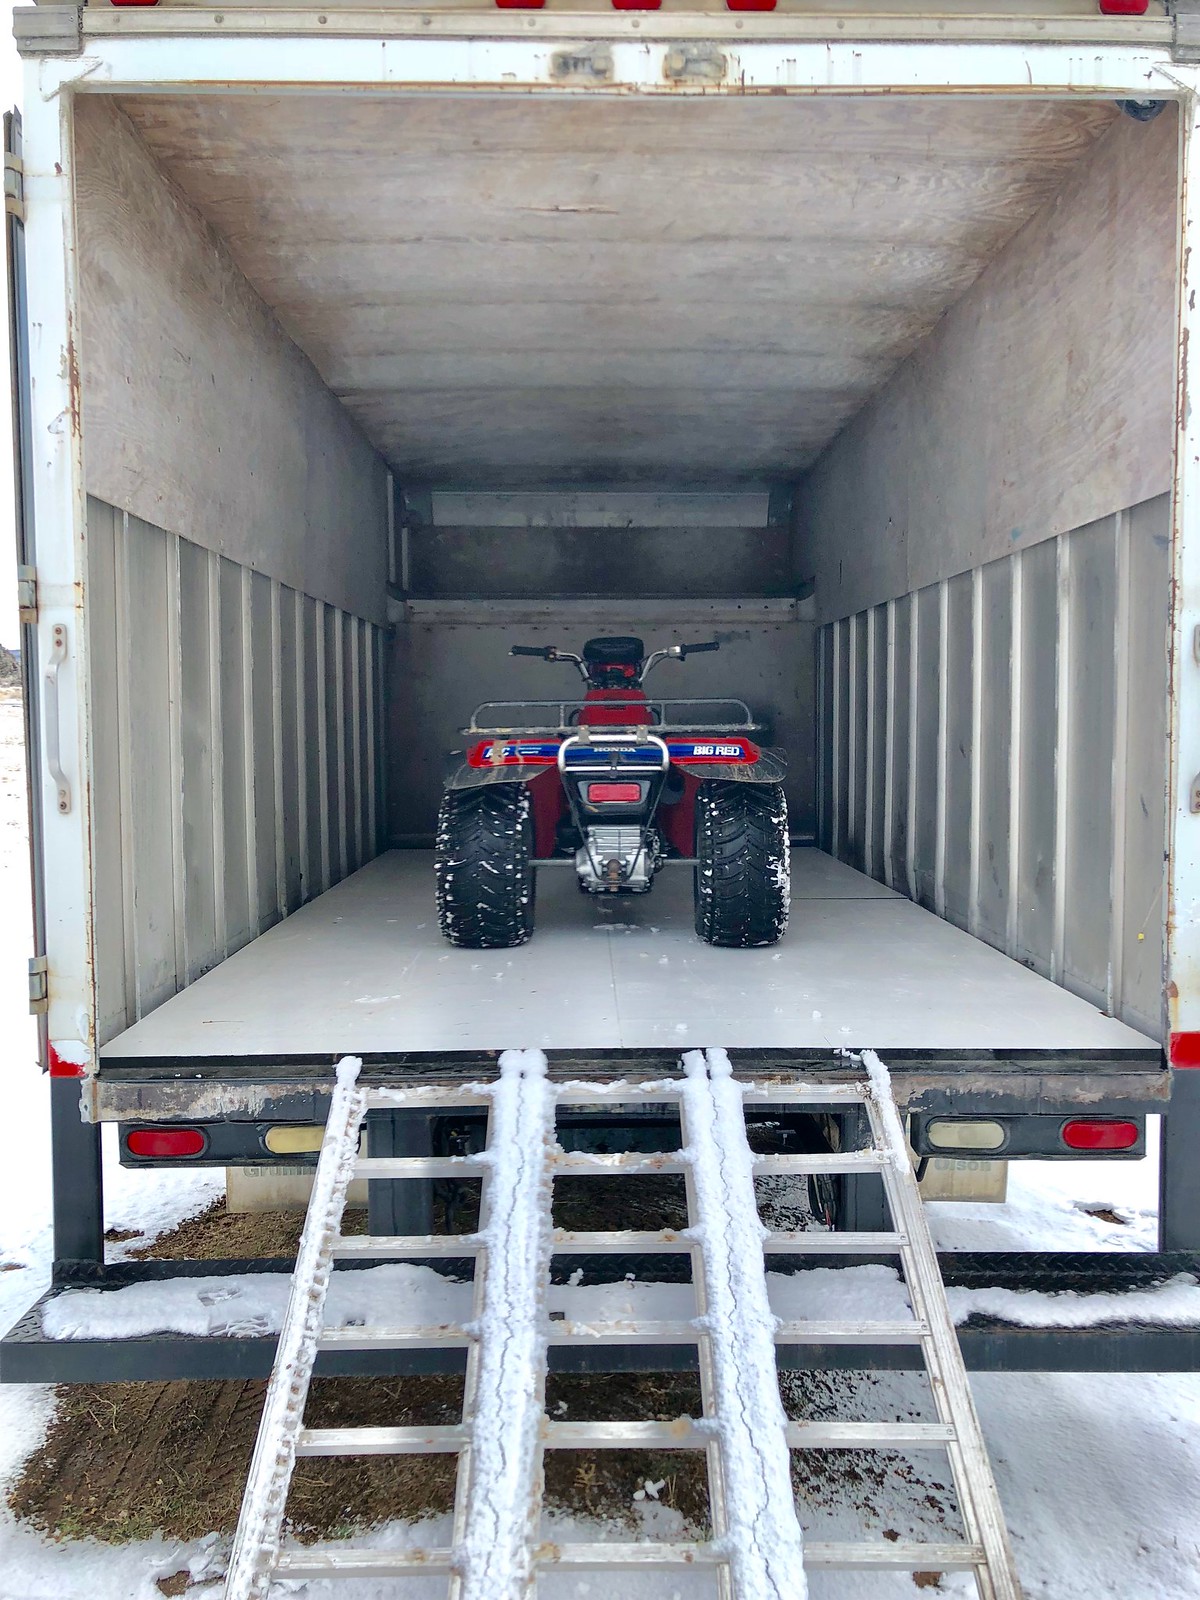
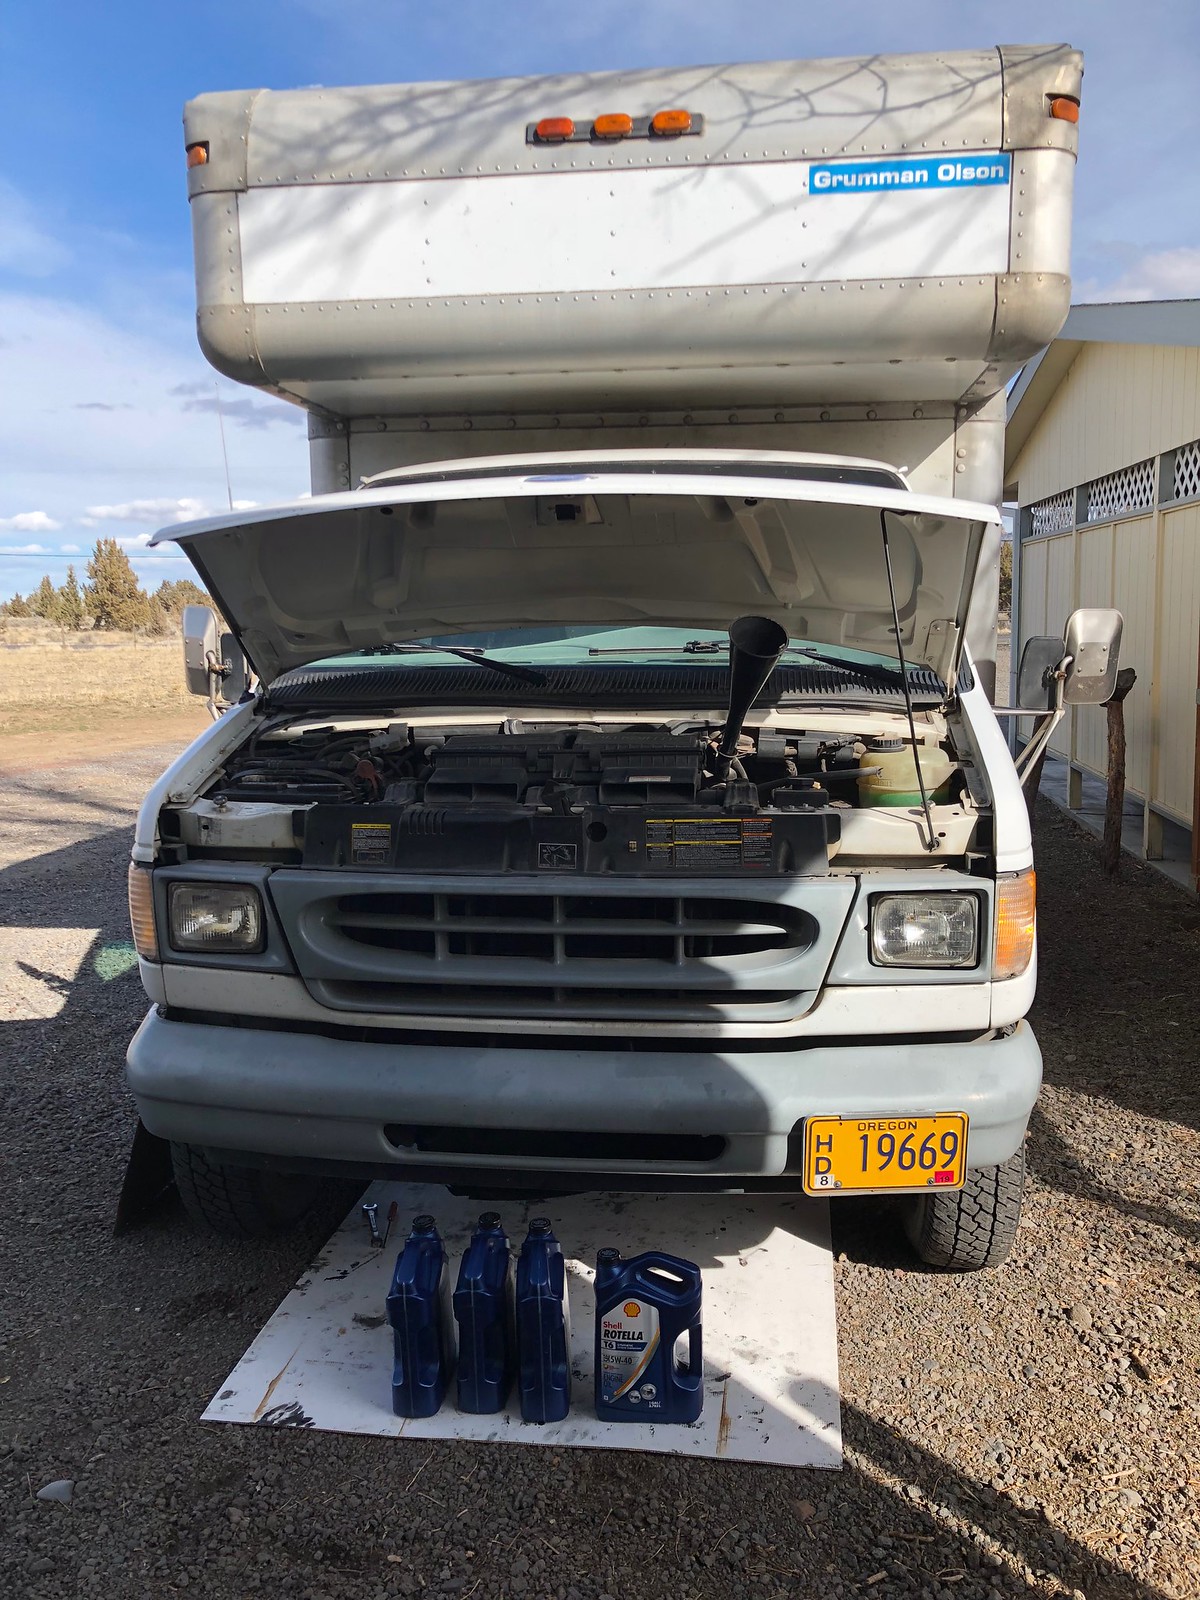
Ok, serious question here.* My van has semi truck sized mudflaps.* I was talking with Kathleen and said that since it has semi truck sized mud flaps, the only reasonable solution is to get the ones with the hot naked lady in chrome on black rubber.* Right?* She gave me an odd look.* I said well I guess you could also run the "Back Off" mud flaps with Yosemite Sam on them.* That would be reasonable.**

I had this same conversation with my wife when I bought my truck. Same progression from naked lady mudflaps to yosemite same mud flaps even, Lol.

I missed some steel beams in the front corners while measuring. Therefore the plywood doesn't fit. I cut them a little too tight as well. I cant move the wood around now obviously. I also bought a router off craigslist. I think I can use it on the edges to create some overlap. I don't know the terminology or philosophy.

Rabbet joint.
 

Petrolburner

Explorer
Next project was an oil change. I never complained about the cost of an oil change on any of my bikes or cars before. It's easy to do and really pretty cheap insurance and maintenance. Same story with Grumman but jeeze, 4 gallons of oil?

Oil change by Petrolburner, on Flickr

I don't like working on gravel. I'm laying on one of those plastic campaign signs, much better than a sheet of cardboard. Thanks for the hook up Don!

Oil change by Petrolburner, on Flickr

I'm sending a sample in to see what I can find out about the motor. It seems healthy other than injectors, but I don't want to go deep into this project if there's evidence that the crank bearings are falling apart or something like that. Good news is that the magnetic drain plug didn't have any shavings on it. Amazing.

Oil change by Petrolburner, on Flickr
 

Oldcarnut

Adventurer
Another good base for working on gravel or dirt are old throw rugs or carpet remnants. I have a couple old cord rugs from my grandparents that are wonderful to lay on while working on improved surfaces.
 

Petrolburner

Explorer
I got my results back from Schaeffer, all normal. I'll try to figure out a way to post them for anyone that is curious. I had no idea what the results page would look like.
 

Forum statistics

Threads
186,523
Messages
2,886,928
Members
226,515
Latest member
clearwater
Top