Day 2: Fun with Fire
Saint Kimberley the Luscious (aka Mrs. Herbie) granted me another big chunk of time this weekend, so I was able to make some more good progress on the teardown.
As before, my annotated image log is
here.
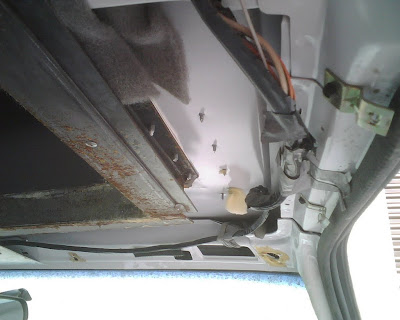
The primary goal on Day 2 was to get the steel reinforcing ring separated from the rest of the van. After drilling all the fasteners on Day 1, I found that a significant amount of adhesive had been used. This stuff was STRONG. If I pulled hard on the steel ring, the roof sheet metal would flex some, but the adhesive didn't budge. Well, when in doubt, apply heat:
I worked my way around the perimeter with a propane torch and a wide putty knife. In most cases a little heat and sliding in the putty knife would get things separated nicely. In a few spots things were obviously under a bit of tension because just applying heat would cause the gap to separate.
In a few other places, more heat and a bit more aggressive application of the putty knife were needed. Mostly where the adhesive was laid on thick and there was a lot of mating surface area.
Eventually though, the glue surrendered and the ring came away, leaving just the sheet metal and what remained of the original reinforcing ribs.
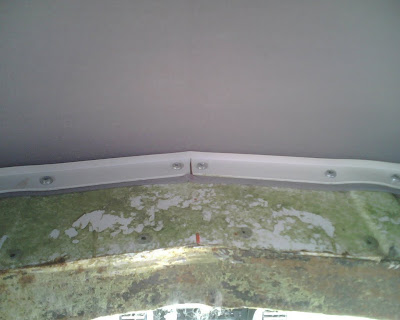
The carpet/glue residue looked pretty nasty after "burning", and in a few spots I really did have to burn the paint to get the glue to let go, but that's one upside of a disposable donor, I don't have to care!
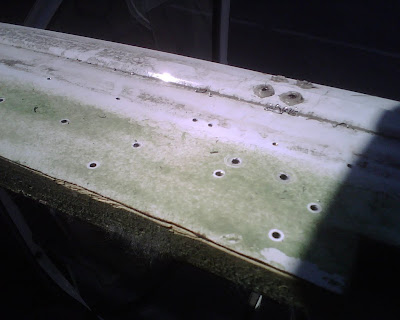
And here's the ring after separation. I was pleasantly surprised to find the ring is "open" at the right-rear corner. This made removal much easier and should make re-installation much simpler also, because in several places the horizontal surfaces of the ring slot in between the roof sheet metal and the stock cross bracing. This thing will have to be maneuvered into place around several such interfering areas, so the fact that I can "pinch" the ring slightly will be a help. Once in place, all of the mechanical fasteners should make it at least as strong as if the ring was welded around the entire perimeter.
The remaining white is more adhesive that I'll scrape off later. I really want to brush or blast this whole thing and at least give it a coat of primer. I hate seeing the start of rust on bare steel.
I also had time to start tackling transplanting the passenger seat swivel base into my van.
I had originally
installed a different swivel that sandwiches in between the slider track and the seat bottom:
The problem here being that the added thickness of the slider plus the spacers needed to clear the "arch" of the slider track make the seat dangerously high. (Without a headliner in my 2003 van, a couple of my taller passengers are too close to the roof unless they recline the seat quite a bit!) My hope is to be able to transplant the older swivel base into my van.
After removing the seat, I had to get past the massive amount of brushed on bedliner that covered everything on the floor of the donor van. Mostly I just brushed it off the nuts so I could remove the base plate.
The next problem was that my 2003 van includes an underseat heater duct for the 2nd row foot area. At first I thought I could clear the duct by just notching the rear of the baseplate (underside in this photo):
However it turns out that the stack-up of ducting, insulation, and carpet means the studs aren't long enough to meet the baseplate. (The OE seat mount in my 2003 has a raised bracket with feet that extend to meet the studs, rather than a flat plate.) I'm still brainstorming on the optimum solution here. I may try to turn some sleeved nuts to reach down to the studs, or I may build a similar rail/foot system to clear the floor area entirely, but that will raise the seat back UP, so I may have to compensate by cutting down and re-welding the extension tube in the swivel.... ugh.
Anyhow, more to come, stay tuned!
