rayra
Expedition Leader
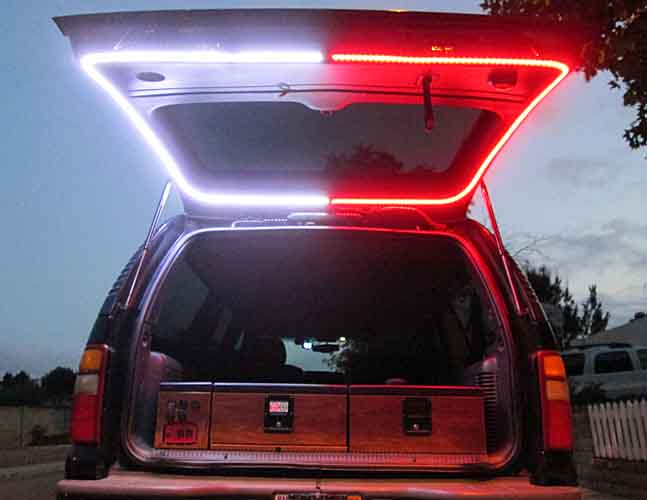
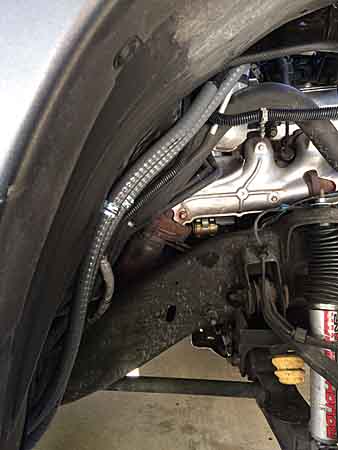
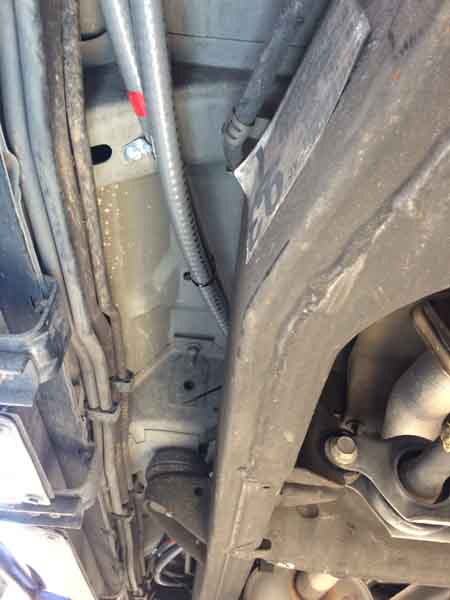
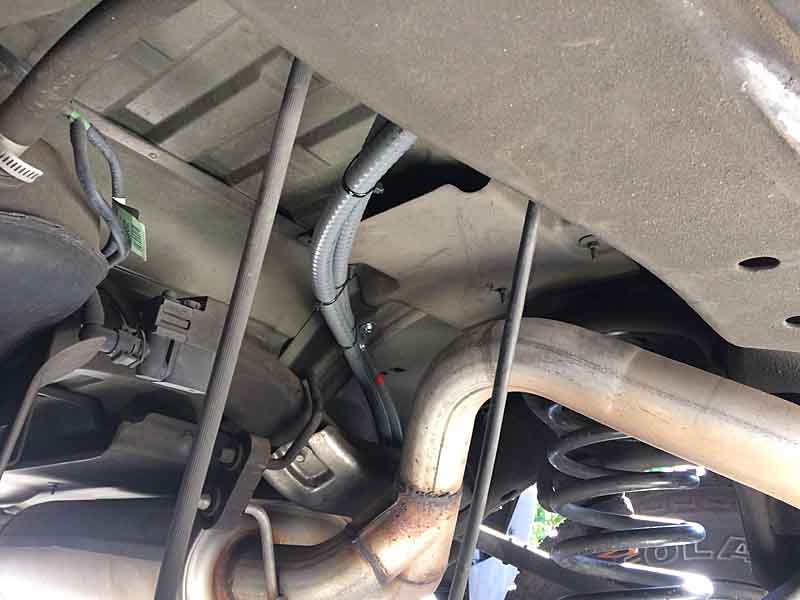
I ran 1/0 cables thru PVC flex conduits down the firewall from the aux battery loc, down along the inside of the passenger side frame rail, then cut across under the cargo deck aft of the muffler and forward of the spare and up thru the floor back between the subwoofer and the driver side wheel well, for my cable run. I've got a lot fo other stuff tied into it in the cargo area, and eventually will have an extension run to the rear bumper for a hitch-mounted winch.
Details are referenced in my build topic.
I was tempted to go thru the frame, it's possible from end to end, but I was worried about abrading the cable pulling it thru. I wasn't using welding cable and the stiffness might have wound up scraping off insulation as it was run.

Details are referenced in my build topic.
I was tempted to go thru the frame, it's possible from end to end, but I was worried about abrading the cable pulling it thru. I wasn't using welding cable and the stiffness might have wound up scraping off insulation as it was run.
Last edited: