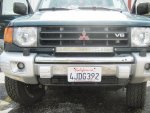
Joinin' the Montero Club with a Gen 2.5

jlocster

Explorer
Clem, most RVers I read about used a short nap roller which, from the pictures I've seen, gives it a frosted texture.

Off-roader, do it brother! FYI, 5 days out and it is getting stained by bird crap as I live under a crow/pigeon/dove/sparrow flight path. The doody cleans off OK but there is a slight discoloration left.
 
Last edited:

jlocster

Explorer
New Jamz

Time for a stereo upgrade since I don't use CDs anymore. I opted for a stereo reciever with a USB port. Figured I'd replace some of the speakers at the same time.

For reference. Infinity sound system has:

2 - 6 1/2 " door speakers
2 - 4" lower dash speakers
2 - 6"x9" rear speakers
2- separate tweeters on front door window sills

This set up also has a factory amp.

I didn't replace the tweeters or the dash speakers.

Let's do the stereo first.

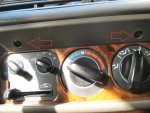
Remove these screws. Panel pulls off.
IMG_6653.JPG

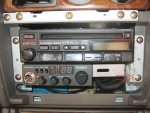
Remove these screws and stereo mounting bracket pulls out.
IMG_6646.JPG

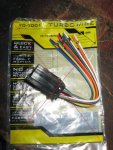
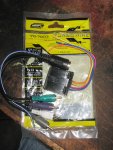
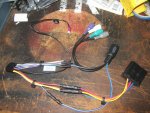
Do not use this wiring harness to connect your stereo if you have the upgraded Infinity sound system with a factory amp. It won't work (However, this would be the harness you would use if bypassing the amp and wiring directly from your head unit to your speakers).
IMG_6647.JPG

I repeat don't do this if you want to use the factory amp.
IMG_6648.JPG

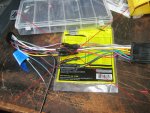
Use this instead.
IMG_6650.JPG

And then do this.
IMG_6651.JPG

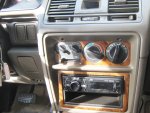
Tada.
IMG_6654.JPG

I decided to remove the CB and reinstall the cubby as I missed the storage. Now I have to fugure out where to put the CB.

Now for the speakers.

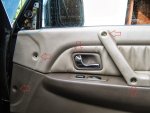
Remove front door panel fasteners (red arrows) and then pry off door panel.
The plastic tweeter housing has to be removed also (blue circle) for the door panel to come off.
IMG_6655.JPG

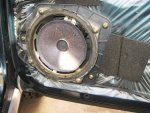
This guy was in bad shape.
IMG_6656.JPG

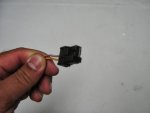
This is what the connectors look like if you want to buy pre-made pigtails.
IMG_6699.JPG

Continued...
 
Last edited:

jlocster

Explorer
New Jamz con't.

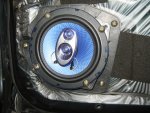
Amazon cheapie.
IMG_6657.JPG

Rear speakers are accessible after plastic trim is removed. They were still in good shape.
IMG_6658.JPG

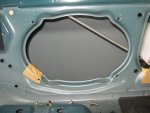
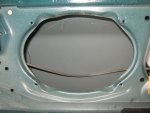
Speaker hole.
IMG_6661.JPG

Had to enlarge the hole to accomodate the new speaker's larger basket.
IMG_6662.JPG

Finished.
IMG_6663.JPG

Final thoughts:

The new speakers and stereo sound exactly like the old set up to me, no discernible improvement there.

My tweeter separates don't work.

The 6 1/2 inchers in the doors only play bass.

Mids in the front are sent to the 4" dash speakers.

This makes me think about rewiring in the future. Specifically, bypassing the amp, removing the tweeters and 4 inchers and wiring directly from the head unit to the 6.5s and 6x9s so they both get full range. But that's for another day.
 

jlocster

Explorer
Trip to Nowhere 2013

Well, I did a bunch of mods and hit the road. First with a couple buddies and when they had to bail, by myself. 7000+ miles later I can report the Montero is running without a hitch...big knock on wood (I'm still 3500 miles away from home).

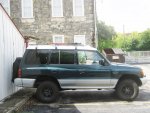
From a few days ago
IMG_0118.jpg

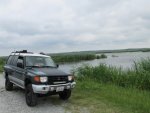
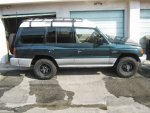
Here's how the ride ended up looking. BTW, this was searching for alligators along the Georgia/South Carolina border
IMG_0017.jpg

Found one
IMG_0021.jpg

More updates when I can...
 
Last edited:

nwoods

Expedition Leader
Wow, I did my stereo upgrade the exact same time you did! Early on, I know that one of my tweeters (drivers side) was not working, but otherwise the system sounded okay, weak on bass, but not terrible. My biggest issue was not being able to connect my iPhone.

I started off replacing the 6.5" door speakers and the tweeters with a 5.25" speaker (due to depth concerns), then the rear 6x9's, and then the headunit. I also used the Crutchfield harness and adaptors to make things pretty easy. Had to splice in the tweeters, but that was no big deal. Was fun taking off the door panels. Like you, my speaker surrounds were toasted in the doors:
IMG_1149-M.jpg


Taking out the headunit, I was very surprised that there were no speaker wires! I had purchased a new JVC headunit with decent power (RMS), but I guess I will not be using that! I am using the RCA to DIN adaptor to keep the factory amp in service.

I used 2 way speakers in the doors, and 3-way speakers in the rear, and I kinda regret that, too much high freq sound, it's just overly bright, no matter how much I pull it down with the built in EQ in the headunit. iPhone connectivity is great though!

Now that I can fiddle with the system, I discovered that the front dash speakers were buzzing (blown?) and it annoyed me. Turns out, those are hard to replace! There is a metal shield protecting a harness on the drivers side (alarm harness?) right behind the speaker magnet that limits depth to 1.65" Most decent 4" speakers are 1.95" deep. Also, most 4" speakers are 2-way, with tweeters that sit proud of the speaker surround. Crutchfield recommend a particular 3.5" speaker that should fit, but I found a local stereo shop that had a pair of 4" speakers that were 1.62" deep, with fairly flush tweeters. With these 4" installed, I noticed a significant difference in the audio quality. It really sounds more full and vibrant. Possibly it was the higher quality of these 4" speakers. At $180, they were more than the doors and tweeters combined.

I'm still not content though. So I bought a powered sub that will connect to the headunit using a dedicated preout. It should fit under the passenger seat. This install will be a bit more involved (more wiring), and hasn't happened yet.
 
Last edited:

jlocster

Explorer
Thats great nwoods, I'm sure your setup sounds sick...I wasn't happy with the sound of my new speakers with the factory amp, so I went and pulled it out and then ran new wires directly from the head unit to the speakers, that way they're each getting the full spectrum. Sounds much better to me. I pulled out the tweeters and 4" speakers and tossed 'em.
 

jlocster

Explorer
Pre-Trip Prep

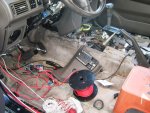
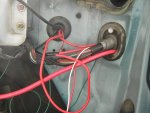
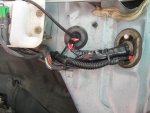
My pre-trip prep began with wiring chaos...
IMG_6713.jpg

IMG_6725.jpg

IMG_6734.jpg

...this was pain that I wouldn't wish on my worst enemy.

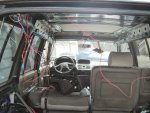
Basically this was all to hard wire an inverter, an air compressor, extra interior lighting, front lightbar and roof rack lighting on the sides and rear. Oh yes, and rewiring the speakers and moving the CB antenna wiring from the front to the rear.


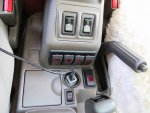
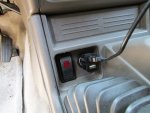
Switch bank controls rear, right, left rack lights and interior LEDs. Single switch trips a relay to power the inverter.
IMG_0043.jpg

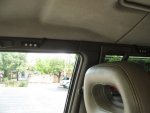
Interior LEDs, from Oznium...I installed 7, 4 for the passenger area and 3 in the cargo area
IMG_6792.jpg

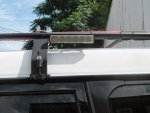
Rack LED, from BlitzPro
IMG_6790.jpg

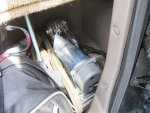
Air compressor is a ViAir 330p controlled by this switch
IMG_0047.jpg

IMG_6797.jpg

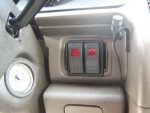
Front lightbar switch and a spare switch (for future pencil spots)...mic is for hands free cell usage with the aftermarket stereo
IMG_6795.jpg

Lightbar, also BlitzPro
IMG_6785.jpg
 
Last edited:

jlocster

Explorer
Pre-Trip Prep, II

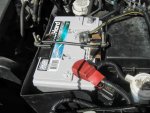
Needed a reliable battery so I got a DieHard Platinum
IMG_6729.jpg

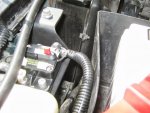
Installed a circuit breaker/cutoff for the inverter
IMG_6728.jpg

Ran 2 gauge battery cable to the inverter and replaced the 10 gauge feed wires to my fuse box with 8 gauge
IMG_6723.jpg

IMG_6726.jpg

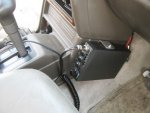
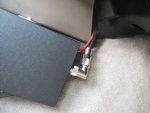
Side mounted the CB
IMG_6801.jpg

Radio Shack has these 90s
IMG_6802.jpg

Moved the antenna to the spare tire mount
IMG_6739.jpg

IMG_6738.jpg

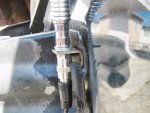
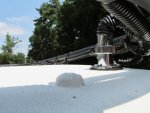
Found this pass-through at West Marine (CB antenna and ground wire)
IMG_6741.jpg

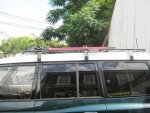
Made a low profile roof rack out of 3/4" conduit
IMG_6789.jpg
 
Last edited:

jlocster

Explorer
Pre-Trip Prep, III

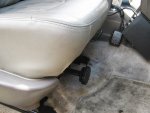
Added the bouncies, which have been really nice on the road, BTW. I still have the heated seats, too...
IMG_6807.jpg

IMG_6803.jpg

Wired the rack lights via a marine waterproof electrical connector, also from West Marine
IMG_0046.jpg

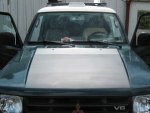
Painted the hood flat black
IMG_6745.jpg

IMG_6784.jpg

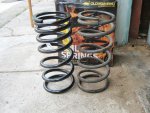
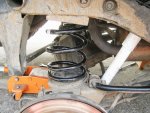
OME expedition duty springs installed, part #938 (stocker on the right)
IMG_6750.jpg

IMG_6751.jpg

Before, stock ride height...had just installed Gen 2 steelies.
IMG_6747.jpg

After, with rear springs and cranked torsion bars
IMG_6786.jpg

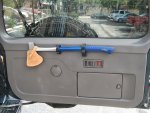
Axe
IMG_6796.jpg
 
Last edited:

jlocster

Explorer
Pre-Trip Prep, IV

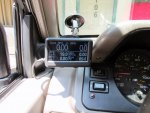
Ultragauge...I really like these things
IMG_0048.jpg

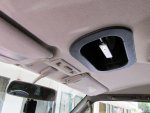
Finished installing the roof vent trim
IMG_0050.jpg

Nav setup: laptop attached to a usb GlobalSat GPS antenna running Microsoft Streets and Trips. The laptop stays plugged in to the inverter...has worked fairly well
IMG_0037.jpg

The old Trasharoo
IMG_0044.jpg
 
Last edited:

eurosonic

Expedition Leader
woaaah. How long long did all that electrical take to install??

also more in for on the gauge? I always wanted one but didnt know who makes one.

Also, where did you the gutter mounts for the rack?
 
Last edited:

JamesW

Adventurer
That looks crazy,fair play for all the work you've just put in.

There is a cubby hole in mine in front the shifter and below the radio,your truck has it blanked off with a plate. It's a nice place to stick the CB as it fits perfectly!
 

nwoods

Expedition Leader
There is a cubby hole in mine in front the shifter and below the radio,your truck has it blanked off with a plate. It's a nice place to stick the CB as it fits perfectly!

Interesting! Can you post a picture of that? What year and trim level is your Monty?

When I pulled out the radio, the area immeadistely below it behind that blank plate was chock full of misc machinery, brackets and wiring. Mine is a 98 with the Winter package
 

JamesW

Adventurer
Interesting! Can you post a picture of that? What year and trim level is your Monty?

When I pulled out the radio, the area immeadistely below it behind that blank plate was chock full of misc machinery, brackets and wiring. Mine is a 98 with the Winter package


I'll get a better pic when I get my poor truck back from being fixed,this is the only picture I have at the minute. I have my CB and case for my glasses in it. Hope the pic doesn't clutter the thread.
http://sphotos-b.ak.fbcdn.net/hphotos-ak-prn1/26004_10151272910658682_1732838660_n.jpg26004_10151272910658682_1732838660_n.jpg

My truck is a 95 2.8 SWB think the model is XRII. GlennC on here has a LWB 96 2.8 Exceed and has the same cubby. However 2 of my friends who have the irish models both have the blanking plate fitted,but with nothing behind it.

Mitsubishi have a strange way of doing things
 

Forum statistics

Threads
188,471
Messages
2,905,523
Members
230,428
Latest member
jacob_lashell

Members online

Top