You are using an out of date browser. It may not display this or other websites correctly.
You should upgrade or use an alternative browser.
You should upgrade or use an alternative browser.
Lexus GX470 Expedition build
- Thread starter boo471
- Start date
boo471
Adventurer
Front bumper build
I spent a few hours on the bumper the other day.
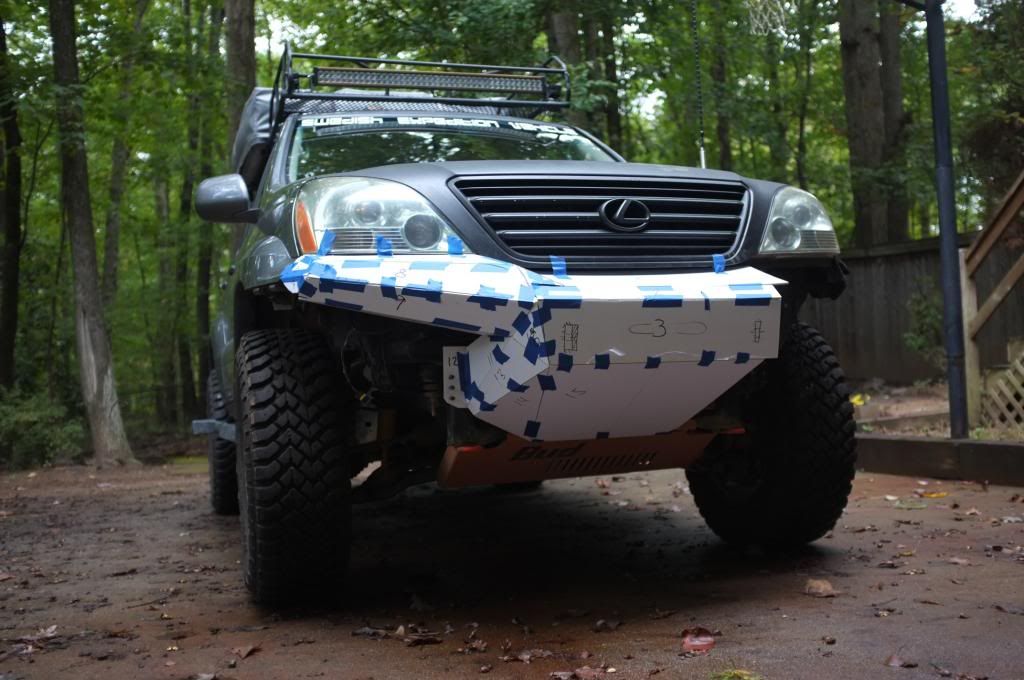
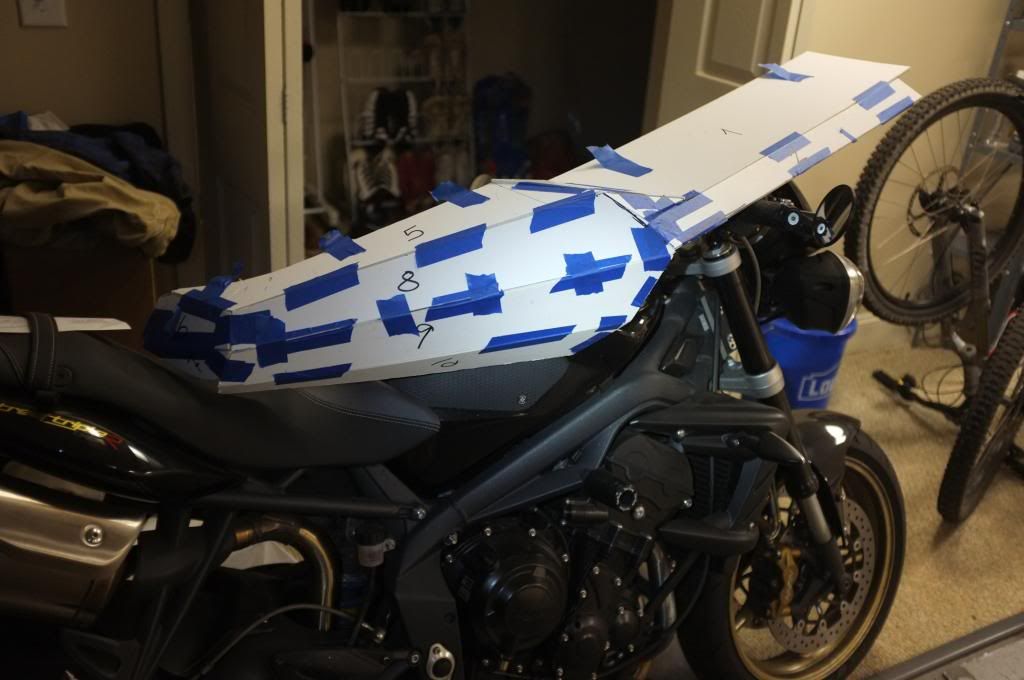
I did some alterations on the design. I thought that some of the edges was to sharp so I split them up in to more triangles to smooth it out. I also added an awesome design/sketch for a recovery point:ylsmoke:
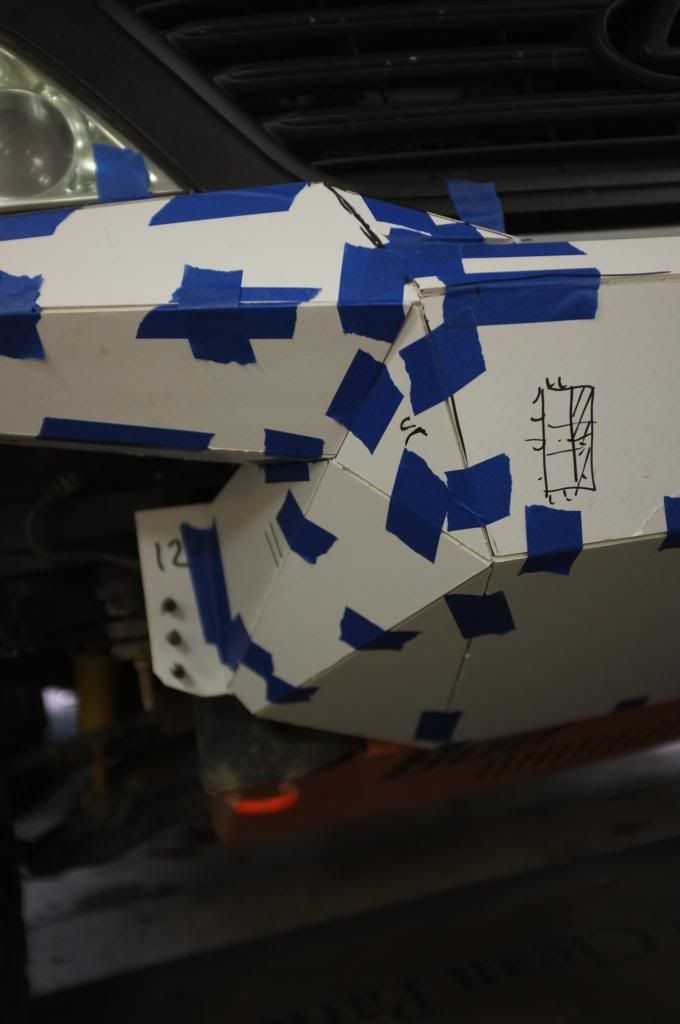
Here is the design as it sits now. (No its not a d**k drawn on the front plate. Its numbered "3" and I also draw the opening for the fairlead )
)
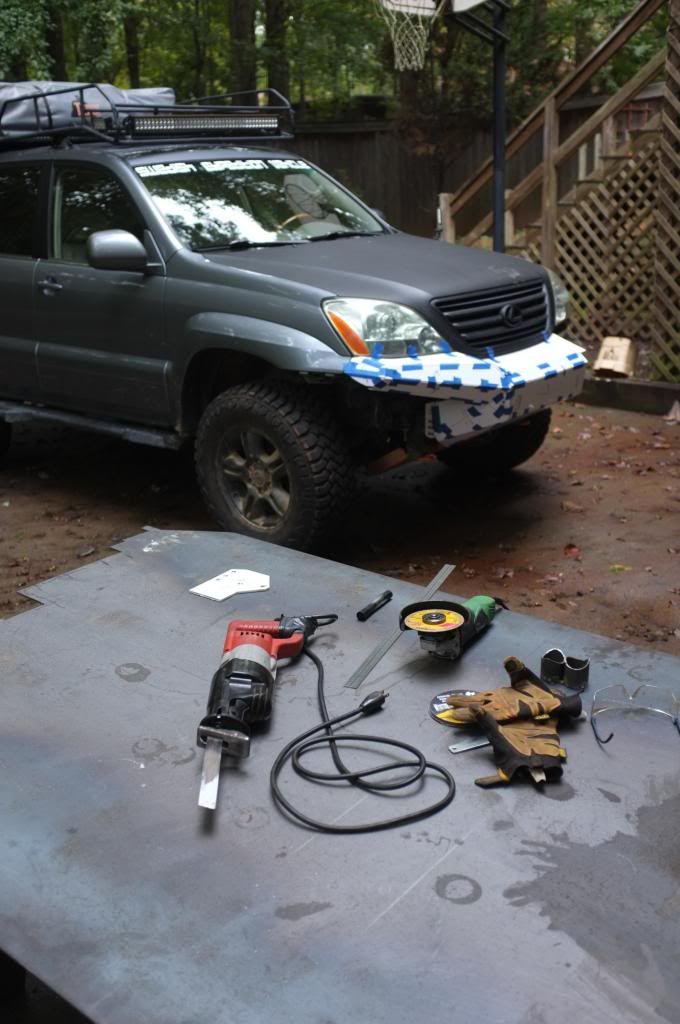
Time to carry out the freakkin heavy steel sheet I have in the garage and start cutting out some pieces.
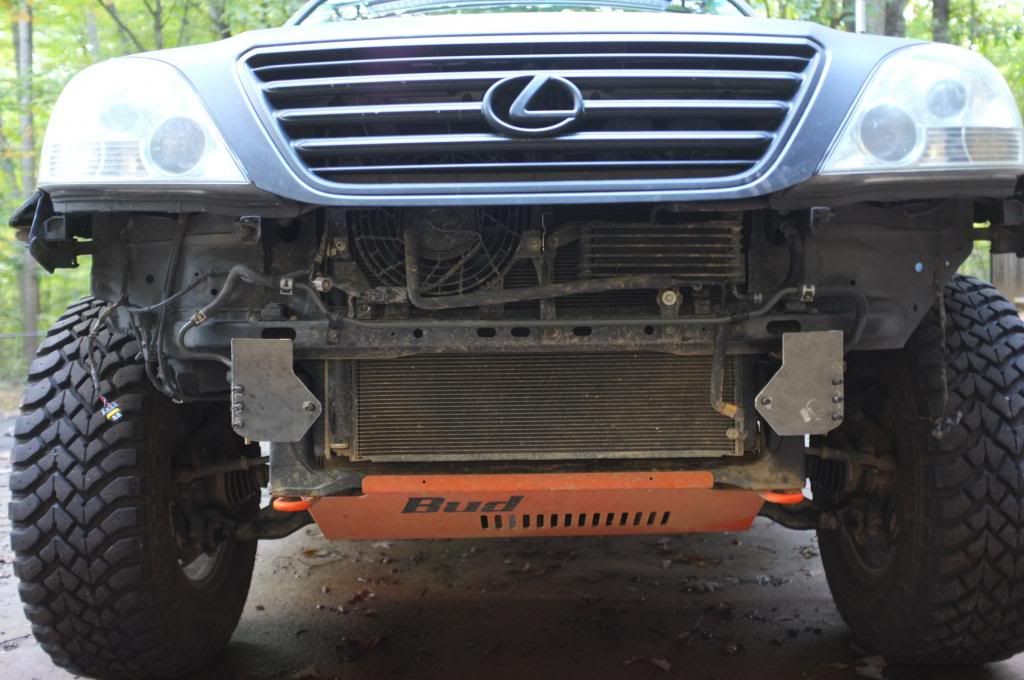
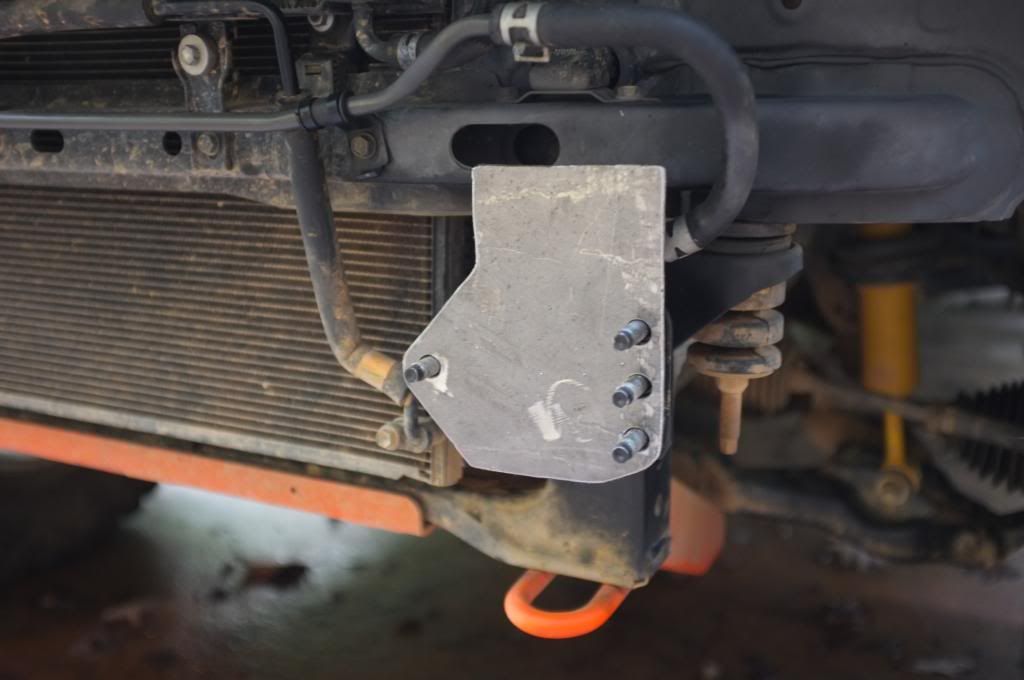
I started with the cutting out the mounting plates and test fitted them
I then moved on with the pieces making up the lower portion of the bumper. The reason for this is that I will do some reinforcements in this area and use this as a base for the upper part of the bumper. So once the lower part is tack welded I can start cutting out the upper pieces and adjust them if needed instead of cutting out all the pieces at the same time and then one or two of them are to small or has the wrong angle and then you have to cut out a new piece. Thats just wast a of steel.
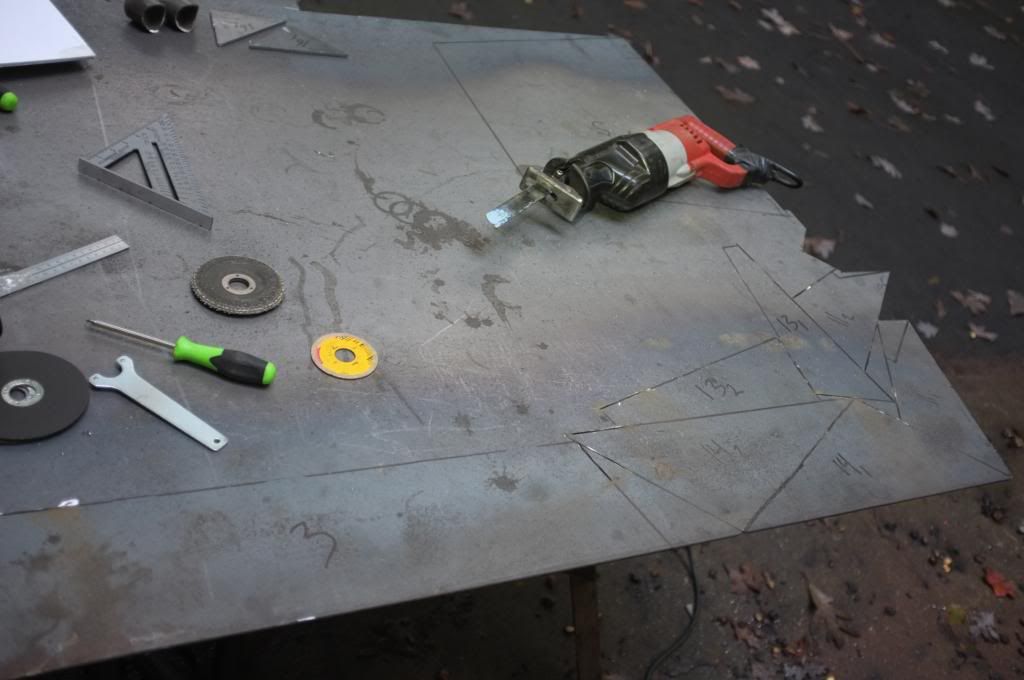
Here are all the pieces that makes up the lower portion up the bumper, ruff cut. I'll need to grind them down a little and I will also do some cut outs in the bottom/front skid to allow airflow going in to the cooler.
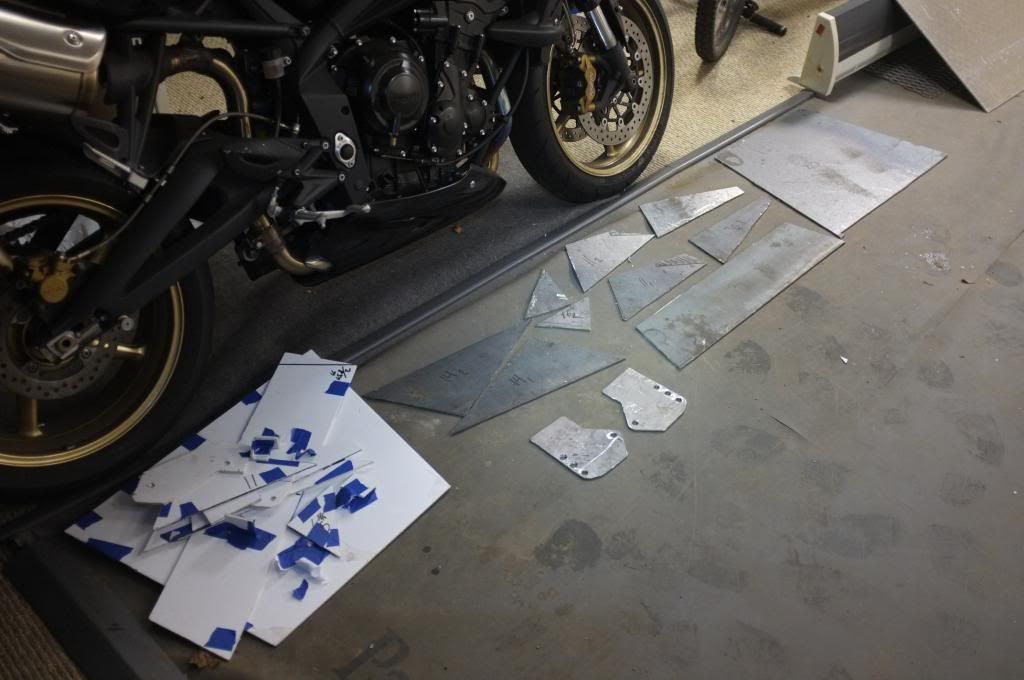
So once I got these pieces tacked up I'll start cutting out the rest of the bumper piece by piece and tack weld it in place.
To be continued
//Marten
I spent a few hours on the bumper the other day.
I did some alterations on the design. I thought that some of the edges was to sharp so I split them up in to more triangles to smooth it out. I also added an awesome design/sketch for a recovery point:ylsmoke:

Here is the design as it sits now. (No its not a d**k drawn on the front plate. Its numbered "3" and I also draw the opening for the fairlead

Time to carry out the freakkin heavy steel sheet I have in the garage and start cutting out some pieces.

I started with the cutting out the mounting plates and test fitted them


I then moved on with the pieces making up the lower portion of the bumper. The reason for this is that I will do some reinforcements in this area and use this as a base for the upper part of the bumper. So once the lower part is tack welded I can start cutting out the upper pieces and adjust them if needed instead of cutting out all the pieces at the same time and then one or two of them are to small or has the wrong angle and then you have to cut out a new piece. Thats just wast a of steel.

Here are all the pieces that makes up the lower portion up the bumper, ruff cut. I'll need to grind them down a little and I will also do some cut outs in the bottom/front skid to allow airflow going in to the cooler.

So once I got these pieces tacked up I'll start cutting out the rest of the bumper piece by piece and tack weld it in place.

To be continued
//Marten
Darklight777
New member
Looking good. Nice meeting you on the Richland trail in Boone the other weekend. :sombrero:
Bobby
Bobby
boo471
Adventurer
Thats going to look great!
Thanks Dorton. If you feel like scratching your head and help me trying to get all these weirded shaped triangles to fit. Feel free to stop by
boo471
Adventurer
Front bumper build update.
Why didn't I build a normal square box bumper! Gaaah trying to get these triangle pieces to line up is a mess. But I'll get it to work.
I did some more work on the bumper yesterday. I started with cutting out the vents in the front skid. I used a 1" drill to do the triangles corners and then use the grinder with a cutting wheel to do the cut outs.
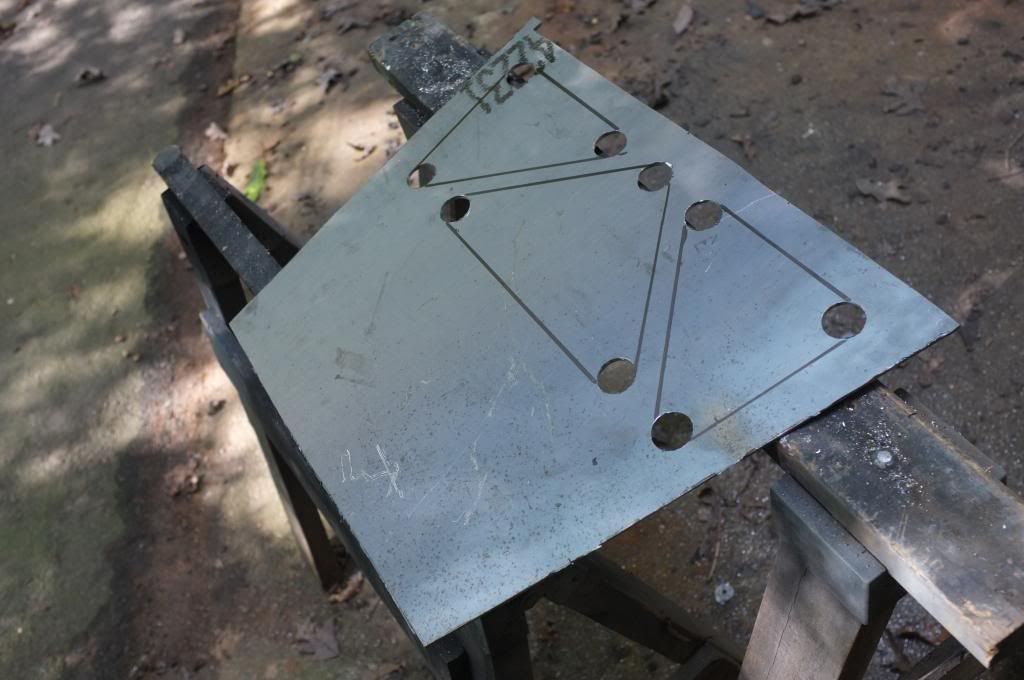
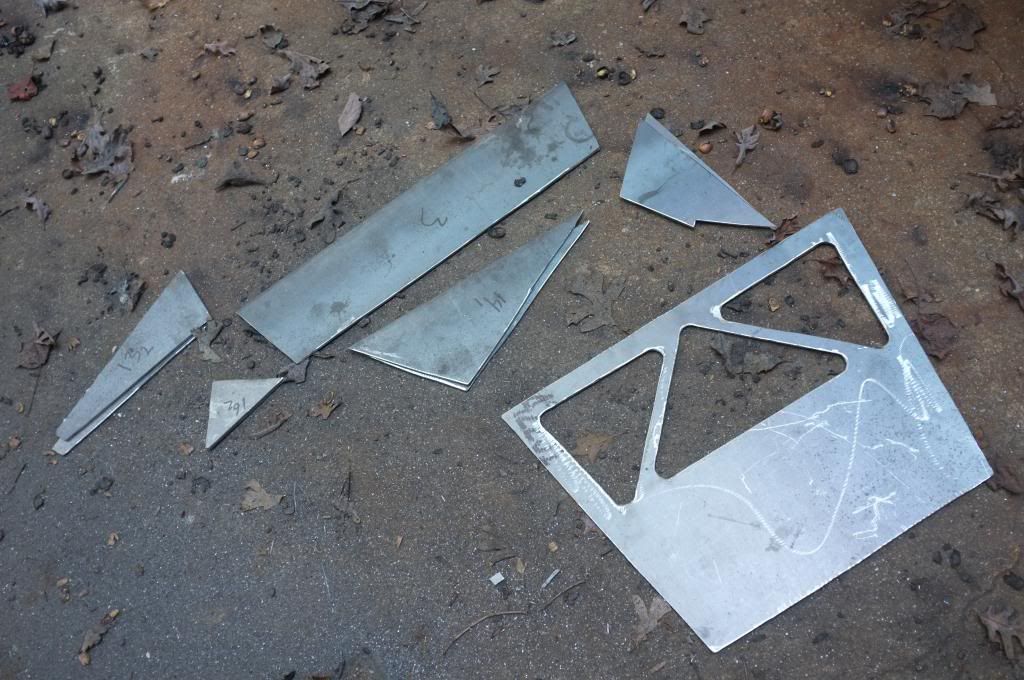
Then I moved on with the grinding wheel and grinded down all the edges and straighted them out. Here are all pieces ready to be assembled.
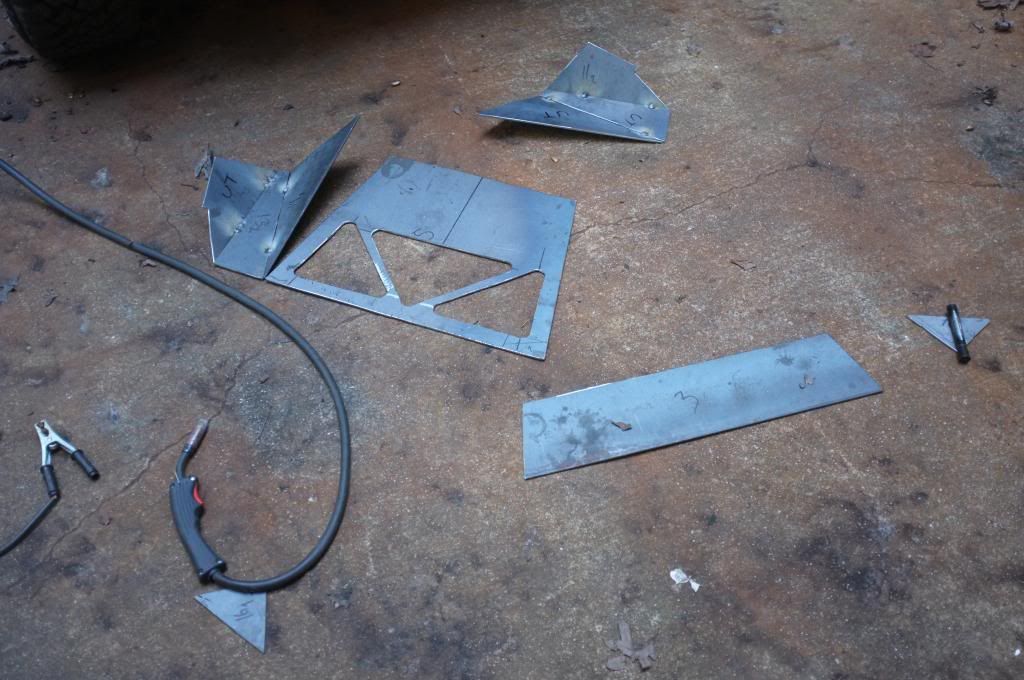
I started tacking it together on the ground before mounting it to the truck.
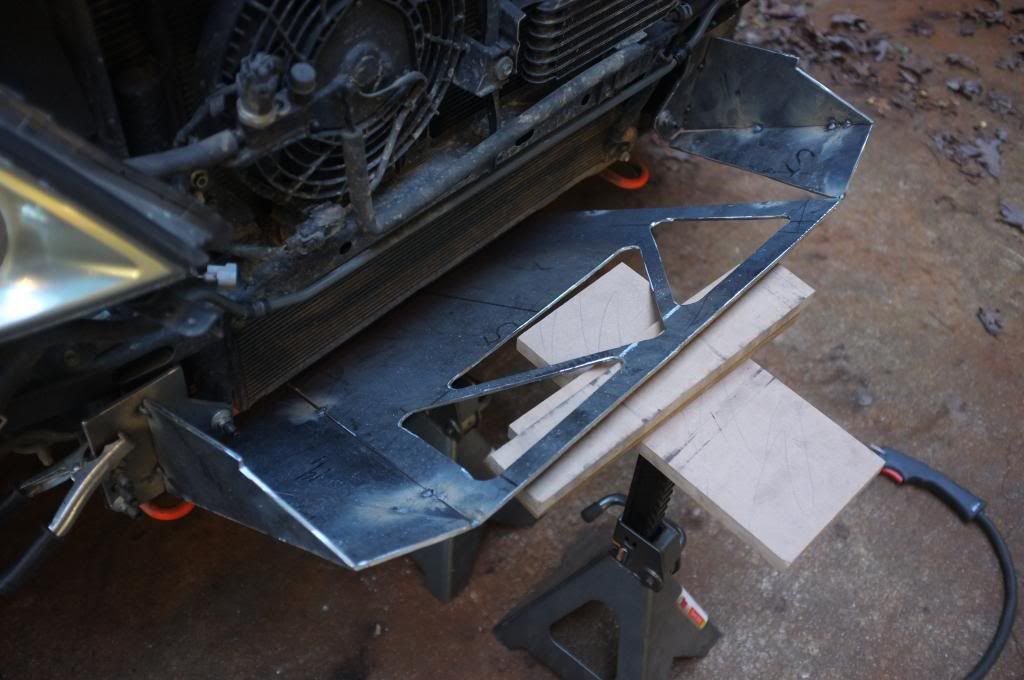
Once on the truck I just added piece by piece to get the complete assembly together.
I measured both once and twice. The "box" is nice and square but there wasn't a perfect symmetry on both sides. So I cut the weld spots and gave it another shot, this time I did the entire assembly on the ground.
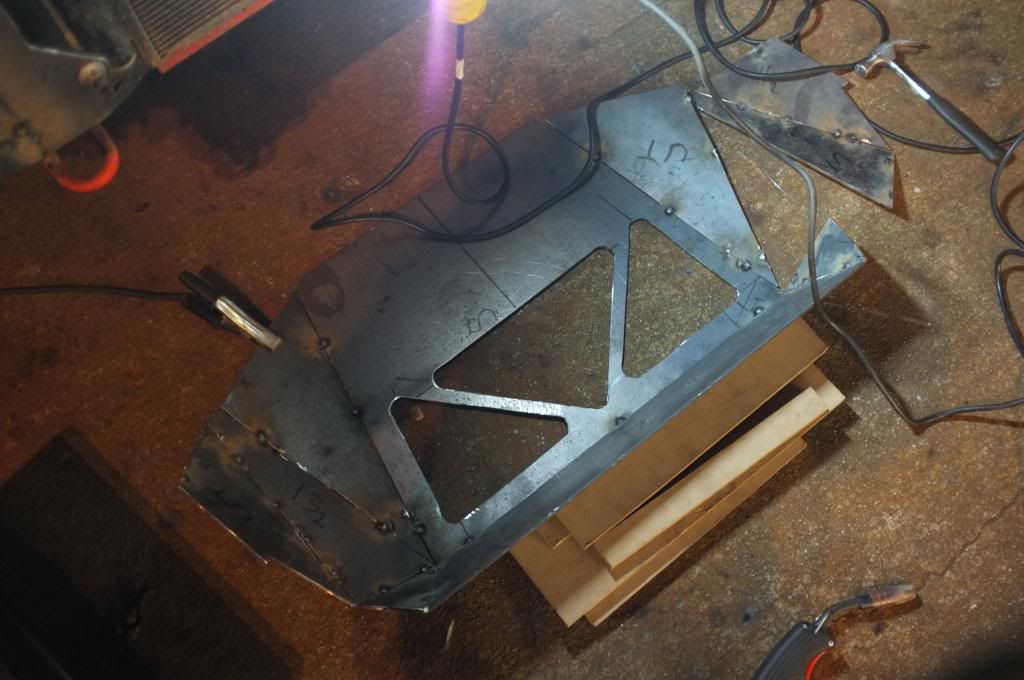
Its still not perfect. So I will most likely chop it up AGAIN and see if I cant get it lined up better. I knew it was going to be hard getting all these triangles to line up and get everything perfect, but not this hard. I should have taken more measurements of the mock up then I did. Aaah well I will just keep on trying.
This is how it looks right now.
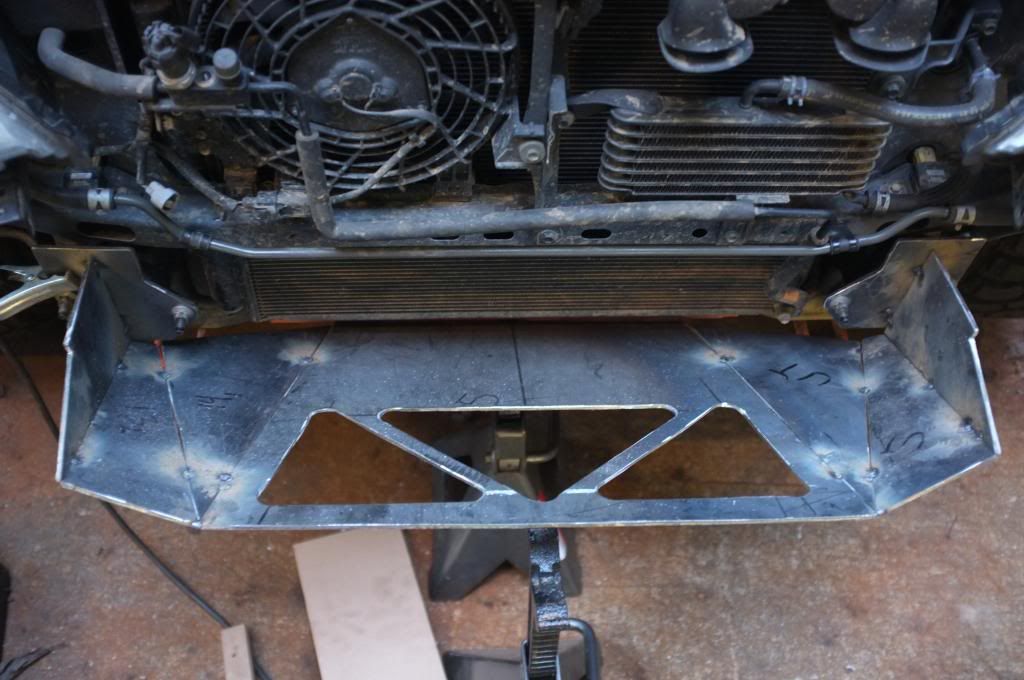
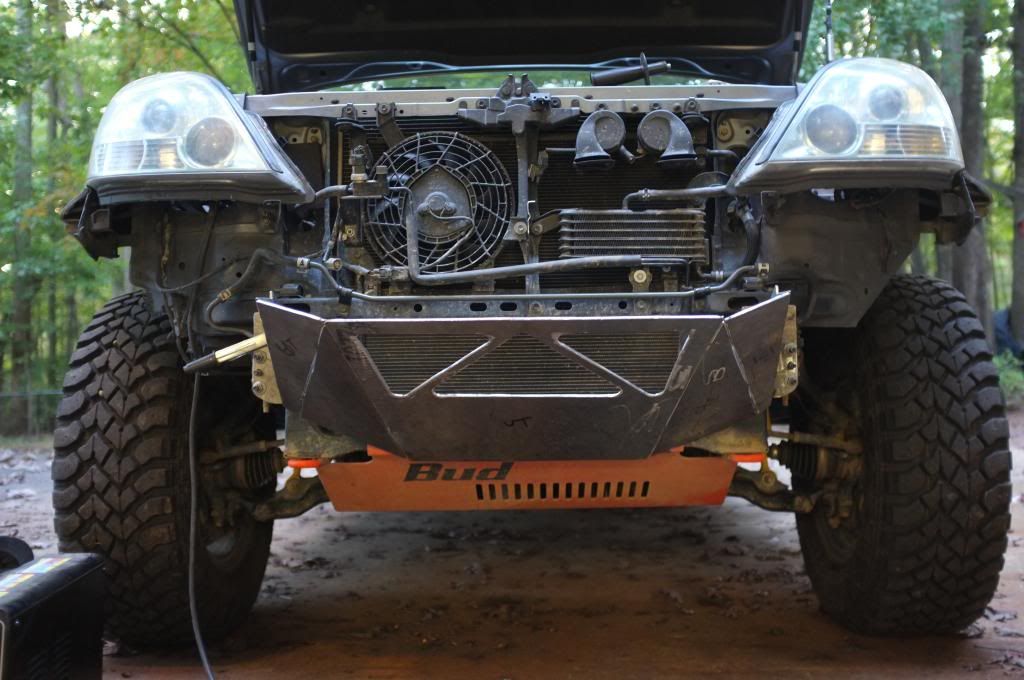
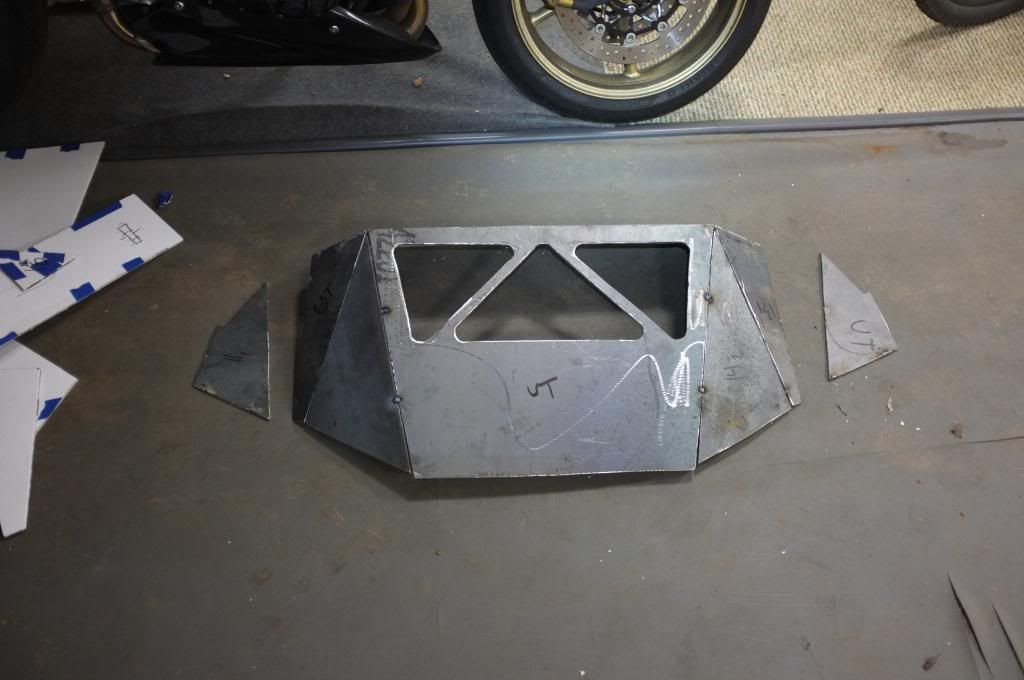
To be continued...
Why didn't I build a normal square box bumper! Gaaah trying to get these triangle pieces to line up is a mess. But I'll get it to work.
I did some more work on the bumper yesterday. I started with cutting out the vents in the front skid. I used a 1" drill to do the triangles corners and then use the grinder with a cutting wheel to do the cut outs.

Then I moved on with the grinding wheel and grinded down all the edges and straighted them out. Here are all pieces ready to be assembled.

I started tacking it together on the ground before mounting it to the truck.

Once on the truck I just added piece by piece to get the complete assembly together.

I measured both once and twice. The "box" is nice and square but there wasn't a perfect symmetry on both sides. So I cut the weld spots and gave it another shot, this time I did the entire assembly on the ground.

Its still not perfect. So I will most likely chop it up AGAIN and see if I cant get it lined up better. I knew it was going to be hard getting all these triangles to line up and get everything perfect, but not this hard. I should have taken more measurements of the mock up then I did. Aaah well I will just keep on trying.
This is how it looks right now.


To be continued...
Darklight777
New member
Hey! Seems like everyone you meet on the trail is on here :victory:
It was nice to meet you to. Keep an eye on the south eastern forum an tag along the next time we go for a trip!
That's good to know! Really liking your build thread and the bumper progress.
Bobby
Thought of you when I saw this product on a van in the parking lot of 4wheel Parts.
Might be a nice addition since you lifted your receiver hitch up into your bumper.
http://www.tiregate.com/shop/universal-hitchgate-centered/
Might be a nice addition since you lifted your receiver hitch up into your bumper.
http://www.tiregate.com/shop/universal-hitchgate-centered/
boo471
Adventurer
Thought of you when I saw this product on a van in the parking lot of 4wheel Parts.
Might be a nice addition since you lifted your receiver hitch up into your bumper.
http://www.tiregate.com/shop/universal-hitchgate-centered/
I have actually looked at does before. They are pretty cool. But since I have decided to build a full rear bumper i hopefully wont need to add one of these on top of it.
boo471
Adventurer
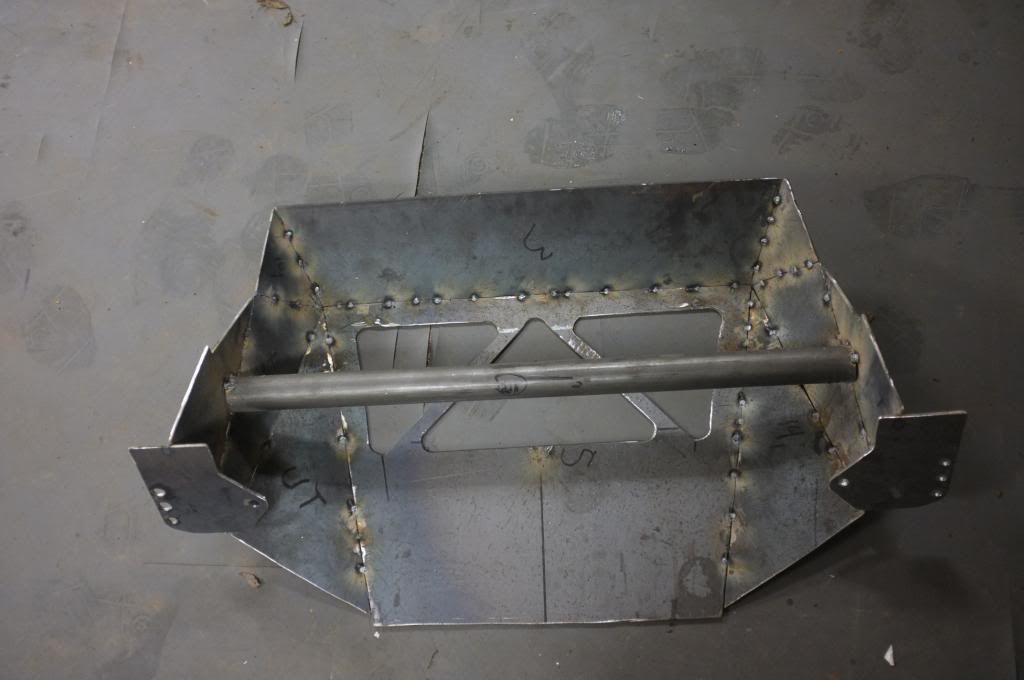
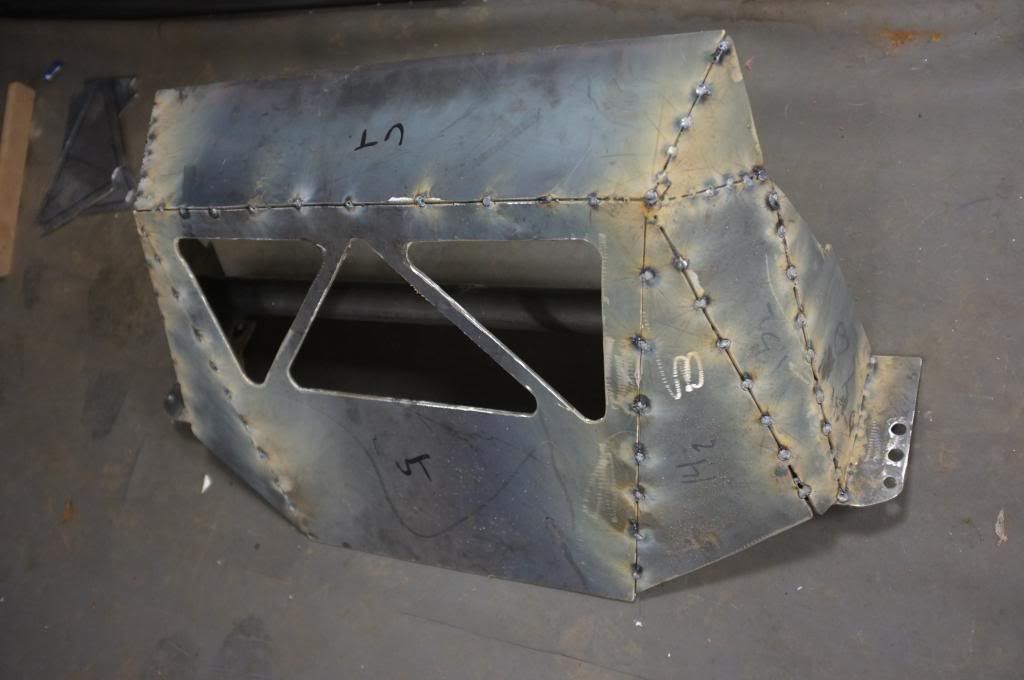
YEEEEES!!!! I was finally able to get a squared up bottom part of the bumper. It took me a couple of hours and some heavy beer drinking to get it right. But in the end it was worth it.
What I did in the end was to follow Wh1t3nukle's advice and tack weld the side plates. Add a "cross member" and work from there.
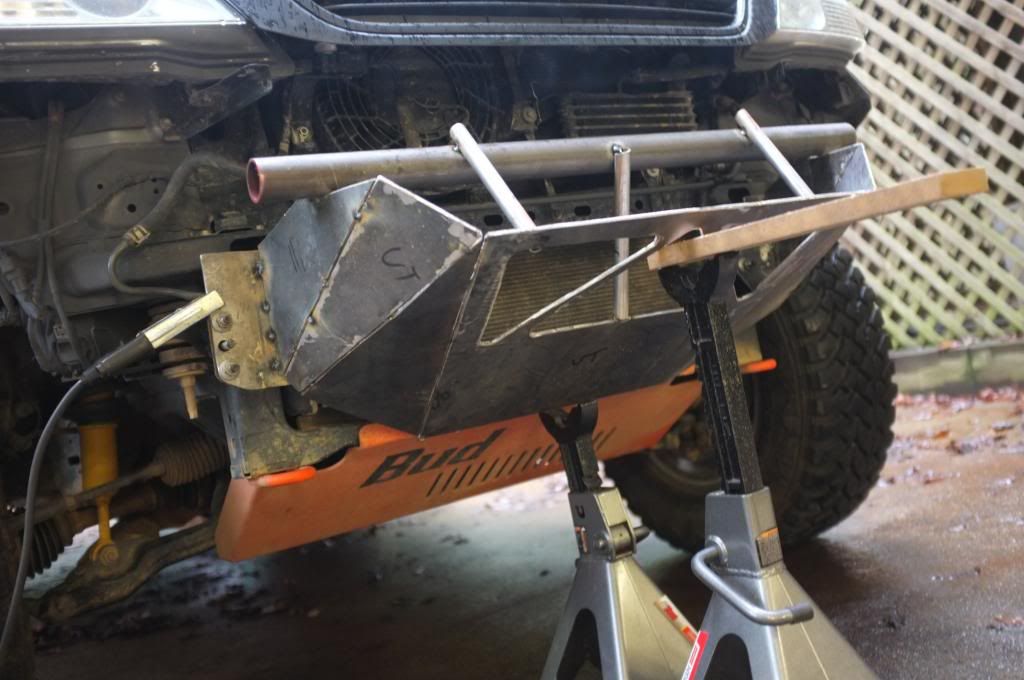
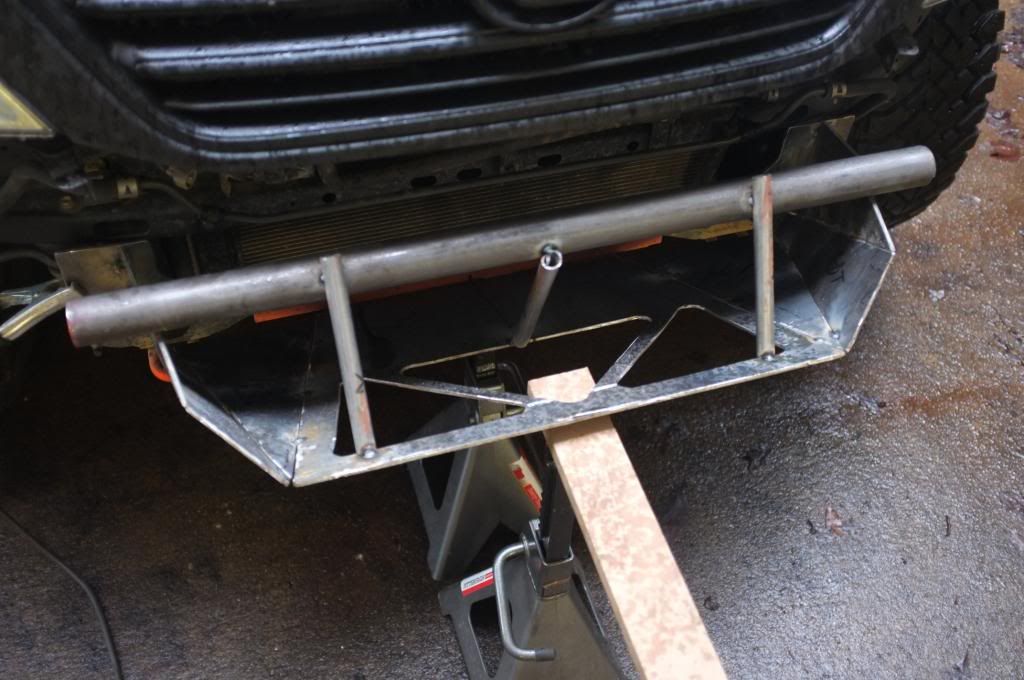
The first thing I did was to mount the mock up back on the truck and write down all the angles between all the different plates. That gave me a good baseline to work from. I tack welded the side plates. Added a tube on top of them ("cross member") and then positioned the center skid plate and tack welded it in place with the help of some tubes. From there I just added the pieces that was left and used the angles I had written down earlier.
Most of the plates are tack welded in place.
I added the front plates and some more welds and removed the temporary cross member.
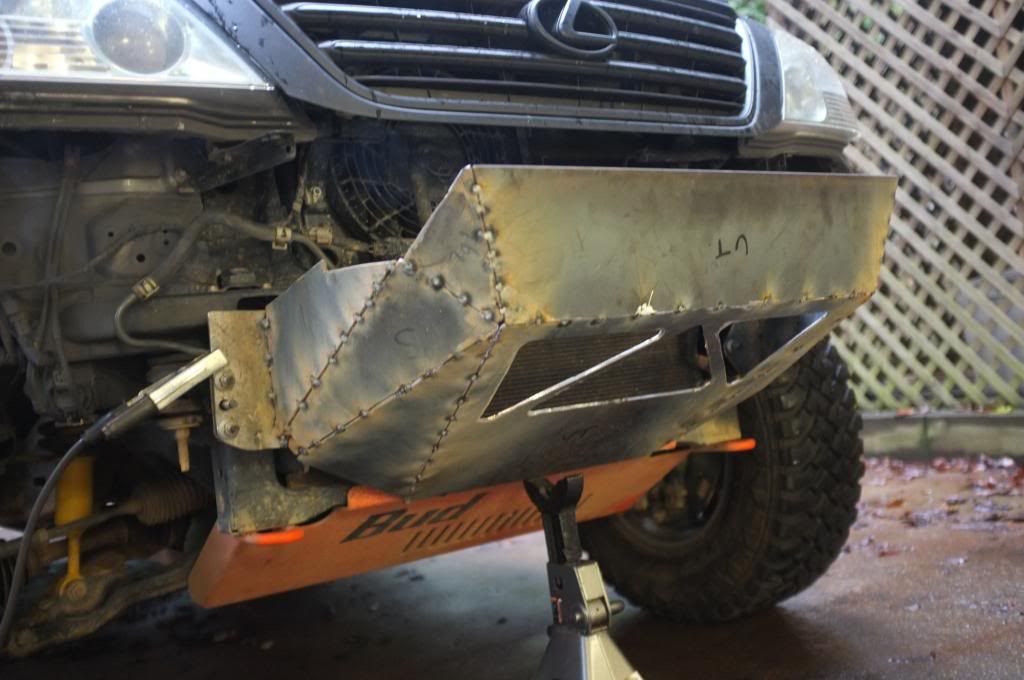
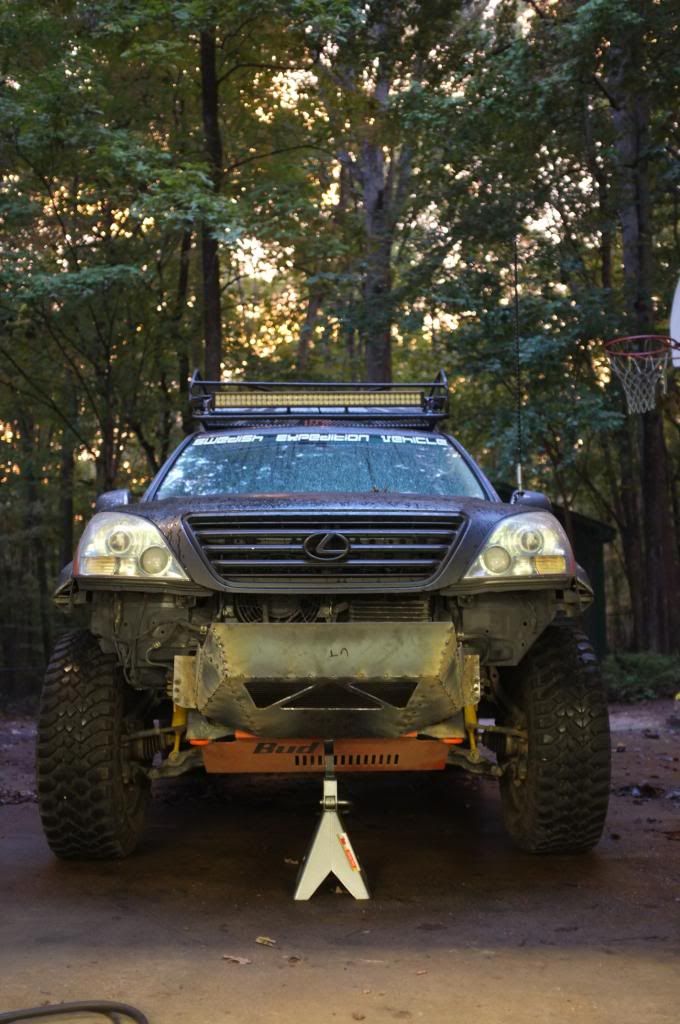
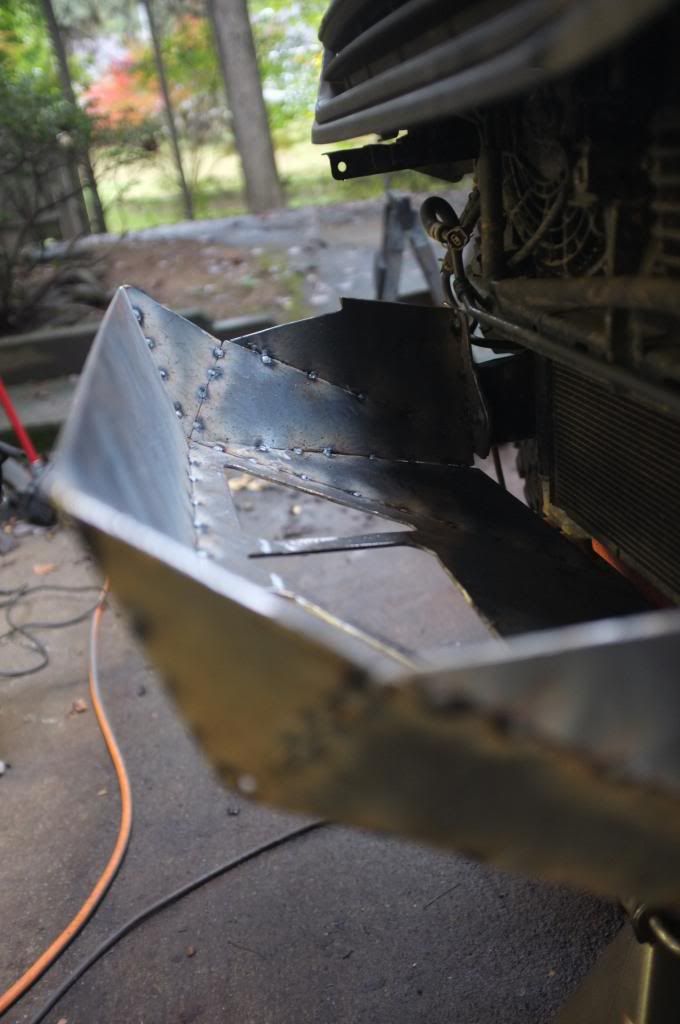
I cut the 1.75" tube to length and started playing with its position. I might move it around some but for now I will keep it there to keep things straight. This was the end result for this afternoon. Hopefully I get some time to work on it tomorrow as well and can start boxing in the crossmember and add a winch plate.
//Marten
What I did in the end was to follow Wh1t3nukle's advice and tack weld the side plates. Add a "cross member" and work from there.
The first thing I did was to mount the mock up back on the truck and write down all the angles between all the different plates. That gave me a good baseline to work from. I tack welded the side plates. Added a tube on top of them ("cross member") and then positioned the center skid plate and tack welded it in place with the help of some tubes. From there I just added the pieces that was left and used the angles I had written down earlier.
Most of the plates are tack welded in place.


I added the front plates and some more welds and removed the temporary cross member.


I cut the 1.75" tube to length and started playing with its position. I might move it around some but for now I will keep it there to keep things straight. This was the end result for this afternoon. Hopefully I get some time to work on it tomorrow as well and can start boxing in the crossmember and add a winch plate.


//Marten
Last edited:
boo471
Adventurer
nice work Marten.
Thanks.
bonomonster
Adventurer
Very nice work..... Can't wait to see what it looks like when you're done
Similar threads
- Replies
- 8
- Views
- 2K
- Replies
- 0
- Views
- 467
- Replies
- 1
- Views
- 813
- Replies
- 1
- Views
- 591
