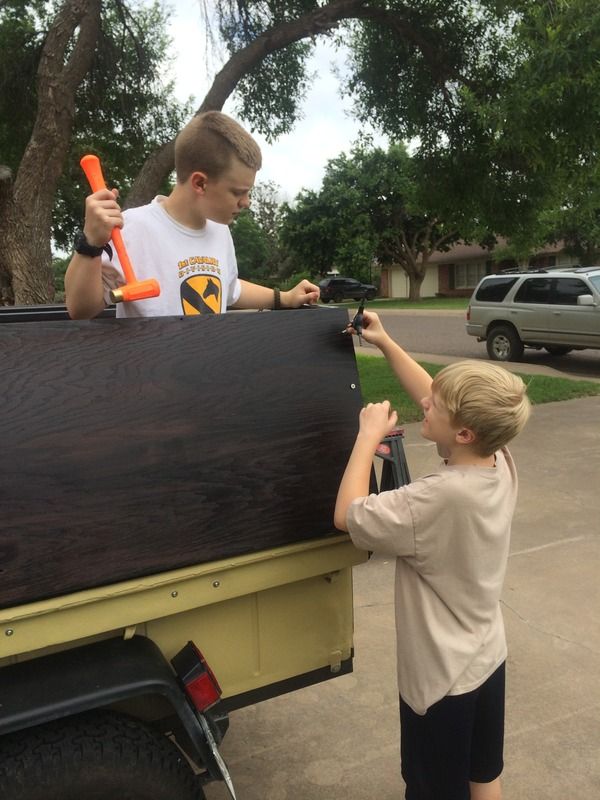
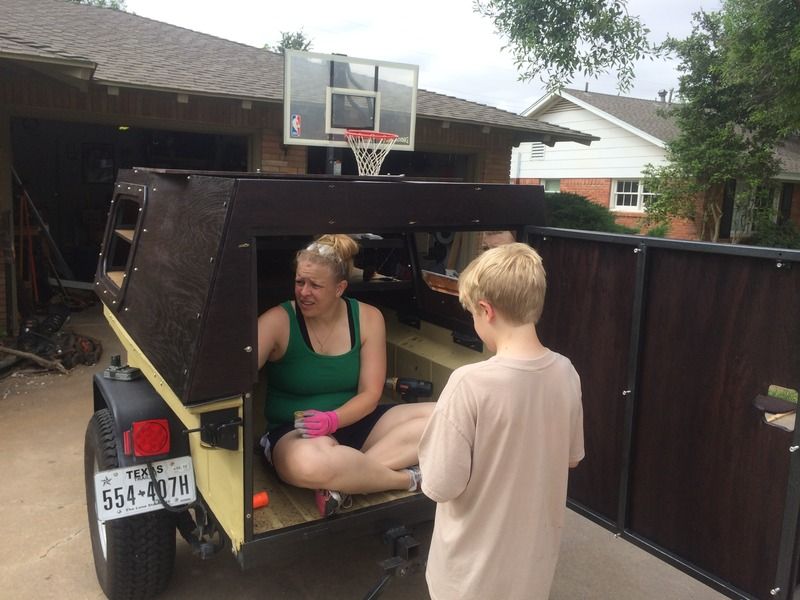
Here are the pictures I promised of how I mounted the top and side. I also went ahead and took a few close ups of the hardware I used.
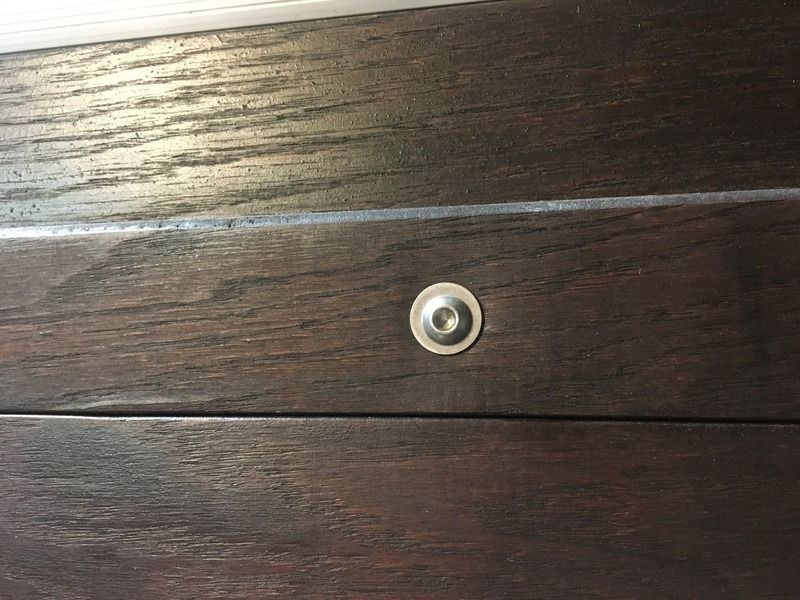
Here is a picture of how I mounted the sides and top from the inside. This particular bolt is on the door, but I mounted all wood in the same manner to the trailer.

Here is a close up of the button head bolt I used for all sides. I really wanted the look of a hatch similar to a boat. I also choose to use metric allen really just because I liked this look best.
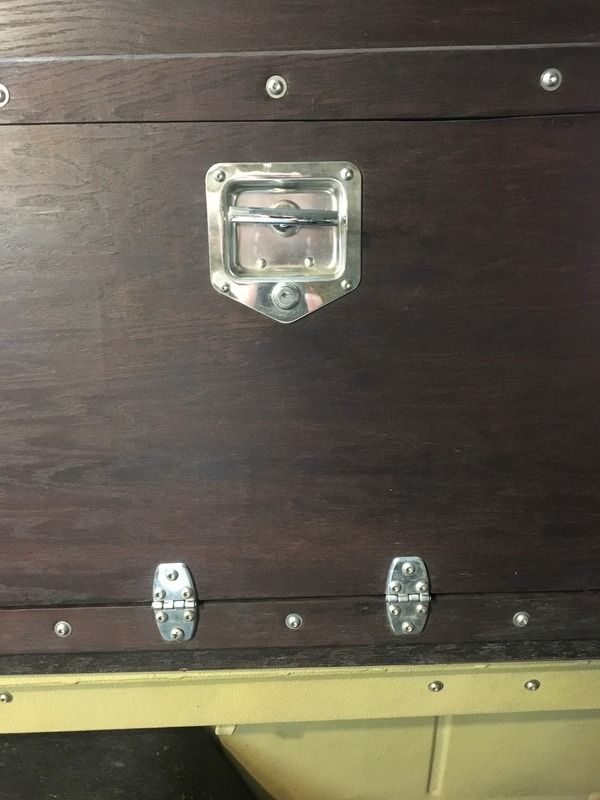
Here is a shot of the bolts alongside the stainless hinges and the latches I choose.
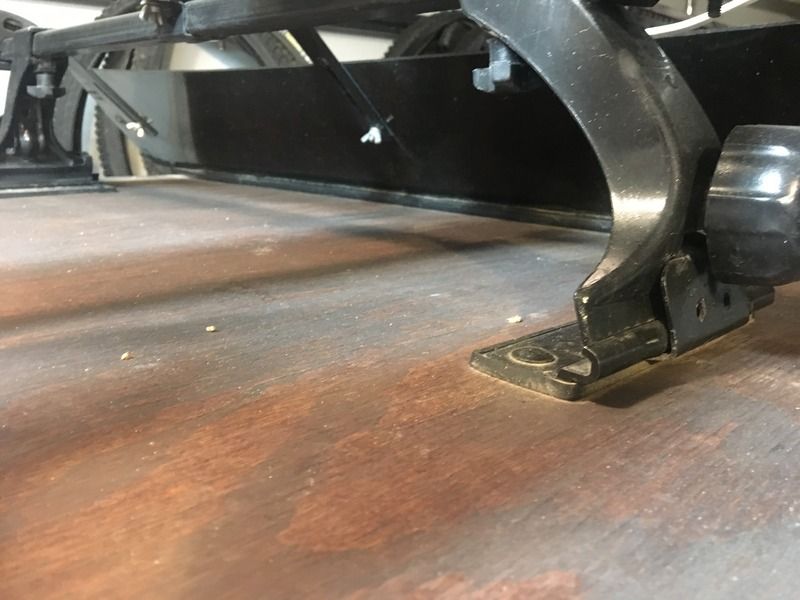
Here is a picture of how the roof rack is attached. I simply used a kit from Thule. Originally the cheapskate in me was going to make a special mount but I ran out of time and I have amazon prime so.....
Here is a closeup of the aluminum angle I used to cover the seams where each joint meets. I really wanted to use aluminum because believe it or not I was trying to keep weight down when possible. After pricing all the aluminum I would need I really didn't want to spend as much as it was going to cost. I also didn't like that the angle iron was smooth, it looked weird. While walking down the isles of the hardware store I noticed stair carpet runners. They where textured, cheap, aluminum and fit the bill perfectly. I saved over $100 by using these instead of aluminum angle. (You can see the alum colored silicone in the corners as well.)
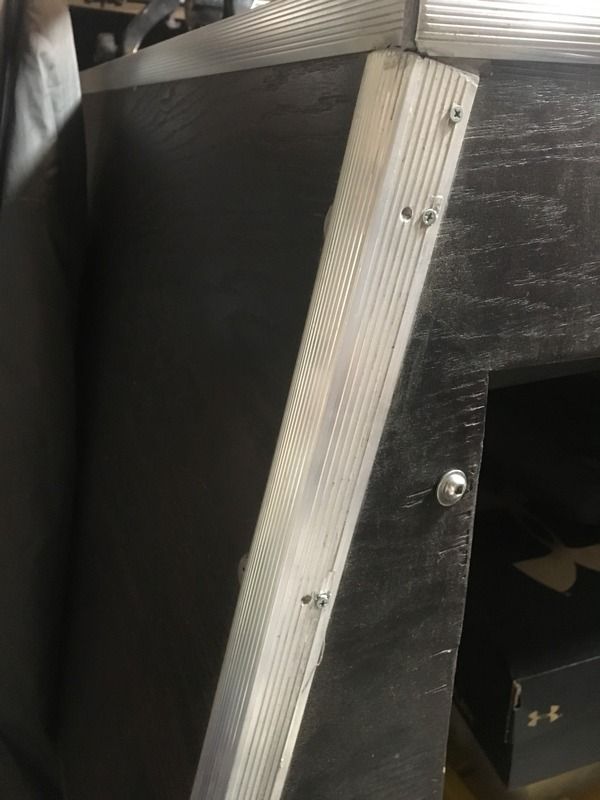
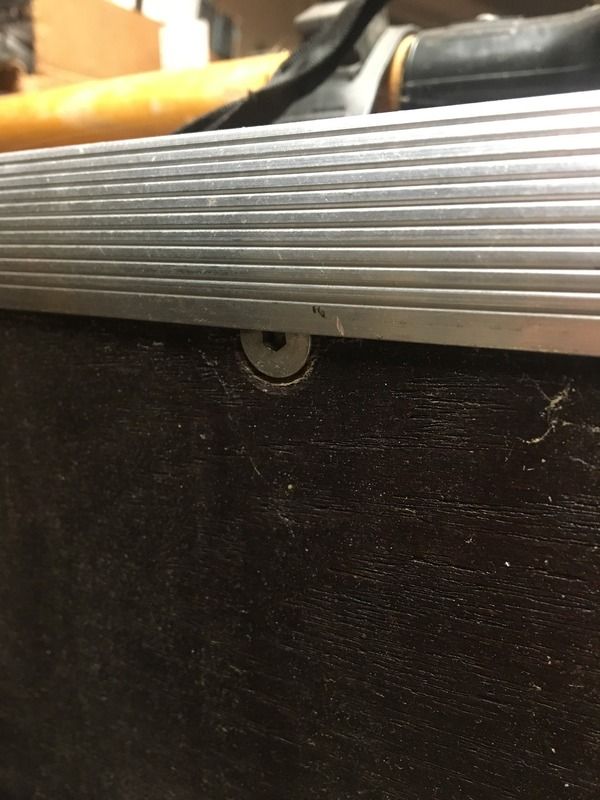
Here you can see a close up of the stair runner as well as the flat head bolts I used on the corners so that the angle would set flat.
If anyone wants to see any other specific pictures of how I mounted anything please let me know. The hours and hours I spent looking at other peoples set up is what led me to what I built.