Metal frame or 3/4" plywood box?

Photomike

White Turtle Adventures & Photography
My opinion is that you are taking away material at the point that it is needed the most - the corners. Even with covering it you are still weakening the joints.

Unless you went with a thicker board inside to distribute the load further away from the edge I wouldn't. Yes it would look nicer but do you want it to last or to look good.
 

billiebob

Well-known member
Sorry, Billiebob. It's been winter-stored with that cover for six years. No rot. No moisture. No scratches on the aluminum.

From the manufacturer: "Adjustable front and rear tension panels and elasticized hem corners provide a custom fit, integrated air vent system combined with quick drying PolyPRO™ 1 sides reduce wind stress and vent inside moisture"

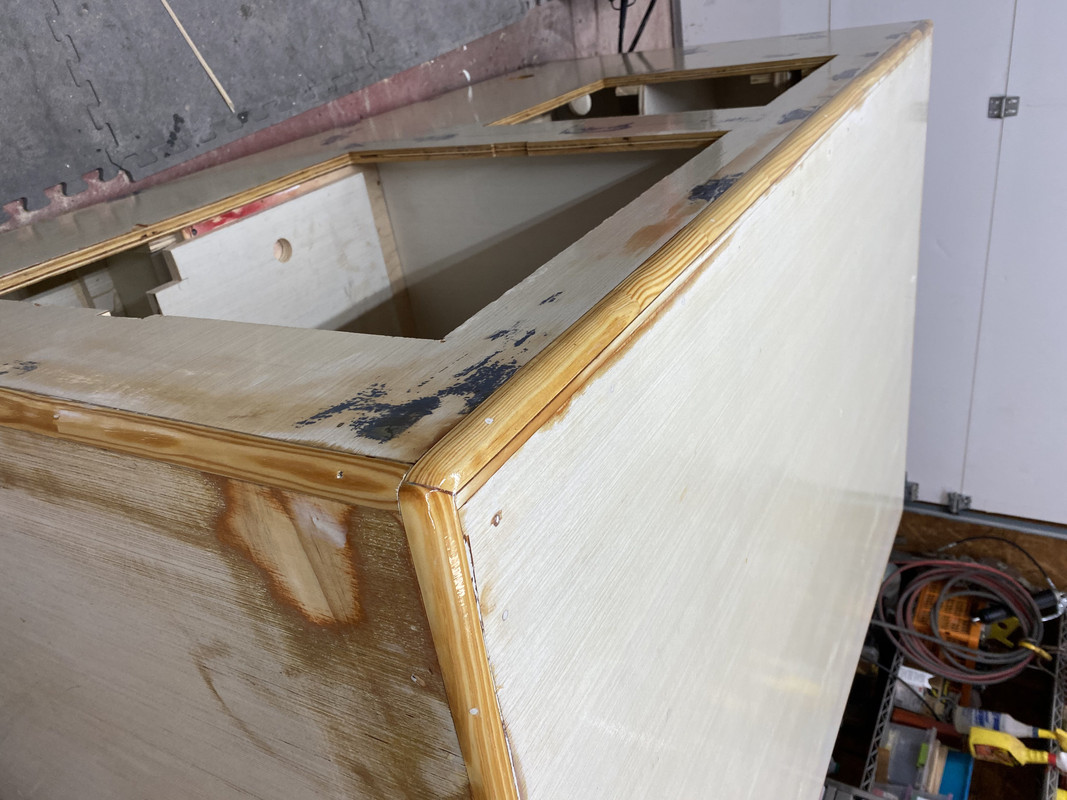
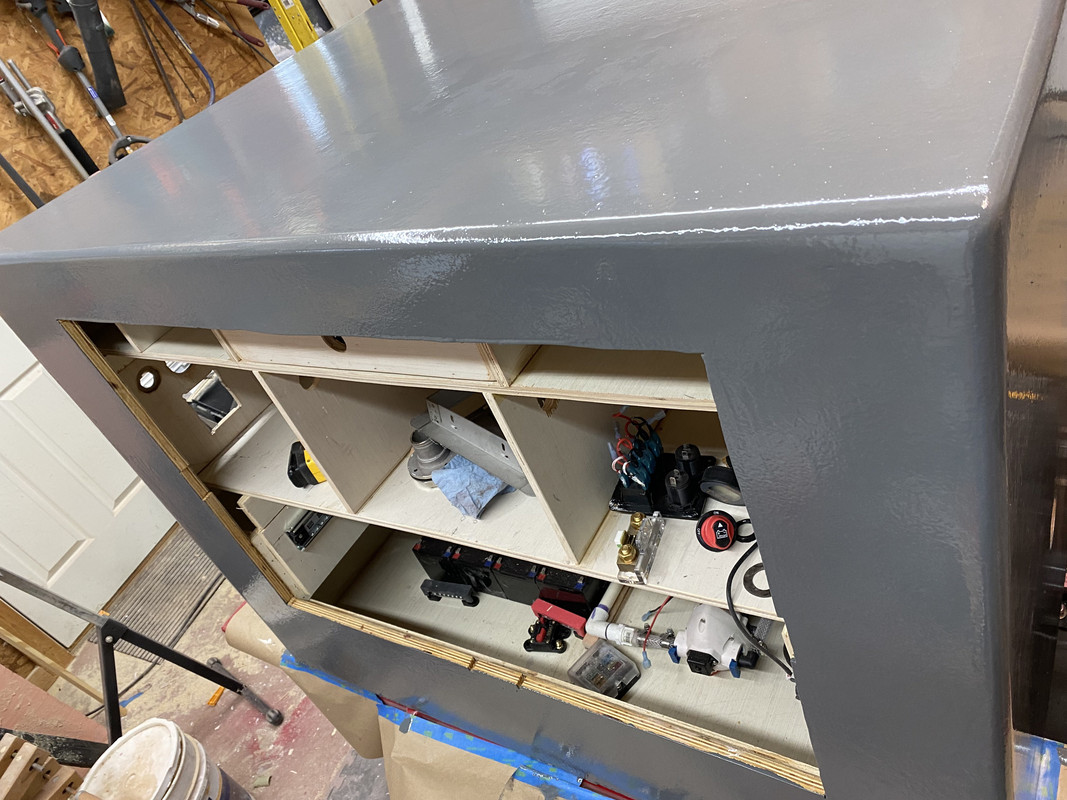
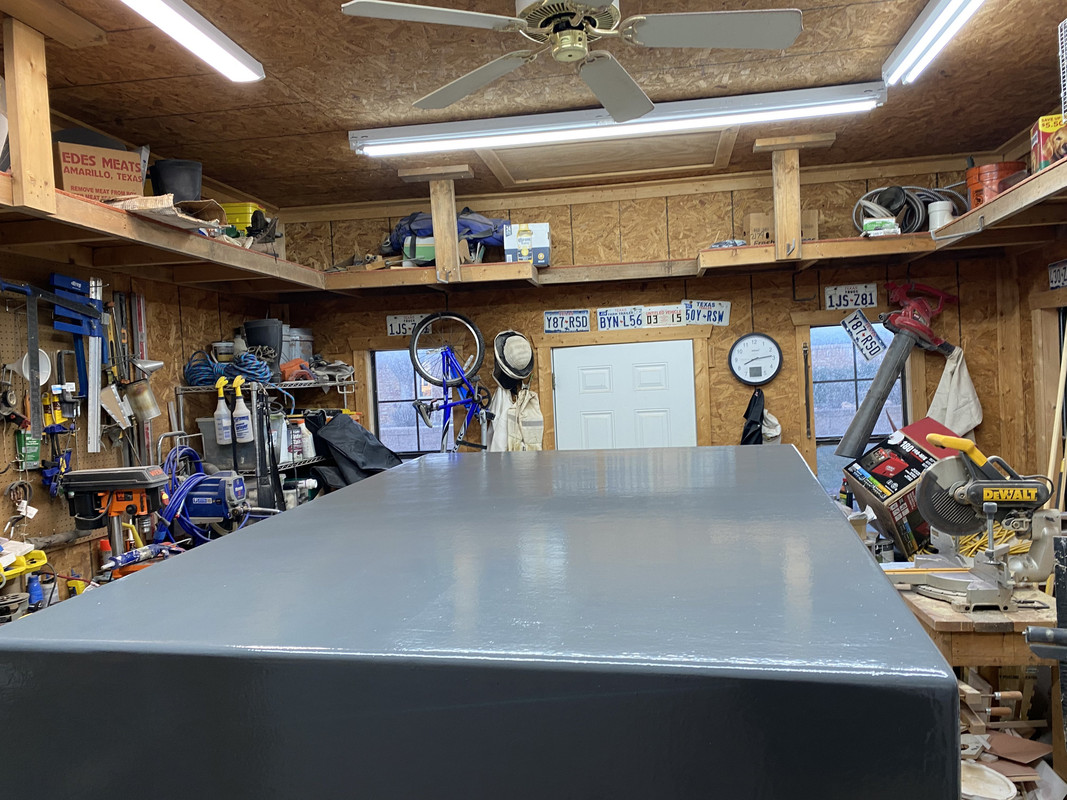
What you don't understand is that the 'drop is covered with aluminum. The edges are sealed. The exterior plywood underneath is sealed with epoxy. The interior wood is sealed with three coats of oil-based polyurethane.

Build it right. Store it right.

That's the real world, not the Internet.

T
All true. Built right, never in an accident or off road,,,, yes properly built and sealed a structure can have a long life.

My comment is more based on my experience with ski boat transoms built of wood and encapsulated in fiberglass.... subject to 100 HP off the transom and doing silly things. If stored under a roof they survive well but park it in the field and they fall apart. I've seen many factory built trailers with cracked roofs. They last a long time under a roof. Not so long under a tarp. Only a few years in a driveway.

I'd never recommend parking outside. Can it be done sure. Can glass epoxy ever be guaranteed to never crack.... I have been around too many boats with rot under the glass less than 5 years old and been around wooden heritage boats 40 years old with zero rot and bare, painted wood.

The problem with encapsulated wood is the durability of the "encapsulation". The advantage of a tubular metal frame and aluminium sheet skin is it is not sealed, it is designed to drain like a shingled roof, it is incredibly light and fast to build. The hidden advantage is it is easy to take apart for maintenance or modification. My cargo, work trailer is 12 years old and needs a reskin nexr year. It will take a weekend to do it. 6 years ago I added a left side door. The door cost $180.... it took a day to open the wall, weld in the frame, install the door and put it all back together. You cannot do that with most other systems.


trlr 003.jpeg

trlr 002.jpg

This ^^^ trailer lives outside. It has over 100K miles on it. Ya can't beat a commercial trailer. It cost $2900 new in 2010.

My OSB BOX lives under a roof. It is stained wood and cost $800 to build. I stain the OSB every few years.
This took 3 weeks to build. I already had the black landscape, deck trailer.

IMG_0811.jpeg

On the question, metal or plywood?
The best answer was what are your skill sets, which tools do you have.
are you a better welder or woodworker? For which process do you already own more tools

My top recommendation, no matter what you build go look at the commercial manufactured trailer and frame options. 90% of the builds on this forum are incredibly over built which ends up being heavier and more expensive than neccessary. I look under my Cargo trailer and think thats it?

Next month I'll build a new frame for the OSB BOX so the black deck trailer can resume its duties of hauling demolition material.

For a few years this picture was on the Mirage Trailers website. 3500 pounds of chimney brick going to the landfill.

DSC_0001.jpeg
 
Last edited:

jwiereng

Active member
I say good luck. Router jigs have the potential of abrupt and fantastic failures :D

What size radius are you after?

I am aiming for a large radius. 1-1/2 or bigger. A round over bit that size would be frightening to use in handheld router. With a jig as shown I was hoping to use a small flattening type of bit. It would be time consuming.
 

jwiereng

Active member
My opinion is that you are taking away material at the point that it is needed the most - the corners.

Thanks. I share your concern about taking away too much material from the corners. That is part of the reason for the inside square piece.

Perhaps some additional gussets inside would be helpful.
 

1000arms

Well-known member
Thanks. I share your concern about taking away too much material from the corners. That is part of the reason for the inside square piece.

Perhaps some additional gussets inside would be helpful.

You might find @Teardropper 's book useful:

"Building a Teardrop Trailer: Plans and Methods for Crafting an Heirloom Camper"


IdaSHO

IDACAMPER
I am aiming for a large radius. 1-1/2 or bigger. A round over bit that size would be frightening to use in handheld router. With a jig as shown I was hoping to use a small flattening type of bit. It would be time consuming.

I made this jig years ago for a project that required an off-angle flush trim bit to make life easier.
Worked well considering all it took was a uber cheap HF die grinder and scrap baltic birch ply. (y)

51939965772_85ffb4680c_b.jpg
 

jwiereng

Active member
Thanks for the idea of using a electric planer. Need to do some head-scratchingand think about how such a jig would be made and used.

Do you have any photos or drawings that would offer guidance?
 

jwiereng

Active member
I did some more thinking (while at work) My first drawing would not result in a consistent radius. It would result in a parabolic curve.

Here are photos of my latest idea. - Key difference is the router sled would run on a concentric guide.

I am looking forward to more useful ideas and critiques from the good people of ExPo
 

Attachments

  • corner jig back.jpg
    corner jig back.jpg
    44 KB · Views: 21
  • corner jig side.jpg
    corner jig side.jpg
    19.5 KB · Views: 19
  • corner jig top.jpg
    corner jig top.jpg
    47.6 KB · Views: 20

Alloy

Well-known member
There are large radii fiberglass components and aluminum extrusions made to use with plywood as well as slotted panels made for curves and it could be laminated after steaming some 1/8" door skin.
 

jwiereng

Active member
Yes. I have seen photos of visually appealing campers with pre-fabricated corner radii. I hope I can stay with common materials easily available in local retail lumber stores.
 

jwiereng

Active member
Thanks texman - you got me thinking. If only I could find or make some 2 inch quarter round, that combined with your method would give me the look I'm hoping for.

Maybe I could make 2 inch dowel and rip it into quarters
 
Last edited:

texman

Member
i would use or rip a 2 x2 and then 45 the edge that will be the rounded edge and then use a belt sander to get the round edge that you want. i used quarter round, but still had to belt sand to get everything smooth anyway. this is ¾" quarter round
EF6C8A13-4848-4B96-B7D1-9694E1B5ED1F.jpg
 

IdaSHO

IDACAMPER
Assuming the corner will receive a few layers of glass (which I highly recommend)
you really are splitting hairs with any concerns about correct arc or saw kerf.

Getting it close will help, but finding perfection shouldn't be a concern.

Speaking of glass, don't forget that when adding the glass (and epoxy), the radius will be enlarged.
With my custom camper, I was more than happy with a simple 3/4 radius router bit.
Once the epoxy and glass were added, sanded and smoothed, and paint applied, the radius is nearly 1"
Now that is is Monstalined, it is even greater (y)


3/4 round over.... no glass

42334312550_23b22af971_c.jpg


saturated with epoxy, multiple layers of glass and epoxy, and painted...

44142885261_d28de91f04_o.jpg


Same, plus Monstaliner...

49982235062_2154733486_b.jpg
 

Forum statistics

Threads
188,428
Messages
2,904,699
Members
230,359
Latest member
TNielson-18
Top