Michaels's Discovery

michaels

Explorer
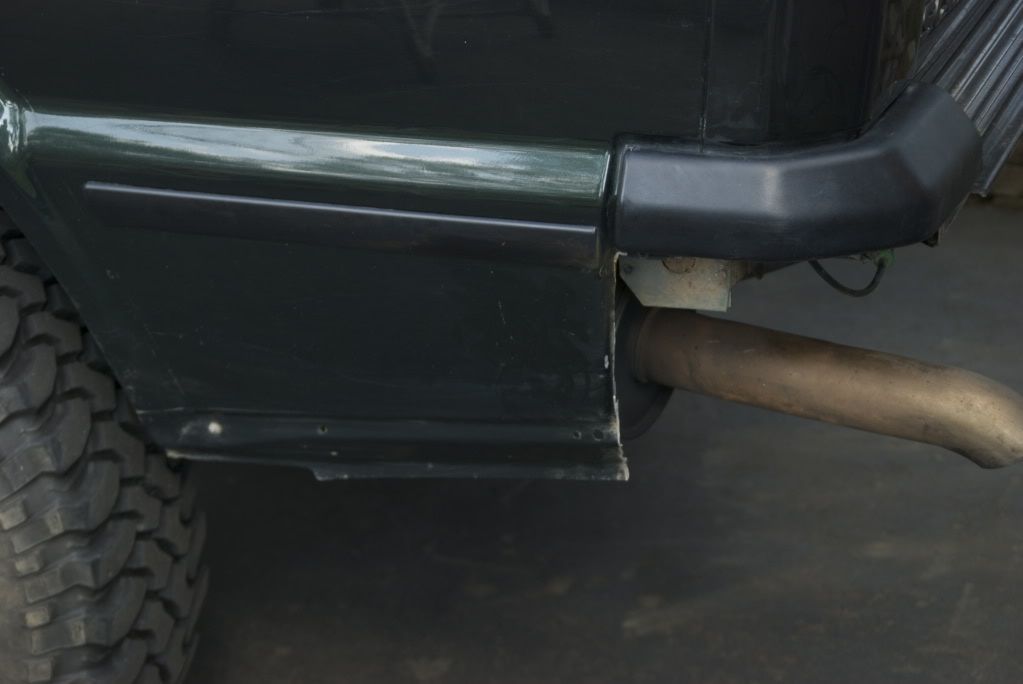
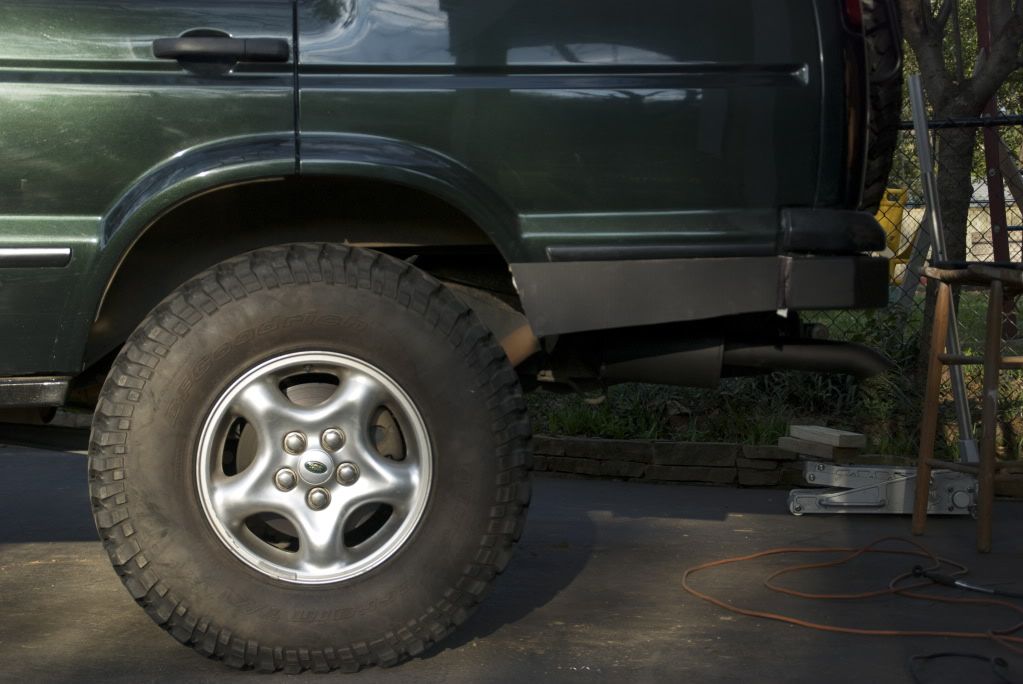
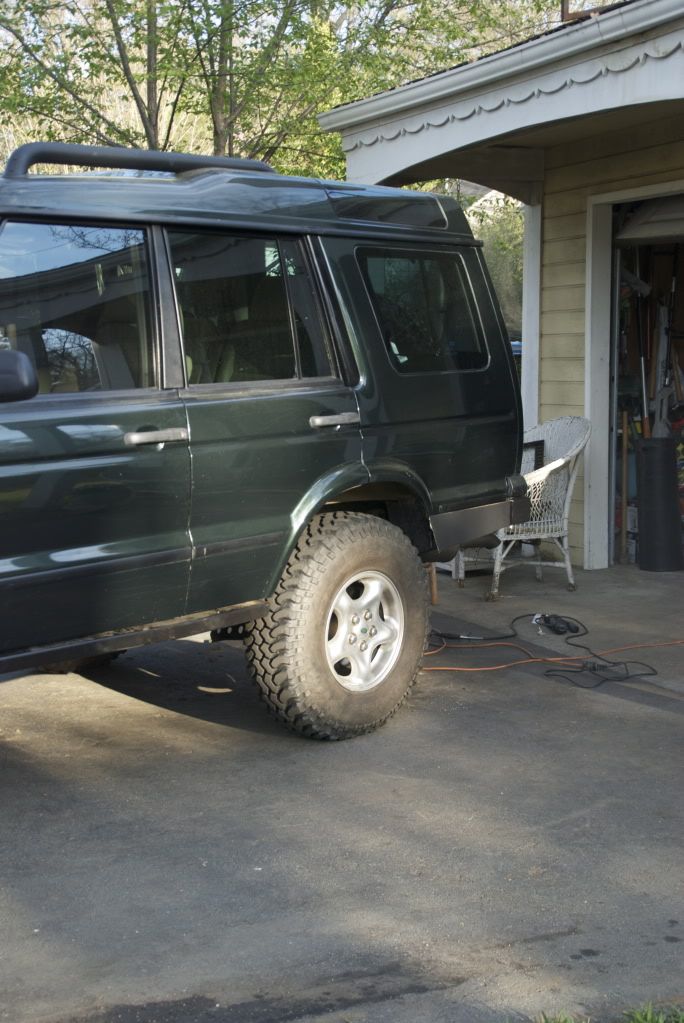
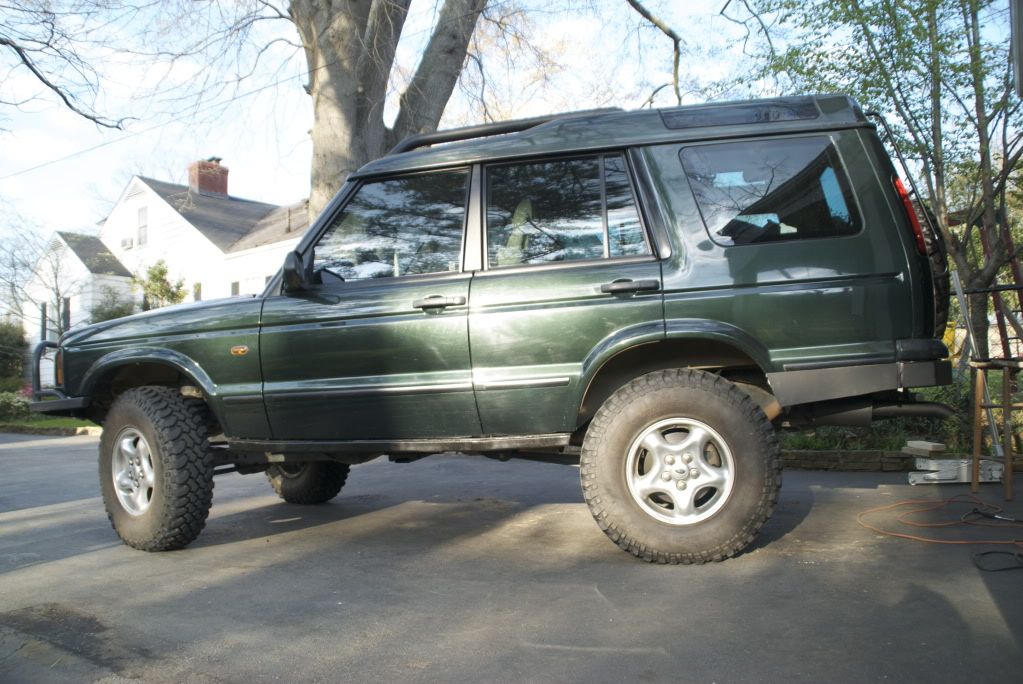
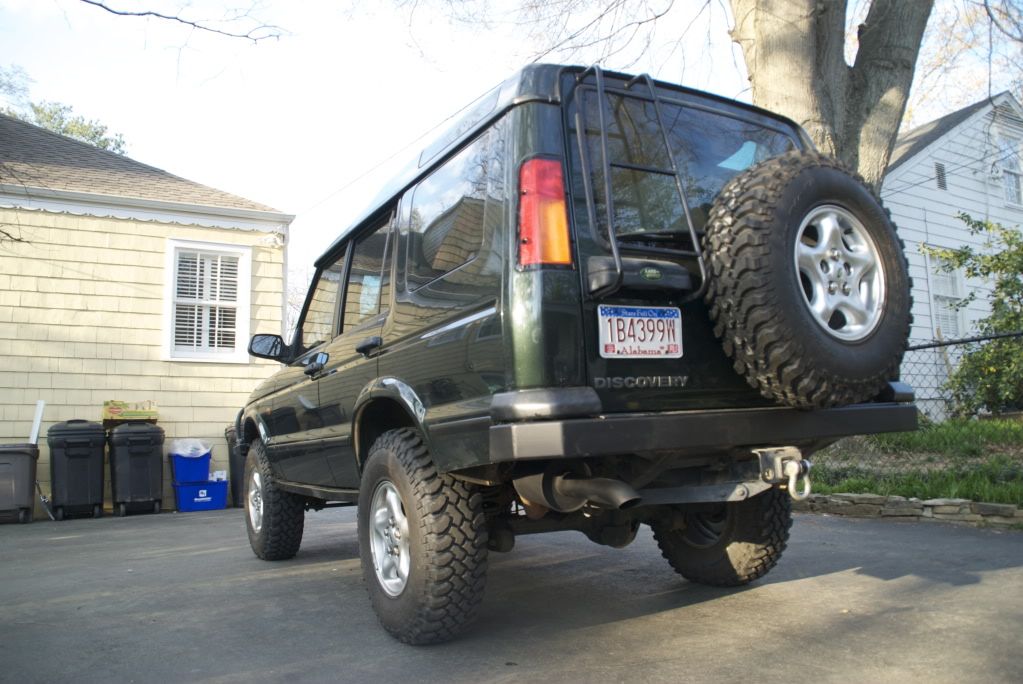
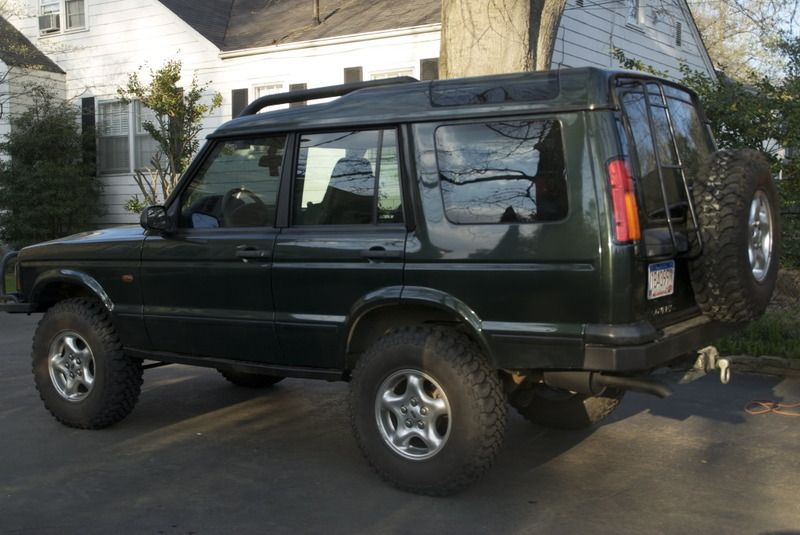
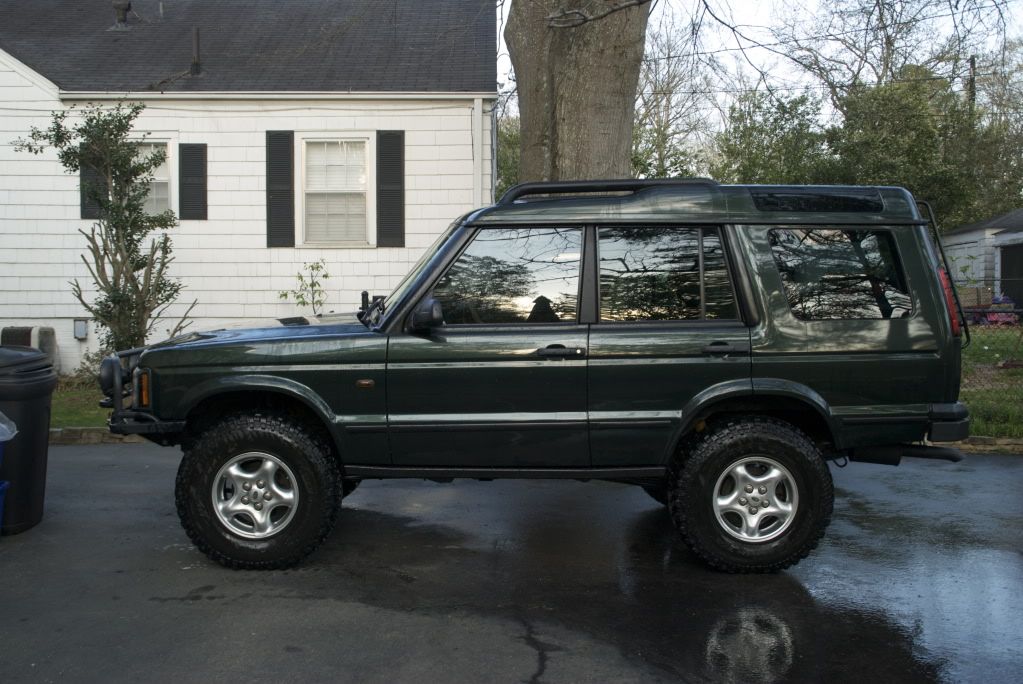
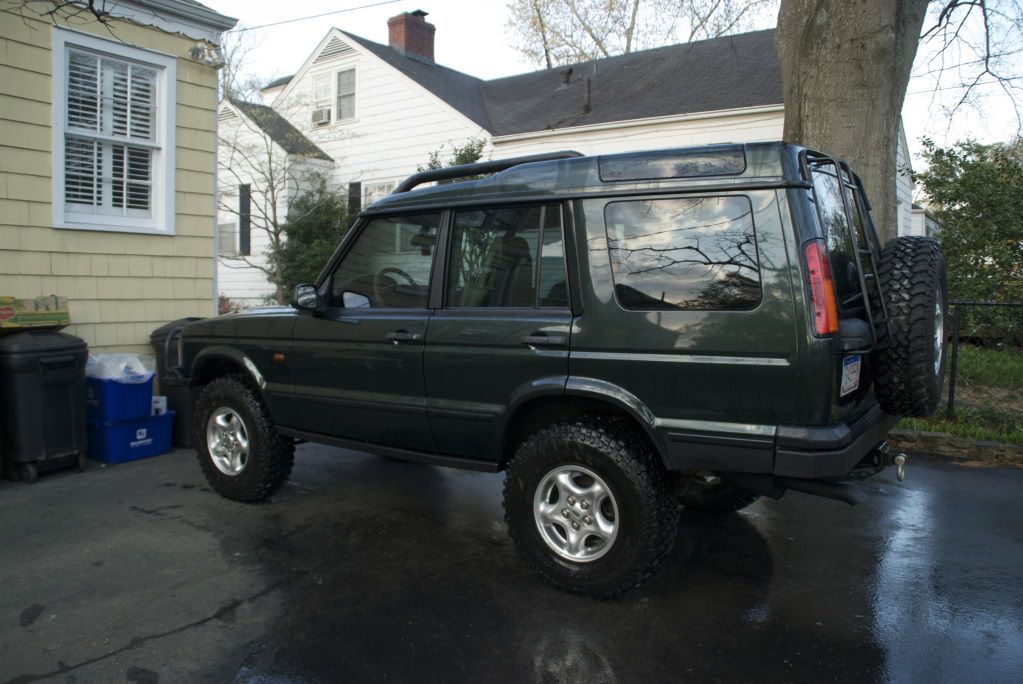
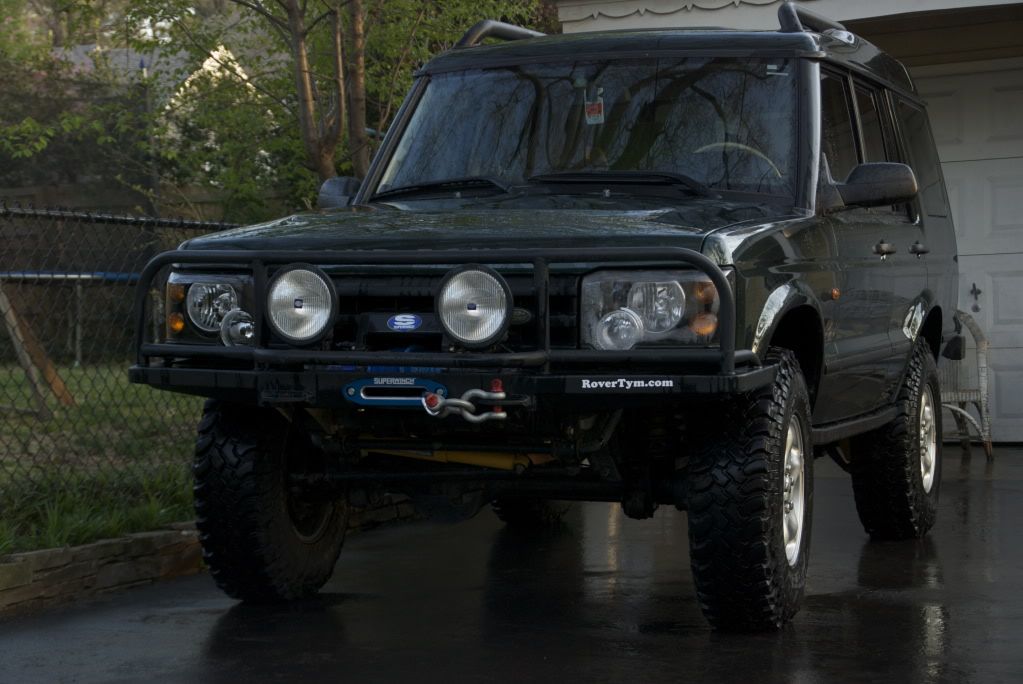
i haven't noticed anything yet. measure from the center of your wheel cap to your fender. my sways are still connect, and with the shock disconnected there's several more inches of down travel before the sways bind. i haven't taken it offroad yet either. have you changed out your brake lines? i don't really need to, but decided to do it "just in case". the shock doesn't have enough down travel to rip out the lines, but you never know under offroad conditions...

i have the OME shocks as well. i'm thinking i'll change them out for 7100s or FOX 2.0s in the rear at the end of the summer, since i won't be doing much more wheeling until then.

i've felt like the front has always been fine, travel wise.
 

michaels

Explorer
so i finally decided to tackle my exhaust leak. one of the studs holding the exhaust manifold down pipe to the y-pipe on the passenger side fell out, compromising the gasket.

Here's the new goods. $35 from the dealer. $25 for the gasket, $5 for the stud, and $3 for the nut. i could've ordered online for about $20 with shipping, but i wanted it done today. you win some, you lose some. luckily i have made some good friends that will get me parts for dealer cost, if i do not have the time to wait for the part from AB from now on:
DSC_0057-1.jpg

here are the studs and nuts. the further back is how it looked when i pulled the two that were still there. the second is the one i cleaned up, and the one in the forefront is the new stud and bolt:
DSC_0061.jpg

and lastly, here is what the gasket looked like compared to the new one. it was completely compromised and eaten away from the missing stud.
DSC_0064.jpg


i reinstalled using a bottle jack to position the y-pipe and sat beneath the truck with a size 13 racket wrench and 1' extension. blue locktite on the threads. total time should be an hour if you have everything, but it took me two. i did not have the RAVE handy and had to ride my bike to the store for the locktite when i realized i was out. i checked the bolts on the other side as well for good measure.

tomorrow i am removing the rocksliders and repainting them. actually, i may run to lowe's in a bit and start on it tonight. All my friends are out of town, so i won't be celebrating St. Patty's tonight.
 

pnorvell

Adventurer
Looking good! Although, that bracket looked like it went through hell! Sure you're gonna come camping this weekend?
 

michaels

Explorer
Looking good! Although, that bracket looked like it went through hell! Sure you're gonna come camping this weekend?

actually, it's a gasket pete...and yeah it obviously did. i drove damn enar 1000 miles with it like that! but shhh...don't tell anyone. i finally had the time to fix it.

and probably not. if the plasma cutter gets here by the weekend, then i'll be working on my rear bumper and working on my slider jig, so i can make you some!

BUT, if it doesn't come...i guess i'll go!
 

pnorvell

Adventurer
actually, it's a gasket pete...and yeah it obviously did. i drove damn enar 1000 miles with it like that! but shhh...don't tell anyone. i finally had the time to fix it.

and probably not. if the plasma cutter gets here by the weekend, then i'll be working on my rear bumper and working on my slider jig, so i can make you some!

BUT, if it doesn't come...i guess i'll go!

Cool! Just let me know if you're going to head over here. I'm heading up to Amicalola once i get off of work Saturday, so I'll be there between 6-8pm. And if not, good luck with the bumper and sliders!
 

michaels

Explorer
over the past few days i got my plasma cutter in, and began working on my rear bumper. i did not finish, but i thought i'd post what i have so far and what it will look like once finished. i do not have any "in progress" pictures of each individual piece. i've spent a good 10-15 hours on this so far, and did not want to stop to take pictures, as i would've lost daylight.
the rear beam.
DSC_0075-1.jpg

an example of my welds. i figured out on this project that when i weld vertically, they turn out MUCH better. also, when the is a bigger gap (in other words, grinding the edges at an angle) i get much better penetration and the welds are flatter and look significantly better. i left all the welds like this on the inside of the bumper and on the mounts.
DSC_0077.jpg

here you can see the slight angle that you must follow to make it look right around the corner trim.
DSC_0080.jpg

DSC_0081-1.jpg

you have to completely cut out the corner for this design, right up to the screw hole for the corner trim.
DSC_0083.jpg

painted.
DSC_0085.jpg

DSC_0088.jpg

DSC_0089.jpg

once you cut out the inner wheel well, the rear fender has no support and flexes a good five inches. so i put in pop-rivets to secure it once again.
DSC_0095.jpg

DSC_0097-1.jpg
 

michaels

Explorer
here's what it will look like once completed.
DSC_0102.jpg

DSC_0111.jpg

DSC_0105.jpg

i painted the resonator and tip black to sort of "hide it." i will cut off the resonator and weld in a straight pipe and move the tip up higher in two weeks when i can work on it again. the trailer hitch will come off once i build the intergrated hitch into it.

it has two mounts on the frame outriggers, two bolts where the stock trailer hitch goes (mounted in 1/2" thick steel. the integrated hitch will share this mount), and three bolts per wheelwell, as all the other proven bumpers are mounted. i contemplated going to the frame, and it is still a possibility, but i think i will just leave it at the wheel well.

also, i will leave the stock trailer hitch in until i get a gas tank skid plate. it has saved my butt on numerous occasions. literally speaking.

here are some pictures of how it looks on the truck as of now, and a few of it all cleaned up.
DSC_0112.jpg

DSC_0113.jpg

DSC_0117.jpg

DSC_0119.jpg

DSC_0121.jpg

DSC_0124.jpg

new sliders in a few weeks as well. i've decided to build some that stick out a 1" more on the sides, so that it acts as a better step and helps protect the door a little more. i may incorporate a "hardmount" in addition to the u-mount on the sills. i repainted the current ones on my truck this week, and they'll be going to timmy's truck in the near future.

also, i didn't do all the grinding sanding i should have. i have a few little places to fill in with weld and sand down, but i'll do it when i finish it. i just sprayed some rustoleum on it for now, but i'll sand it down for a more durable laquer finish. i prefer this over powder-coating for ease of touchup.
 
Last edited:

timmy!!!!!!!

Explorer
Yea I am going to steal your thread here and mention that someone needs to buy my sliders first before I can buy yours. You better incorporate some sort of nerf on that so I can let the ladies in.

Edit: And that bumper looks amazing!
 

peter

Observer
A lot better than I expected, considering I don't think you have welding something that big before. It makes the disco look great. The stock DII bumpers do not complement a lifted disco one bit.
 

michaels

Explorer
A lot better than I expected, considering I don't think you have welding something that big before. It makes the disco look great. The stock DII bumpers do not complement a lifted disco one bit.

it doesn't matter how "big" the object is, the distance between the pieces being welded is still more or less the same. basically this far, since i ground the sides at an angle "___".

i agree. the disco looked retarded before the cut. it'll look even better once finished. i'm gonna make a few more of these here and there, along with more sliders.
 

Forum statistics

Threads
188,470
Messages
2,905,498
Members
230,428
Latest member
jacob_lashell
Top