You are using an out of date browser. It may not display this or other websites correctly.
You should upgrade or use an alternative browser.
You should upgrade or use an alternative browser.
Mission Dawn Patrol
- Thread starter volcomsurfer
- Start date
volcomsurfer
Adventurer
finished the reflectix and got some thinsulate on.
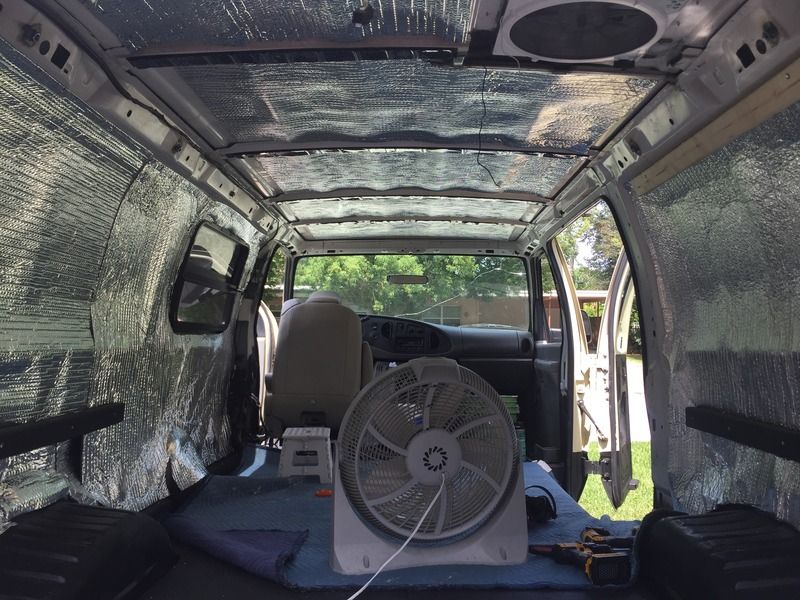
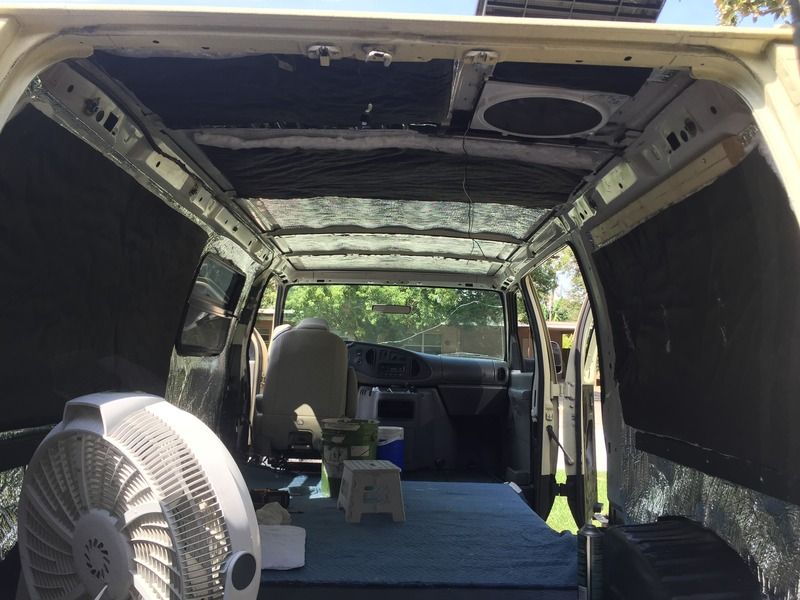
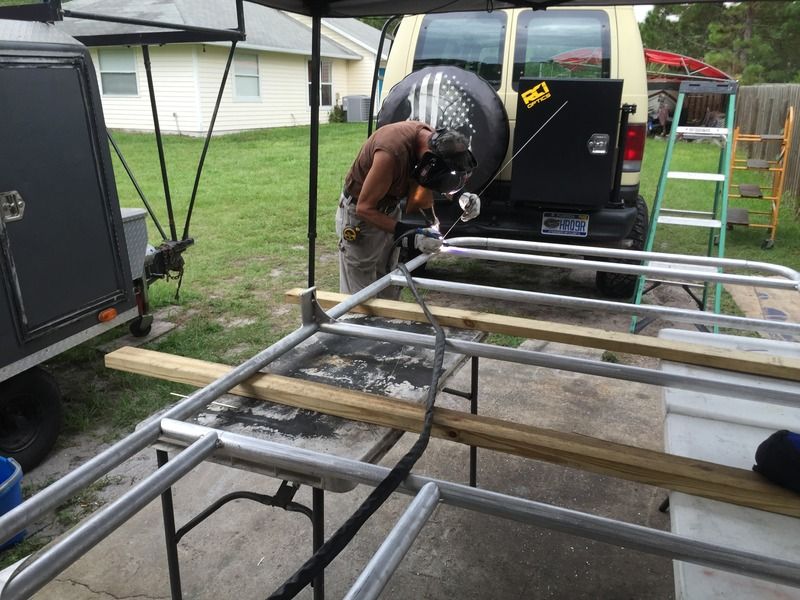
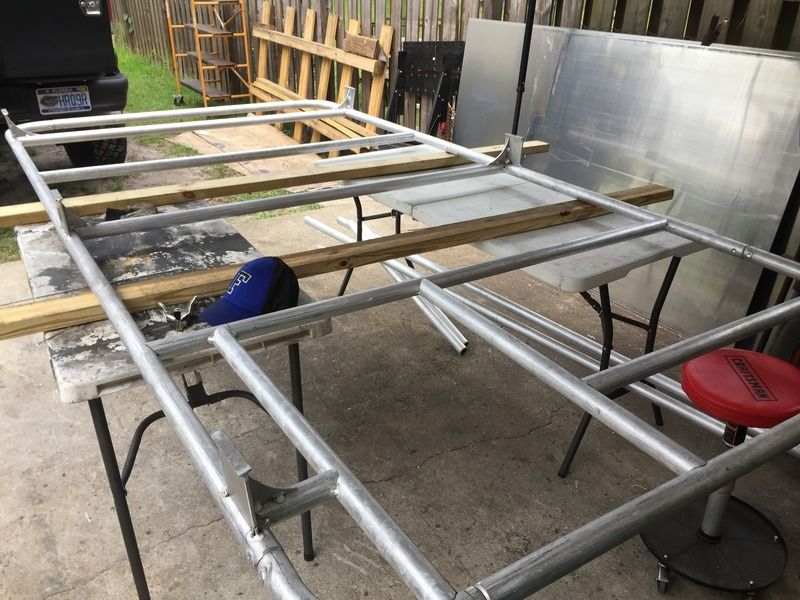
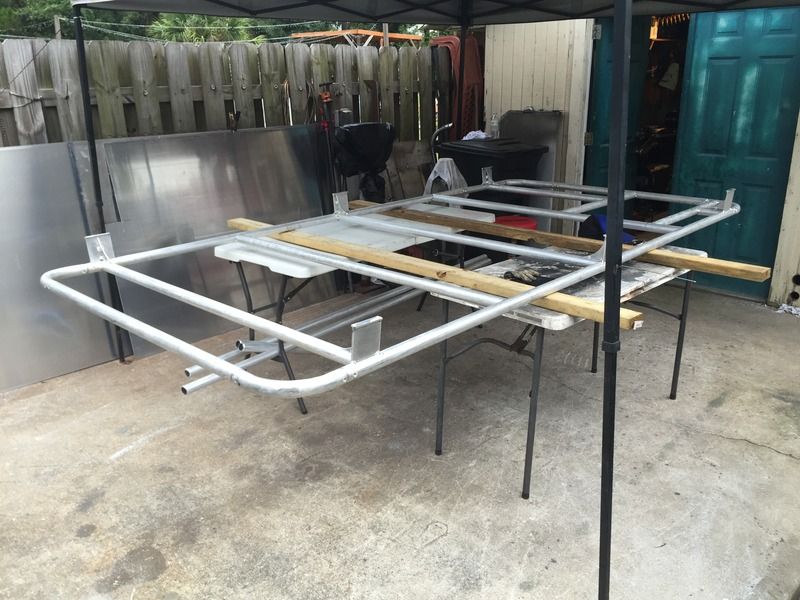
Started to tack up the bottom section of the roof rack today too.
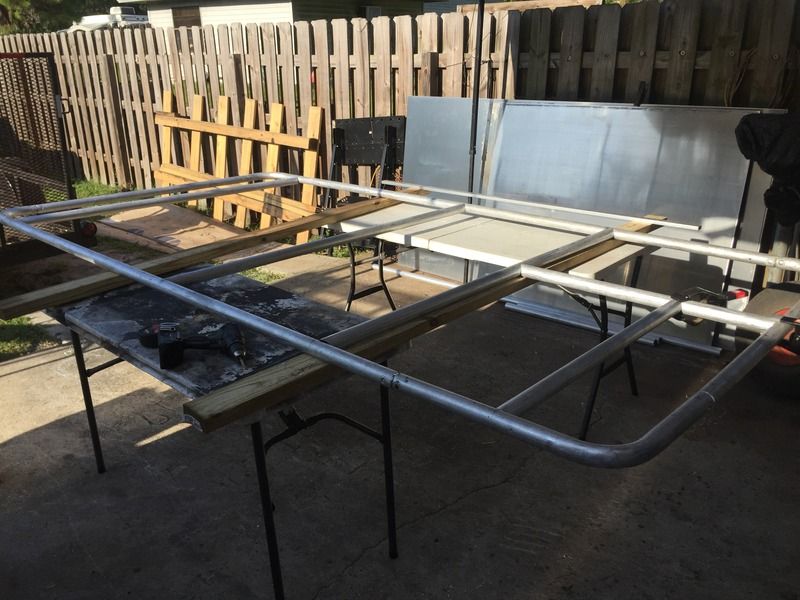


Started to tack up the bottom section of the roof rack today too.

FarmerFrederico
Adventurer
Looks great, man!
volcomsurfer
Adventurer
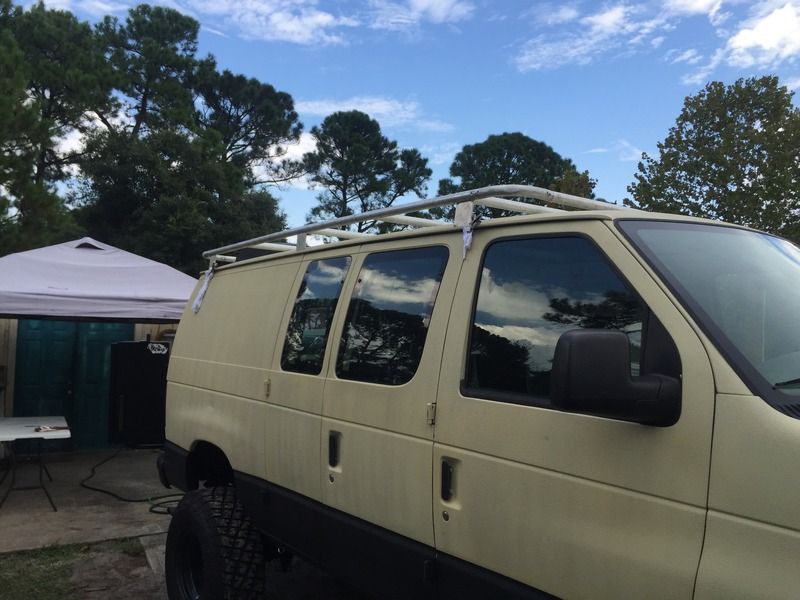
We got the mounts on yesterday and tacked up some gussets for support. The constant measuring, putting on the van, taking it off, putting it back on, taking it back off is getting old; but if it's going to look good it's going to take time. I'm taking today and tomorrow off for obvious reasons, but hopefully we'll be able to get this thing to paint by the end of next week.


volcomsurfer
Adventurer
volcomsurfer
Adventurer
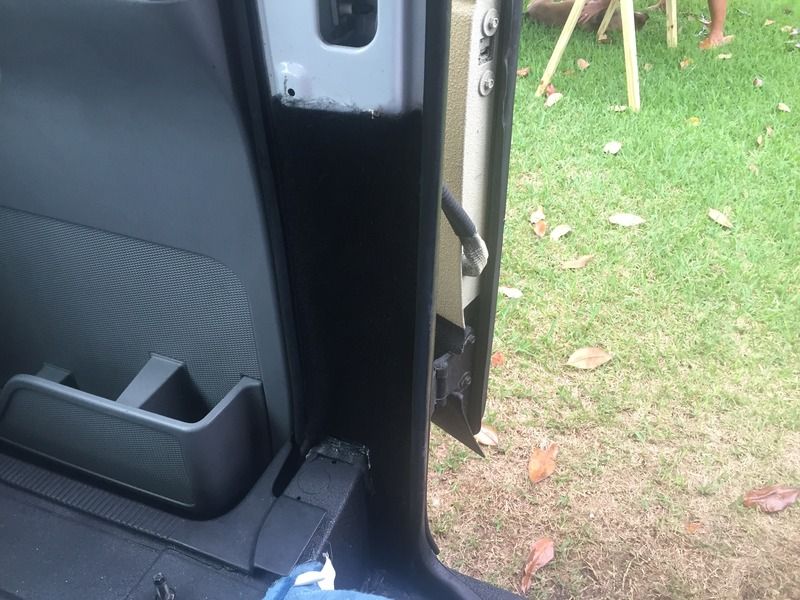
I lied and did some work today. I was getting super hammered and antsy waiting for the game to start. Anyway, posting up some progress before the game. Put in the carpet on the pillars on one side and mocked up a template for the wall.
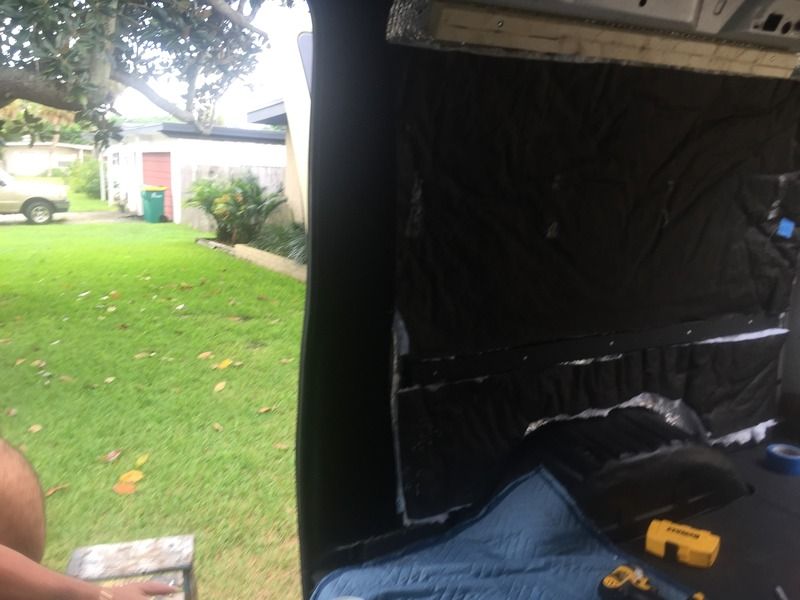
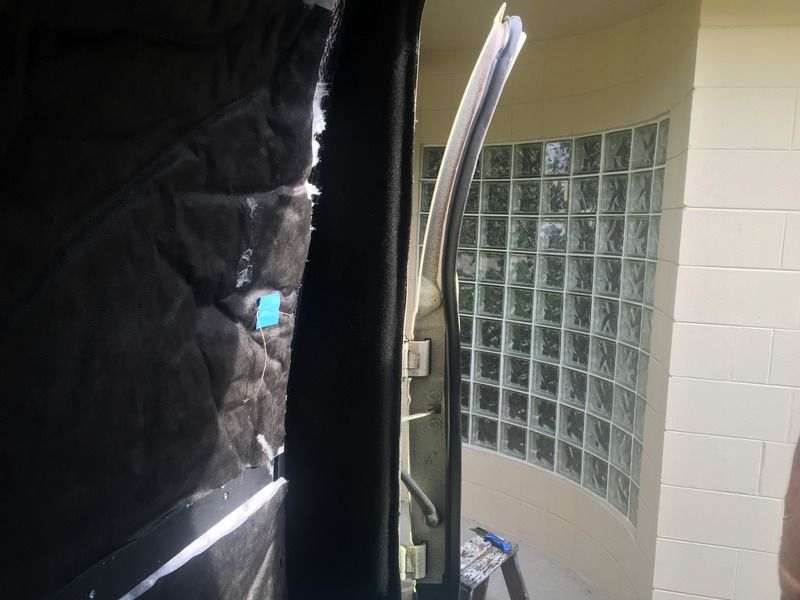
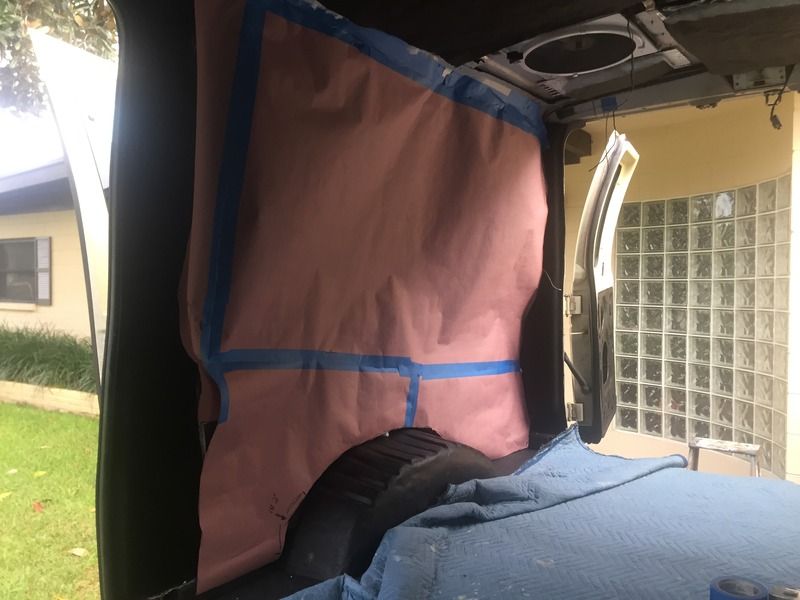
And Tigua's bones came in today.. One happy pup.

GO GATORS!!!


And Tigua's bones came in today.. One happy pup.

GO GATORS!!!
volcomsurfer
Adventurer
So I hit a snag with the brake calipers not releasing. Flushed the brake fluid and found some crap so we were hoping that would solve the problem. Test driving it discovered that the brake booster wasn't properly working either. After inspection the master cylinder was leaking too so I just replaced all that ****. While I was troubleshooting that I found that the alternator was going bad. So I replaced that too. Might as well get it all out of the way now before I leave. Well we ****ed up trying to rush at the end of the day and didn't realize the pulley for the belt was a smaller size on the new alternator. Driving around the next day I hear, what I thought was catching a branch or rope in my driveshaft, but the pulley cut the belt to size and shredded belt got wrapped up in ************* EVERYTHING. Yeah that was fun. ALWAYS double check your work when you're done. I keep rushing and it keeps biting me in the ***.
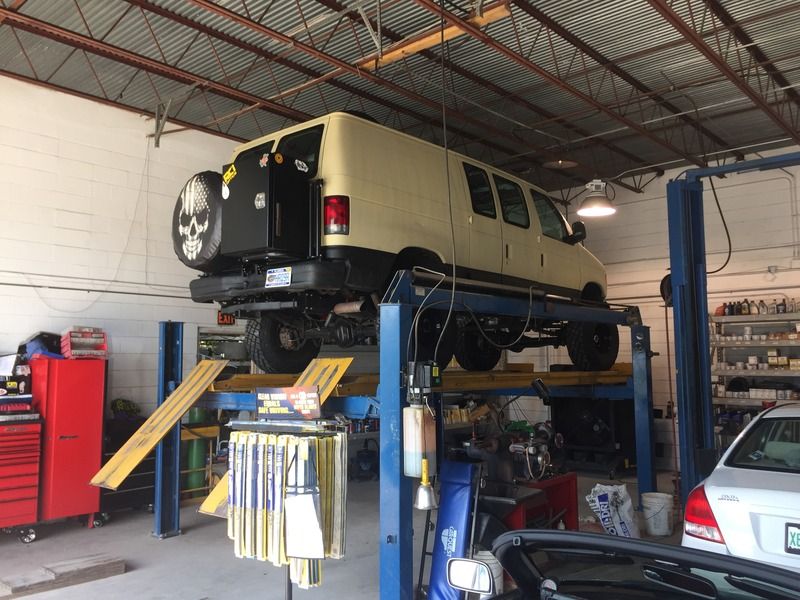
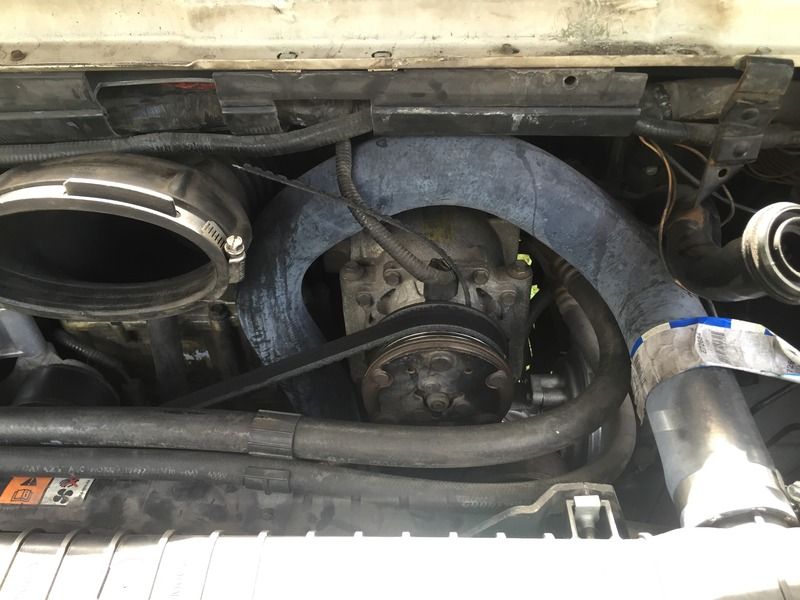
If you look close, you can see the pieces of the belt wrapped around the pulley by the tensioner.
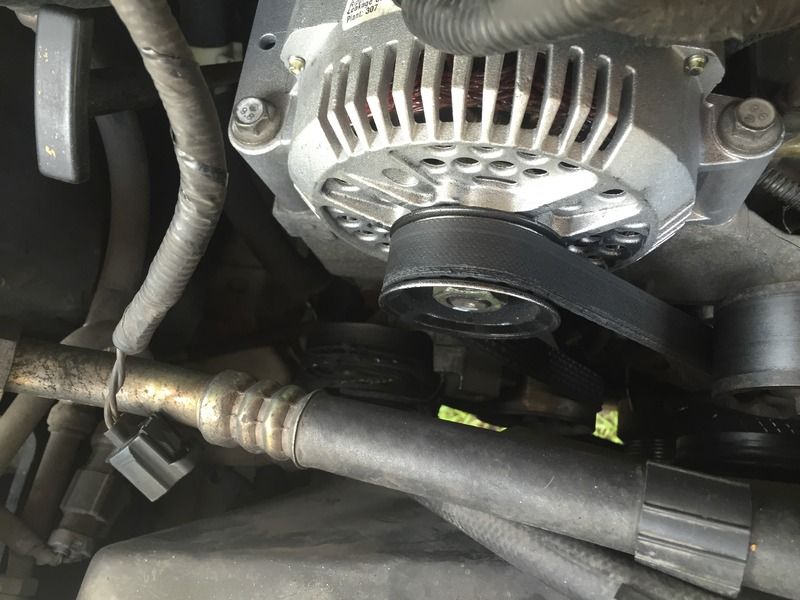
Anyway, I did make some progress...
Got the uprights and top row tacked in.
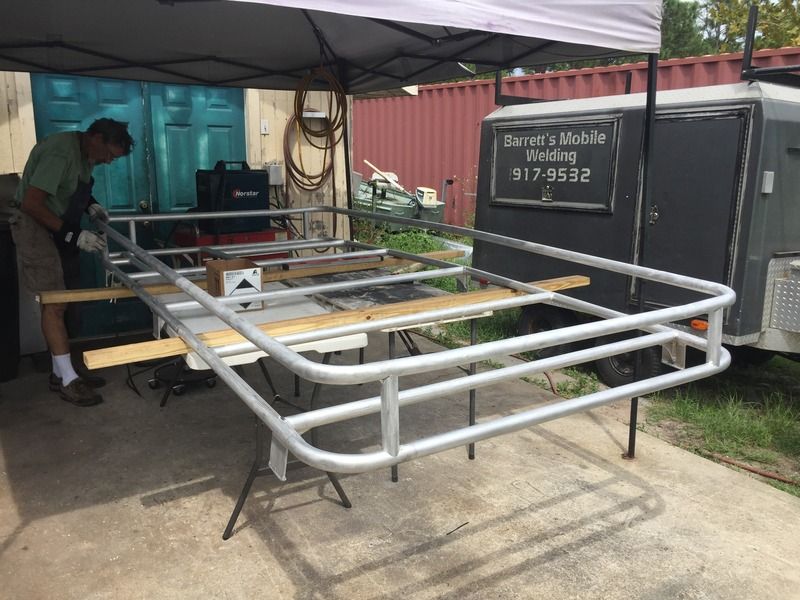
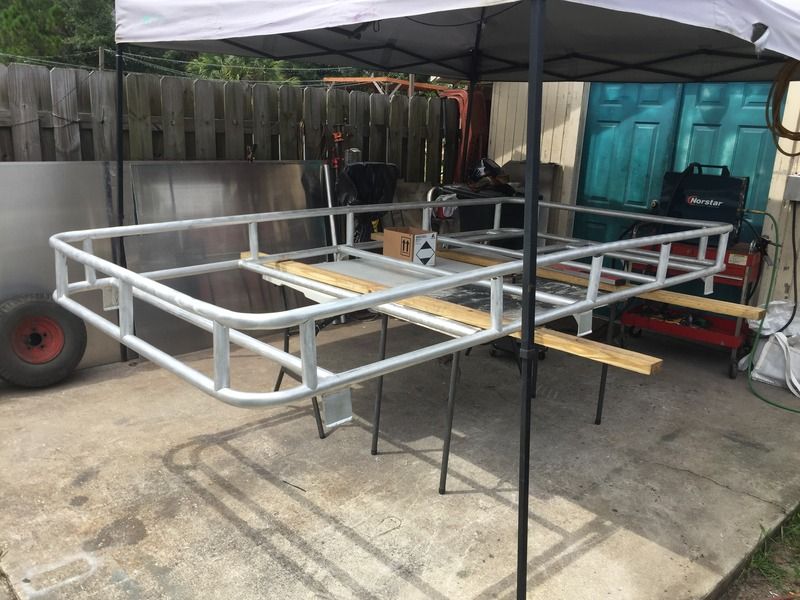
Mocked up
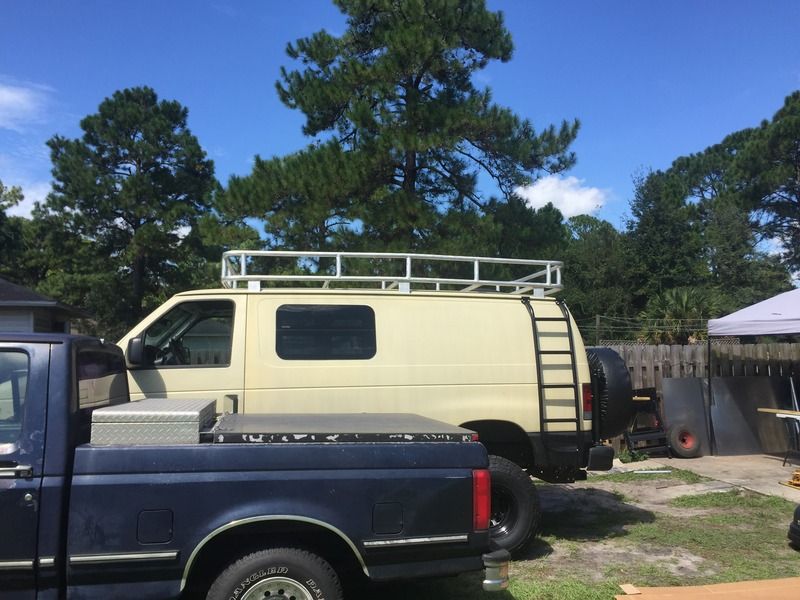
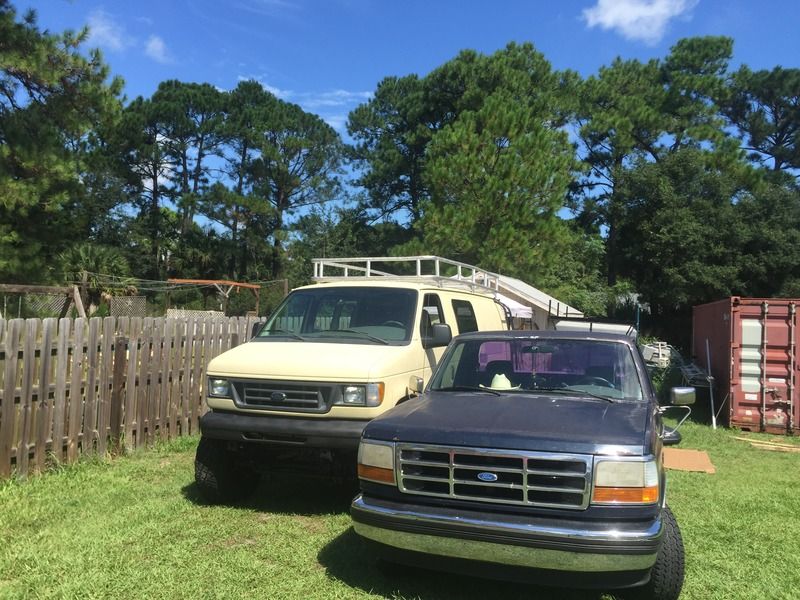
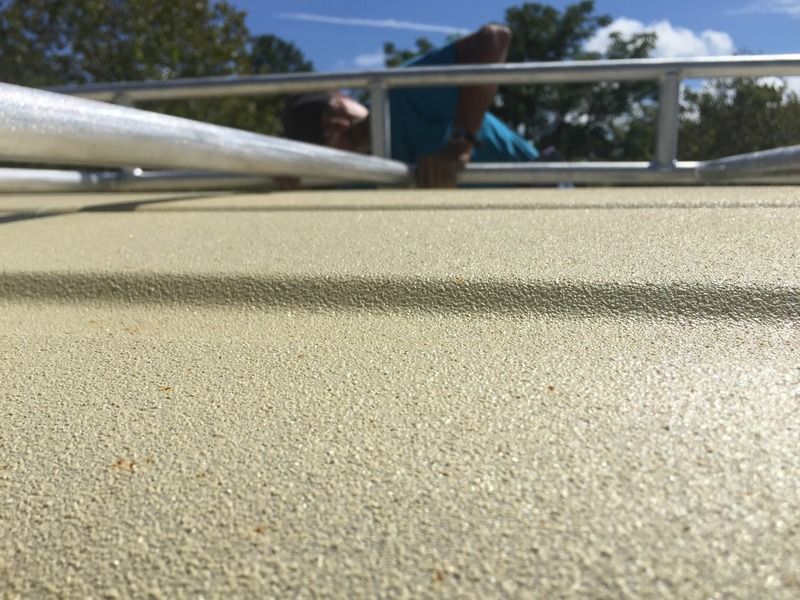
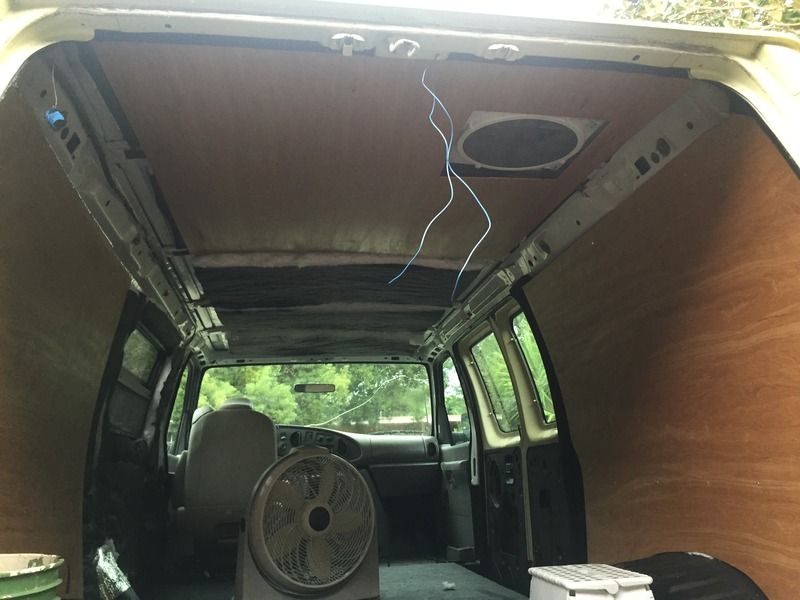
Had to do a lot of work around the vent. What a pain.
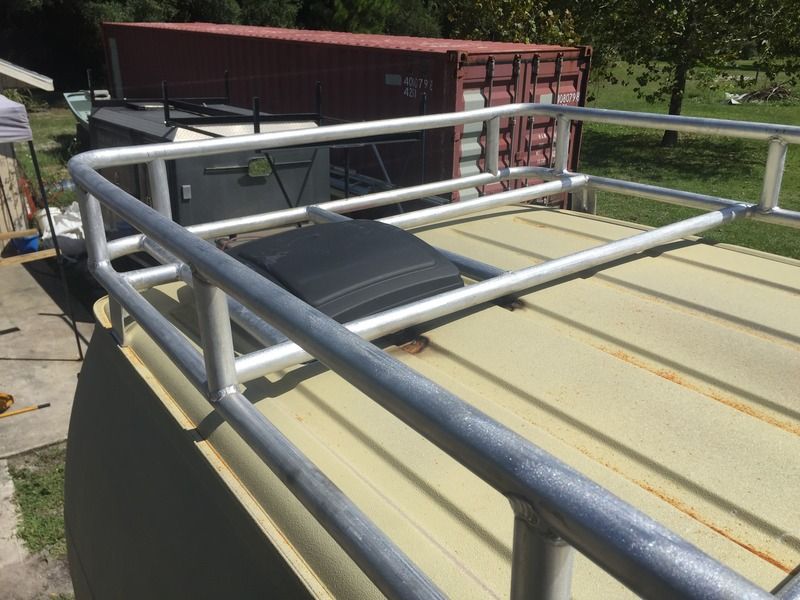
We tried to get it nice and close.
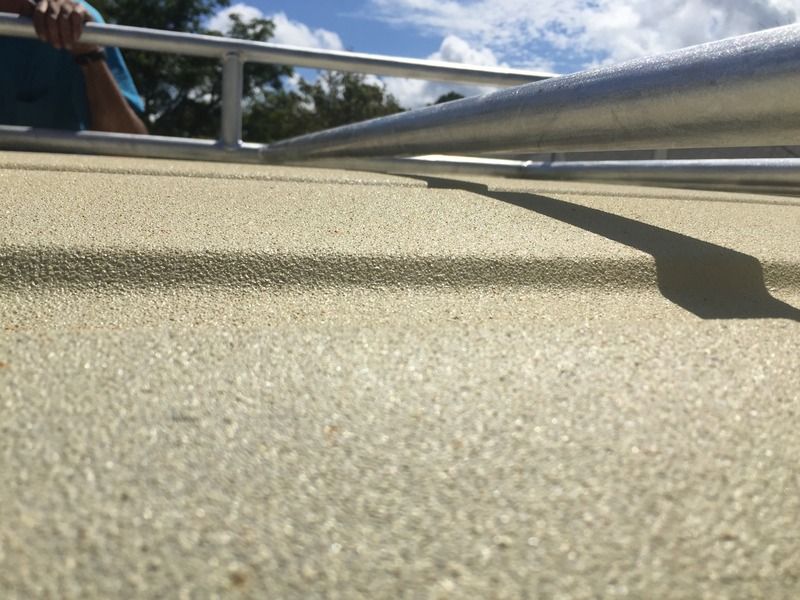
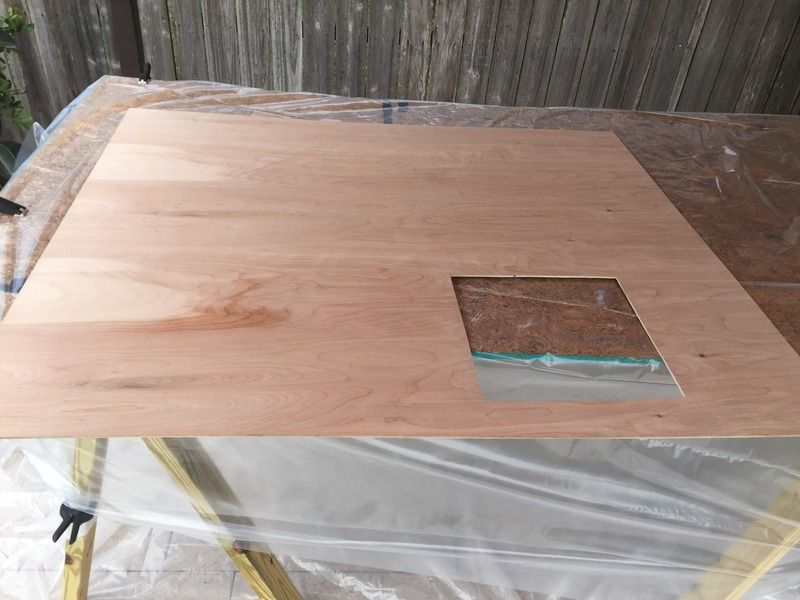
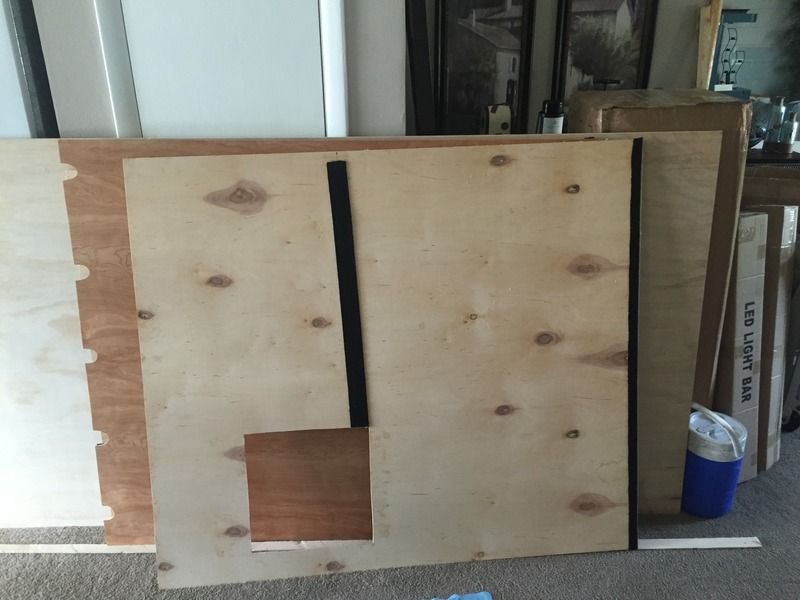
Then I worked on the wall and ceiling panels. All shaped, sanded, ready for lacquer.
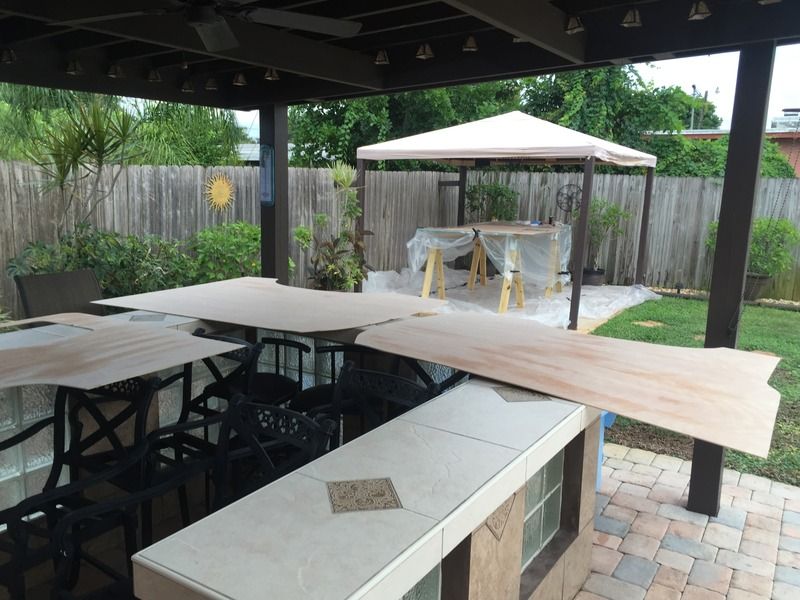
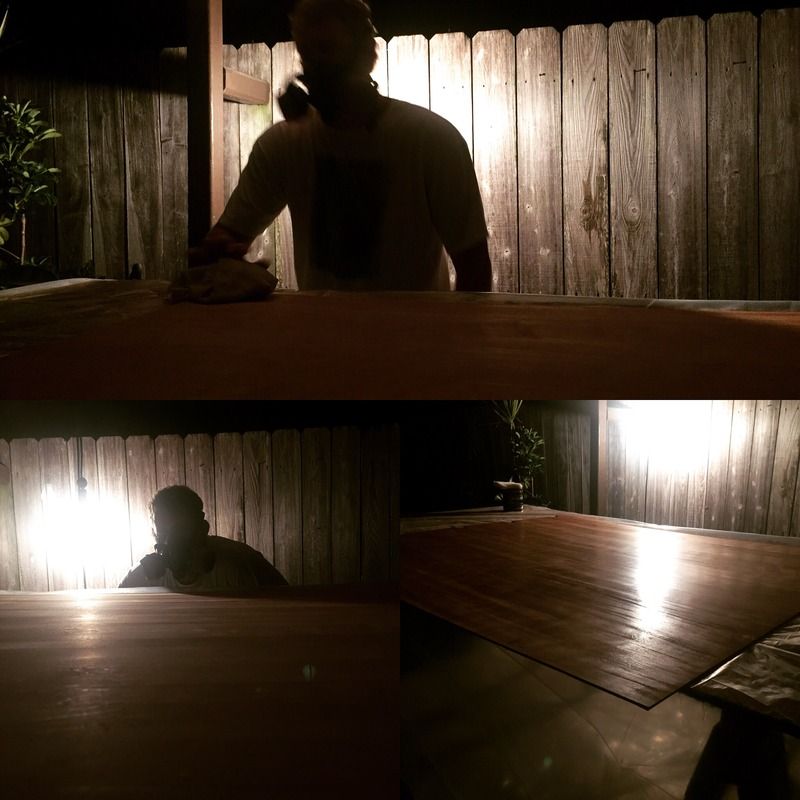
Working nights.. between the rain and the sun I'm WAY behind schedule.
I think they turned out quite nice. It's 1/4" birch ply.
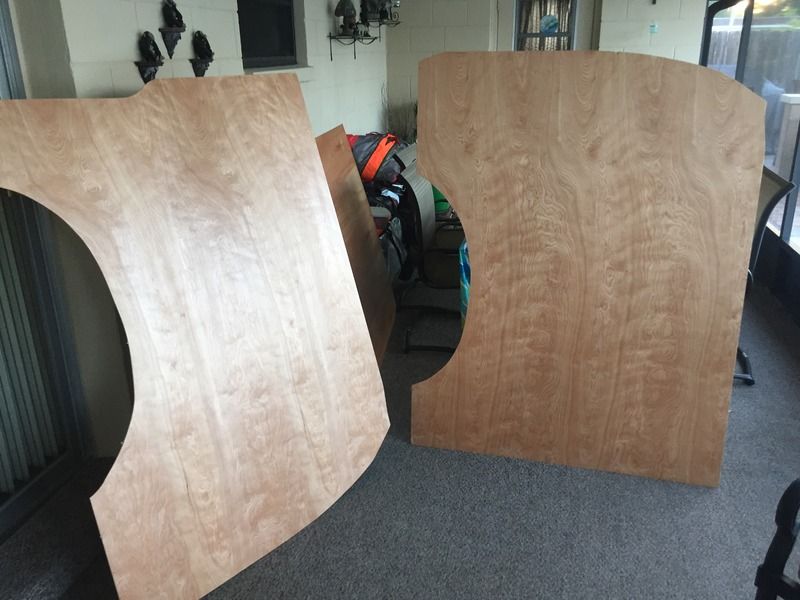
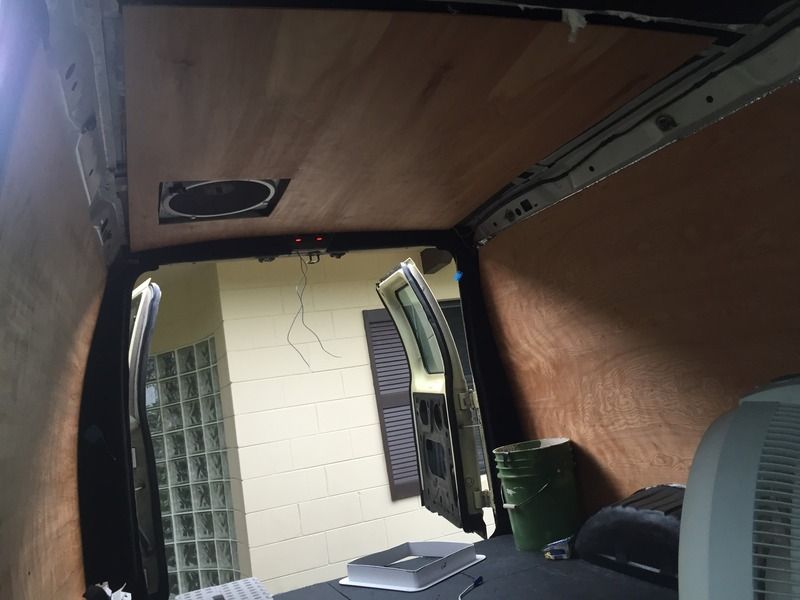
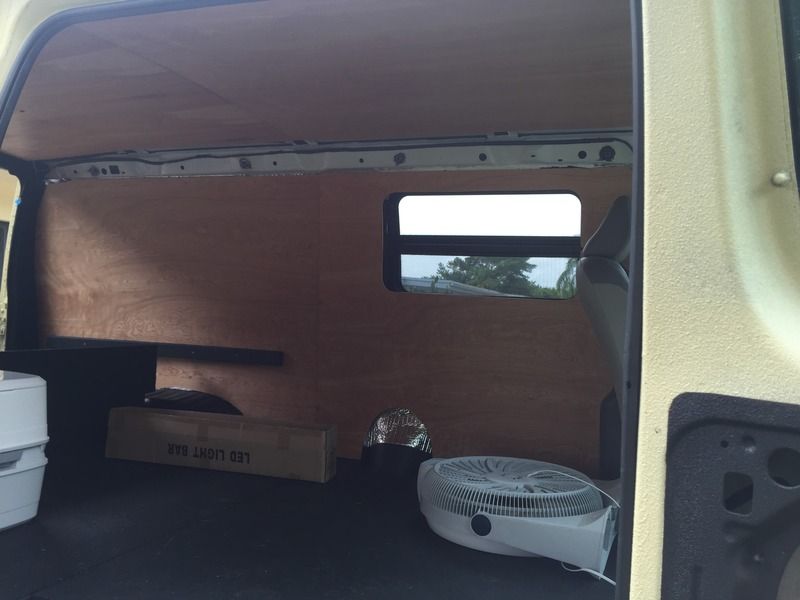
Fitting em up.
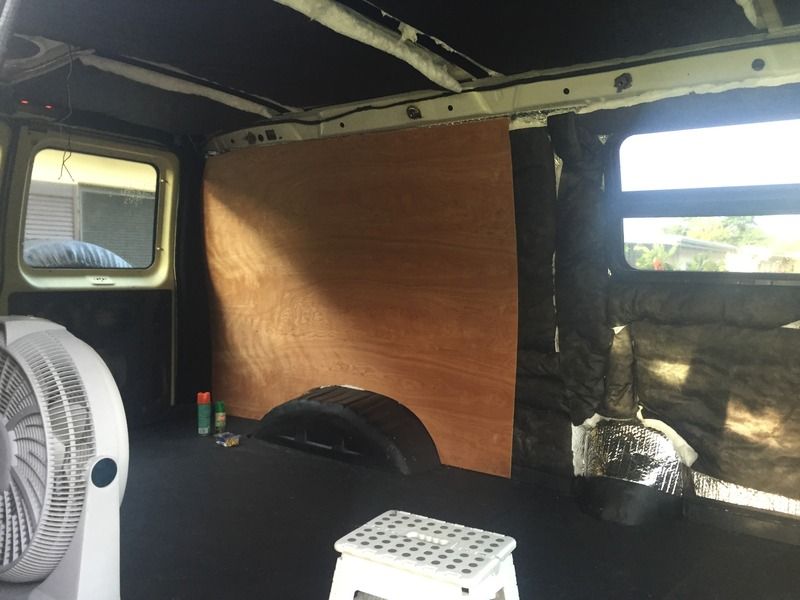
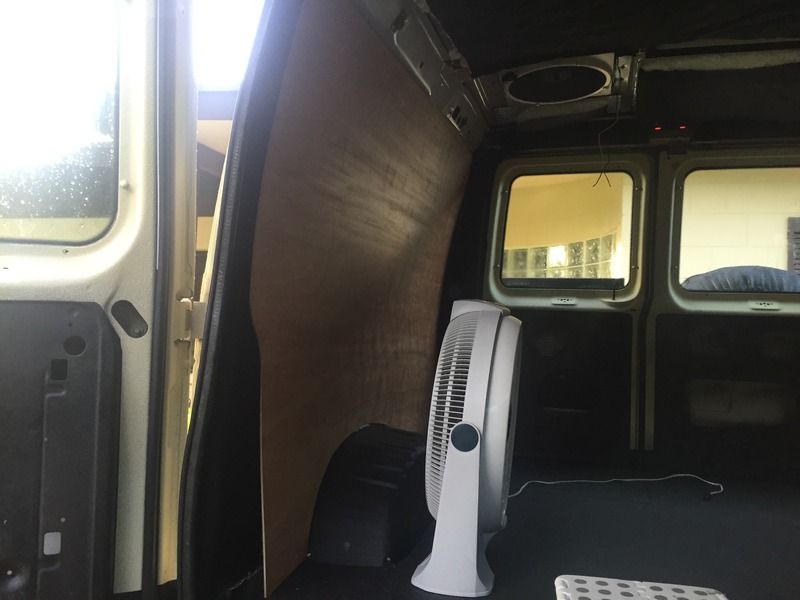
So I just used some screws in the 2x2 i had holding the floor down and where the mounts for the bed are. The wood piece at the top will hold the top of the walls and the edge of the ceiling tight. You'll see later. That's what the nuts were welded to the corners for.
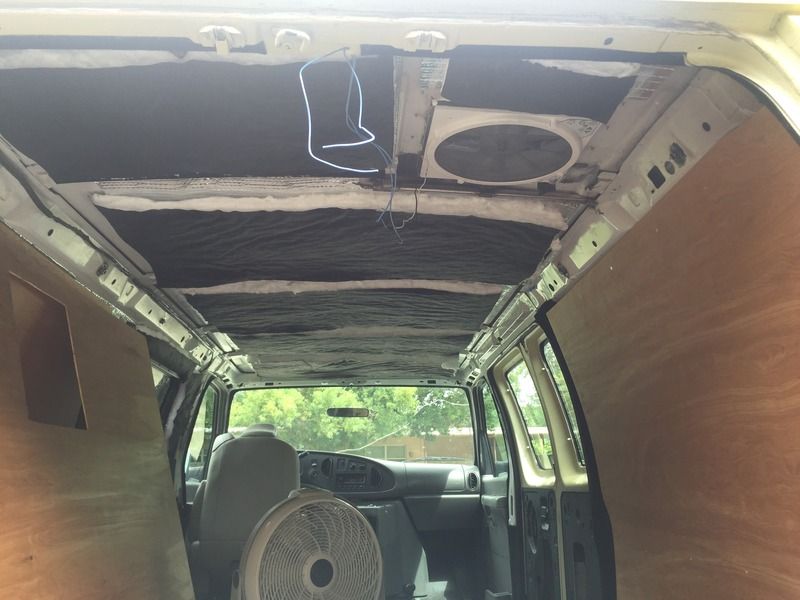
So my idea was to use 2" velcro on those struts on the roof to hold up the ply that had the opposite side attached to it. This way there'd be no screws visible. I hate seeing screws. I wasn't sure if the concept was going to work, but it worked out really well actually.


If you look close, you can see the pieces of the belt wrapped around the pulley by the tensioner.

Anyway, I did make some progress...
Got the uprights and top row tacked in.


Mocked up


Had to do a lot of work around the vent. What a pain.

We tried to get it nice and close.


Then I worked on the wall and ceiling panels. All shaped, sanded, ready for lacquer.


Working nights.. between the rain and the sun I'm WAY behind schedule.

I think they turned out quite nice. It's 1/4" birch ply.

Fitting em up.


So I just used some screws in the 2x2 i had holding the floor down and where the mounts for the bed are. The wood piece at the top will hold the top of the walls and the edge of the ceiling tight. You'll see later. That's what the nuts were welded to the corners for.
So my idea was to use 2" velcro on those struts on the roof to hold up the ply that had the opposite side attached to it. This way there'd be no screws visible. I hate seeing screws. I wasn't sure if the concept was going to work, but it worked out really well actually.


volcomsurfer
Adventurer
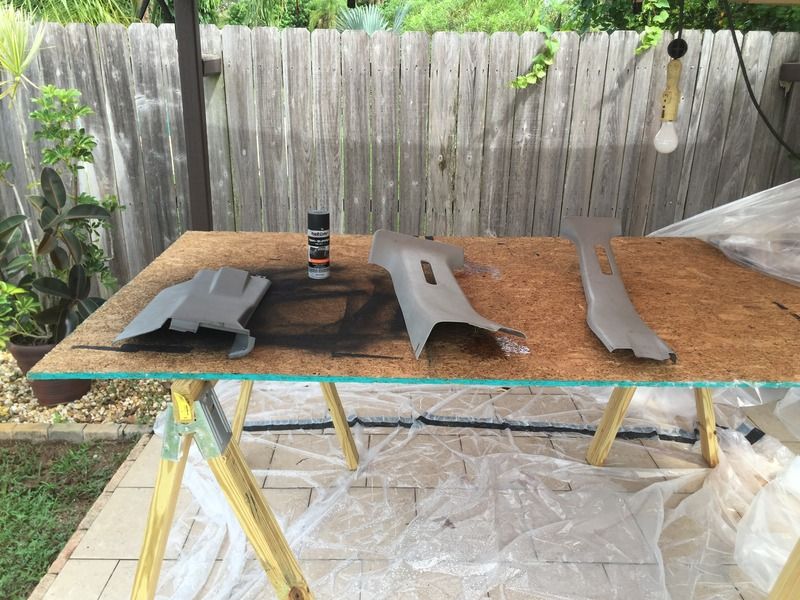
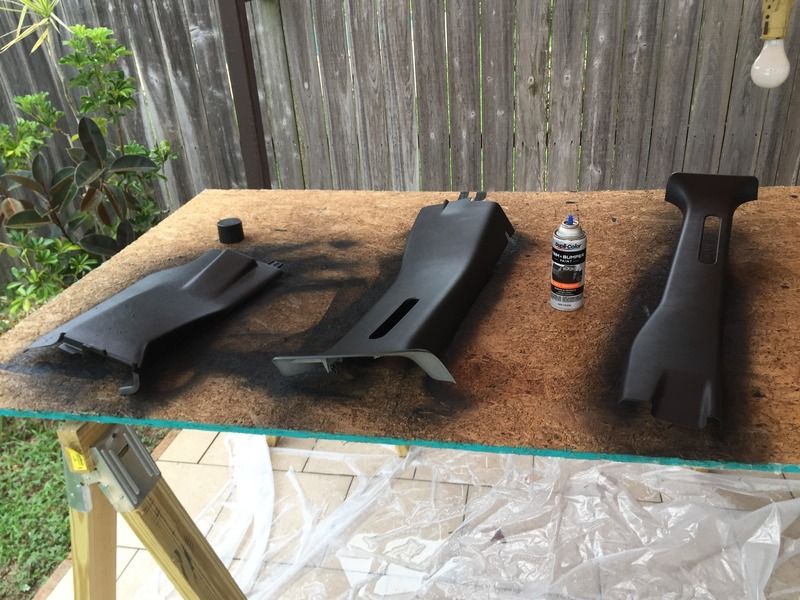
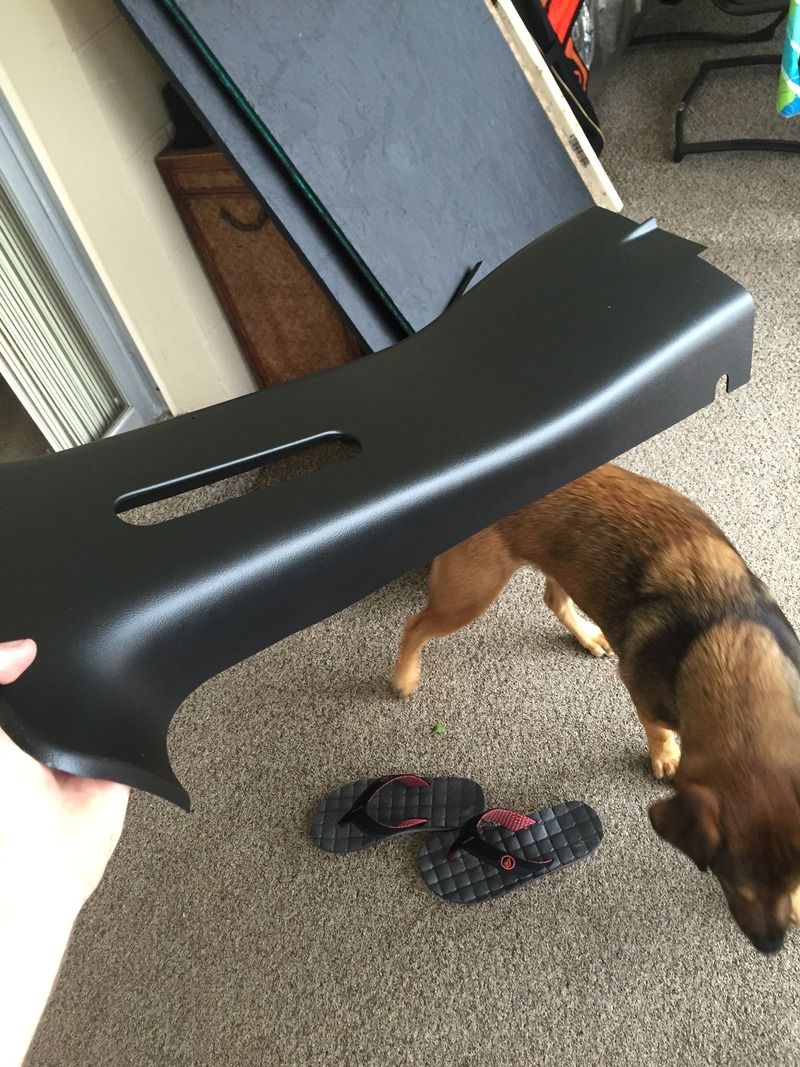
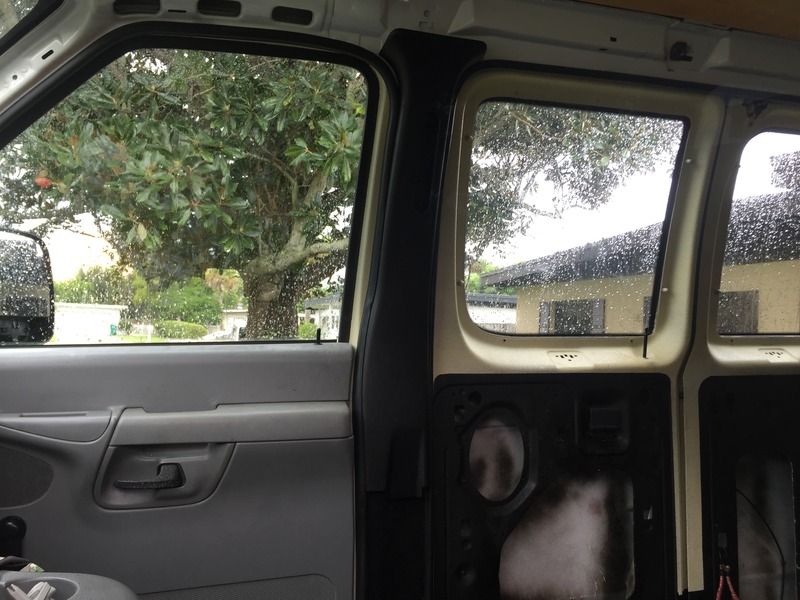
I cut/trimmed the plastic pieces for the B pillars to fit the wood panels and painted them black to match the carpet I installed. They turned out good enough for me to consider doing the door panels, headliner, and dash... Hmmm
The next thing I did was get the counter top. I just went for the basic home depot special. The only issue is that the backsplash was so damn tall. So I took a section out of it to gain a few more inches of cabinet space. It was actually a really painless process.
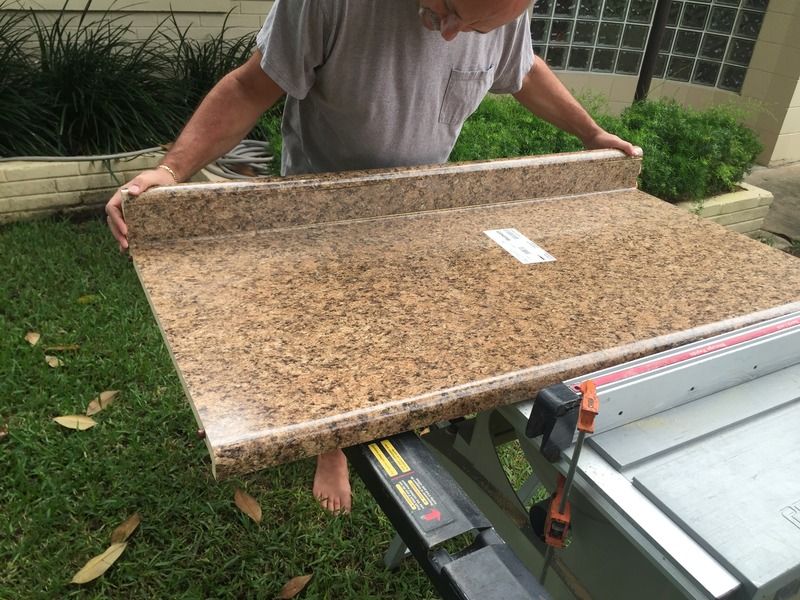
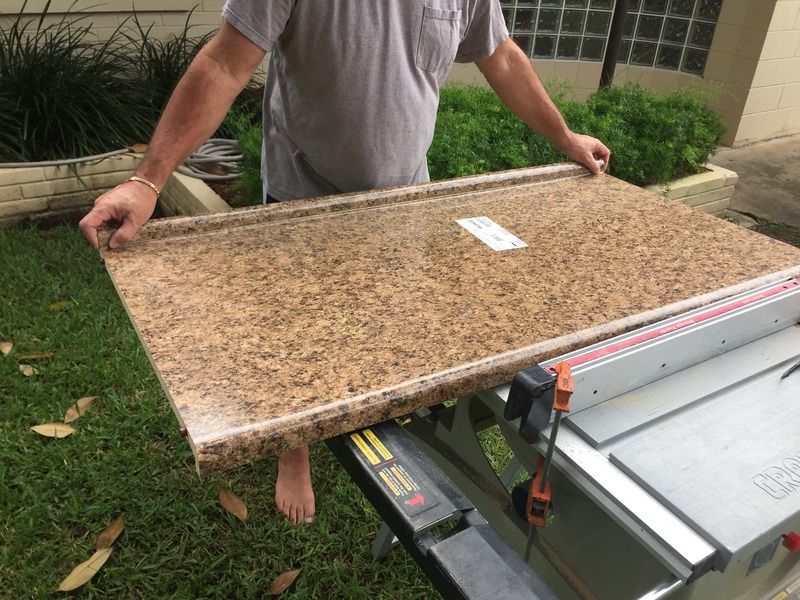
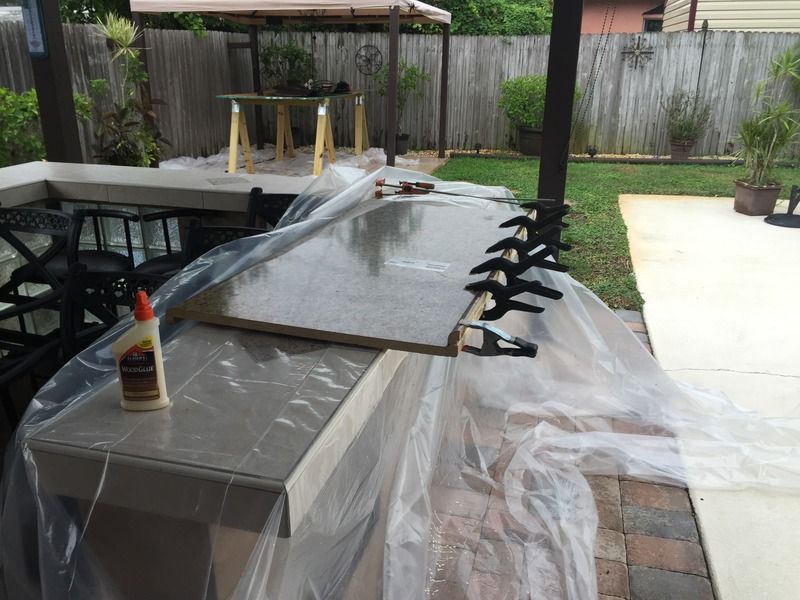


The next thing I did was get the counter top. I just went for the basic home depot special. The only issue is that the backsplash was so damn tall. So I took a section out of it to gain a few more inches of cabinet space. It was actually a really painless process.


FarmerFrederico
Adventurer
Looking good, man!
sixstringsteve
Explorer
Wow, you've been busy! What paint did you end up using on those plastic panels? They look great.
How did you affix the velcro to the roof? Did it have an adhesive strip that was adequate, or did you use something else?
I'm thinking of a velcro strip to attach screens in the rear doors of the van that are easily removable, but wasn't sure what I'd use to stick it on.
Your van is looking great!
I'm thinking of a velcro strip to attach screens in the rear doors of the van that are easily removable, but wasn't sure what I'd use to stick it on.
Your van is looking great!
Thin VHB tape will bond almost anything to almost anything else. You will destroy the substrate before the tape will fail. It is unbelievable what you can do with it.
http://solutions.3m.com/wps/portal/3M/en_US/Adhesives/Tapes/Products/~/3M-VHB-Tape?N=6105&rt=c3
There are other products available if that level of adhesion is not required, but worse case you destroy the hook and loop piece and you can sand the remaining residue off the metal or whatever it was adhered to.
Similar threads
- Replies
- 0
- Views
- 76
- Replies
- 1
- Views
- 690
- Replies
- 8
- Views
- 531
- Replies
- 3
- Views
- 245
