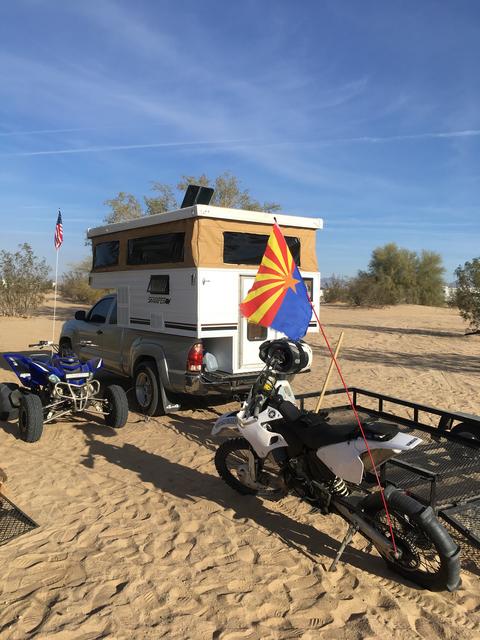
My $100 Skamper build

that is pretty sweet looking little setup- going with white or amber for your exterior lighting? and any idea what that setup weighs?

Thanks! Thats actually a good question on the lighting color, but most likely ill use some sort of LED light bar, so likely white, but I do have a big roll of yellow laminex, so maybe I'll play around with the amber too, we'll see.

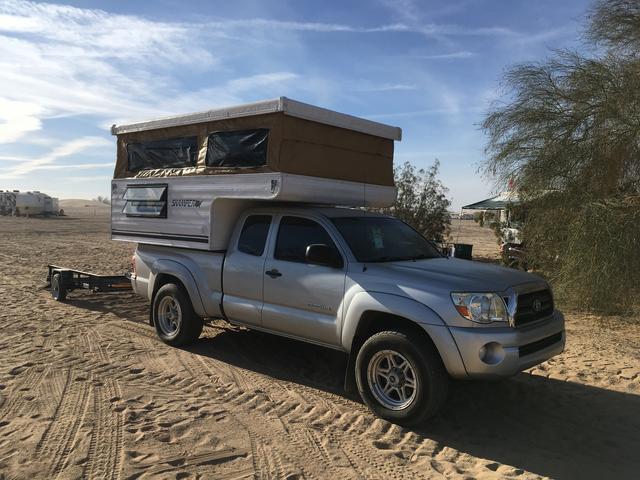
As per weight, I'm not exactly sure on that per se, but what I can tell you is that it was a def heavier when I was done with it, and a complete ********** to load it with the 4 guys this time around lol, which prompted pretty much overnighting the much needed jacks to load and unload it. An old sales brochure I found states its around 950 lbs dry and around 1050/1100 wet, Id prob say I'm close to those numbers with all my gear in it and what not, maybe a little lighter as the trailer carries my big blue water jug and other items like that.

The Tacoma handles it like a champ tho, the only upgrade I have to it is the TSB for the rear leaf spring pack which adds a leaf the PO had done, as they towed a moderate sized trailer of some sort, enough to have trailer brakes wired up to it. The suspension really only starts to sag a slight bit more noticeably with the trailer on it, but not bad, I may still add airbags/upgraded bump stops, but for now it seems fine. No issues mechanically either, the 4.0 has plenty of power for it, just have to stay in the right gear, as I'm lugging this thing and all my gear from about 1000 feet above sea level to upwards of about 7000 feet in a matter of 200 miles or so.
 
today I did a thing!

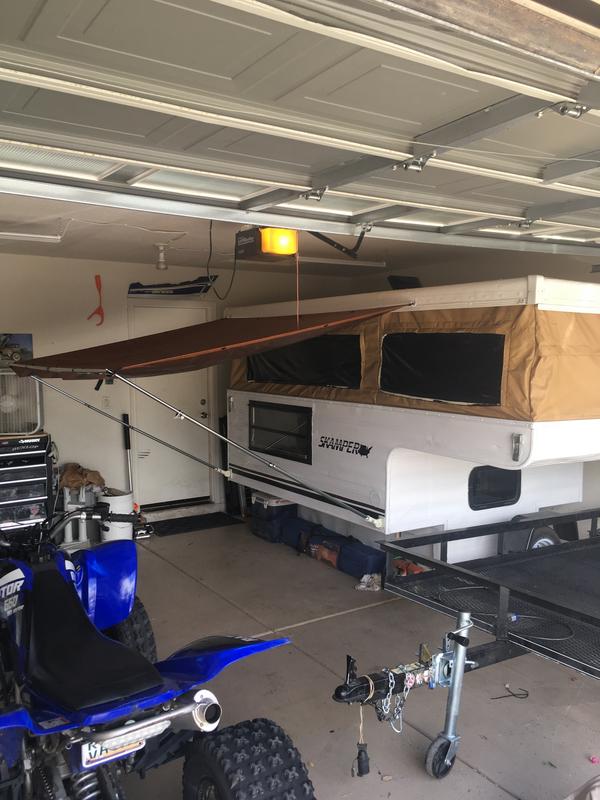
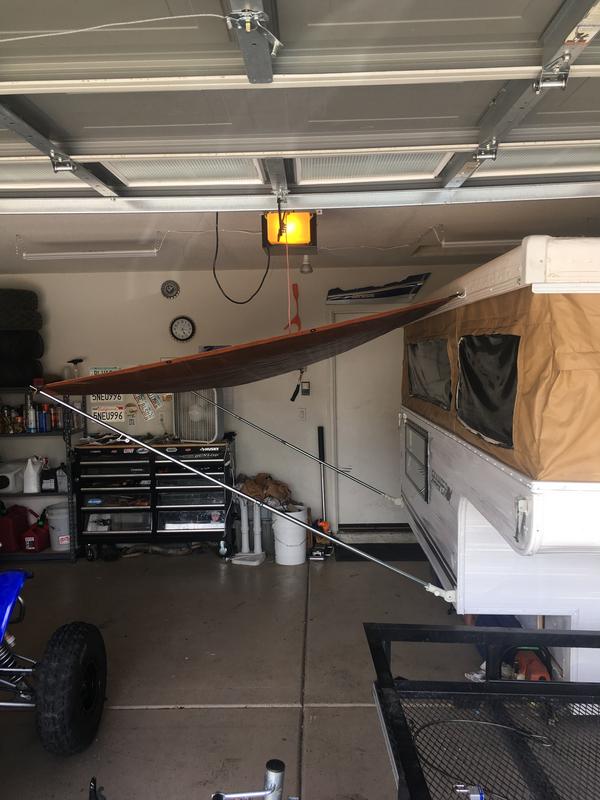
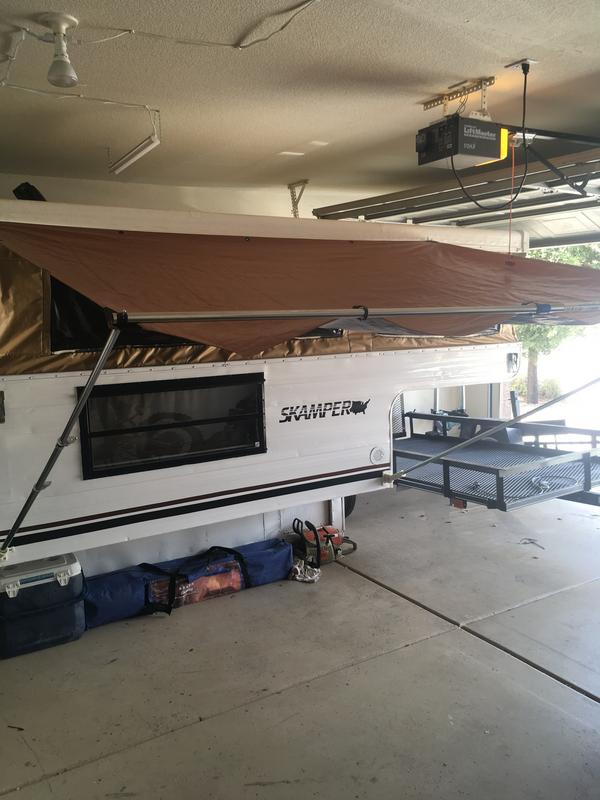
Made me a quick awning, nothing to special, but it should keep the sun, and even rain off me. Saw some DIY awnings on here and WTW, so this is my take on it

Took some standard coat hangers and screwed them to the roof, hooked a 6x8 heavy duty wally world tarp to it (even got it in brown to match, kinda, better then blue) mounted two adjustable flag holders to the side of the camper, then took some Coleman adjustable tent poles and stuck them in the flag holders. Finally, took an adjustable paint roller pole, drilled two holes in each end for the tips of the tent poles to go in, some shower curtain hoops, and voila~

IMG_5314.jpg

IMG_5315.jpg

IMG_5316.jpg


Not perfect, but its pretty solid, and should hold up to some gusts, although I may have to figure out a way to mount the cross poles together i.e. the tent poles to the roof paint roller pole, but it works, is quick to put up and down, and folds away nicely in the camper, killer!
 
Getting ready for the next trip here at the end of next week, heading back to one of my favorite riding spots for a big hare scramble/race event, and where I first took this thing for memorial day up in northern AZ, the Cinders! Lots of awesome riding, dispersed camping, massive hills, nice weather and breezes, ponderosa pines, and they finally lifted the fire bans so we can finally have a proper fire! I wont lie however that I am a little nervous about this trip in terms of rain, we are in the middle of Monsoon season here in AZ, where daily thunderstorms and heavy downpours can occur all over the state, so I'm hoping this thing will remain as water tight as it can, I'm sure it will, but it's still a concern of mine.

The Skamper has really only gotten small additions/mods to it, but they should make a big difference, I got everything that I wanted to get done for this trip, next I'd like to figure out a table and screen door, and maybe, maybe if I'm feeling up to it, tackling the canvas screens, but I may just wait on that and just keep using it the way it is until I can get a new canvas.

Really I've been spending most of time prepping mine and my friends bikes, being a mechanic kind of automatically makes me the designated repairman of all friends machines, but I enjoy it so its all good.

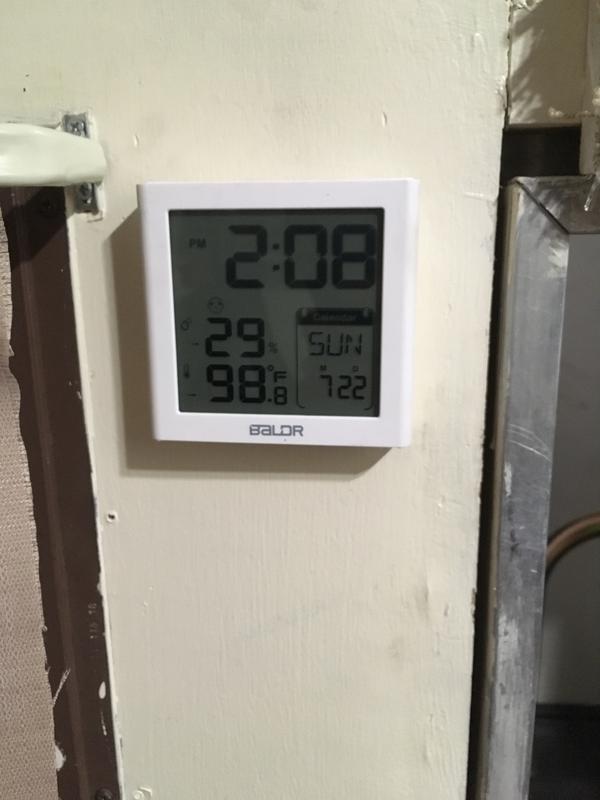
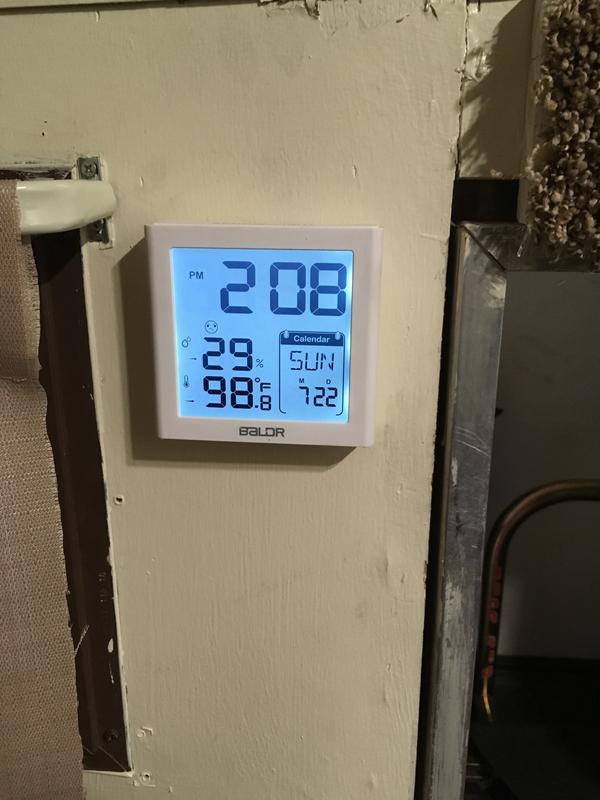
Got me one of these cheapy ebay clock/weather stations, it even has a lil emoji face for "comfort level", I guess it doesn't like my garage too much.
IMG_5358.jpg

IMG_5359.jpg


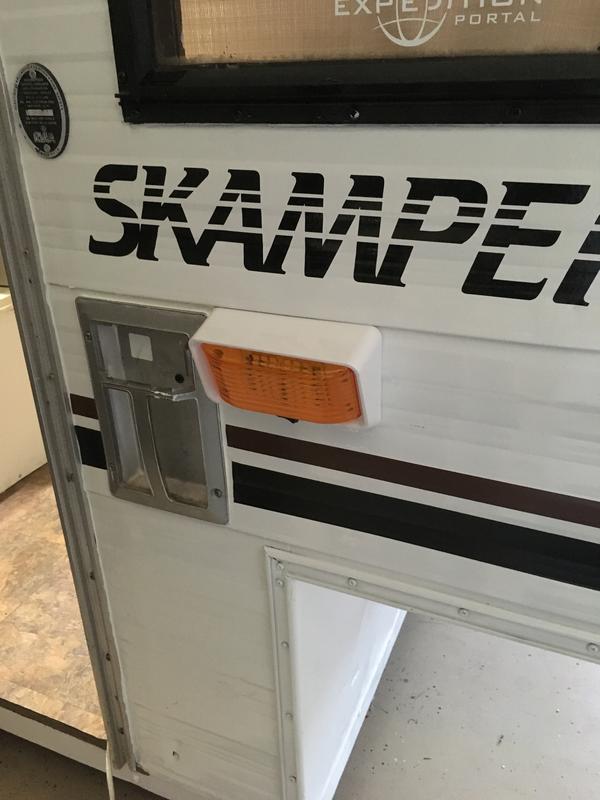
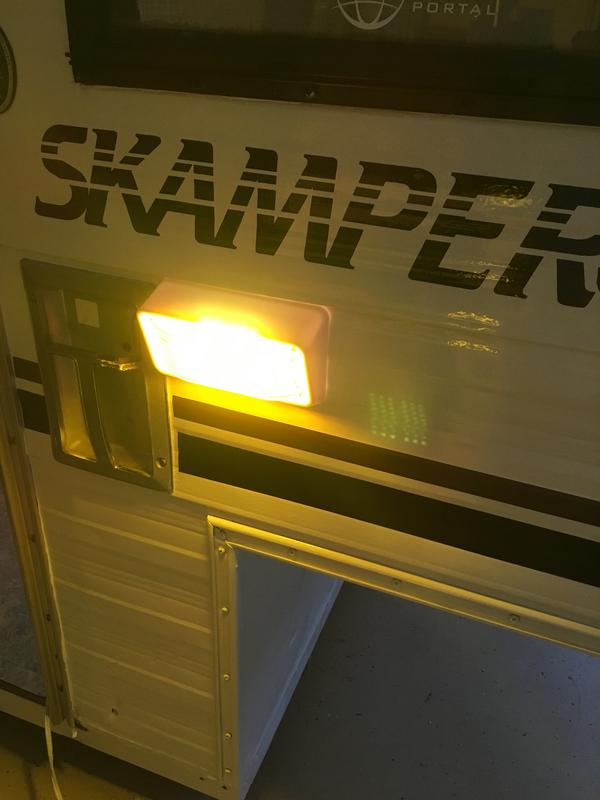
Also wired up a patio light. I would have liked to retain the original patio light/grab handle assy, but like so many Skampers I've seen, the lens is long gone, and I didn't really have any luck find a replacement, so I made a trip once again on over to eBay and grabbed me one of these led units, nice and bright, and came with an amber lens to help keep the bugs down.
IMG_5360.jpg

IMG_5361.jpg


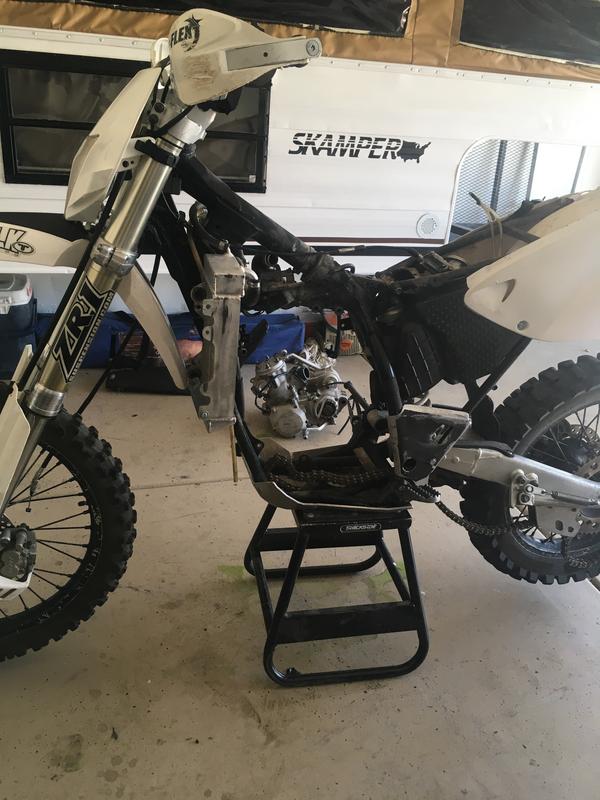
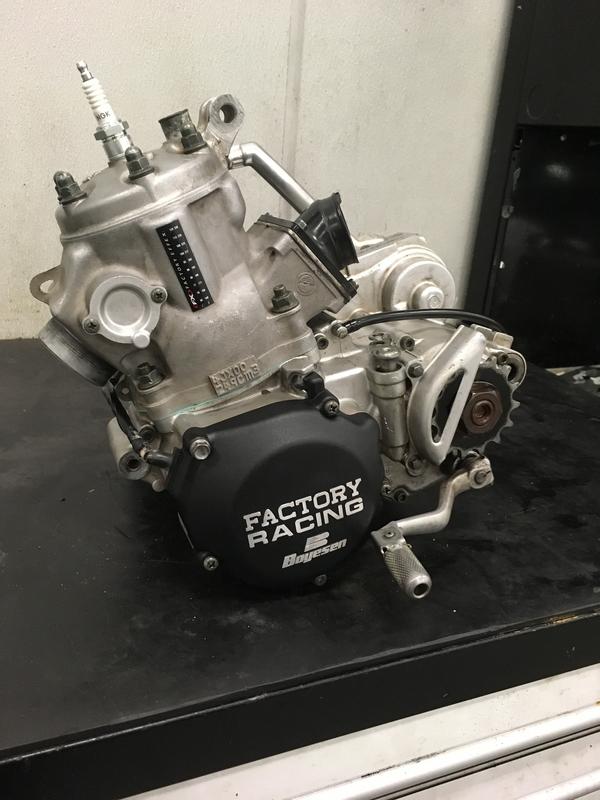
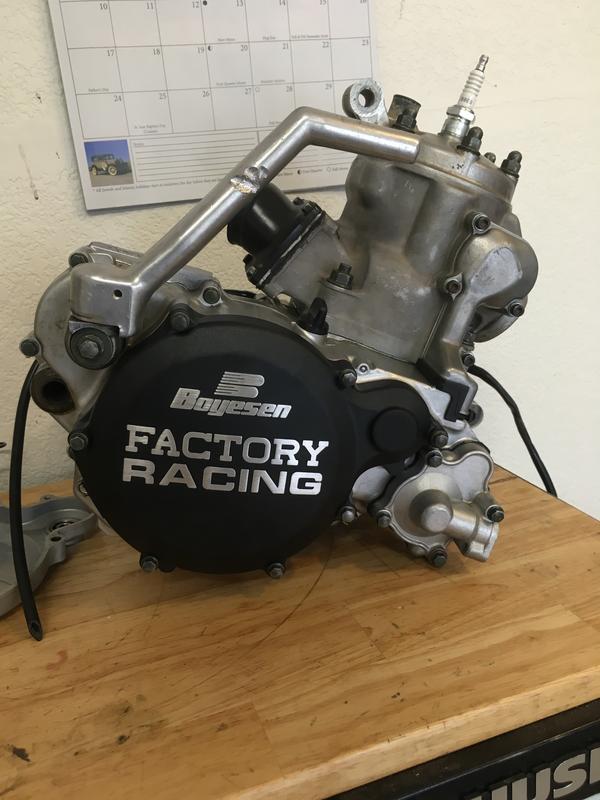
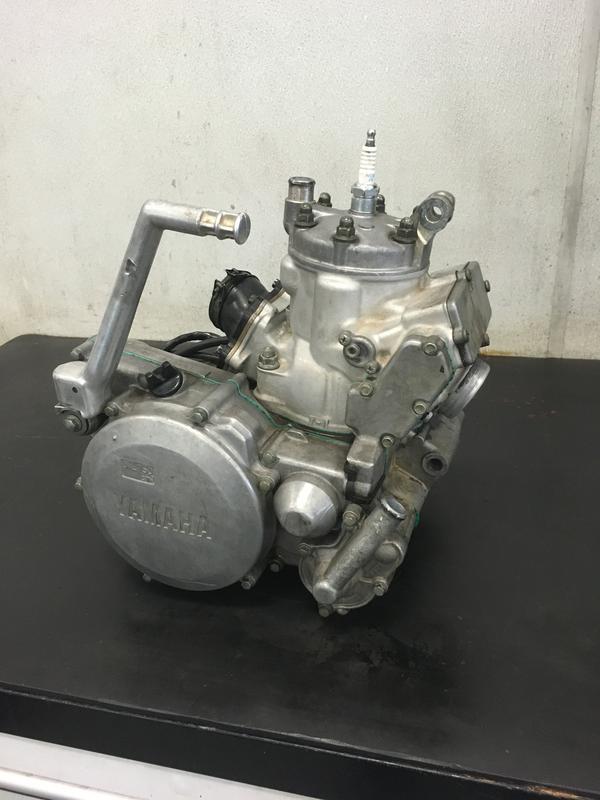
Since I'm here posting, here's some shots of the bike prep going on for those who also share a motorcycle passion. My bike, a 1997 Yamaha WR250, just got its internals all refreshed, new top and bottom end to keep her going in all her two stroke goodness, and some slick engine covers to boot! Having a small issue with it leaking coolant right now, but I should have it sorted for this event, I have the raptor as a backup, but still, two wheels are best!

IMG_5313.jpg

IMG_5322.jpg

IMG_5349.jpg

IMG_5352-2.jpg


This bike has been really good to me, and I take care of it religiously, the guy at the crank rebuild shop told me the crank was in great shape, but since the bike is over 20 years old and I don't know when it was rebuilt last, and it being a bit of rare machine that they don't make crank kits for it anymore, it was time to get it taken care of. Better to do it now in the "off season", as winter is dune and desert riding time where I'm out riding almost every weekend, rather then once or twice a month in the summer.

Also had to figure out my buddies 00 YZ250 shifting issue, a tear down and new shift rod later and hes ready to rip along with me.
IMG_5326.jpg


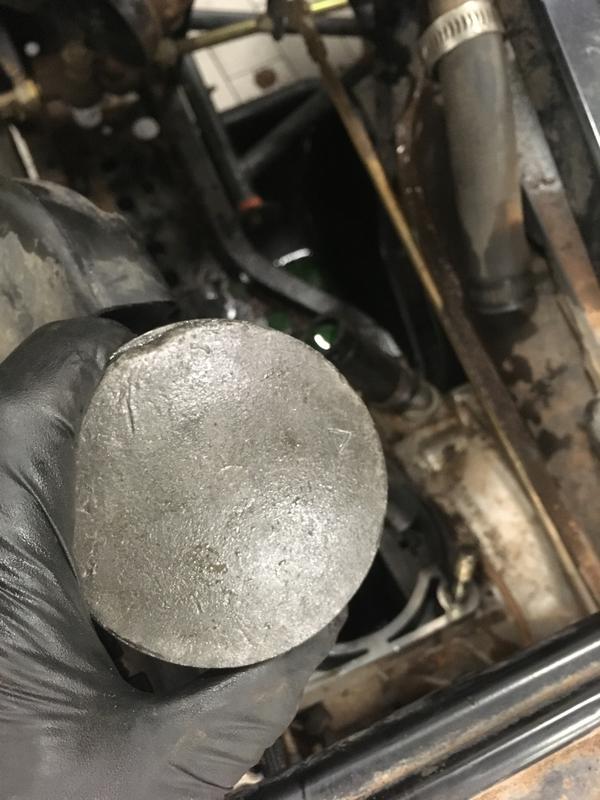
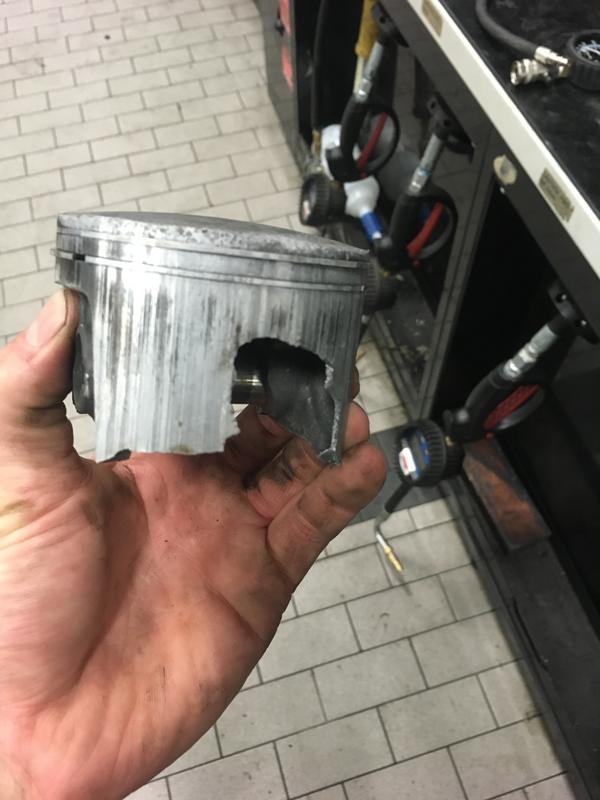
And finally, everyone likes a bit of carnage don't they? Another buddy brought me his 97 Polaris Sport 400 quad, saying it lost all power on him and died. It still cranked which was a good sign, however it cranked too fast/smooth for my liking. A compression test leading to low numbers and a tear down of the top end reveled that his piston skirt had blown apart in several areas. Surprisingly there was no damage to the bottom end, although I have no idea where the rest of that piston went lol. Waiting on the machine shop to bore the jug out a bit, once I get it back he should be ready to join us.
IMG_5336.jpg

IMG_5337.jpg


I know this is a camper forum, but in my eyes camping in riding go hand in hand!
 
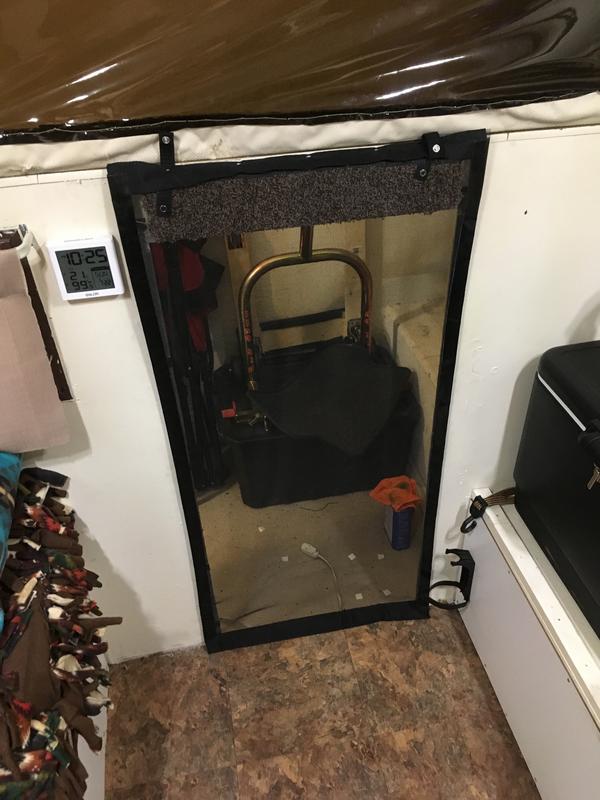
Did some late night arts and crafts with the Skamper tonight, got motivated and decided I wanted to tackle a quickie screen for the door. Went to walmart in search for this "magic mesh" screen Ive heard about to see if I could make it work, but found an adjustable rod style screen kit. Sadly the rod did not fit in the narrow door way, and it wouldnt have really worked well anyways.

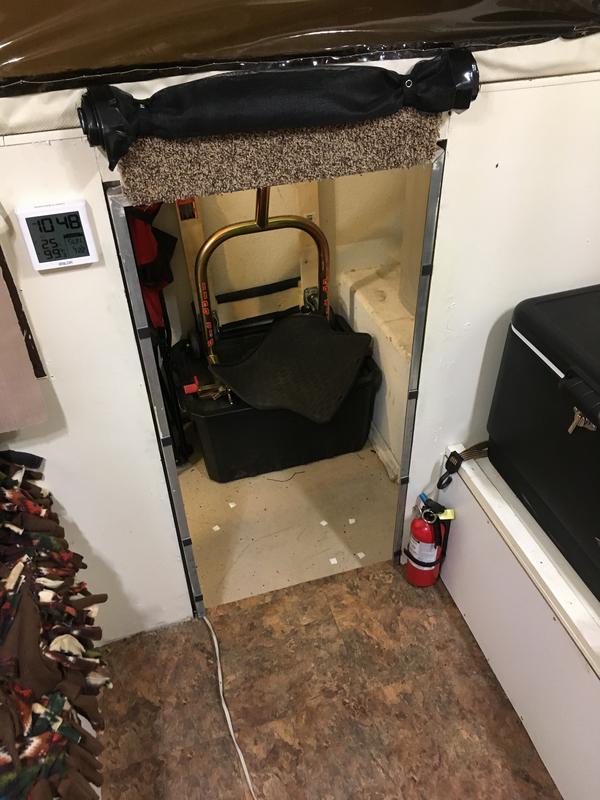
So this is what I came up with after seeing some other ideas over on the A-frame pop up camper forums. Trimmed the screen down to fit my door, then took some fender washers, black gorilla tape, and some hot glue, and placed washers down the sides of the screen and taped/glued over them, then placed some magnets on the door frame. Finally, made some quick snap button straps, and secured the whole thing to the head bash board above the door. Voila, roll up screen door.

IMG_5366.jpg

IMG_5368.jpg


Works pretty well, and the bottom is weighted so it should help to keep it from flapping around, although im gonna track down some stronger magnets for it to secure it better to the door
 

Boondockboost

New member
This is everything ive been looking for on a roof rebuild! No one really shows you how they do an aluminum roof. I wanted to do the same extra bracing in the center of the roof so it was cool to see that. My only question is I have a few pinholes in my roof i need to patch so I was gunna use the eternabond tape on them then do the roof sealent like you did. Just curious what type of roof coating you used? Very cool build! Gave me some ideas and inspiration for my camper.
 
This is everything ive been looking for on a roof rebuild! No one really shows you how they do an aluminum roof. I wanted to do the same extra bracing in the center of the roof so it was cool to see that. My only question is I have a few pinholes in my roof i need to patch so I was gunna use the eternabond tape on them then do the roof sealent like you did. Just curious what type of roof coating you used? Very cool build! Gave me some ideas and inspiration for my camper.

Thanks! Glad my thread could be of some help, that was one of the main reasons I documented all my progress, usually I don't take the time to take pics, glad I did this time.

As for the coating, I used what I found at my local home depot, this RV roof sealer, Henry Tropi-cool, but I'm sure any rubberized RV roof sealant will work fine. I painted right over the eternabond tape, however make sure you give the tape a light sanding so the sealant can stick to it, or it will peel off. Been holding up great other wise, roof is nice and water tight, can't say the same for the canvas, but it works!
 

Motafinga

Adventurer
Looking good dude! I always enjoy seeing what can be done on a modest budget with some hard work. Anyone with a big wallet can say take my money but us blue collar guys have to roll up our sleeves and get our hands dirty!
Enjoy!
 
Looking good dude! I always enjoy seeing what can be done on a modest budget with some hard work. Anyone with a big wallet can say take my money but us blue collar guys have to roll up our sleeves and get our hands dirty!
Enjoy!

Truth man! I cant properly enjoy something I own until Ive been through it with my own hands, and this camper was no exception, feels good to know whats beneath the skin of it and know its good!
 

Boondockboost

New member
Very cool im gunna use some of your ideas for my build. My only concern was on my roof the aluminum seemed like it was deteriorating in some spots where there was water so I'm nervours about it cause i really dont have the time space and means to pull the roof off like you did.
 
Very cool im gunna use some of your ideas for my build. My only concern was on my roof the aluminum seemed like it was deteriorating in some spots where there was water so I'm nervours about it cause i really dont have the time space and means to pull the roof off like you did.

That eternabond tape is really good stuff, and that cheapy roof flashing tape they have at home depot and the likes works well too, so unless you have a major hole/rot/gash like I did, you should be able to make it water tight, may not be the prettiest, but if you're dry with a solid roof over your head thats all that matters!
 
Been a while since my last post, or trip for that matter. But dune season is upon us, so I prepped and loaded the bikes and camper up this past weekend, and headed out to Cali to tear it up. The camper did great as usual, although this is the first time driving at night with the setup, so the lights were useless with the bit of sag from the setup. No worries tho, gonna try a few different things to help the rear end sit level and off the bump stops over bigger bumps, gonna start cheap with some spring helpers and re-asses.

IMG-5732.jpg

IMG-5734.jpg


Things may be changing down the road however for this setup. While Its a great setup and works really well, loading the thing is a major pain in the ass. Maybe if I could store it on saw horses where I would only need to life it a few inches to get it on and off the truck would change things, but having an HOA, I have to store it in the garage, which requires getting it from the ground up to truck height and vice versa, a very sketchy and stressful event. Im planning on moving back into town next summer, and I hope to find a house with an RV gate or at lest no HOA so I can store this elsewhere. But I've been reading up on enclosed trailer built out as DIY toy haulers, so that may be the next step. So if anyone is interested, I may be parting with the ol' Skamper here soon for a good price, especially for someone on here. We'll see, for the time being tho, this works great.

Until next time, Happy thanksgiving!
 

Forum statistics

Threads
188,259
Messages
2,904,638
Members
229,805
Latest member
Chonker LMTV
Top