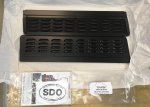
Blue Ridge Overland Gear Attic; consolidated (pt 1)
As a companion to the various updates in the Mantec overhead storage thread (
MANTEC thread & with full credit to Markq for pointing out the Blue Ridge Overland Gear Land Cruiser Attic's compatability with the LR3 & LR4 platform, I figured I'd provide a consolidated documentation of my modifications to get some overhead storage into the truck.
The why:
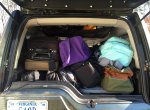
The idea of having an attic to put soft/lightweight items into the truck without them getting squashed by larger, heavier items has tremendous merit. MANTEC's hard solution looks fantastic and as the thread notes, would work esp well integrating in with one of their cargo barrier/dog guards-esp if someone was dedicating their platform for traveling and such. For me the cost of procuring and shipping, plus the reality that my truck is a DD and I want to be able to easily use all three rows of seating made the BROG an attractive option. The lower cost, and my affinity for the company (made in my home state, good people, easy to work with, and VERY high quality for the price point), made picking up one of these a quick purchase after seeing it in Harbinger's truck:
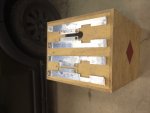
BROG LC Attic
My major change to the device involved making a set of aluminum runners to attach the attic to that would let it sit solely in the 3rd row area. Time intensive but not terribly difficult with a range of power tools (dremel, drill press, belt sander, angle grinder w/flap wheel, riveter, jig saw w/metal blade, vise (for bending)). The runners are approx 22" long and use a seperate piece to serve as the interface with the rear grab handle. For those that don't have a 7 seater, I am working with my buddy who has a 5 seater to see if the hardware is in place under the headliner in the aft portion of the truck to screw into-standby for updates there!. A quick, crude, sketch of the runner showing basic dimensions when taken from a 2" wide by 1/8" thick piece of aluminum:

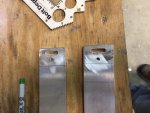
Fabrication of the portion that goes under the grab handle; approx 8" long and then some asymmetric holes for the grab handle:
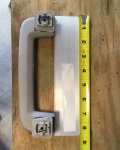
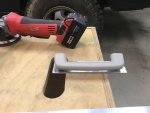
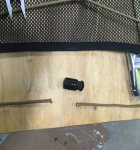
The beta version of the runner used bolt plates to provide slots at the end, also note the cut out for the cargo light:
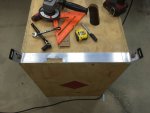
I decided to rivet the two pieces together, in post prototype production units more rivets (better spaced) were used but even this should be strong enough.
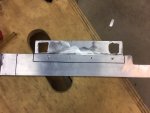
A lot of test fitting to keep things tight, time intensive but not difficult.
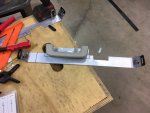
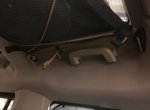
In place in the the vehicle, I use slightly longer pan head screws to ensure good attachment for the grab handle going into the roof-my assumption is MANTEC does the same with their product.
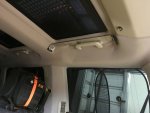
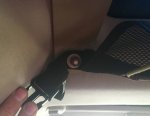
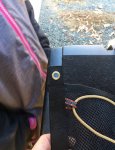
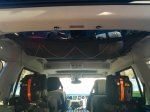
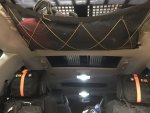
Attic now installed for test use during thanksgiving road trip.
Cont'd in next post....


