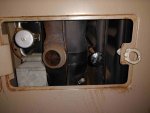
"No More Projects!", says I. And then...1972 Superior 2200. Couldn't pass it up.

dwh

Tail-End Charlie
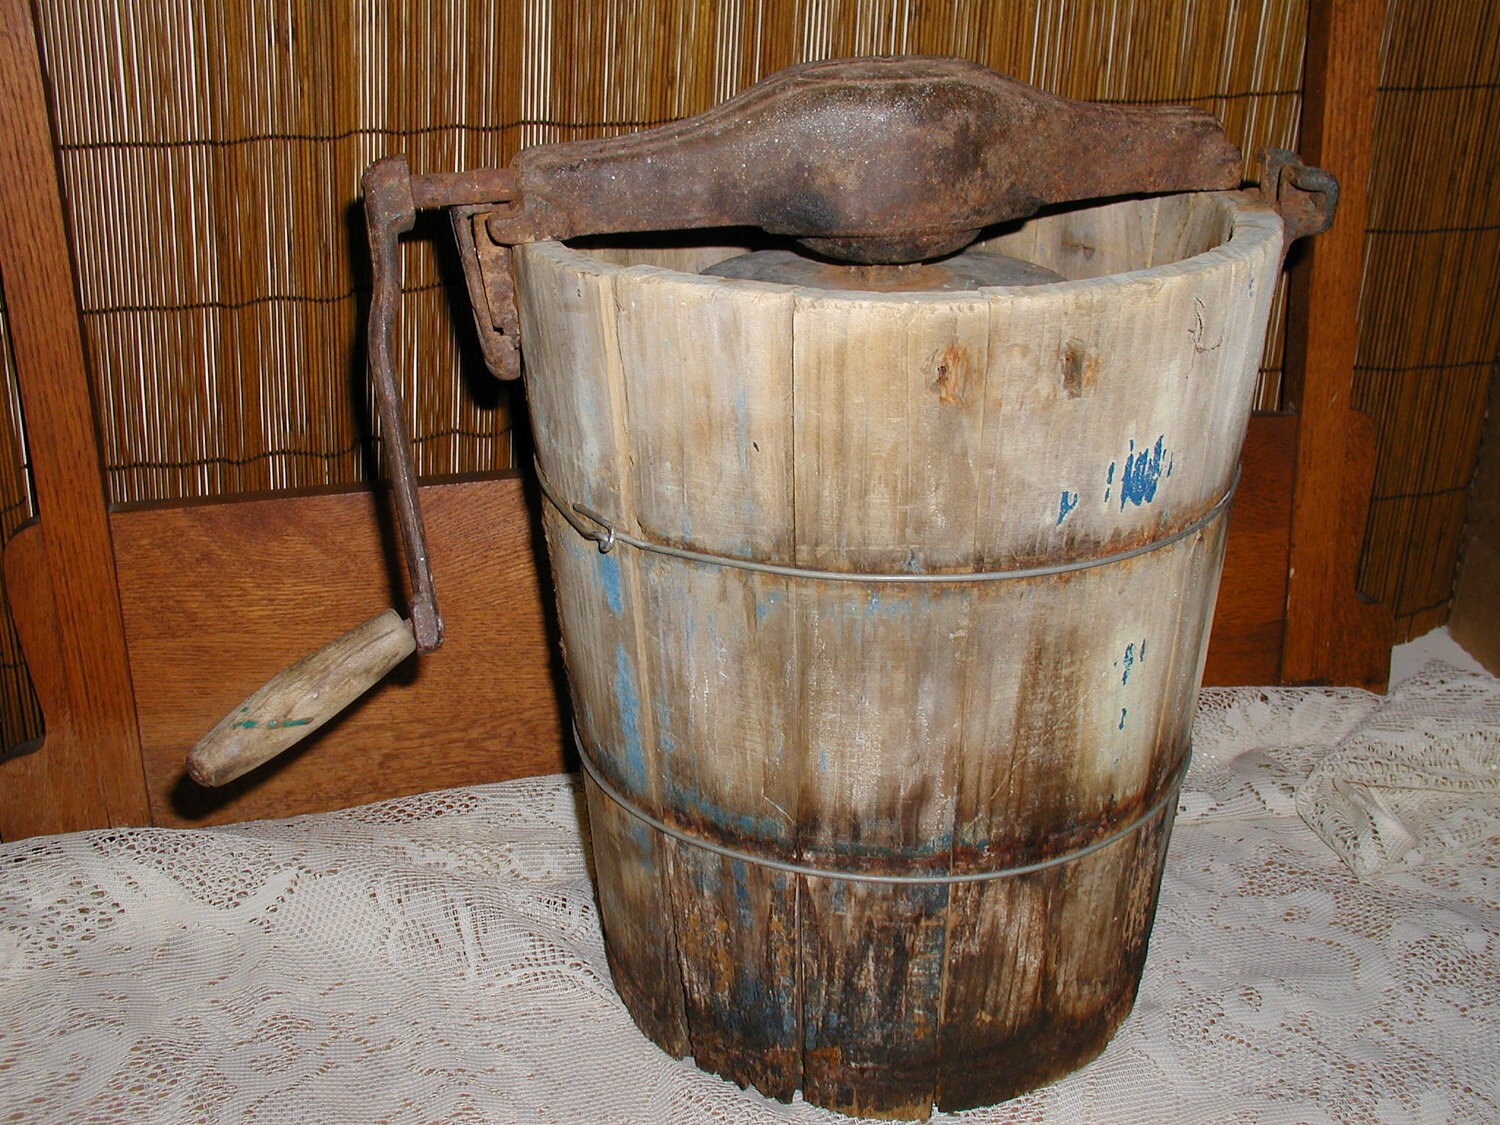
They had ice cream in the 70s?

They did, but you had to make it yourself.


il_fullxfull.325398129.jpg
 

dwh

Tail-End Charlie
Looking good and like you got a nicely optioned rig there. For the "blue juice", my wife n I use "Why Flush" toilet water neutralizer. Septic safe (our useage) and all natural. As for numbers of usage of your toilet before dumping, I'd use nature as often as possible and save the toilet for #2 so you don't fill up fast.

Thanks. I am pleased with it so far. I'll look into that Why Flush.

I know from experience, that the 10g black tank in my camper van fills up in about 10days to two weeks full-timing solo (depending on how much I water the shrubbery). A week with my (adult) son along. But that includes water from the fresh tank to flush it.

The question is what is the actual capacity of the MonoManiac. At least 4 gallons, since that's what it takes to get it ready to use. How much more? Dunno. Unless there is some magical portal to another dimension, it doesn't look like it holds all that much.

But the manufacturer did make recirc toilets for the commercial aviation industry, so I doubt that their manuals were full of marketing BS...which means 80 uses is probably accurate.

I just haven't figured out how...
 

NevadaLover

Forking Icehole
How does 'ally work better ? I thought copper about twice effective at conducting heat.

I misspoke, should have said aluminum makes more sense in todays world, it's cheaper, easier to find and way lighter than copper, thus I think "better".
 

dwh

Tail-End Charlie
Finally measured the head compartment. 32" x 54" outside dimensions. Should fit a standard 30" x 48" shower pan and three wall enclosure with about 6" to spare for hiding the plumbing in the wall. :)

Got some more pics too. Gotta process them before upload.

Plugs were wrong had to take them back and swap 'em. Got the correct ones and got them changed.

The plug wires they had to order from the warehouse were wrong as well. Still don't have new ones. Had to reuse the old ones.

Still wouldn't start...but the battery went dead before I really had time to check it out. Gonna have to buy a new starter battery. Fine...the one I stuck in there can do house battery duty for the time being.

Now I'm hungry and need some dinner. More later.
 

dwh

Tail-End Charlie
Okay, where was I? Oh yea, plugs...

(as usual, click to enlarge)


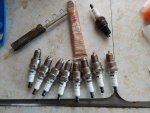
So, once again - out with the old, in with the new (new ones gapped and threads coated, ready to install):

IMG_20171112_151723170.jpg


Old ones were gapped at .030. Specs call for .035...

IMG_20171112_151735463.jpg


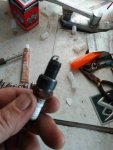
Oh yea, pretty sure that one is fouled...

IMG_20171112_161103938.jpg


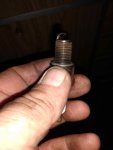
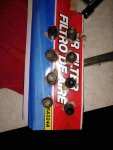
So we can see that #s 1, 6 and 8 are certainly fouled, and the rest...not looking too good. They all came out easily enough. Well, except for having to lay on the engine to get the front ones that is... Surprisingly, I could actually get my hand (and a ratchet) in between the valve cover and the edge of the hole without too much trouble. I completely forgot to do a compression test. Oh well...some other time.

IMG_20171112_172227596.jpgIMG_20171112_172255911.jpgIMG_20171112_172259203.jpg


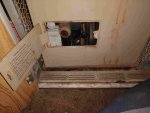
Took a closer look at that gigantic furnace under the sink...

IMG_20171112_171050120.jpgIMG_20171112_171042138.jpgIMG_20171112_171056526.jpg

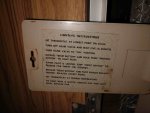
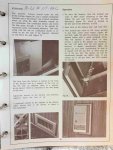
Didn't find any identifying information. Though the manual pics that the other guy sent me had a hand-written notation...

1972_Superior_Owners_Manual_Page_29.jpg

First off I note that the pic in the manual shows the access hatch hinged at the top, whereas mine has it hinged at the side. I also note that the propane shutoff valve on mine is identical to the manual. And, mine is stuck in the off position.


More to come...
 

dwh

Tail-End Charlie
But the lighting procedure is the same...
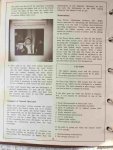
1972_Superior_Owners_Manual_Page_30.jpg

Close enough.


By this time is was getting dark (thank the gods for daylight savings time...</sarcasm>), which was sort of irritating me. Since I was going to have to stick in a new battery anyway, which would leave me with a second battery that I could use for a house battery, I figured that I would go ahead and hook up the split charge relay and other wires in the battery compartment and maybe get some lights working (and see if the MonoManiac works! (Yes, I really want to see that toilet do its thing.) :D ).

That isn't going to happen until next weekend, but in the meantime I decided to have a serious look around for the 120v-12v converter. I had supposed it might have been in the generator compartment, but I didn't seriously think it had been - not enough wiring in there for that. It's gotta be somewhere else.

Finally found it. Looking at the furnace under the sink, to the right of that, under the drawers. Eureka! Of course, getting my hand in there, with my phone in camera mode, holding the phone with one hand, and trying to hit the shutter button without actually being able to see my hand or the screen on the phone...well, I had to take a bunch of shots in all sorts of positions to finally end up with one that was useful...
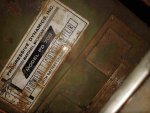
IMG_20171112_170340614.jpg

But wait, what's that I see peeking out from under the drawer slide? (Looking at the pic on the phone, couldn't see it from where where I was.) Looks like another label. Grabbed a rag, spit on it, put on a glove (don't trust arachnids or rodent droppings very much) and floundered around in there hoping to actually hit the label with some spit and wipe action. Took a few pics. Nope, missed it. More spit and wipe. More pics. Missed it again. The third try was the charm, and I got a decent pic (well, I got a bunch of pics...one was decent)...
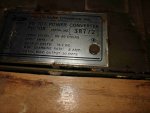
IMG_20171112_170948432.jpg

HELLoooOOO!


Did a search, and the very first link (DuckDuckGo) was a link to the manual, on the Progressive Dynamics site itself. Wow, that's surprisingly good. I take back all the nasty things I've said about PD over the years. (I'm lying, I don't really take it all back.)


http://www.progressivedyn.com/pdfs/pd707-708 manual.pdf


According to the label in that first pic this one is "WITH BATTERY CHARGER". The manual says that the battery charger is optional. I'm assuming mine has that. The manual also says the unit can be had with auto-switching and since mine is in a completely inaccessible place - and you can see the two rectangular knockouts for the manual switches between the two labels - I'm assuming that it has that. So it has the optional auto-switching and the optional battery charger. That's in keeping with the general "all the options" mindset of whoever ordered this beast new.

So, according to the manual, this thing puts out up to 30a @ 12.5v to the load circuits, plus the battery charger can put out up to [9a according to the label, 10a according to the manual] at 14.2v to the battery.

The manual also says the battery charger is temperature compensating. Huh. Since the PD is inside, and the batteries are outside, I'm somewhat dubious of the efficacy of the temperature compensation...

Has either two or four output circuits (wanna bet this was ordered with four?), each which its own auto-reset breaker.

AND! It can also be connected to the split-charge relay. Well...not really...the wiring layout shows the split-charge relay wired to the battery, and the PD-708 wired to the battery... It's a bit whacky if you ask me. (Early example of PD's marketing dept. preparing to stage a coup?)


So, anyway...I think next weekend, after I hookup another battery, I'm going the bust out the little Harbor Freight 2-stroke generator and plug in the shore power (there is a dogbone adapter already there in the rear compartment)...with a couple of fire extinguishers standing at the ready. :D The little genny should run the converter well enough (converter says it draws 6a @ 115v, gen is rated 6.5a), but of course won't run the A/C. But it should run the fan on the A/C. Mostly, I'm interested to see if the genny and converter will actually charge the house battery.

Oh, I know...14.2v constant voltage isn't optimum for battery charging, and I certainly plan to rip that PD out and install something newer in the inverter/charger category. But for now, I'd like to just get the thing working.


And since I plan to (possibly) have the electrical systems up and running next weekend, I took a look at the light fixtures. Only the double fixture in the aisle next to the dinette had a lamp (what non-electricians call a bulb) in it. But one is all I needed...
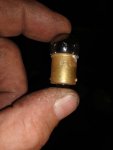
IMG_20171112_181306564.jpg

And naturally, it doesn't have the part number on it. Just "97 CHINA". Don't recall offhand the designation for that one. 1154? 1147? Dunno, I'll figure it out later. But I tried that lamp in all the various light fixtures, and the base did fit in them all. And the switches seemed to click with some enthusiasm.

So a bunch of lamps (at least 10) is on the list.


That's all for now. Over and out.
 
Last edited:

java

Expedition Leader
"NT" on the furnace is a suburban designation. Not sure that is whats in there though!

This is fun to follow BTW. :D
 

dwh

Tail-End Charlie
And yes, eventually, I'll be replacing all the lighting with LEDs. Might even add a bit of LED mood lighting. Maybe some colors. And a disco ball. Disco balls rock.
 

dwh

Tail-End Charlie
"NT" on the furnace is a suburban designation. Not sure that is whats in there though!

Yea. I note a couple of other differences between mine and the one in the manual, besides the hinges on the hatch. Mine has a silver knob on the "push to spark" ignitor, and has a pilot cover with glass in it. More research is needed. :)


This is fun to follow BTW. :D

Thanks. I, like probably most gearheads (and hackers), get a kick out of poking around and making discoveries and finding out about things. Doing that on some old vehicle is even more fun.

Well, fun when it's not a total PITA, which is mostly what it seems to be. :D

And a project like this is perfect for a professional procrastinator like me. I can do a little, then stop and think it over for a few days, then do a little more. Putter putter, tinker tinker.
 

NevadaLover

Forking Icehole
So we can see that #s 1, 6 and 8 are certainly fouled, and the rest...not looking too good. They all came out easily enough. Well, except for having to lay on the engine to get the front ones that is... Surprisingly, I could actually get my hand (and a ratchet) in between the valve cover and the edge of the hole without too much trouble. I completely forgot to do a compression test. Oh well...some other time.
View attachment 425122View attachment 425123View attachment 425124

Uff dah, that poor engine needs a little internal cleaning love, maybe a little marvel mystery with some clean oil, or rislone or seafoam after clean oil, definitely looks like a little oil where it shouldn't be, good part is these old RB engines are tough and with a little TLC should run well and clean.
 
I've been following this thread since the first day it was posted, I think. It's fascinating. And you, sir, are a better person than I am. No way would I take on a project like that, but I'm glad some do so I can follow along on this site.
 

dwh

Tail-End Charlie
Uff dah, that poor engine needs a little internal cleaning love, maybe a little marvel mystery with some clean oil, or rislone or seafoam after clean oil, definitely looks like a little oil where it shouldn't be, good part is these old RB engines are tough and with a little TLC should run well and clean.

Did you just call me love? o_O
Well...right back atcha toots.

Got the Rislone, got the Sea Foam. :) But it sort of has to be running before either one will help much. :)

And yea, after sitting a decade or two, excessive blowby is to be expected until the rings reseat. Unless the rings break of course... Fortunately, I think the rings have pretty much reseated. Unless they broke.

But...nah...the power of positive thinking will hold them together. :D
 

dwh

Tail-End Charlie
I've been following this thread since the first day it was posted, I think. It's fascinating. And you, sir, are a better person than I am. No way would I take on a project like that, but I'm glad some do so I can follow along on this site.

Well thanks. Glad you're enjoying it. :)
 

dwh

Tail-End Charlie
Looking back at the pics I took of the light fixtures, I see the one over the sink had lamps in it. For some reason looking around at the fixtures...in the dark...with a flashlight...I totally forgot about that fixture.

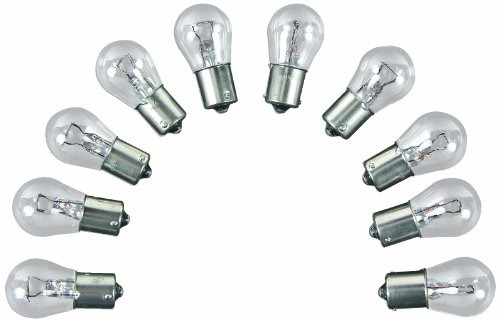
But looking at the pics, I see that the lamps in the sink fixture have larger bulbs (the glass part is the bulb, the metal part is the base - together they are a lamp).

I remembered the original light fixtures in my camper van had those same lamps - the larger ones. Then I remembered that 1157s have two filaments, two positive connectors on the tip and the bayonet lugs are offset so it only goes in one way. In other words - taillight lamps. 1154 is basically the same thing.

Finally it came to me...1141. That was the one. Looking on Amazon I see boatloads of 1141 LED replacements. For now I'll just get some regular incandescents. I don't have the lenses for any of the fixtures in the Superior, so when I switch to LED I'll be replacing the fixtures as well.


41miHnpTckL._SY400_.jpg
 
Last edited:

Forum statistics

Threads
188,391
Messages
2,906,518
Members
230,176
Latest member
Arcadia1415
Top