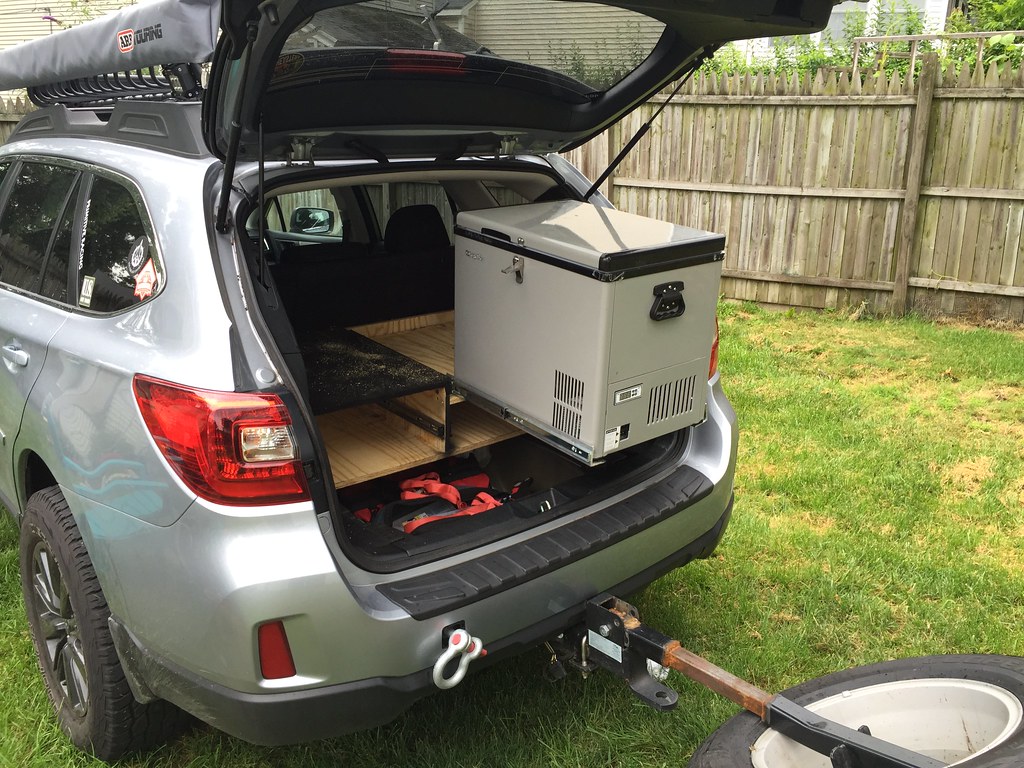
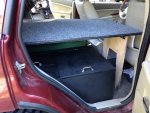
Post up your drawer/storage system

fog cutter

Adventurer
a lot of guys use turnbuckles to factory D rings. not sure what's in your truck, but if you don't have factory cargo anchors maybe you could drill through sidepanel posts and get either a nut, rivnut, or even remove & replace a factory bolt with a same thread eye bolt for the turnbuckle.


Page 5, from my, "Cabby" the trooper, thread. Some progress pics on my storage system.
http://www.expeditionportal.com/for...AKA-quot-Cabernet-quot-the-2001-Trooper/page5

Here's a teaser for the clicky impaired:

View attachment 203732

Finished unit will be level with folded rear seats to create a sleep platform. My wife and I have already layed back there. There's tons of head room. Very easy to get up on elbow and crawl in/out:
 

don simon

New member
I've just lost a weekend on this awesome thread.
Thanks to everyone who's contributed.
Anyway, I'm about to embark on my own build and have one question.
How are the joints on the plywood boxes done?
They just appear to be butted joints. So how do they prevent the box structures from parallelograming?
(OK, two questions).
 

fog cutter

Adventurer
i think you need to use your own sensibility. some guys use framing lumber and flake board instead of marine plywood. some use nails instead of construction adhesive and through screws. some pocket screws and butt joints instead of structural joinery with weather resistant adhesive.

rather than have woodworking become another hobby (unless that's your intent), plan on using:

the most water resistant product you can source

the most dimensionally stable product you can source

the most water resistant adhesive you can source

corrosion resistant fasteners everywhere

dado / rebate / interlocking joints everywhere

most folks admit they've learned "for the next one".


the next 10 responses will explain why none of this is necessary and "you don't need ....." and (fill in the blank) " ... worked fine for my buddy's rig".

post pictures when it's done.
 

Maxcustody

Explorer
Well, after watching this thread for a while; stealing ideas, drawing plans, and figuring out my needs, I decided to copy some people here to the best of my abilities and make my own storage shelves and drawers for the GX. I used 1/2" baltic birch, Orr and Orr slides, and covered it with some thick paint from Home Depot. Definitely a budget build compared to what some others have built, but I think it should do the trick for me. In the next few weeks/months (as time allows), I'll build "wings" to enclose the sides, and route USB power and such in (currently on the side panel of the truck in the back). I still have to mount brackets to strap the fridge down to and put all my gear in. Here is what it looks like:

TbayJtM.jpg


cxSCxG7.jpg


LLkyCL8.jpg


Looks like I need to clean my bumper.
That right there is a thing of beauty my friend.....awesome job! Love the color you chose as well.

Sent from my Roof Top Tent
 

freshlikesushi

Free Candy
got the fridge in finally. had to modify the right side drawer and platform. now it just fits the stove and hoses with no room to spare under there

Untitled by Grant Wilson, on Flickr
by Grant Wilson, on Flickr

ill recover and put it all back together with the spare tire cover after work today. camping and offroading this weekend!
 

don simon

New member
Finally went for it and did this today.
2015-07-16 18.55.55 by Simon Carter, en Flickr

2015-07-16 19.52.31 by Simon Carter, en Flickr
More pics here https://www.flickr.com/photos/96036923@N05/sets/72157653596979273
It's not finished yet as there are still some rough edges and teething problems to sort out. But as a first timer I'm happy, especially when it was all done for less than 100 quid.

A big thanks to everyone on this thread for inspiring and a bigger thanks to ab1985 for this http://www.expeditionportal.com/forum/threads/60965-Project-Alpha-Bound-1985-4Runner-Adventure-Truck-Build?p=879627#post879627 for finally giving me a simple design that could be adapted.
 
Last edited:

MLu

Adventurer
About twelve seconds after finishing my piece of plywood covered in faux leather sitting on four furniture legs, I realized I have created something that takes up space rather than creates it. I keep my crap in those long and flat containers with wheels made for keeping stuff under your bed and it just doesn't work, very convenient but leaves far too much unusable space.

eE9fZPF_1m63J4MGmyzxsLlmDjpGRD1Had9bQ7esyqY,jUyomCocOL-TAO7dd6ZXnDSjx-CQckJV3Sj1iqTmI8s.jpg

Time to start looking for drawer slides I guess.
 

cruiserpilot

Adventurer
About twelve seconds after finishing my piece of plywood covered in faux leather sitting on four furniture legs, I realized I have created something that takes up space rather than creates it. I keep my crap in those long and flat containers with wheels made for keeping stuff under your bed and it just doesn't work, very convenient but leaves far too much unusable space.

Time to start looking for drawer slides I guess.

I had something similar in the rear of my Land Cruiser. The idea is good, but getting the height right is the problem. I'm still not sold on drawers for me yet, BTW.
Good luck.
 

Bob Freda

Adventurer
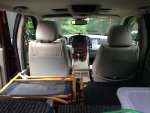
I just finished my remodel of my Jeep WK. I wanted storage but also a place to sleep inside the vehicle when traveling alone. By relocating the fridge and battery positions I could get a flat area about 30" wide by 78" long with the passenger seat all the way forward.
View attachment 254318
The draw unit is your basic home built unit of 3/4" birch plywood with some parts of 1/2" . Full extension slides and a slam latch ( thanks to this thread for the many ideas )
View attachment 254313

View attachment 254314

I added a pull out shelf for my stove or just a counter top to the underside of the drawer unit with some aluminum chanel and plywood.

View attachment 254316

The sleeping extension clips to the rear of the drawer case and has fold up legs to sit on the floor just behind the passenger seat.
View attachment 254317
Overall I think it came out great (don't look too close at my workmanship !!) so glad I found this thread .

View attachment 254319
View attachment 254320
View attachment 254321
The space under the drawer comes in handy for extra storage too.

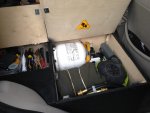
I finally decided to remove my back seat and expand the storage space. First I added a battery compartment and also placed my compressor in the same box, I had to separate the compressor from the air tank but with just one air line to be reworked it was a tight fit.
image.jpg
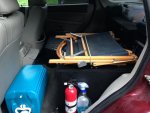
Then I added storage boxes to the passenger side that were a bit lower so I can still install my sleeping platform extention over them.
image.jpg
image.jpg
image.jpg
It seems that there is always more stuff than there is storage space !
image.jpg
image.jpg
image.jpg
image.jpg
image.jpg
 
Last edited:

nomadic111

New member
My version for my 100 series.

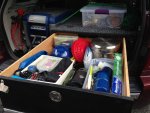
Here's the brand spankin' new drawer/sleeping platform I just finished up for my 100 series LC. For weeks I combed the internet for ideas (including this thread), then looked at my LC, got out the tape measure, and came up with a design for two hinged panels that open forward to lay on the seat and the back of the console and provide plenty (7+ feet) of sleeping space for two. (The only drawback is the lack of headroom. But then it's only until I get a rooftop tent anyway- then I'll bolt a refrigerator to the top) This can't fit any more "like a glove" than it does. And there is a ton of usable space! I've got two deep drawers, a secured "vault" on the forward end, and then more space on both sides under the hinged panels. Both drawers are lockable and very solid and secure. I still haven't determined how I'm going to configure or divide up the drawers. I'll have one side for campsite, and cooking gear, and the other for recovery gear, tools, and supplies. I just finished it last week, so right now it's like a new house that I just can't wait to move into!
Thanks for the ideas guys!

IMG_20150719_155549309.jpg
IMG_20150719_160627788_HDR.jpg
IMG_20150606_204300990.jpg
IMG_20150606_203219710.jpg
IMG_20150606_204536827.jpg
IMG_20150606_203843045.jpg
 
Last edited:

fireball

Explorer
Looks nice! Can you only get access to the side wings when the sleeping platform is flipped forward? Is so, I think you'll find this very annoying in everyday usage. Those side wings are nice for lots of little things and we use them often.
 

nomadic111

New member
Looks nice! Can you only get access to the side wings when the sleeping platform is flipped forward? Is so, I think you'll find this very annoying in everyday usage. Those side wings are nice for lots of little things and we use them often.

Right. I thought about that too. I can lift them onto the rear seat without going all the way forward if I need access. I'll just have to keep the things I usually only need once I'm camping in there. But for all the other features of the unit, it'll work out just fine.
 

jeepin_idaho

Adventurer
That is exactly like what I have in mind for my wife's Yukon XL. Could you provide some info on what materials you used and about how much the project cost?

Sent from my SM-G900V using Tapatalk
 

fireball

Explorer
Nomad - if you find it to be a hassle you could probably cut down the width of the flip forward sleeping platform so that you can access the wings anytime. You might not need the large width for sleeping depending on where you put your head.

Incidentally, I just ordered up some of these for my truck to make summer-time sleeping a bit more comfortable:

http://windowsox.us/
 

Forum statistics

Threads
188,337
Messages
2,905,686
Members
229,959
Latest member
bdpkauai
Top